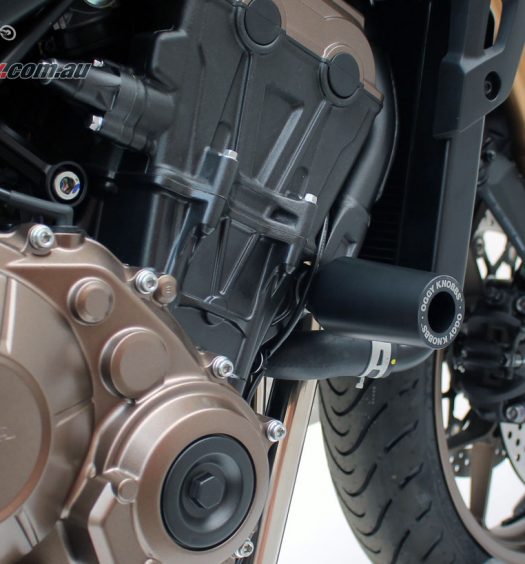
A set of squealing brake pads was making like uncomfortable with Kenma providing a set of SBS Street Excel HS pads for Kris's Daytona 675 R to cure the problem. Review by Kris Hodgson
Brakes are an easy area to ignore, as when everything is working it’s peachy, however when something goes wrong it can really cause problems, and in this area that needs to be sorted as soon as possible. My issue wasn’t urgent but it was annoying…
I basically started finding my current brake pads were squeaking excessively, making commuting quite uncomfortable, so I asked Mick at Kenma whether he had a suggestion to solve this issue.
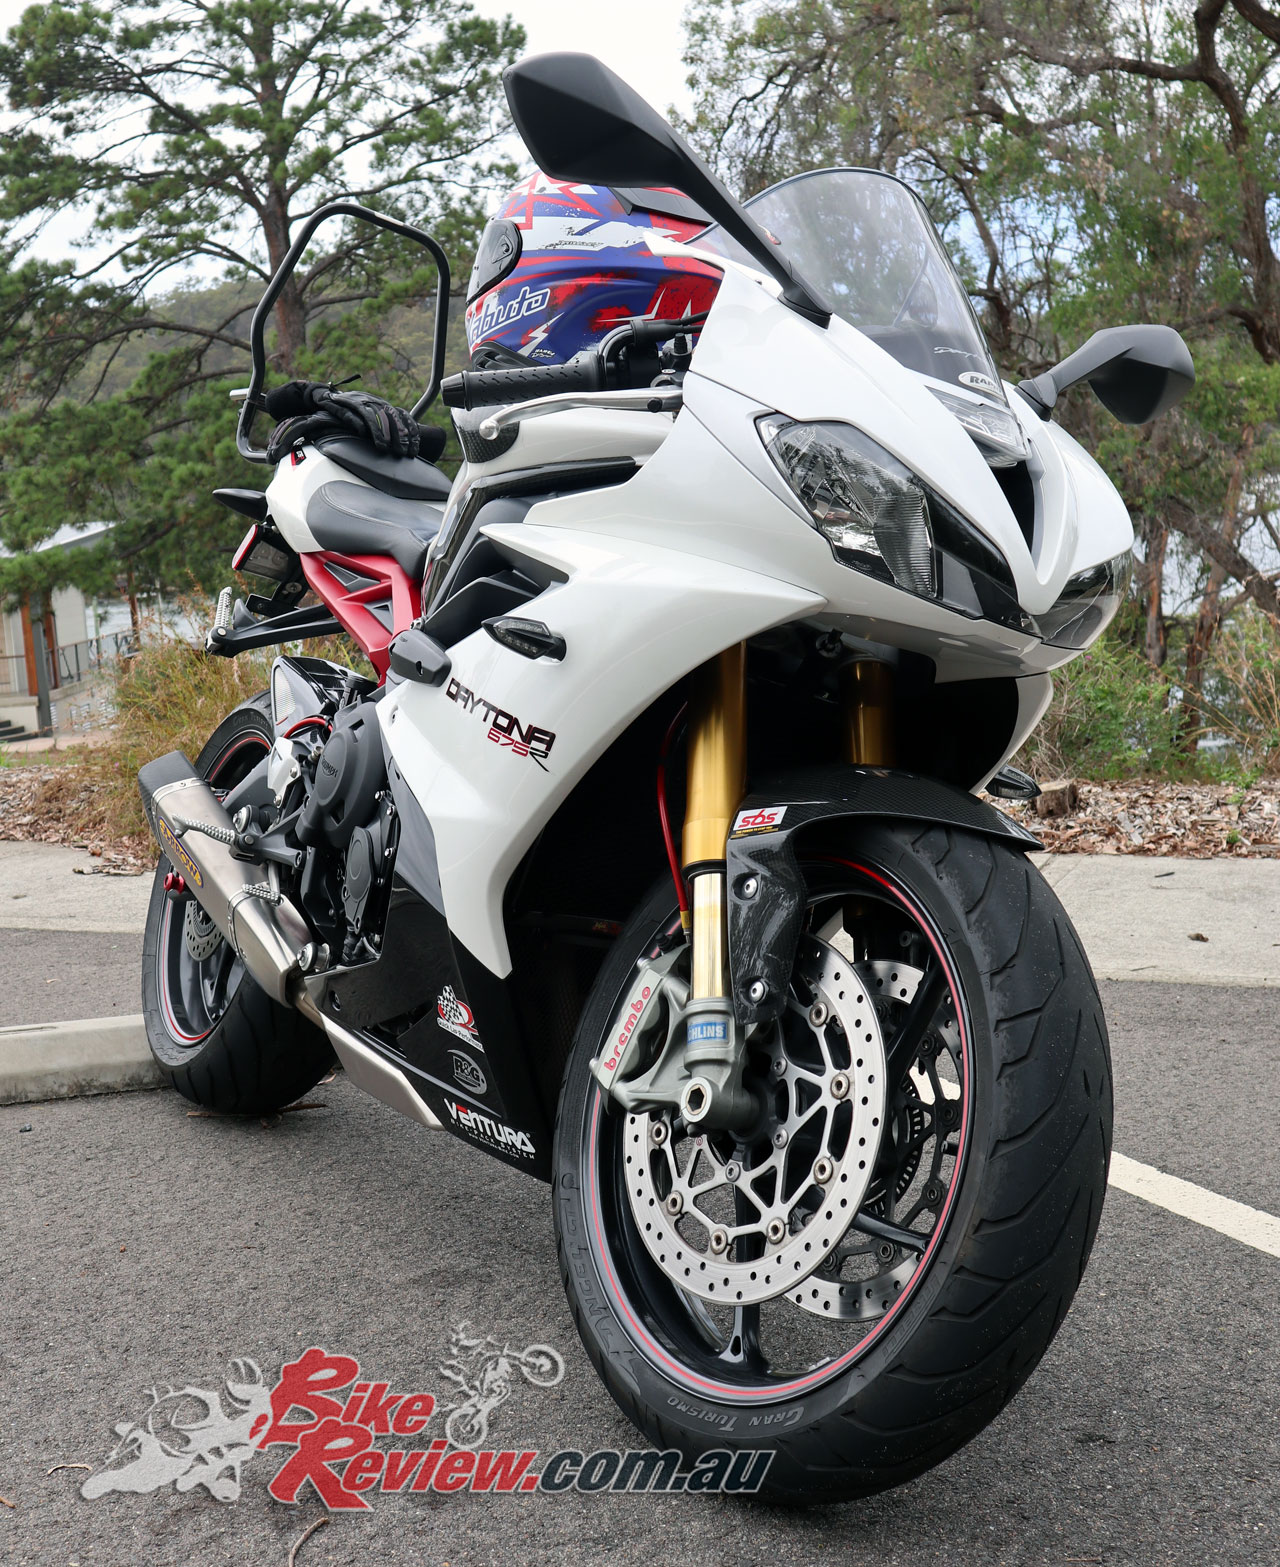
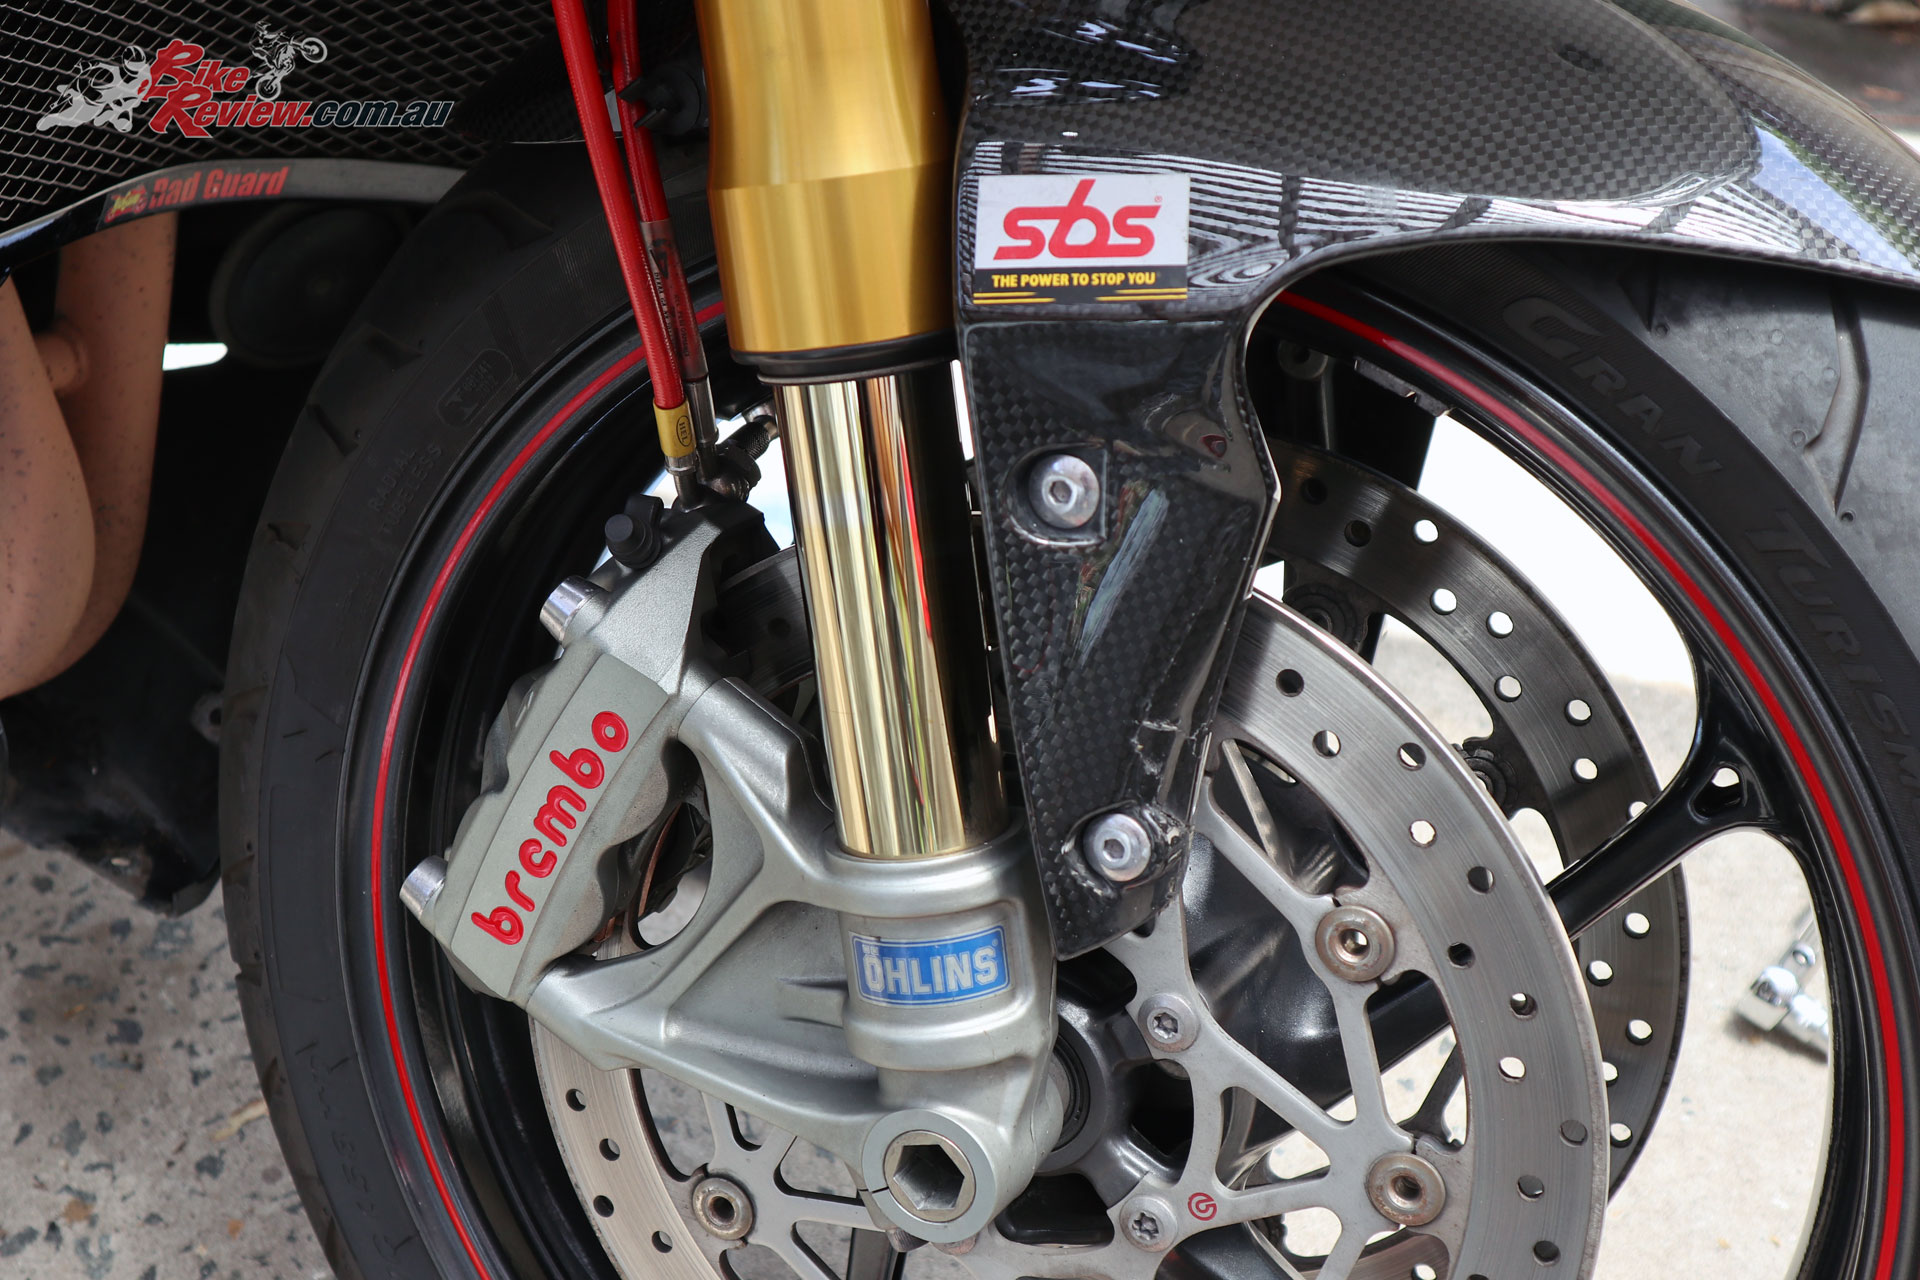
Kris’s Daytona has seen a few upgrades over Christmas, including SBS Street Excel HS front brake pads.
Kenma distribute the SBS Brakes range and Mick was quick to point out that I probably had the wrong type of pads fitted for my riding style/habits. Keeping in mind that while performance was great when out for a weekend ride or through the twisties with the old pads, there was excessive squealing on the front end in commuting duties, such that I was often favouring just rear brake to come to a stop.
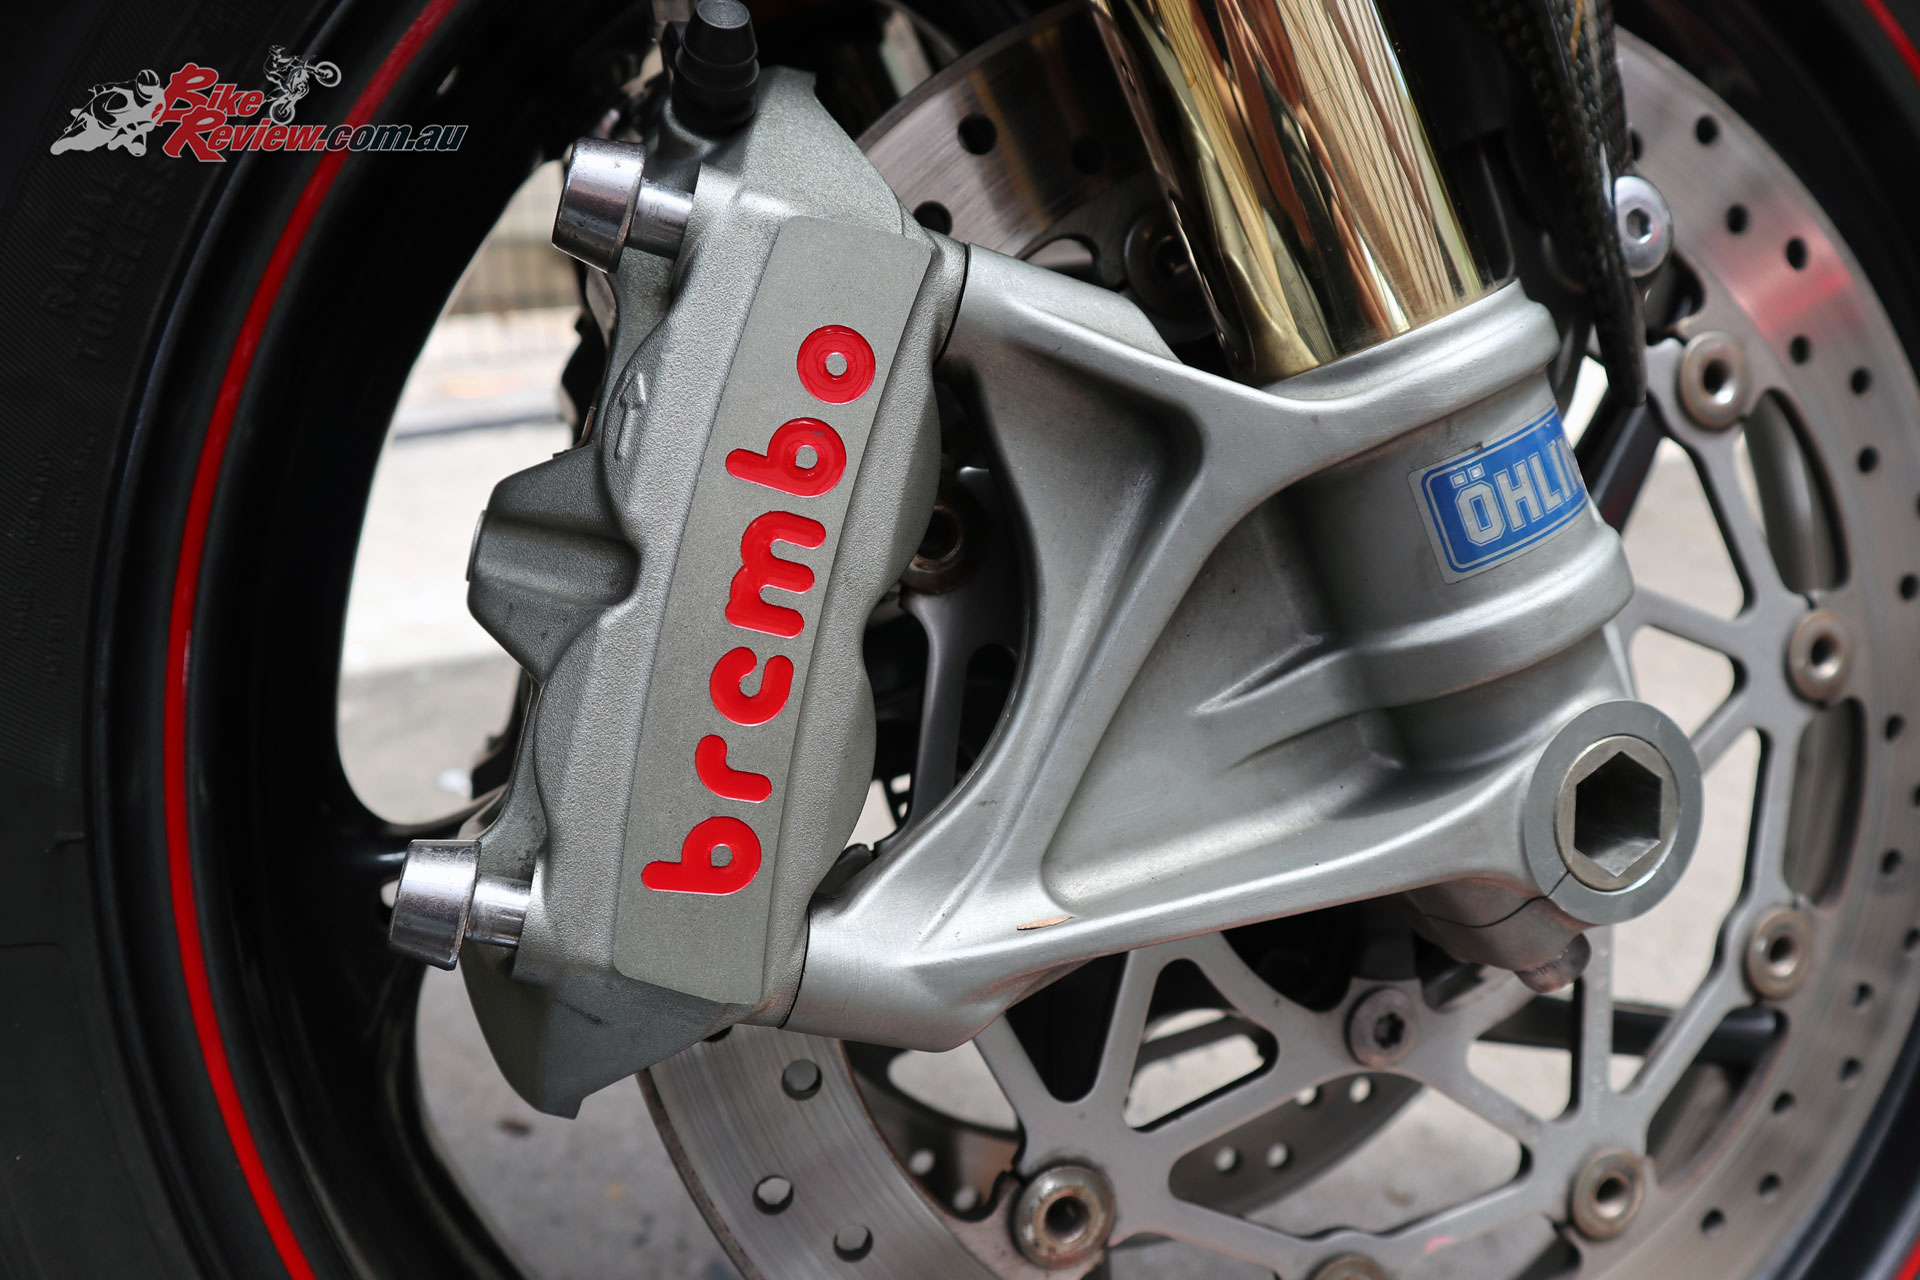
Not an ideal situation when my Daytona 675 R is required to do the all-rounder role. As such we settled on a set of SBS Street Excel HS pads for the front Brembo calipers, and with dual front rotors that means two sets of pads. Luckily unlike on my previous Speed Triple that’s just two pads per caliper.

With two sets of SBS Street Excel 901HS – MF 401 pads in hand I was ready to fit them to my Daytona 675 R. Now these are to fit the Brembo calipers on a 2013-onward R model, so if you’re ordering sets, always ensure you’re getting the correct pads for your model!
Here’s my thoughts on the SBS Street Excel HS brake pads and below a quick guide to installation.
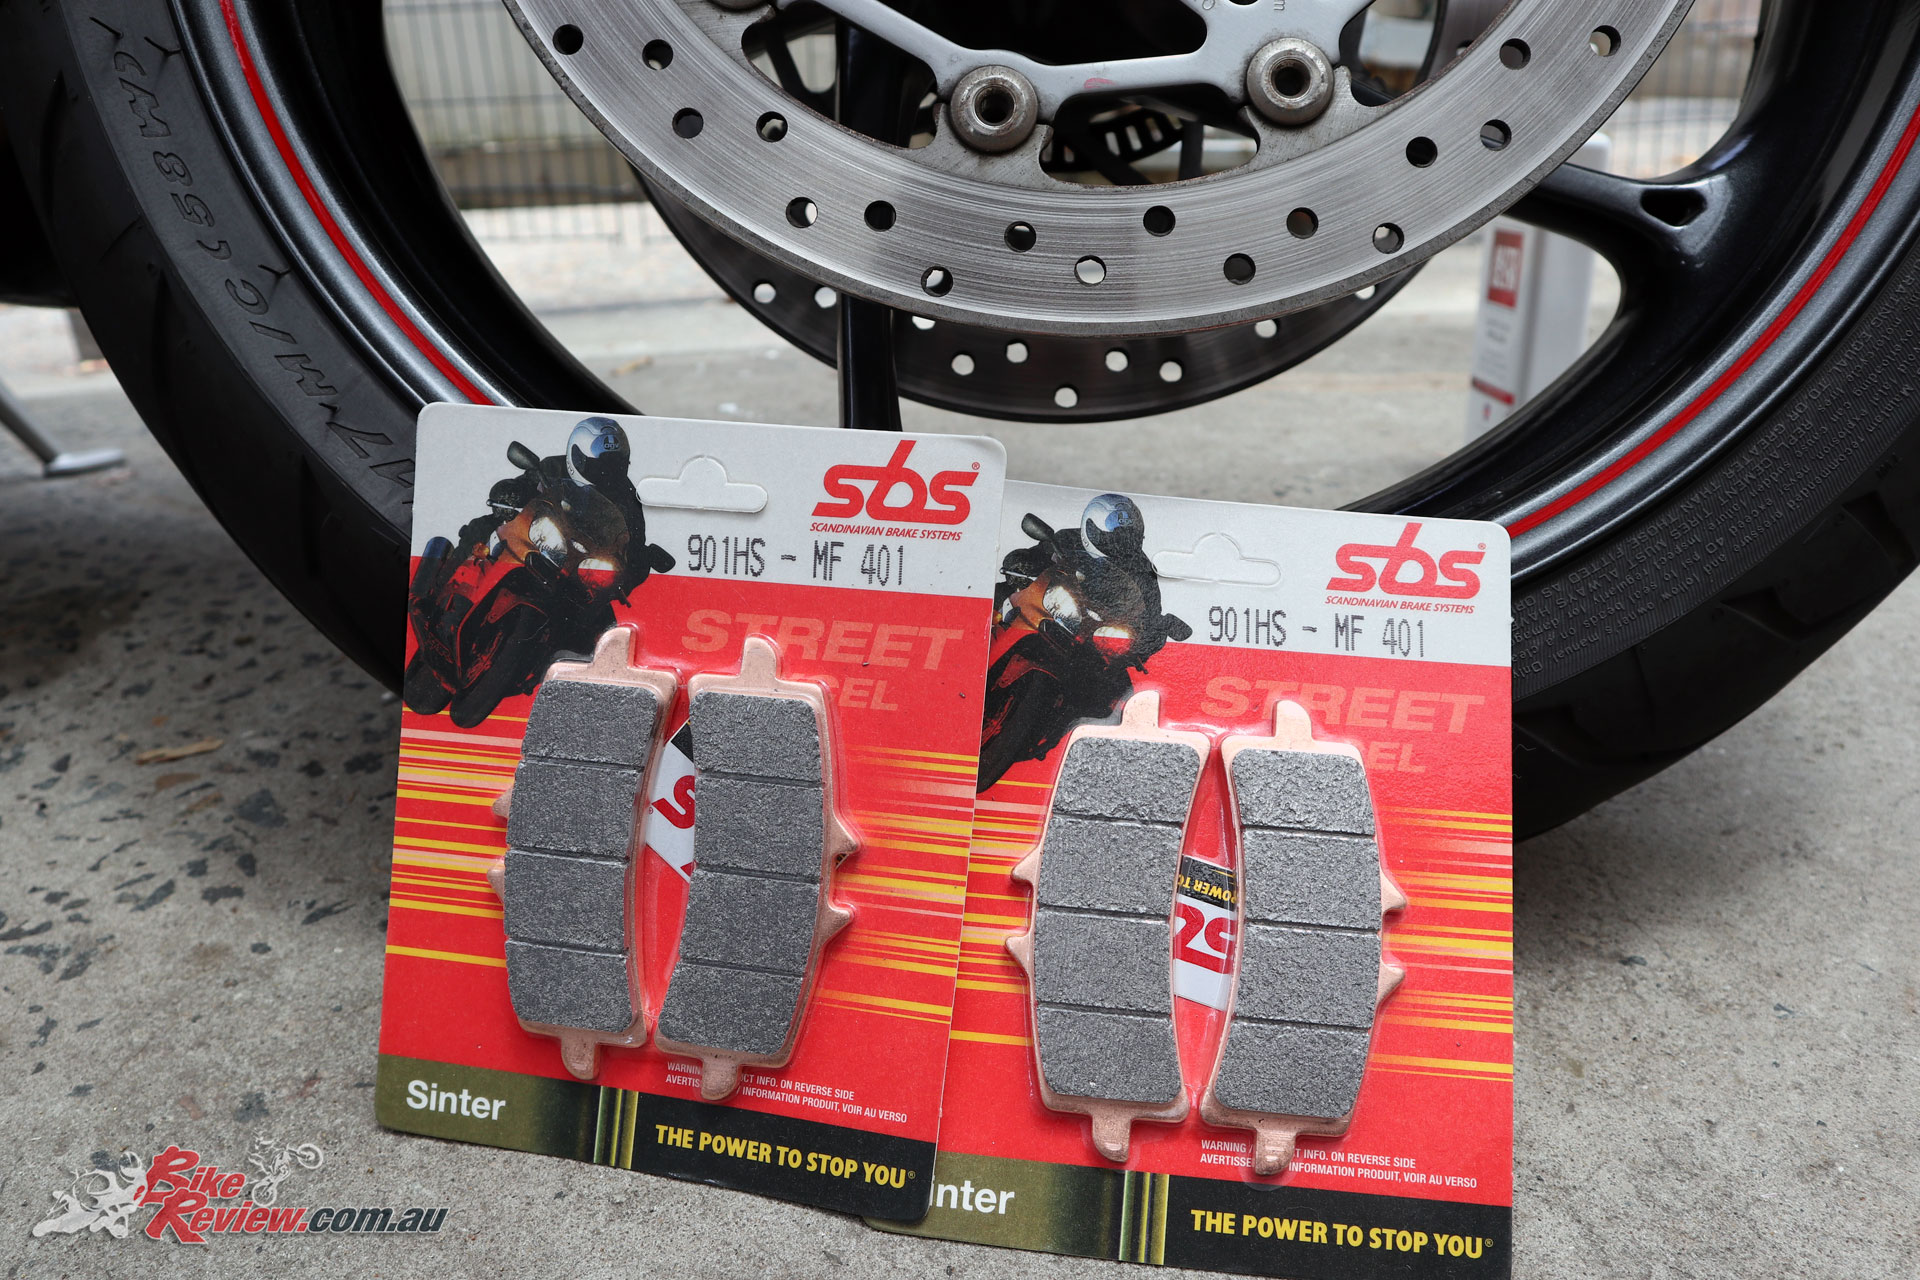
The SBS Street Excel HS Brake Pads – These are the 901HS – MF 401s to suit a Triumph Daytona R (2013-2017)
SBS Street Excel HS Brake Pad Review
The SBS Street Excel HS (and LS if you got the same type for the rear) brake pad sits between the more commuter based HF options and the more track orientated RS, and offering what SBS qualify as significantly better performance than the HF pretty much across the board. The trade-off? Price.
For a sportsbike it makes sense to opt for the HS, and the SBS pads certainly didn’t disappoint. Once bedded in the squealing for commuting speed braking was nowhere to be found.
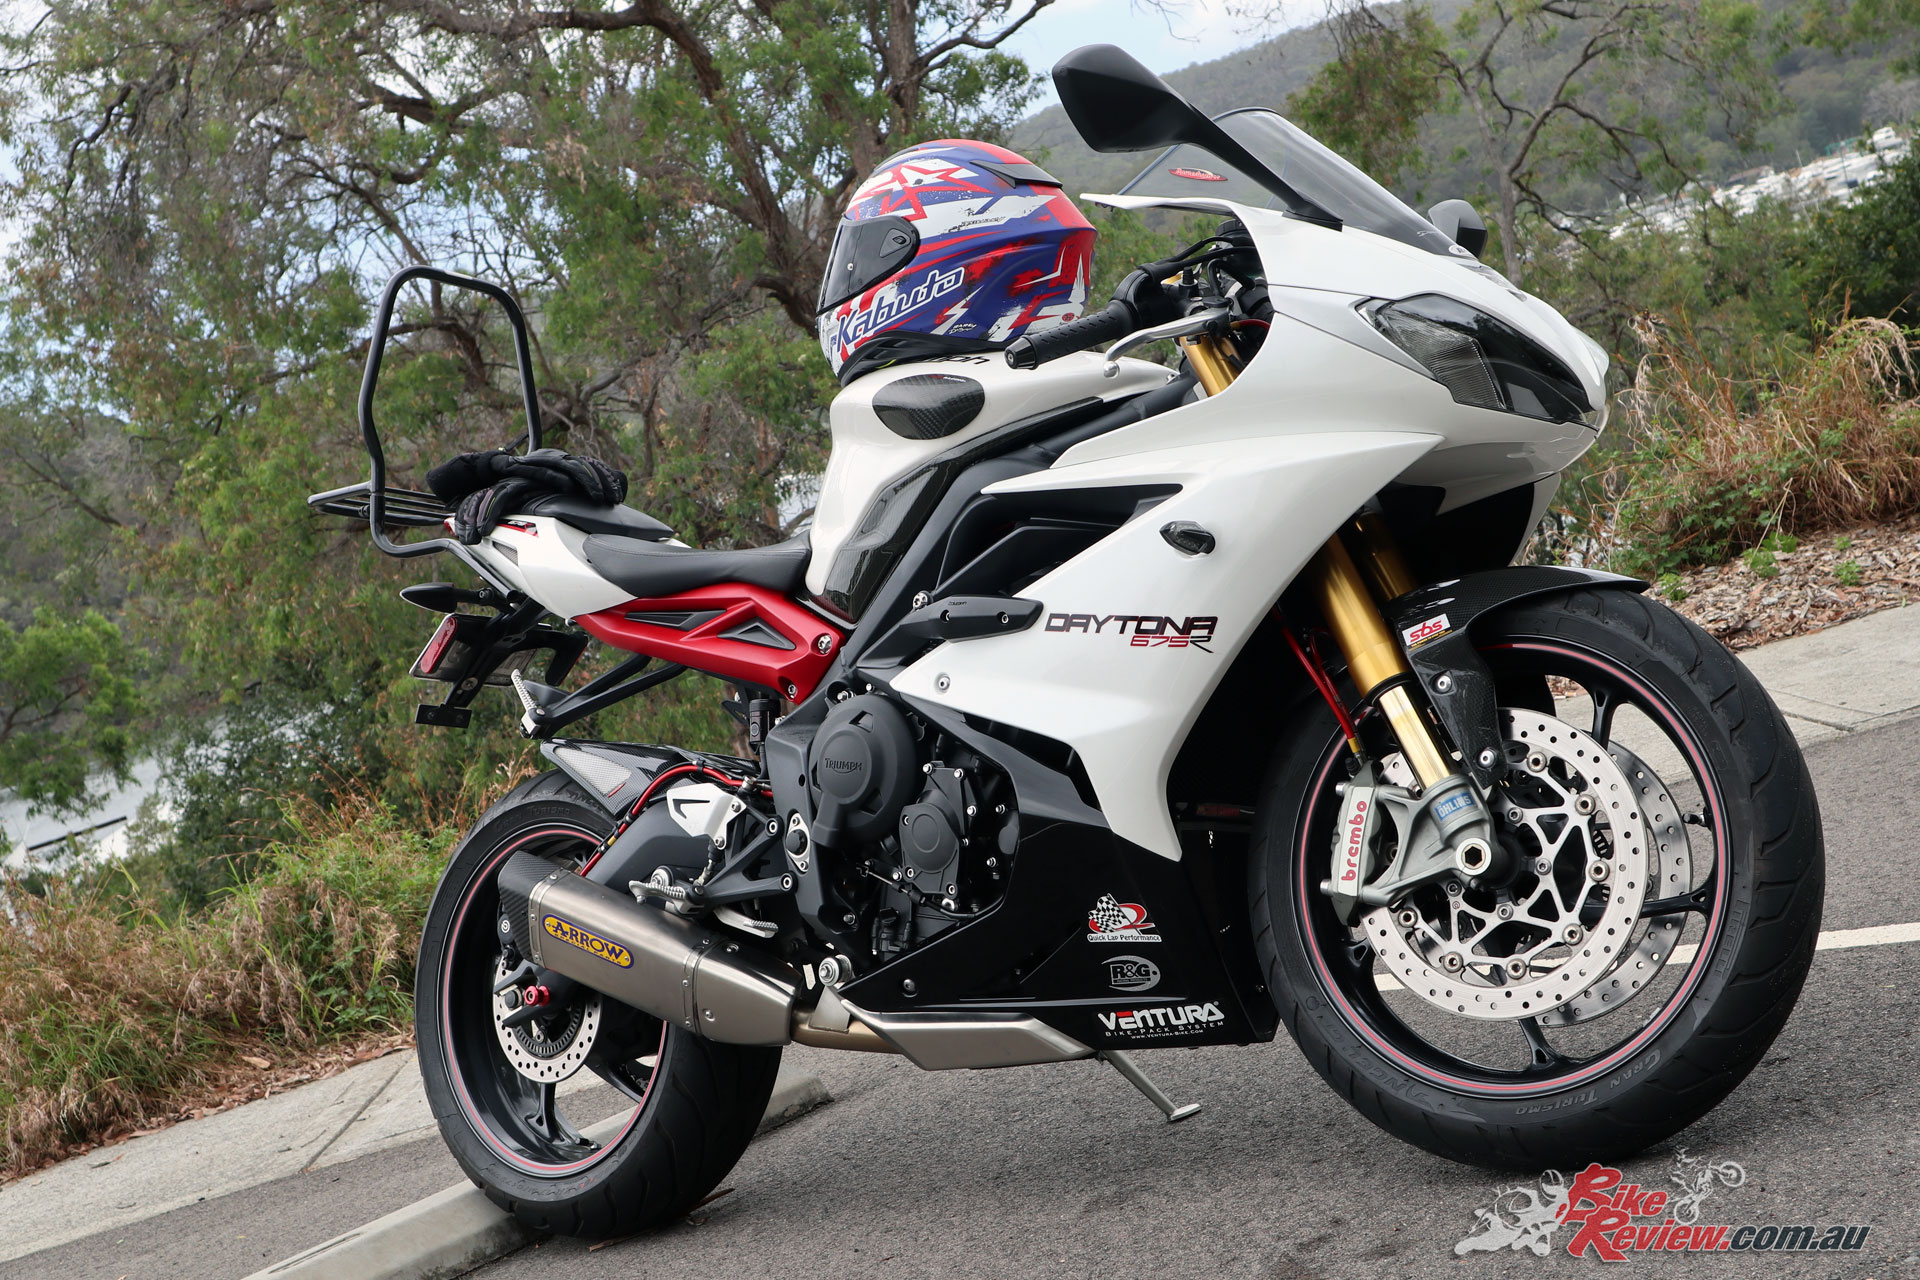
The Daytona fitted with the SBS Street Excel brake pads
Modulation is great, with linear control through the lever, both increasing and decreasing pressure, while bite feels softer than the previous pads when riding sportily, but offering plentiful power none-the-less. In saying there’s less power, it’s still exceptional, as you’d expect from the Daytona R’s braking system.
It feels a little less crisp than the previous pads as well, but I think that again comes down to having a little less bite and makes for smoother transitions onto and off the brakes.
There was also no fade doing a few loops of my local twisties, but with my riding style being a mix of riding the torque and front application, even using the brakes more heavily than I usually would, I still couldn’t get any drop off in performance. It’d probably take a track day to properly test out this aspect however, with more extensive and constant braking. For the road I can’t see issues being likely in this regard.

The only other area I haven’t had a chance to test out was wet weather performance and how well the pads will wear, but I’ll provide an update soon, as I put more kilometres on these pads and also get a chance to bleed the brakes and reassess the performance.
For more information see the Kenma Australia website, for a list of Australian SBS brake stockists, or for a link for compounds and fitment listings.
SBS Street Excel HS Brake Pad Installation
If you’ve got the right socket hex set for your caliper bolts this’ll be an easy job, but just make sure you’ve got the tools ahead of time. A large flat headed screw driver is also useful for pushing the brake pads apart, for getting them into and out of place. make sure your reservoir is empty enough to take the back flow of fluid. Some calipers may also have a retaining bolt that helps keep the pads or pad clip in place, if so keep an eye on how they come out, so you can put everything back together the same way.
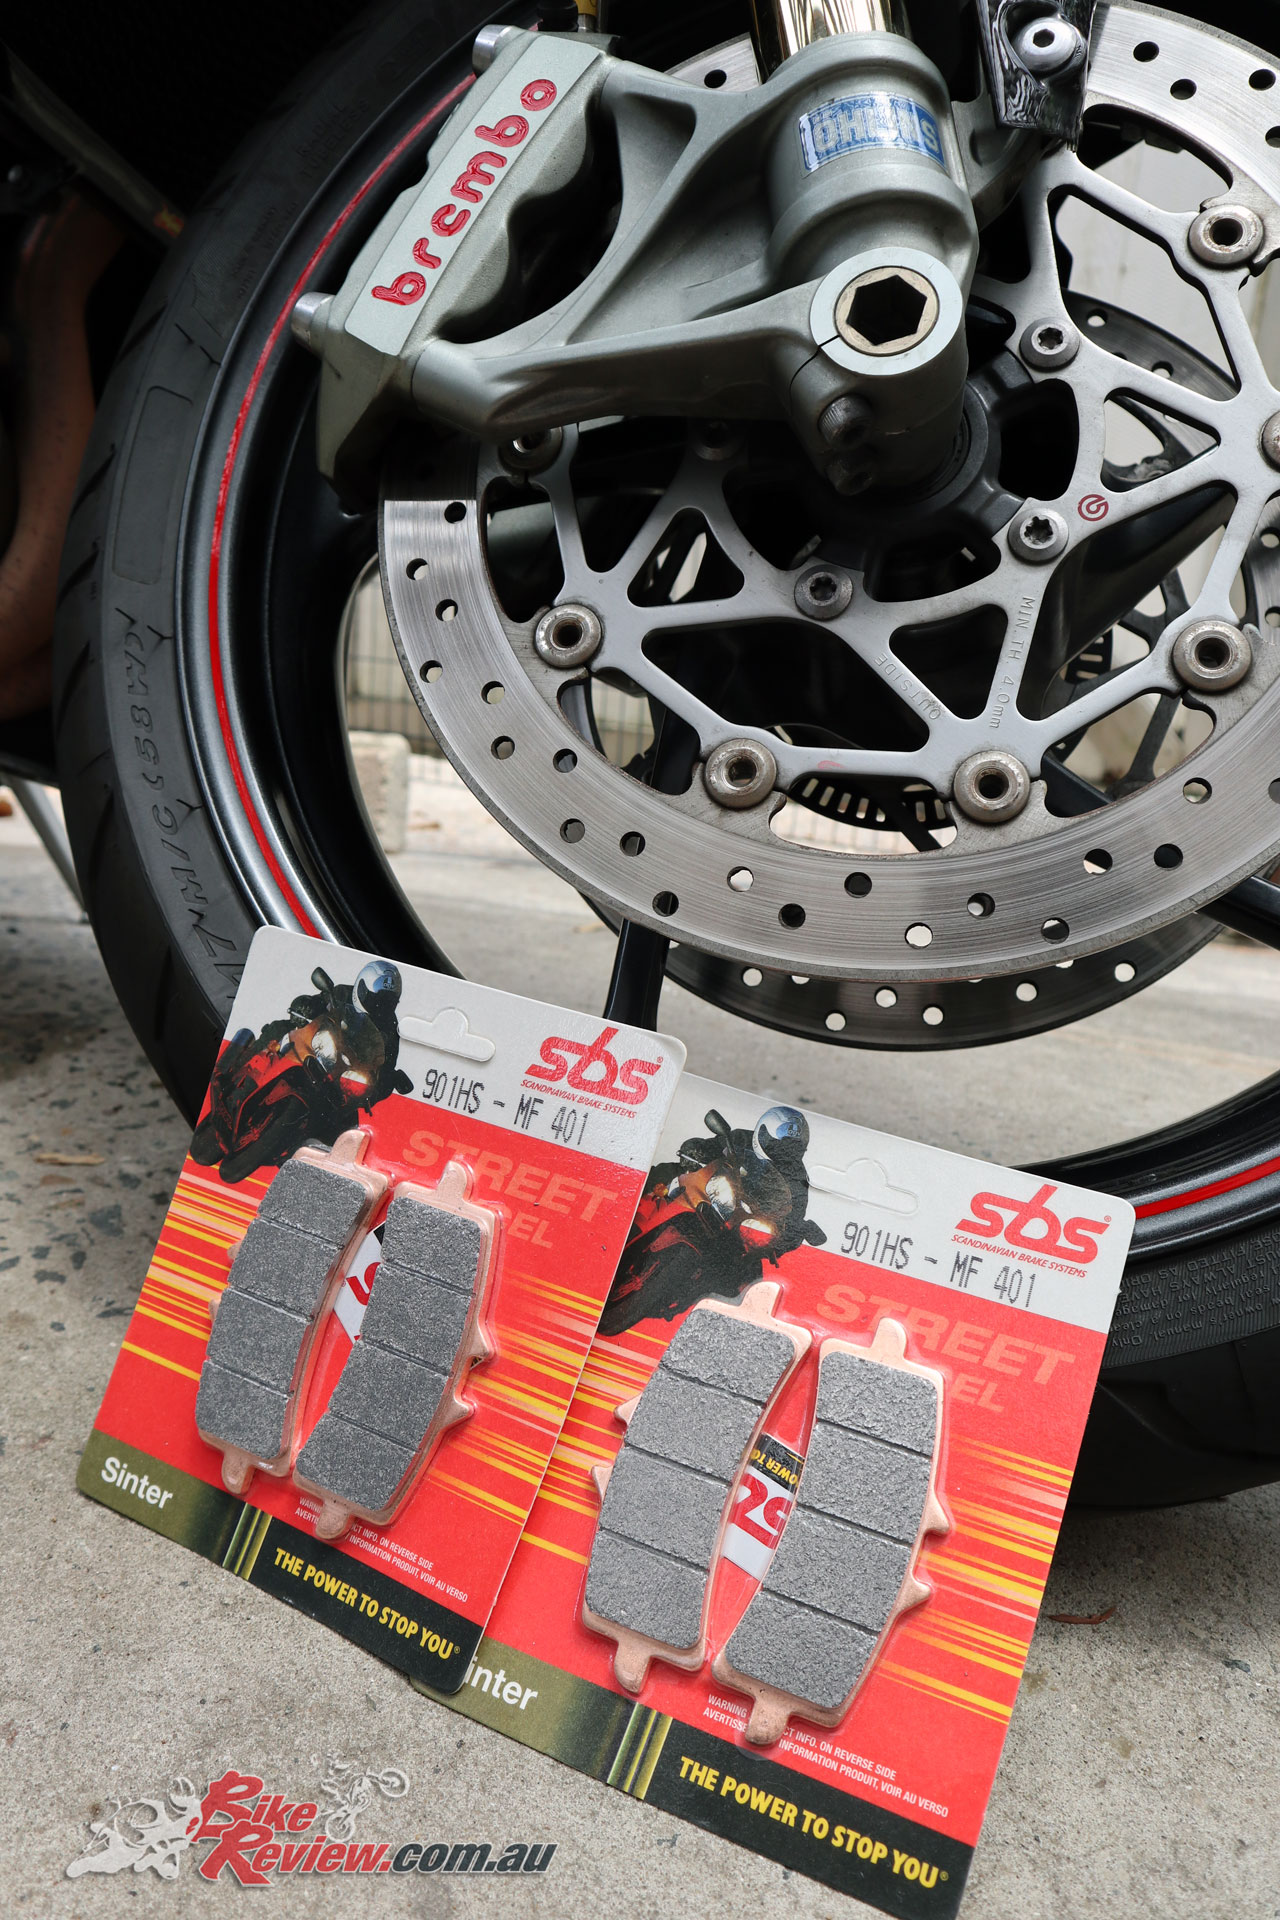
Here’s the SBS Street Excel HS Brake pads ready for installation on my Daytona 675 R. I’m not bleeding the fluid this time as I didn’t have an extra set of hands to make the job a little easier. That will be done when I replace the rear pads in the future.
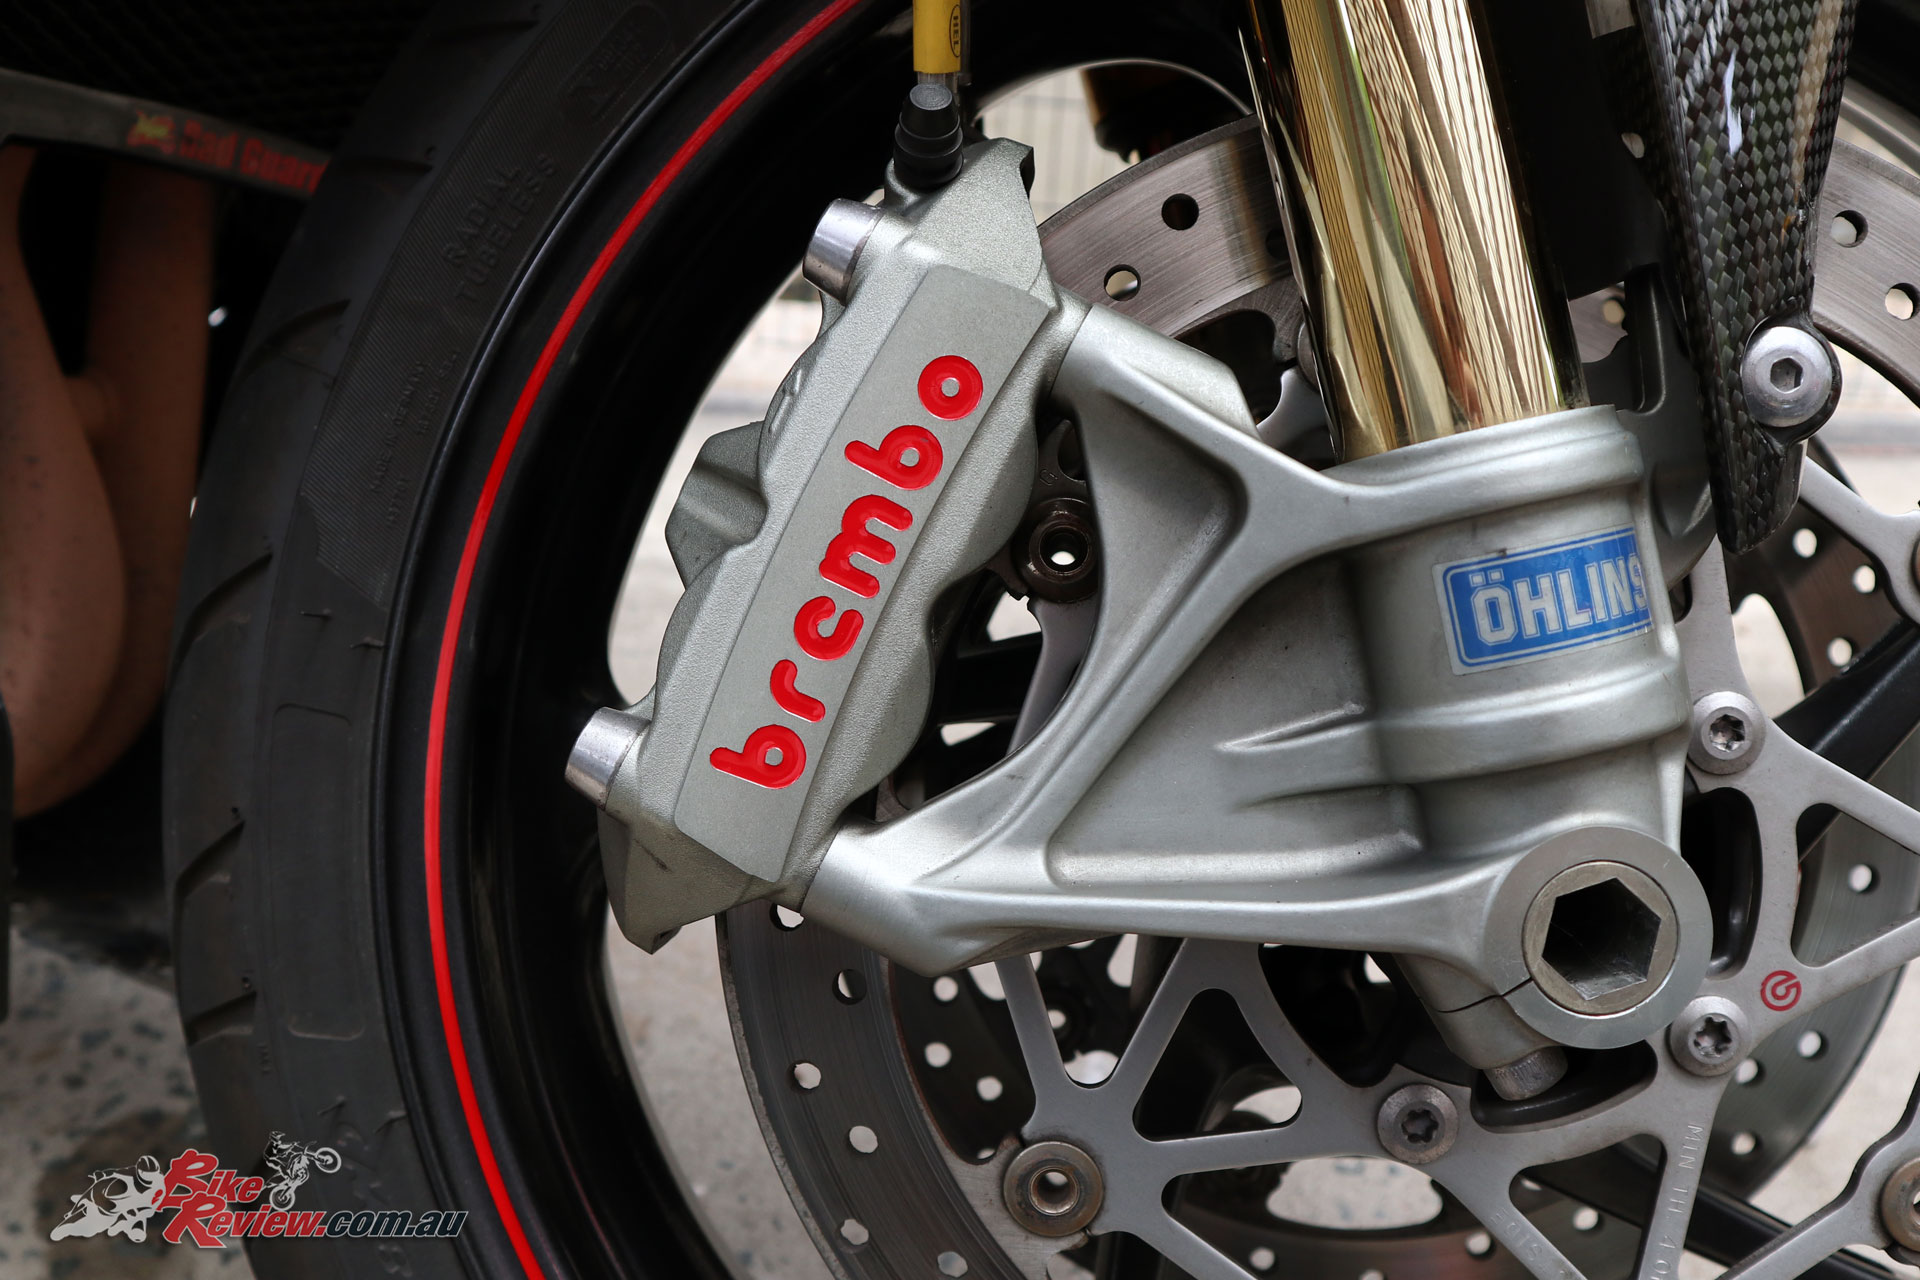
The Brembo calipers are monobloc items, and you can see the two mounting bolts.
Loosen the caliper bolts and carefully slide the caliper off the rotor, avoiding hitting the caliper against the rim.

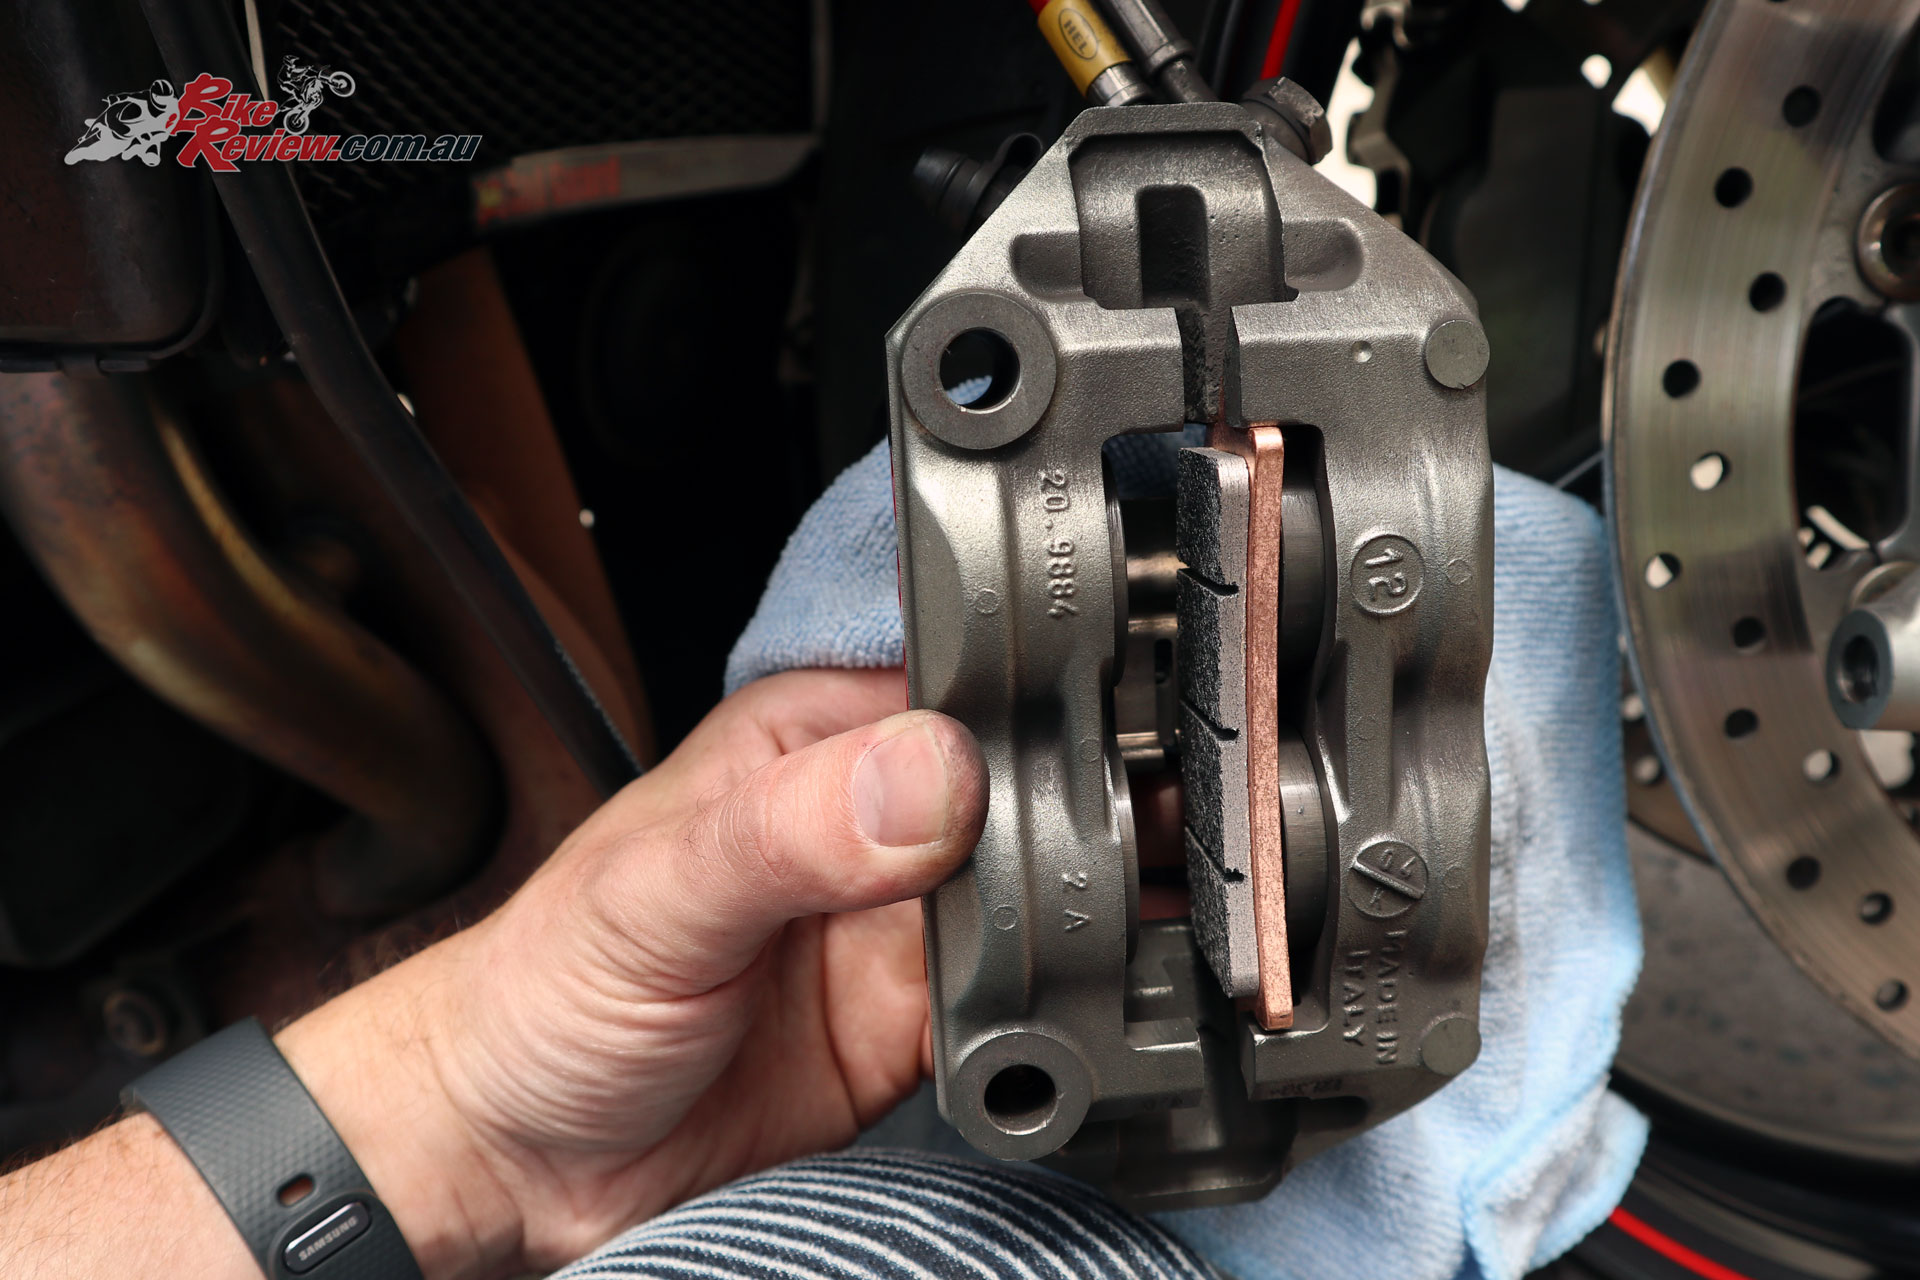
Here’s the caliper with the old pads still fitted, looking pretty dirty.The pads are removed via the slot the rotor runs through in the centre.
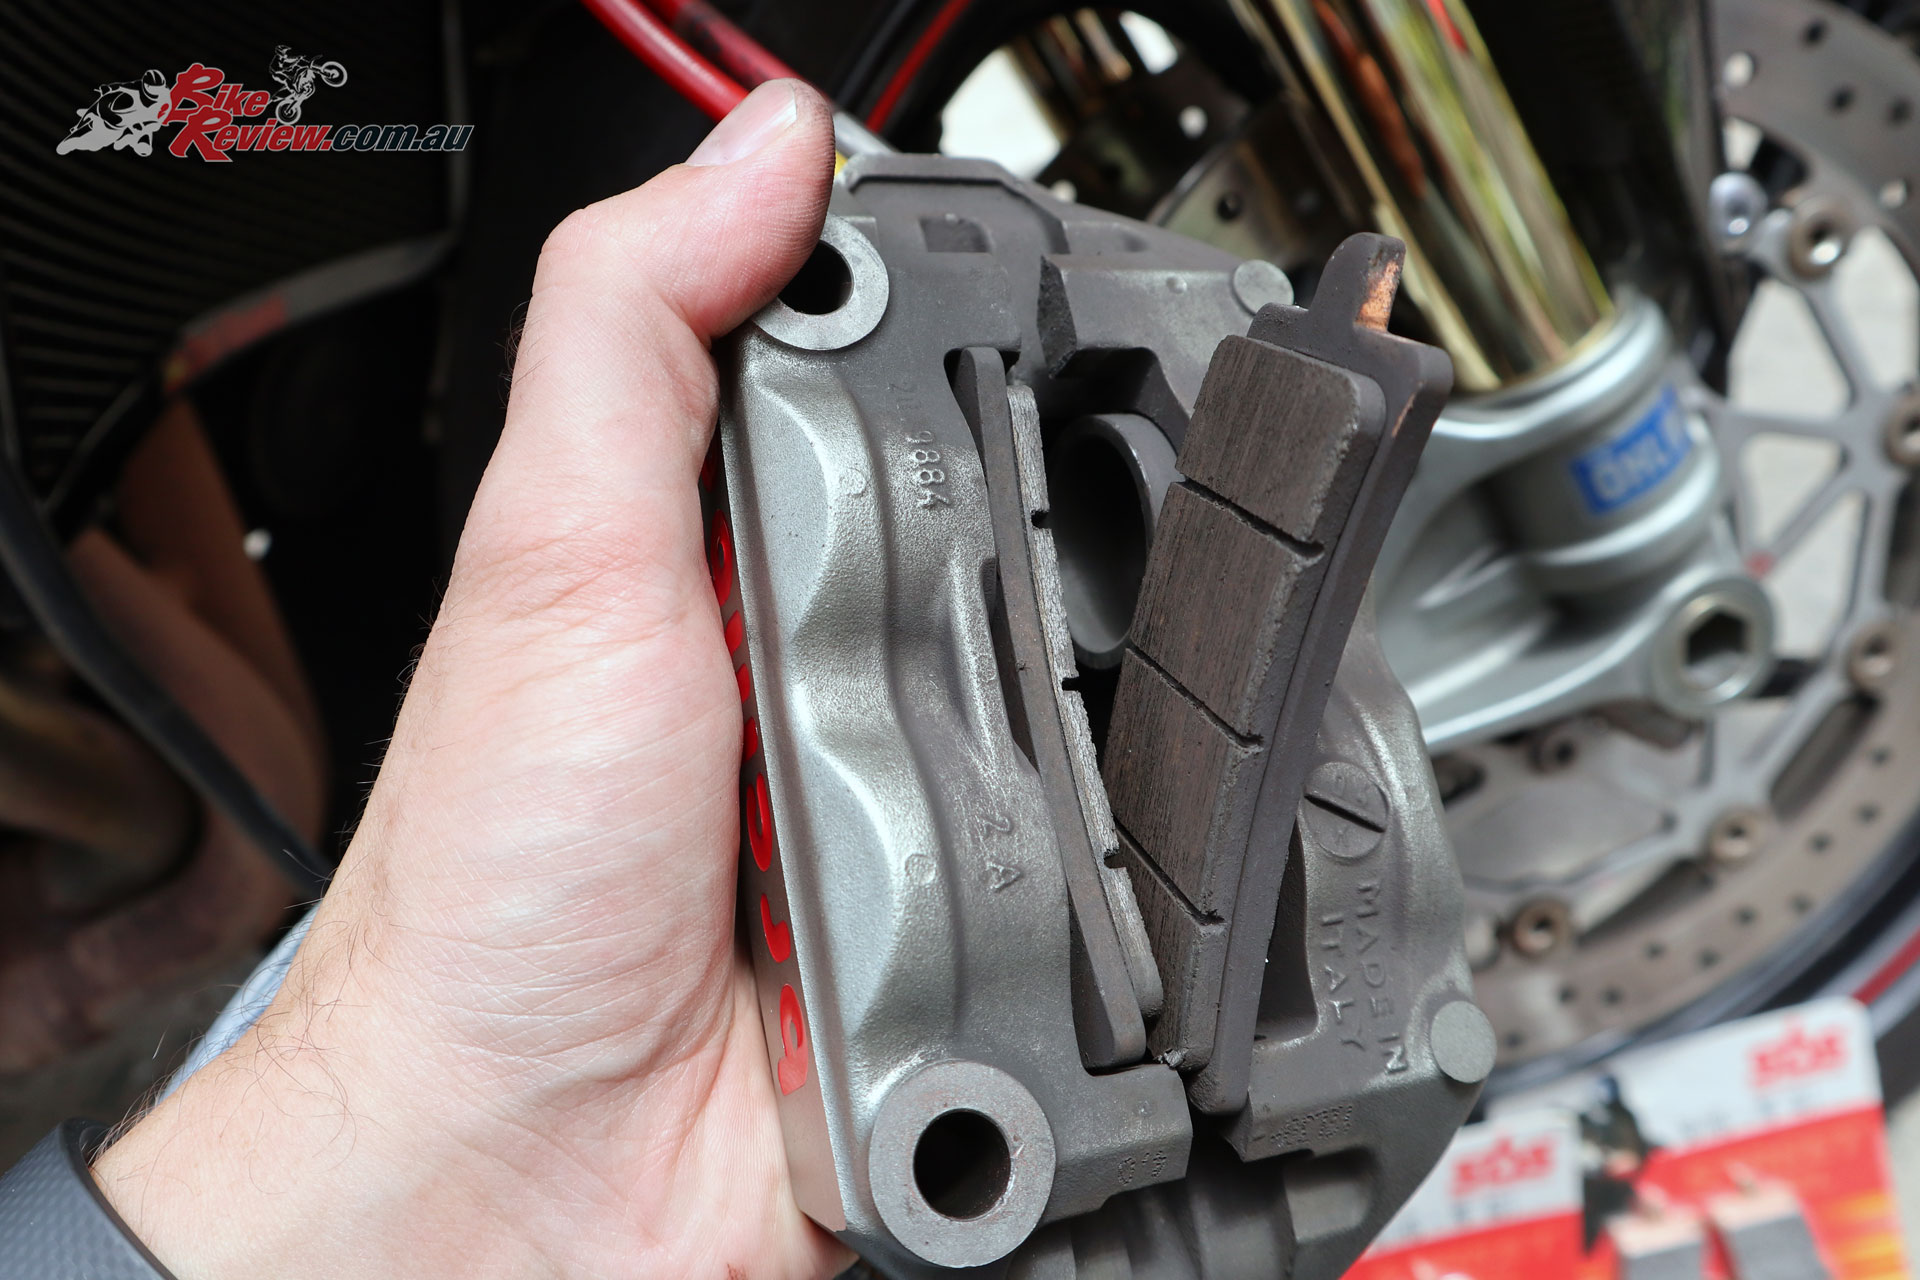
Remove one pad at a time from the centre, once one end is out it’s much easier to slide the whole pad out. As you can see wear wasn’t an issue, these don’t need replacing for that reason, it was the squealing at commuting speeds driving me crazy.

Here’s the caliper with the pads removed and the clip pulled out, and brushed up to remove the brake dust.
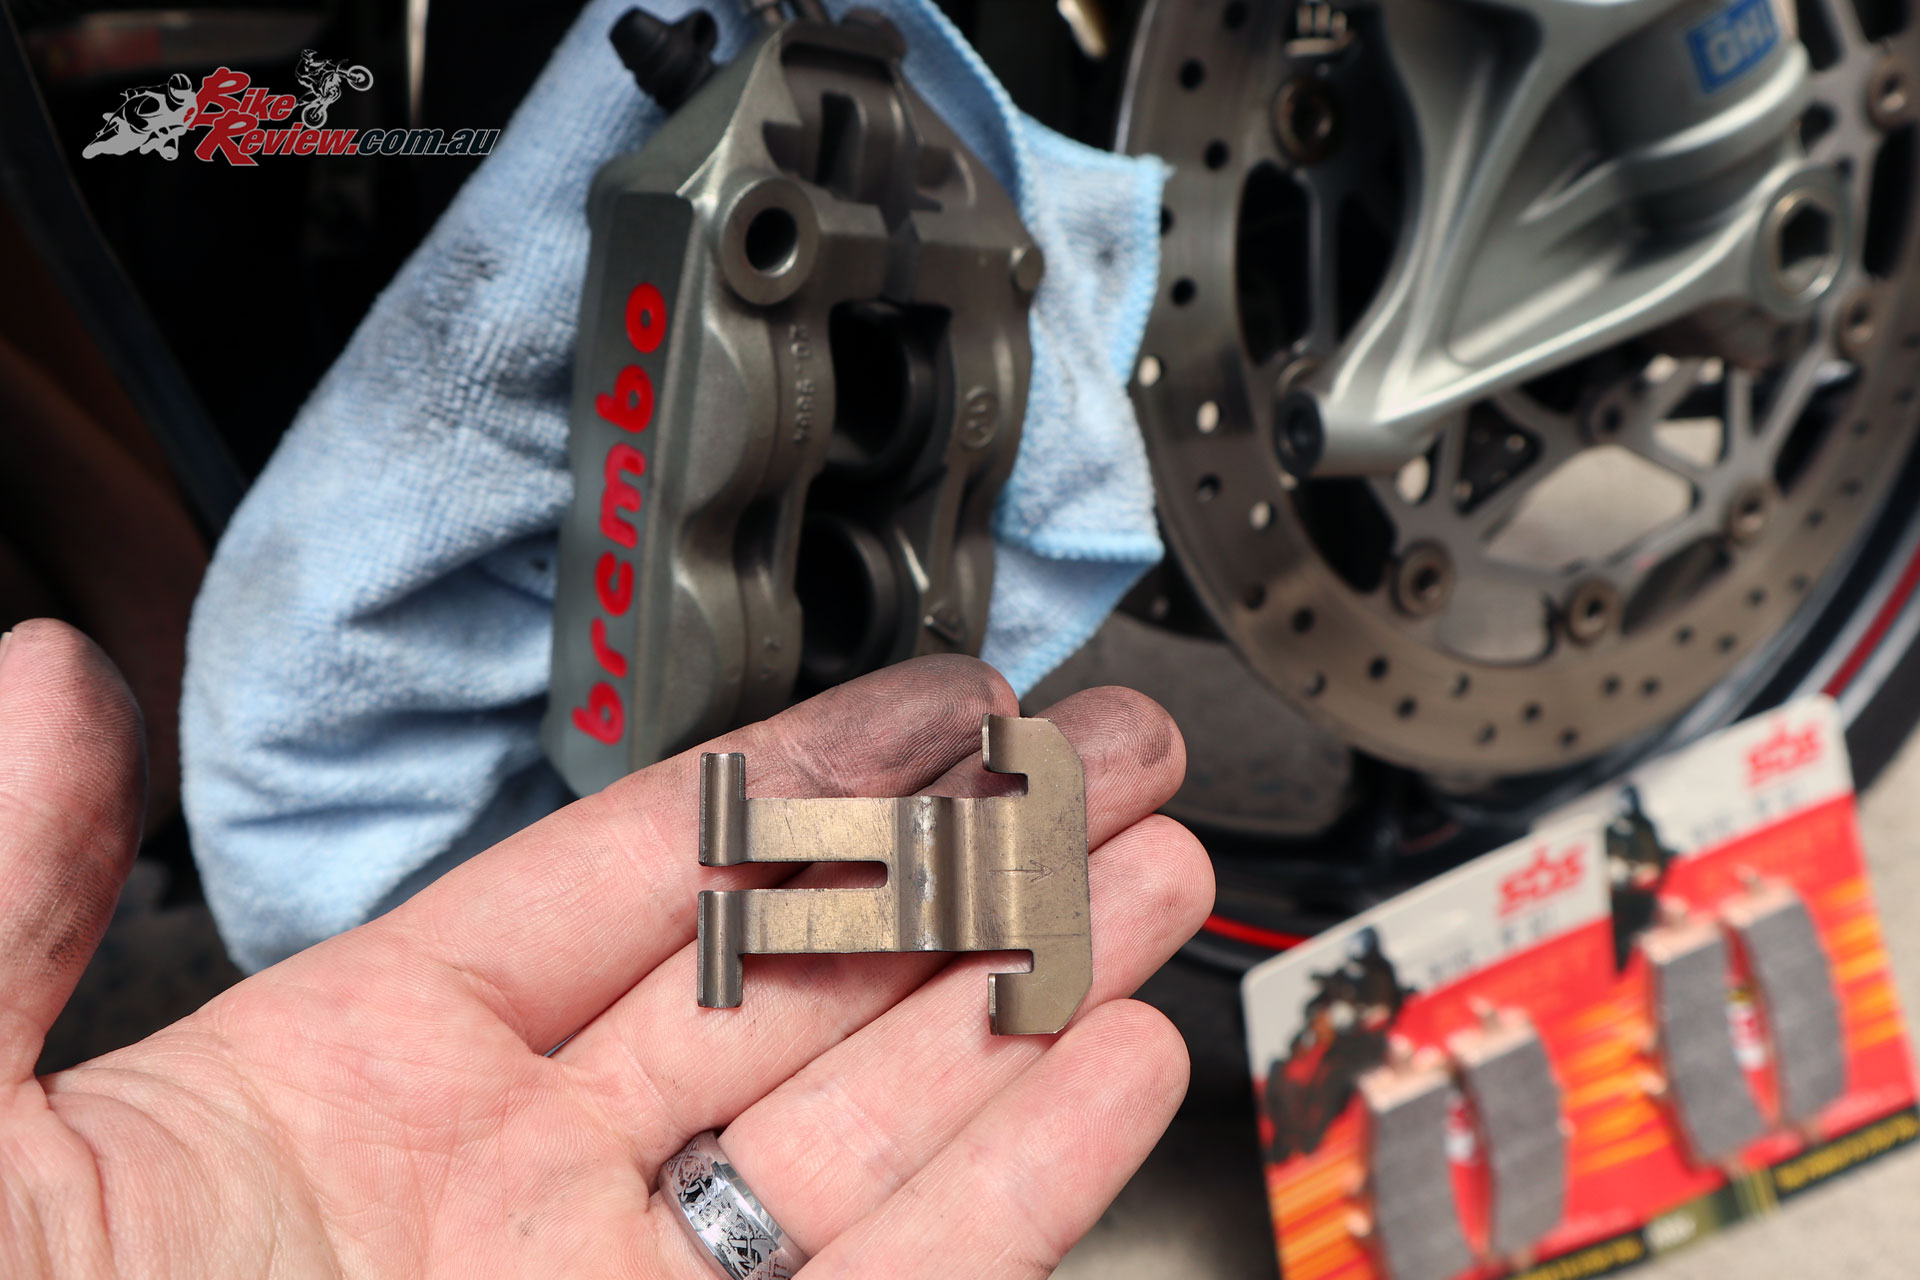
The clip wiped/brushed down and ready to be reinstalled.
With the clip in place, add the first of the new brake pads, pushing the little tab of the pad into one end. It should fit in neatly if the clip is in place. With one end in, the other should be easily slid into place via the centre slot the rotor runs through.
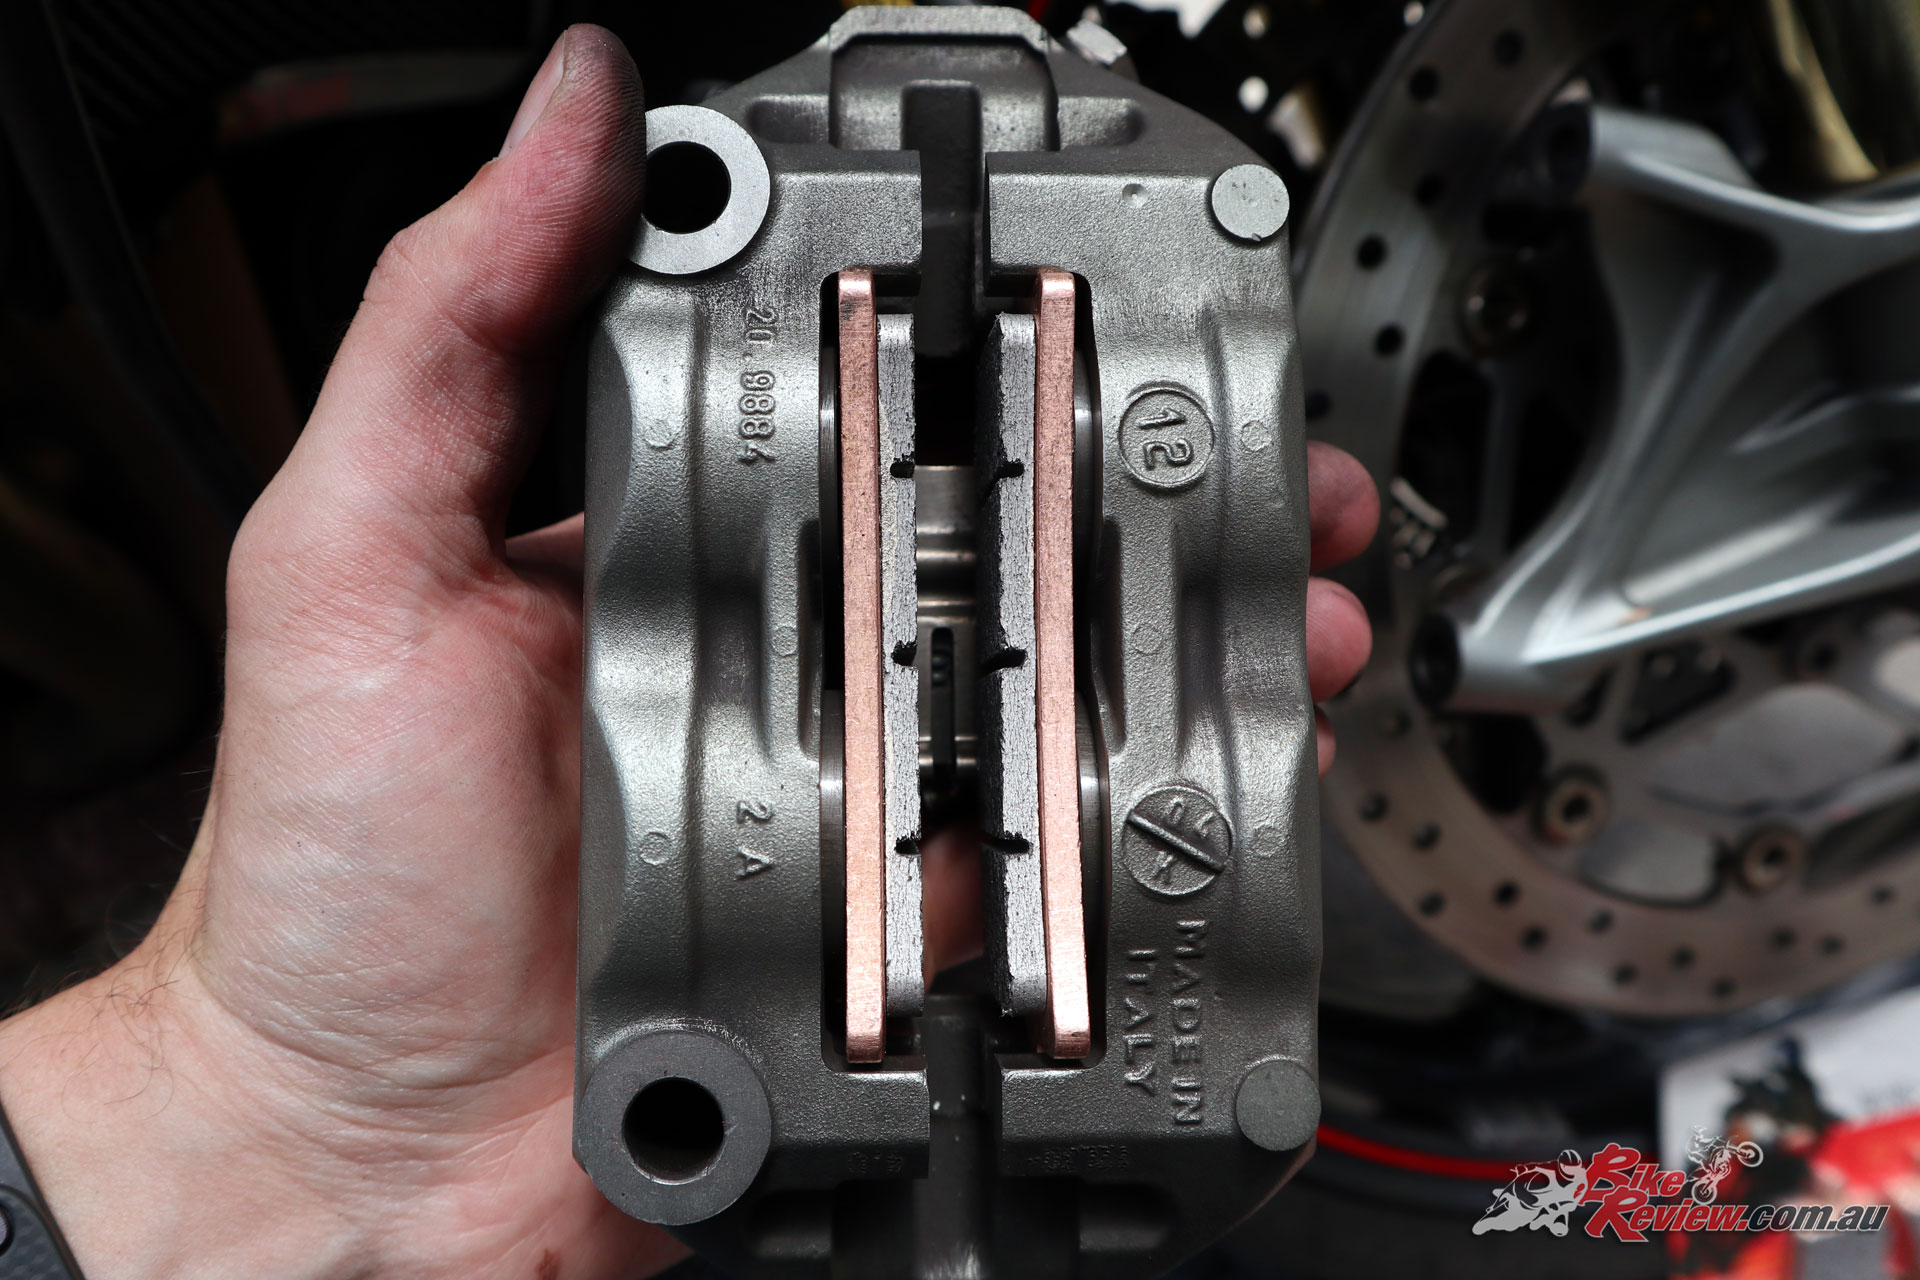
The other side may be a little trickier, as you’ll need to push the caliper pistons apart to get clearance to fit the pad. Here’s where the flat headed screw driver comes in, carefully and evenly push the fitted pad away from the opposing pistons. You also want clearance to slide the whole assembly back over the rotor. Here it is with the two pads fitted.
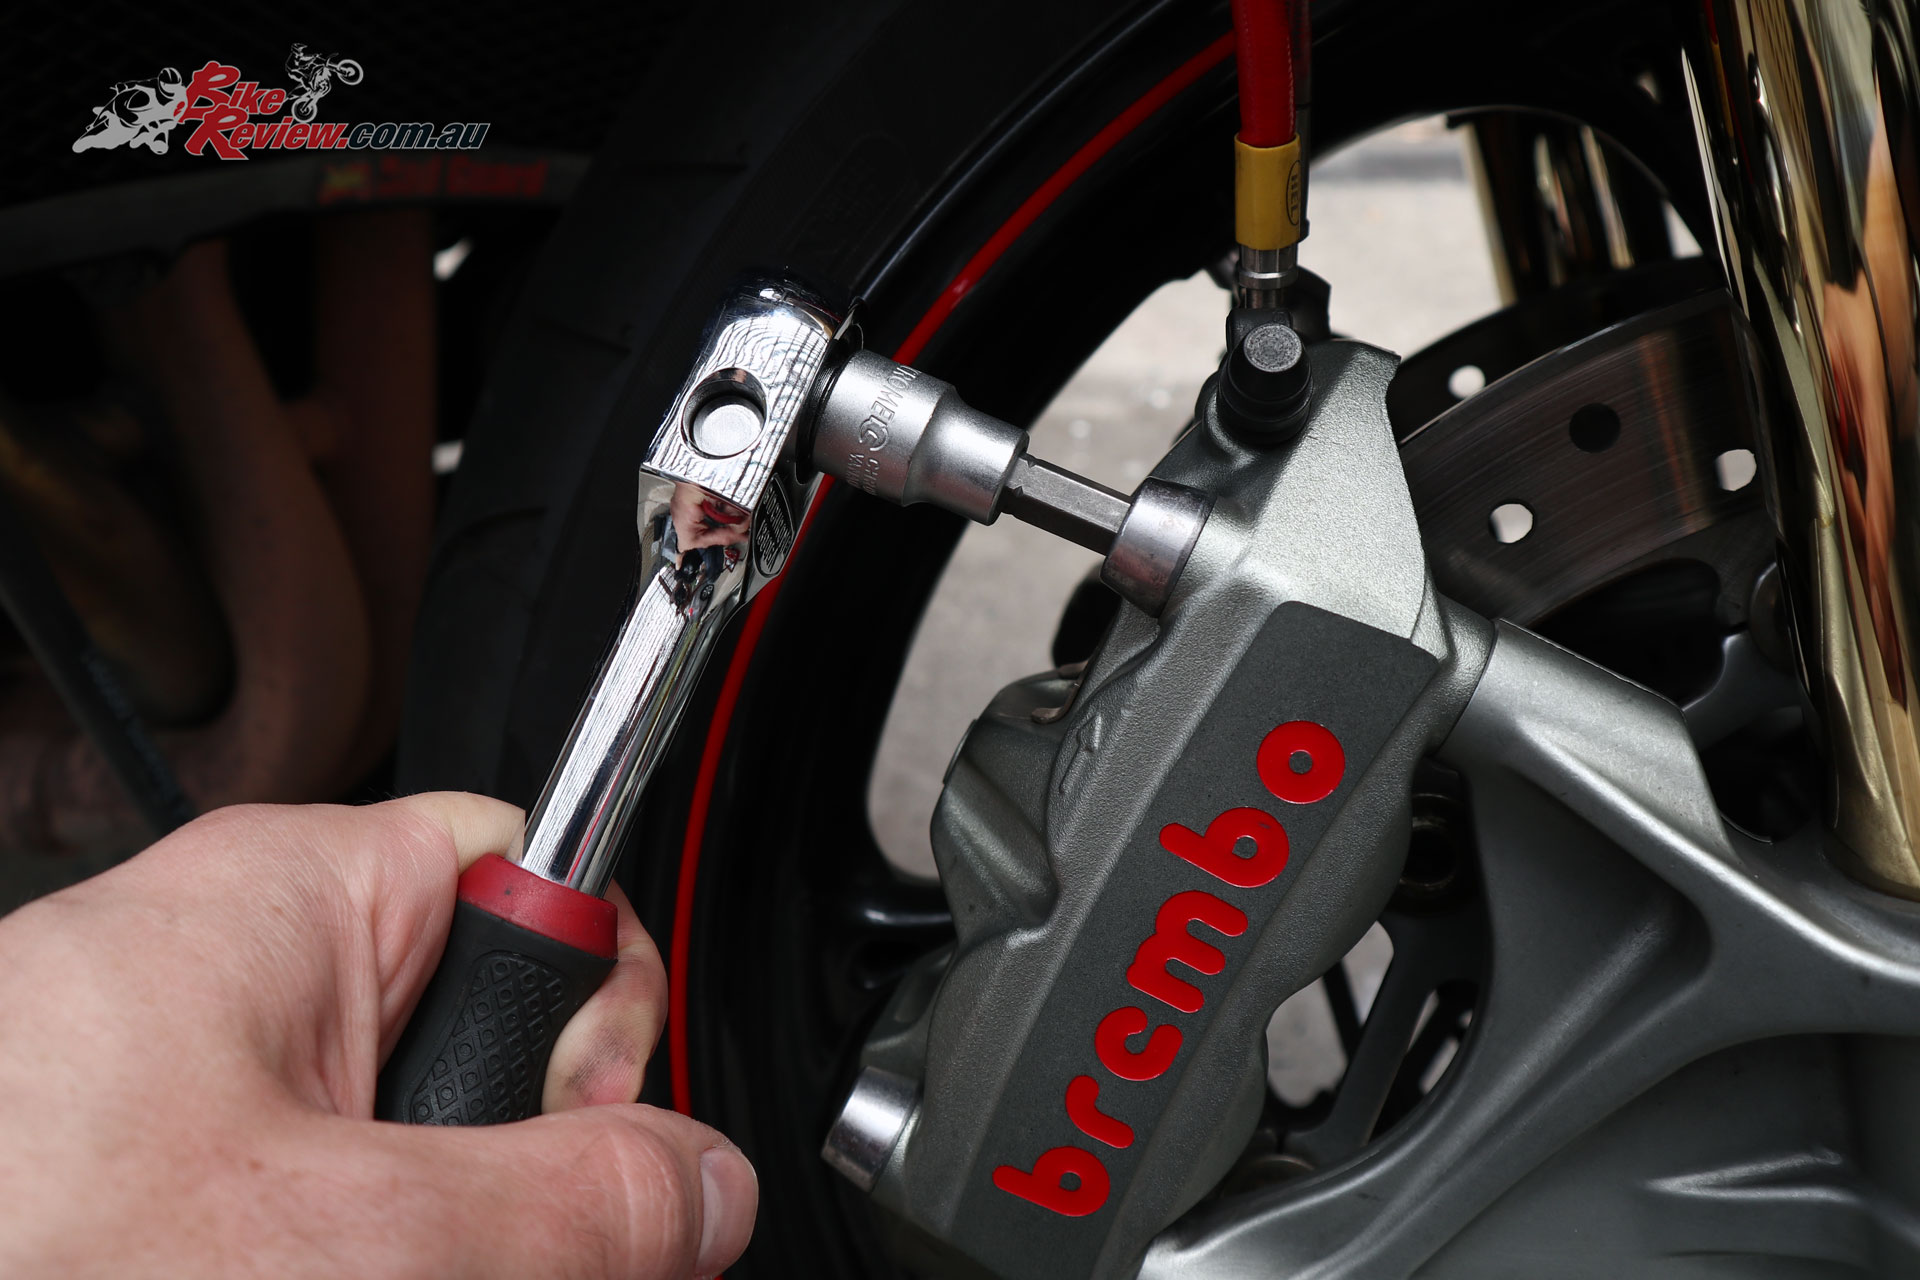
Slide the caliper back onto the rotor, line it up with the mounts and add the caliper bolts. Then tighten both bolts. Pump the lever to normalise brake pressure as you’ll have displaced the liquid when you pushed the brake pistons apart. Now just rinse and repeat for the opposing caliper and you’re set. As mentioned I didn’t bleed the brakes this time due to lacking another set of hands to make the job a bit easier, but I would normally recommend it.

The SBS sticker on the Daytona’s carbon-fibre front guard.
All done. Now it’s a matter of breaking in/bedding in the new pads. Allow extra stopping distance and avoid extensive heavy braking at first, or holding the lever/brakes on at a stop (although this is a good general rule). You want to mate the brake pad with the brake rotor surfaces for optimal surface area contact. SBS say no thermal bedding in is required, so once you’ve done the above you should find braking performance is optimal and you can brake more aggressively.

For more information see the Kenma Australia website, for a list of Australian SBS brake stockists, or for a link for compounds and fitment listings.