The Smoked Instrument Cover for the GSX-S1000 is a snazzy mod if you want to clean up the front end a bit...
Fitting Suzuki’s Smoked Instrument Cover for the GSX-S1000 is a little more complicated than the mods we’ve done so far, mainly because there’s a little drilling involved. It’s still within even basic DIY skills though, so don’t feel daunted.
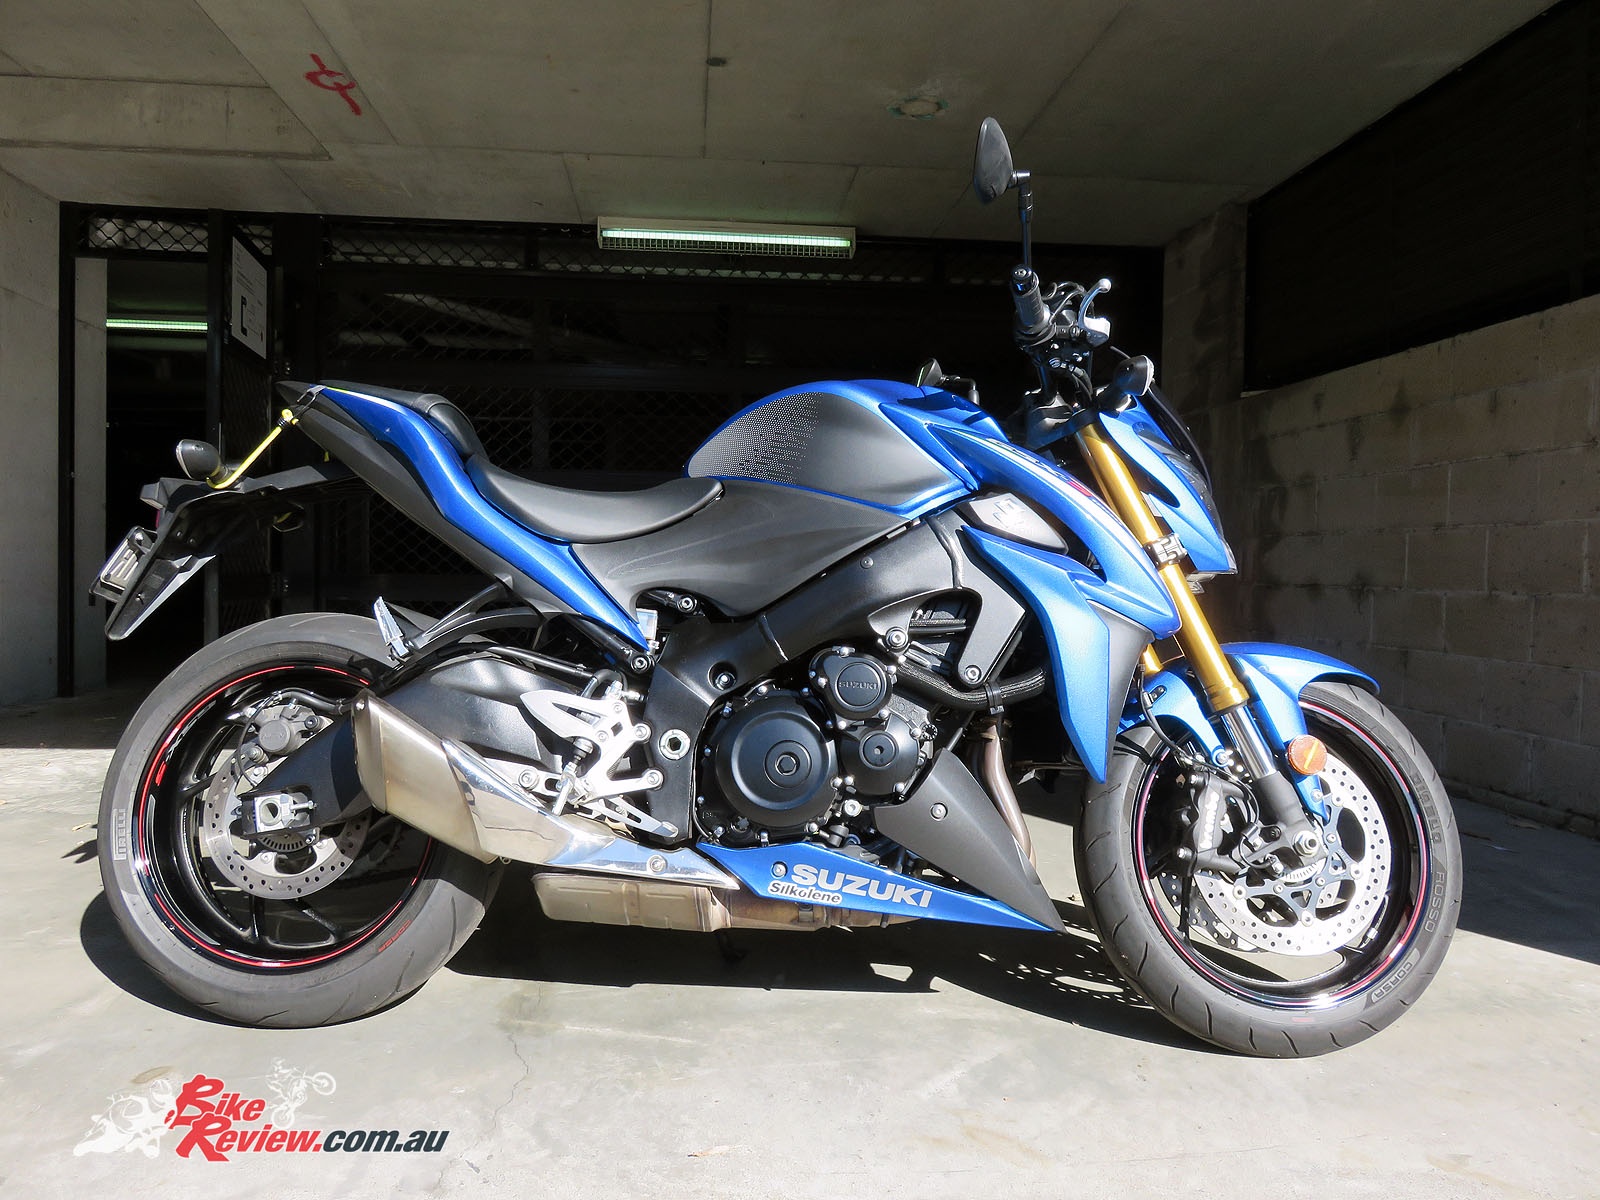
Our Long Term GSX-S1000
You’ll just need a drill or electric screw driver that’ll take a drill bit and a couple of drill pieces. Probably a 2-3mm, 5-6mm and a 10mm (for the final hole size, which Suzuki says should be 9.6mm).
The Smoked Instrument Cover looks great and can add a bit of character to your GSX-S1000, plus it’s a great place for stickers if you’re into that kind of thing!
Plus this is also the basic steps that’ll be required if you ever need to change the headlight bulb, or part of the steps required to fit a set of Suzuki Heated Grips.
The Smoked Instrument Cover gives a tiny bit more wind protection which is always good on a nakedbike, but isn’t really in the same league as most tall screens – not that it’s advertised as such. It’d definitely be a mod on my list along with the heated grips.
You can check out the full range of accessories at the Suzuki Motorcycles Australia website.
GSX-S1000 Smoked Instrument Cover Install – Step by Step

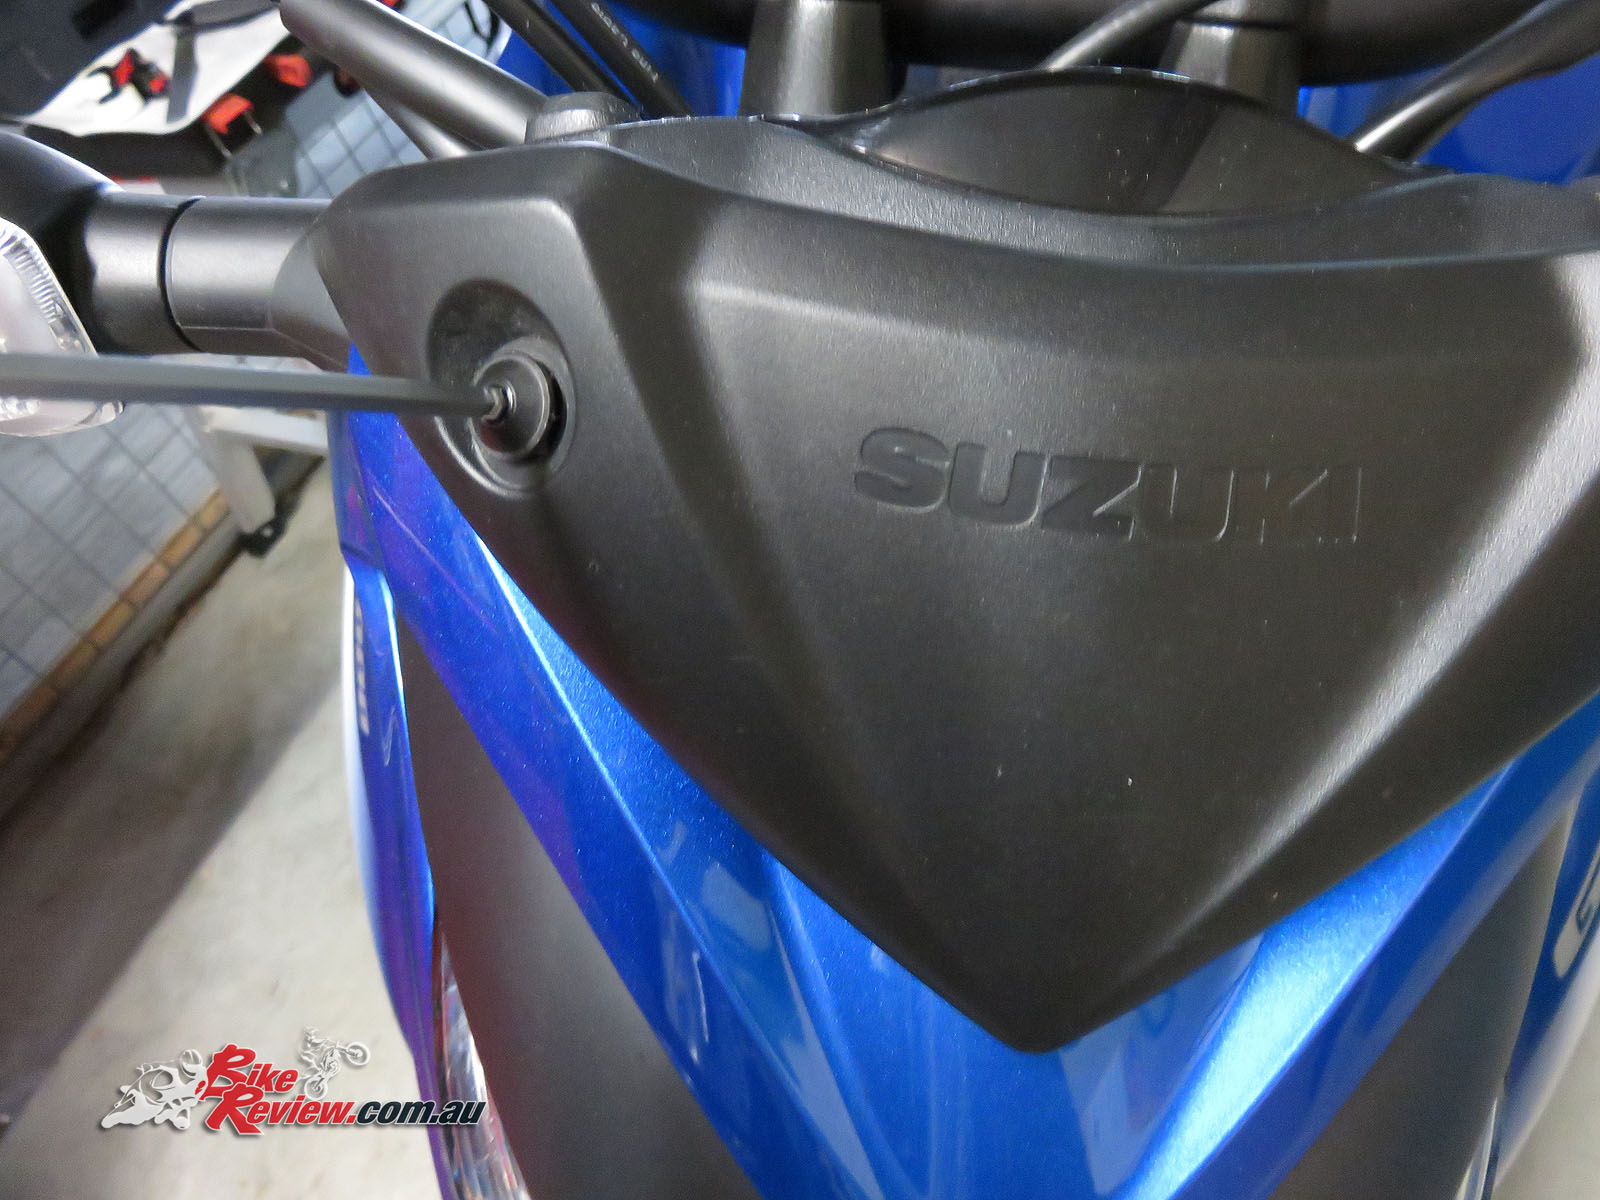
The standard headlight, shroud and instrument cover (in black plastic at the top with Suzuki embossed on it). It could do with a little something!
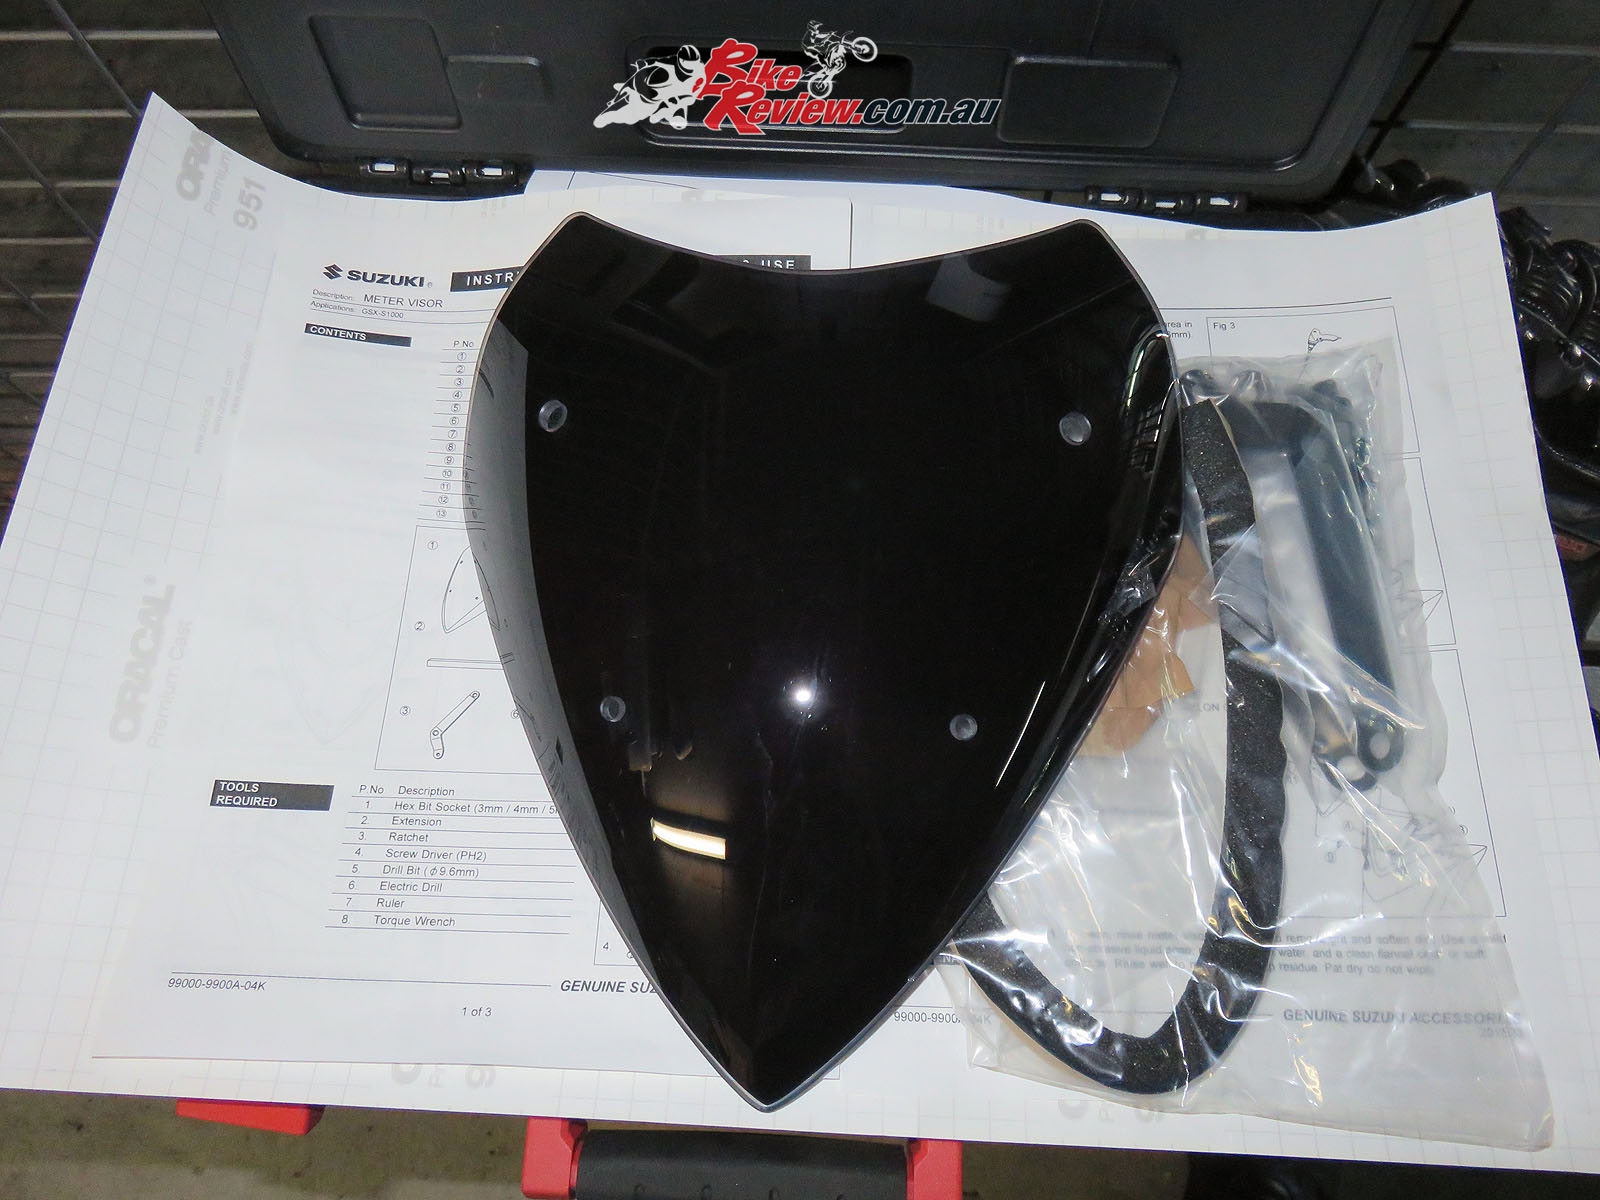
Here’s the kit. It includes the Smoked Instrument Cover, mounting brackets and a foam piece to ensure the screen isn’t scratched by being mounted or vibrations.
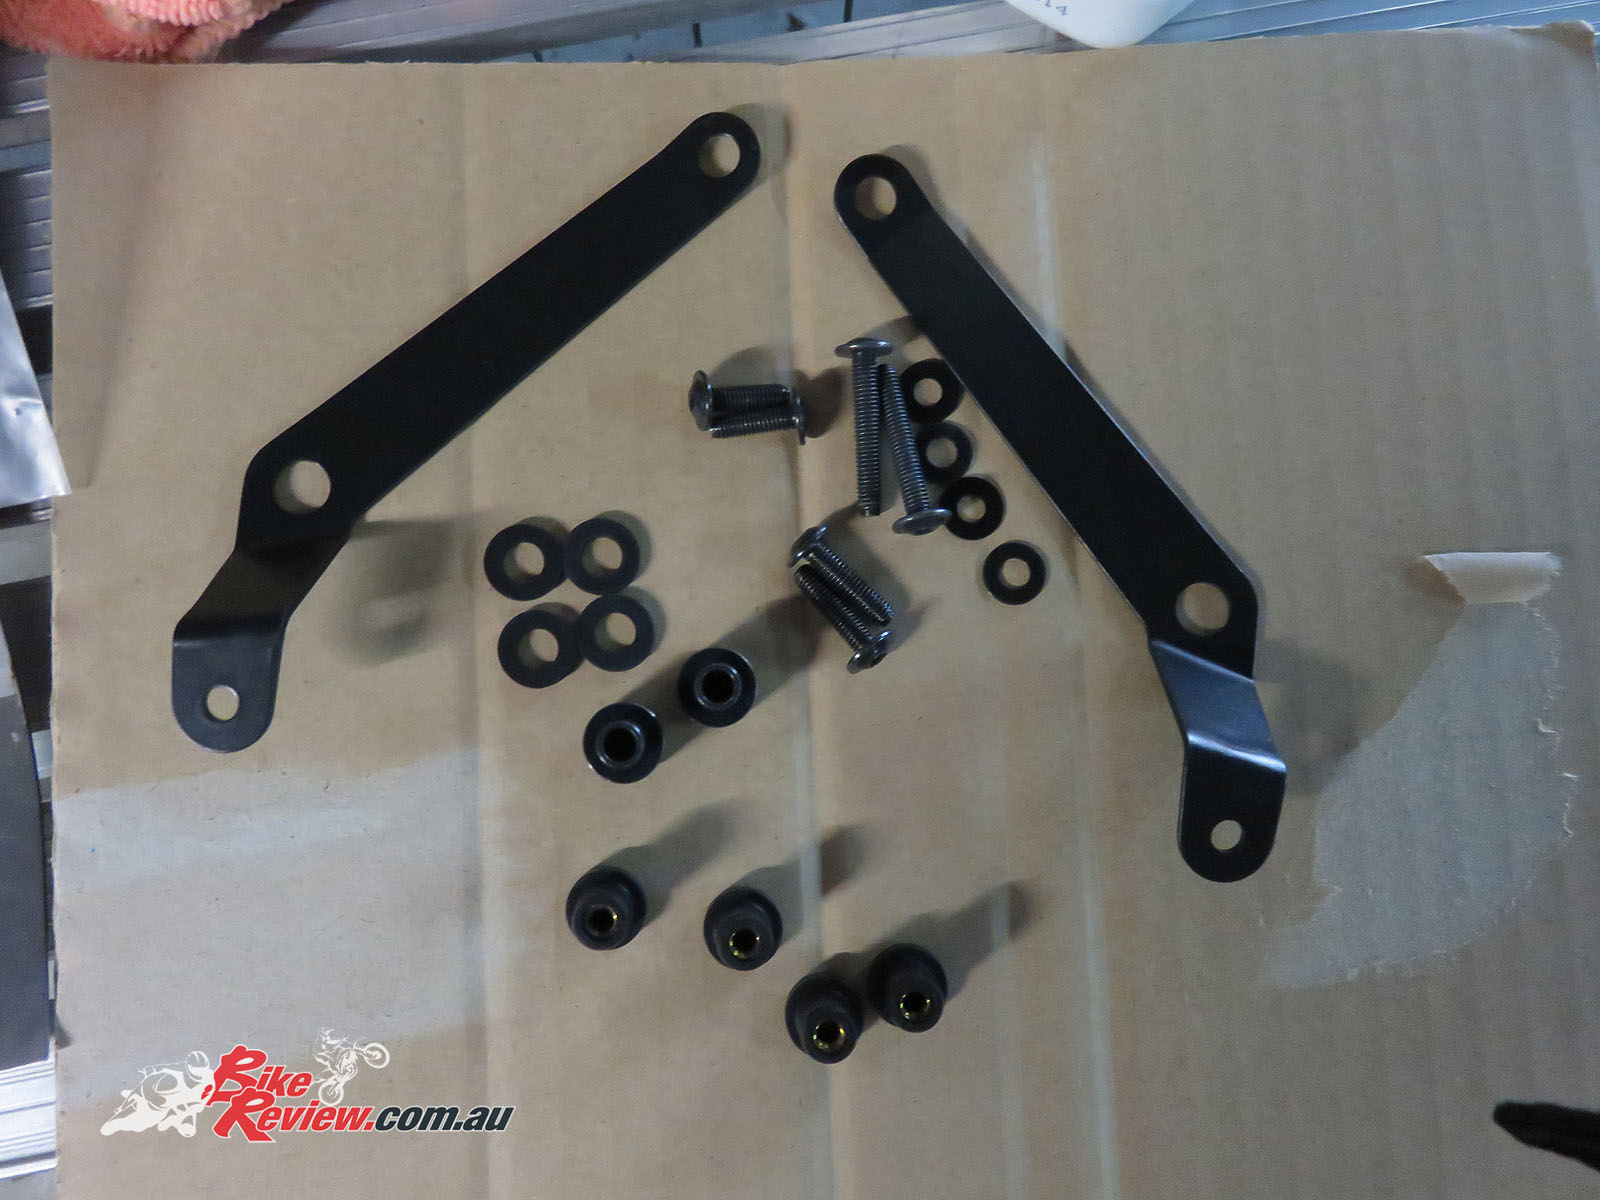
All the brackets, bolts and washers. There’s a few different kinds of washers, plus a few different rubber/metal mounts. Don’t mix them up!

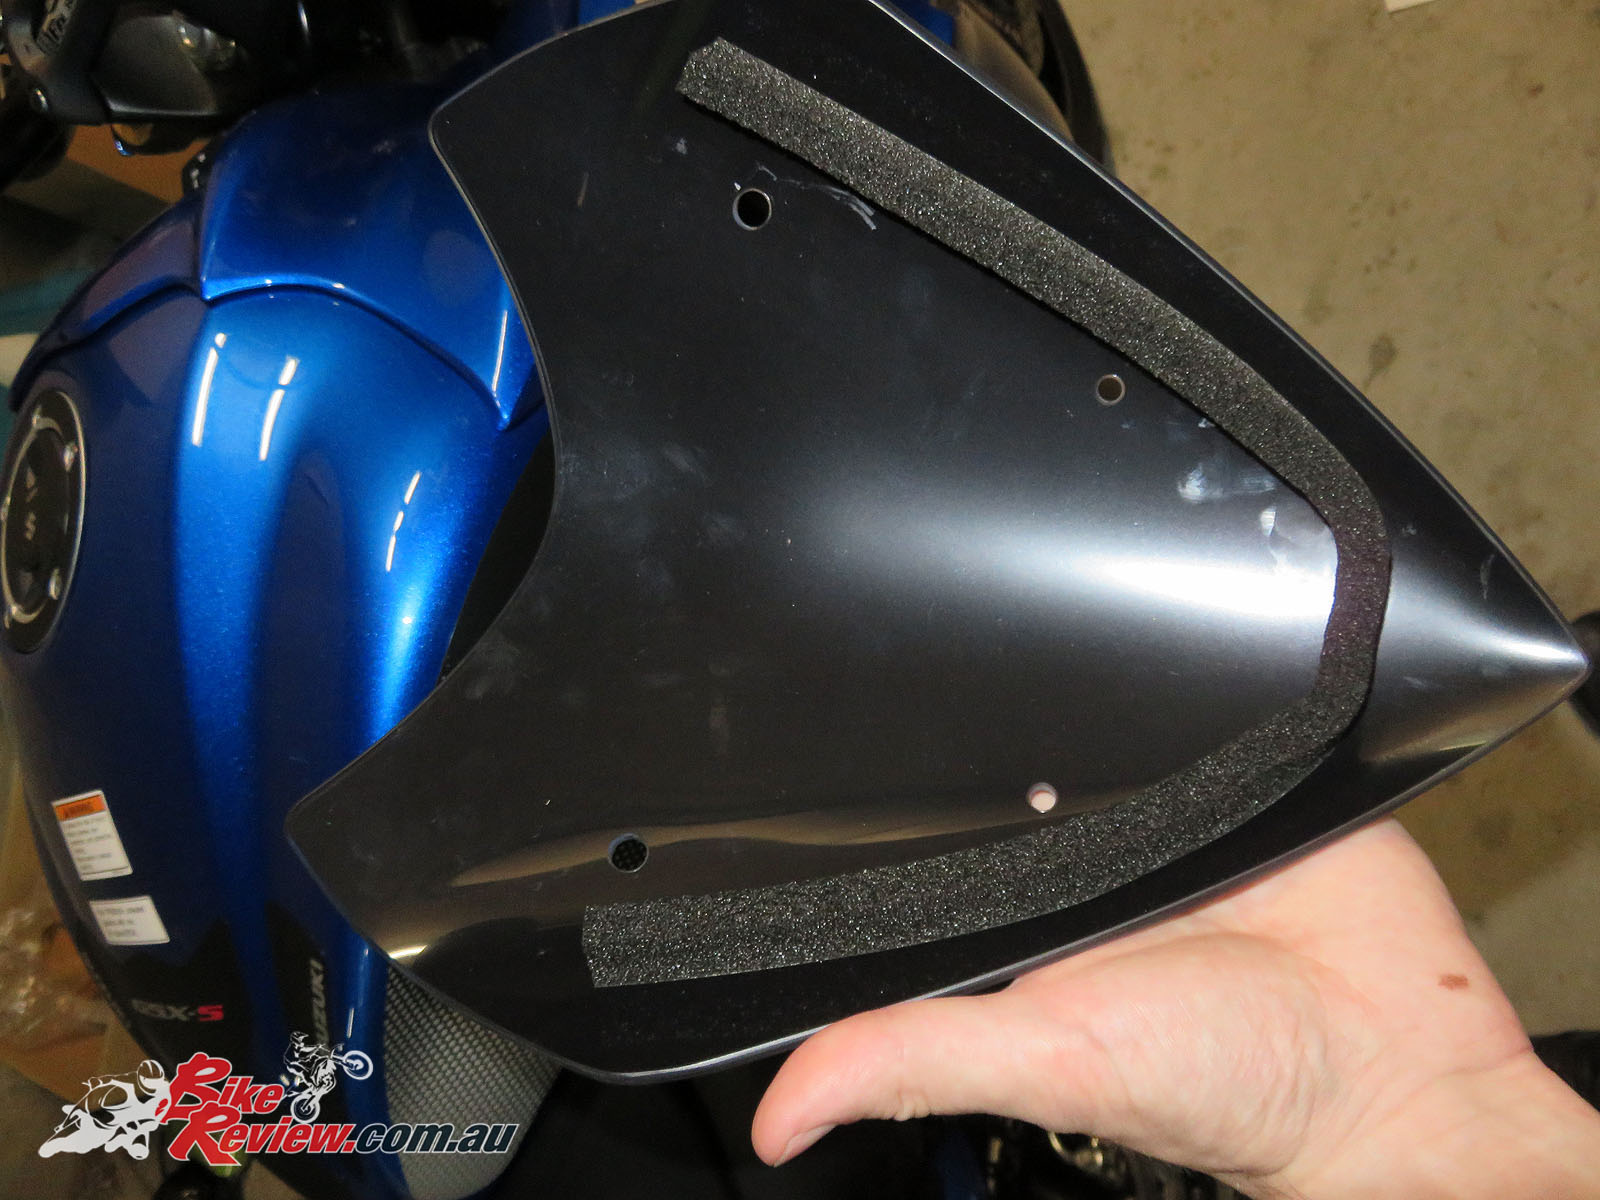
Here’s the screen with the adhesive foam tape. The instructions provided include the spacing, which is from the already drilled mounting points and the sharp end. I used a little tape and a rule to measure and mark those points, and then added the foam tape.
Remove the tape and make sure there are no little pieces left hanging around, or any residue. It’s unlikely it’ll be visible on the bike, but you won’t want to be removing the whole assembly for something small you missed!
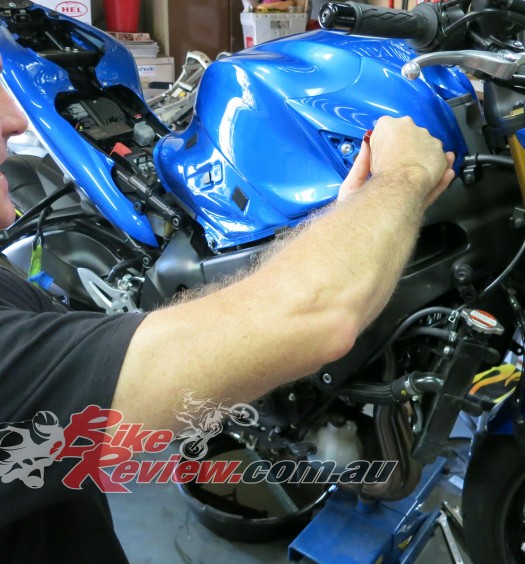
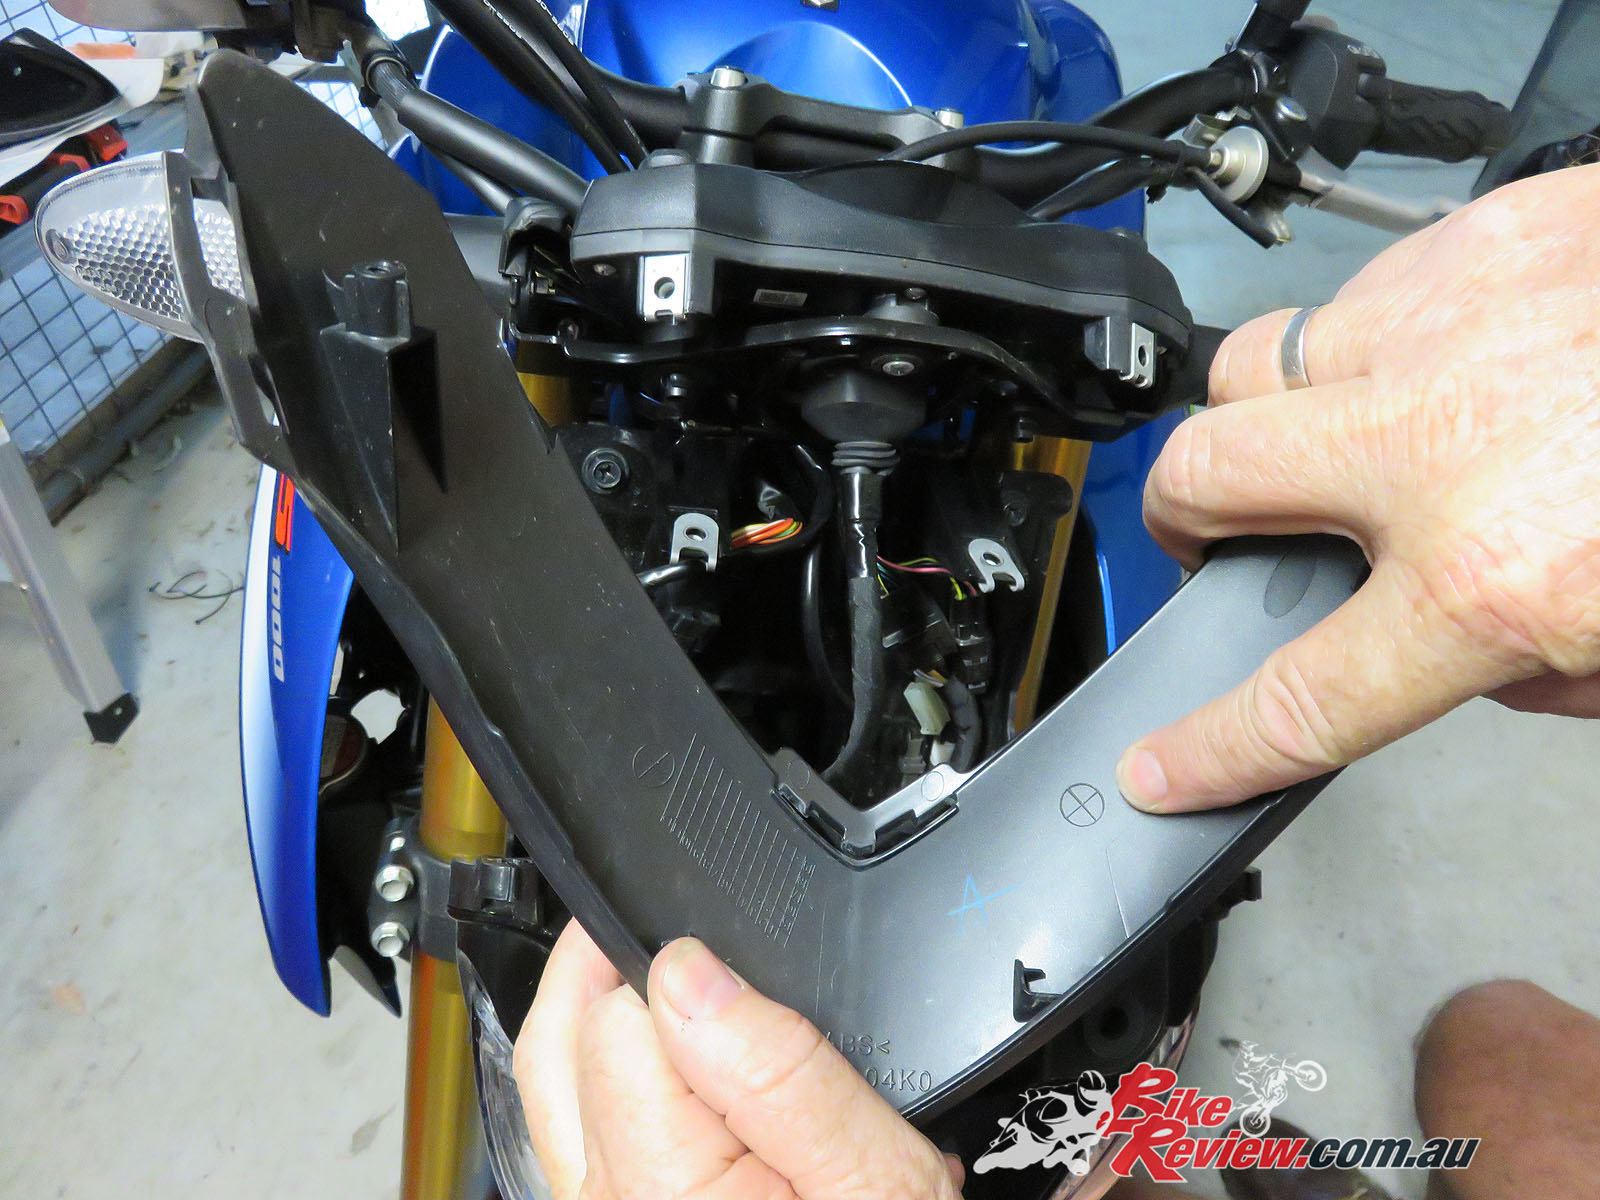
Now remove the top instrument cover. Just unscrew the two bolts.
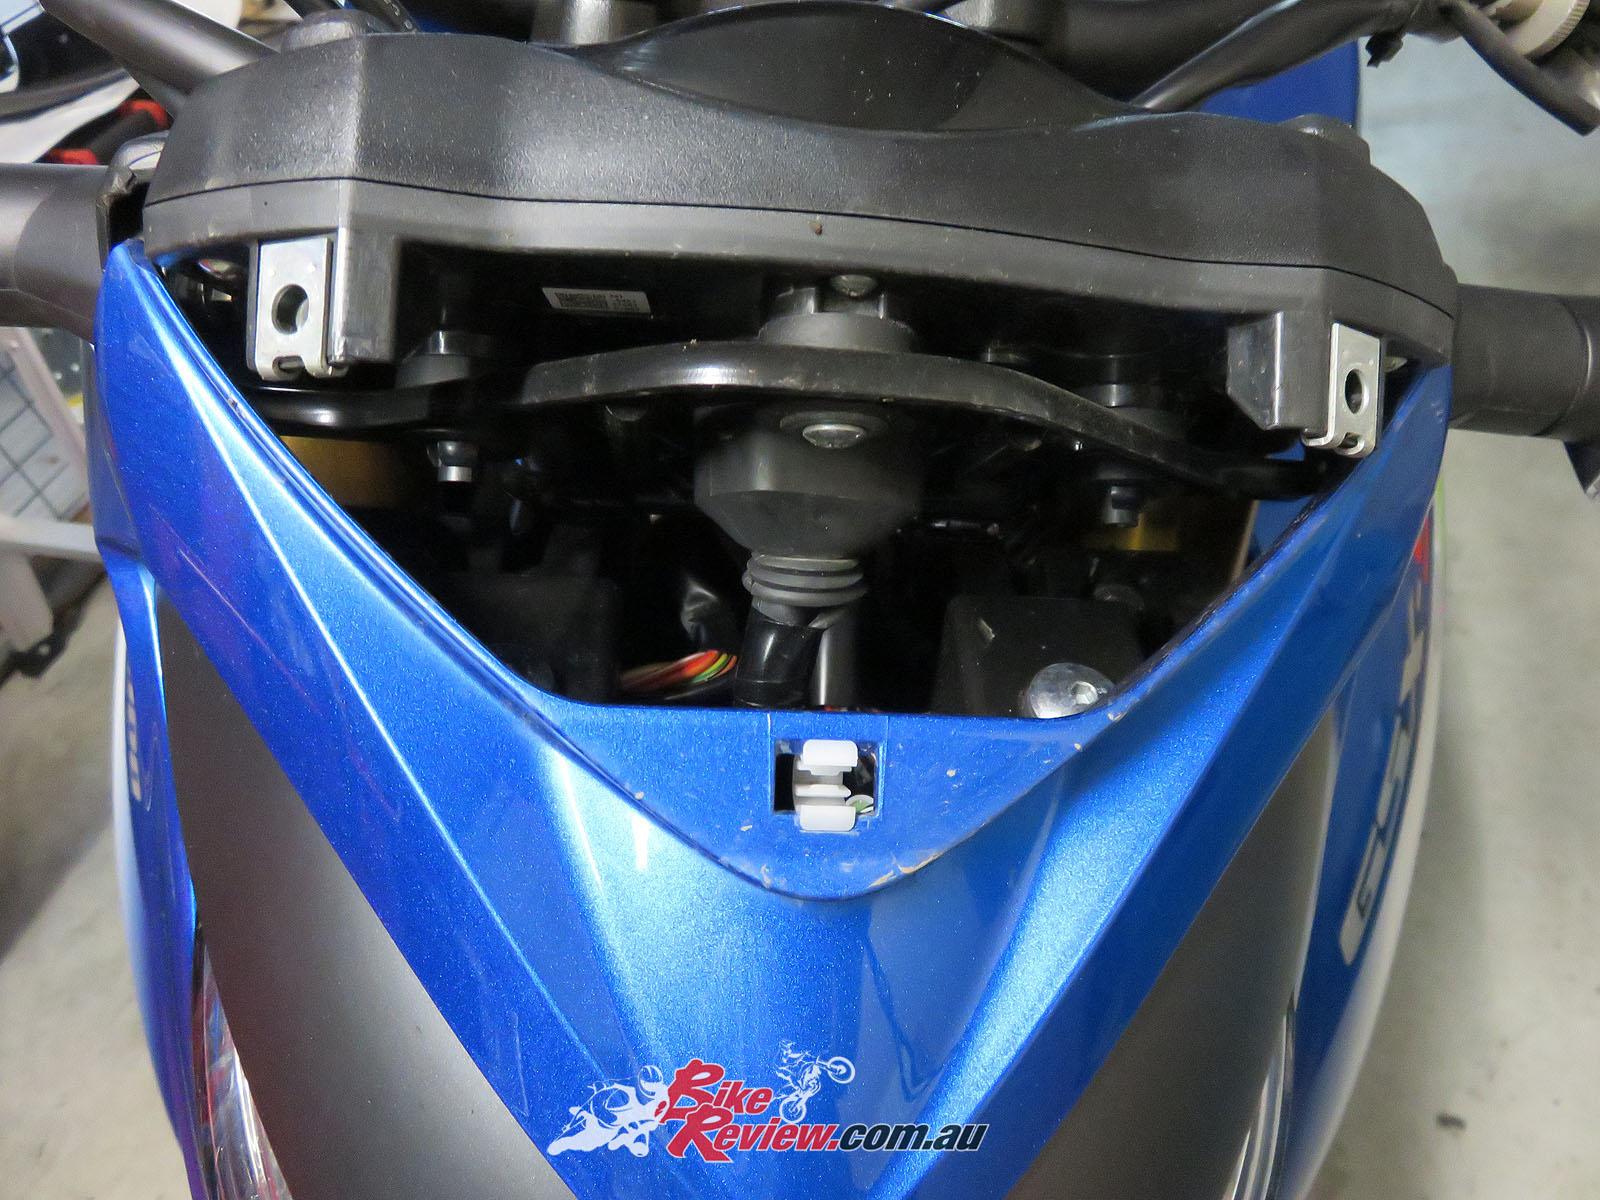
Here’s the view with it removed. You can just see a bolt on the bottom left. That’s one of the headlight bolts that holds it in place.
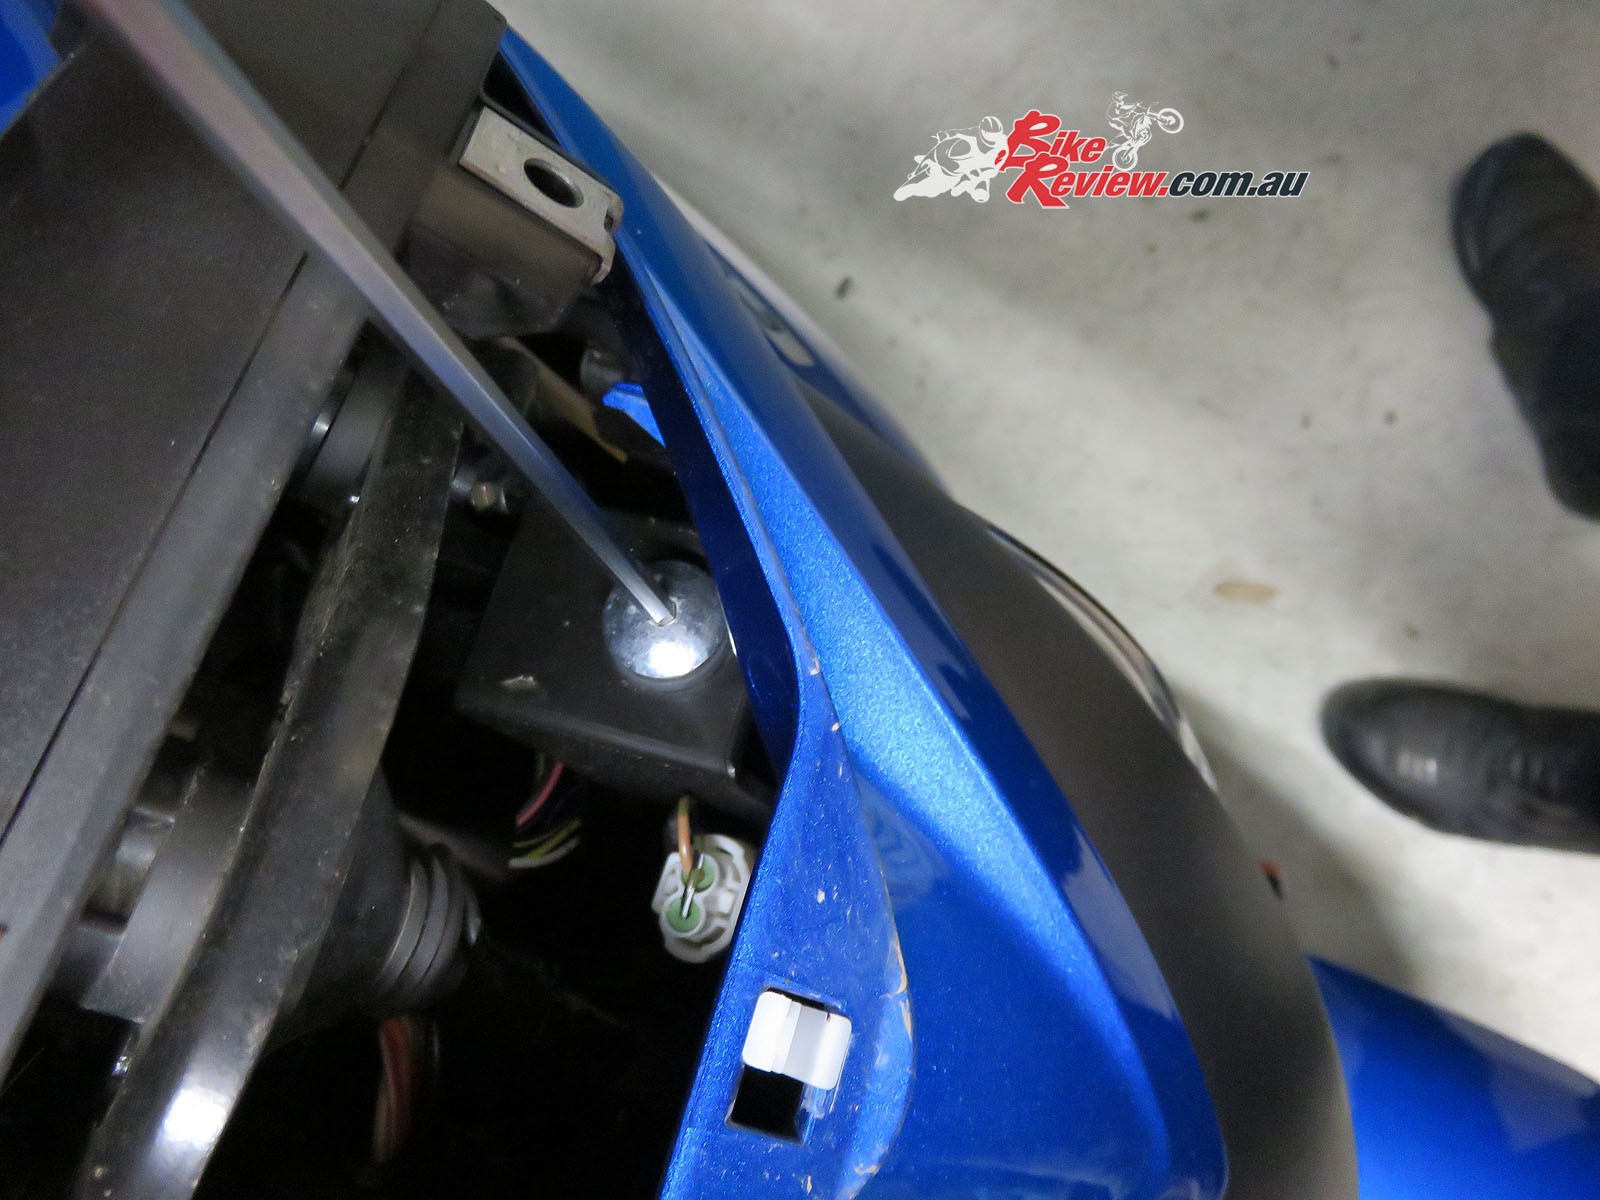
Undo those two bolts and the headlight will pivot down on a hinge at the bottom. It’s a very nice design feature, that makes this kind of work a breeze!

You’ll need to remove the headlight cowl, which includes the second black plastic piece. It can be removed by the four bolts on the back of this headlight assembly. You can see the two top mounting points, and the two bottom smaller mounting points. The two pieces unclip, just be sure not to force them apart. You can just push down the clips to release the two with your finger nails. Or lightly with a flat screw driver. I missed getting a proper picture of this step unfortunately!
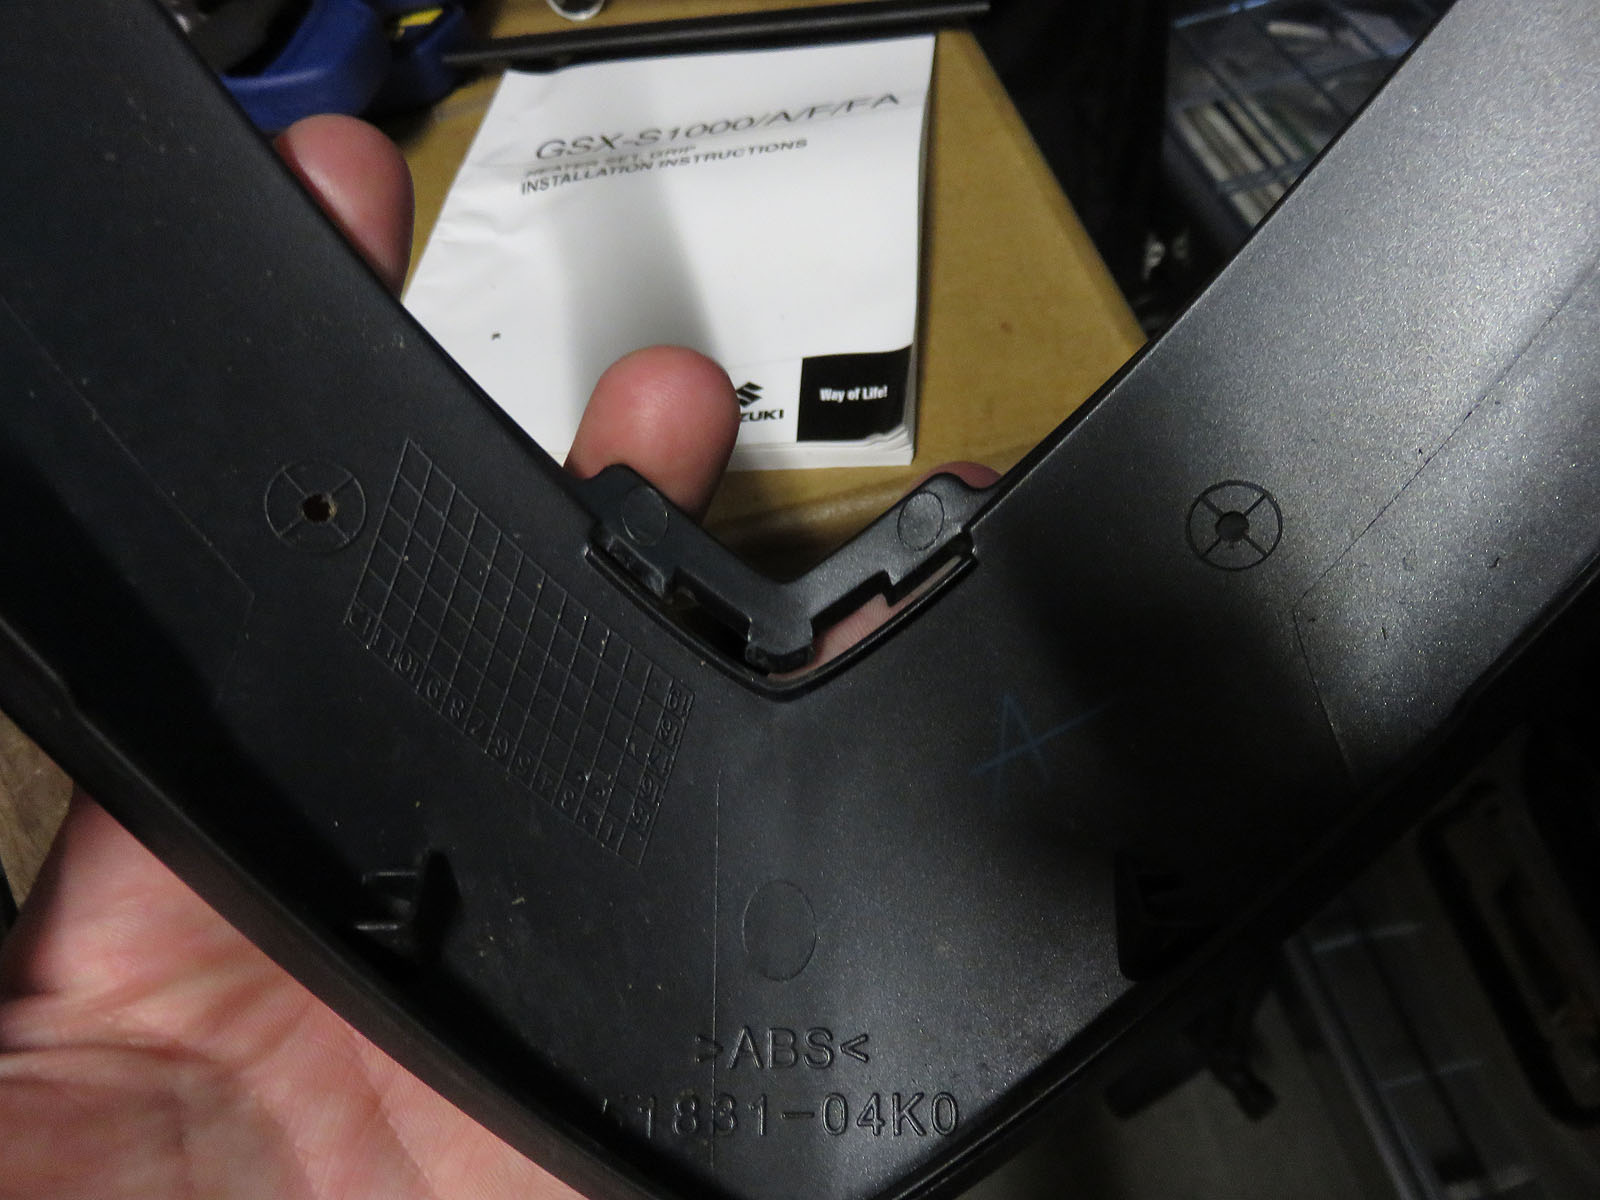
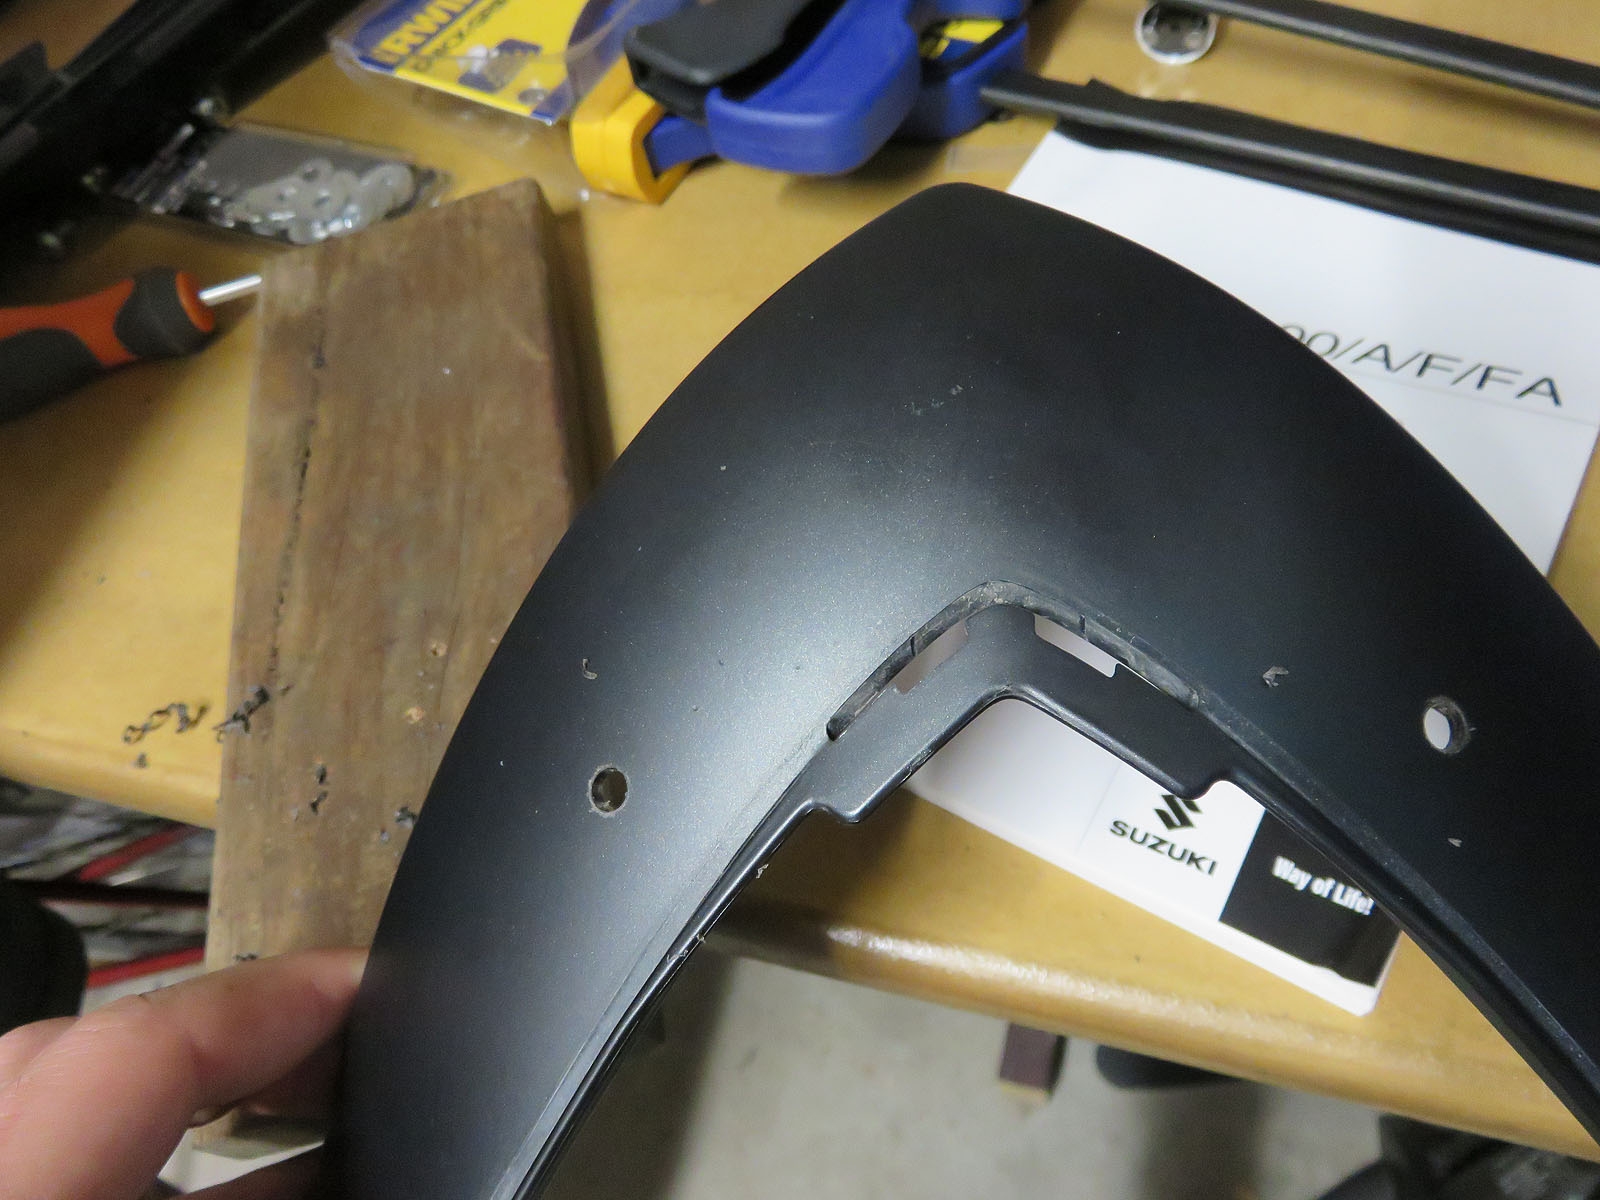
This is the piece of nose plastic that unclips/slides out from the larger headlight cowl (painted blue). Just be careful it’s held in by various clips/guides. You can also see the drilling points already marks out by Suzuki.
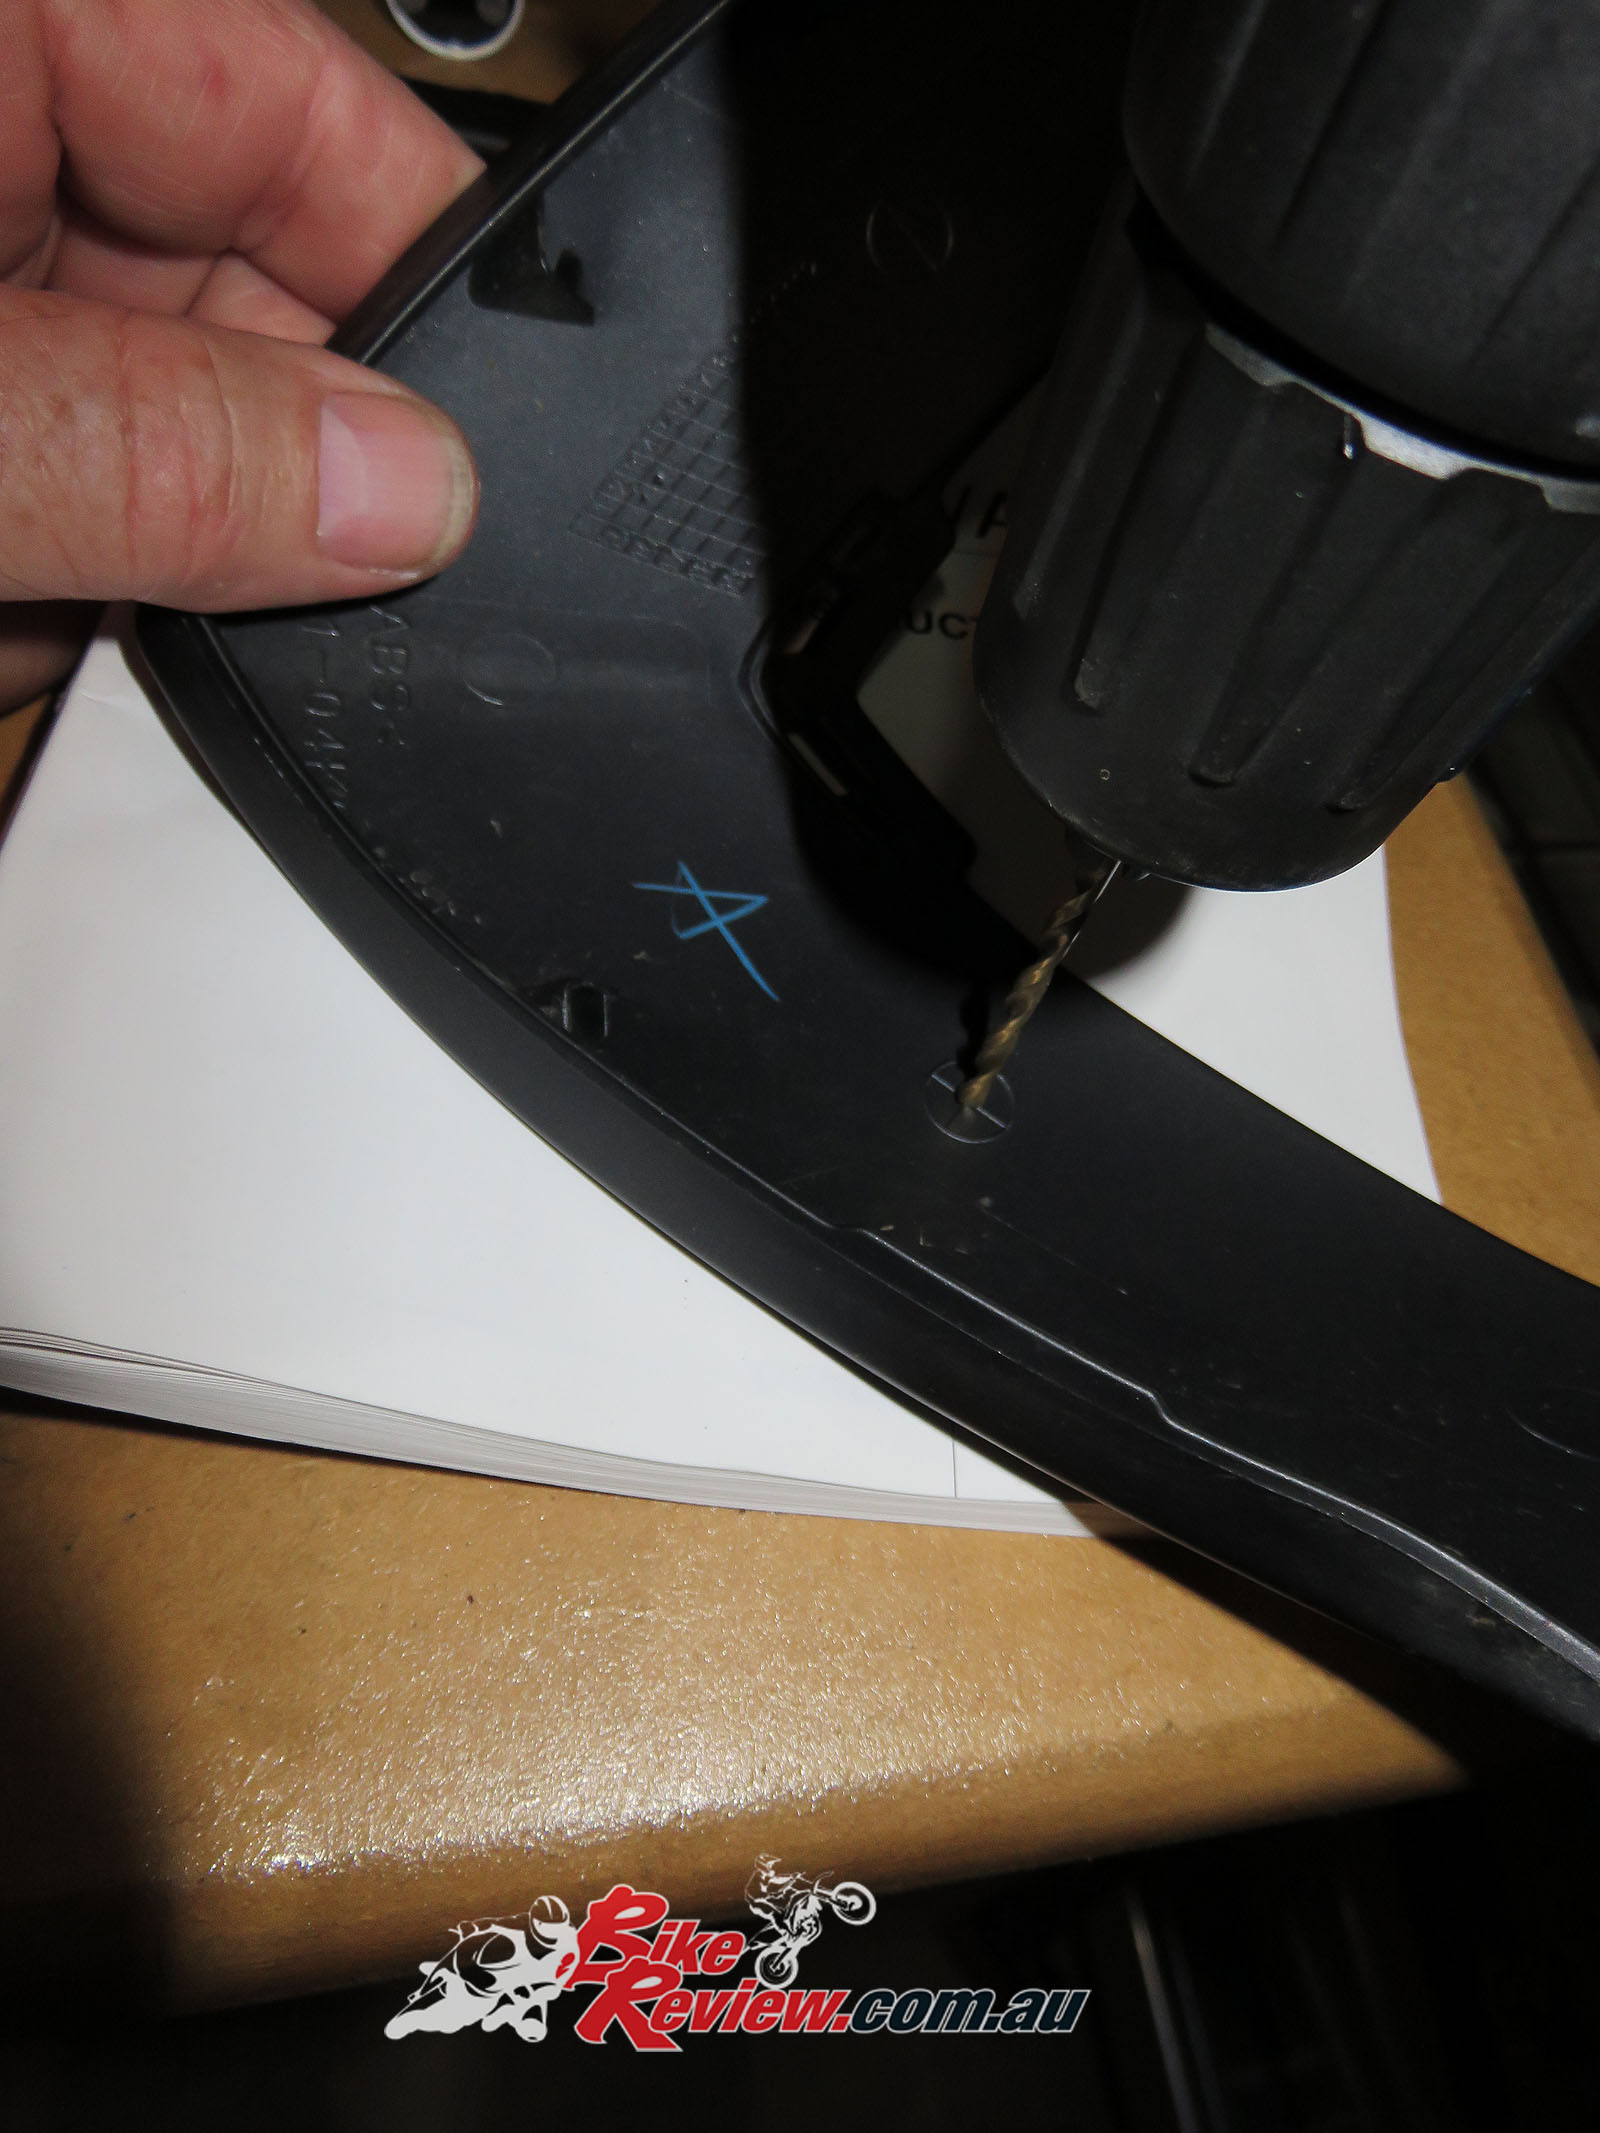
Use a small drill piece to start off and try and get it as centered as possible. We started with a 3mm. We switched the instruction booklet for a block of wood to go underneath when drilling through!
Here’s the first two lots of holes drilled. We started small so we can work up to the full size, which Suzuki’s instructions says should be 9.6mm. We just used a 10mm as that’s what’s on hand.
Slightly larger again, this time 6mm, as doing a full 10mm drill will likely tear the plastic up. It will be hidden by the brackets but you don’t want it looking like crap if you ever take it off!
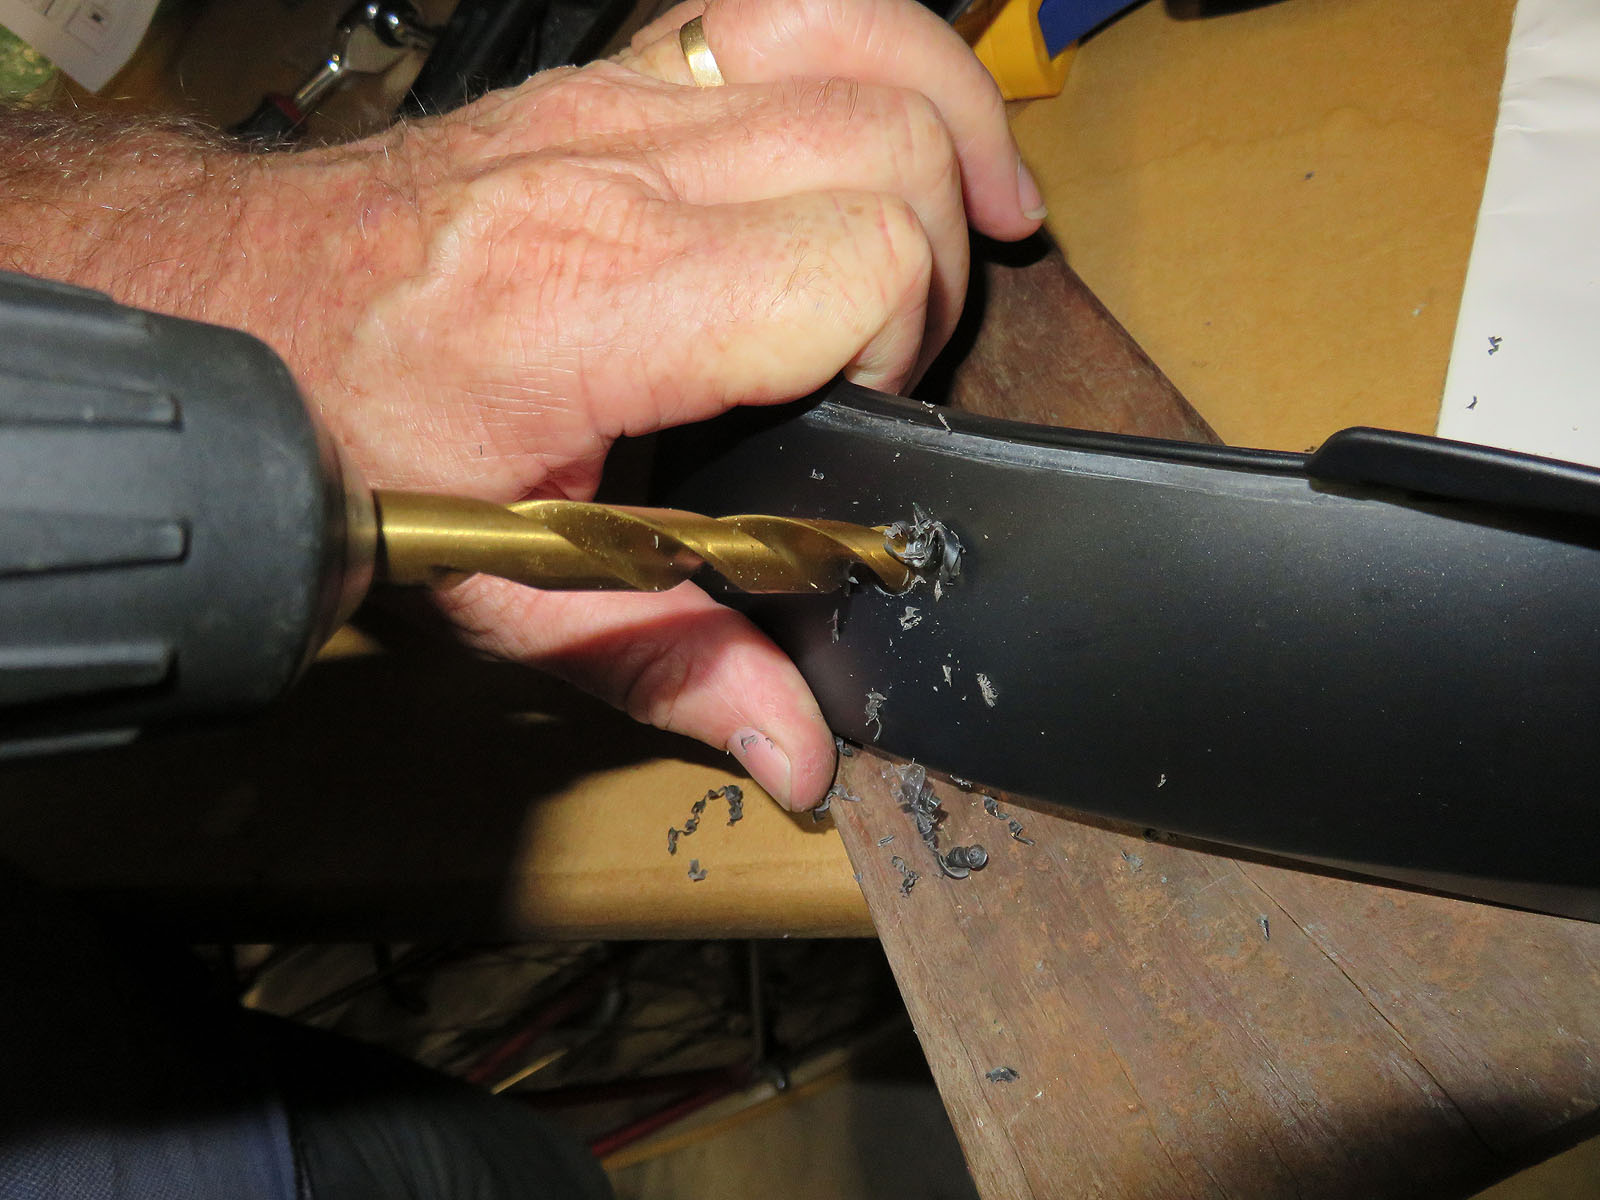
The final 10mm drill bit. Take it easy, as it’s easy to tear the plastic as you drill, even having gone up in drill bit size a few times.

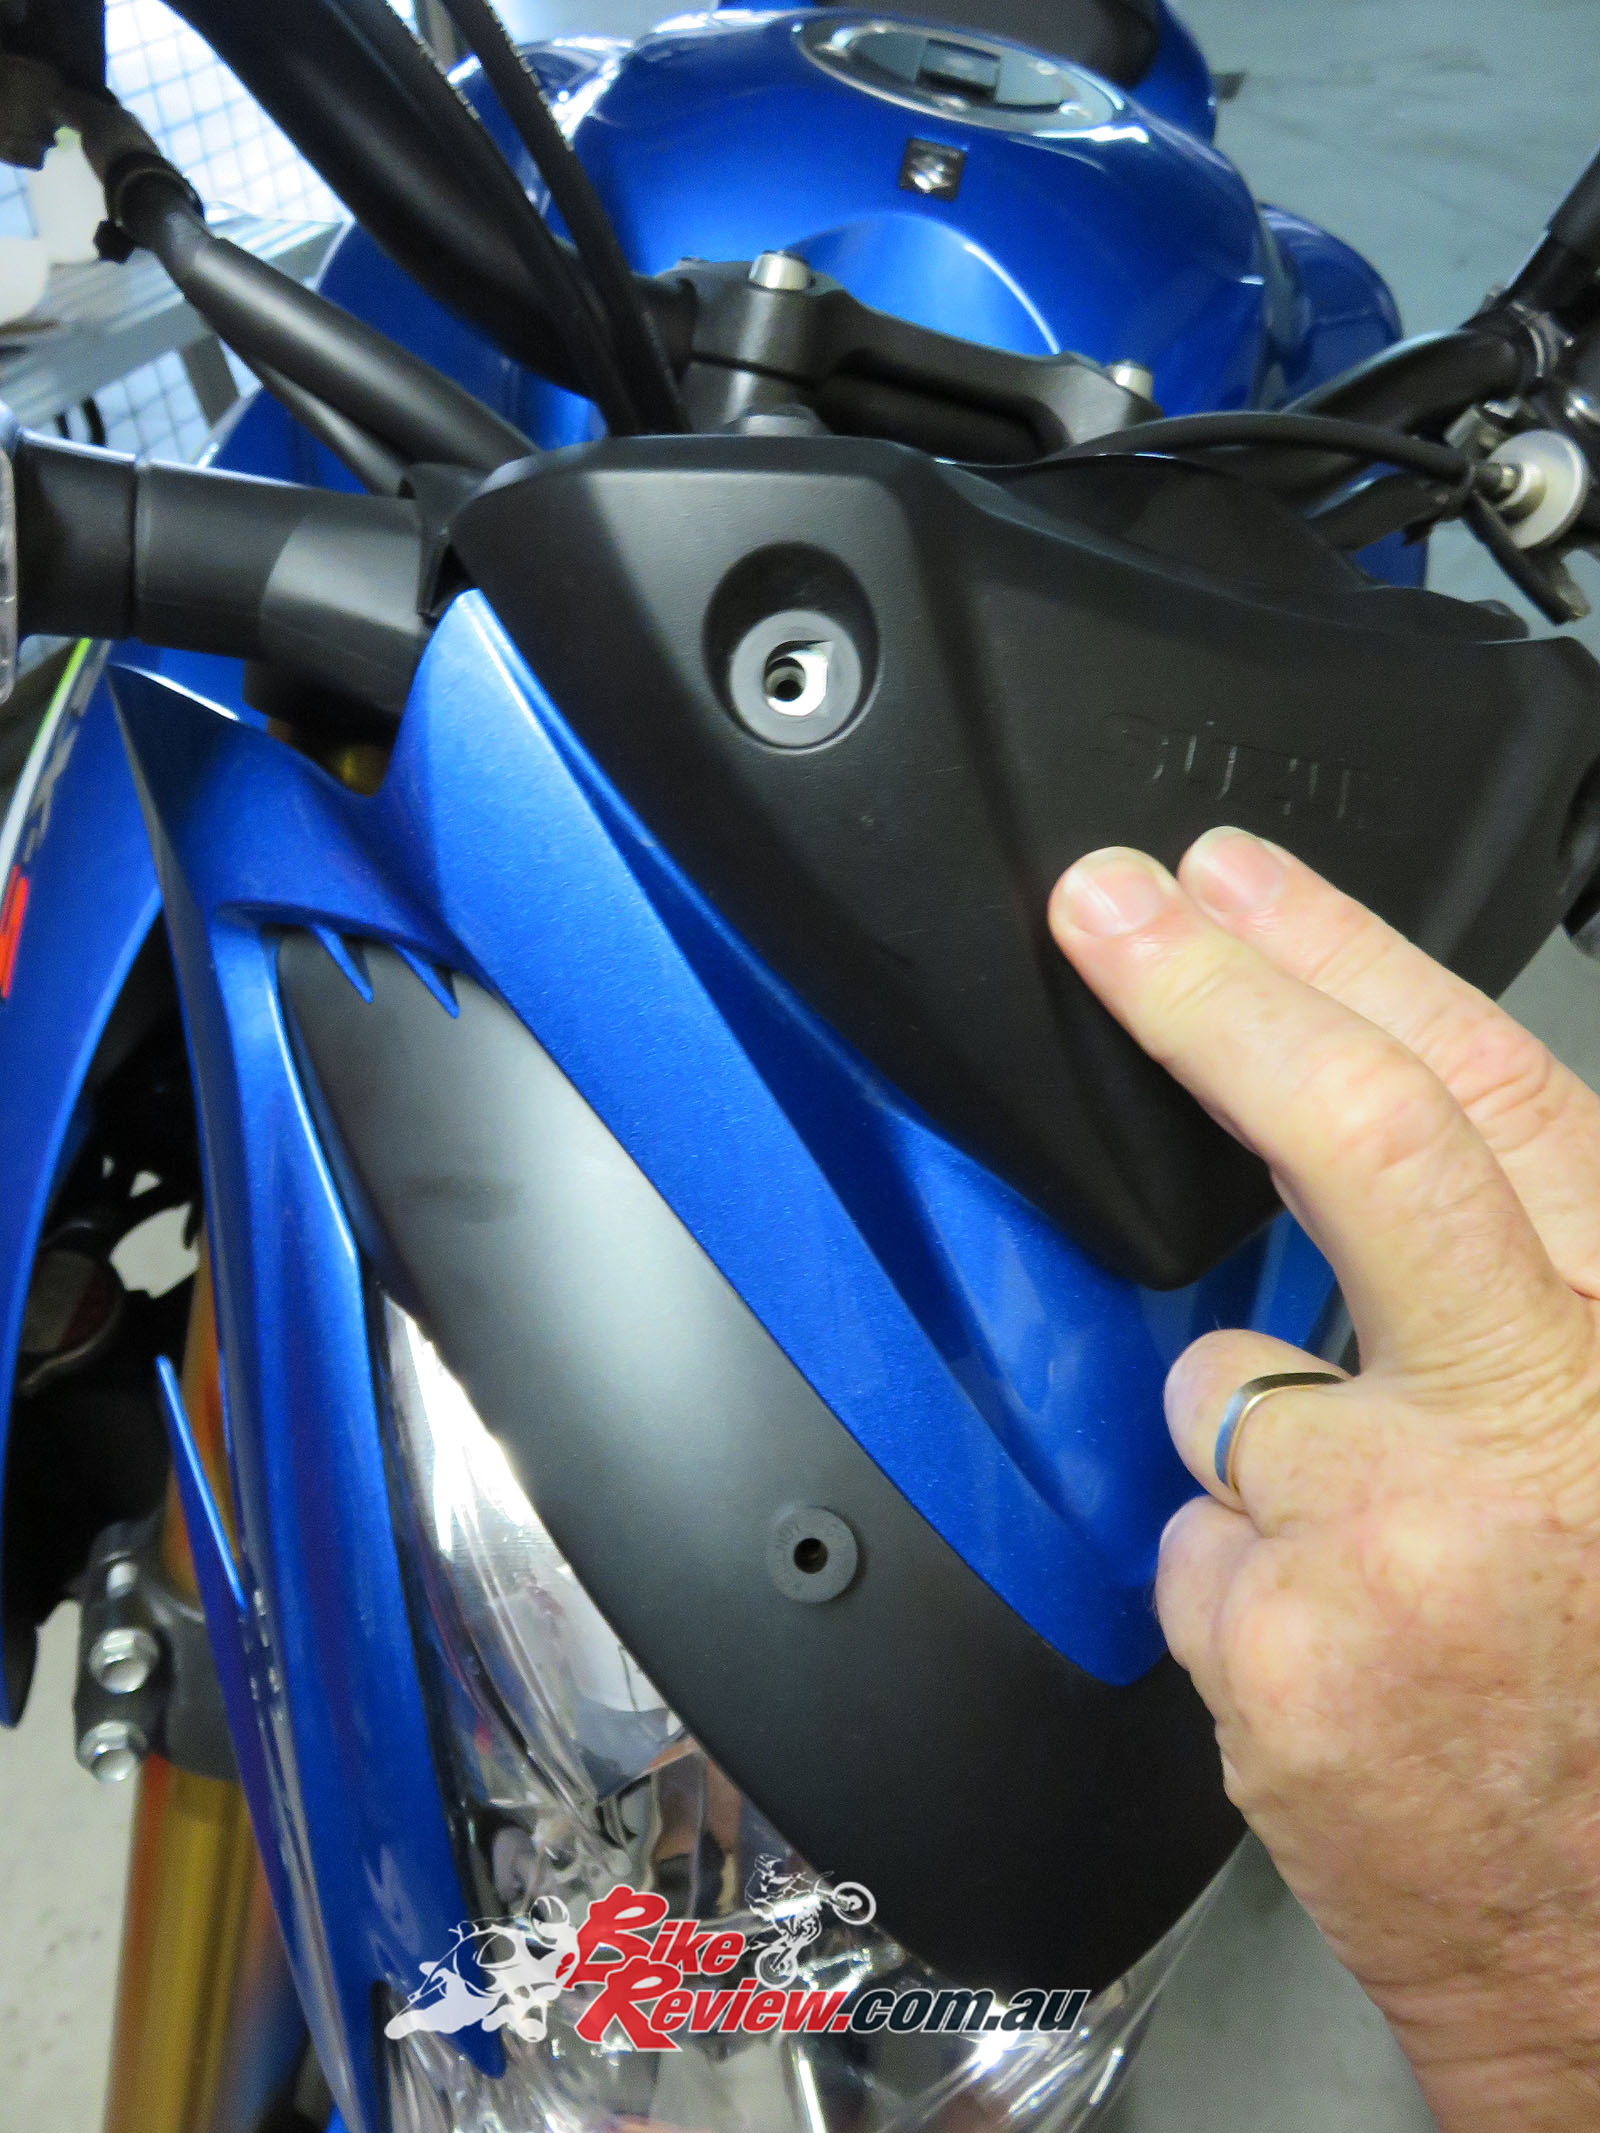
Clip the plastic piece you’ve just drilled back into the main painted headlight surround and place it back around the headlight, before tightening all those bolts back up that hold it in place.

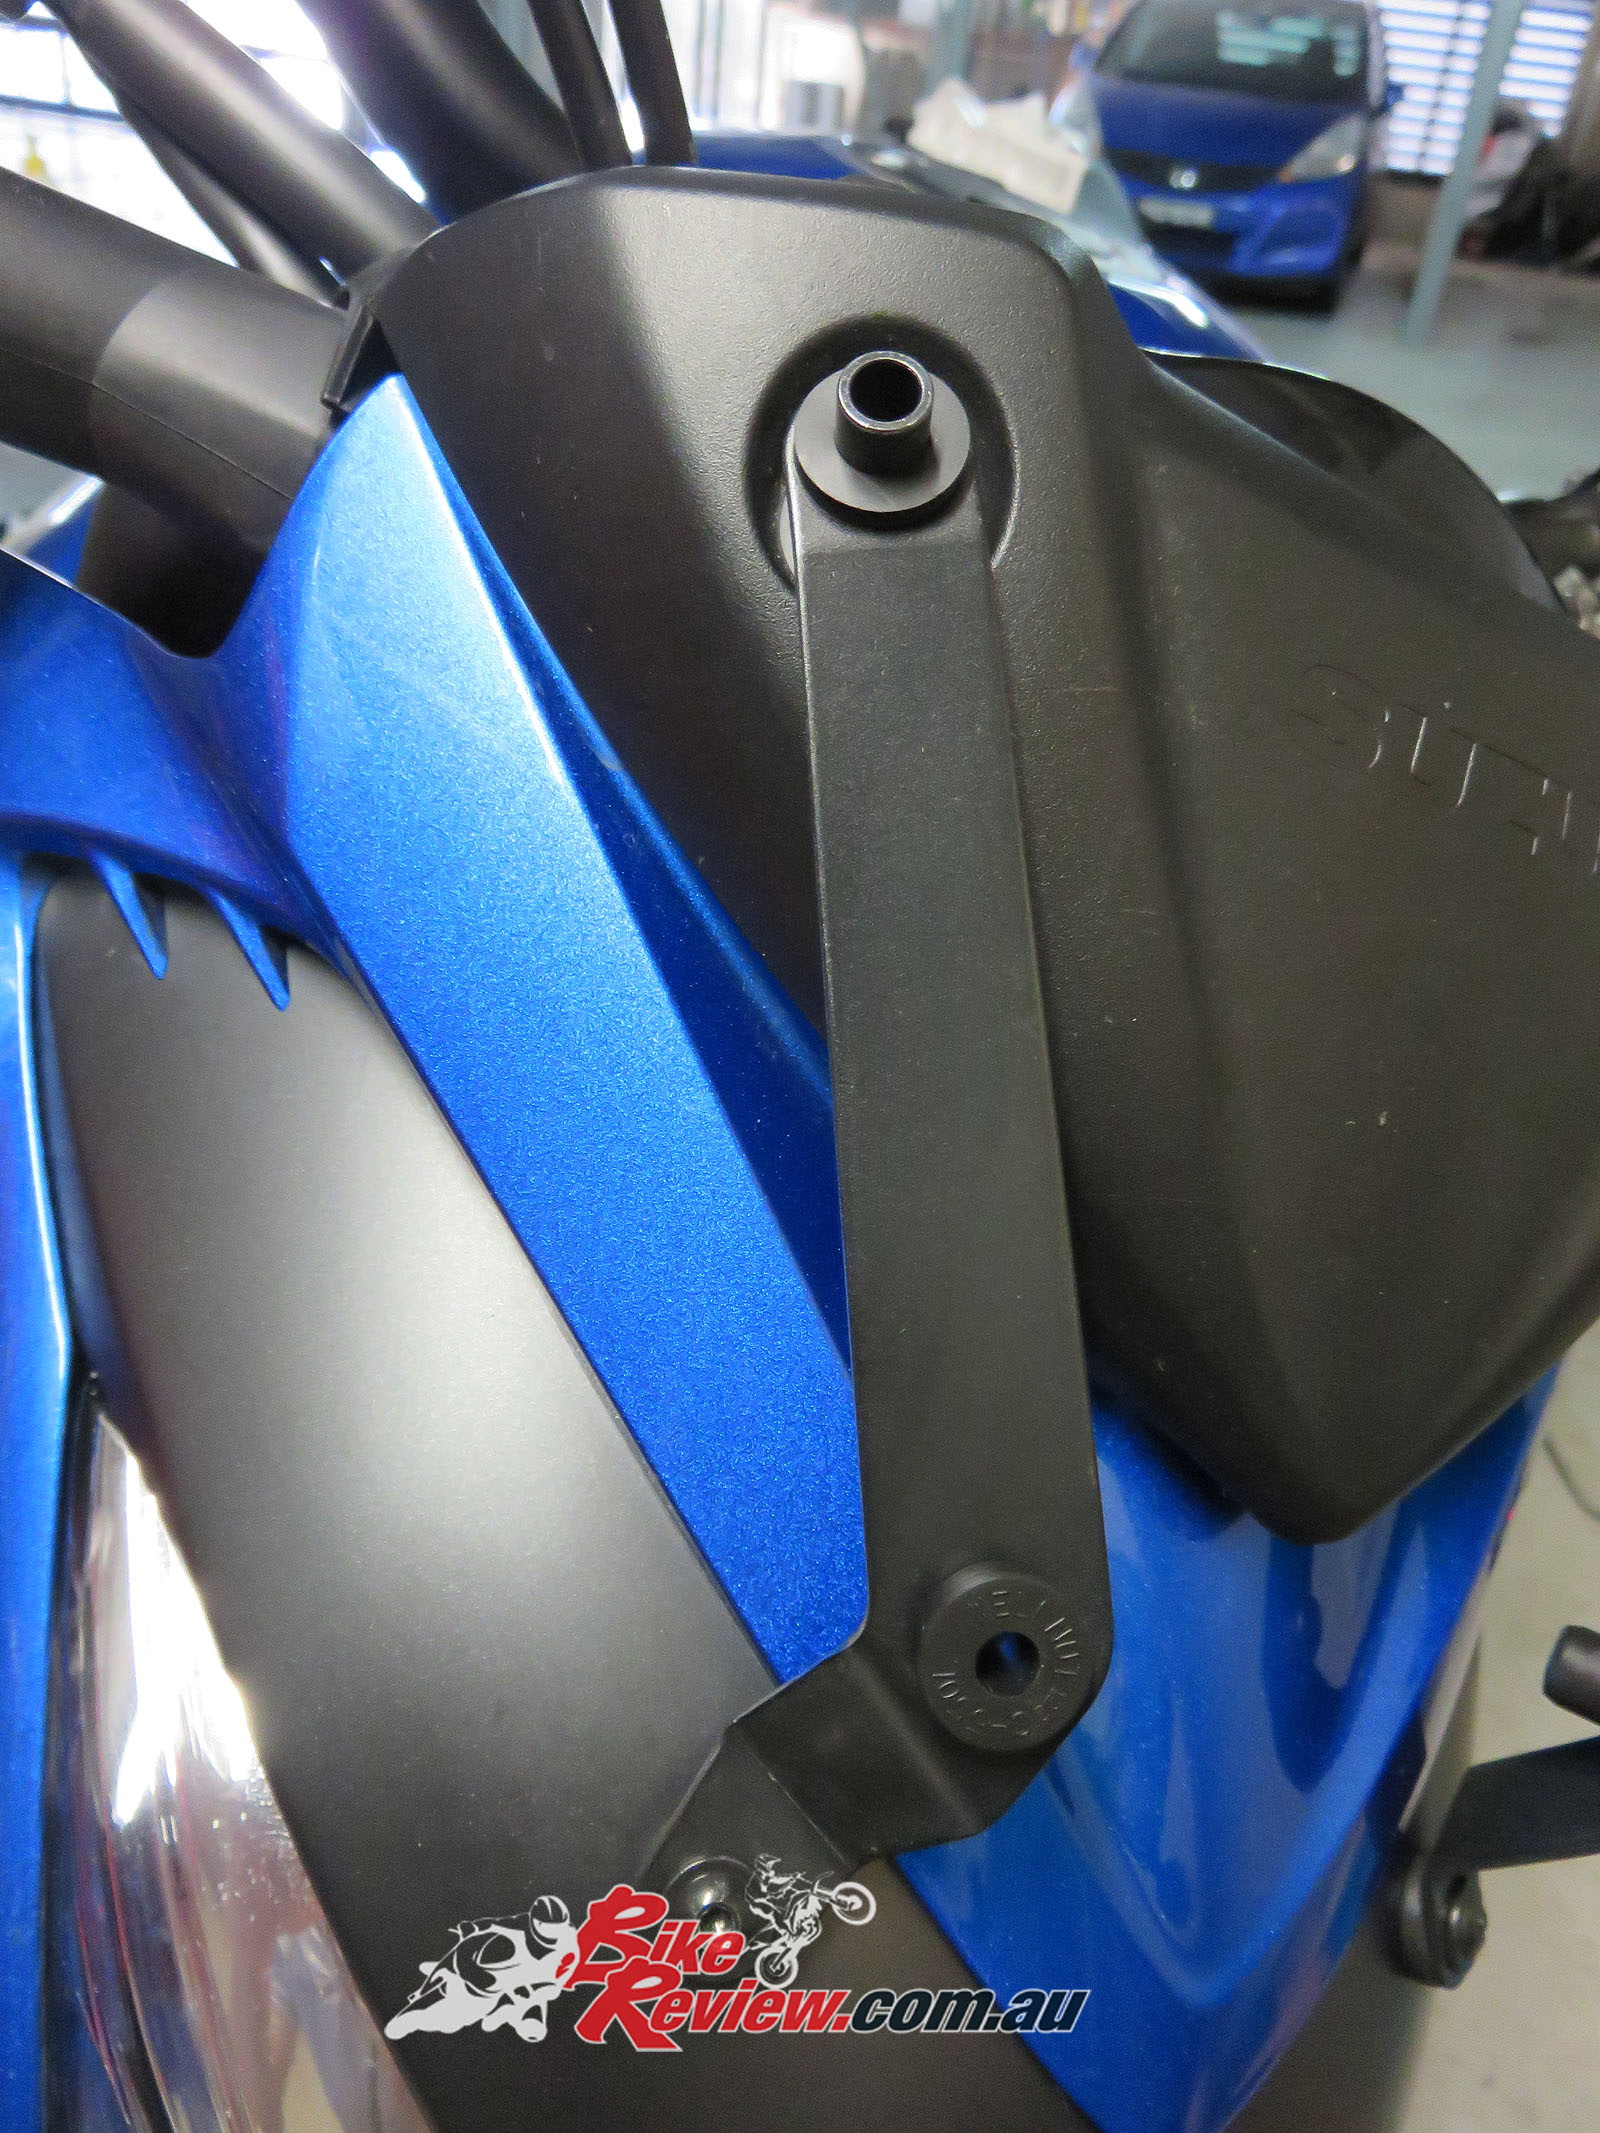
Raise the headlight back into position and replace and tighten the two top bolts which hold it in place. You might need to put a little pressure on the headlight (back towards the forks) to get the bolts back into the right position.
Now replace the original top instrument cover! But don’t bolt it back into place. The new smoked cover will mount over this. You also need to add the rubber grommets to the two holes you drilled.

Use the two black metal spacers on top of the original instrument cover and place the mounting brackets on top of them, followed by a rubber washer. Make sure the ‘elbows’ of the brackets are pointing inwards. Bolt the bracket into place at the bottom with the bolts and washers as noted by the instructions. Don’t mix up the nylon, rubber and metal washers! Also place the final two rubber grommets in the holes at the bracket ‘elbows’.
Everything fits nice and clean. At the moment only the lower points on the bracket are bolted in. Make sure they are tightened as you can’t reach them once the smoked cover is in place.
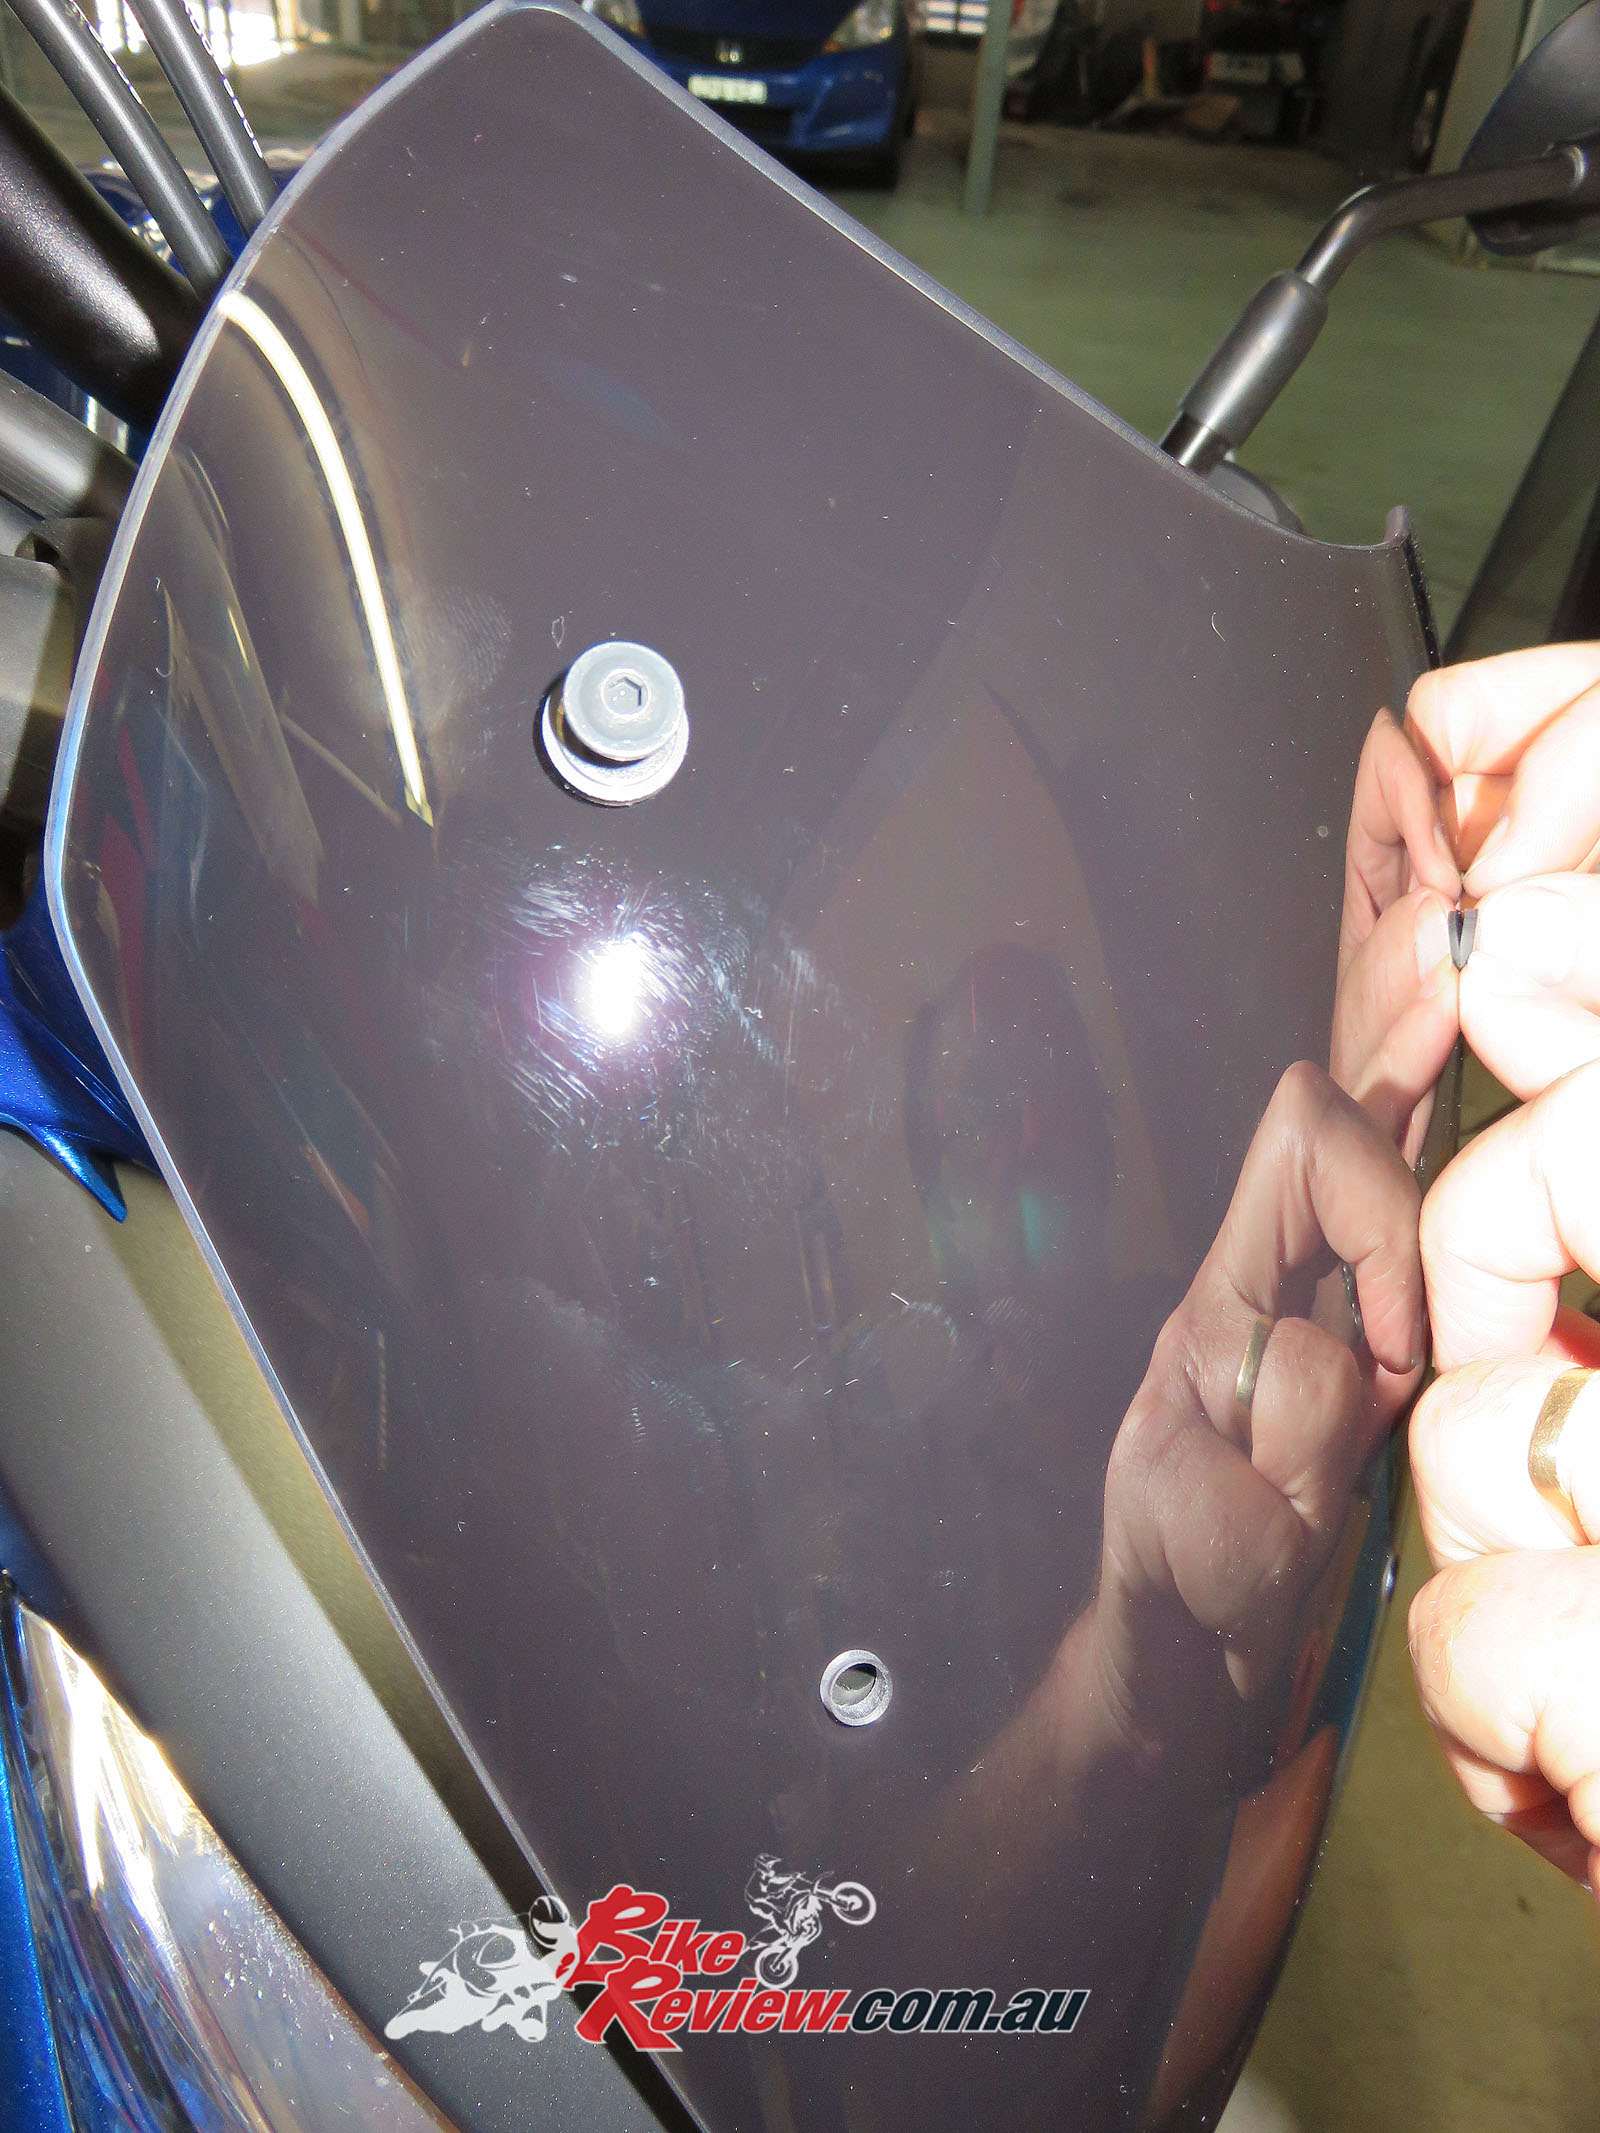
Place the smoked cover over the the brackets. The longer bolts go at the top where they need to reach through into the fasteners for the original cover that this is now installed over. It can be quite hard to get the bolts to bite, so you might need to move everything around a little till they do. You can also run a very thin screw driver through the holes to get everything aligned.
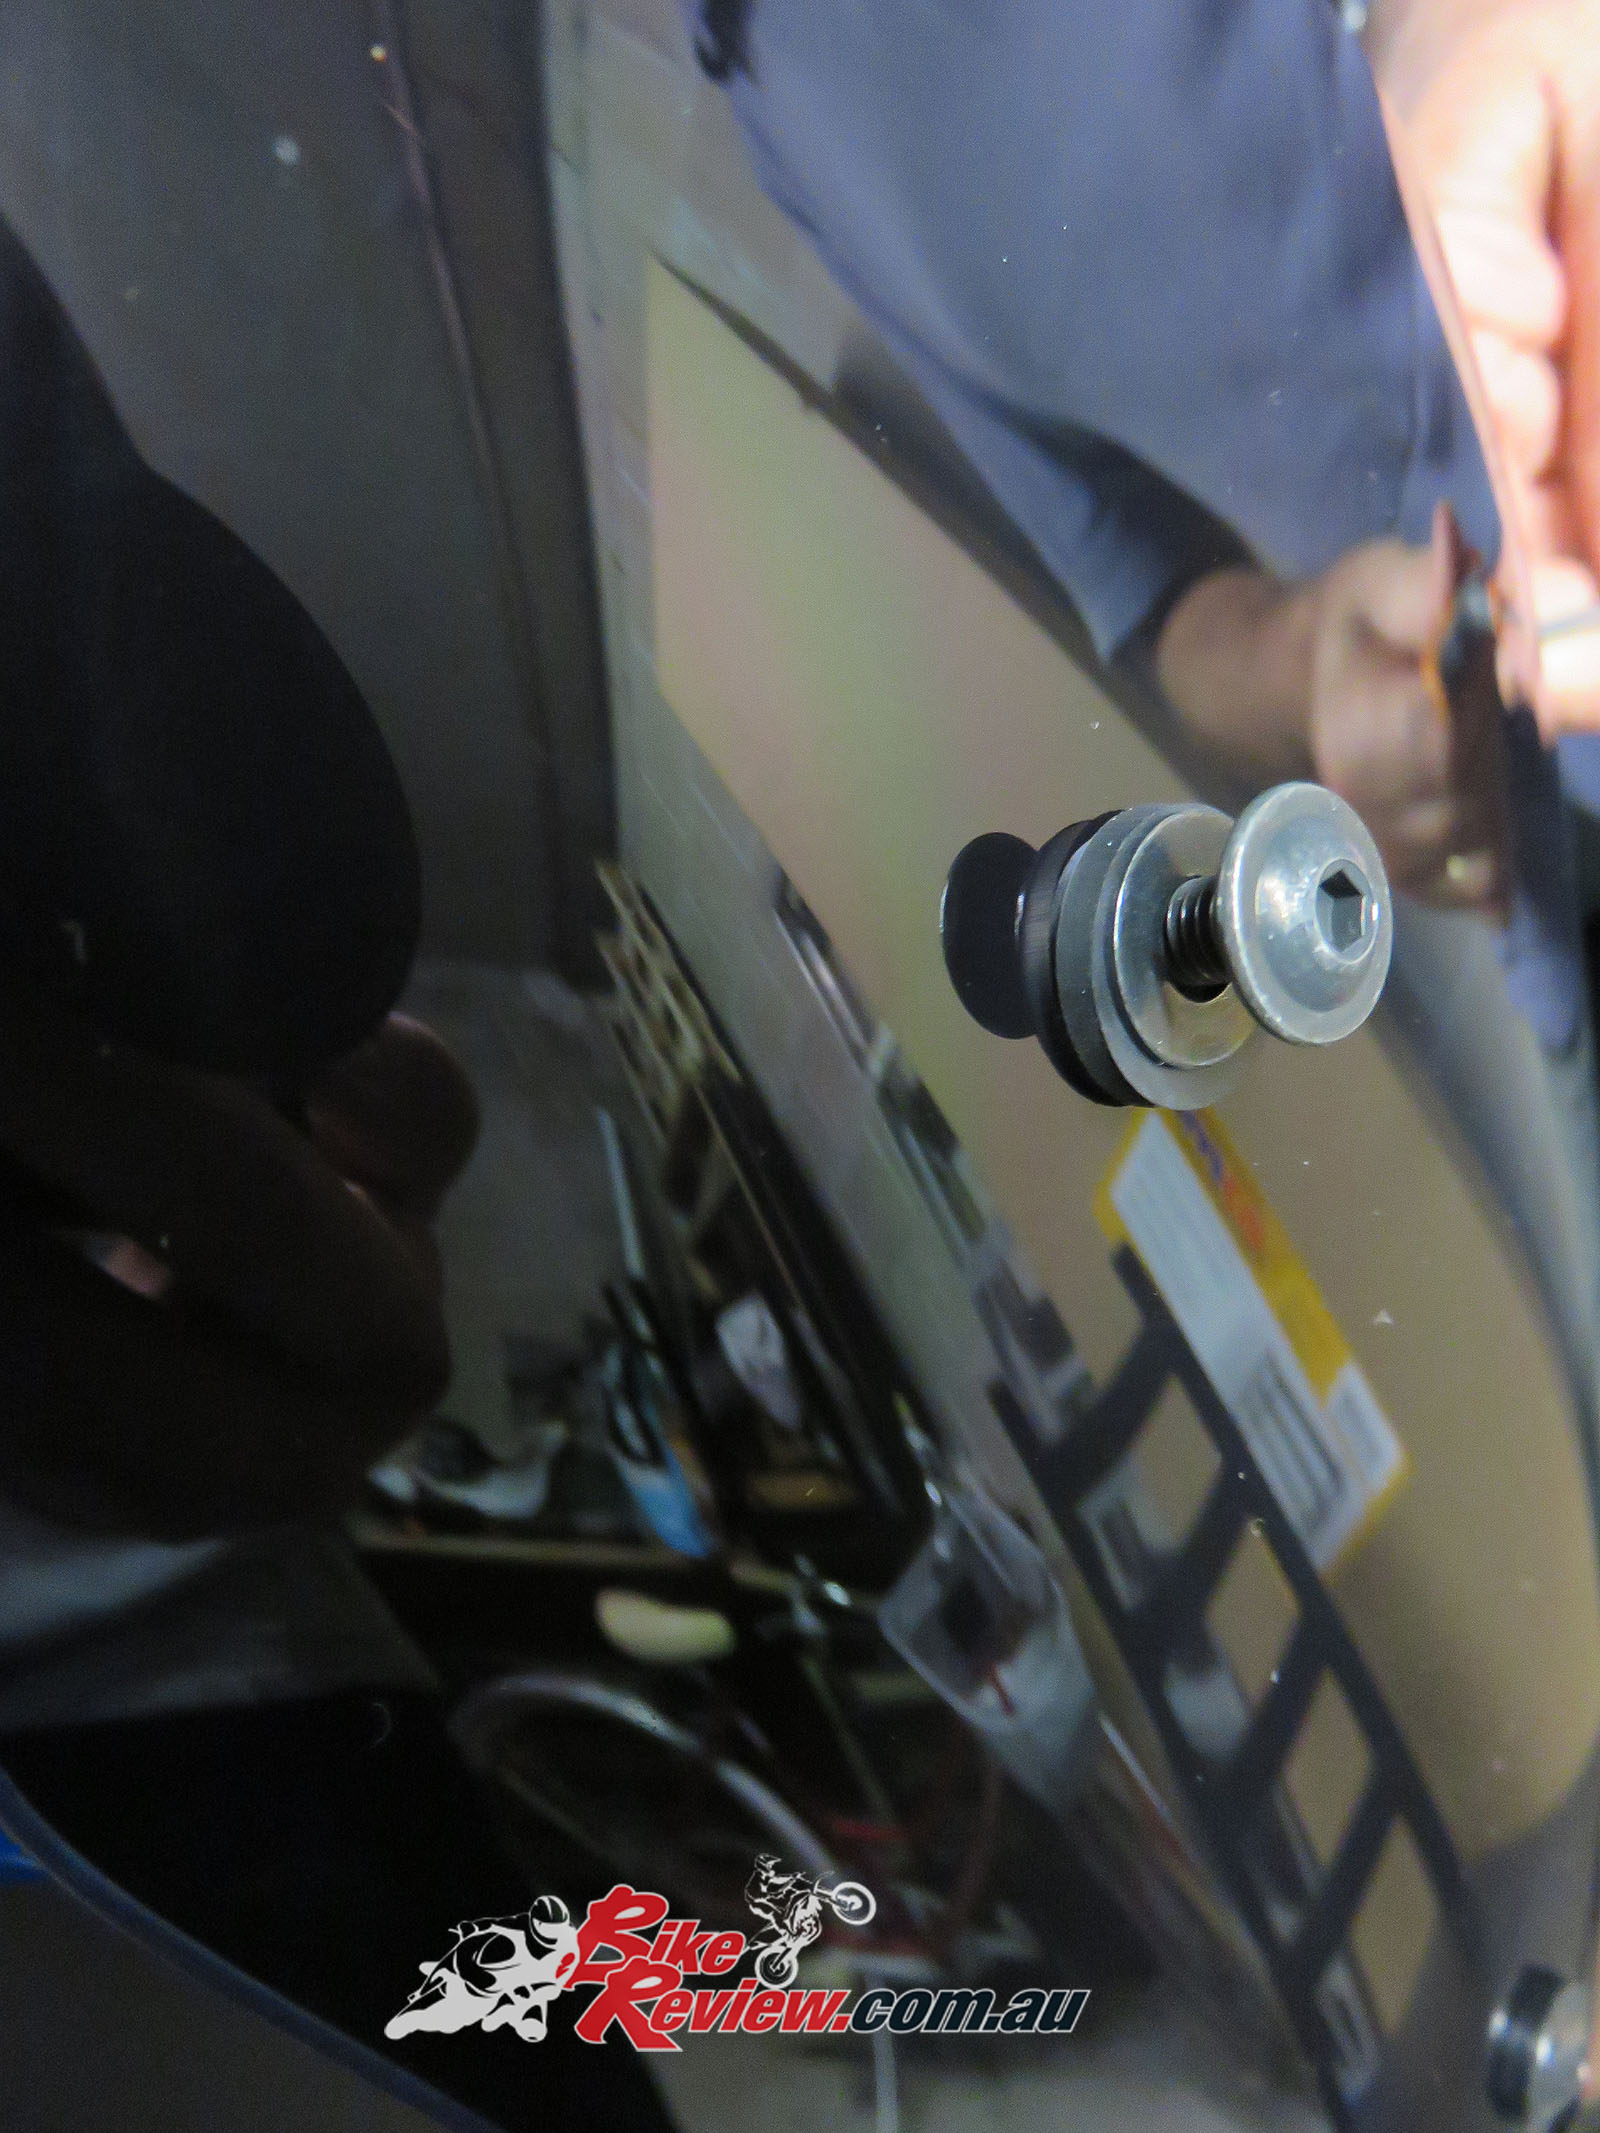
Follow the instructions about which washers go where. They all look similar, with the metal washers painted black to match the nylon and rubber items. The wrong order or the wrong washers will scratch your screen.
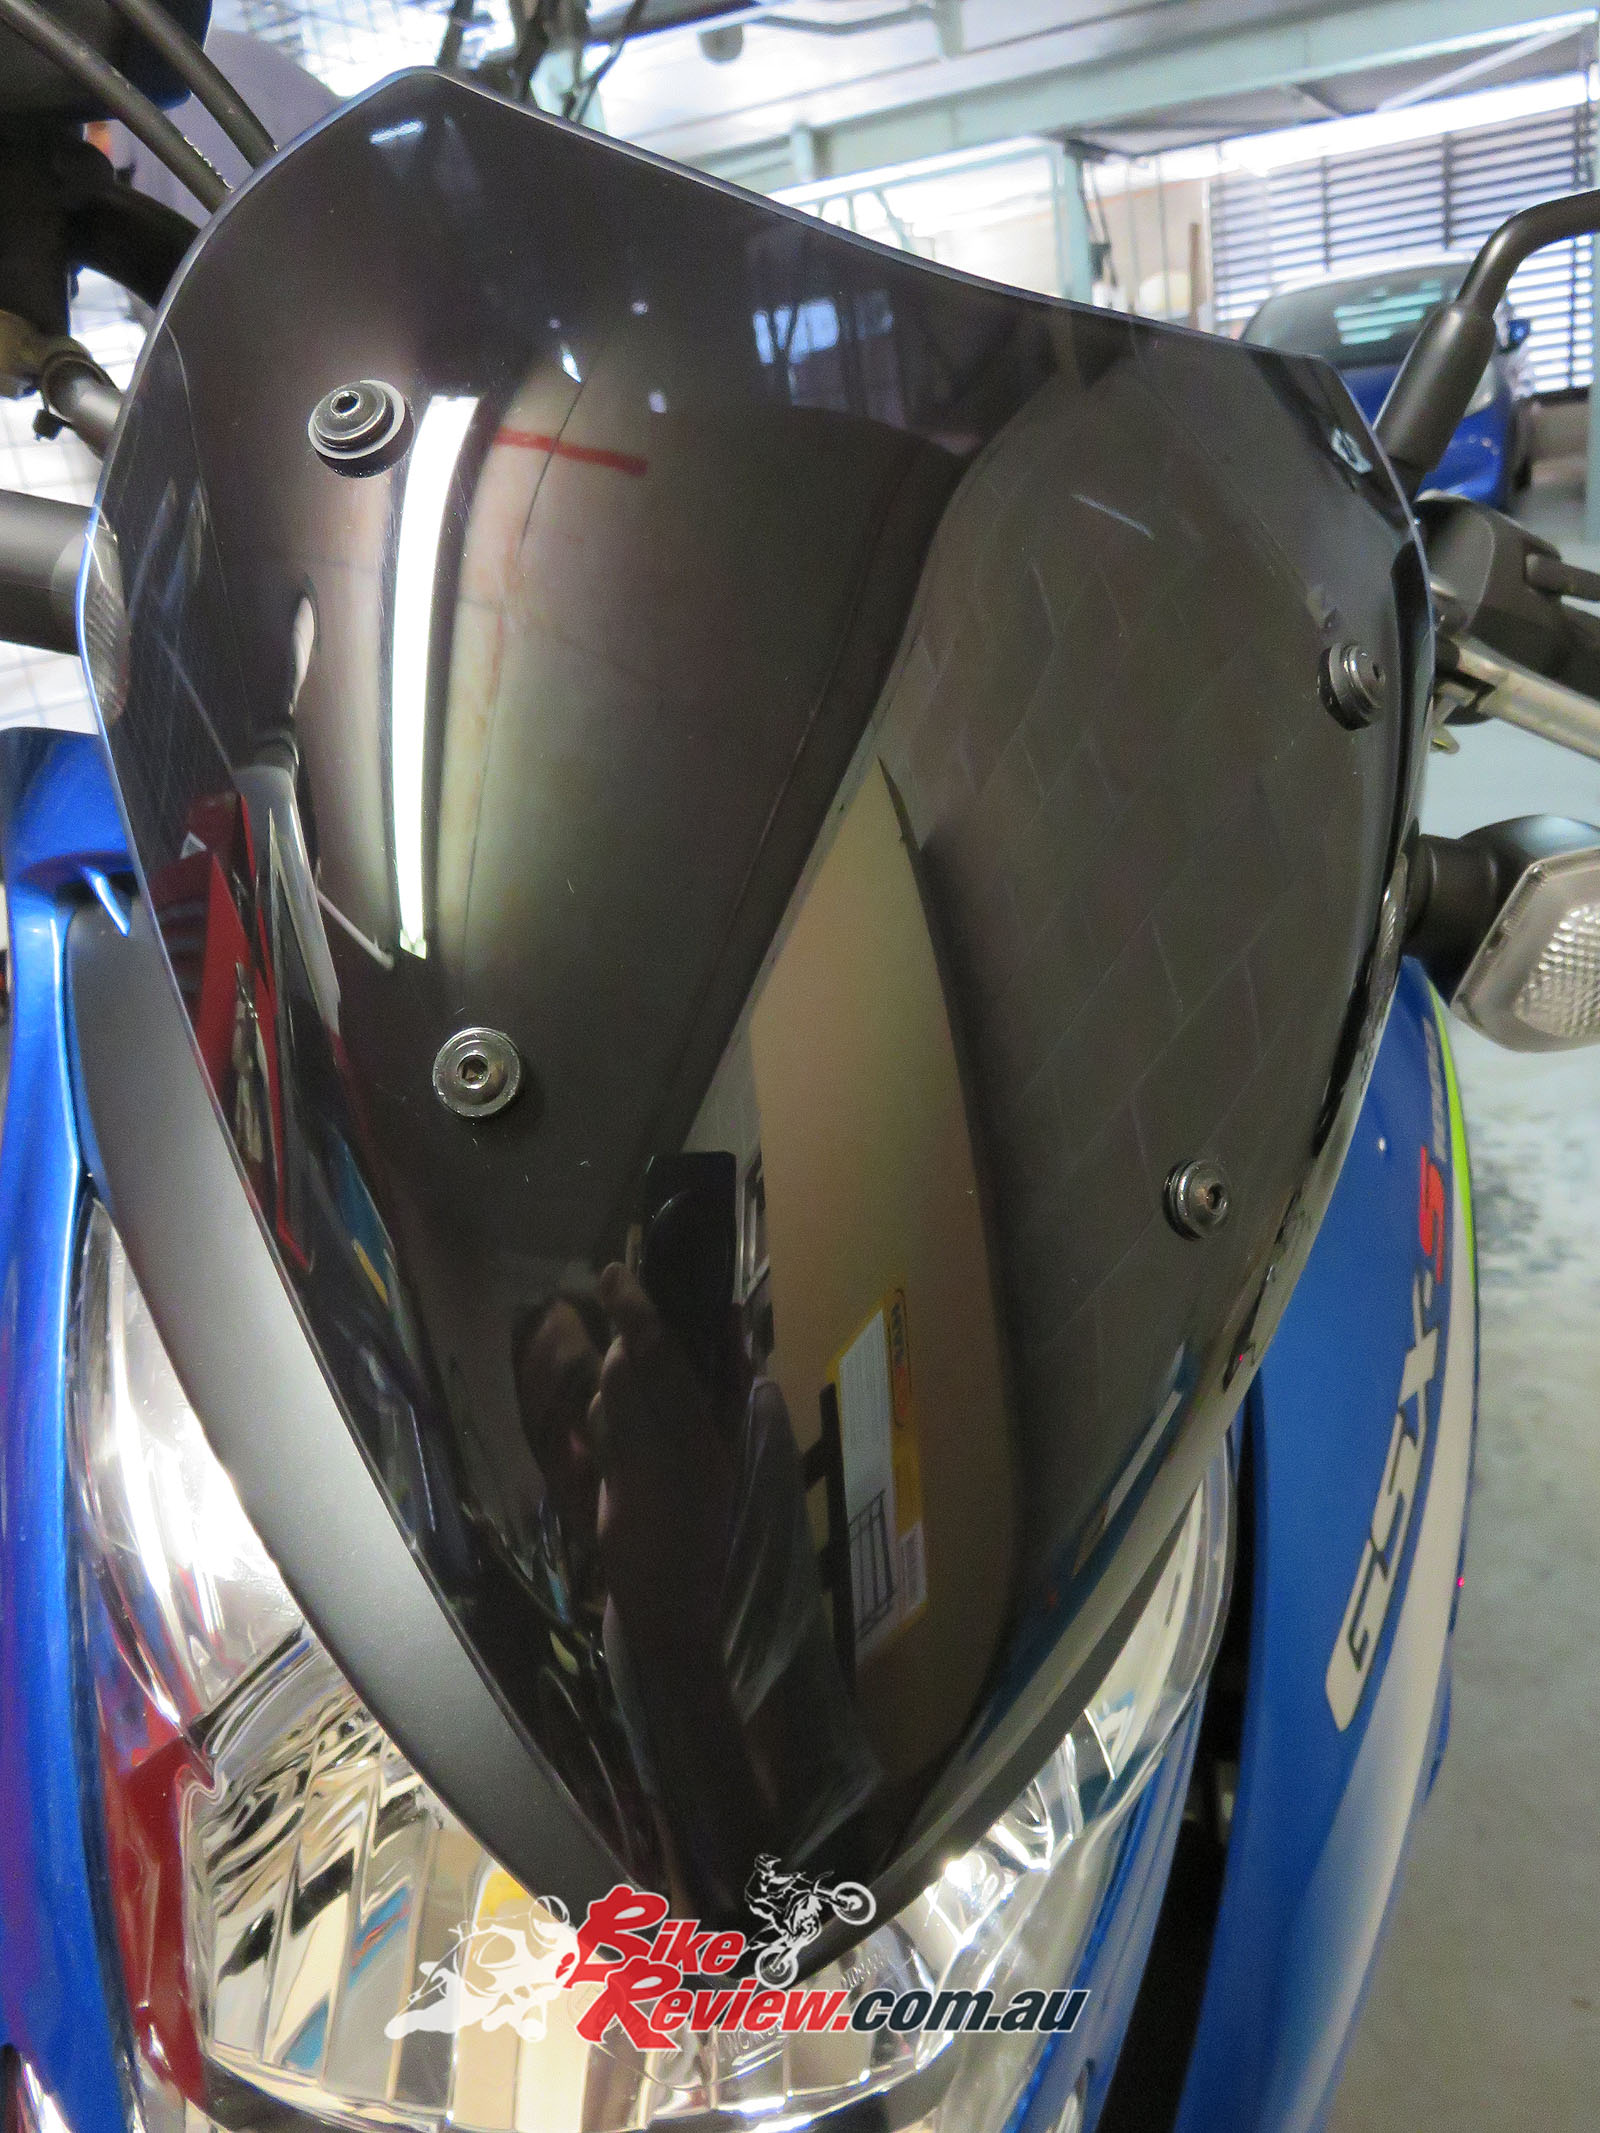
Everything in place and fully fitted. Make sure to give the bolts a good tighten. The lower ones in particular tighten into a nut in the rubber grommet, so it can take a while before it fully tightens. Definitely give them a check every few days for a few weeks to ensure it’s staying secure as well.
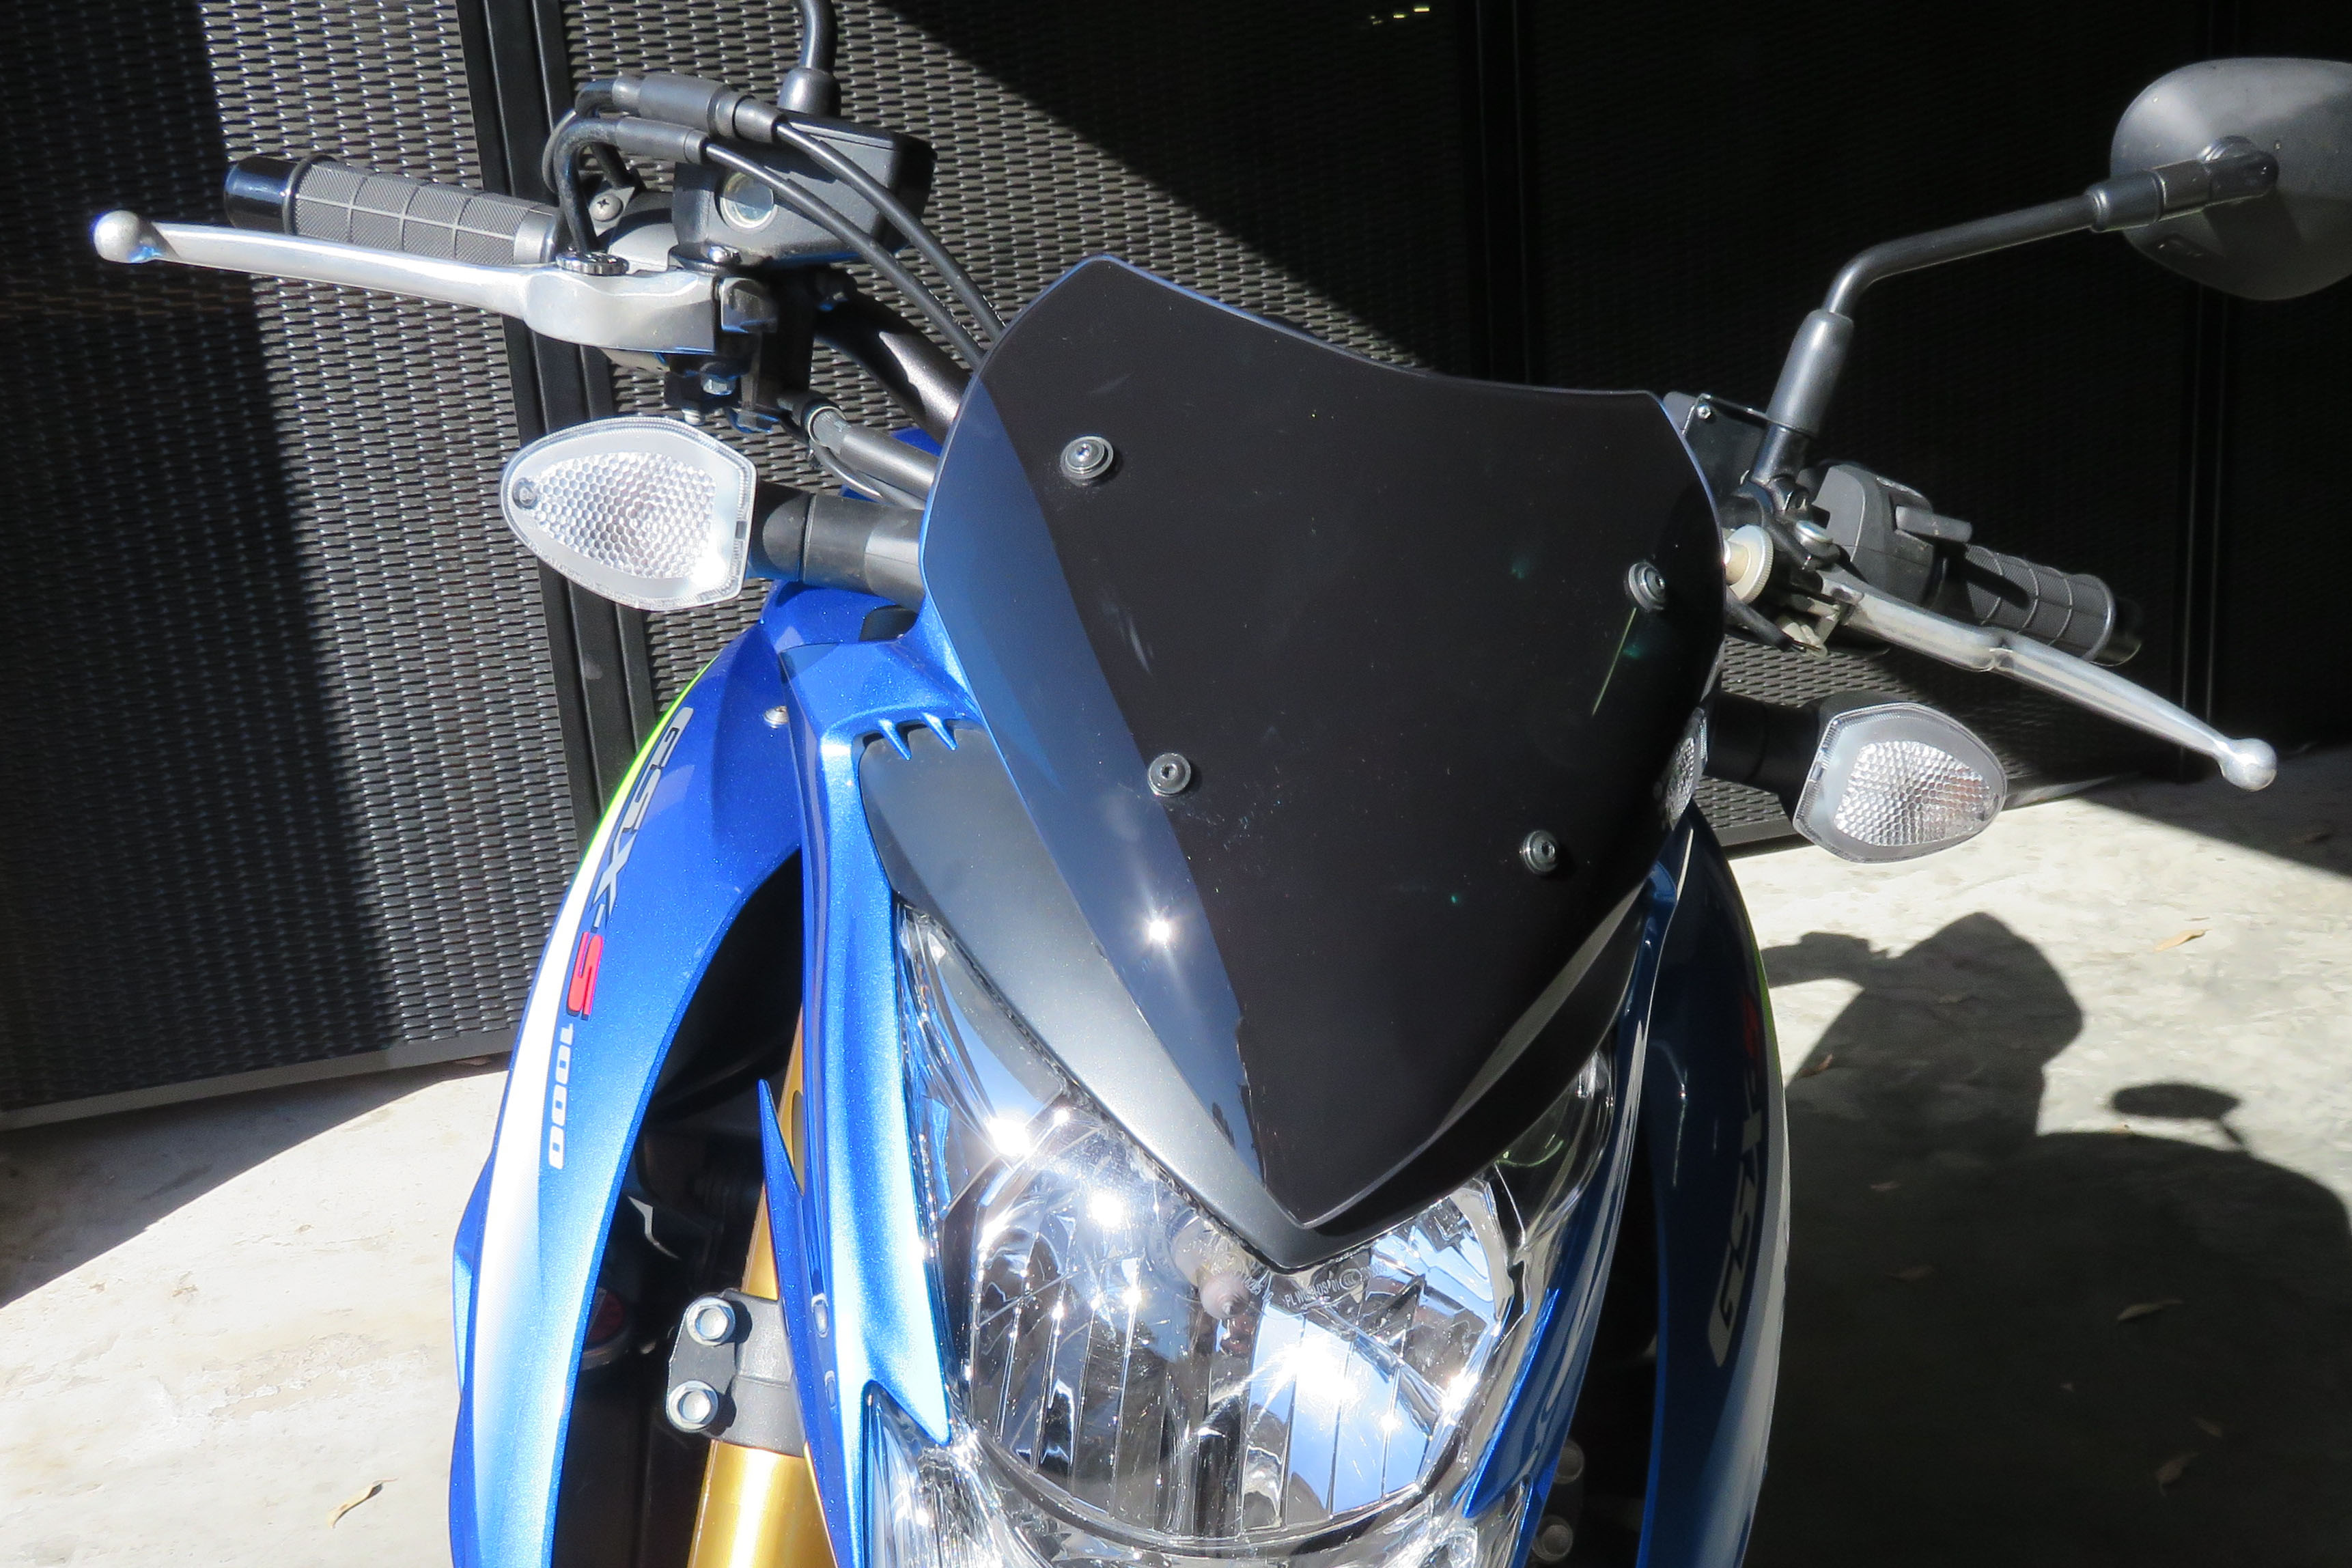
Pretty cool if you ask me, and definitely a fair bit cleaner than the standard setup. All the brackets are nicely hidden as well, and it’s not too difficult to remove and replace if you need to get into the headlight.
You Might Also Like