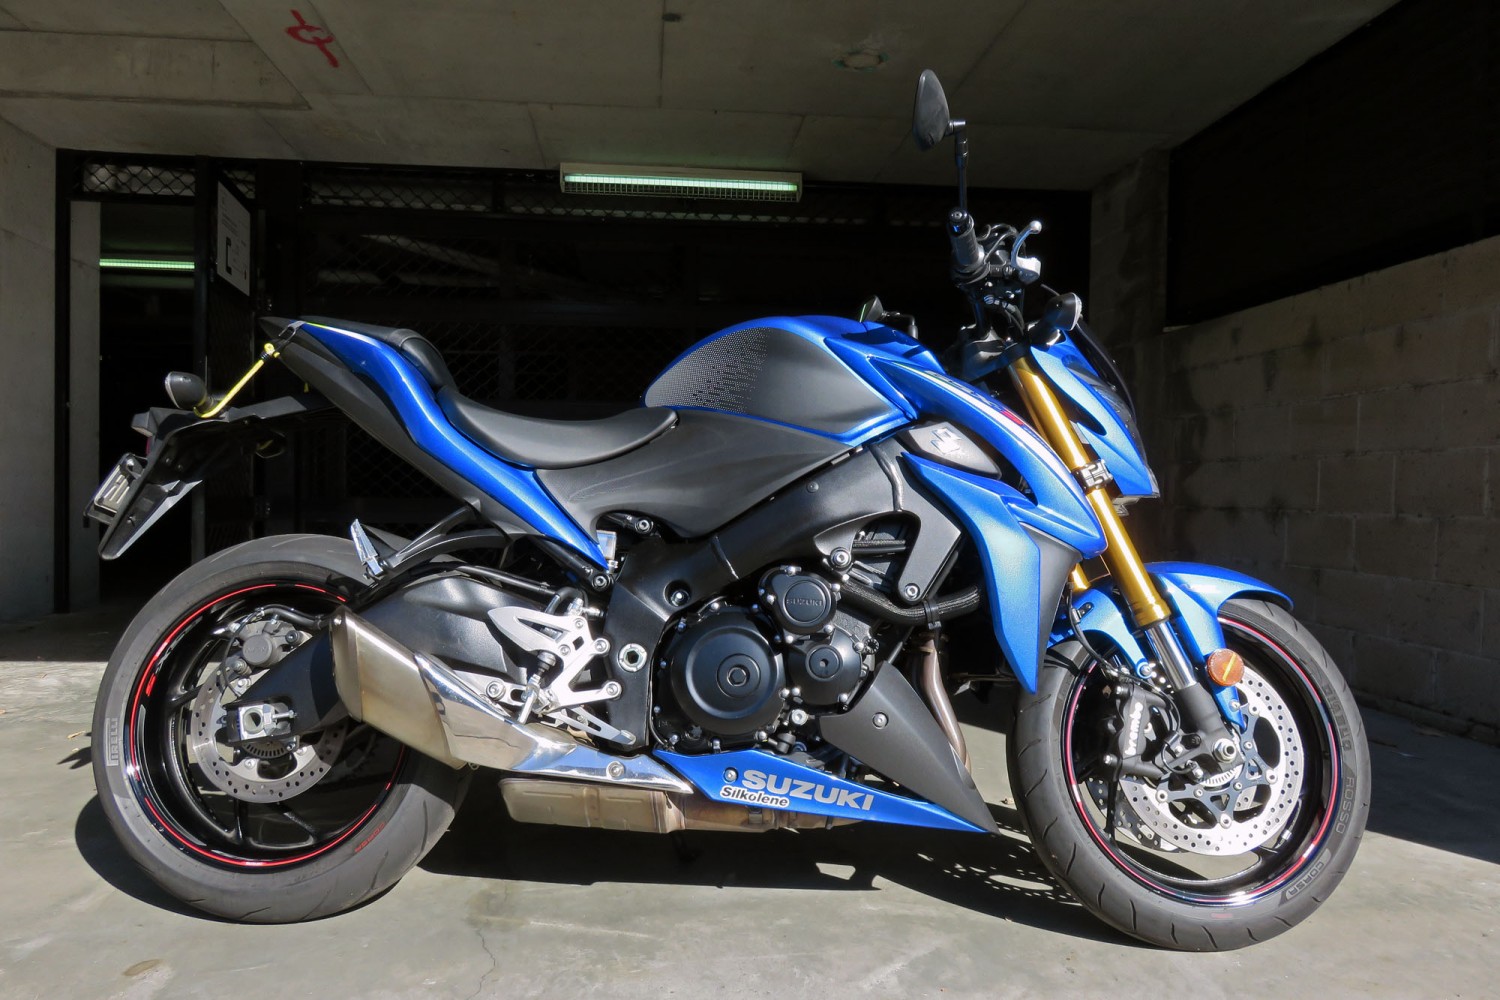
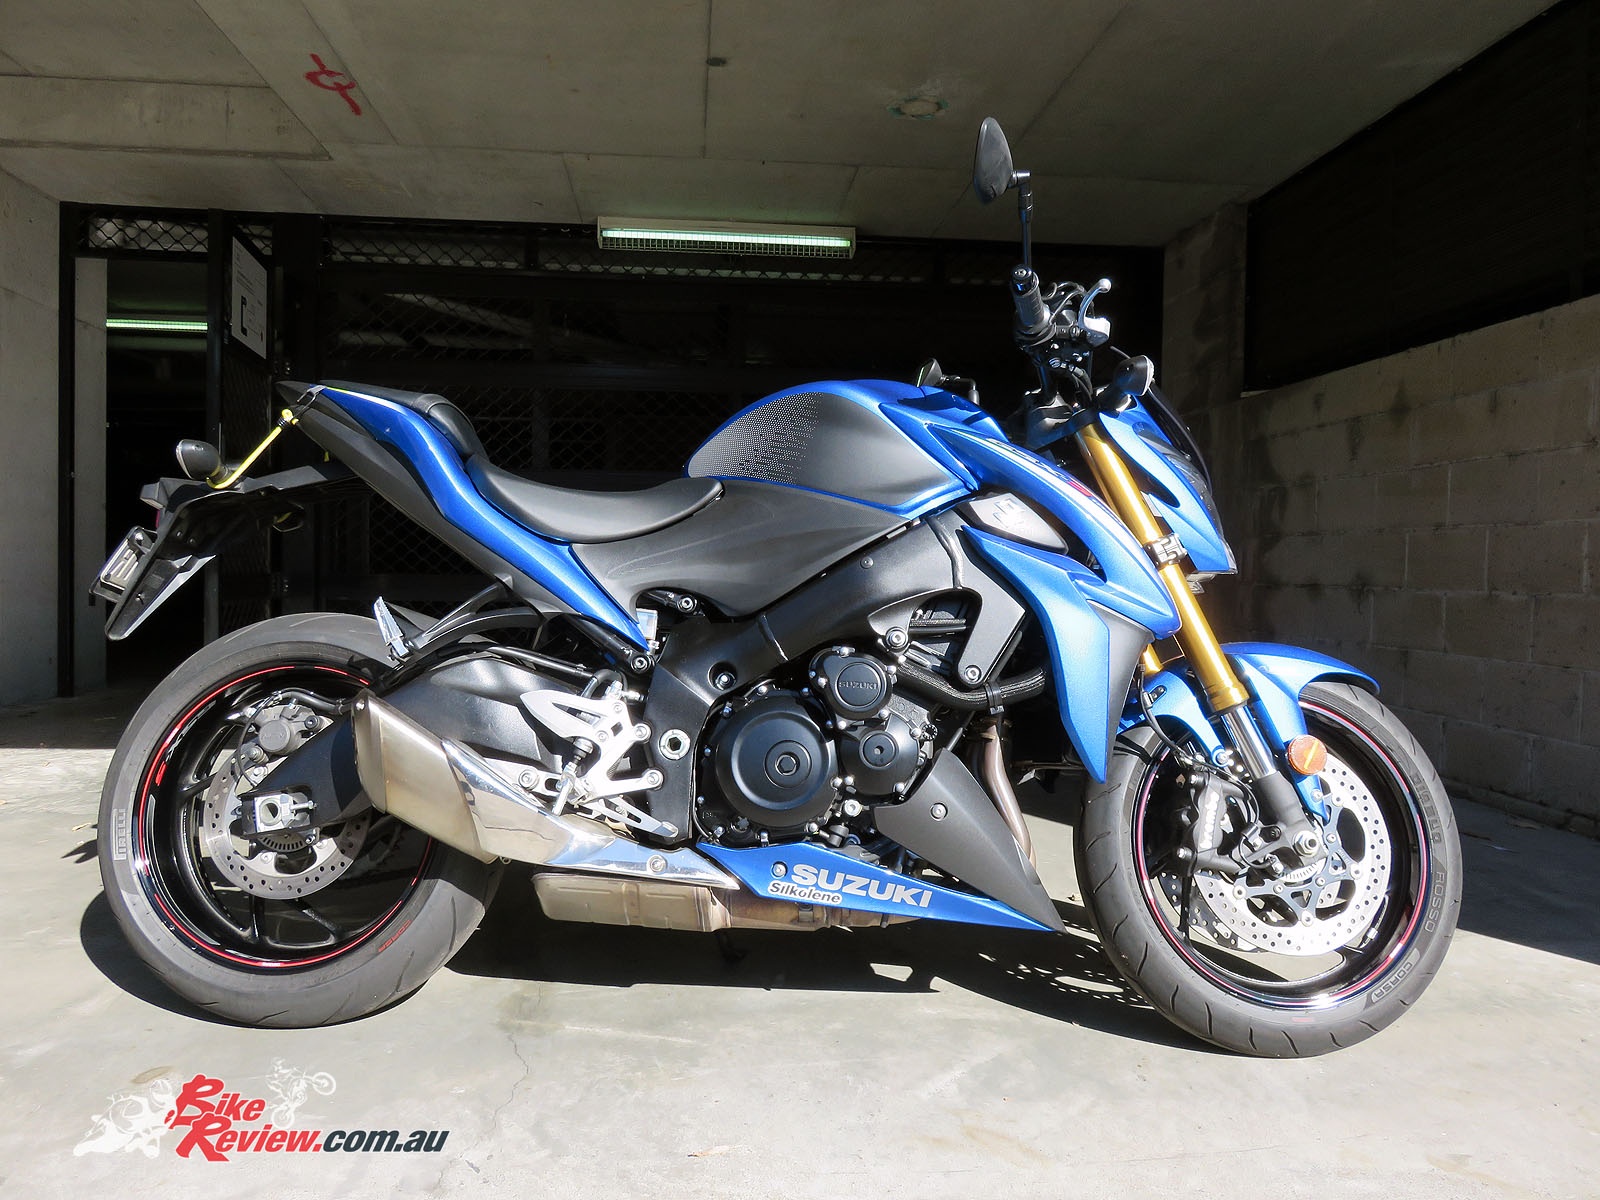
Applying a set of Rim Decals to your bike is probably easier than you'd thought. Here's how we applied a set to our long term GSX-S1000.
These Suzuki Rim Decal Sets are a cool addition to a standard set of wheels, which may leave you thinking they need that little something more, especially with so many bikes coming with black wheels these days!
You’ve probably seen some of the DIY rim decal jobs around too, and it’s not the easiest job to do well, especially if you’re not removing the wheels to make the whole thing a lot easier.
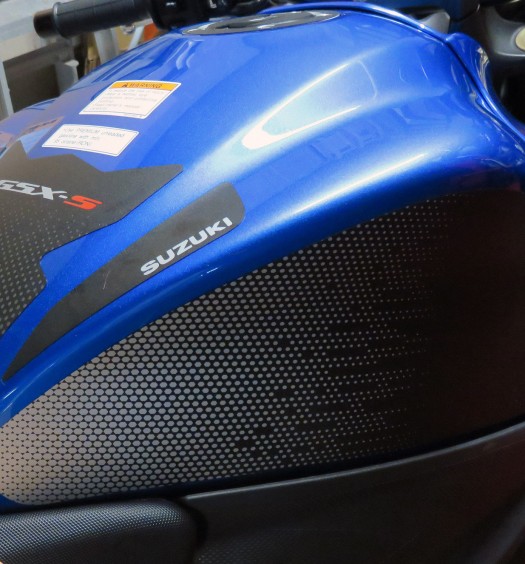
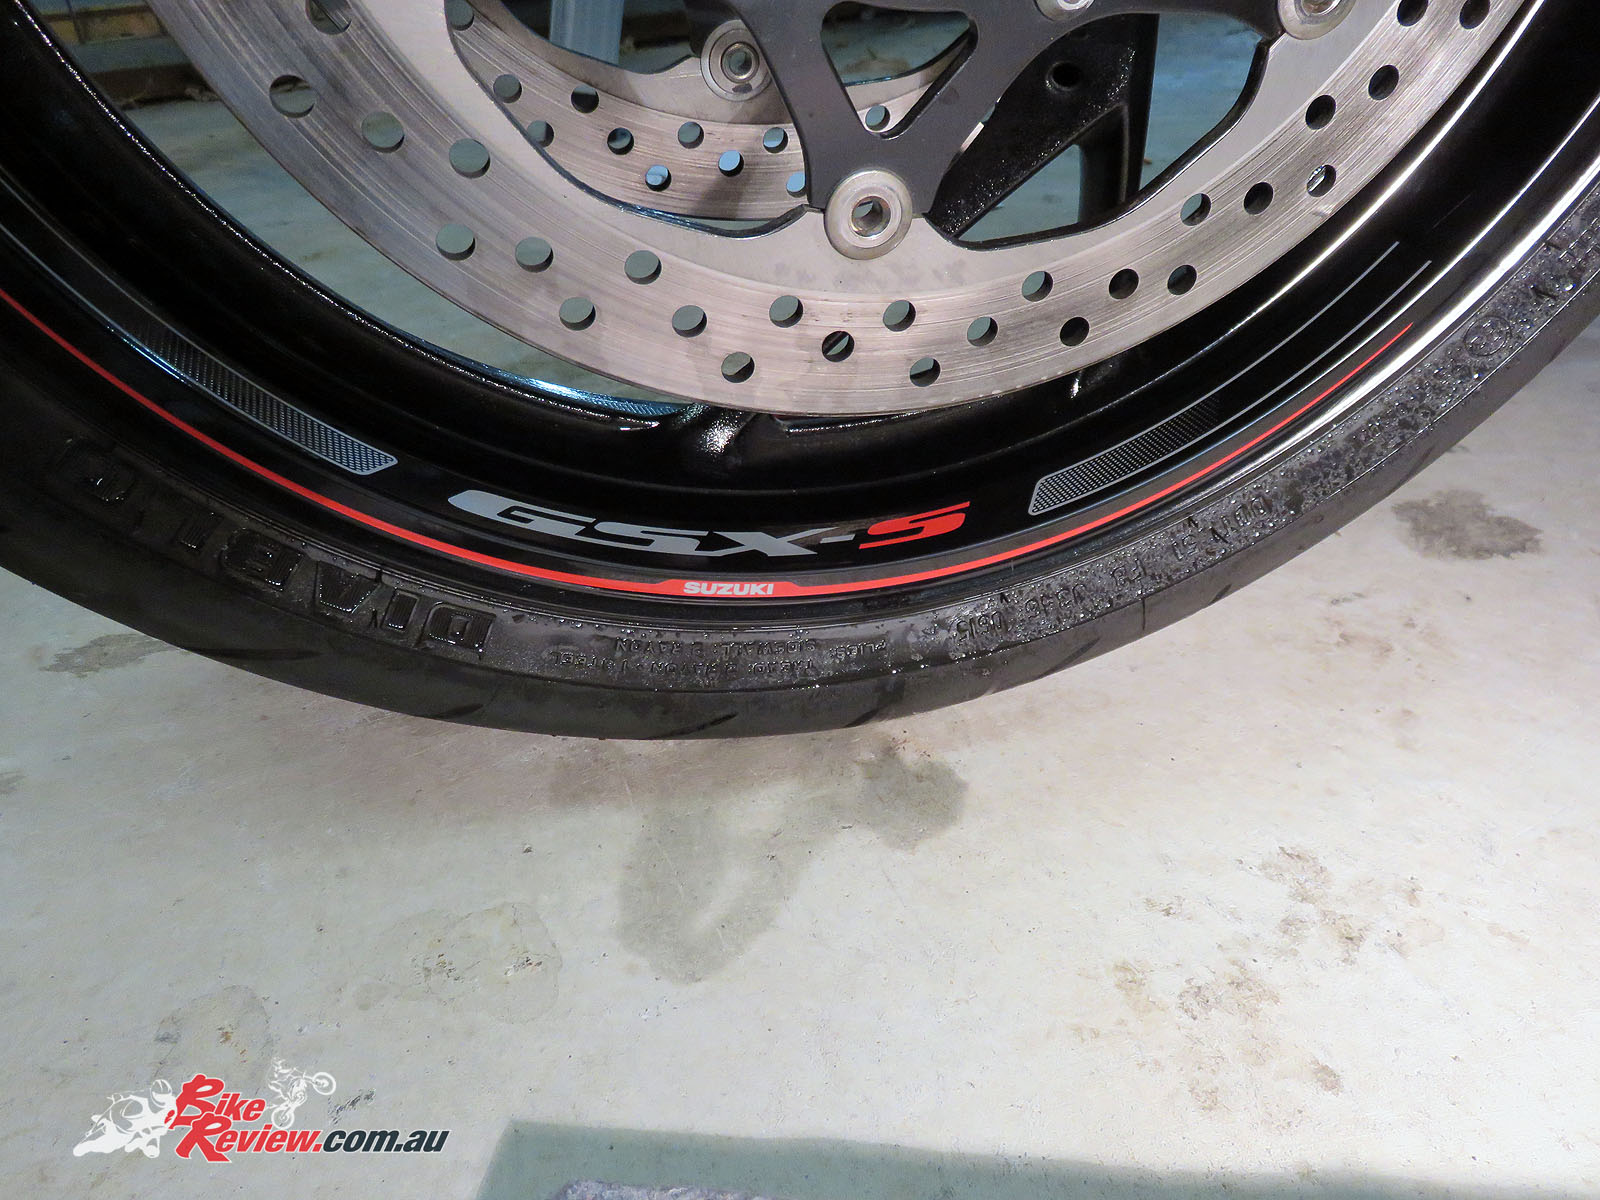
These Rim Decal Sets from Suzuki are available in a couple of different styles, with each kit doing a single wheel, so you’ll need two sets for both wheels. We’ve got the GSX-S Rim Decal Set, or two of them to be exact. These have GSX-S on them and match the design of the tank stickers. They aren’t available in blue to match the bike’s colour, but still look pretty good. They’d look even better on a red GSX-S though, especially the Candy Red GSX-S1000F they’ve just announced!
We’ve added them with the wheels on the bike, and the instructions are relatively simple, and recommend about 30 minutes per set. This is probably how long it’ll take a dealership who does them all the time, but I’d probably say about an hour each wheel all up.
We also used the same water with a few drops of detergent mixture to help with getting them on as straight as possible. They are precurved which helps, but it’s still a bit tricky. The instructions don’t mention using water, and if you’re doing this with two people and front and rear stands it’s probably possible to do without.
This was just done with one person however and no front or rear stand. We also re-used the plastic scraper that came with the tank decals, that helps remove bubbles from under your rim decal sets.
You can check out the full range of accessories for Suzuki motorcycles, and the GSX-S1000 in particular at the Suzuki Motorcycles Australia website.
GSX-S1000 Rim Decal Set (GSX-S) Install – Step by Step:
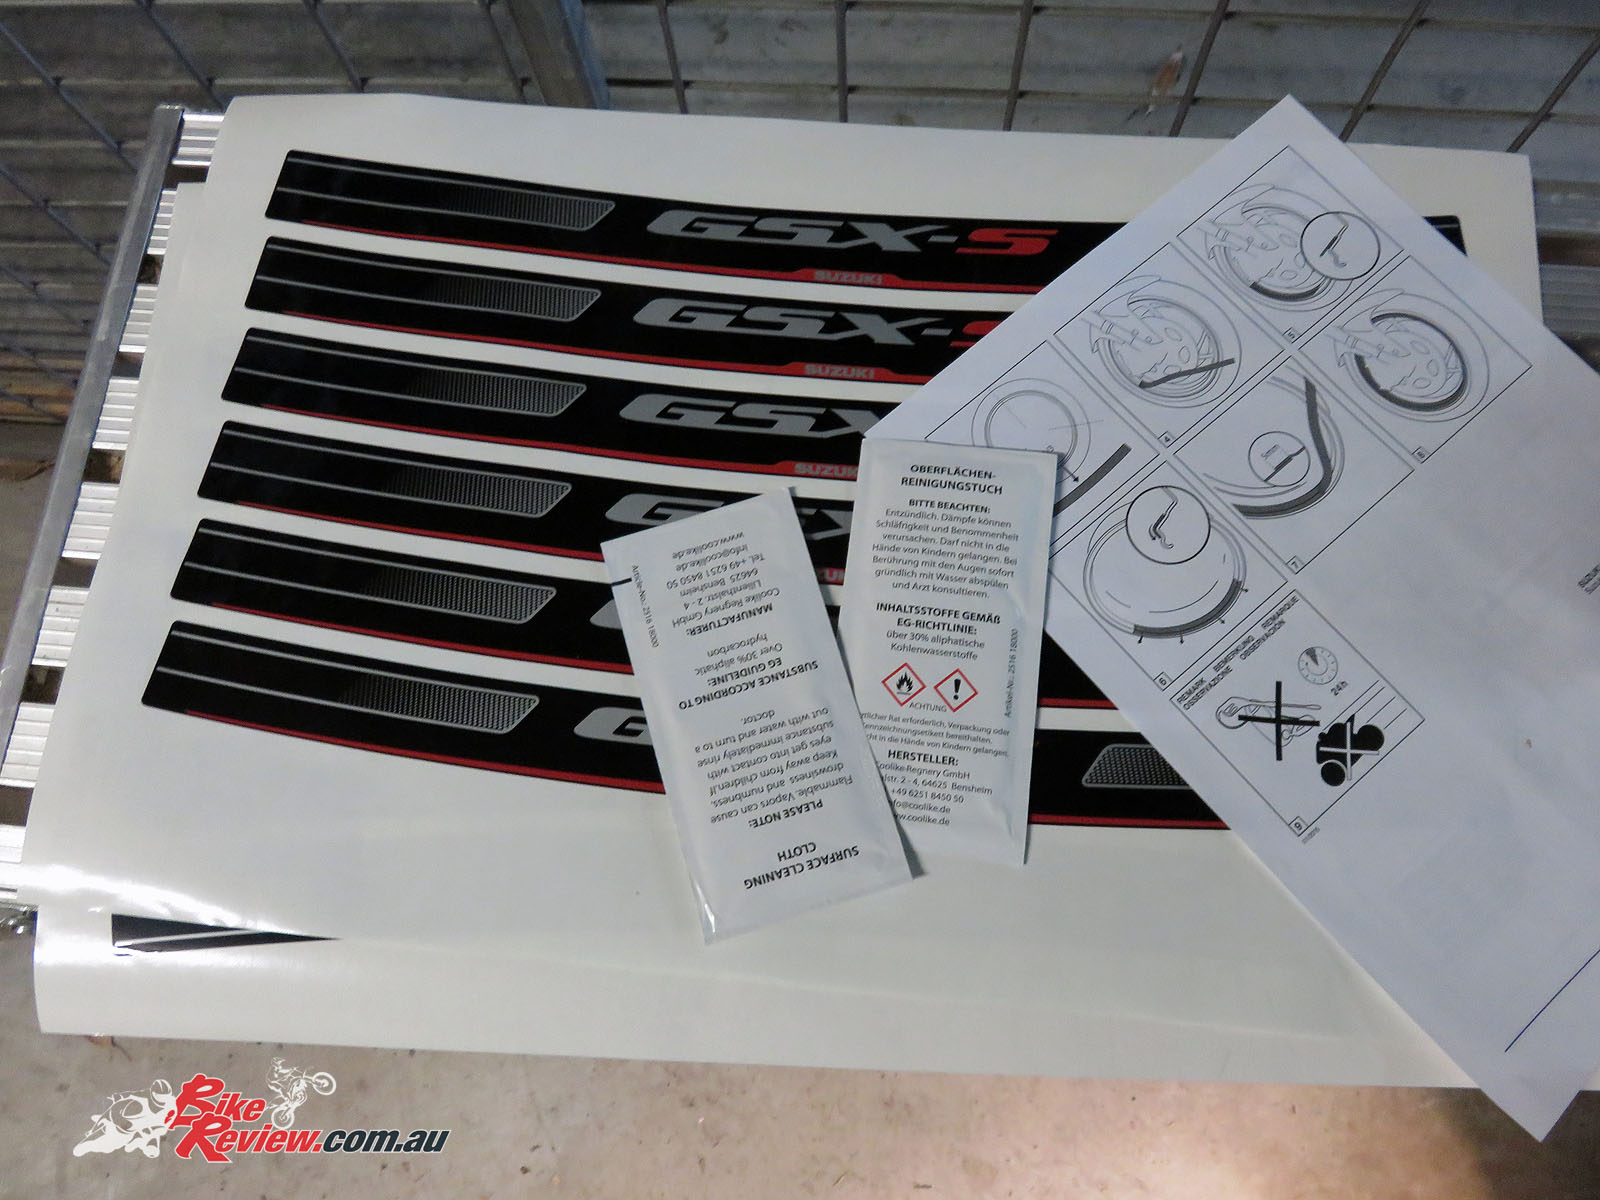
Get everything together. Here’s the two rim decal sets, one per wheels, instructions, and the cleaning cloths provided. Also used was a spray bottle with water and a few drops of detergent, a couple of clean microfibre cloths, a small amount of methylated spirits, plus the plastic scraper from the tank set, which helps apply the stickers and get any bubbles out. I also had the hair dryer on hand for a few sections, but didn’t use it much for this application. Because the stickers bend over the side of the rims you need to be careful with the heat a hair dryer applies, so it doesn’t distort or damage the decals.

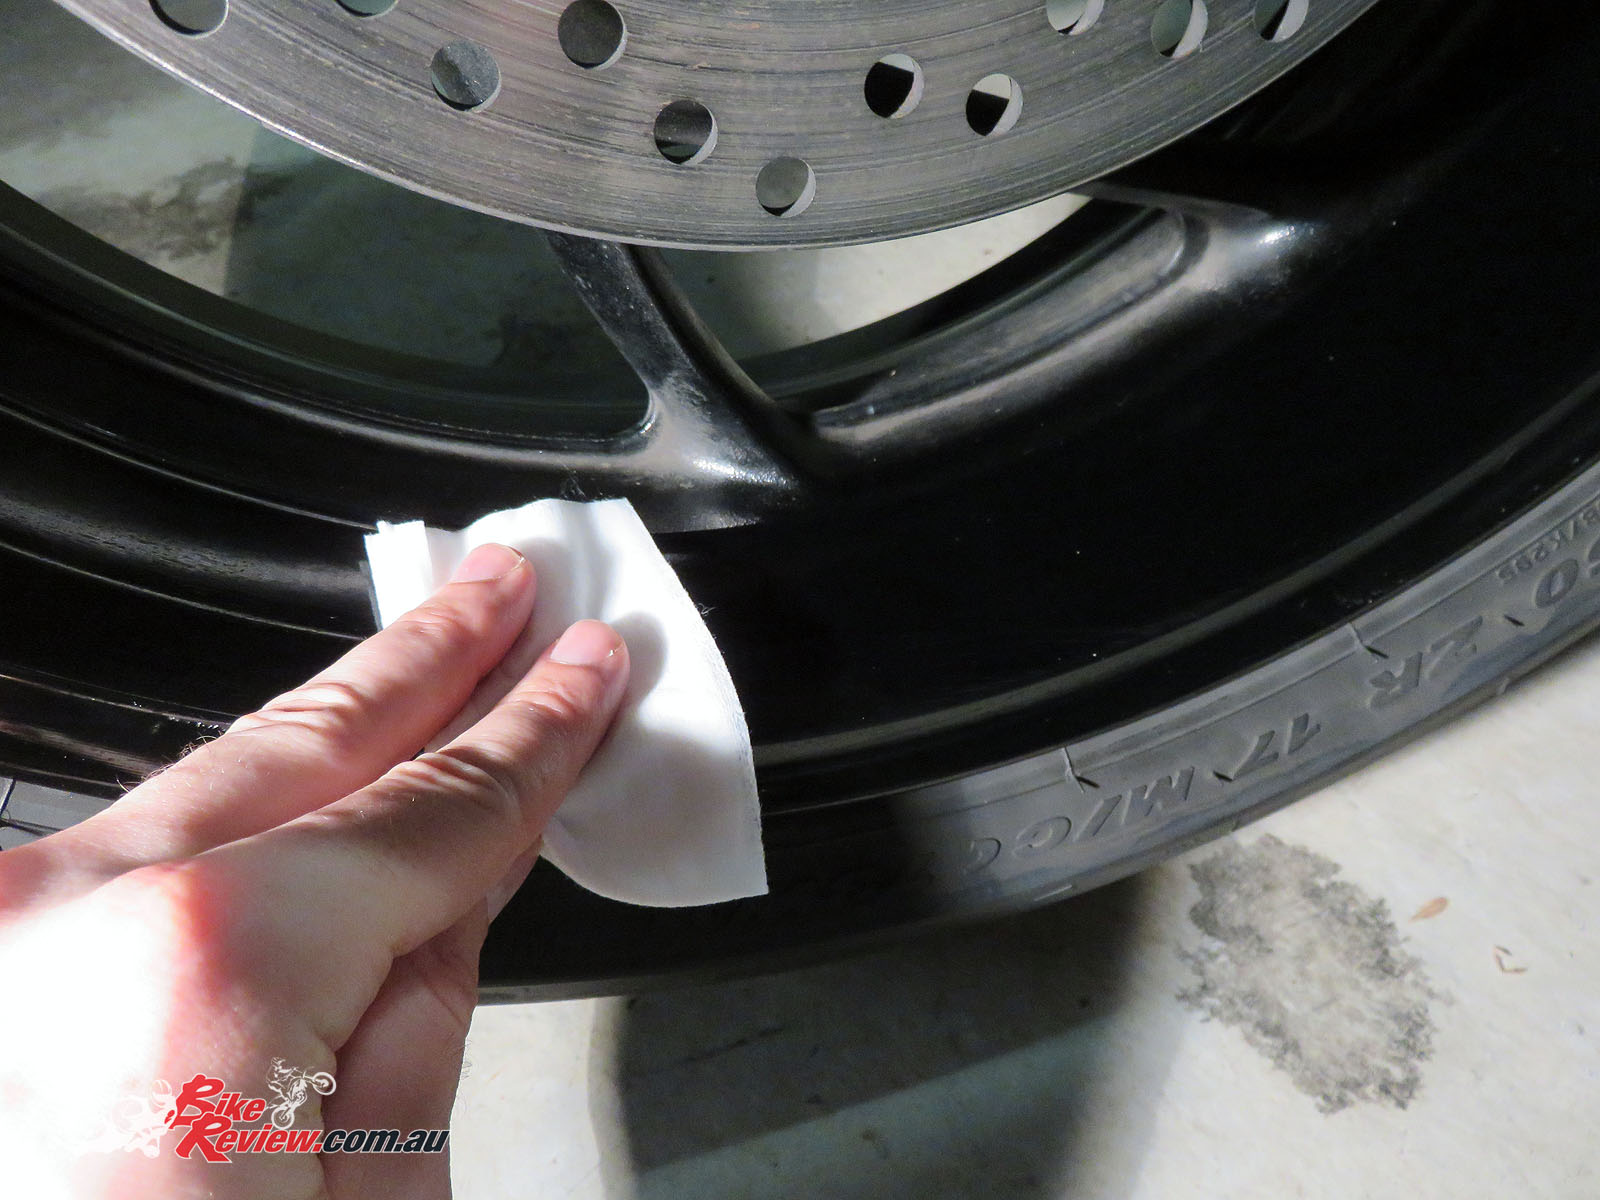
Here’s one of the microfibre cloths, with a bit of methylated spirits that was used to wipe down the rims, after they’d already been washed. As you can see there’s a huge amount of crud still on the wheels. I kept wiping till the cloth came up clean, then wiped it down again with a clean cloth.
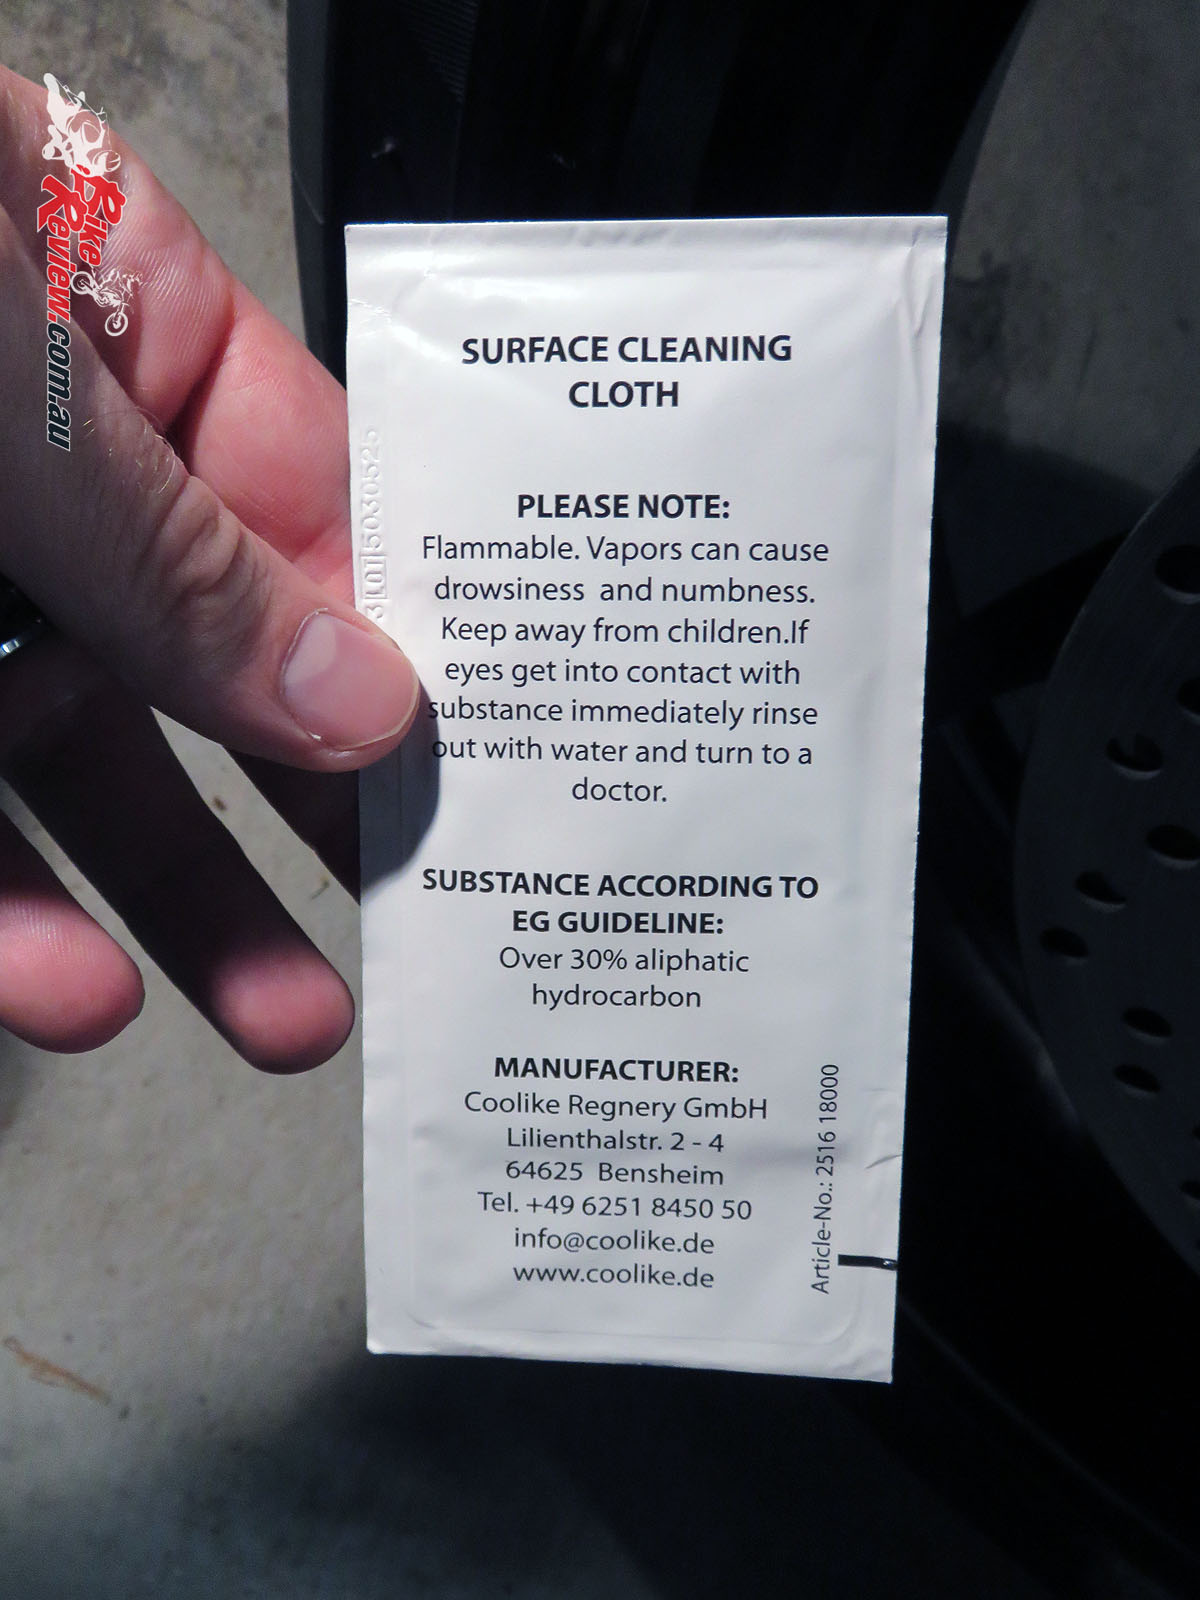
Next I used the provided cleaning cloths for a final wipe down. Tear the top off the packaging and put the cloth back in between use to keep the alcohol on the wipe from evaporating. That way you can keep wiping everything down as you go.
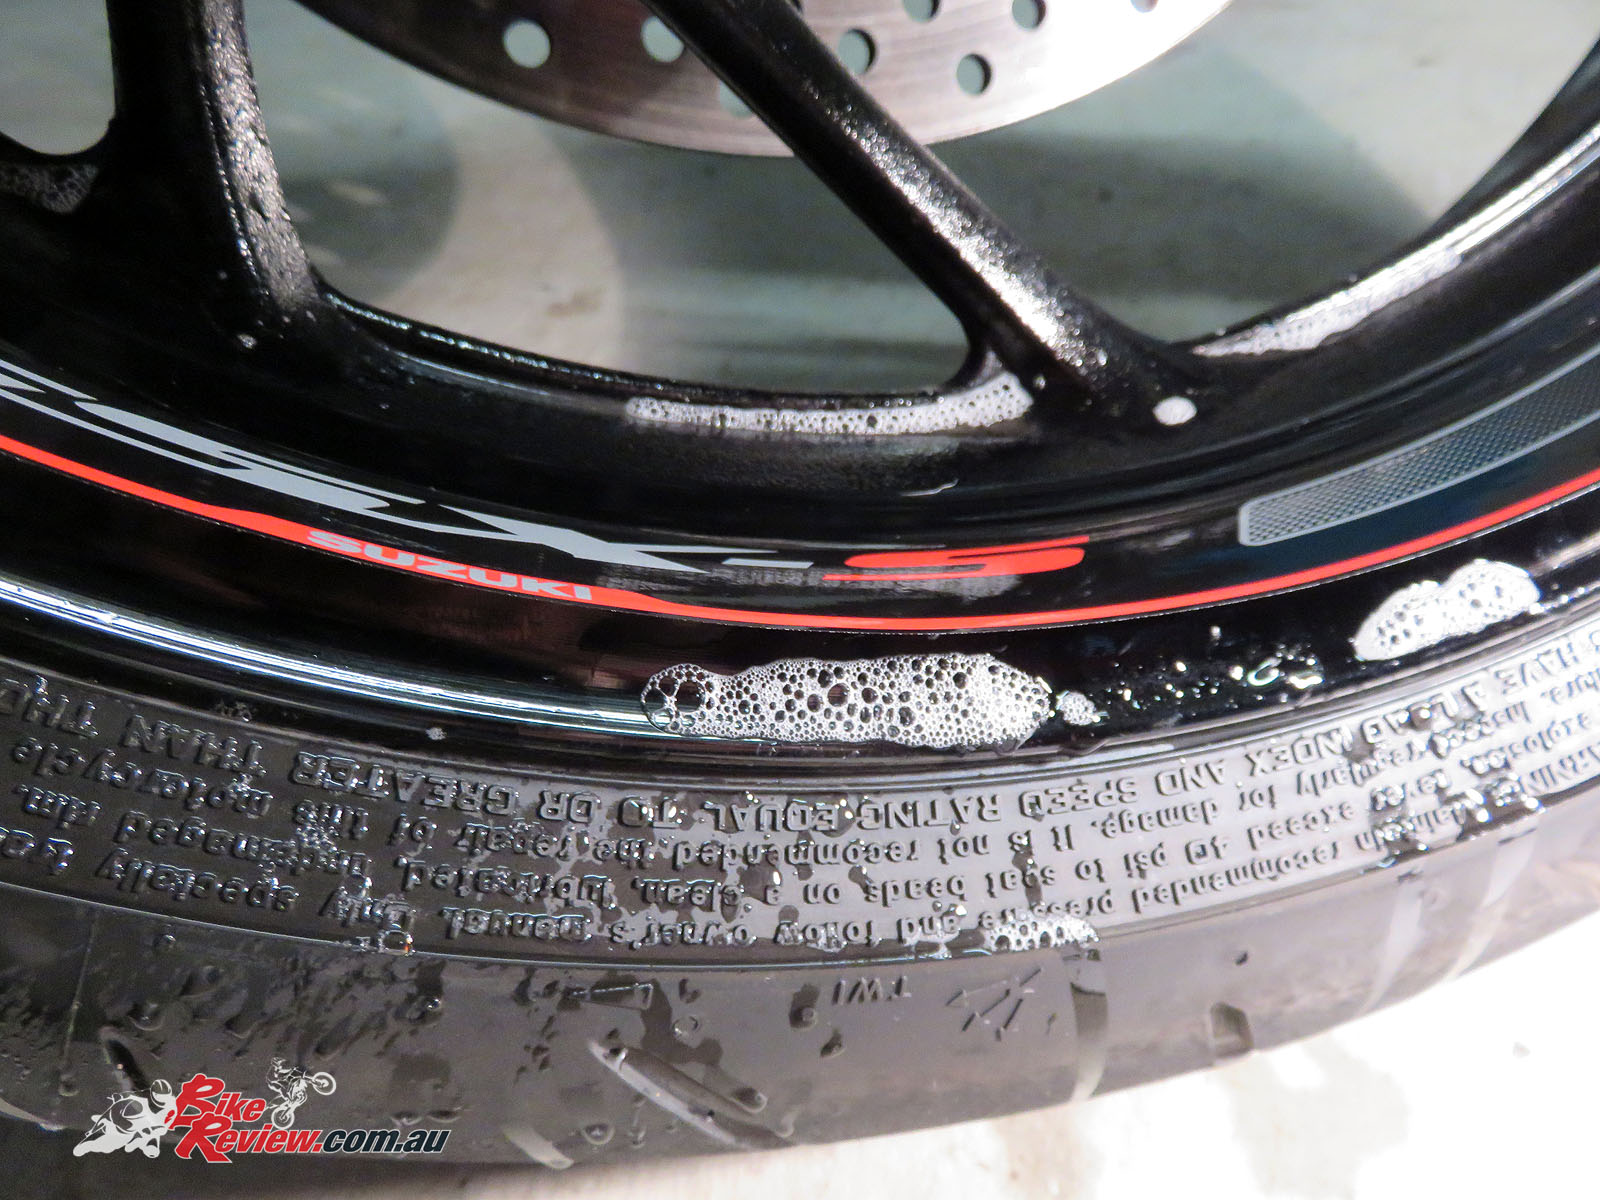
Give everything a thorough final wipe down.

Even after all the other cleaning there’s still dirt left on the wheel. Keep wiping till it’s clean!
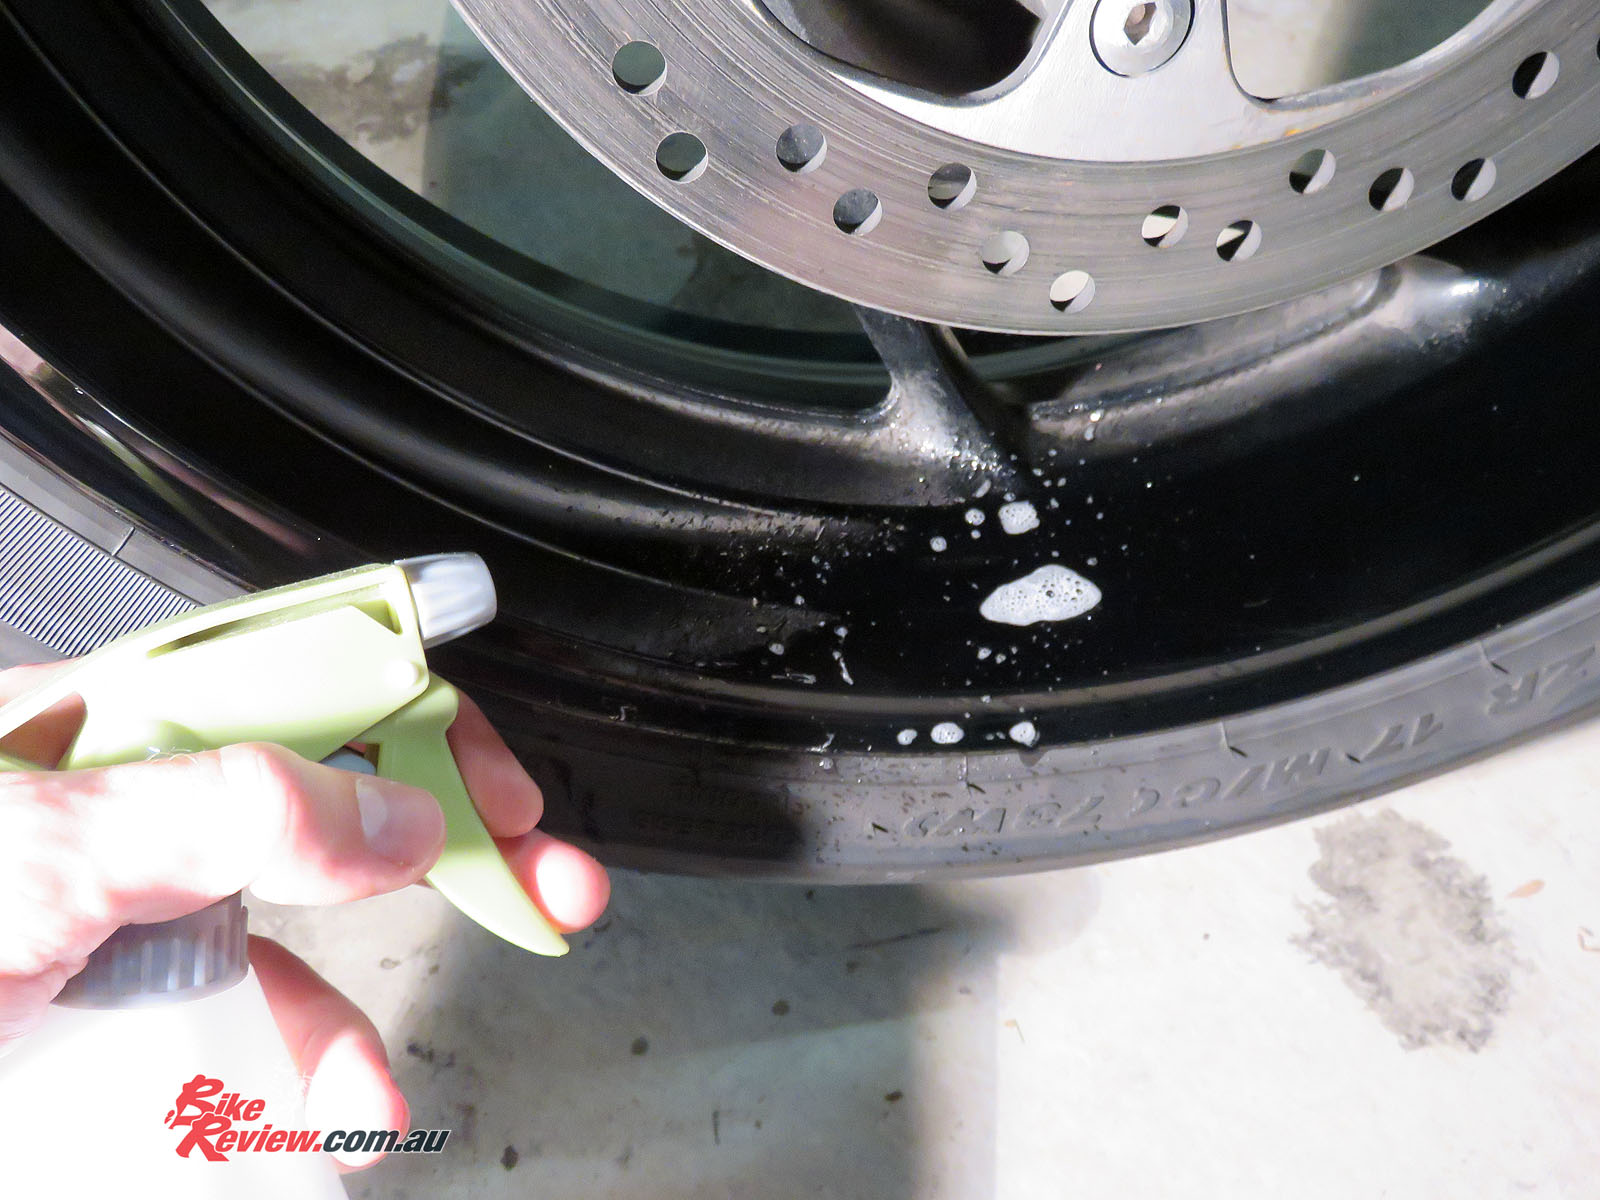
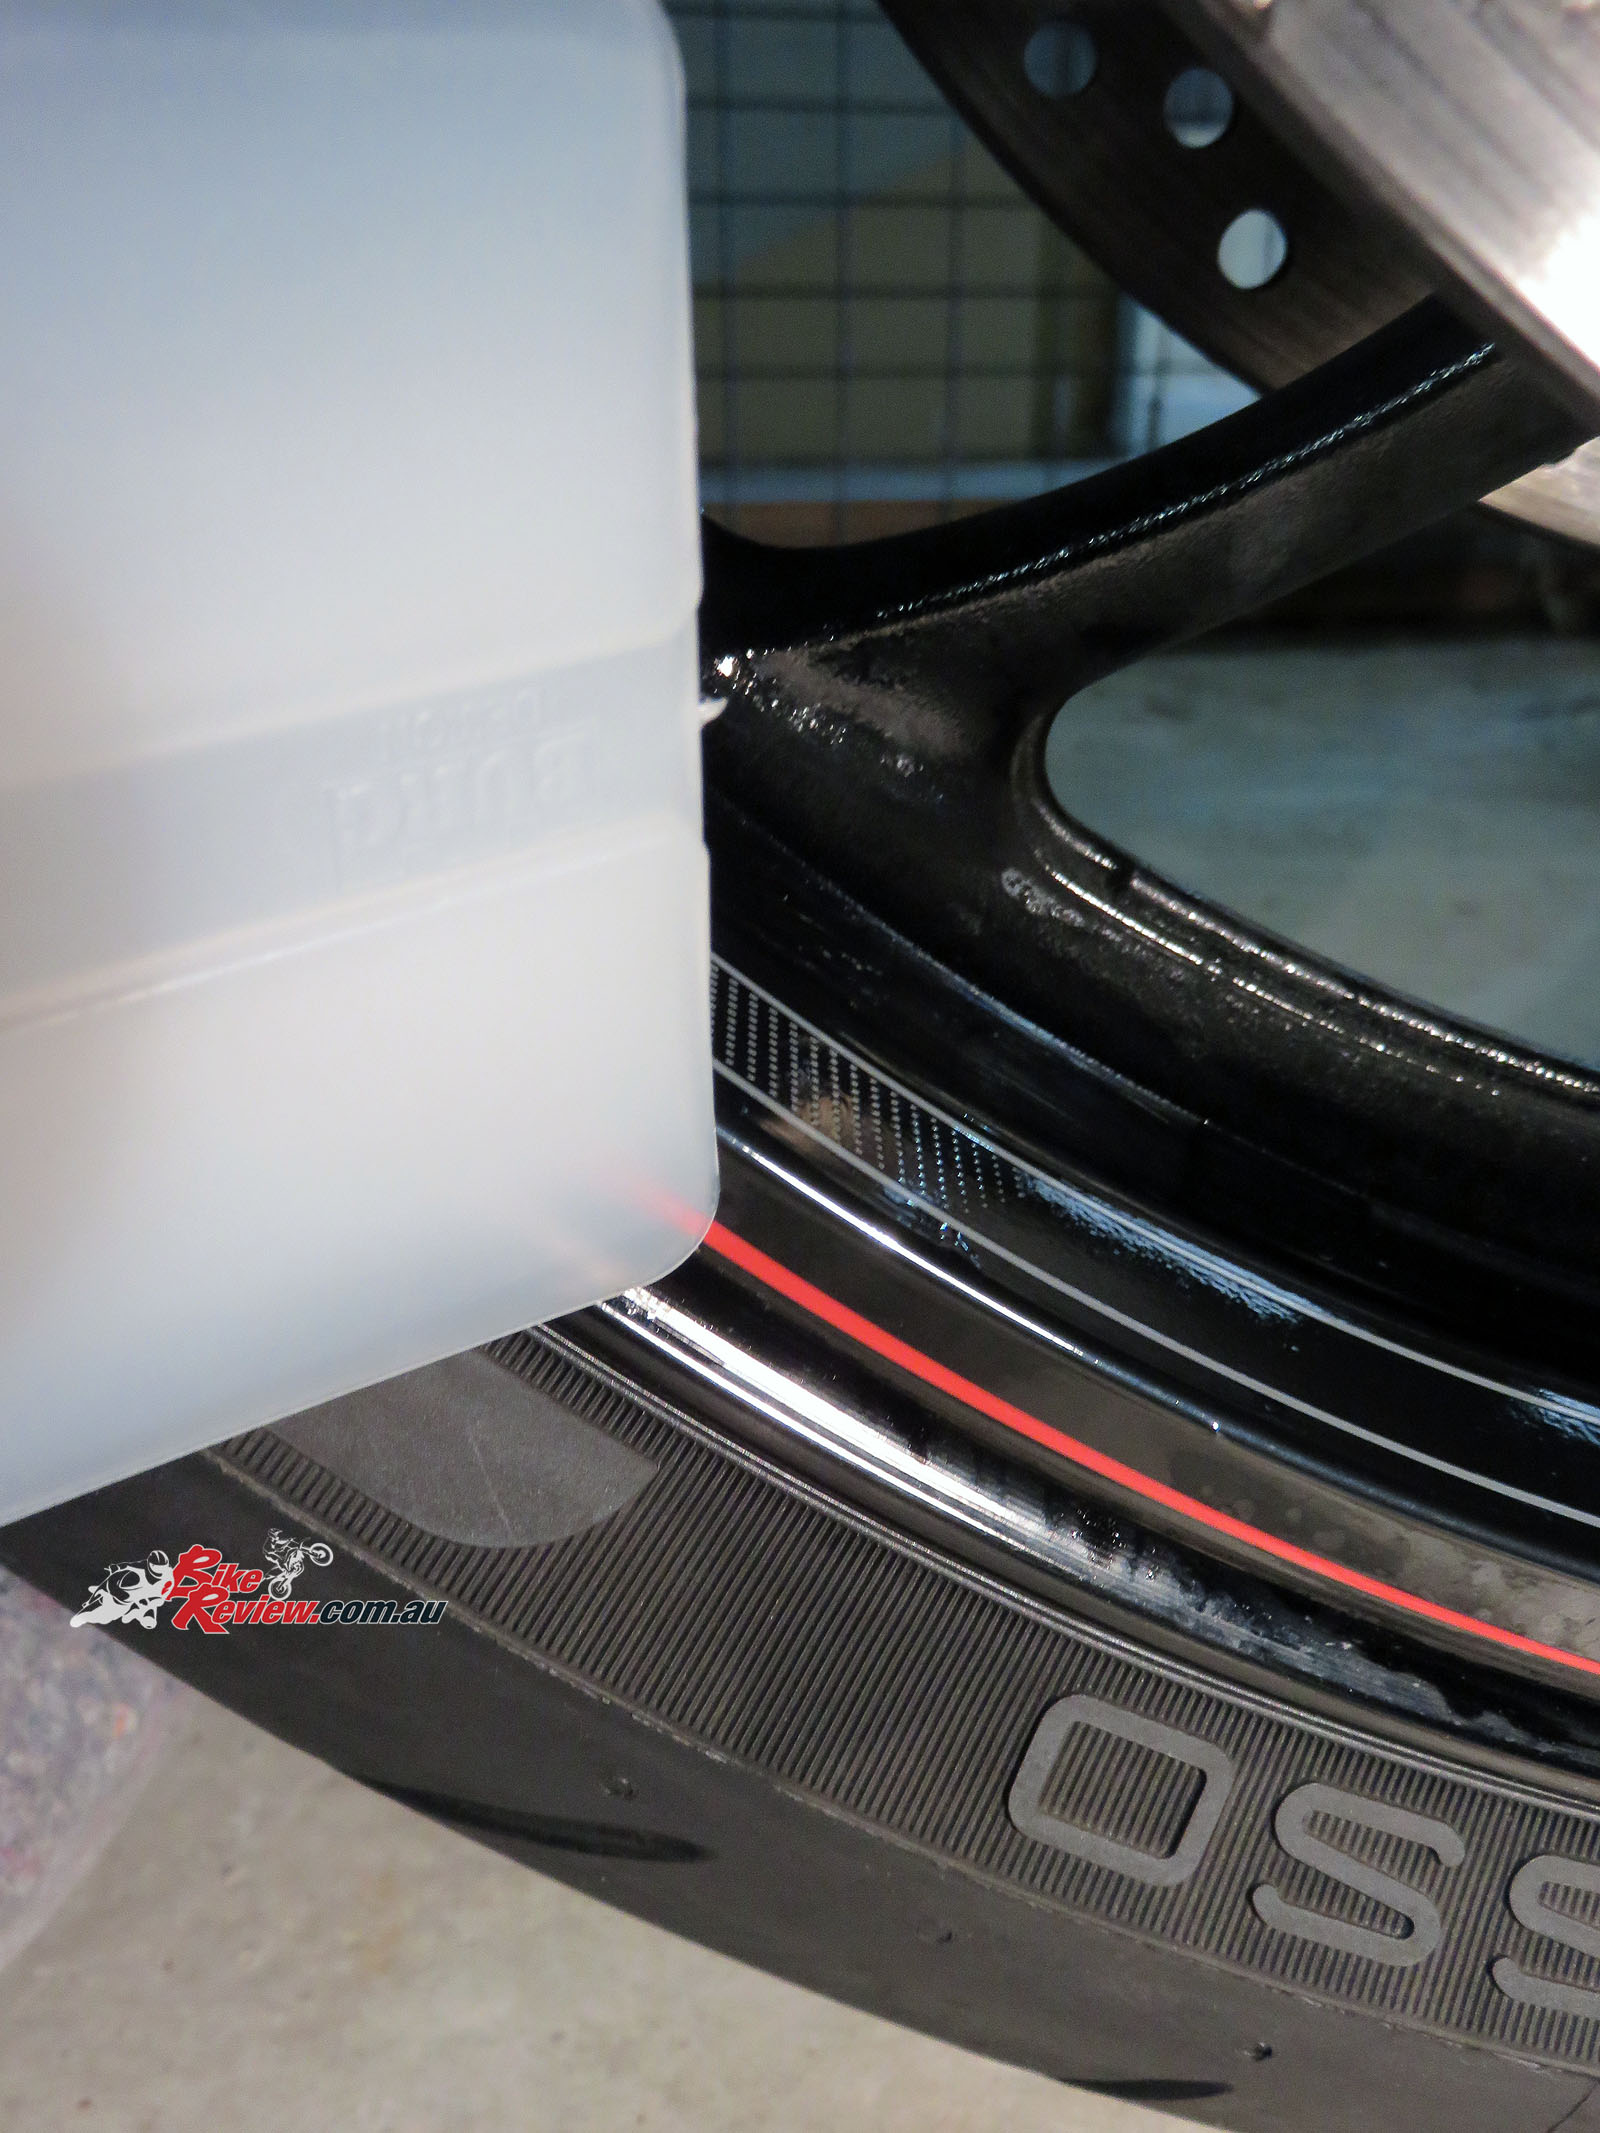
Spray on your detergent and water mixture. Don’t add too much or it’ll make getting the sticker aligned really hard, especially when it pools at the bottom of the wheel.
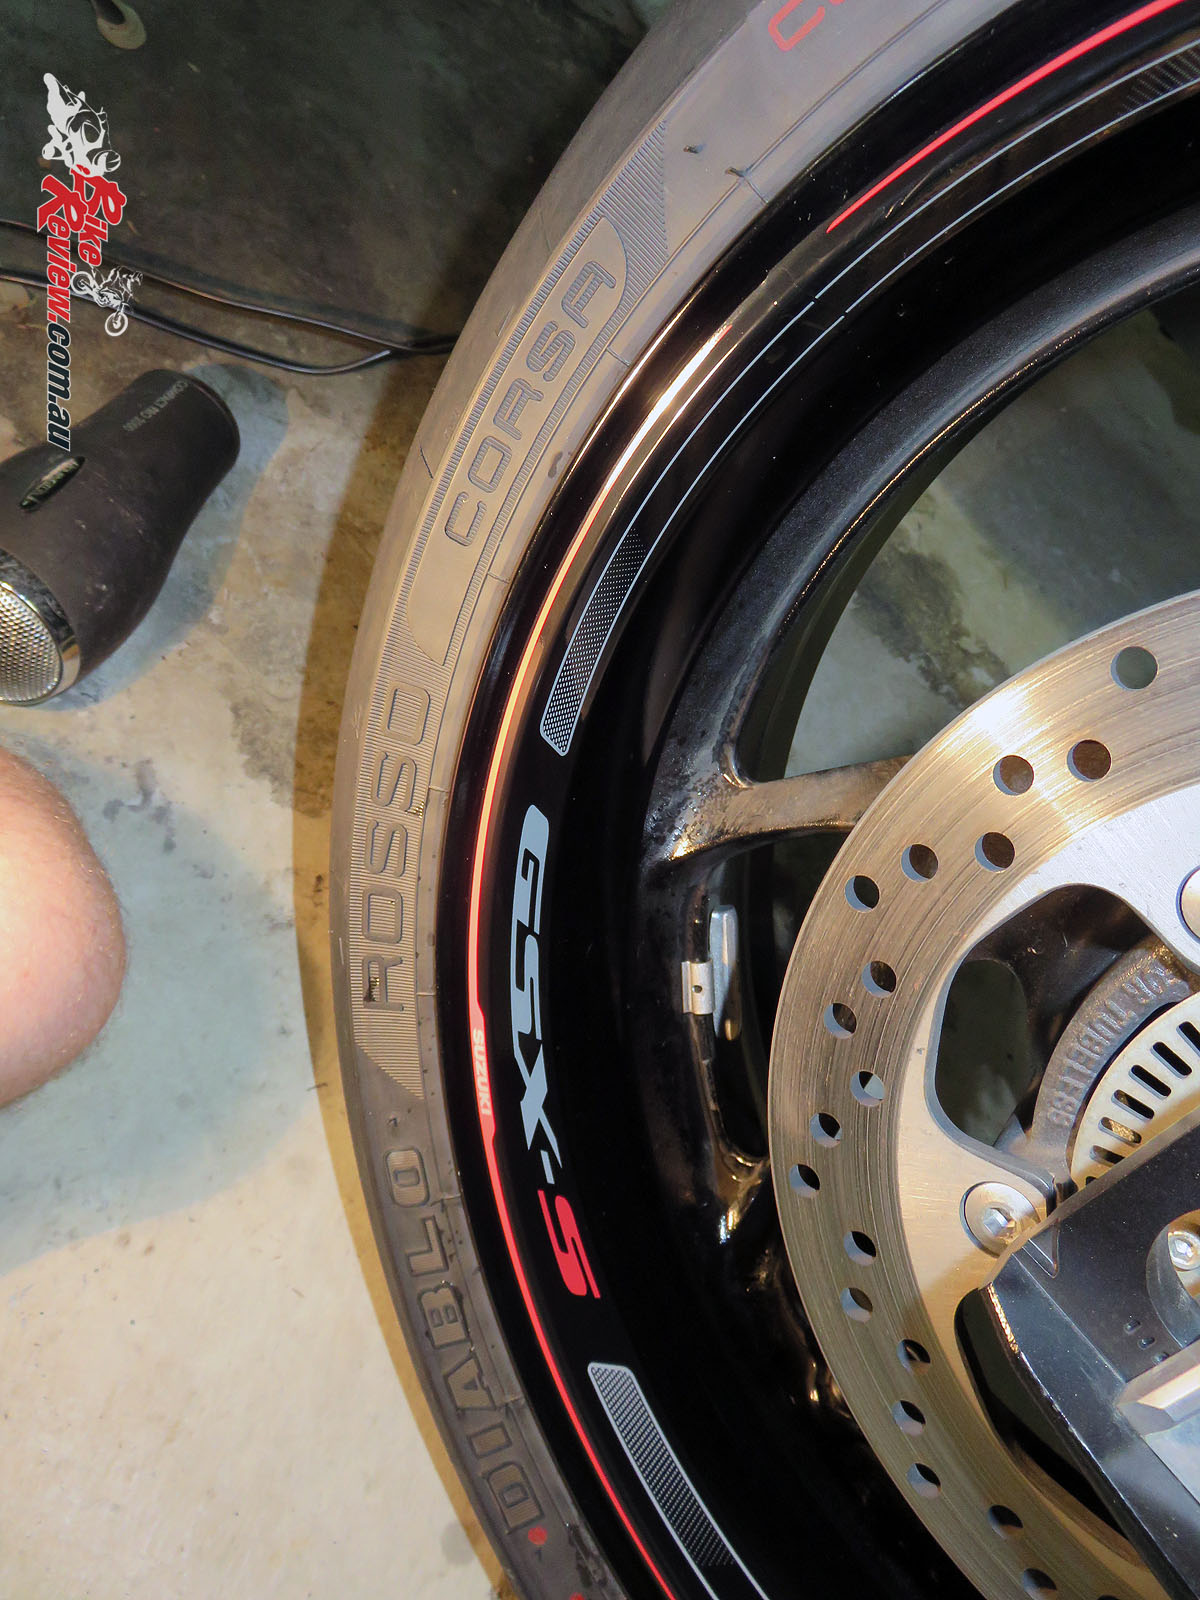
Place the sticker and make sure it’s aligned to the contour on the rim, it’s the first ridge in. There’ll be a fair bit of sticker that overlaps the horizontal ‘edge’ of the wheel, where you’ll need to bend it down in the next step.
Here you can see where you bend the sticker down over the edge of the rim, onto the section where your typical single stripe rim sticker is applied. You may need to wipe off any residual water under this area to get it to stick. I went from the centre out, pushing it down in sections and running a finger along as I went to ensure it was sticking down flat. Also make sure you’re applying it without any slack or air bubbles at the bend.
One down, another 11 to go!
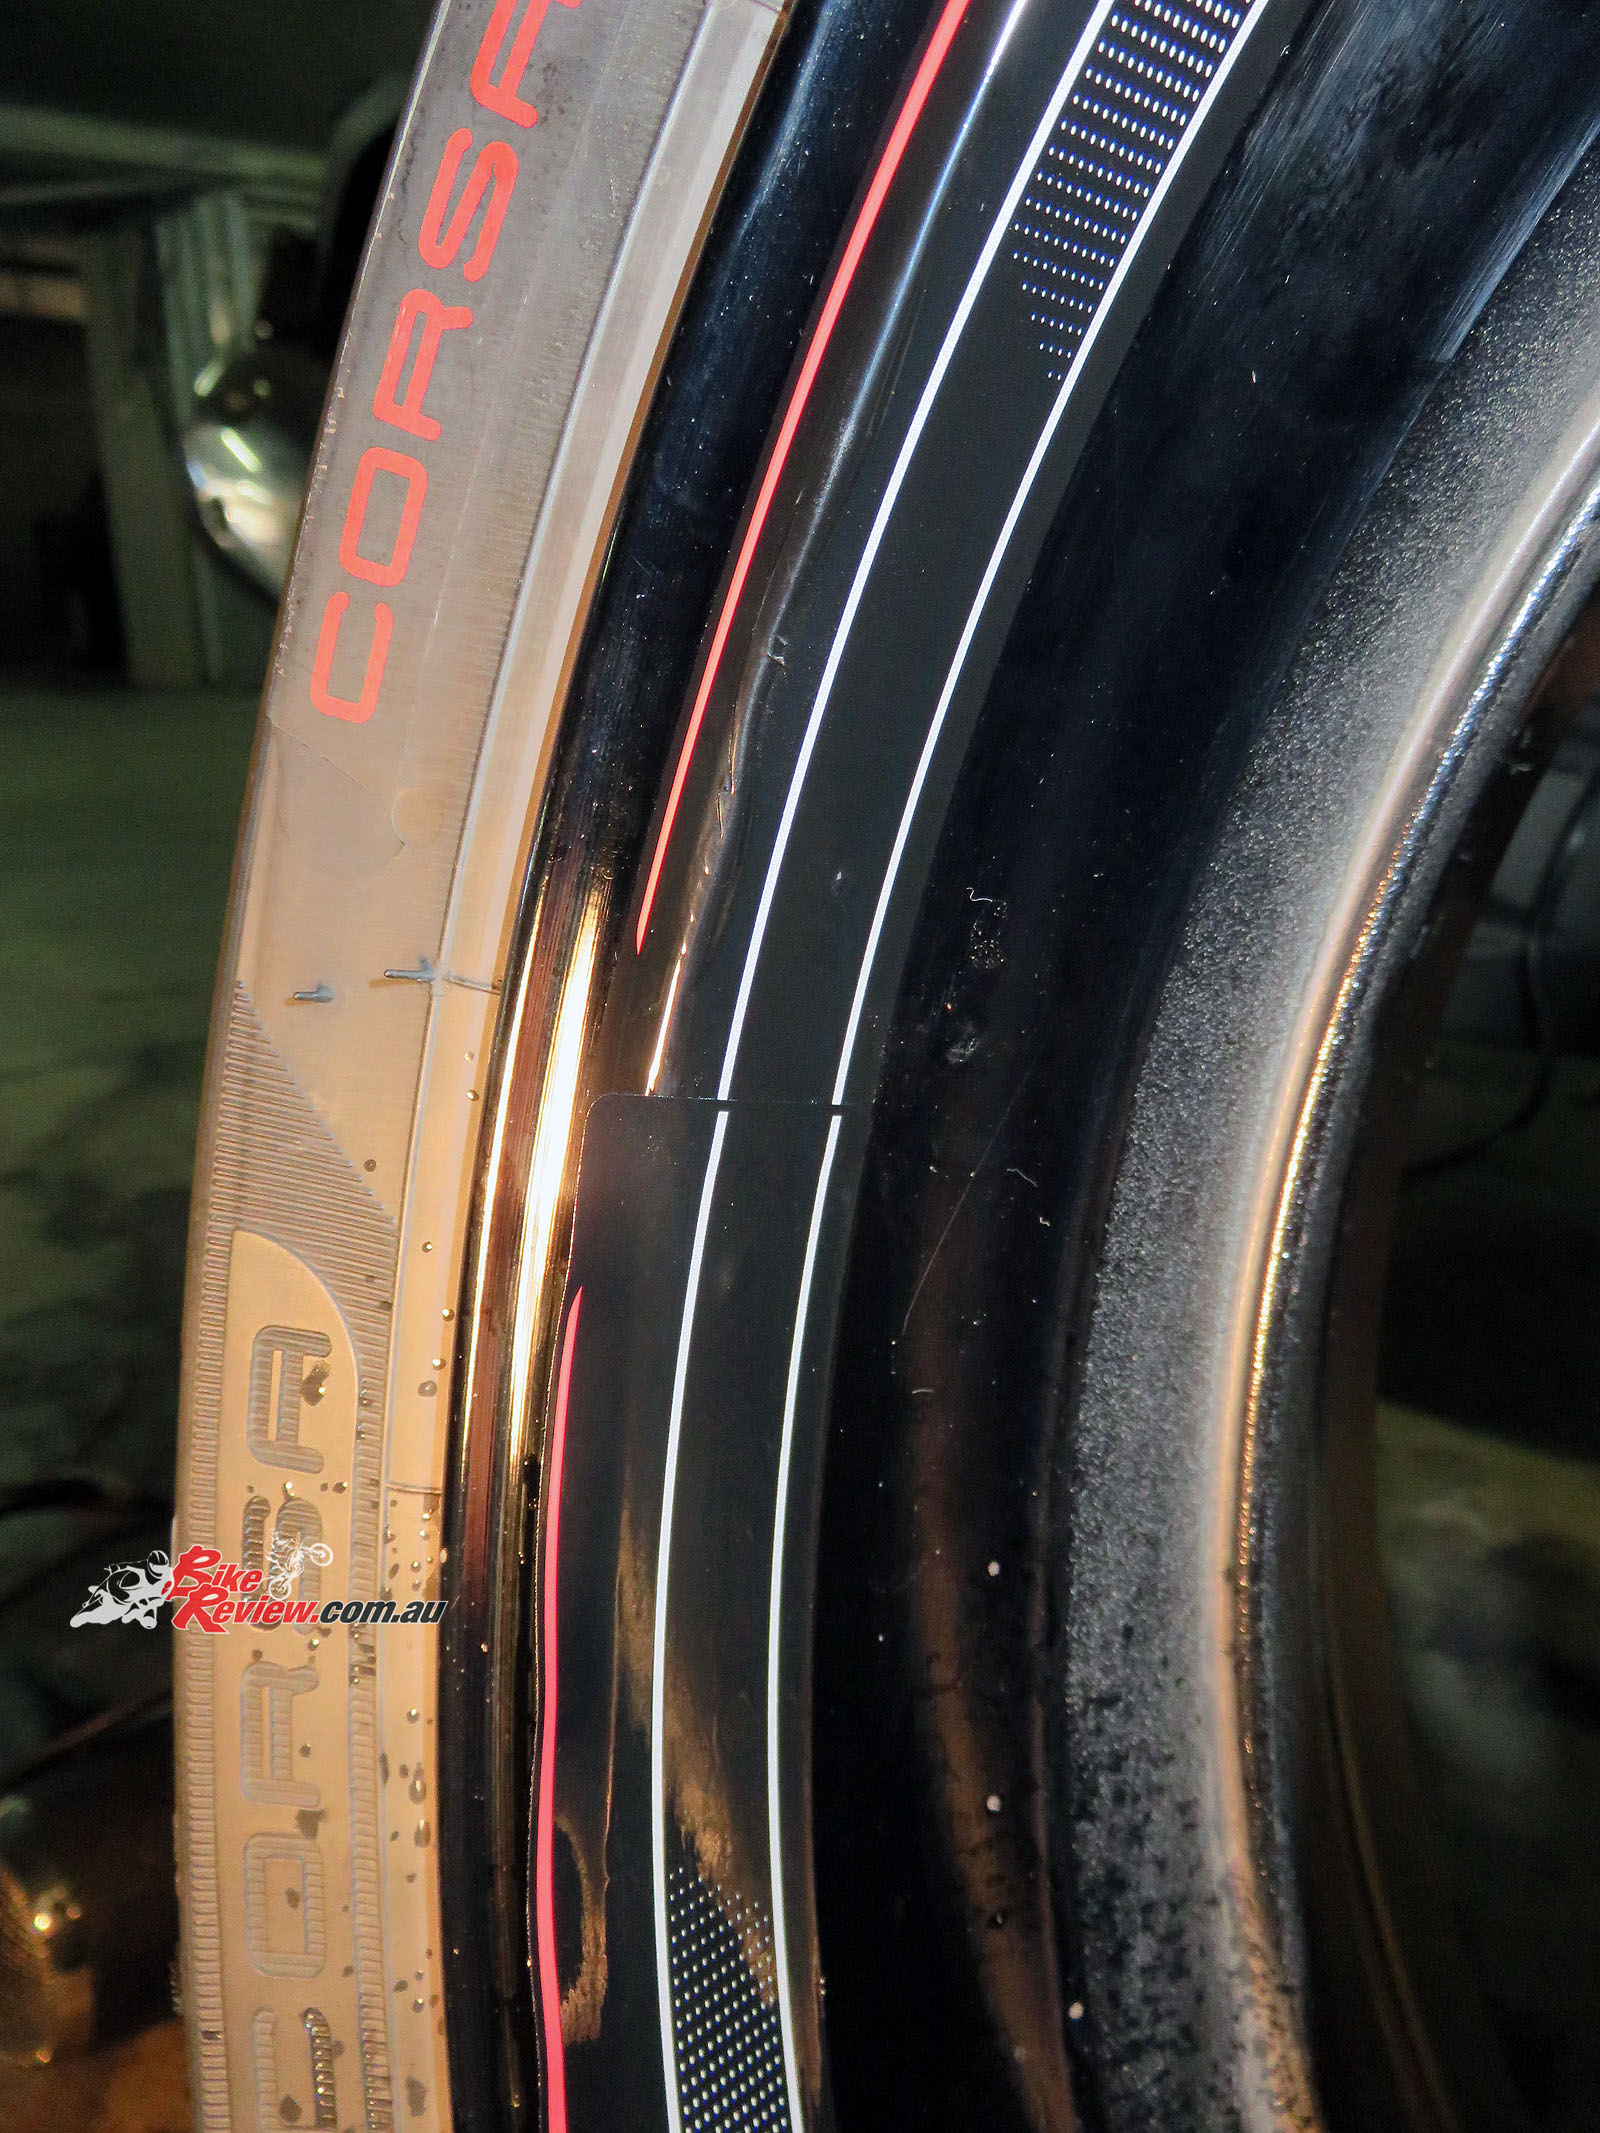
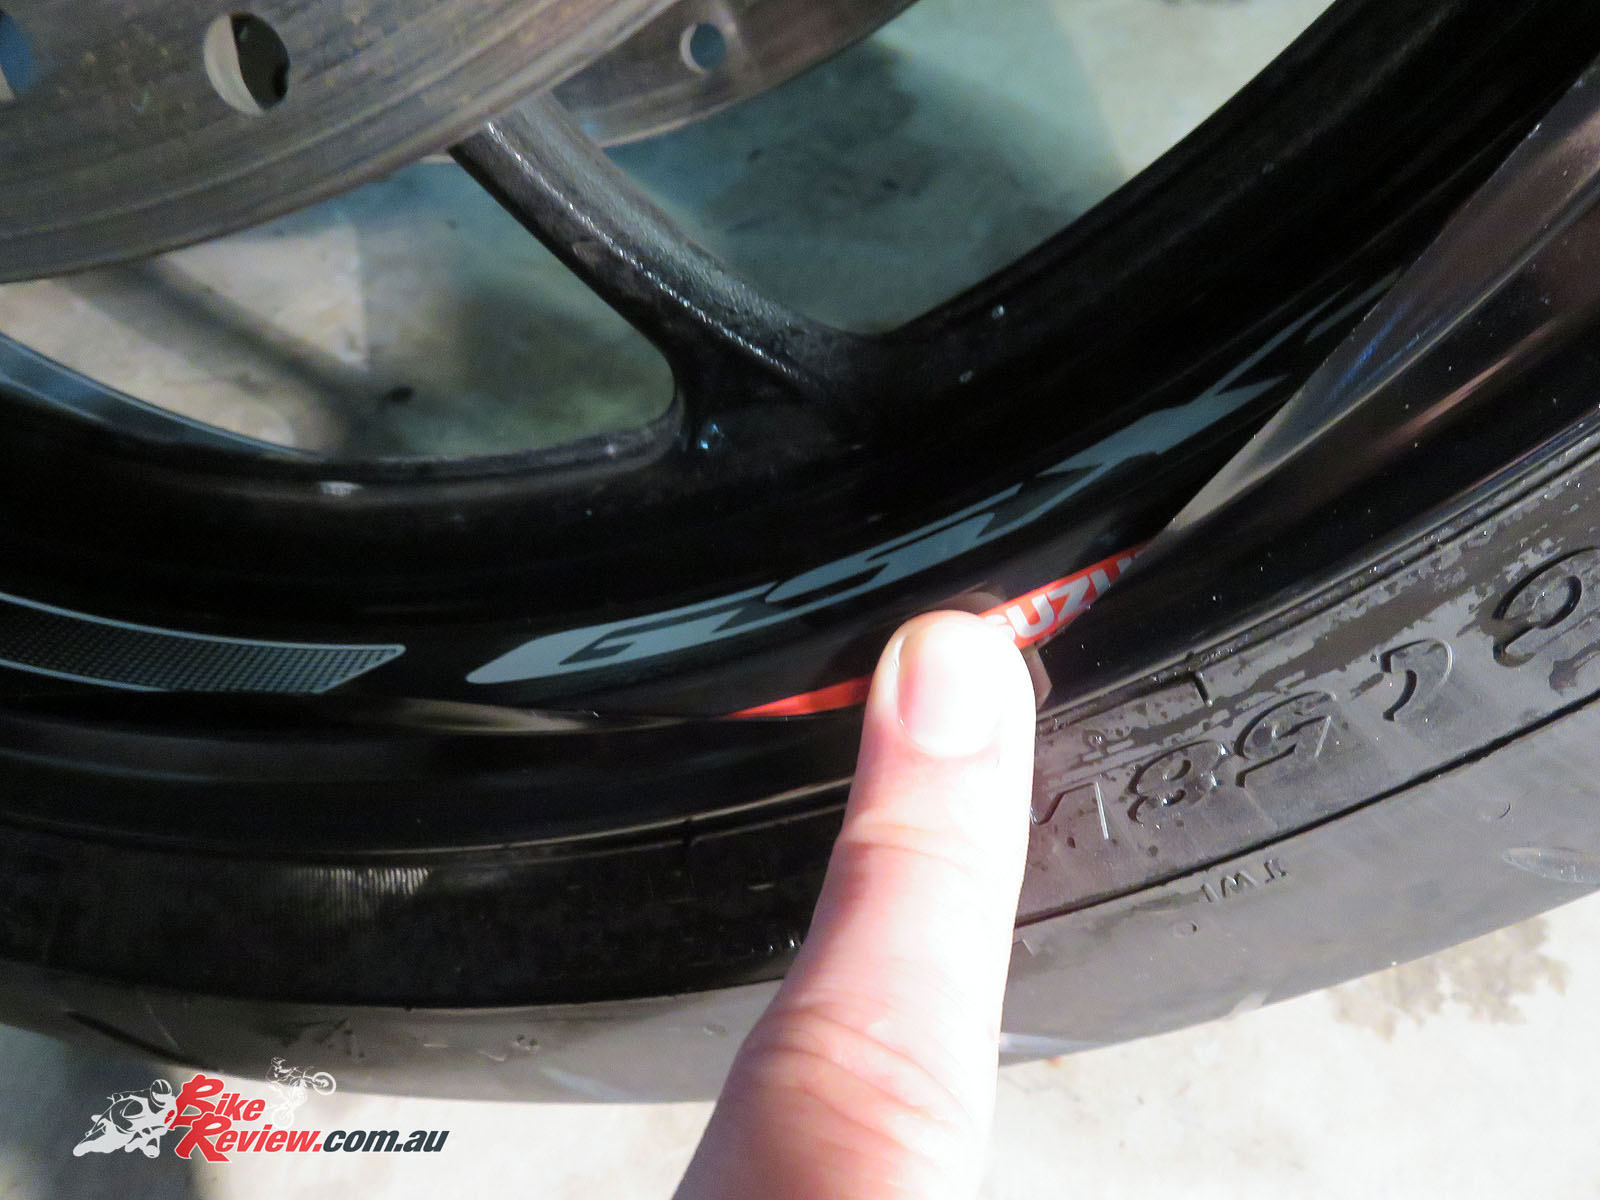
After the first sticker there’s a little overlap between stickers as you apply each one. The instructions say 5mm and I found the overlap to be very small. The outside red stripes also don’t connect which makes it a little less obvious if you didn’t get the job quite perfect.
The breaks in the light grey/white lines show where the join is.
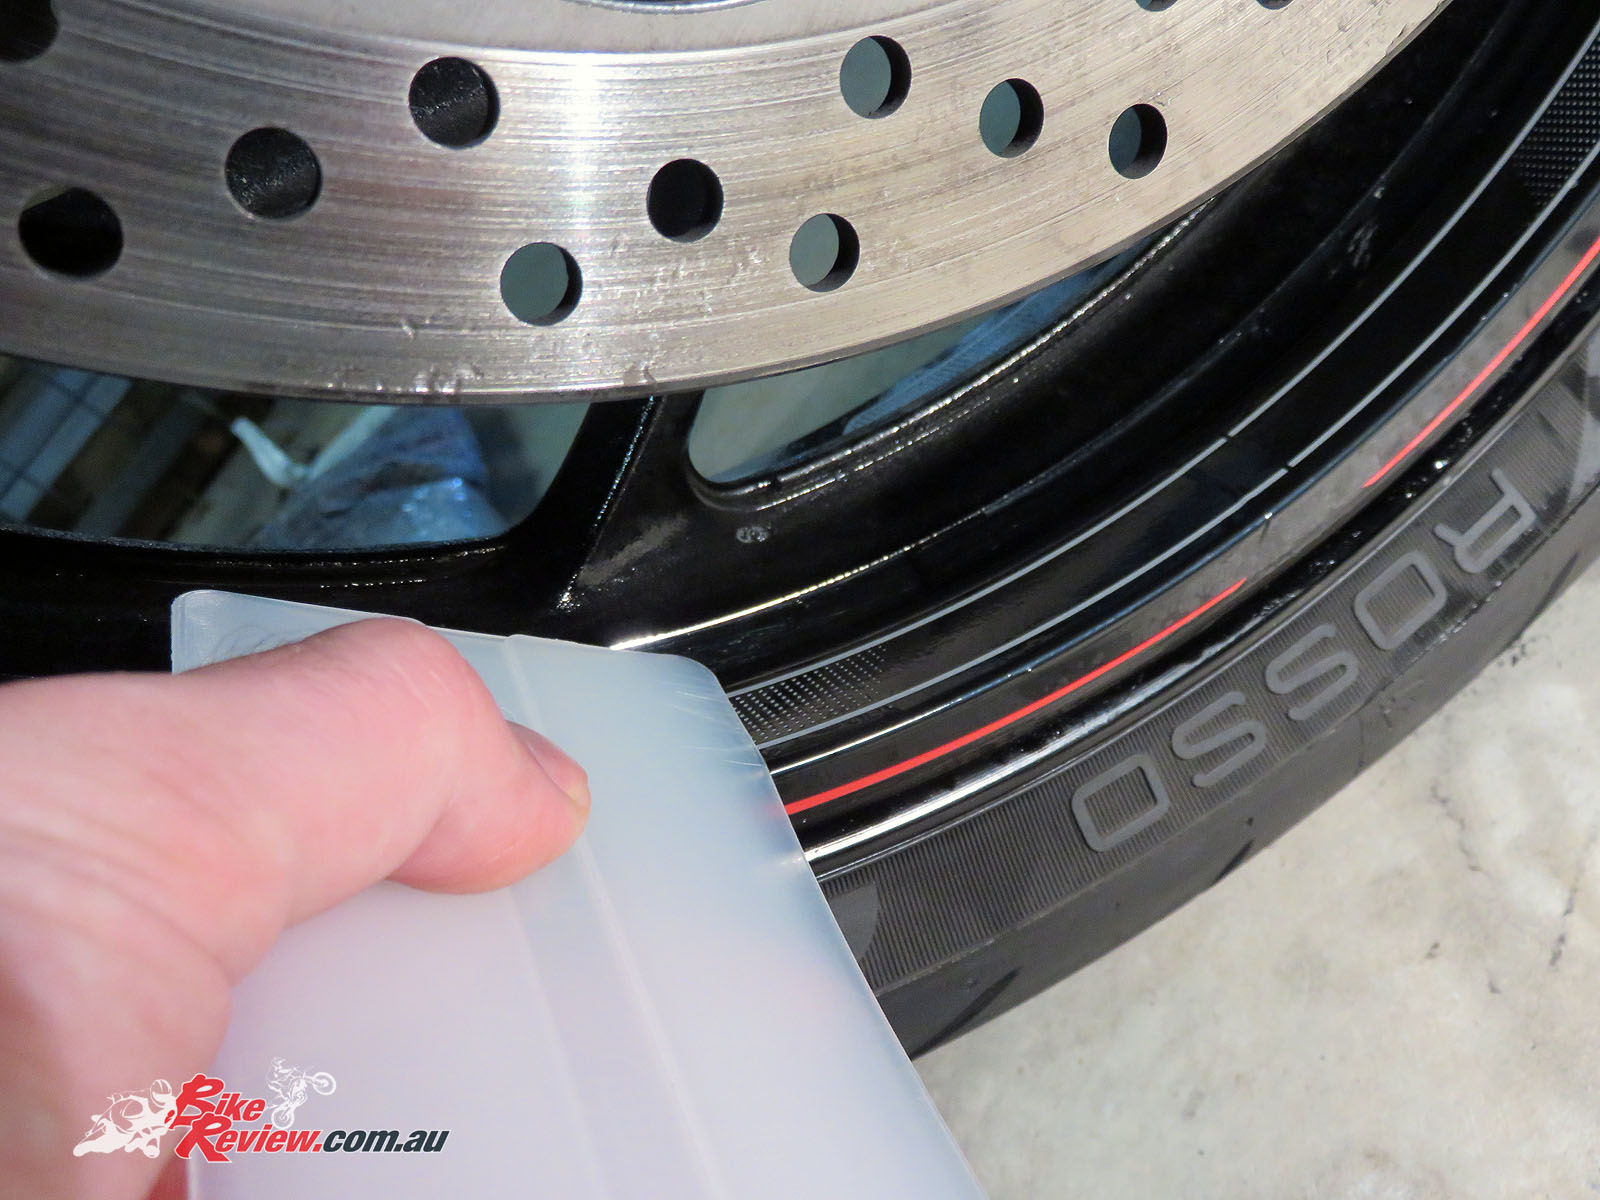
During the process I used this scraper from the tank pad kit to help apply the stickers and get any water or bubbles out from underneath.
I also used it on this edge section once it was all in place, very carefully. Give each sticker a good wipe down with a clean microfibre cloth once fully applied, or with the cleaning cloth if you’ve still got it in a reasonably clean condition.
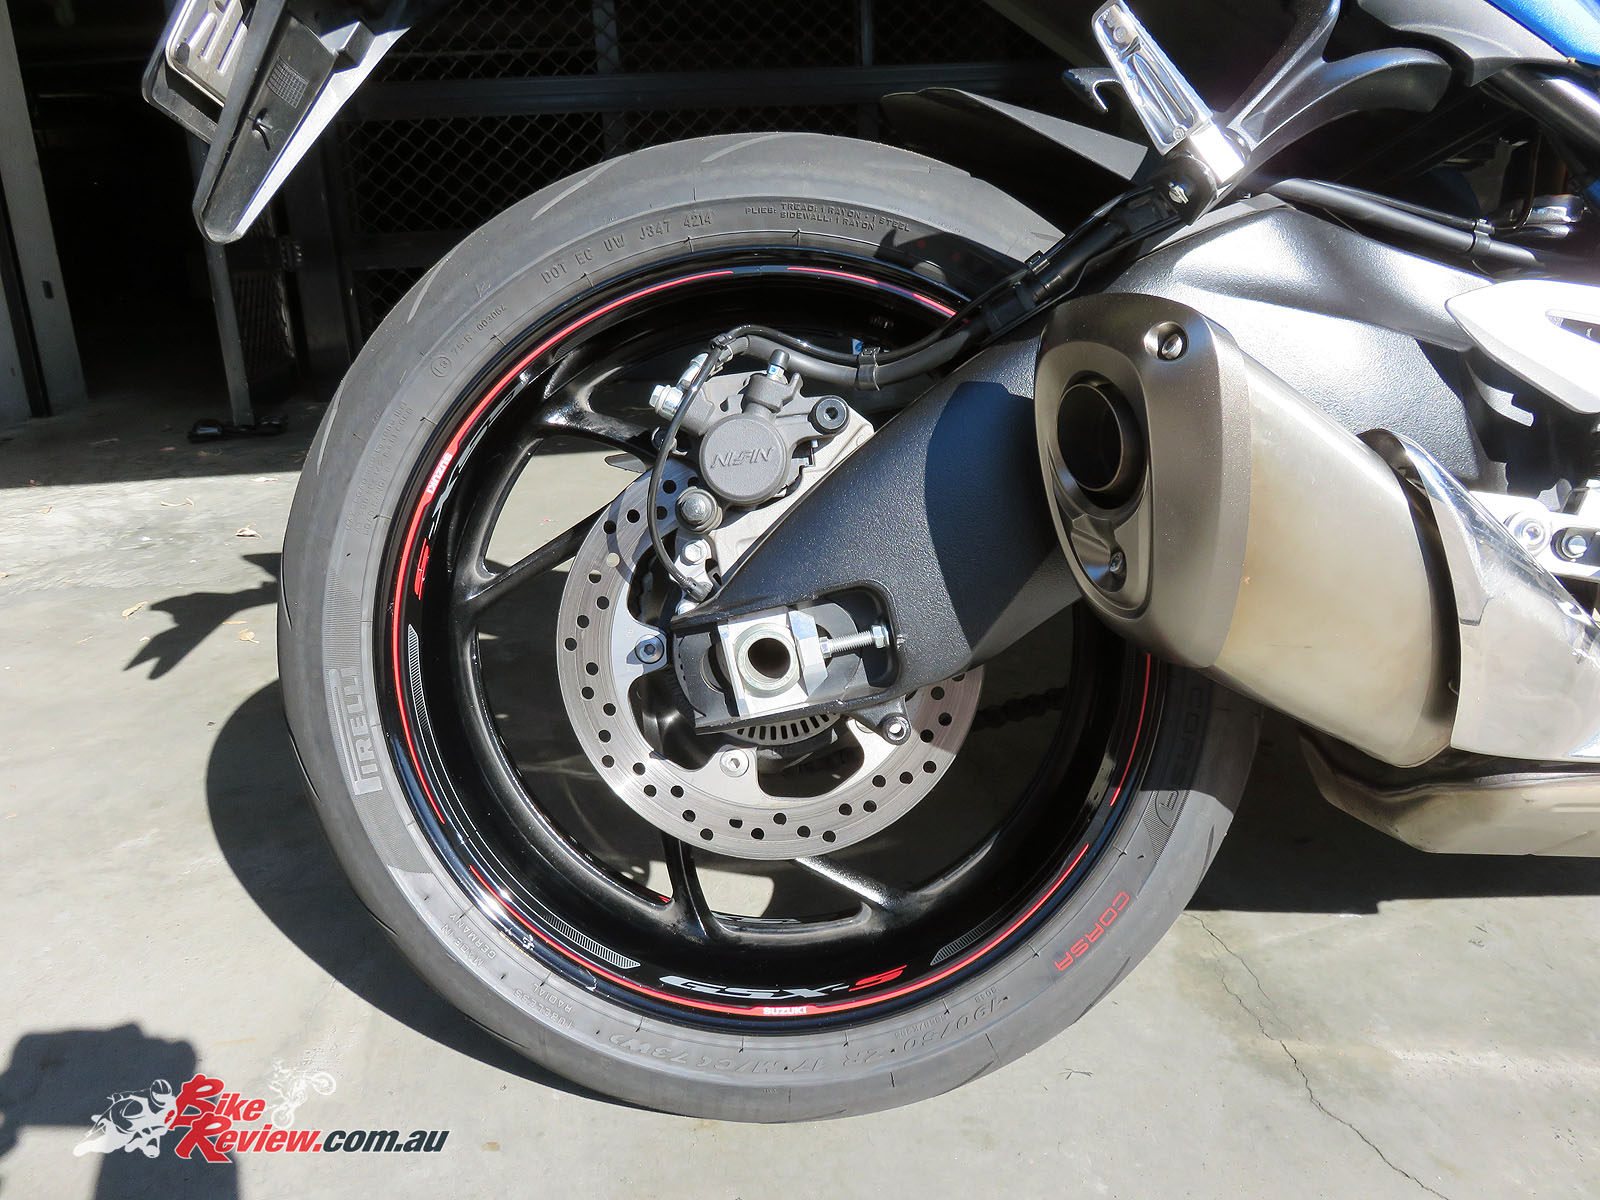
The final result. Not a bad job if I do say so myself. The very first sticker/decal I applied to the rear wheel was the least consistent and most poorly done unfortunately, so one section isn’t quite as good as the rest. I’m happy with the job however. If I paid someone do it, I’d want it perfect but for a home job it’s come out well, partially helped by the red stripes not joined, so if they aren’t quite aligned it’s less obvious.
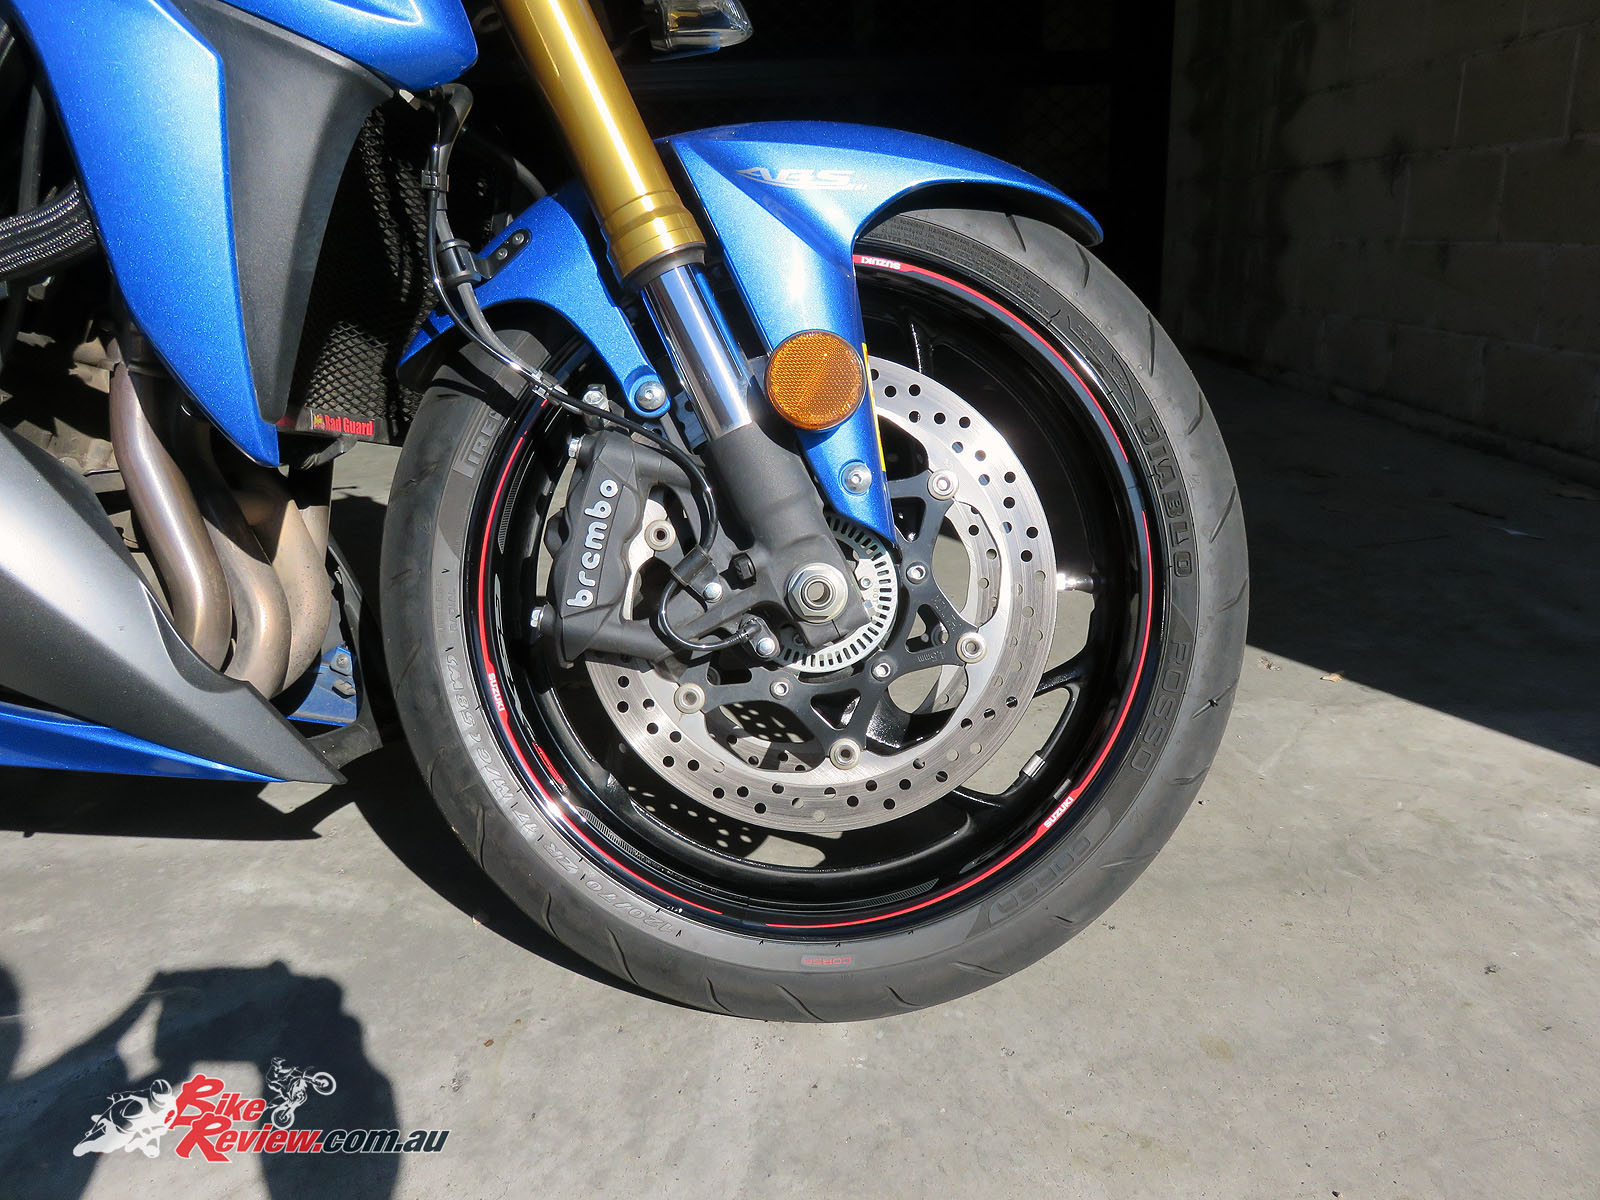
I did one side of the rear wheel first, and as a result the front, with a little practice came out much more consistently. I’d be much quicker doing it again and definitely recommend this kind of sticker kit, as the precurved stickers/decals that run from the flat inner section of the wheel and bend over the edge where the red stripe is applied ensures a more consistent result.
The job wasn’t without a few frustrations when the decals wouldn’t quite line up on the first try and is quite fiddly. You don’t want to be rushing and preparation is everything. You also don’t want to be riding at high speed or using a pressure washer within 24 hours. I’d recommend setting aside half a day, as a thorough wash and degrease will take a fair bit of time, and you might find applying the stickers a little frustrating! Take a short break between each side of each wheel and have a coffee if you get to that point.
You Might Also Like