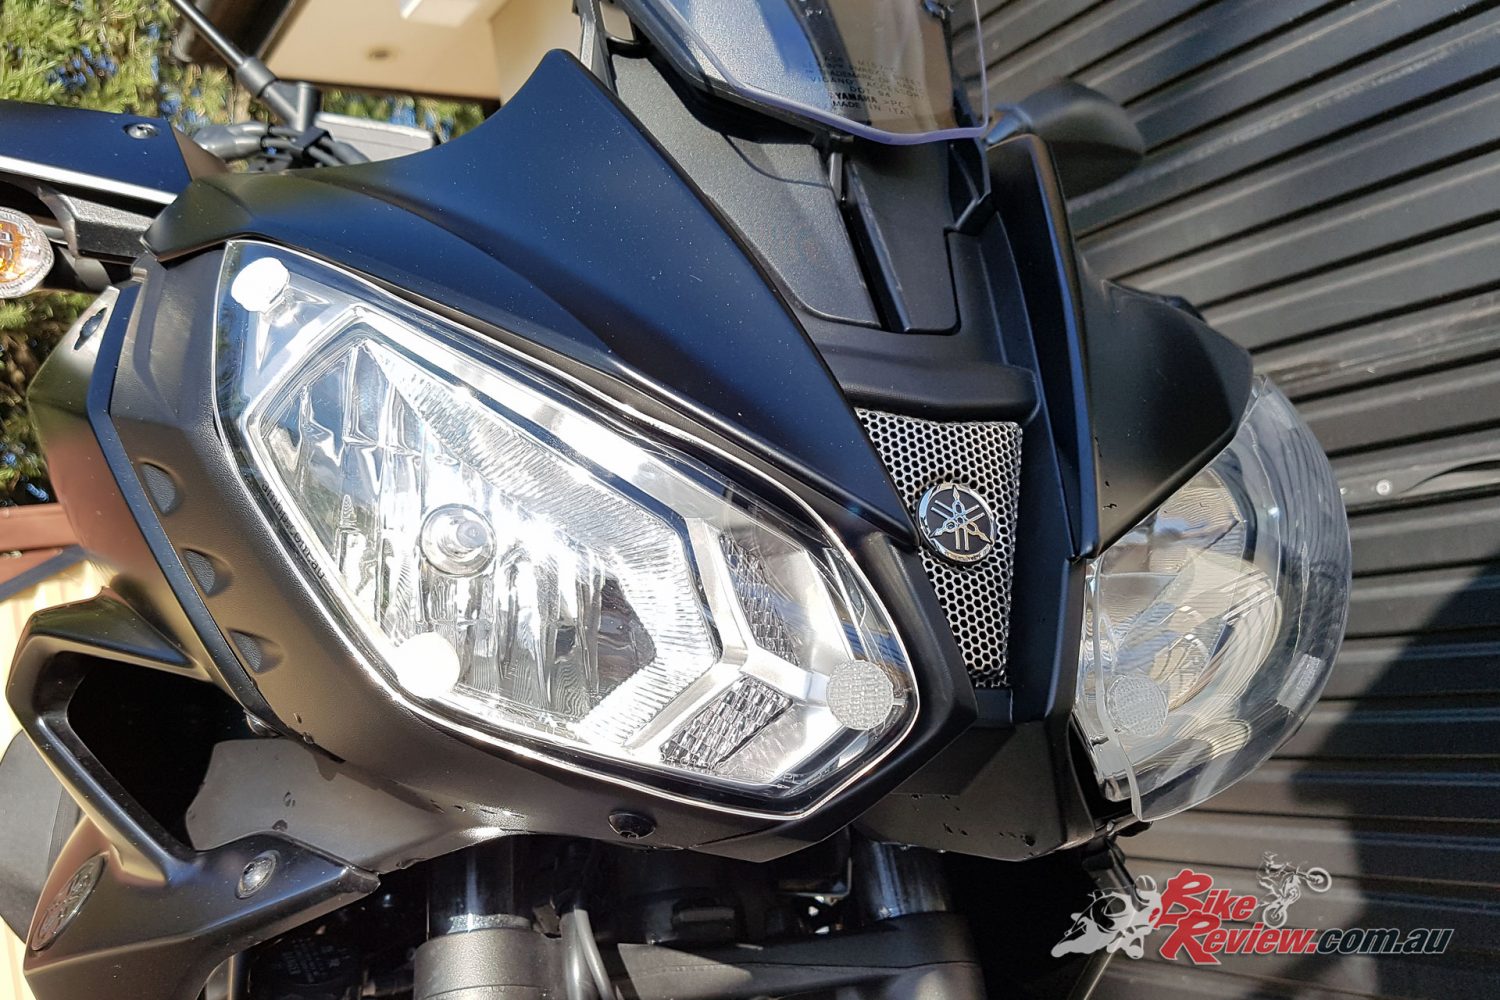
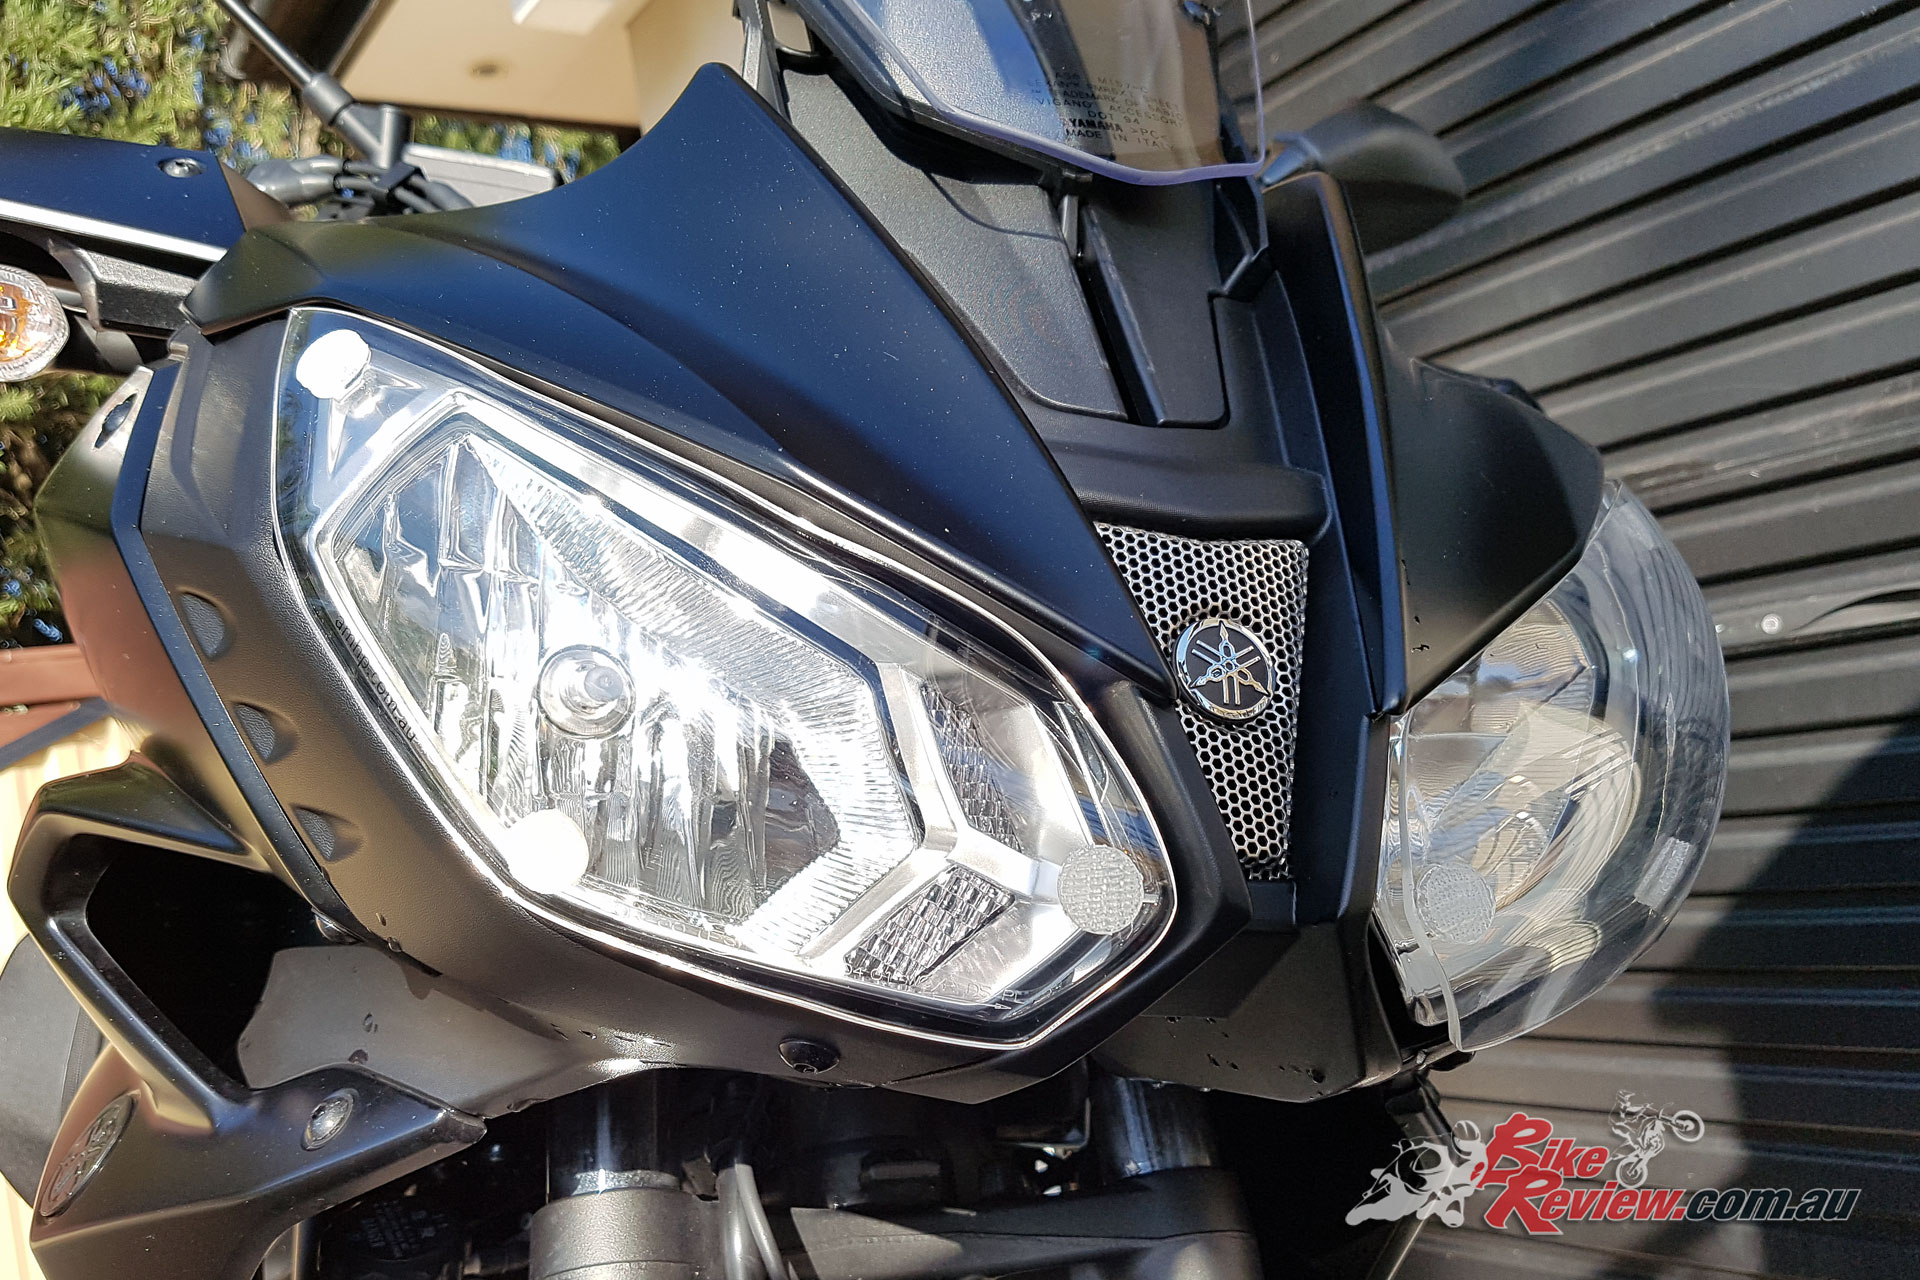
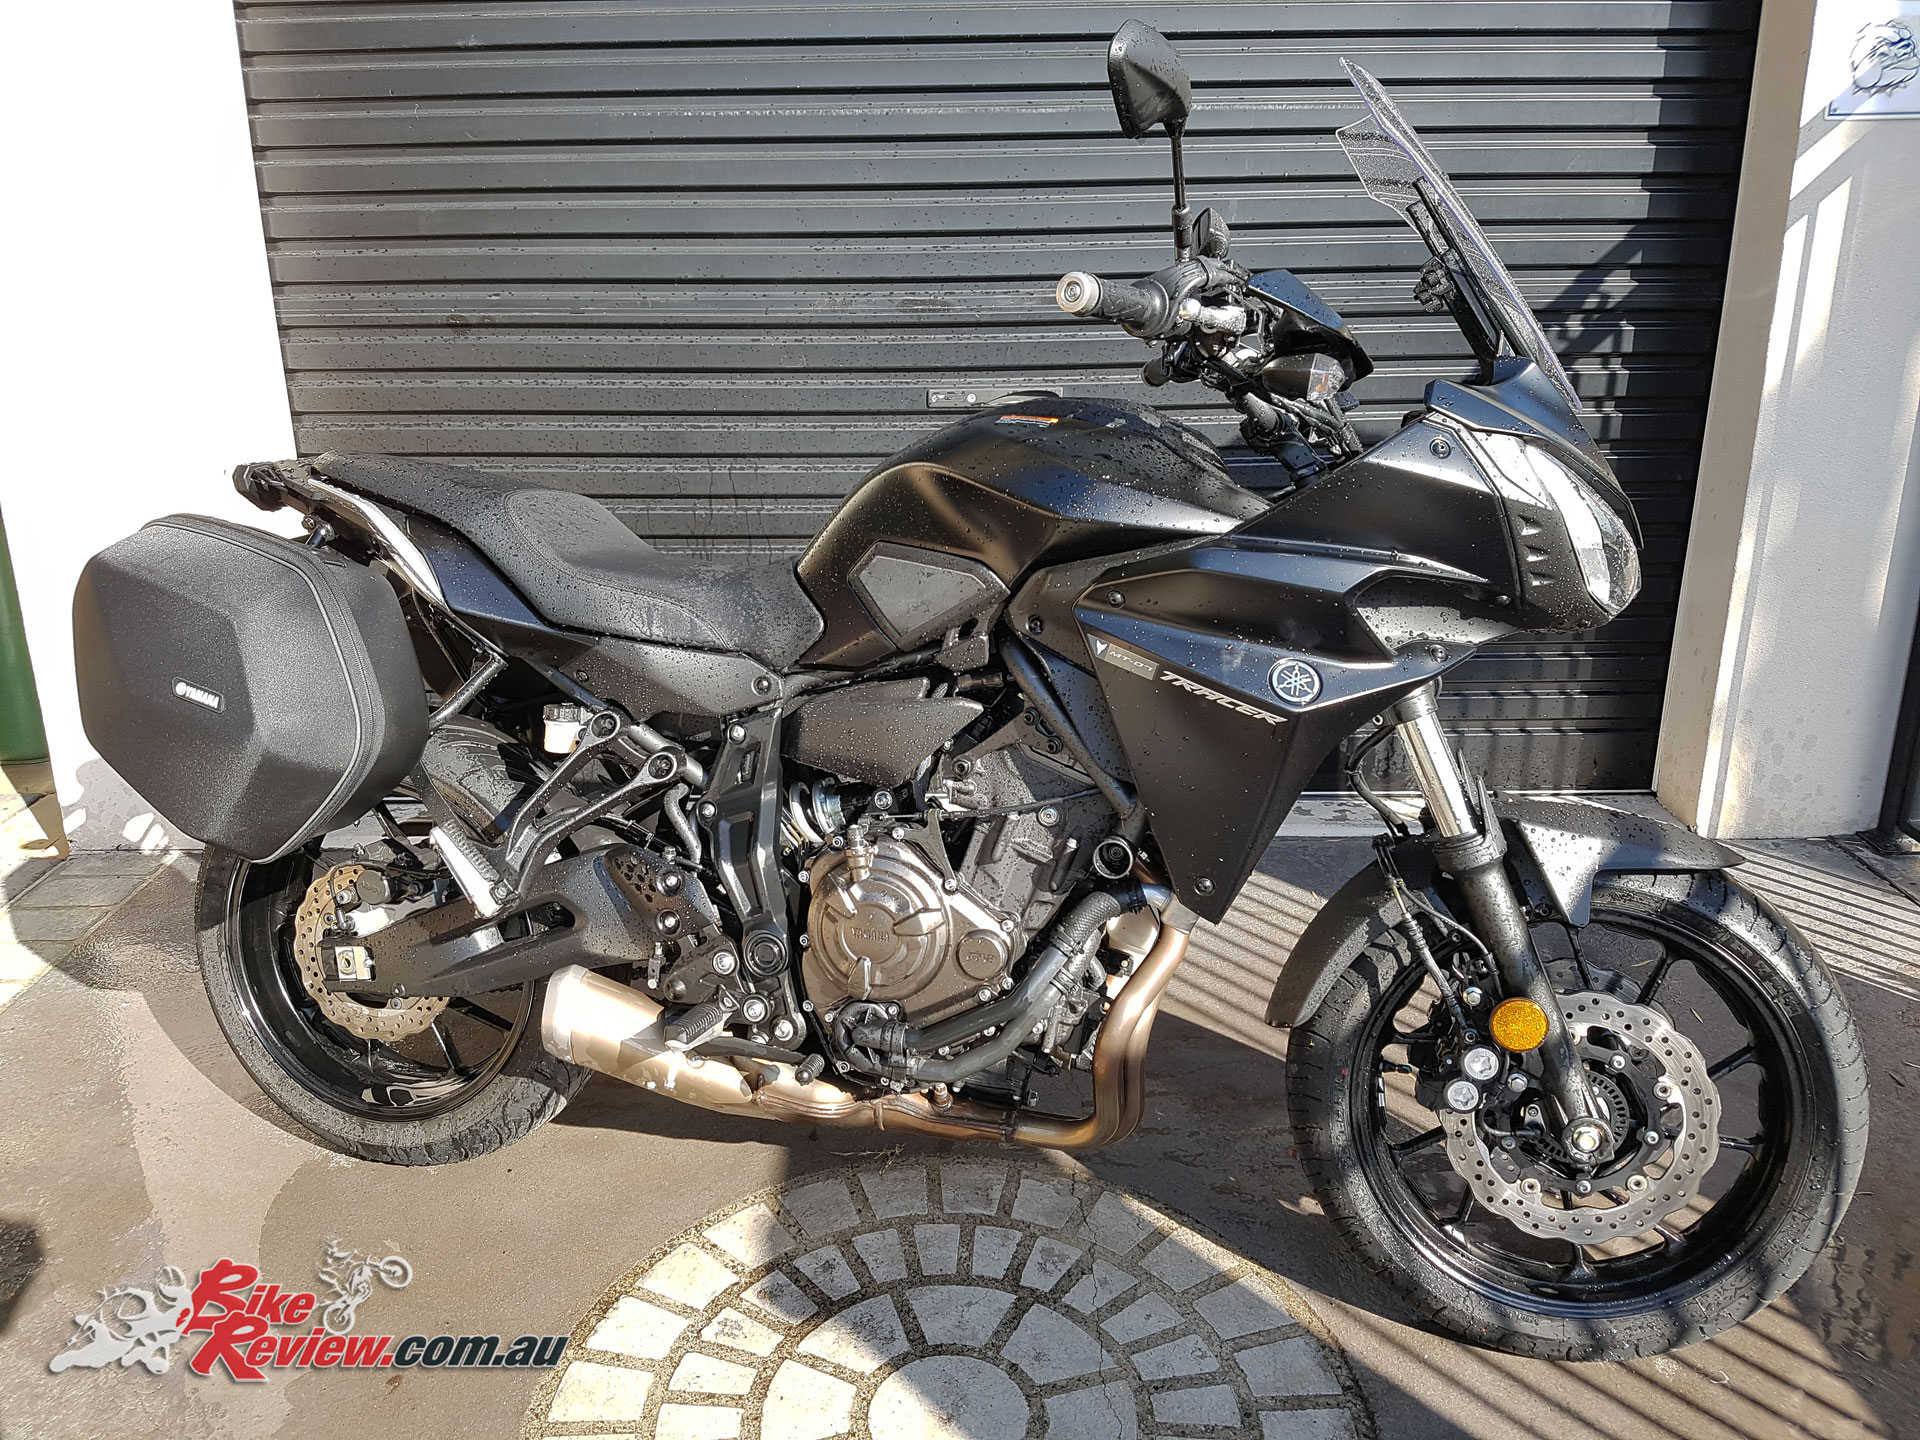
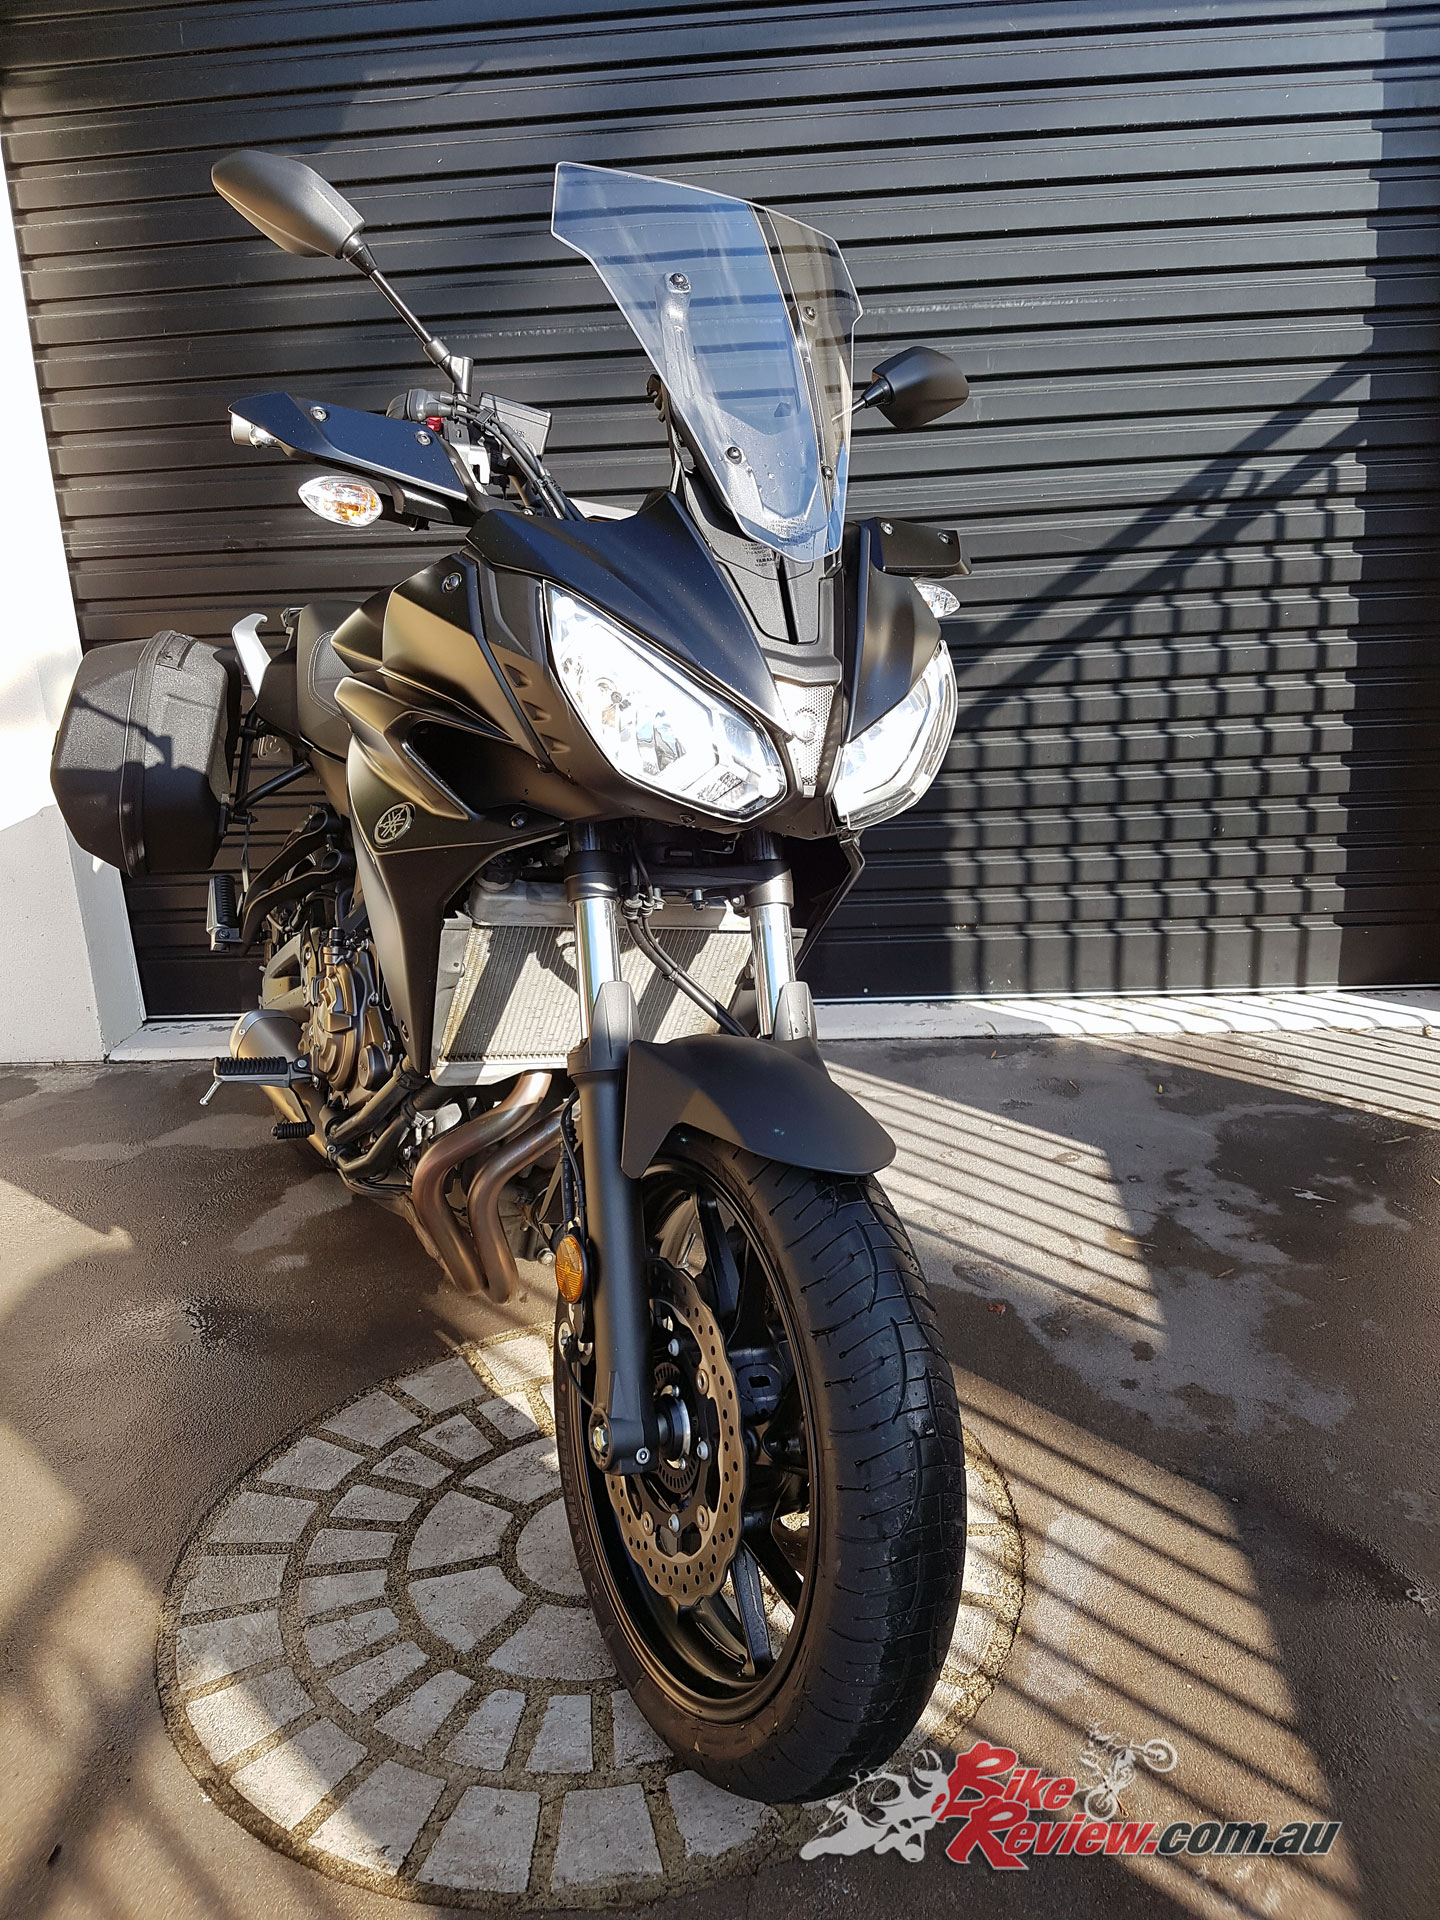
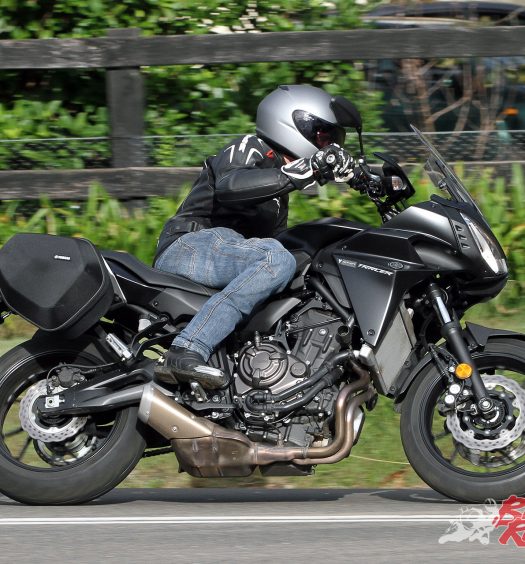
We've fitted a set of Australian-made AMHP headlight protectors to our Long Term MT-07 Tracer for those long trips on the open road. Words & Images: Kris Hodgson
We’ve used AMHP Headlight Protectors on our long term machines in the past, and with the MT-07 Tracer a sports touring machine, it only makes sense to take all the precautions to prevent wear and tear and possible issues. A set of headlight protectors can be a good idea in this regard, along with a radiator guard.
The AMHP headlight protectors are an easy DIY project, and it’s all about preparation and getting everything clean, so you get good adhesion from the 3M Dual Locks on both surfaces. Spending the time to do this right and you’ll have no issues, shortcut cleaning the headlights and you’re likely to face issues with the 3M Dual Locks sticking.
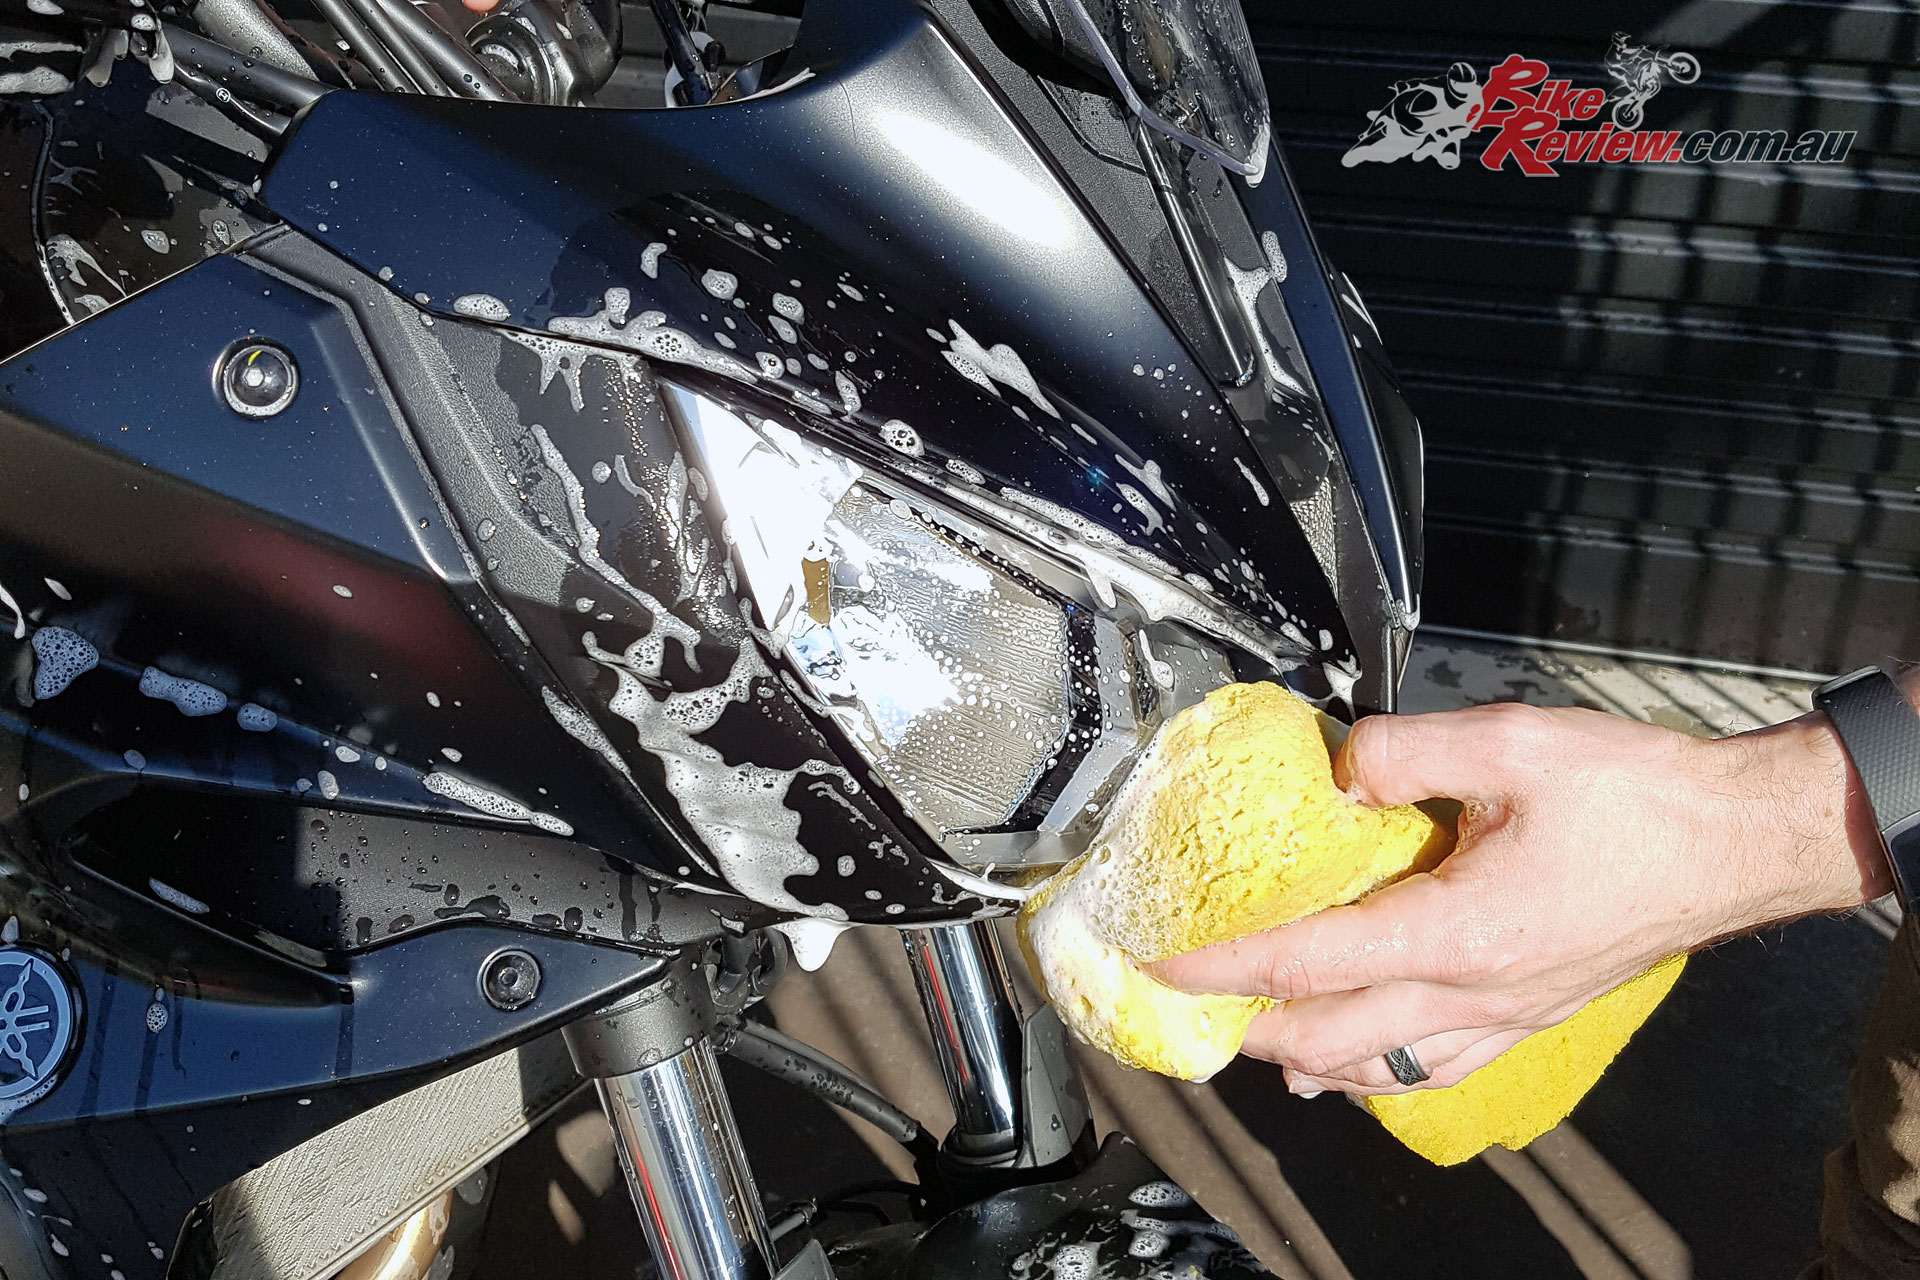
Here’s a step by step guide on how to do this at home. All you’ll need is your regular bike washing tools (bucket, detergent, sponge) and some degreaser if your headlights are particularly grungy, and a bit of time, Fitting the headlight protectors will only take 5-10 minutes at most, with a thorough wash taking the majority of the time.
Fitting AMHP Headlight Protectors:
- With the headlight cold and off, you’ll need to thoroughly wash the headlight(s) with a non silicone based detergent. If your headlight is particularly grungy start with a degreaser appropriate for your headlight material. You need to make sure there’s no residue left on the headlight. Dry it with a lint free cloth, like a microfibre cloth you polish with.
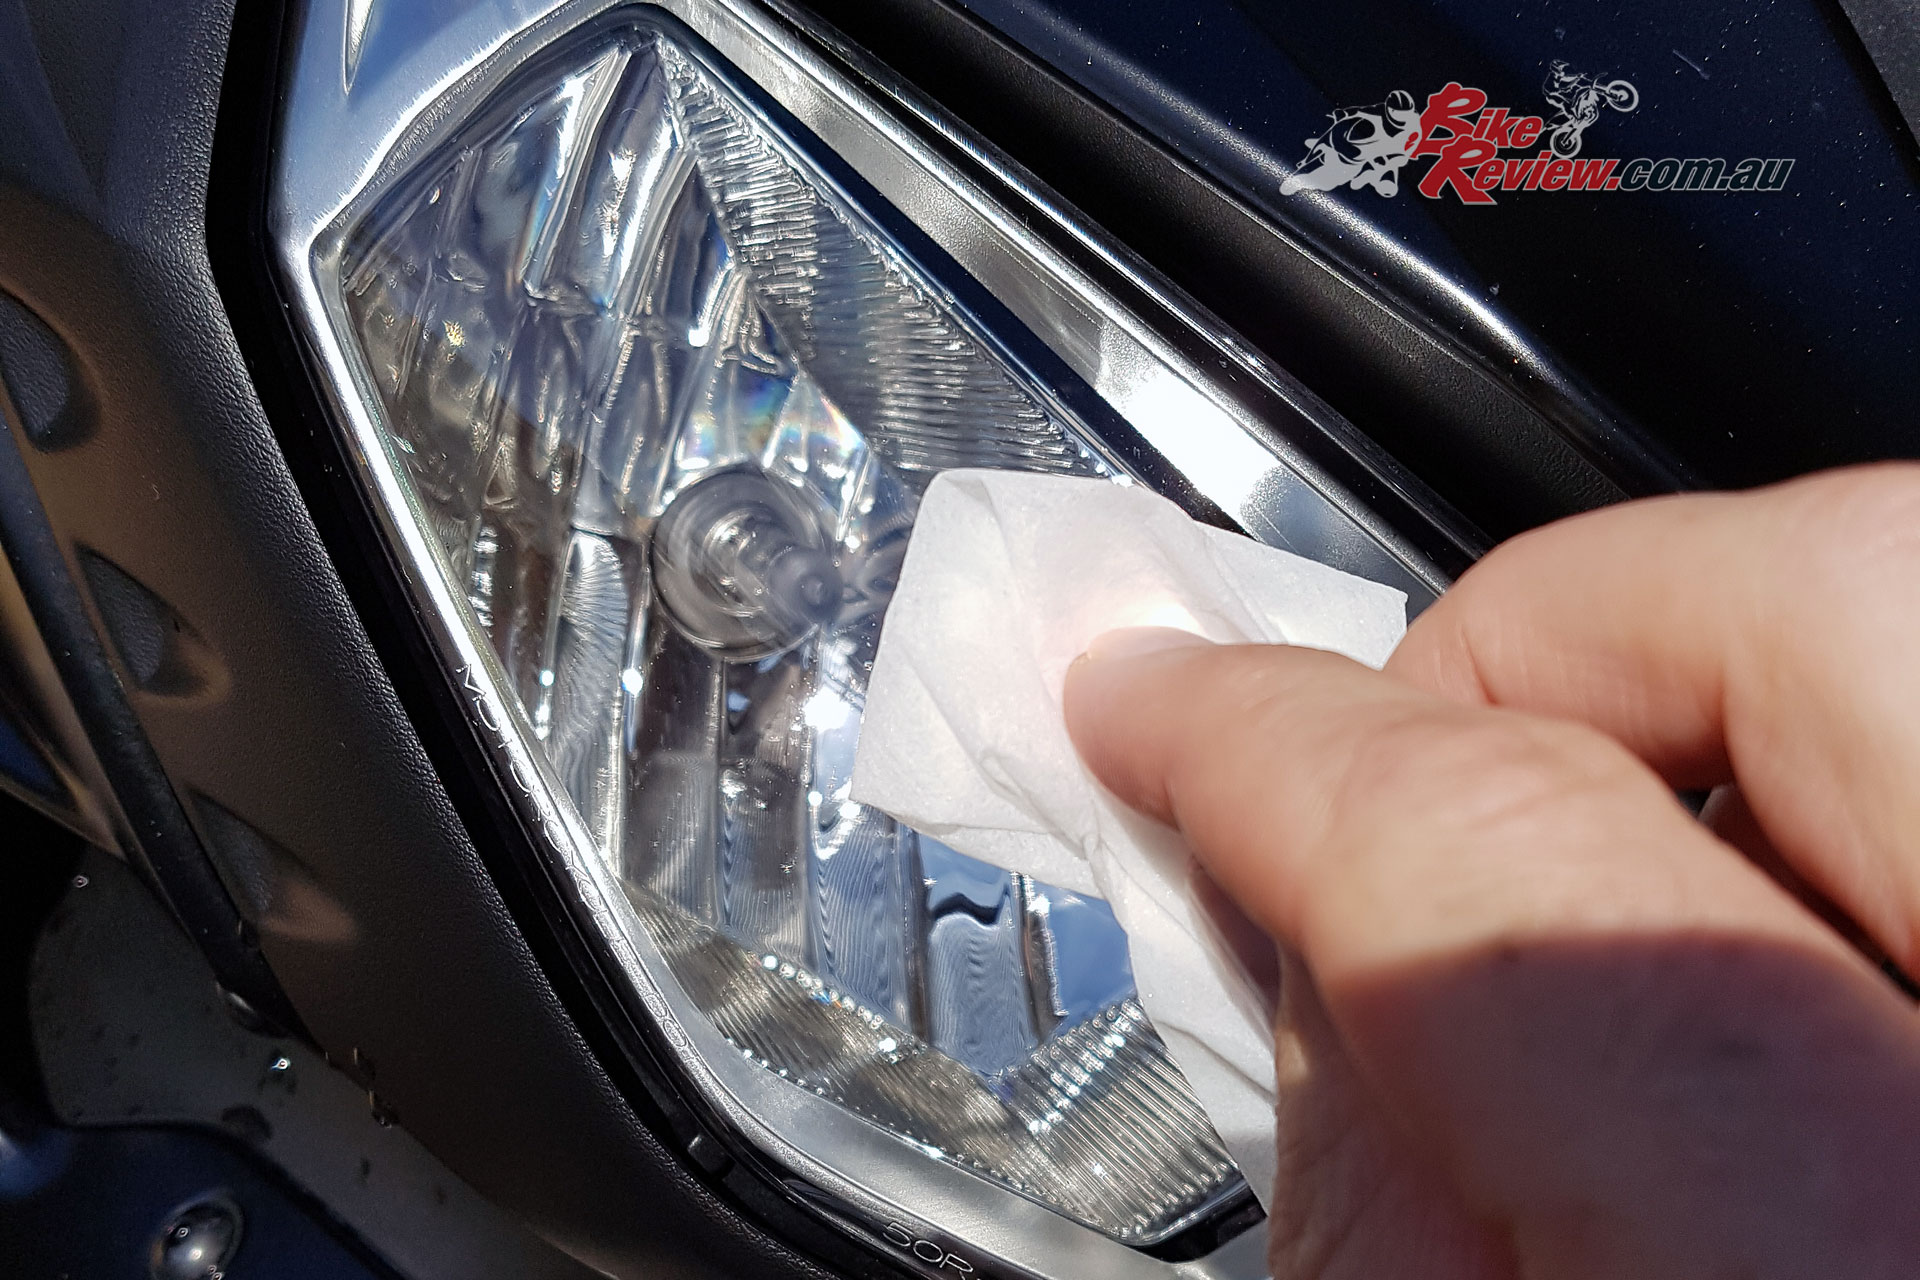
- Use the 3M VHB Surface Wipe provided and wipe down the headlight lens, wiping in a single direction (not back and forth) and repeat with the opposite (clean) side of the wipe. Hold the headlight protector up to the headlight to eyeball how it fits and where your Dual Locks will be placed.
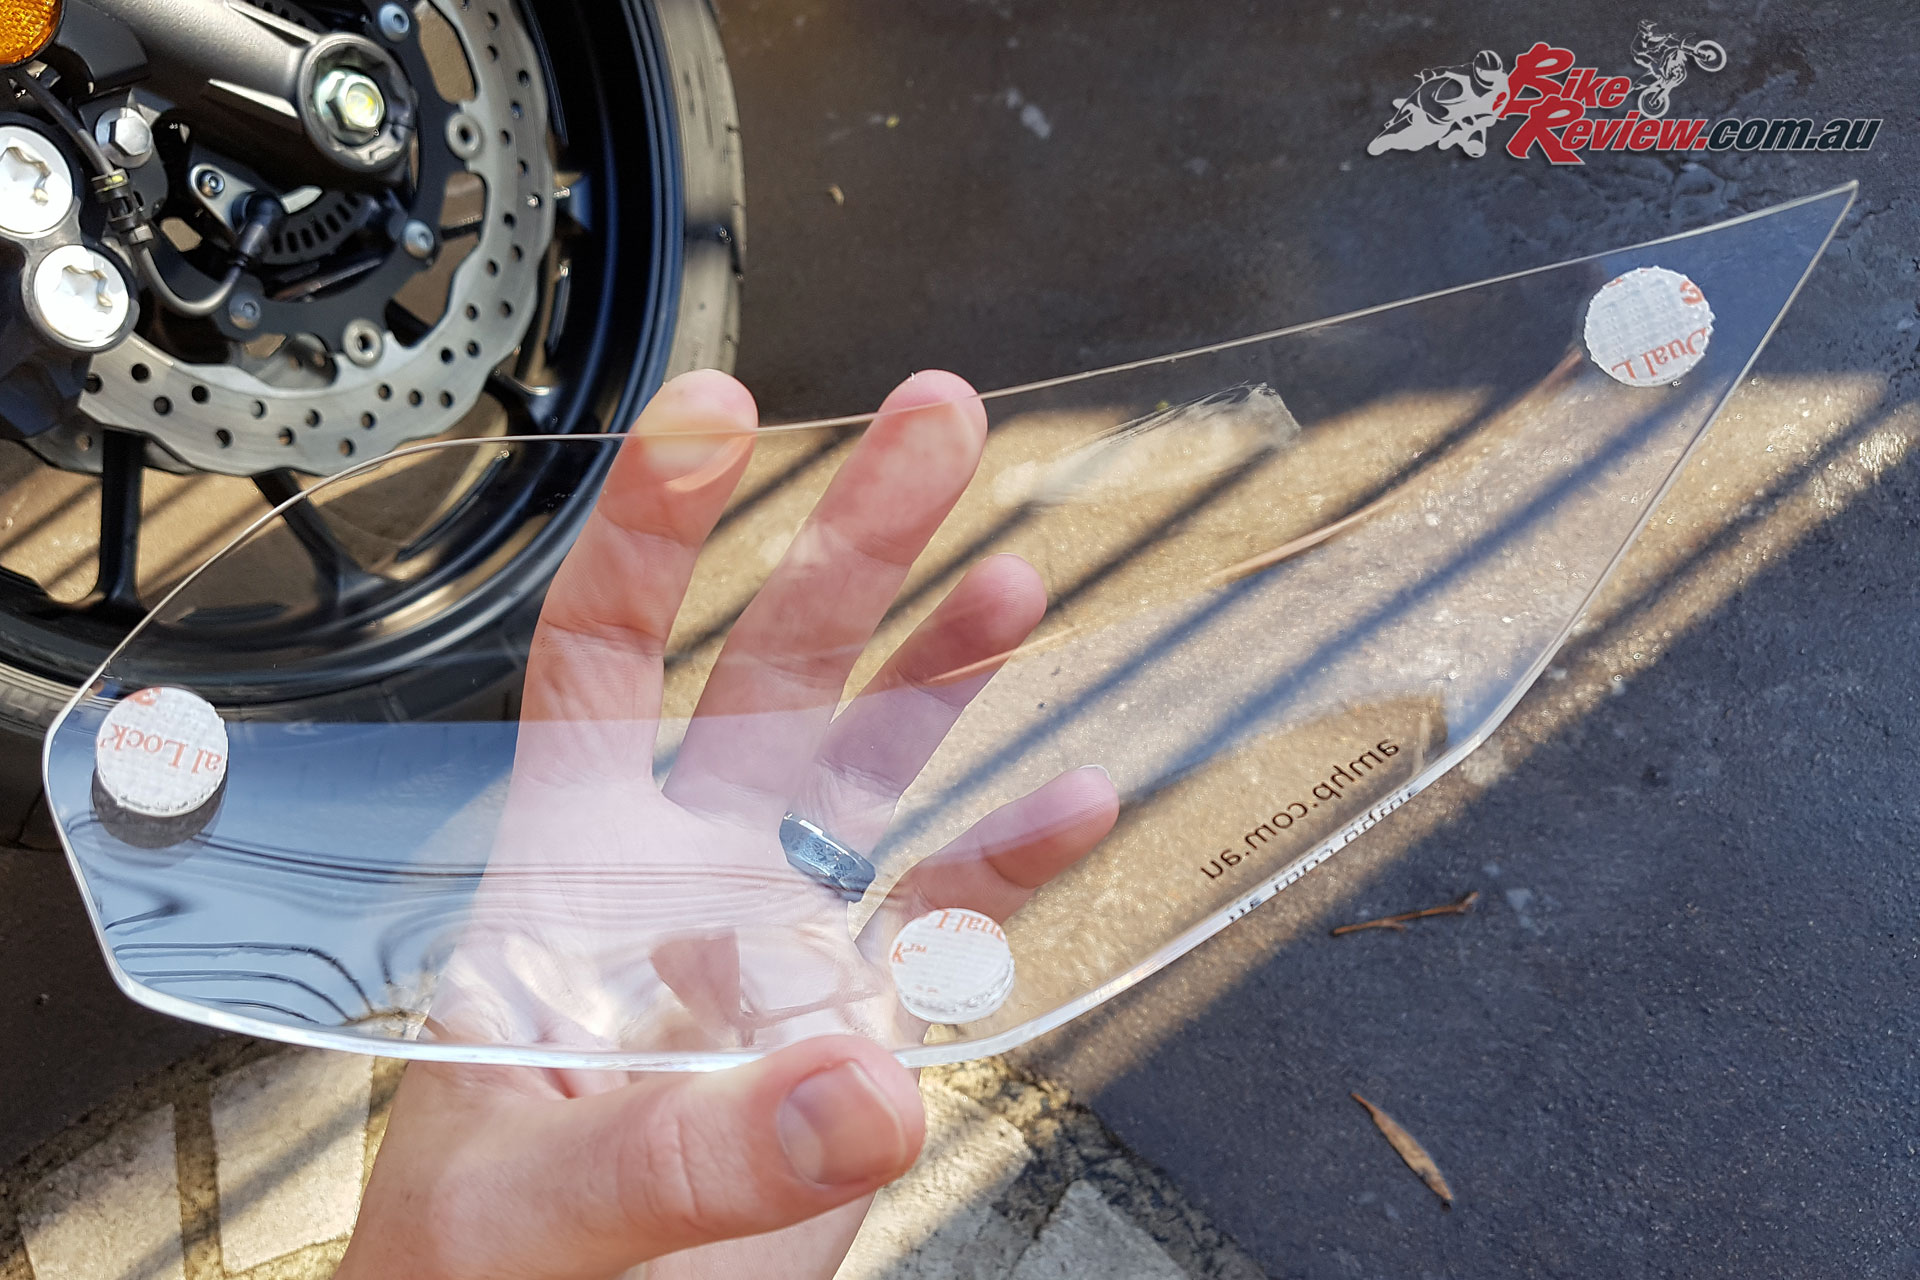
- Apply the 3M Dual Locks to your AMHP headlight protectors first, by removing the plastic backer on one side and aligning it at least 5mm from the edge of the headlight protector. I normally pick the headlight protector ‘corners’ and use three or four mounting points. In this case three. This makes the Dual Locks less noticeable and as long as they adhere properly they are very strong. Press the Dual Locks into place for 10 seconds firmly.
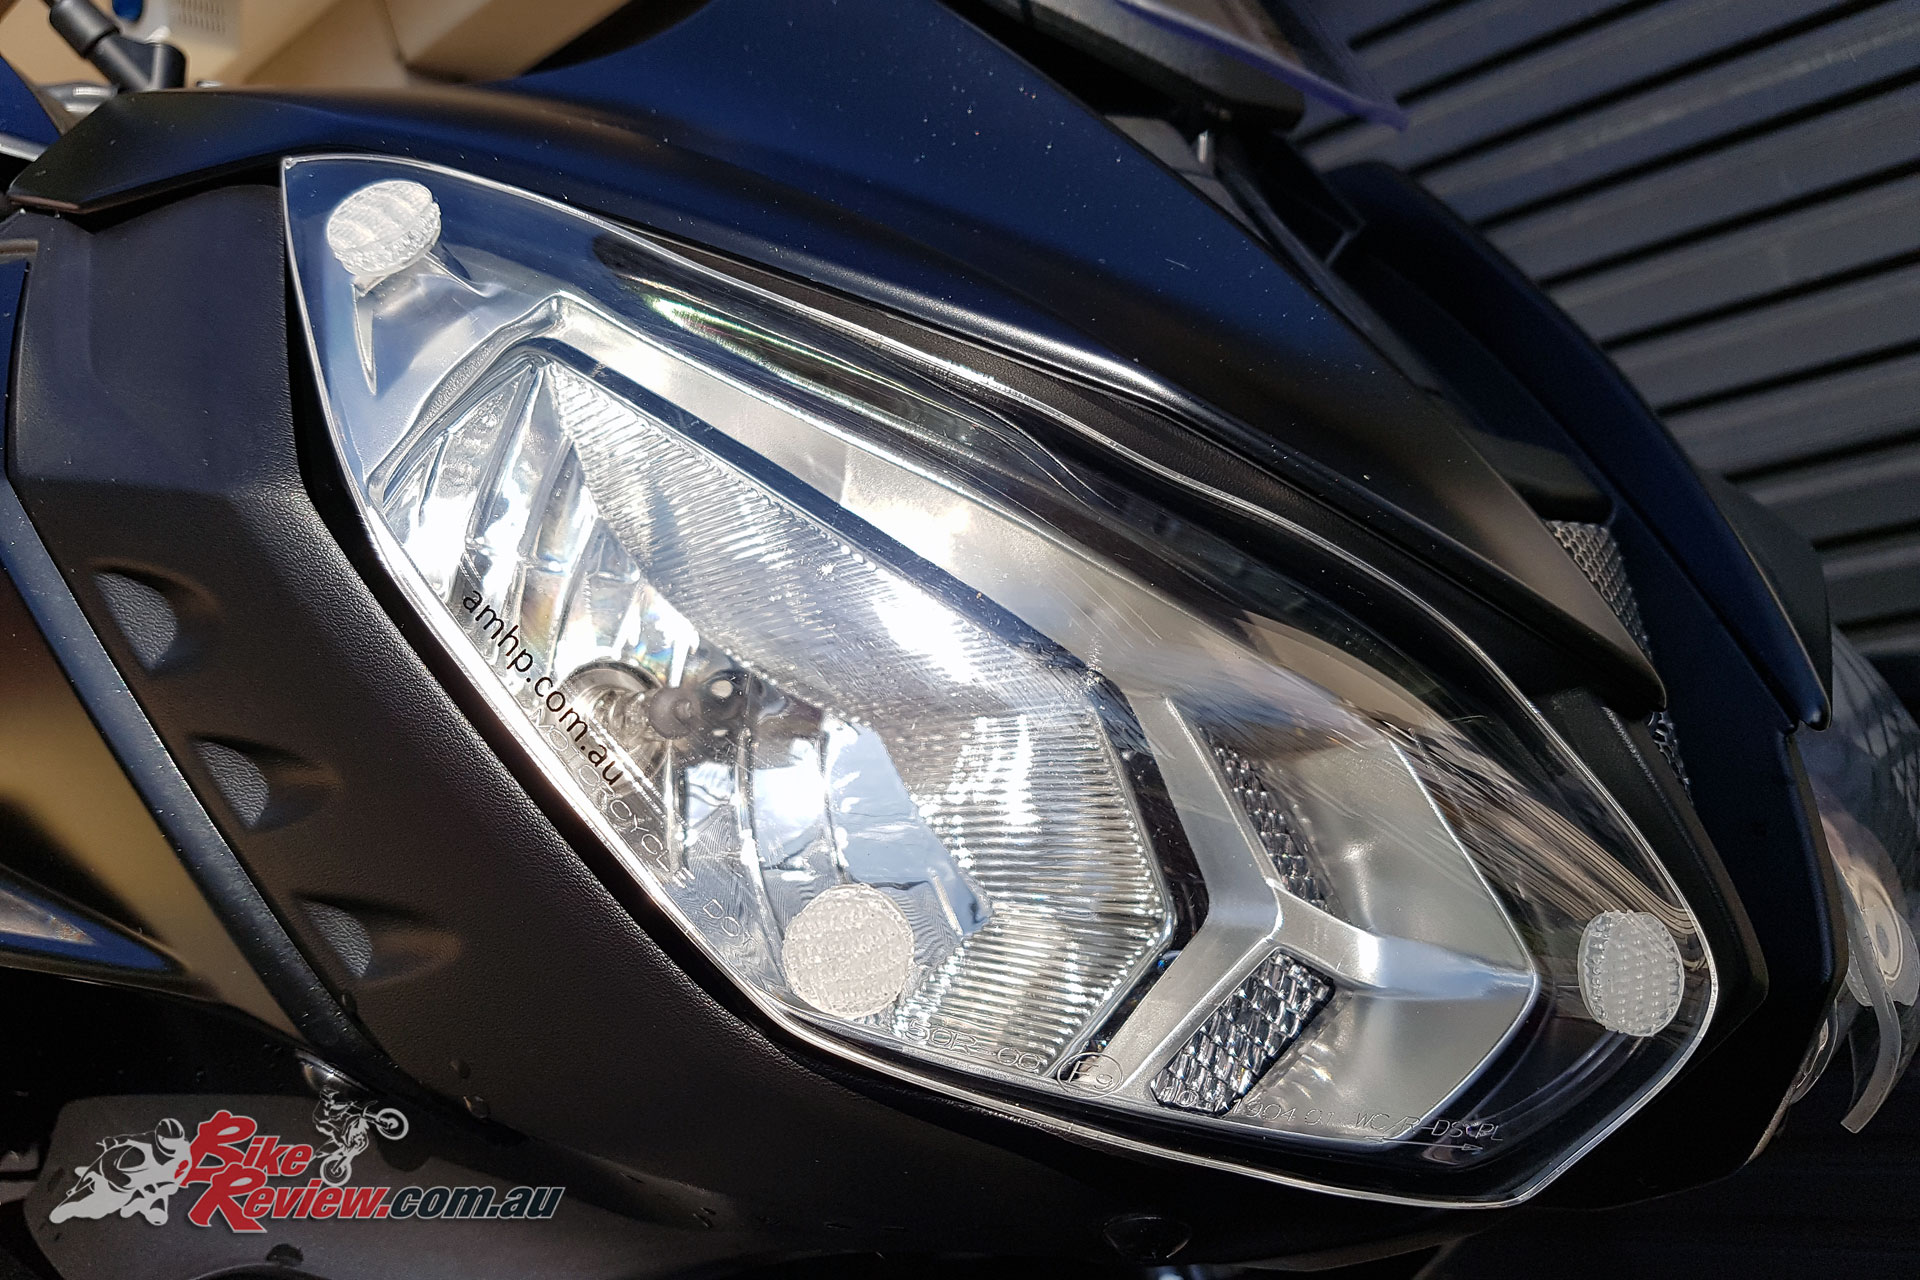
- Once all the Dual Locks are on your AMHP headlight protectors, check the alignment again and then remove the remaining plastic backing, then place the protector onto the headlight, ensuring you’ve got the alignment right. Once you do, apply pressure to the points where the Dual Locks are located for 10-20s, firmly, to get them to adhere properly to the headlight. It’s important NOT to put pressure onto the centre of the headlight protector, only apply pressure directly at the point of the Dual Lock.
- The adhesive in the 3M Dual Locks requires 10 hours to cure or set, so leave your bike overnight and you should be good to go the next day. Best of all, the Dual Locks allow easy removable of the protector once they have set, so you can remove them to wash under the protectors.
The fitment instructions are included in the AMHP Headlight Protector kit so it’s an easy and relatively quick job. Just remember to be thorough with the cleaning of the headlight lens, as that’ll ensure you don’t need to do the whole thing a second time!
You can check out the range of headlights at the AMHP website. This set is $75.00 RRP and the range is ever expanding to include new models.


