On a mission to find the strongest, most secure and reliable Adventure Bike luggage rack system, I venture to Ventura! Review by Si from ASF.
First the pitch from Ventura….
…and now back to the real world.
So here’s the scenario; you have an old luggage system on your adventure bike that never really hit the mark, has dropped a bag along a rugged trail on a few occasions and is generally pretty average. Now you want something that gives you more confidence to keep you looking ahead while riding rough trails rather than behind you all the time to see if you’re losing something! What do you do? Simple, get yourself the AdVentura Tough Rack System from Ventura.
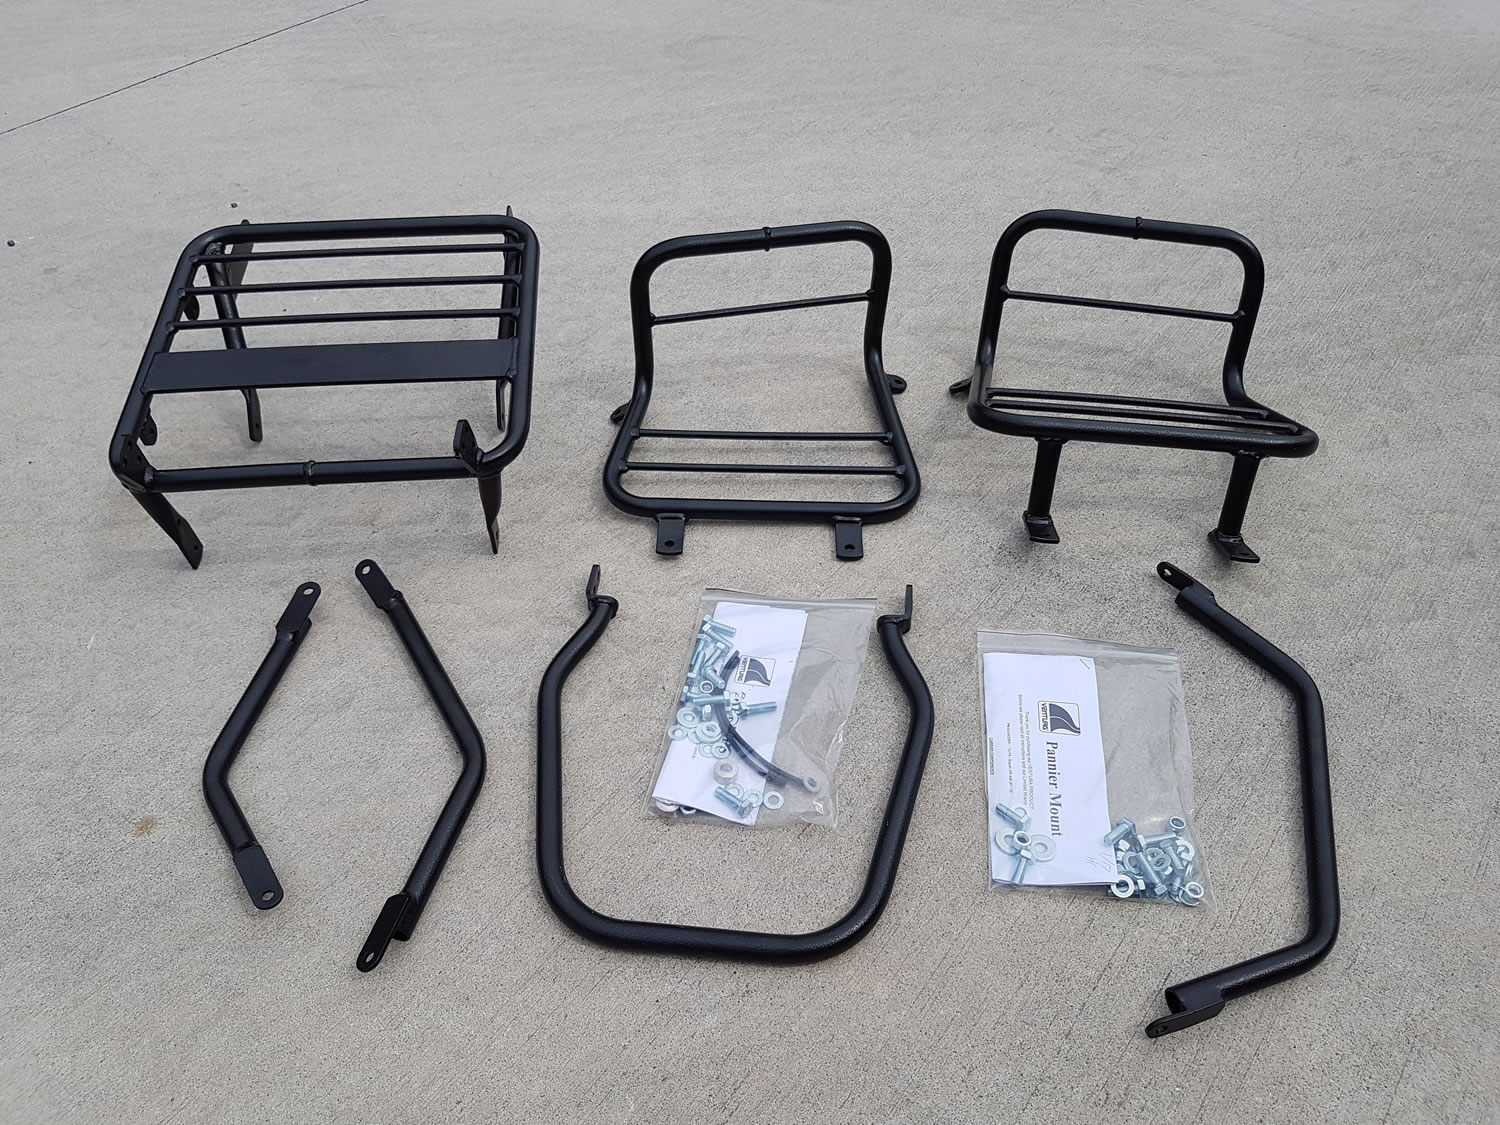
The Ventura racking range is imported by Kenma Australia Pty Ltd and can be purchased from all good motorcycle stores, or directly from Kenma. The Tough Rack System is modular and available in different configurations and I opted for the top rack only with pannier frames and Monza panniers (you can also buy the top rack with the Rally Enduro top bag). Unlike most of the reviews with this kind of product where you see a pristine motorcycle, all straight and new, this time we are analysing the fitment to an old, well-loved, slightly twisted and well-worn adventure bike from the real world. So here goes….
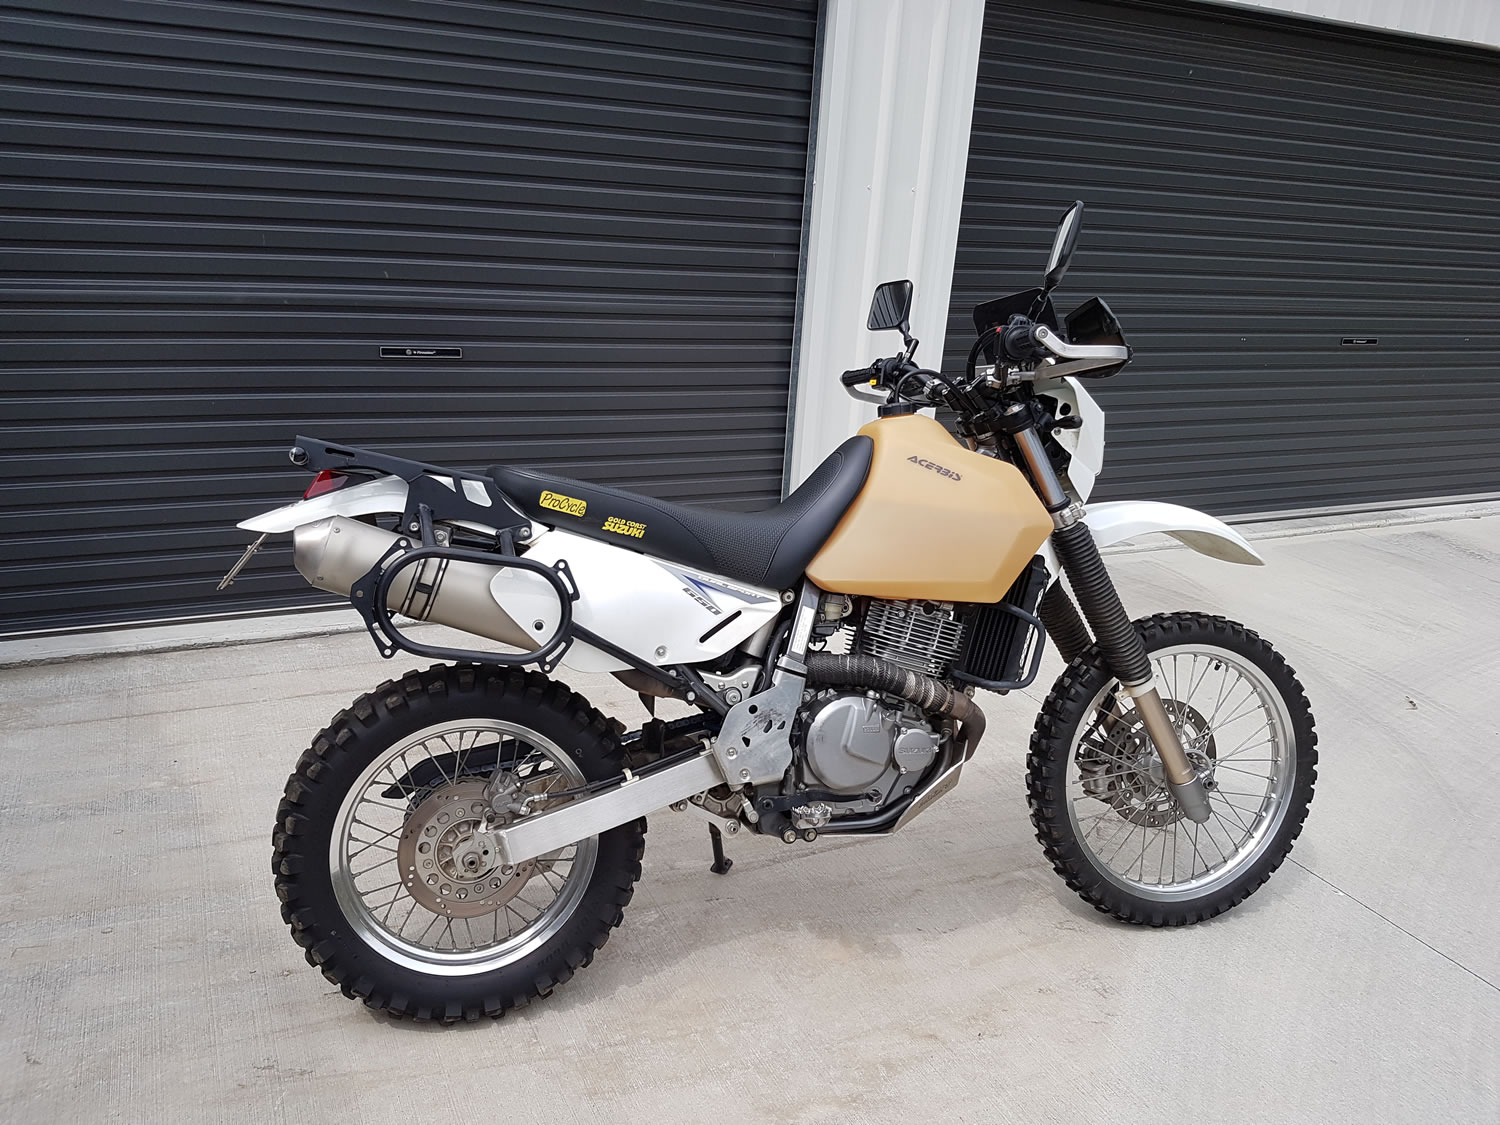
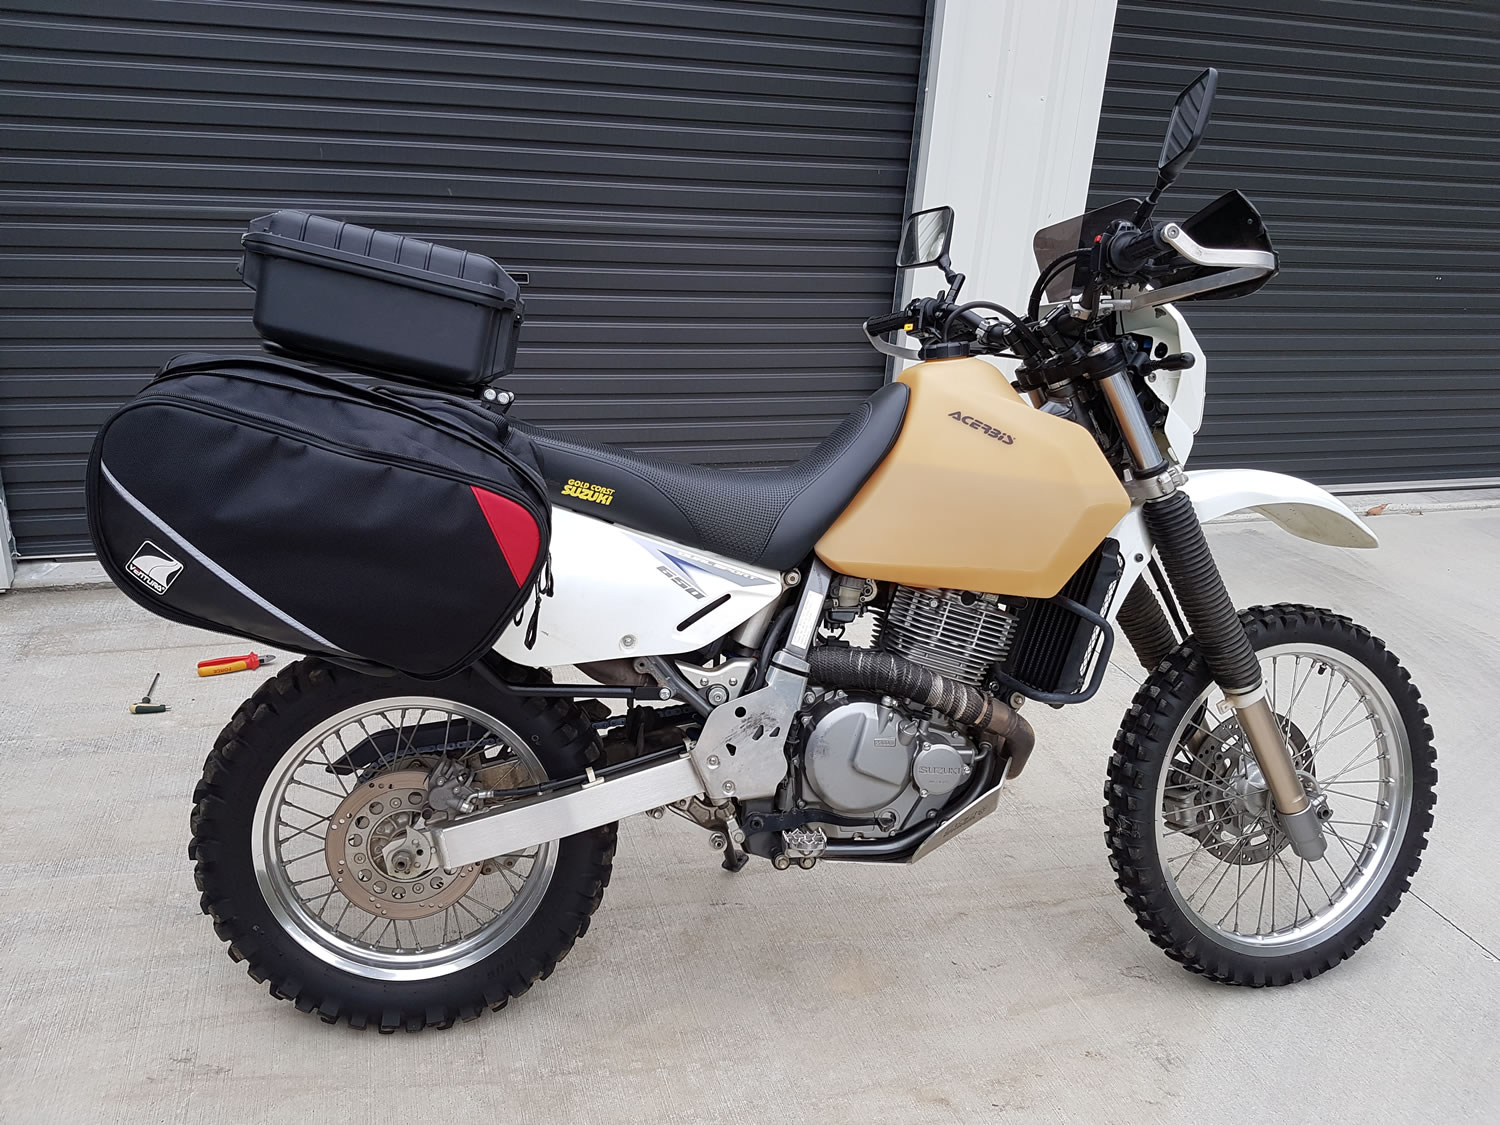
After the Tough Rack was delivered I set about the task of removing the old system and fitting it to my trusty Suzuki DR650. The old DR has been modified, had some mean adventures and been dropped a few times, so I was worried the new system might be a challenge to fit, but I was completely wrong.
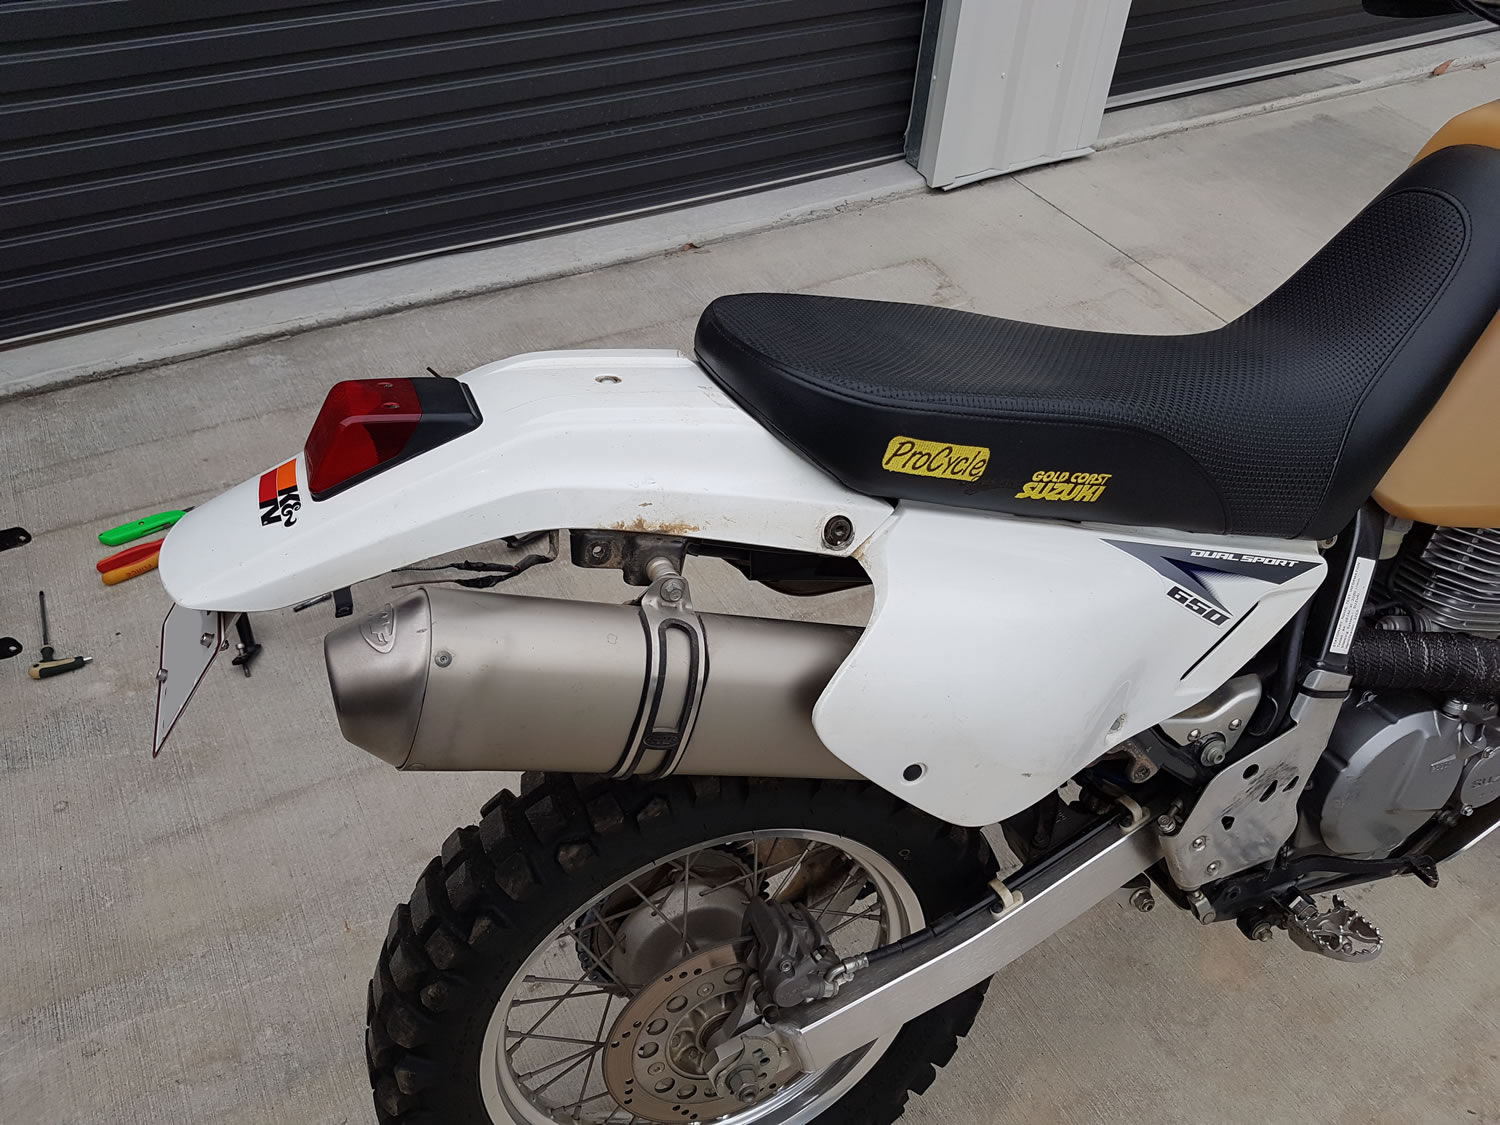
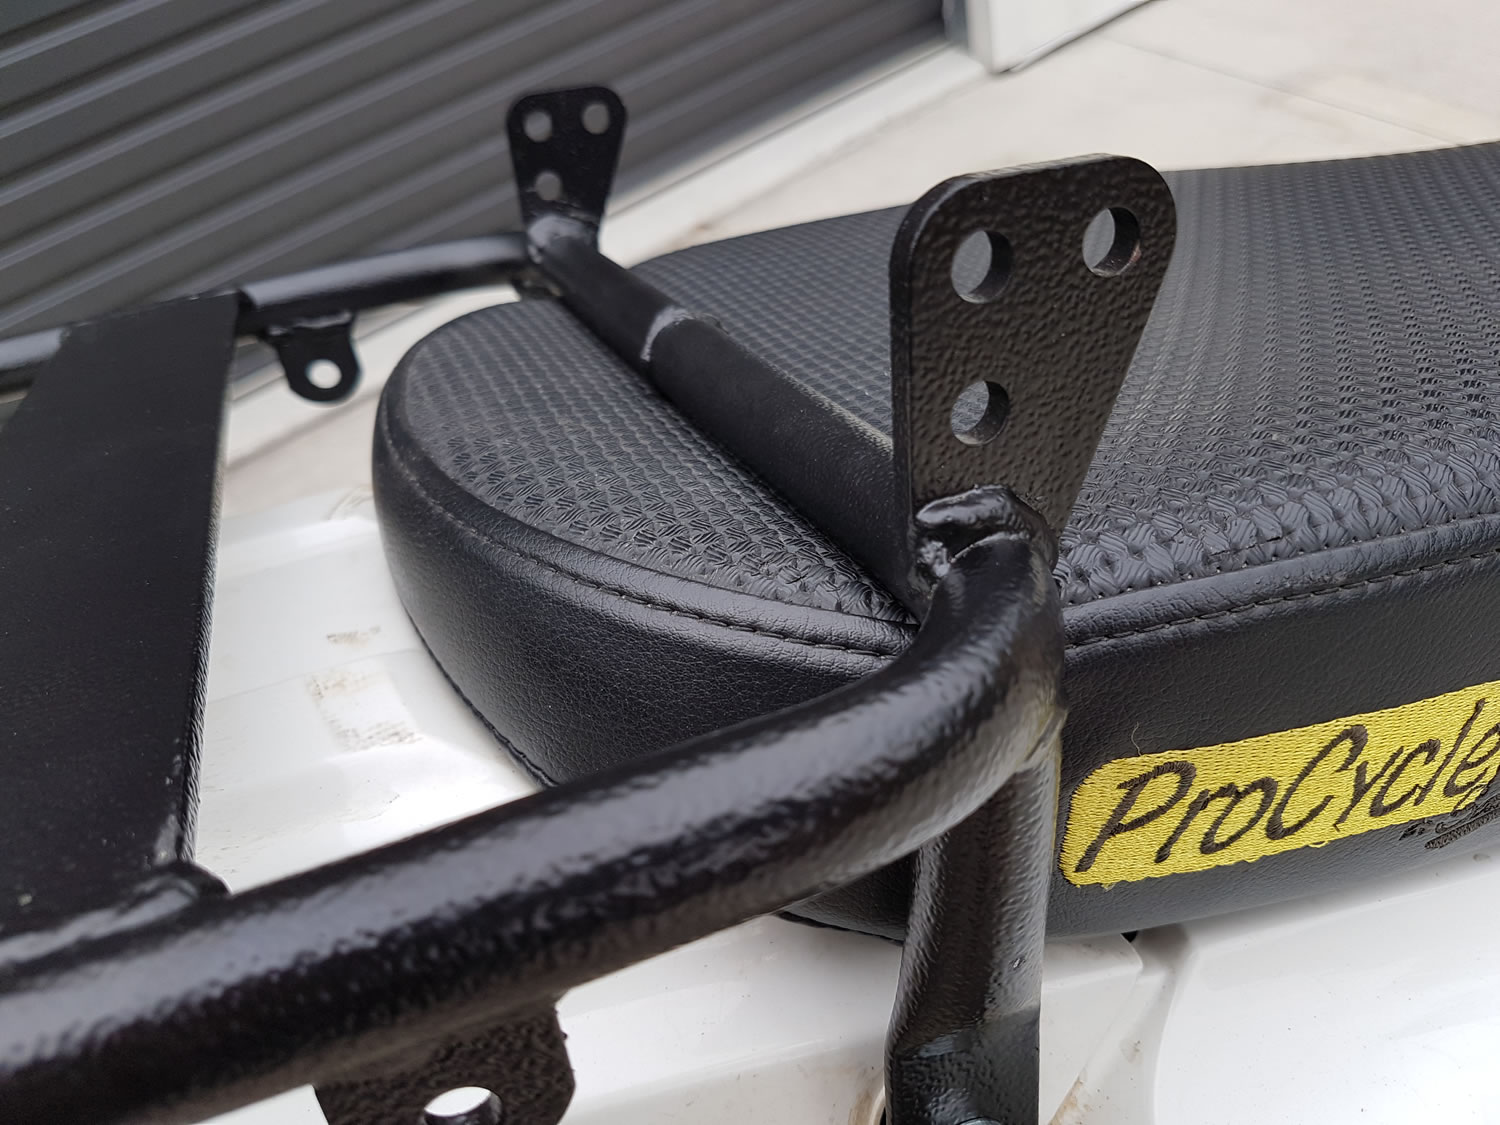
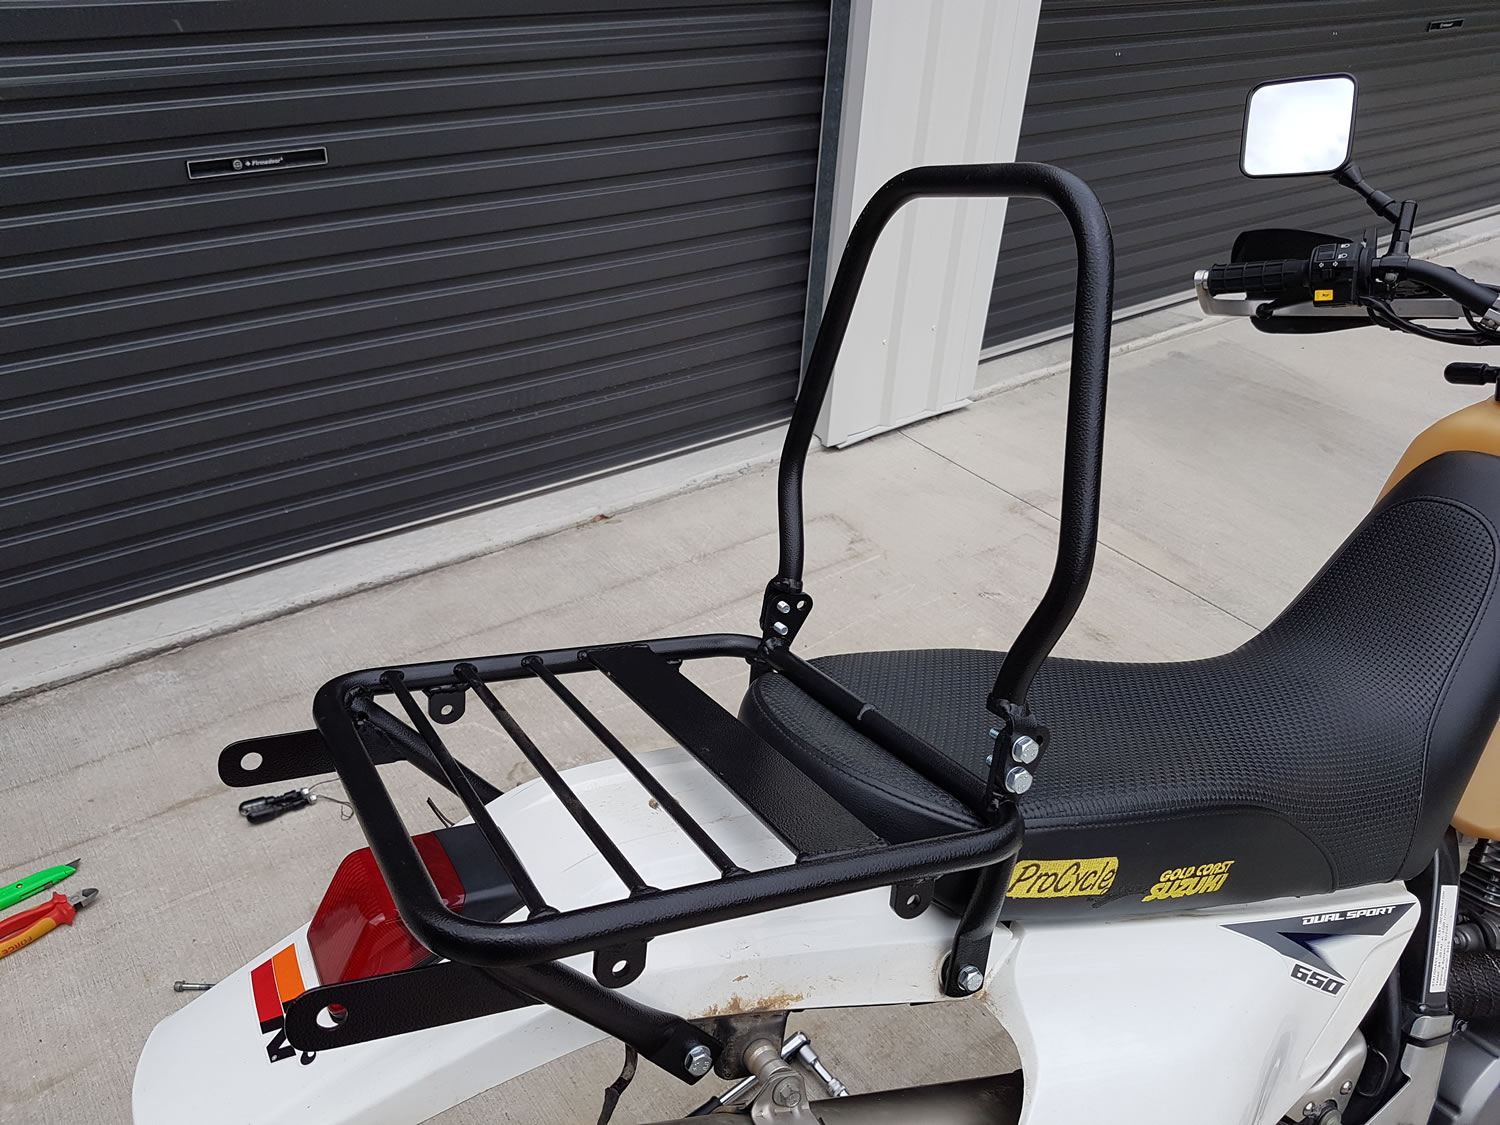
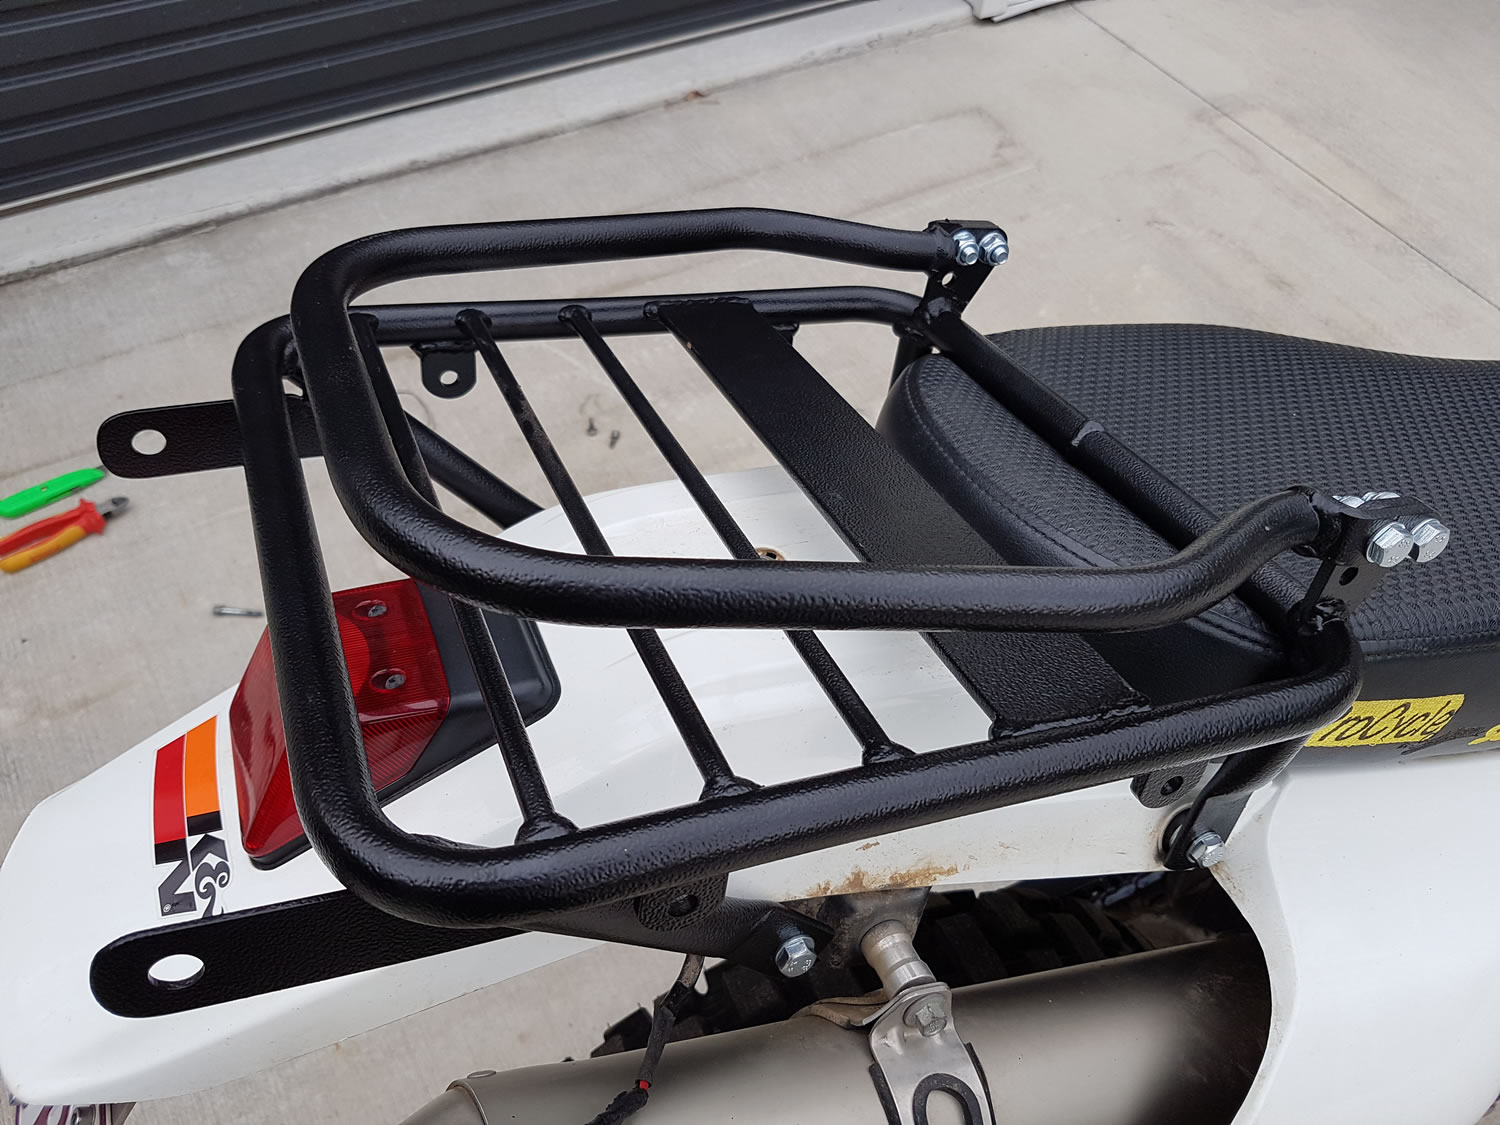
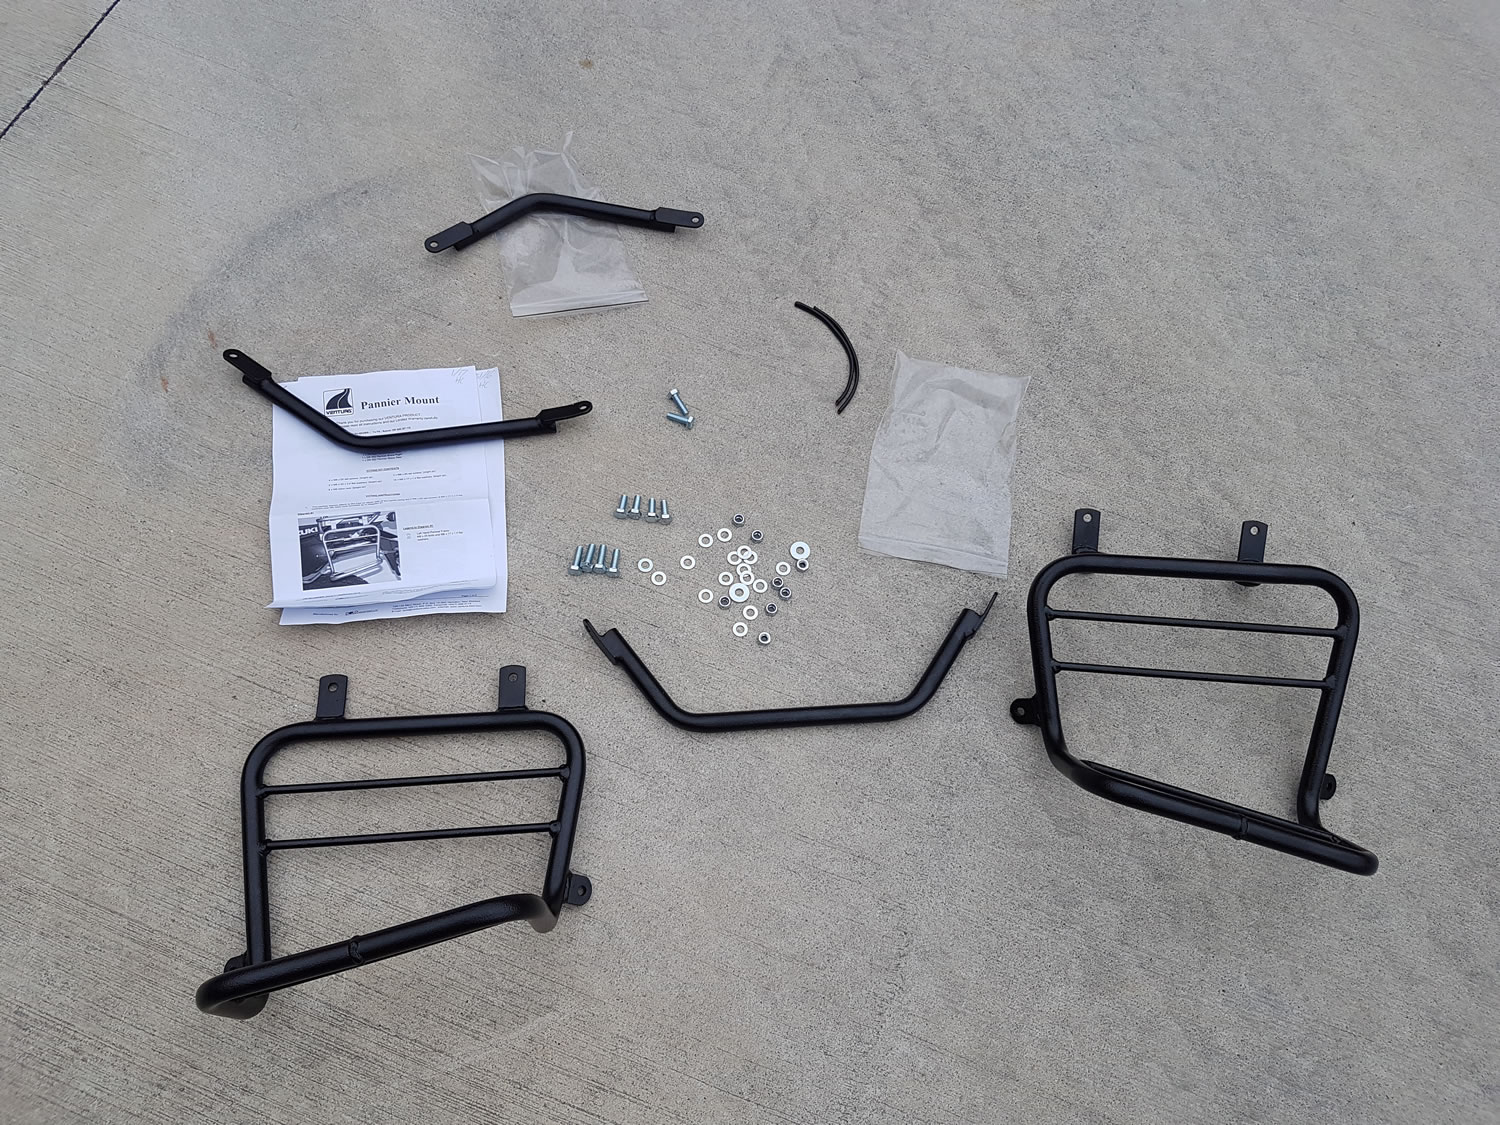
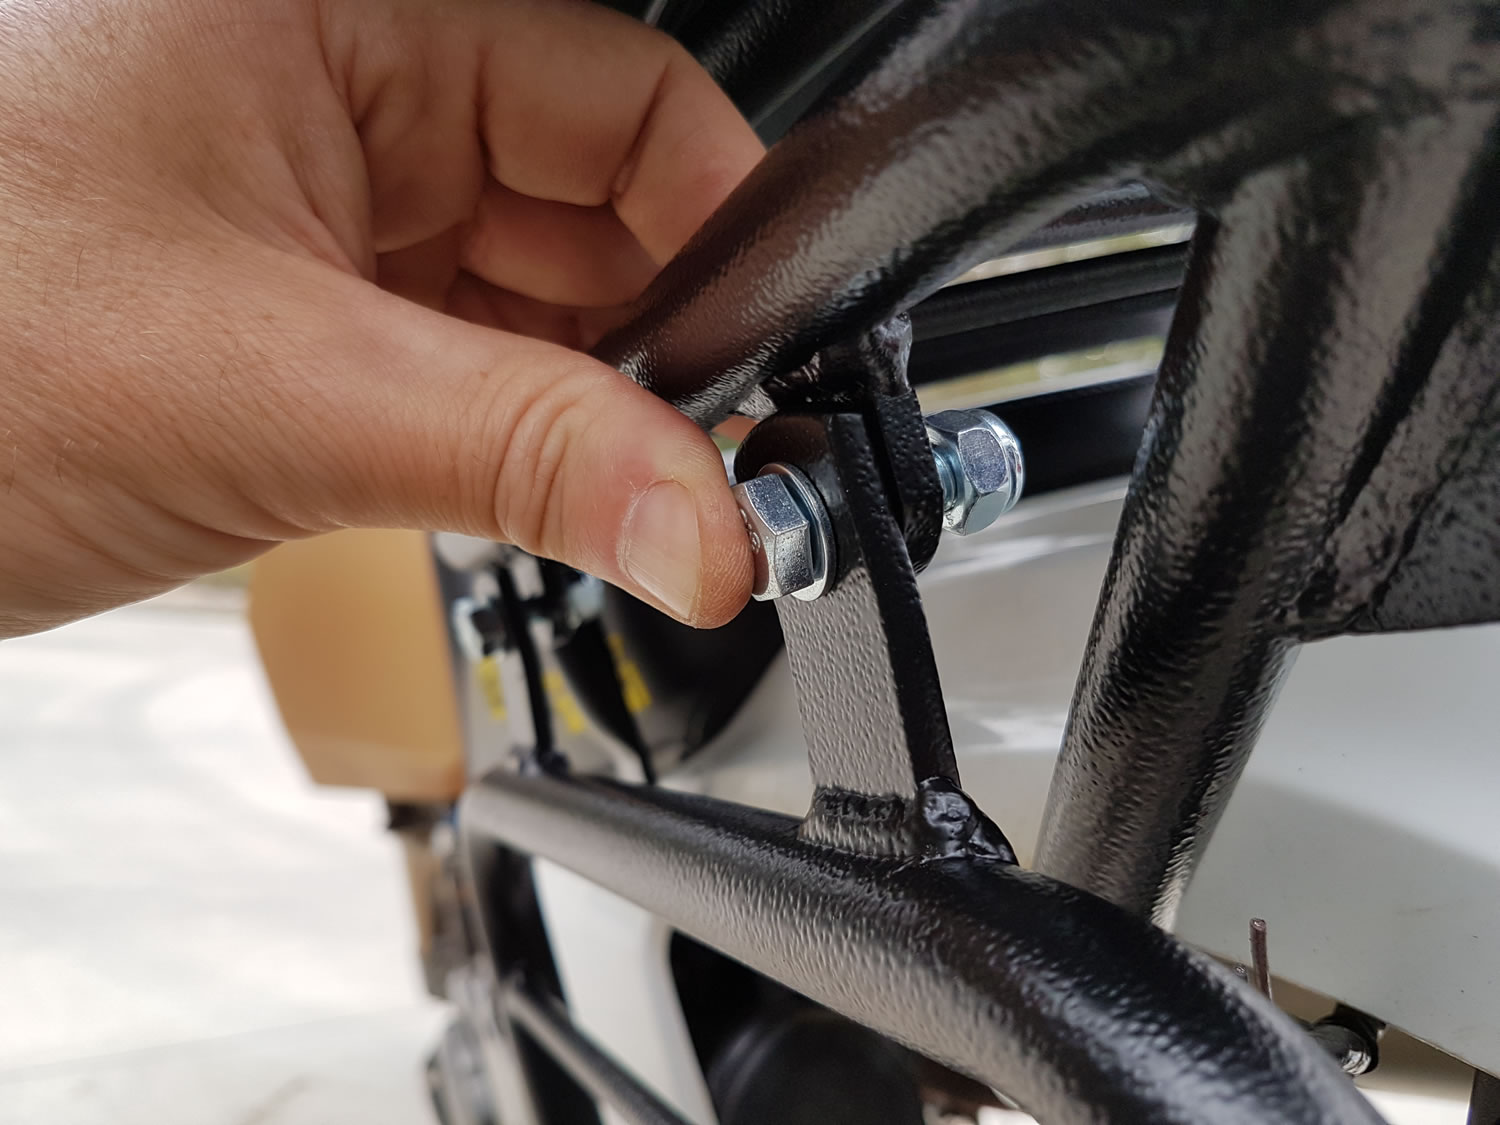
The first thing to get fitted is the main top rack. All the spacers, Nylock bolts and washers are clearly identified making everything a simple process. At this point I made a discovery; the aftermarket Gel seat I have fitted to the DR is higher than the standard seat and this meant the rack pushed down into it with the front mounting area points aligned (I still managed to wiggle the seat out and back in again afterwards, so not all is lost), but as not everyone has one of these, this is probably not too much of a concern.
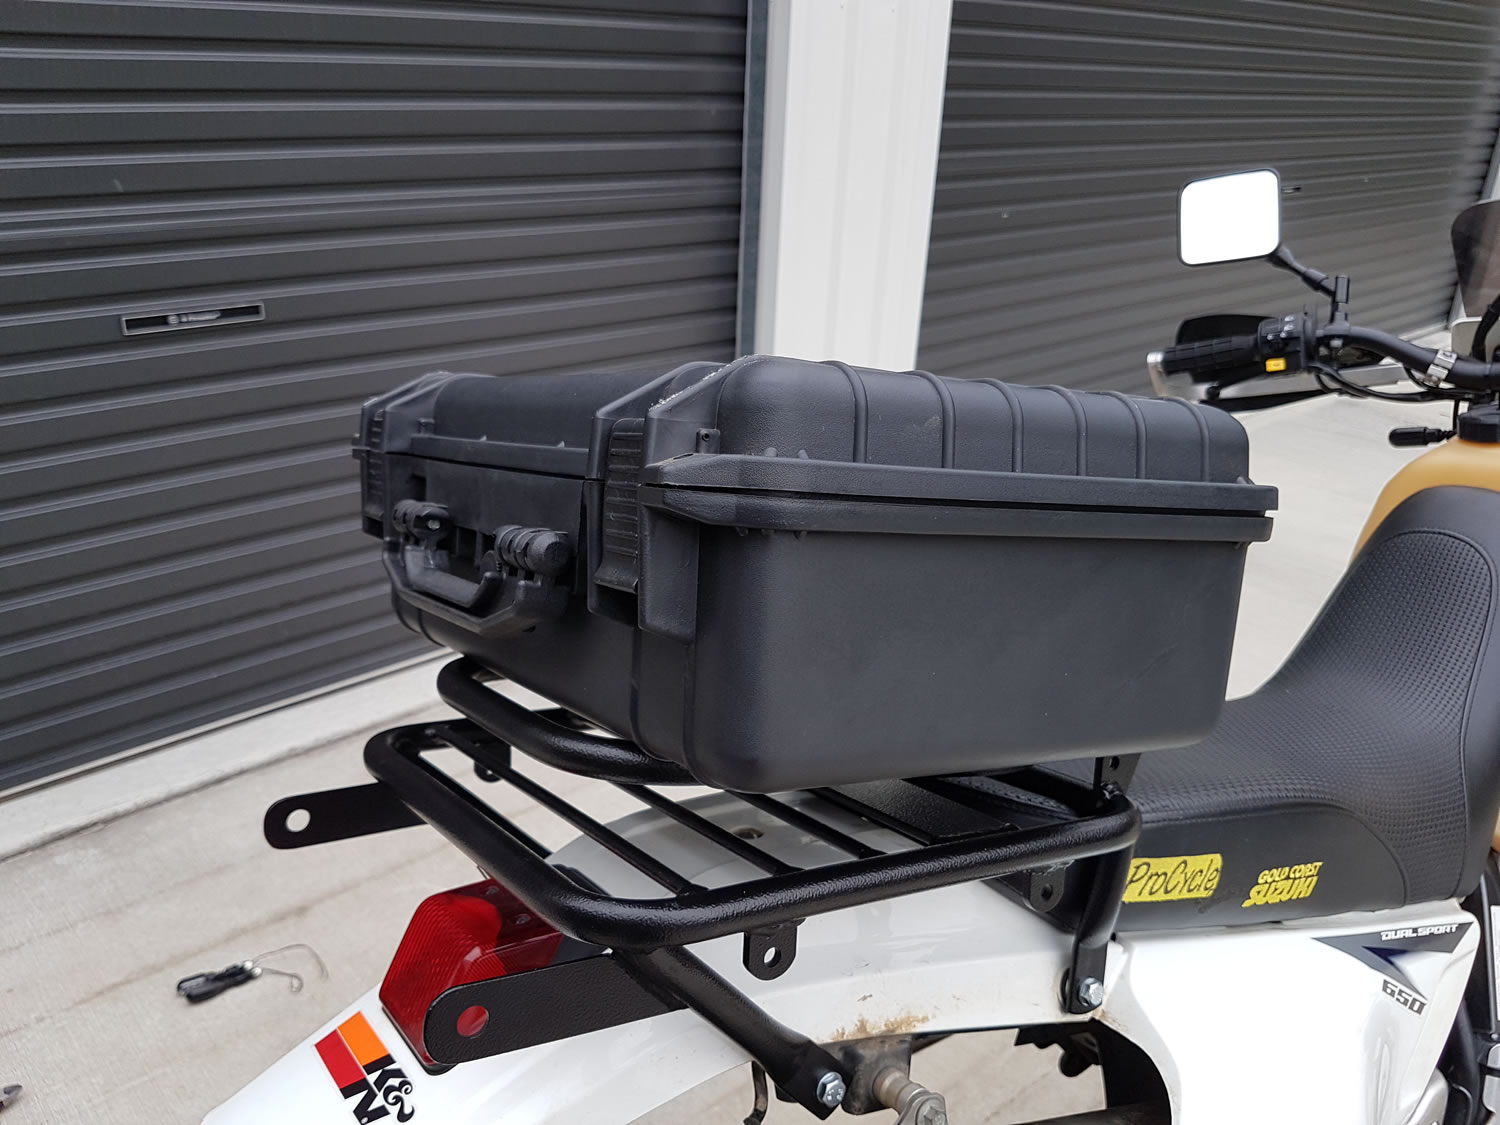
Once the main top rack was fitted it was time to fit the luggage support bar. Ventura have a range of packs that have a flap that slides over the support bar depending on which bag you chose. I have always used my trusty old tool box as a daily top box, so the flat fitment was correct for my needs.
With the top rack mounted I now turned my attention to the Tough Rack pannier frames.
Just like the top rack, the instructions made simple work of the fitment and everything was clearly marked out. The side racks themselves get mounted up first and then the front braces are attached to the frame mounts (the same holes that are used for the rear foot peg hangers – which I removed years ago anyway).
So with both the front braces fitted it time to move the final rear brace that gives it the outstanding strength that I was told about with this unit.
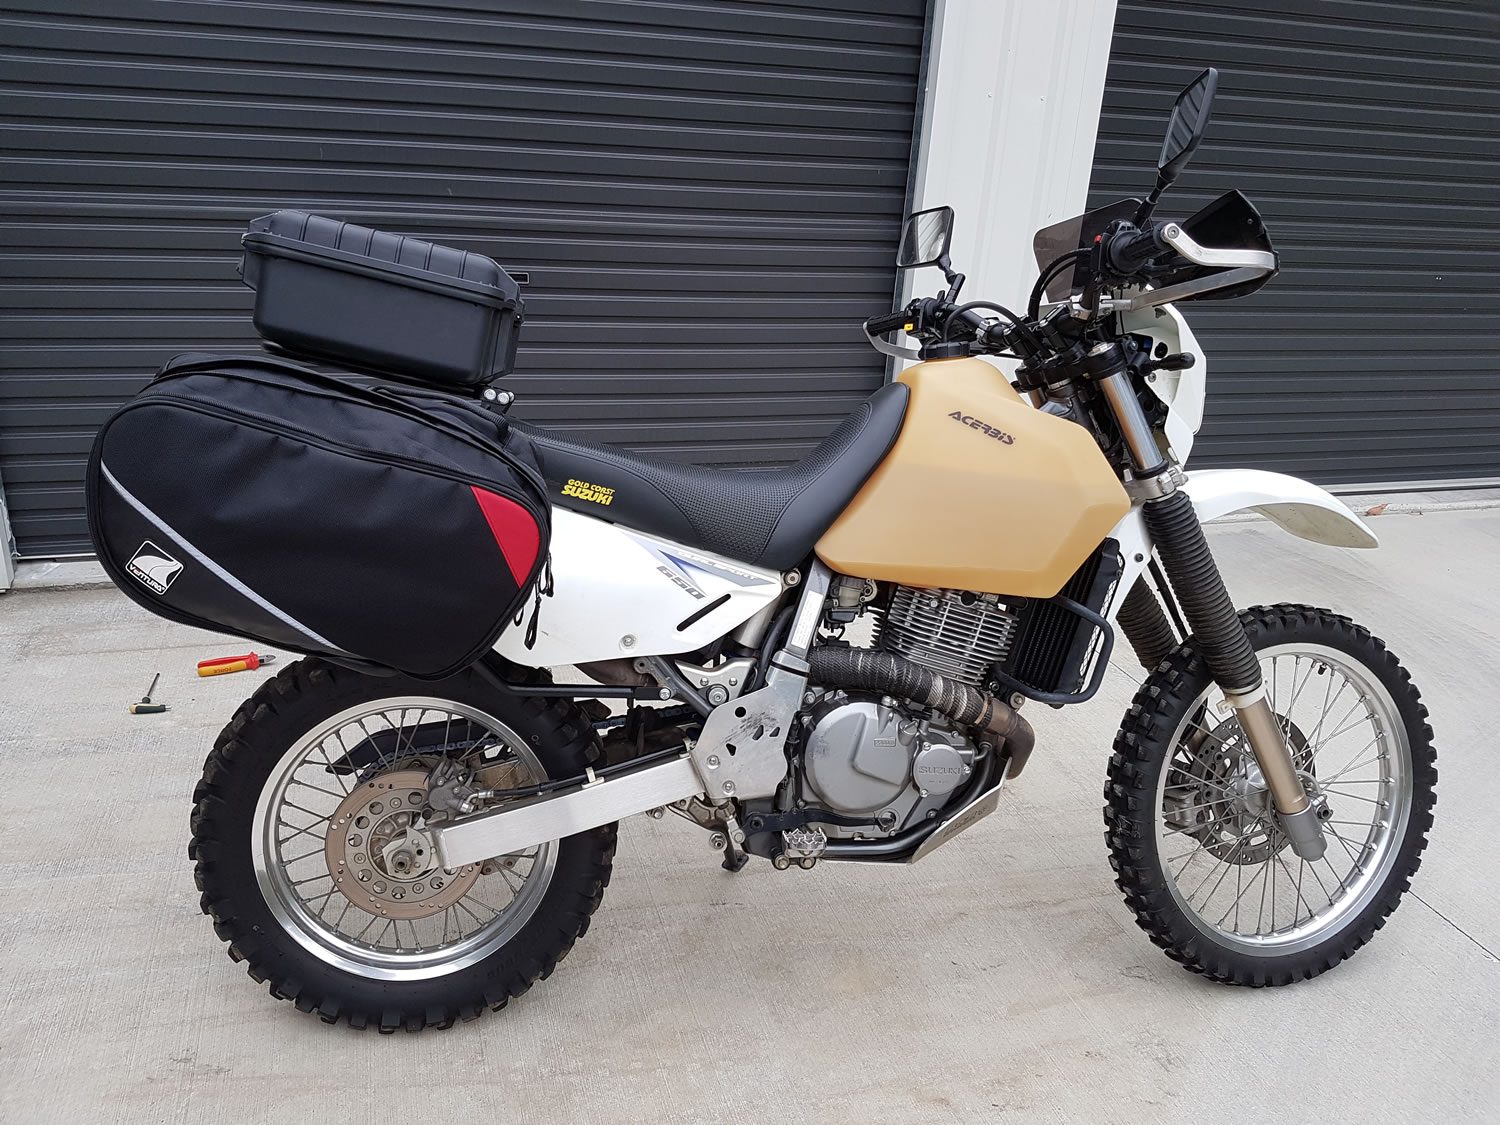
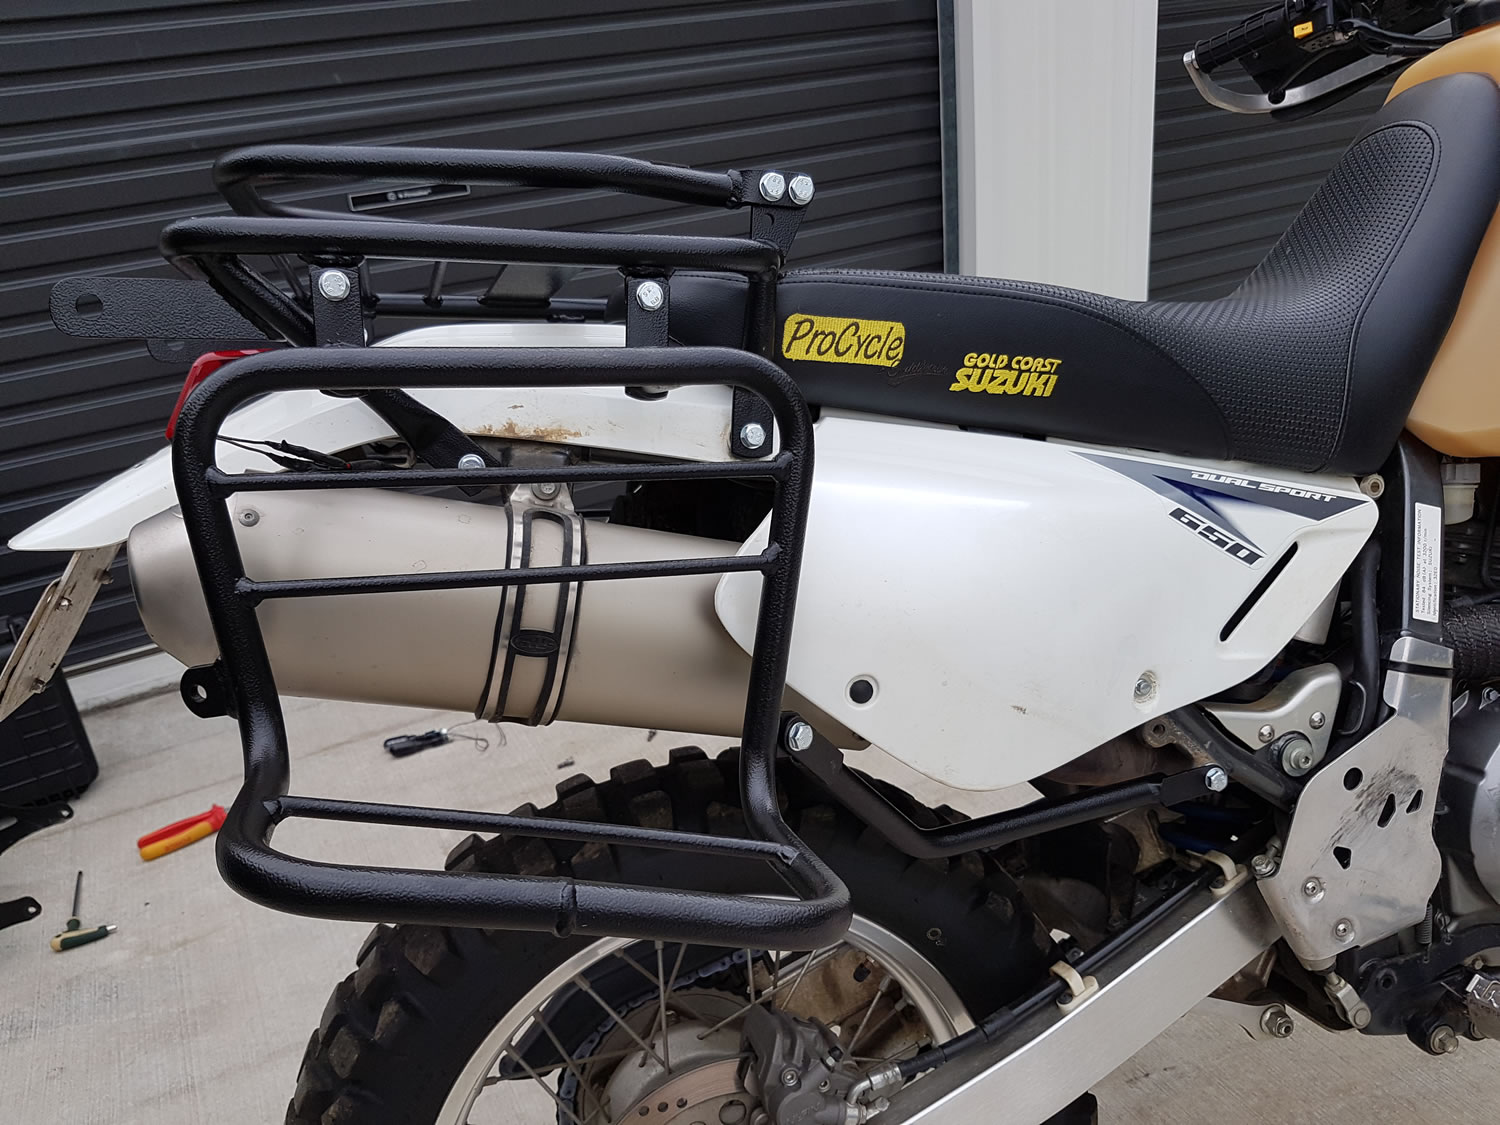
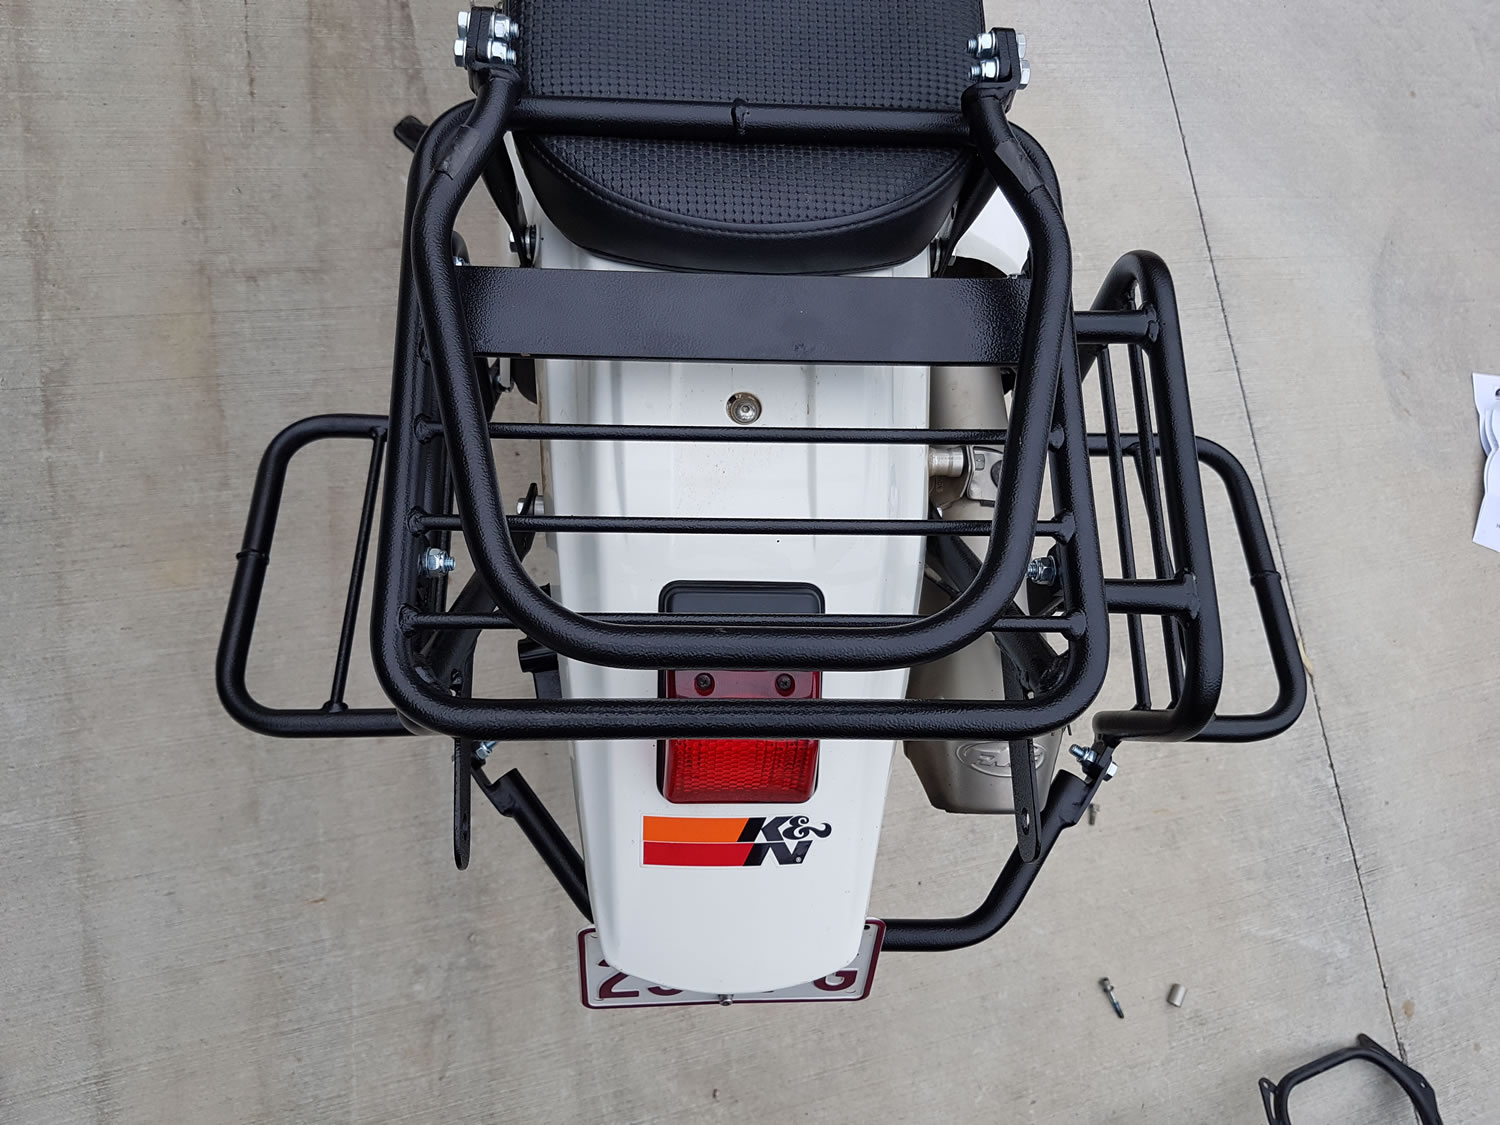
Did I mention outstanding strength? They were not joking. This racking unit is a complete extension of the subframe and built like a brick shithouse! The quality, strength and build of the final fitted rack blew me away (yes – I sat and stood on the side racks like a child as I couldn’t believe how strong they were, I also picked the bike up off the stand with them!). The side racks are a fixed L shape and I was initially worried they would stand out and look stupid, but once everything was on and in place, I was surprised at how much they didn’t stick out.
With the rack all fitted up it was time to fit my trusty top box again and the Monza 58 litre Panniers that I got from Vetura with the kit. Everything fitted snugly and felt very stable. Time to stand back and admire the new Tough Rack!
The Monza 58 litre Panniers have an expansion zip to make them the full 58 litre capacity or can be reduced to 42 litres depending on your adventure. I expanded them out to full size on my first trial run and was pleased when I got all my gear in (including my small tent and cooking gear) for a weekend of stupidity with the lads. The water resistant material also got a full test after the 14 river crossings at Condamine Gorge and I can say it passed with flying colours.
As per my original requirements from this racking system, I can honestly say that habit had me looking around after every leg of rough track, but by the end of the first day I actually stopped! The L shaped nature of the side racks means everything is completely supported at all times.
If you are serious about a rugged, trouble free luggage system for your adventure bike, then I would not hesitate to recommend the “AdVentura” Tough Rack System from Ventura. The build quality, support and peace of mind are well worth the money.
The AdVentura Tough Rack system is available for the following popular Adventure motorcycles:
HUSQVARNA TR650 TERRA 2013 on
KAWASAKI KLR650 2008-2017
KTM 1190 ADVENTURE 2013-2017
SUZUKI DR650 1997-2017
SUZUKI DL650 VSTROM 2012-2016
SUZUKI DL1000 VSTROM 2014-2017
TRIUMPH TIGER 800, 800XC & XCX 2011-2017
YAMAHA XT660Z TENERE 2008-2017
Find out more about it here: http://venturarack.com.au/adventure-luggage.html
THE VERDICT | Ventura “AdVentura” Tough Rack Review
Built Tough!


