
Fitting a DNA airfilter and Stage 2 Lid to the Long Term Yamaha MT-07 Tracer. Strong mid-range power and torque gains! Words & Images: Kris Hodgson
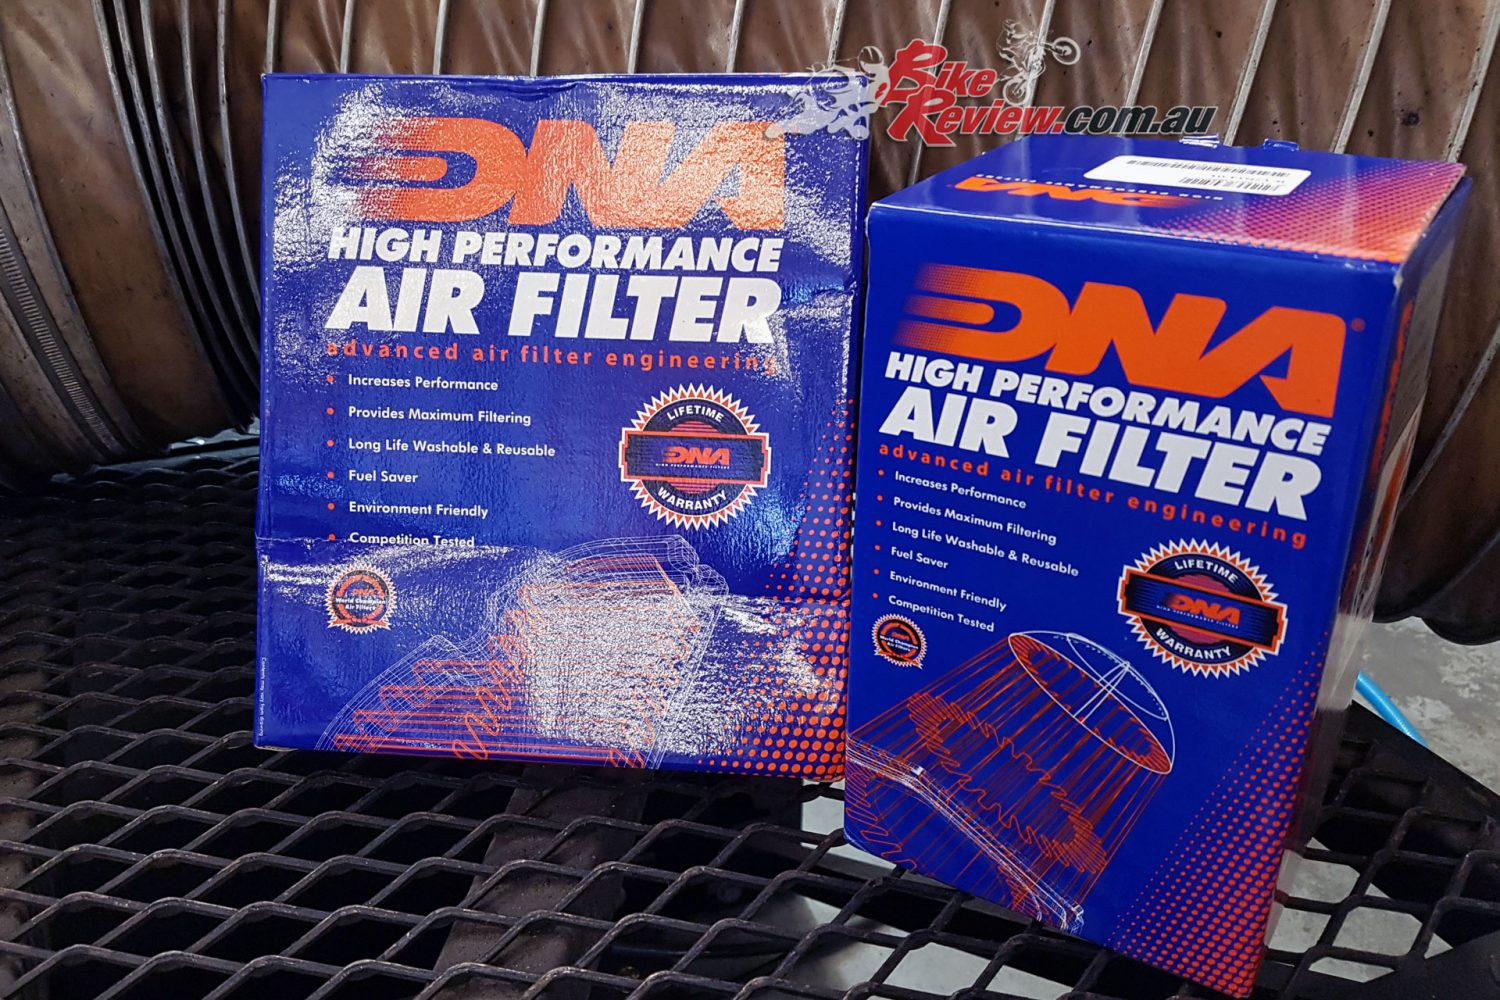
Everyone knows that adding a performance airfilter is the way to go, especially if you’re planning on adding an aftermarket exhaust system and getting it tuned. We’ve got a DNA performance airfilter and Stage 2 kit from Kenma Australia for our MT-07 Tracer, and while we don’t have an exhaust system yet we wanted to see what performance gains are on offer.
Dave from Sydney Dyno was kind enough to let us run the MT-07 Tracer on his dyno to get a benchmark figure, fit the DNA airfilter and then run the bike again to see what kind of performance gains we’re looking at.
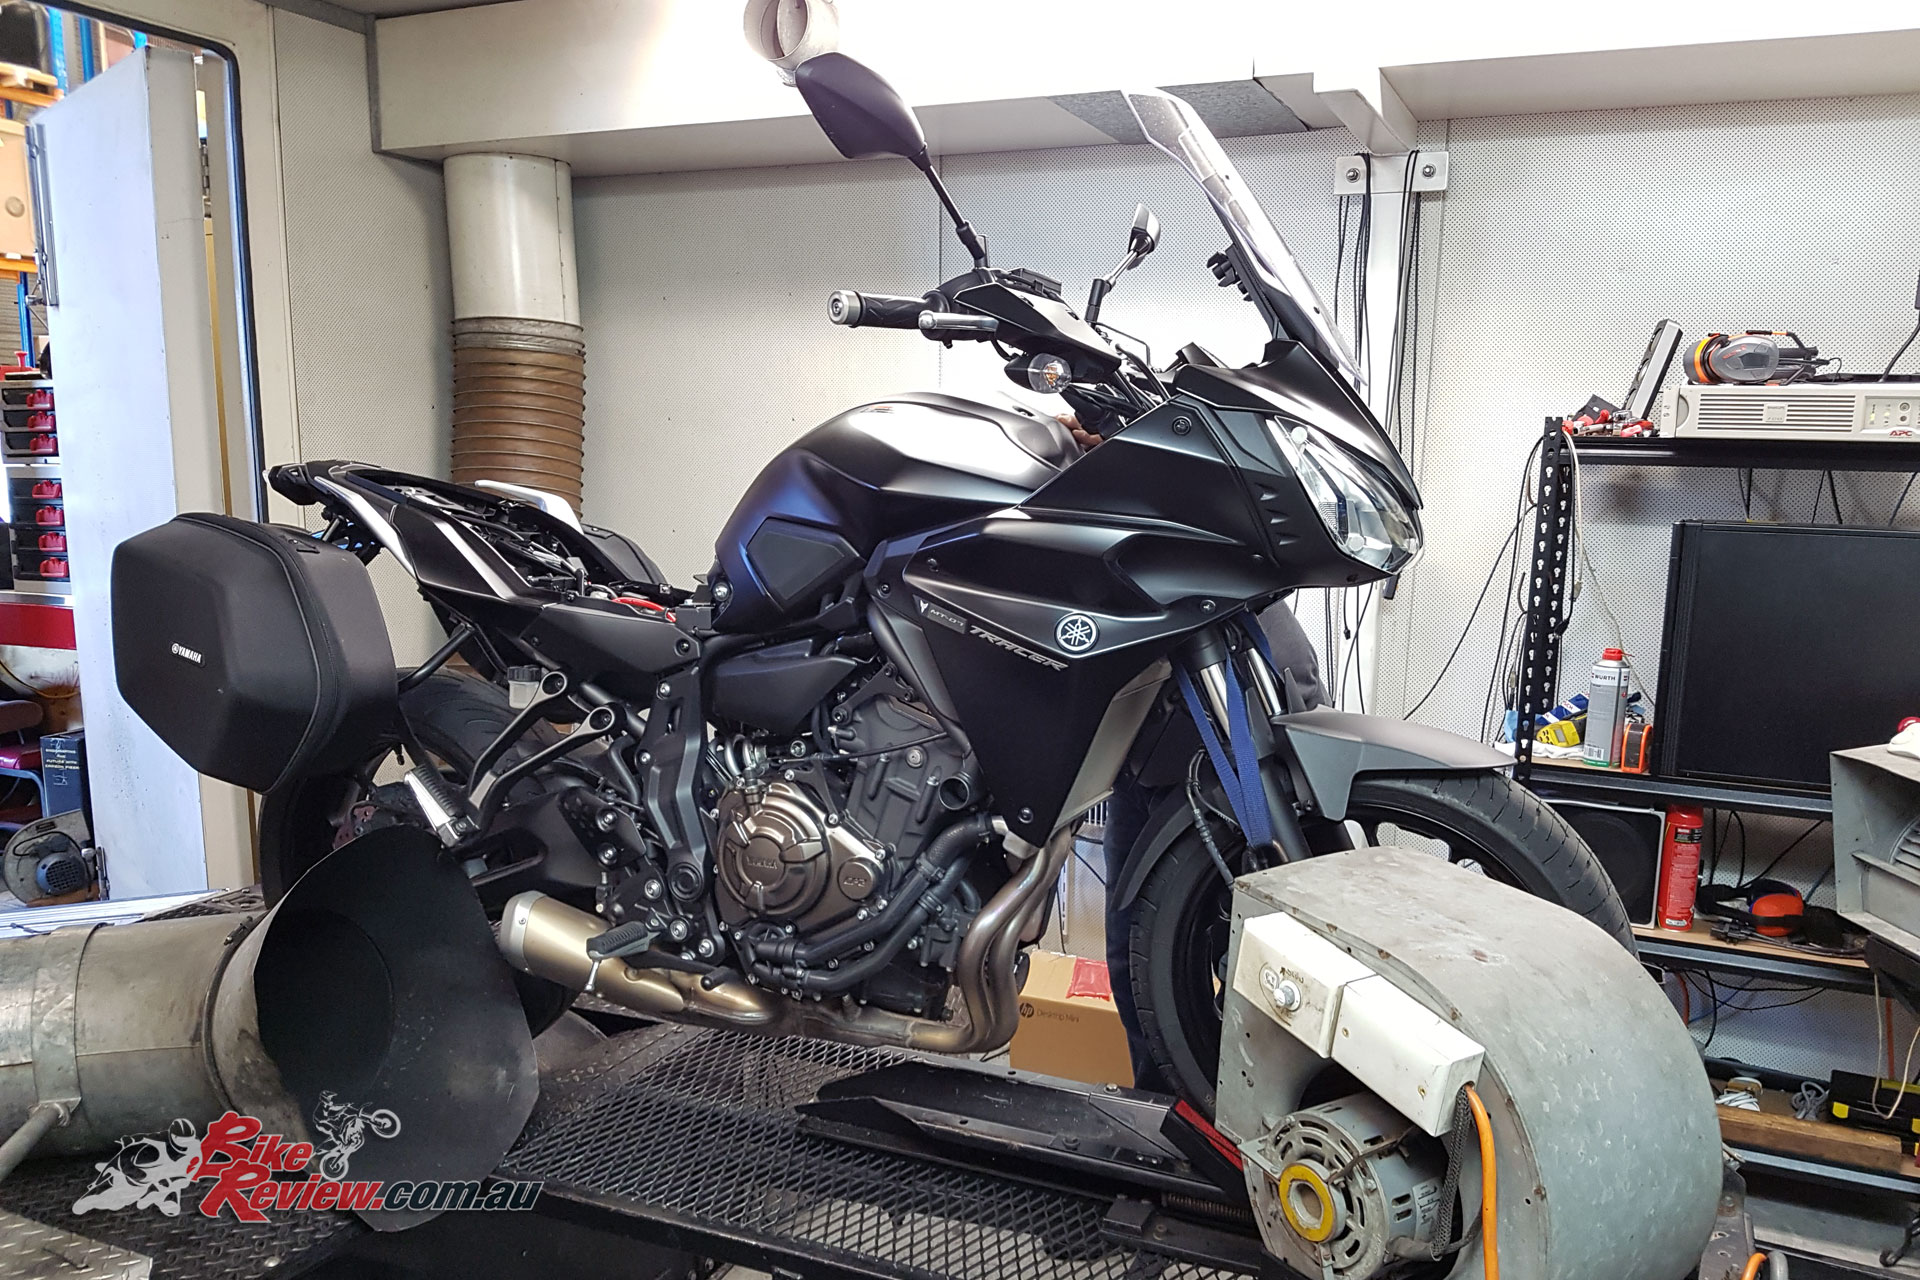
Our Long Term MT-07 Tracer on the dyno at Sydney Dyno
The other benefits of a performance airfilter like the DNA offering is that it is a washable, reusable item, offers much greater airflow and if you haven’t worked on your own bike can be a fun basic DIY project to get started on. We didn’t find the MT-07 Tracer that easy to work on in this regard but that’s not the filter’s fault!
As a general rule most motorcycles have their airbox under the tank and it’s matter of lifting the tank, getting it safely held out of the way, opening up your airbox (usually unscrewing the cover) and pulling out the standard item, then replacing it.
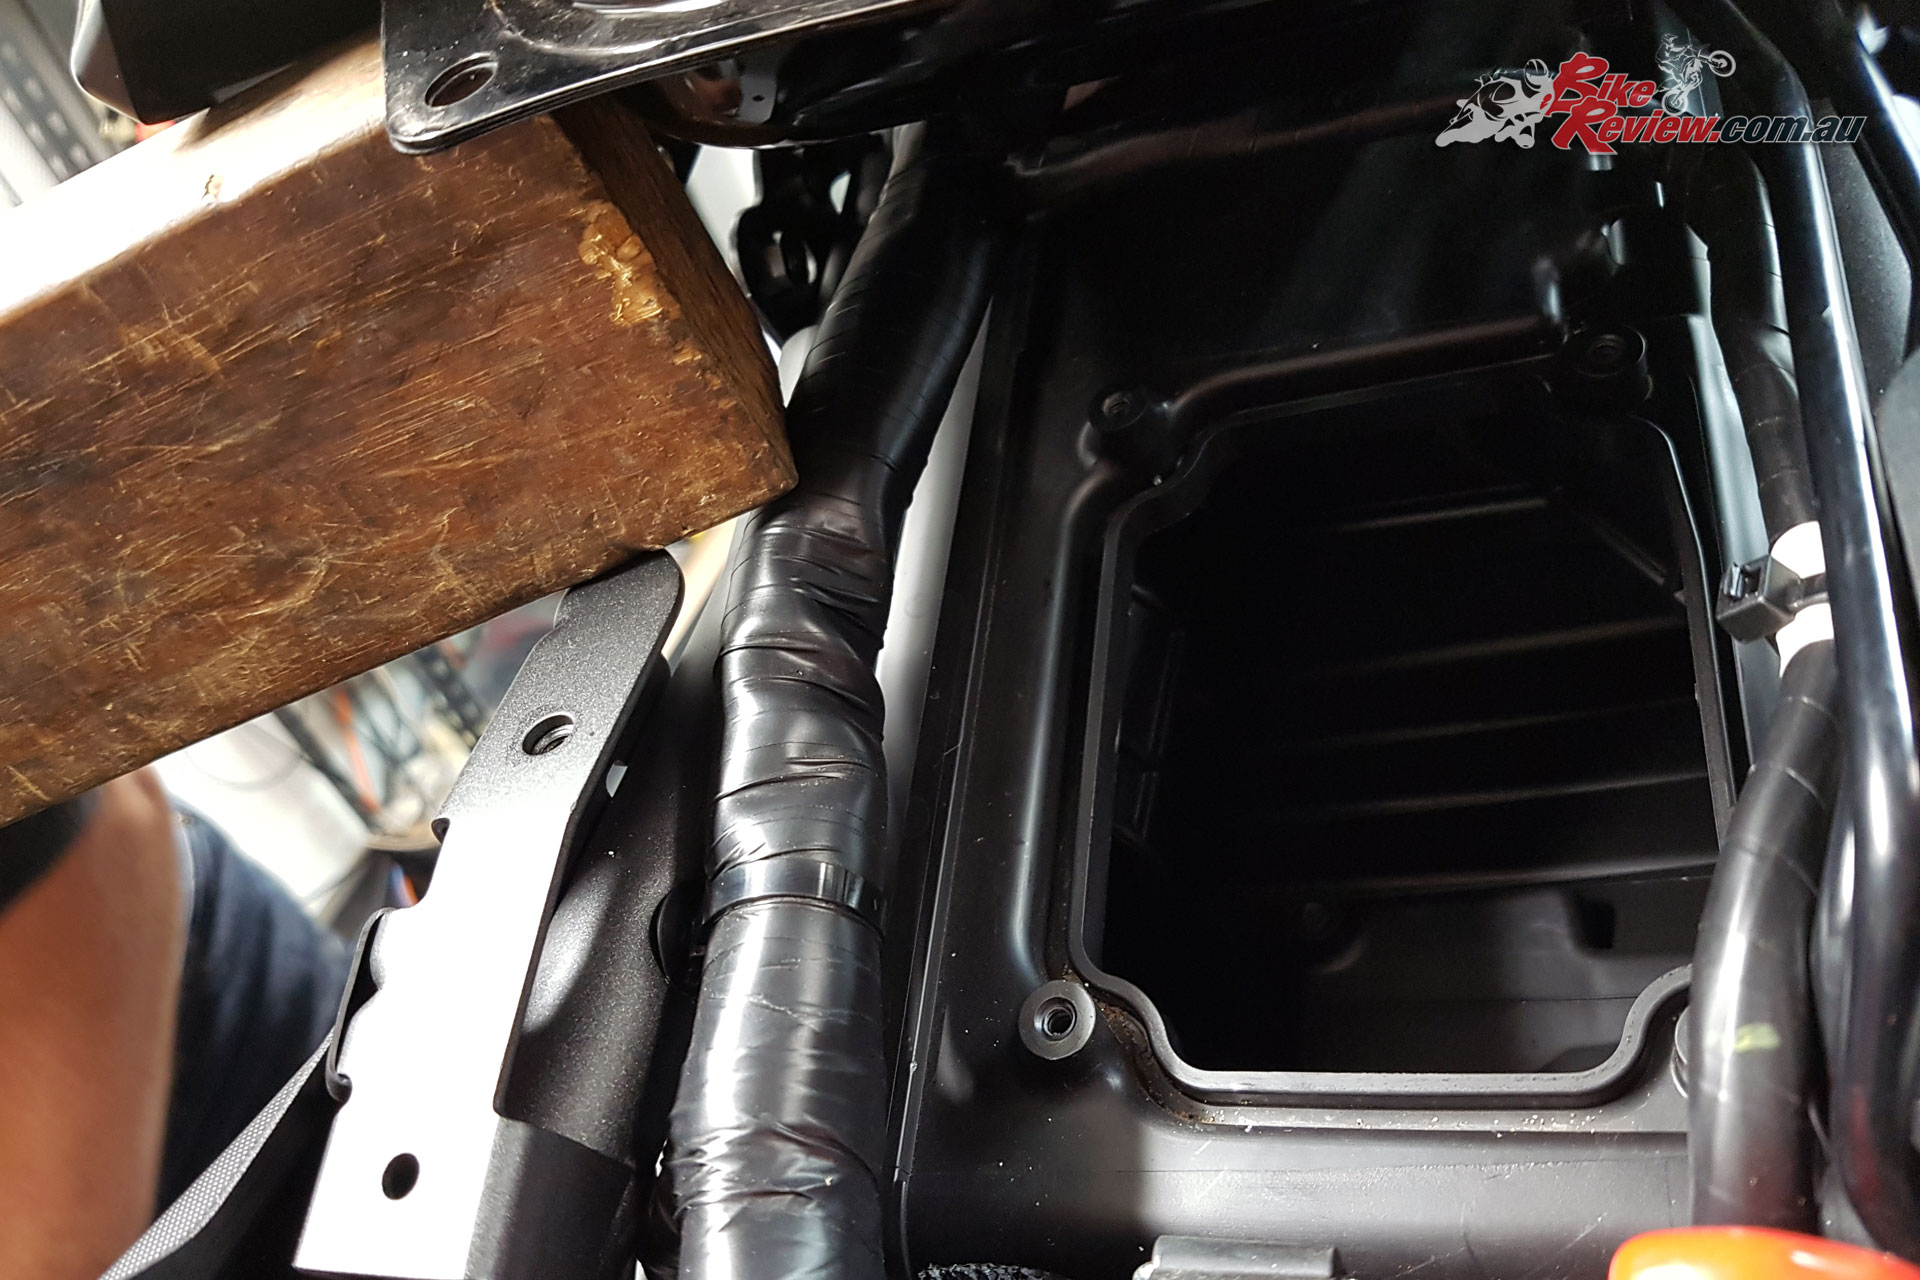
Lift the tank, unscrew the stock Airbox Lid and remove the standard airfilter
With the MT-07 Tracer it’s behind the tank and under the seat. It’s a simple job that requires lifting the tank, unscrewing the old air box lid (which includes a snorkel) and pulling out the standard airfilter. Note – our Long Termer has only done 2000km so its standard airfilter is still very clean. You can always wait till it’s due for replacement and then replace it to get the best value out of the standard item.
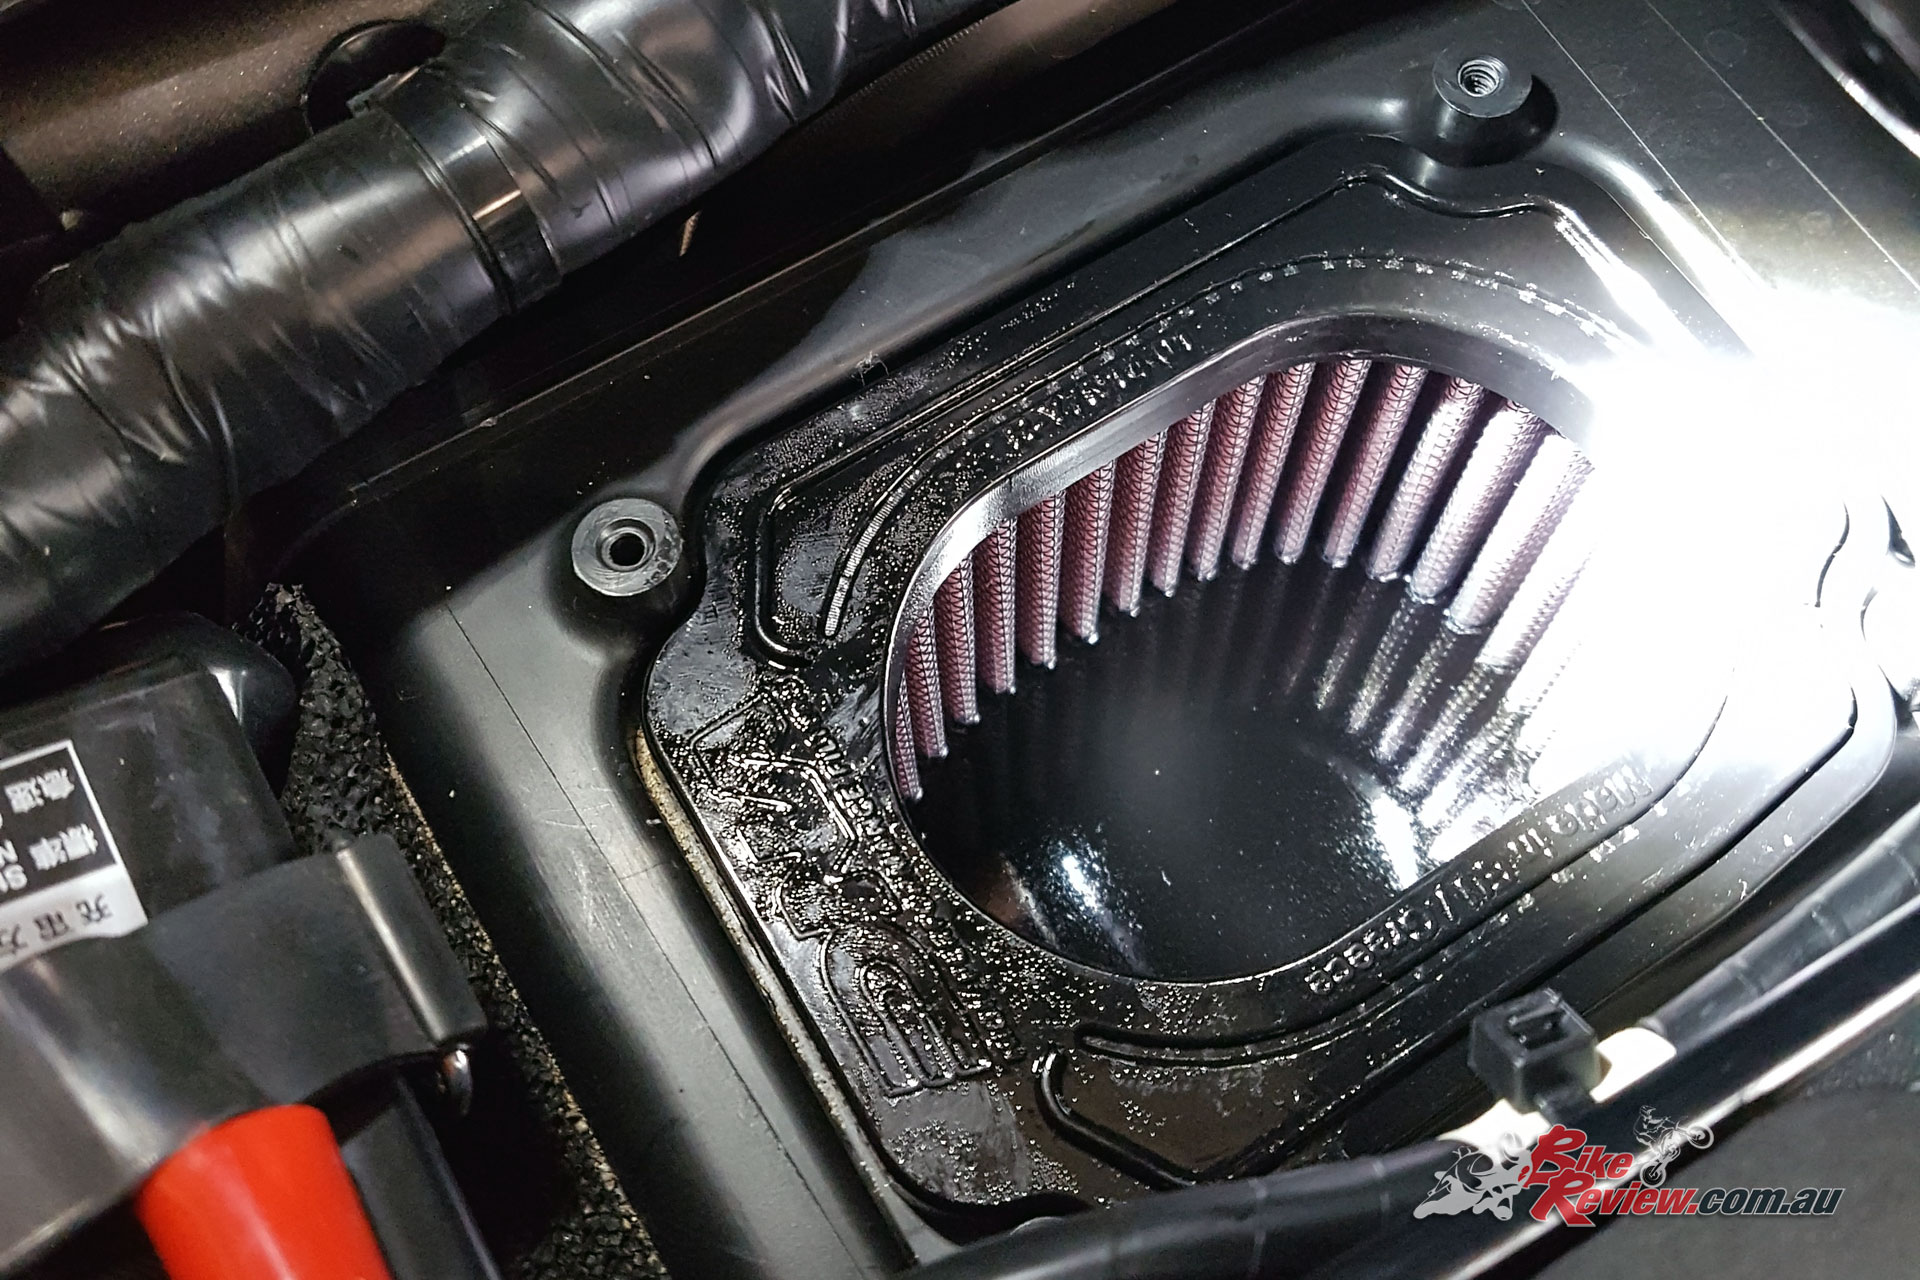
Push the DNA airfilter into place, make sure it’s properly seated – Avoid dropping anything in under the airfilter during fitment
Now simply slot the DNA airfilter into place – avoid dropping anything in under it, including any dust or debris that may have built up. It fits perfectly in one orientation, if you’re forcing it, turn it around.
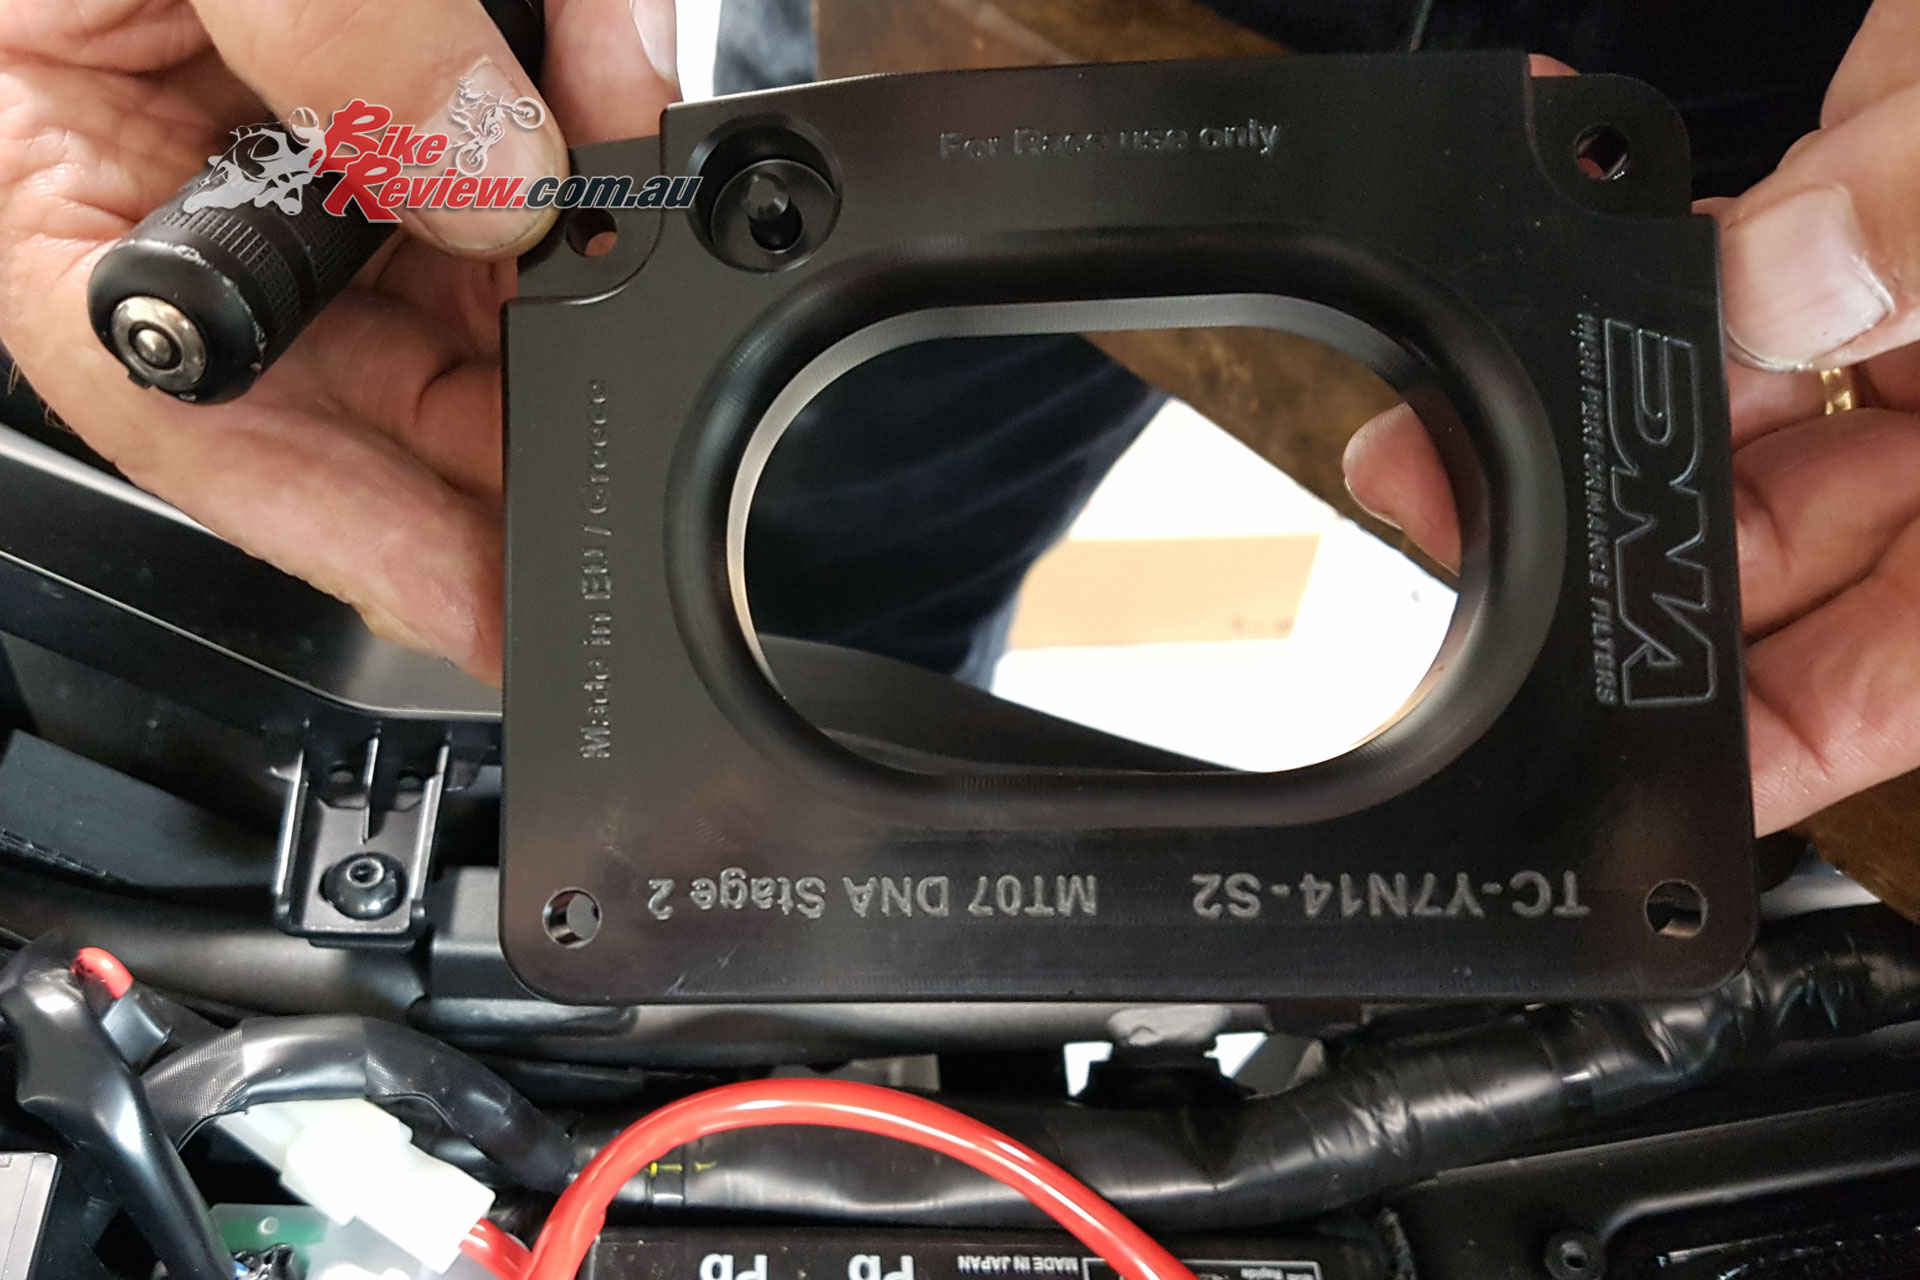
The DNA Stage 2 Airbox Lid
Then place the air box Stage 2 Lid over the top, replace the screws and tighten down. It’s only screws into plastic so don’t over-tighten. The instructions say to use common sense in this regard, and when you’re screwing into plastic if you strip the screw down points you’ll be left with an expensive replacement required.
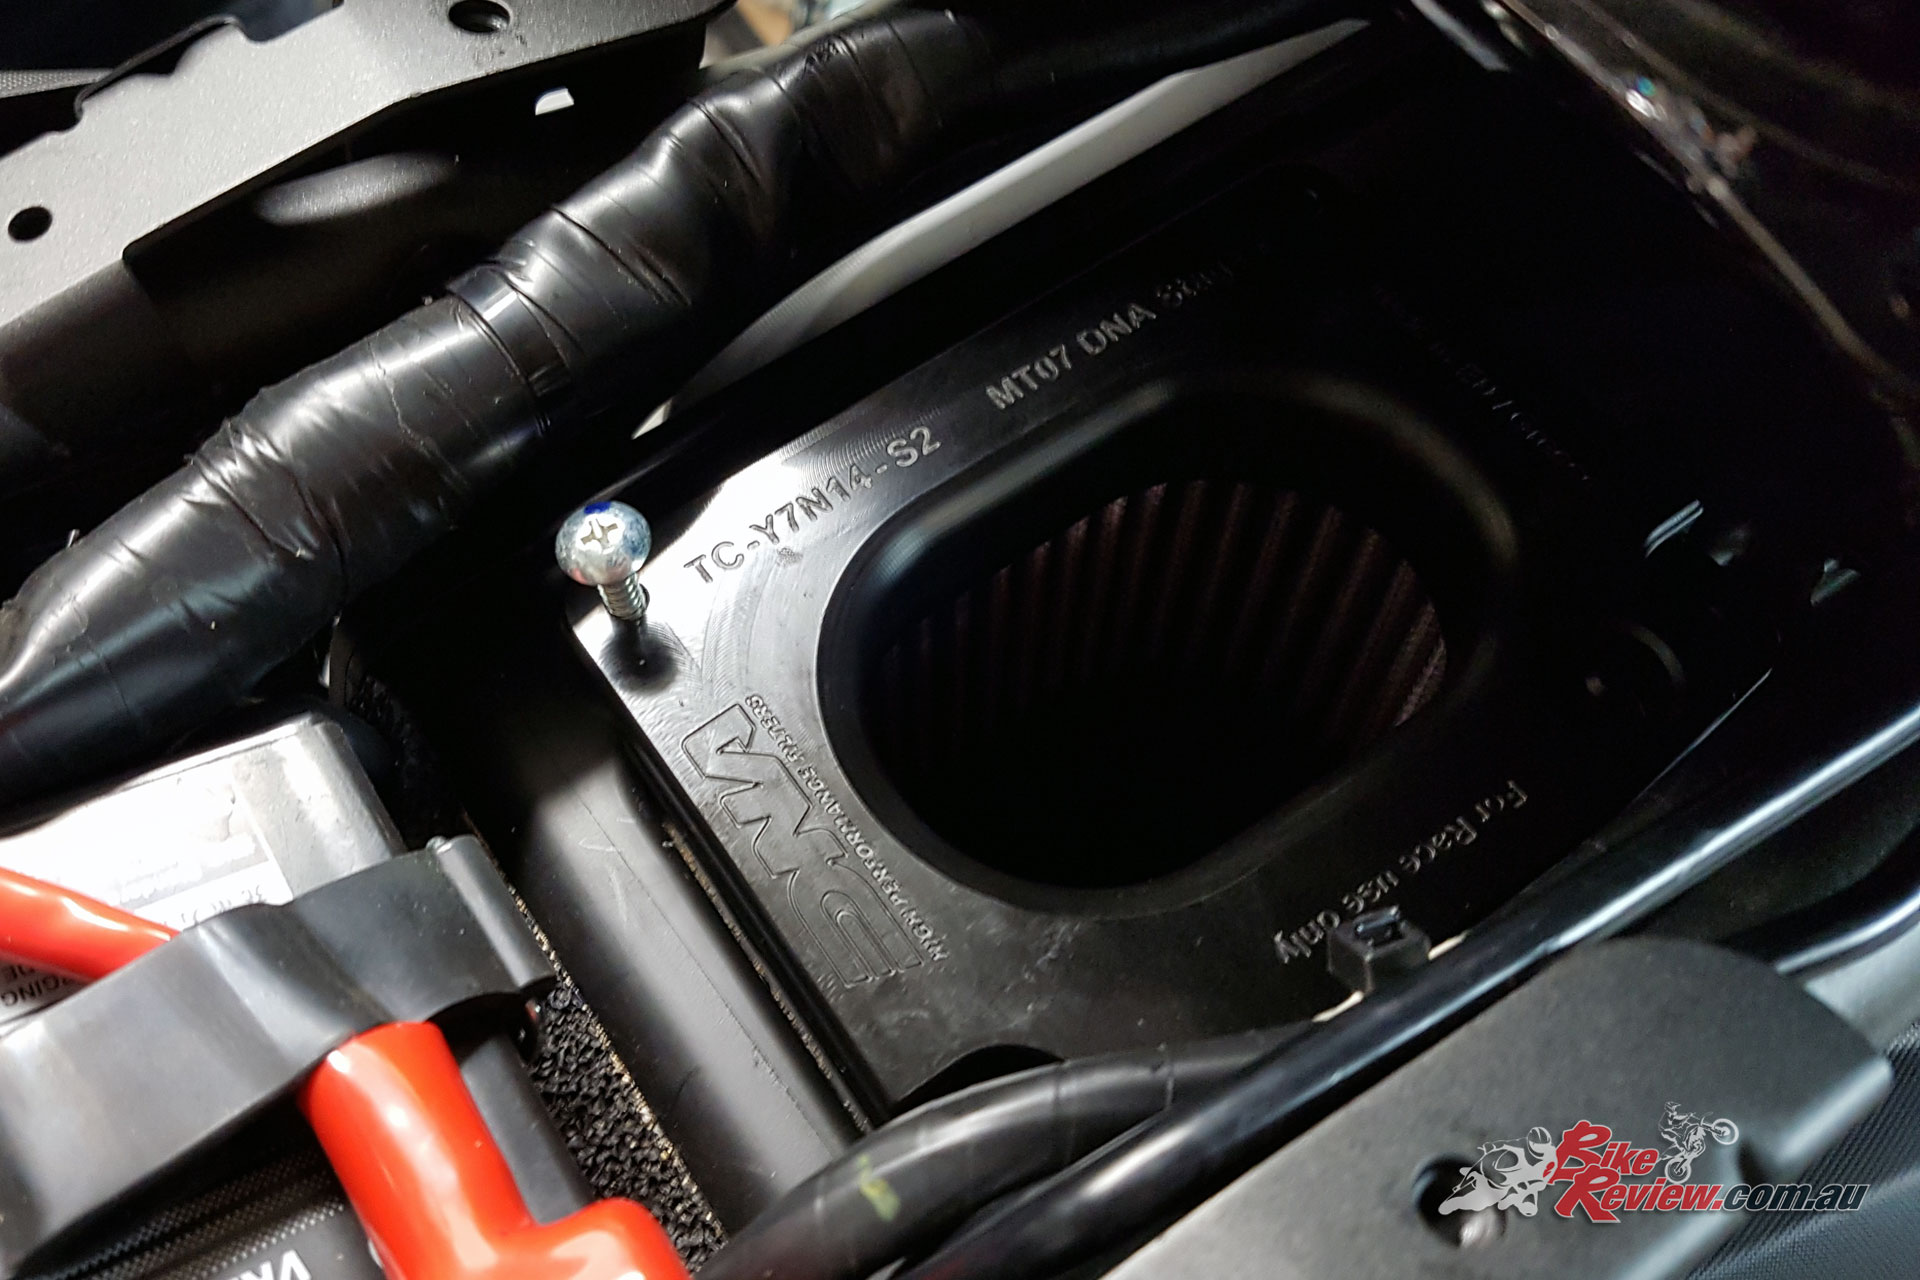
Place the DNA Airbox Lid into position and screw back down – Don’t overtighten as you’re screwing into plastic only
Replace the tank, seat and anything else you had to remove to get access and you’re good to go, or in our case, run the bike on the dyno again. Doing it all on the same day is a great way of getting an accurate comparison, although if you’re fitting an exhaust system as well and want to do it yourself it might be easier to make two trips.
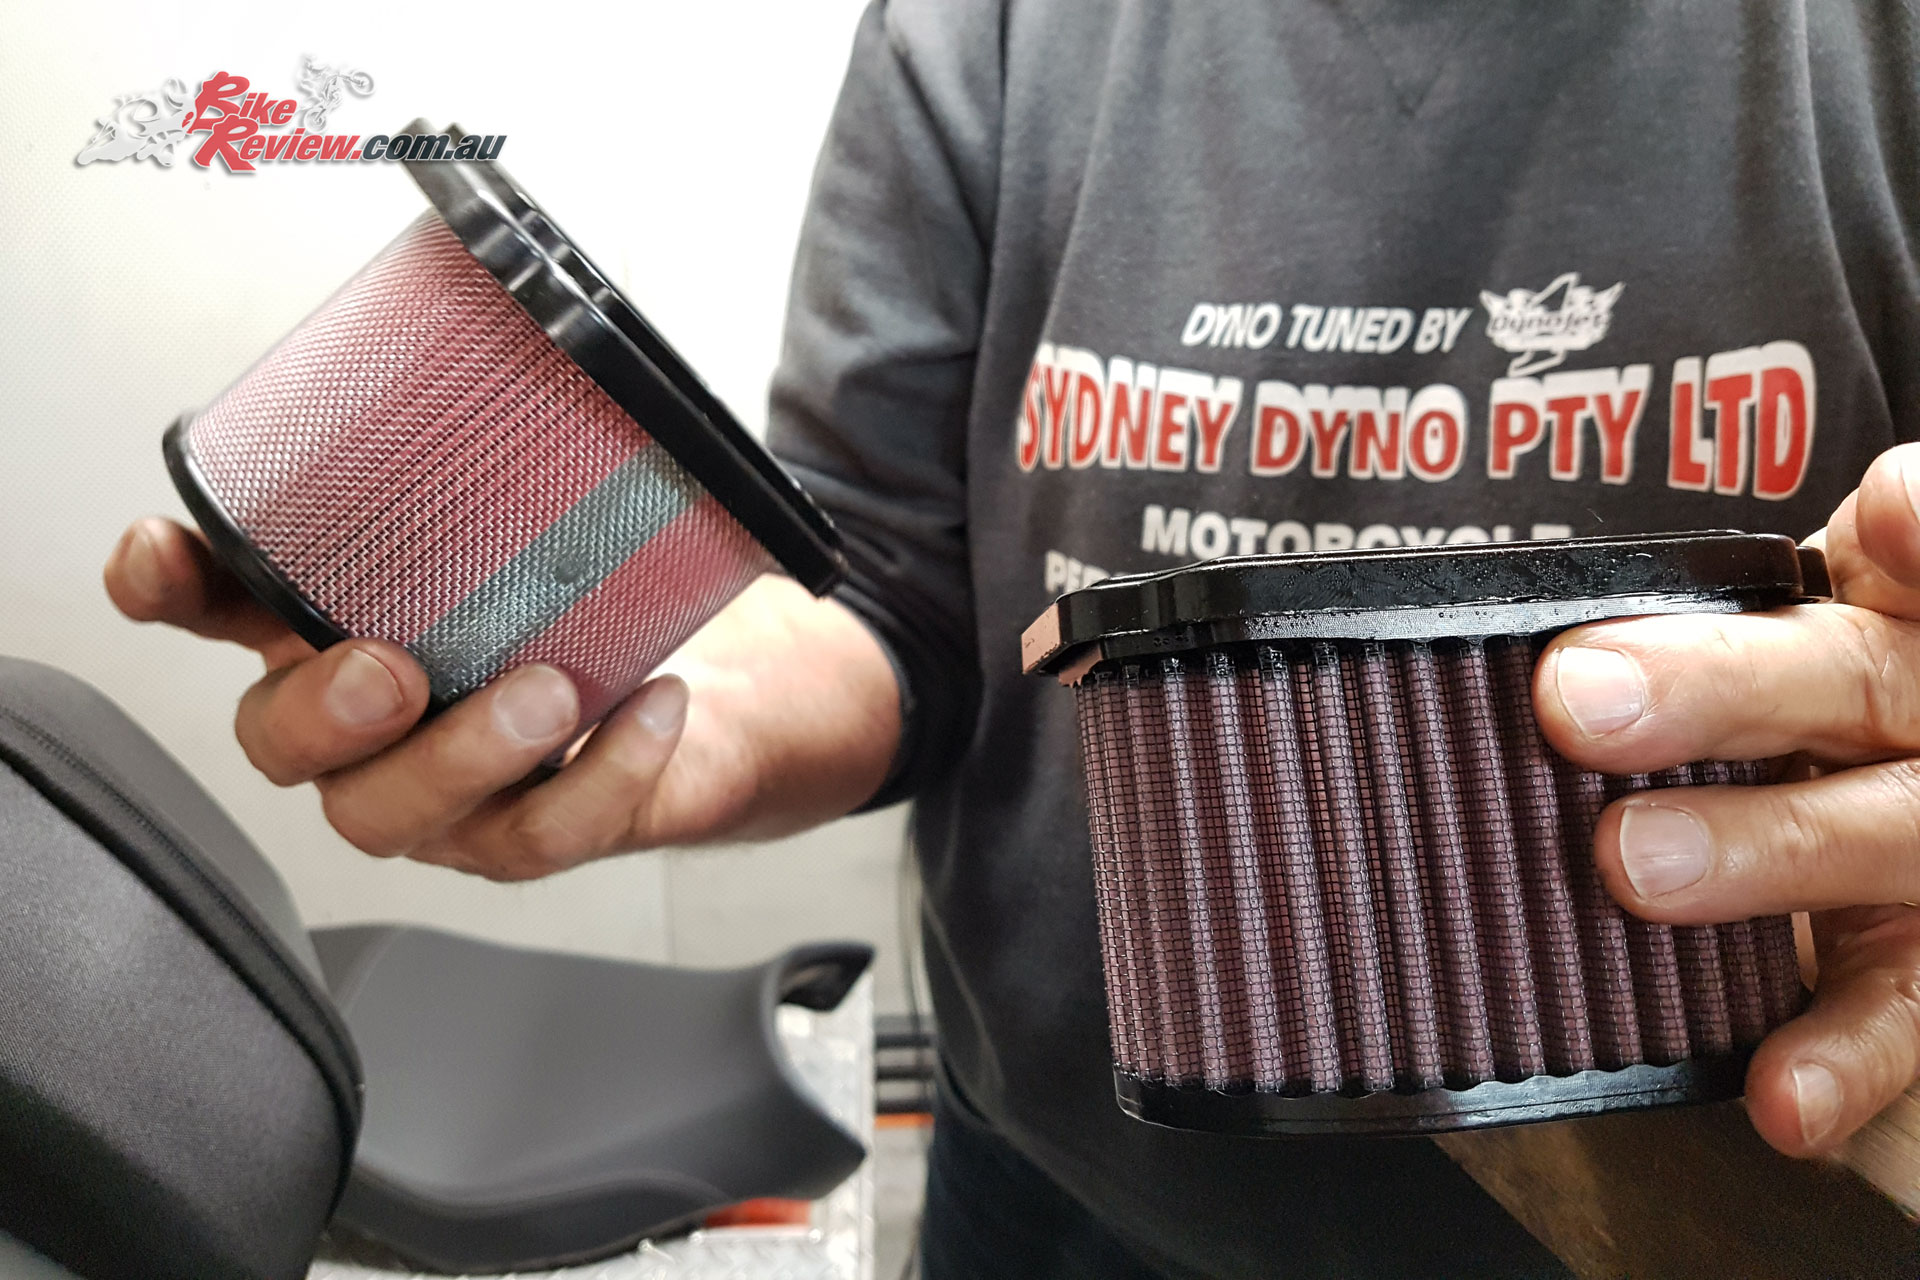
Old (standard filter) versus the new DNA High Performance airfilter
If you’re ever unsure about doing anything yourself, talk to your dyno operater, chances are they’ll be happy to give you a price for fitting any performance modifications in this kind of scenario, and they’ll be the experts! Definitely look up Sydney Dyno if you’re thinking about it in Sydney.
DNA Airfilter Performance Gains
So as you’ll be able to see there’s a pretty noticeable improvement in performance in the mid-range from adding the DNA Airfilter and Stage 2 Lid. The torque and power curves are both much stronger through a large section of the rev range from about 3500rpm through to 8000rpm.
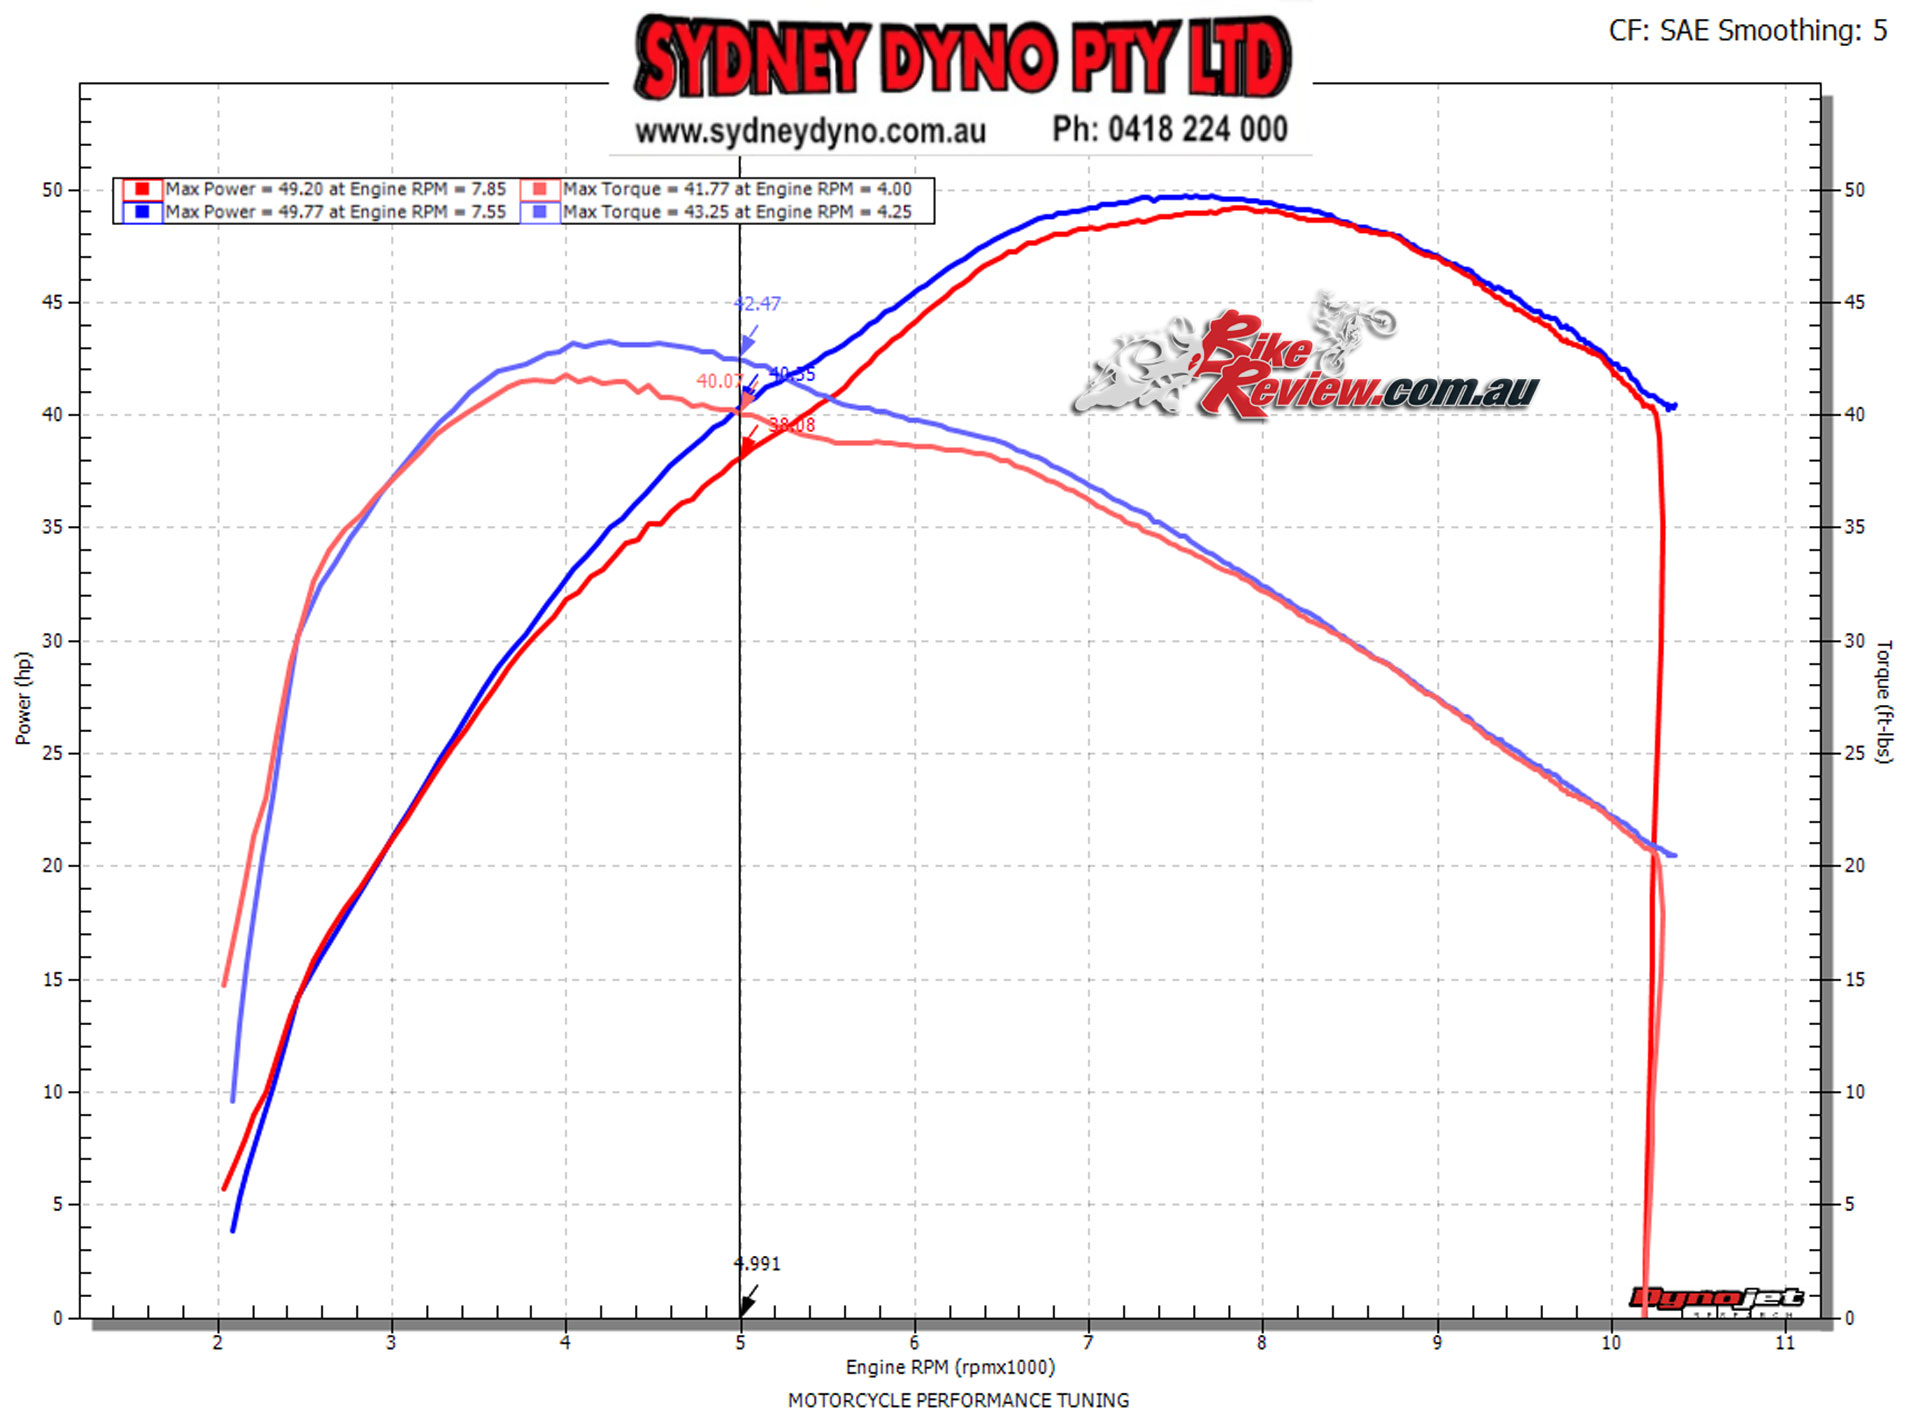
DNA Airfilter and Stage 2 Lid (blue line) compared to the standard airfilter and lid (red line) – Note the mid-range gains
That equates into a stronger mid-range with punchier torque that you can really feel. There’s about a 2.4ft-lbs gain at 5000rpm, while power is up a smidge under 1.5hp. Keeping in mind this is a LAMS legal machine and these are exceptional gains.
You’re also gaining about 0.50hp at peak power. The best part is that you’ll also feel this improvement on the bike, with a 100km test loop after the final run showing a nippier and stronger mid-range, with a bit more intake volume.
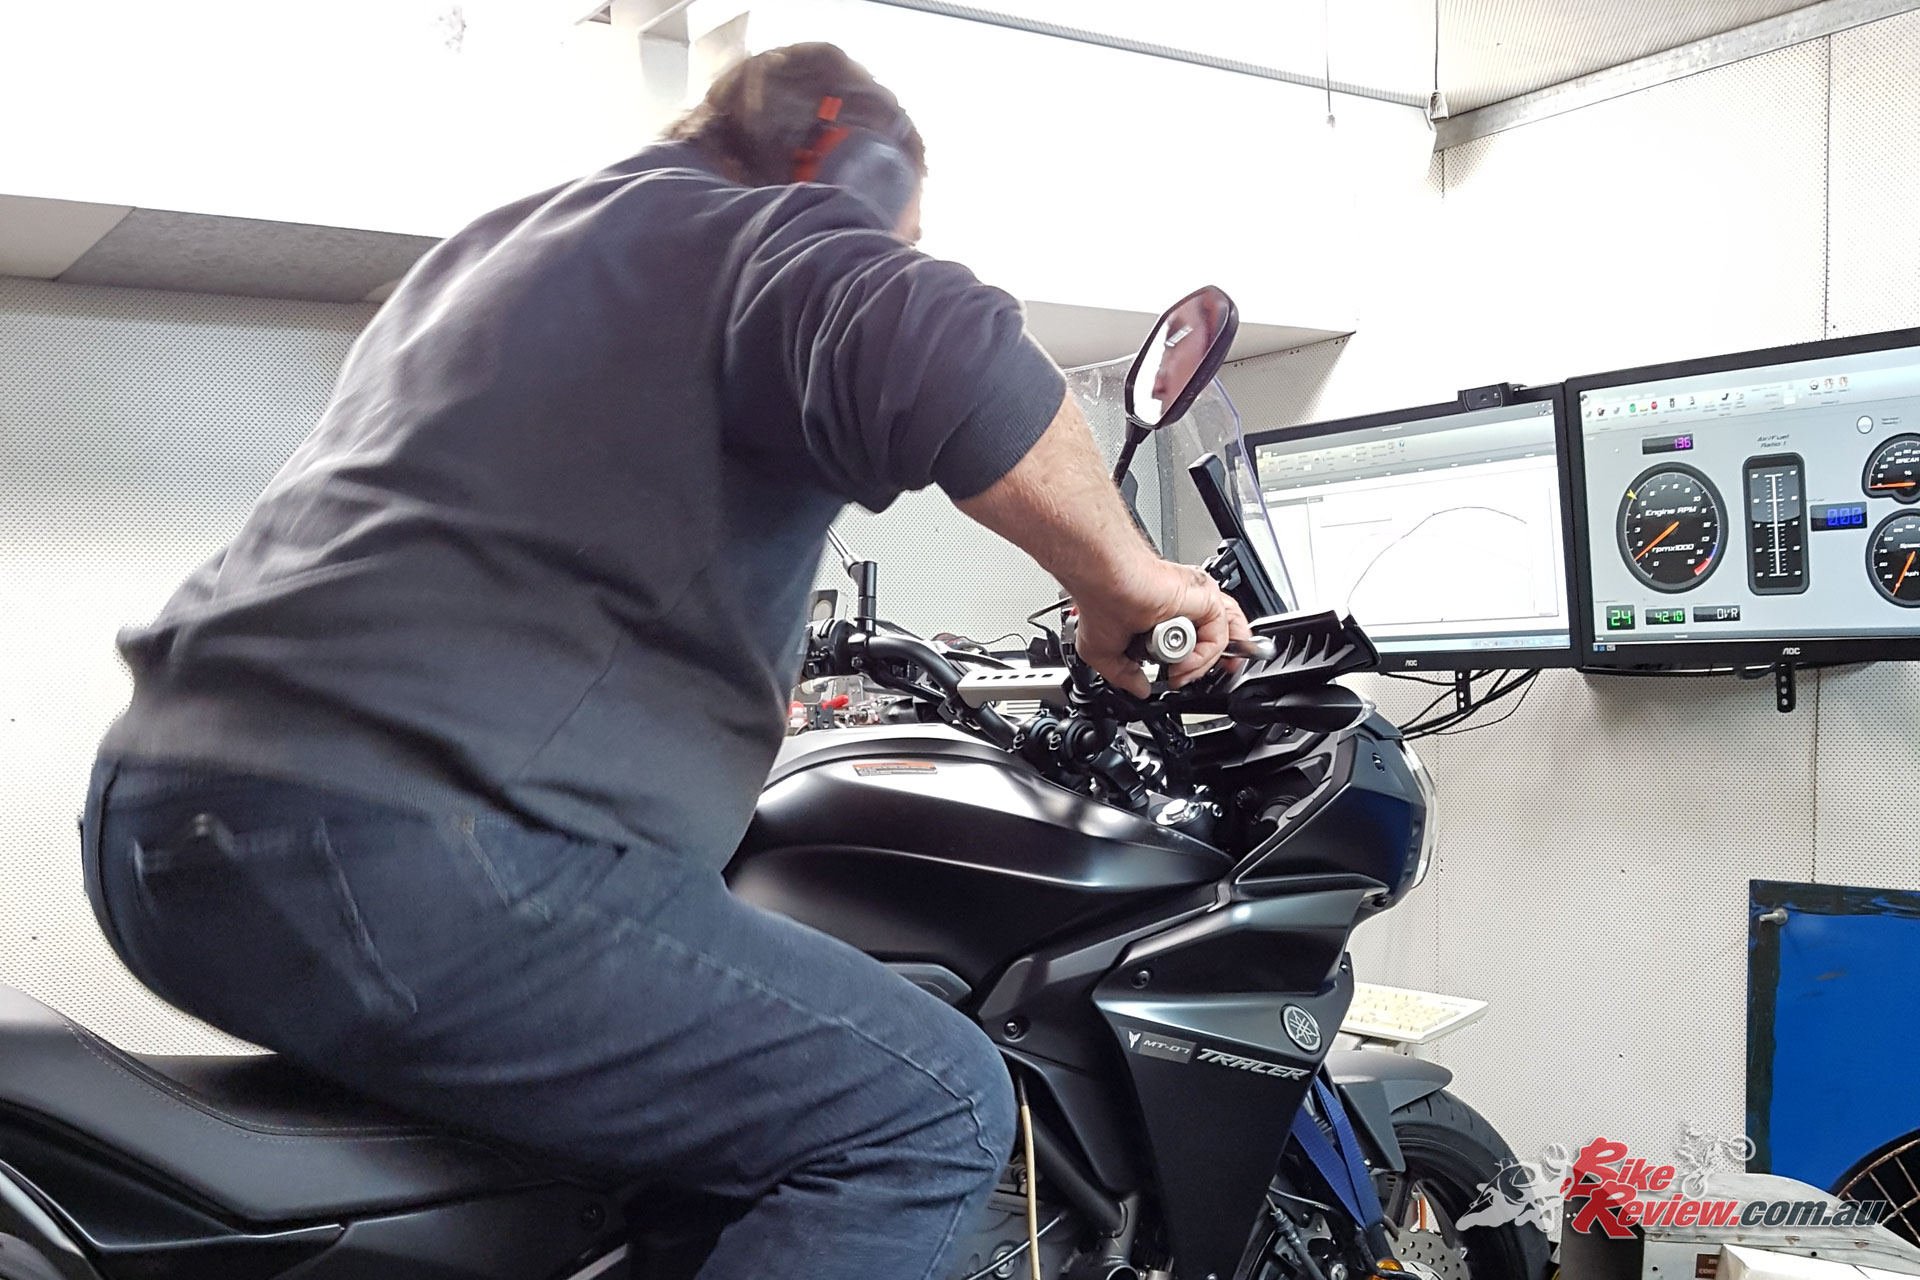
Starting the dyno runs
There’s also just under a genuine 50hp on offer here, which aligns pretty closely with Yamaha’s power claims, although they’ve always been much prouder of the torque figure, as that’s what you’ll notice most on the road. That’s also where the bigger gains are from this DNA filter combo though.
Definitely a great result, with a noticeable performance improvement. If you’re considering this mod, definitely get the DNA airfilter as well as the Stage 2 Lid to match (for the MT-07 Tracer).
For more information about the DNA airfilter range check out www.Kenma.com.au or to purchase ask at your local motorcycle store. A big thanks go to ‘Dyno’ Dave from Sydney Dyno for running the MT-07 Tracer on his rig.
You Might Also Like


October 1, 2019
Hi, did you put the snorkel back in?
October 8, 2019
Hi Reese – I really can’t remember – I will find out and let you know. Jeff.