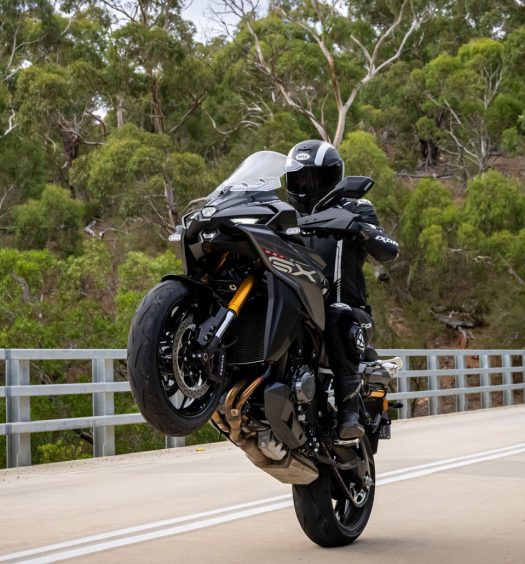
If you've been following the progress of our Long Term Suzuki GSX-S1000 you'll be aware that we recently received a care package from Suzuki including a set of heated grips.
If like me you don’t really enjoy freezing your fingers off in winter, or wearing a glove thick enough to make a difference – often robbing you of any feeling anyway, then heated grips are an awesome option, particularly when they are available as an accessory through the bike’s manufacturer, as is the case with these.
The advantage to official accessories is of course that they’ll fit, and the manufacturer has normally designed the bike for their fitment, often meaning an easier install, hopefully with all the connectors already ready to go. This was the case with these Suzuki genuine items, and although the instructions booklet was massive and the instructions very detailed in some strange sections, the install is relatively easy, even for someone with very basic skills.
Apart from basic tools the only thing we needed was a tube of grip glue and some time. Also with the instructions provided, there’s separate instructions for the naked and faired models on the same pages. Make sure you just look at those relevant to your model to avoid confusion.
Heated Grips Set Install – step by step:
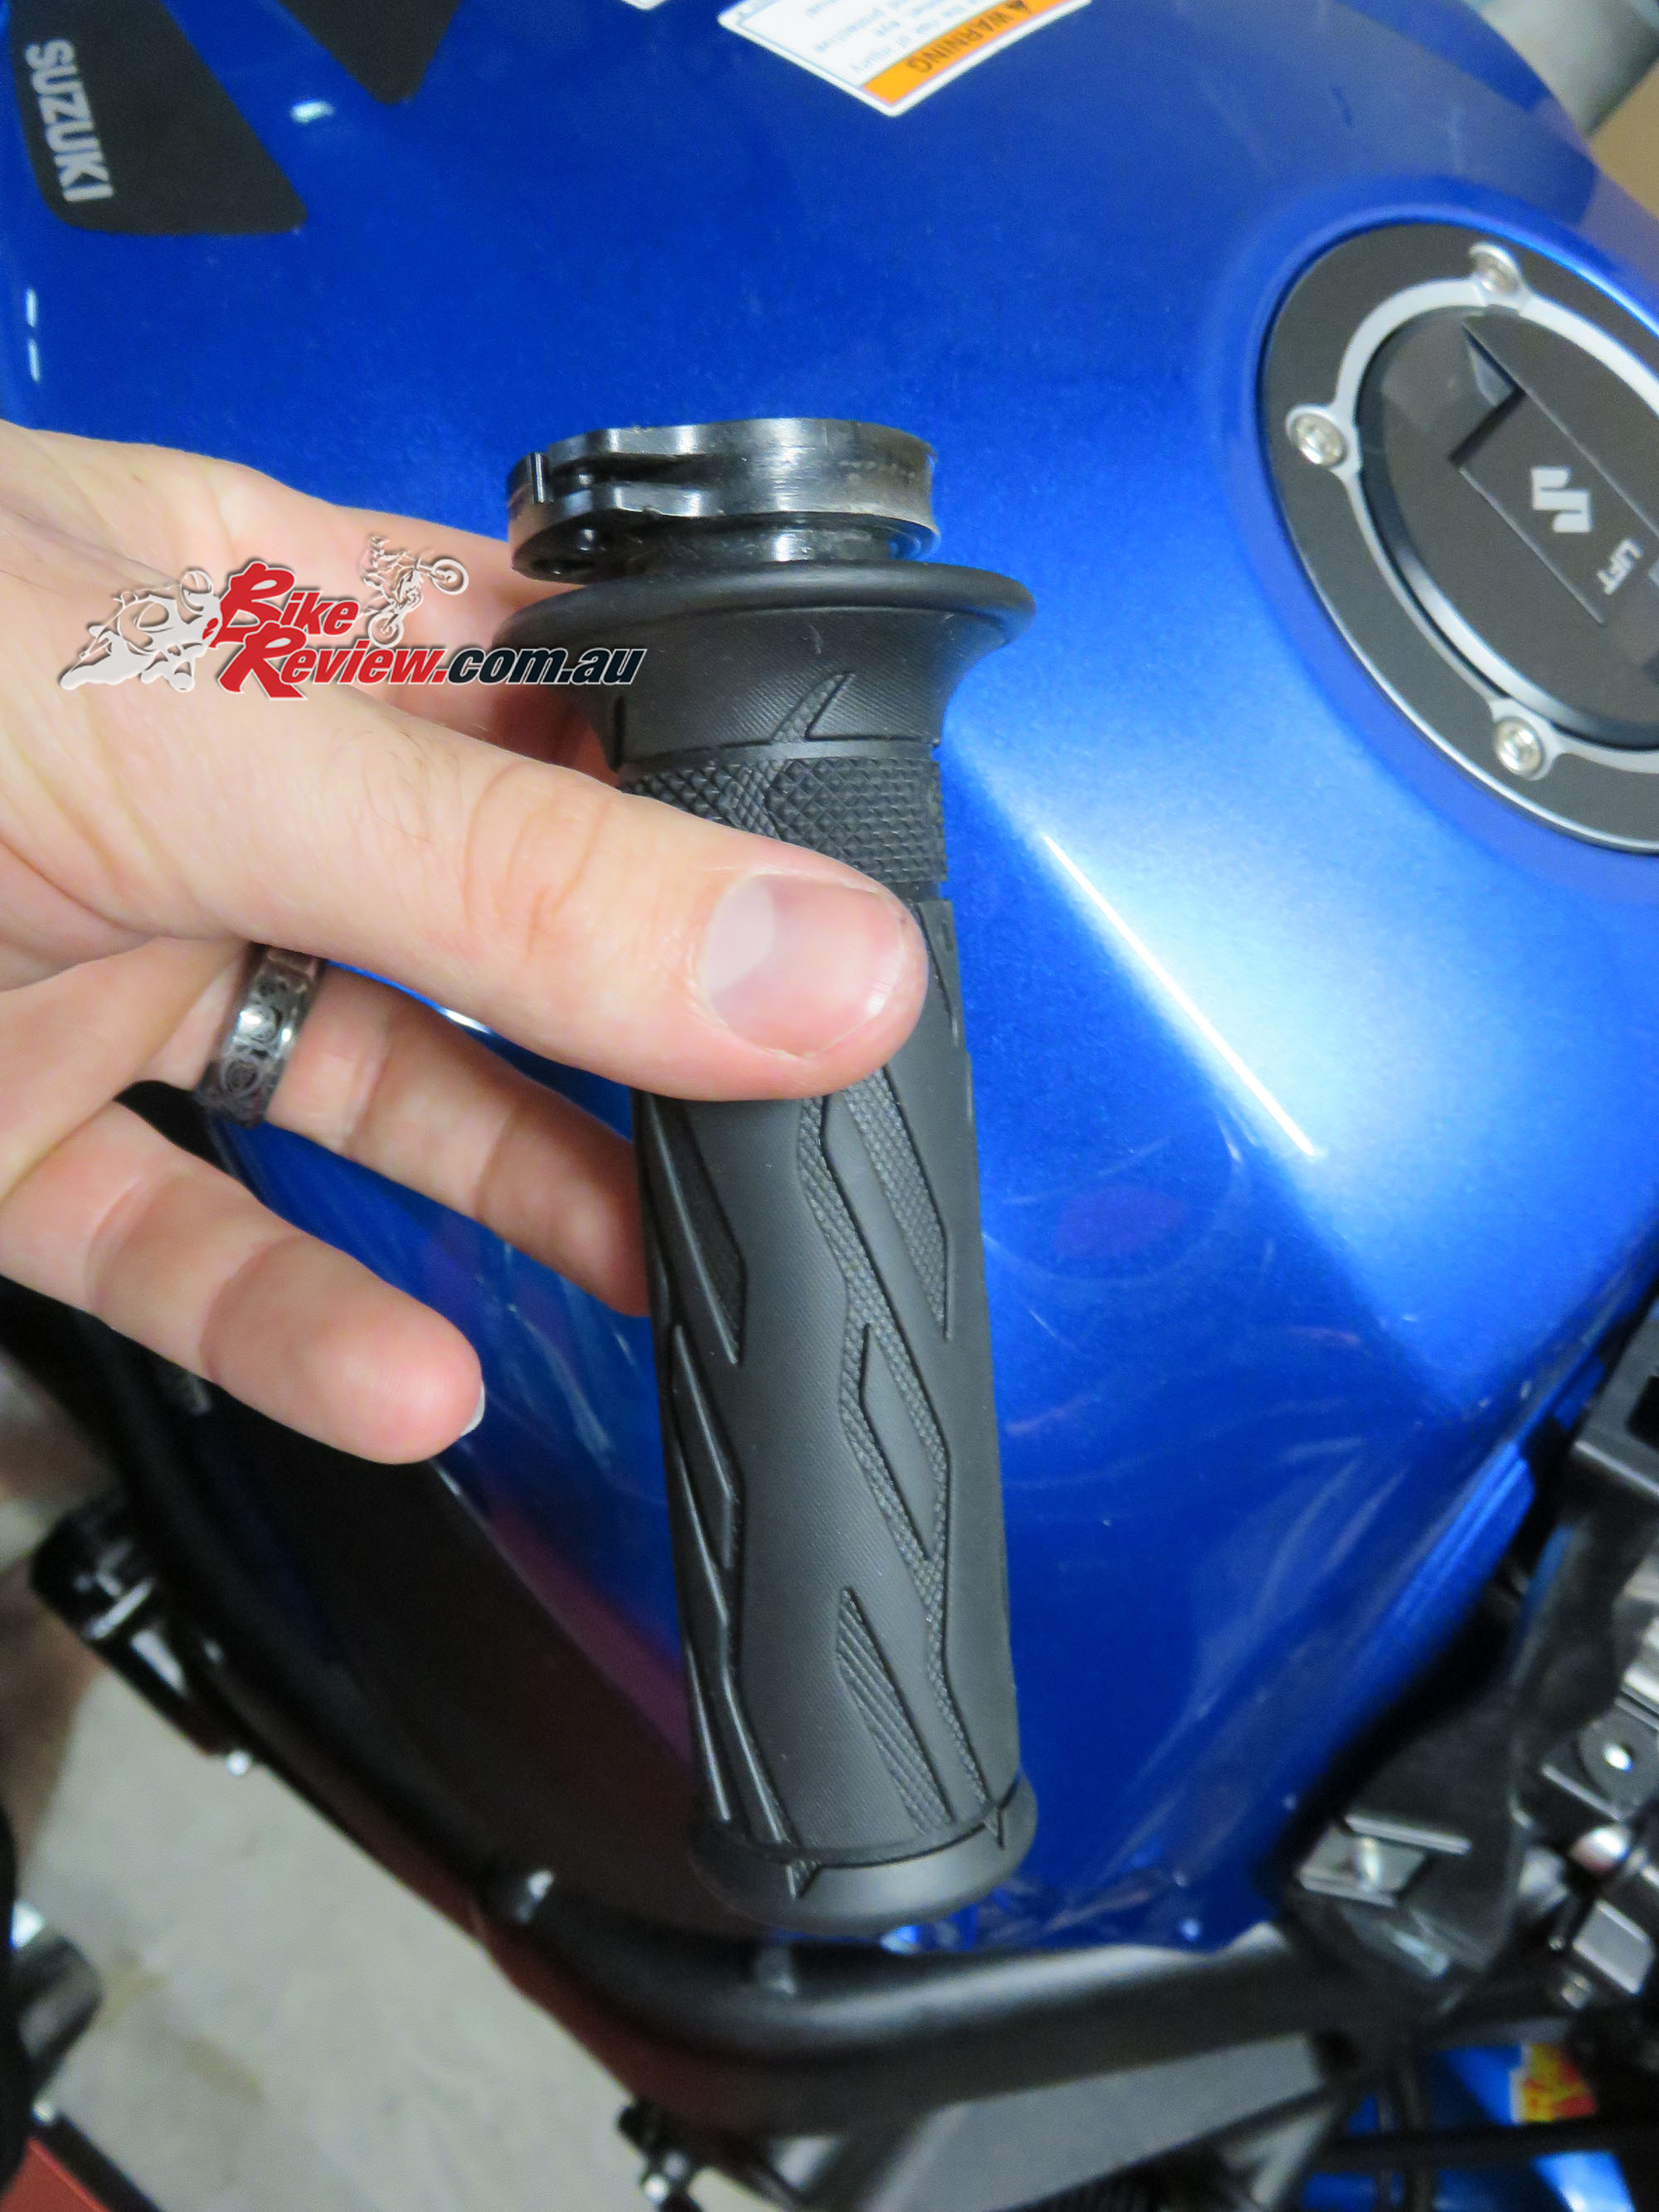
Step one, after reading the instructions a few times and getting all the necessary tools ready, is removing the bar ends. As you can see from the picture they are held in place by an expanding rubber piece. It’s really important, as noted in the instructions, not to full unscrew the bolt from the nut, otherwise it’s possible you’ll end up with that rubber piece stuck in your handlebar and the nut rolling around somewhere behind it.

The rubber piece nearest the ‘bar end holds it in place, centered, while the piece still in the ‘bar, as pictured here expands as you tighten the bolt. If you want to add some snazzy ‘bar ends to your bike and are planning this mod, it’s a good idea to do it all at once and get a few birds with one stone.
Next loosen the switchblock, there’s two bolts accessed from below, plus a third that holds the two throttle cable guides in place. I also disconnected the plug for the front brake switch (that turns your brake light on when you brake), to give the switch block a bit more room to move, once unbolted.
The original throttle tube. As you can see the throttle cables connect in with a cylindrical knob on the end of the cable. Hold onto this in case you ever want to take the heated grips off!
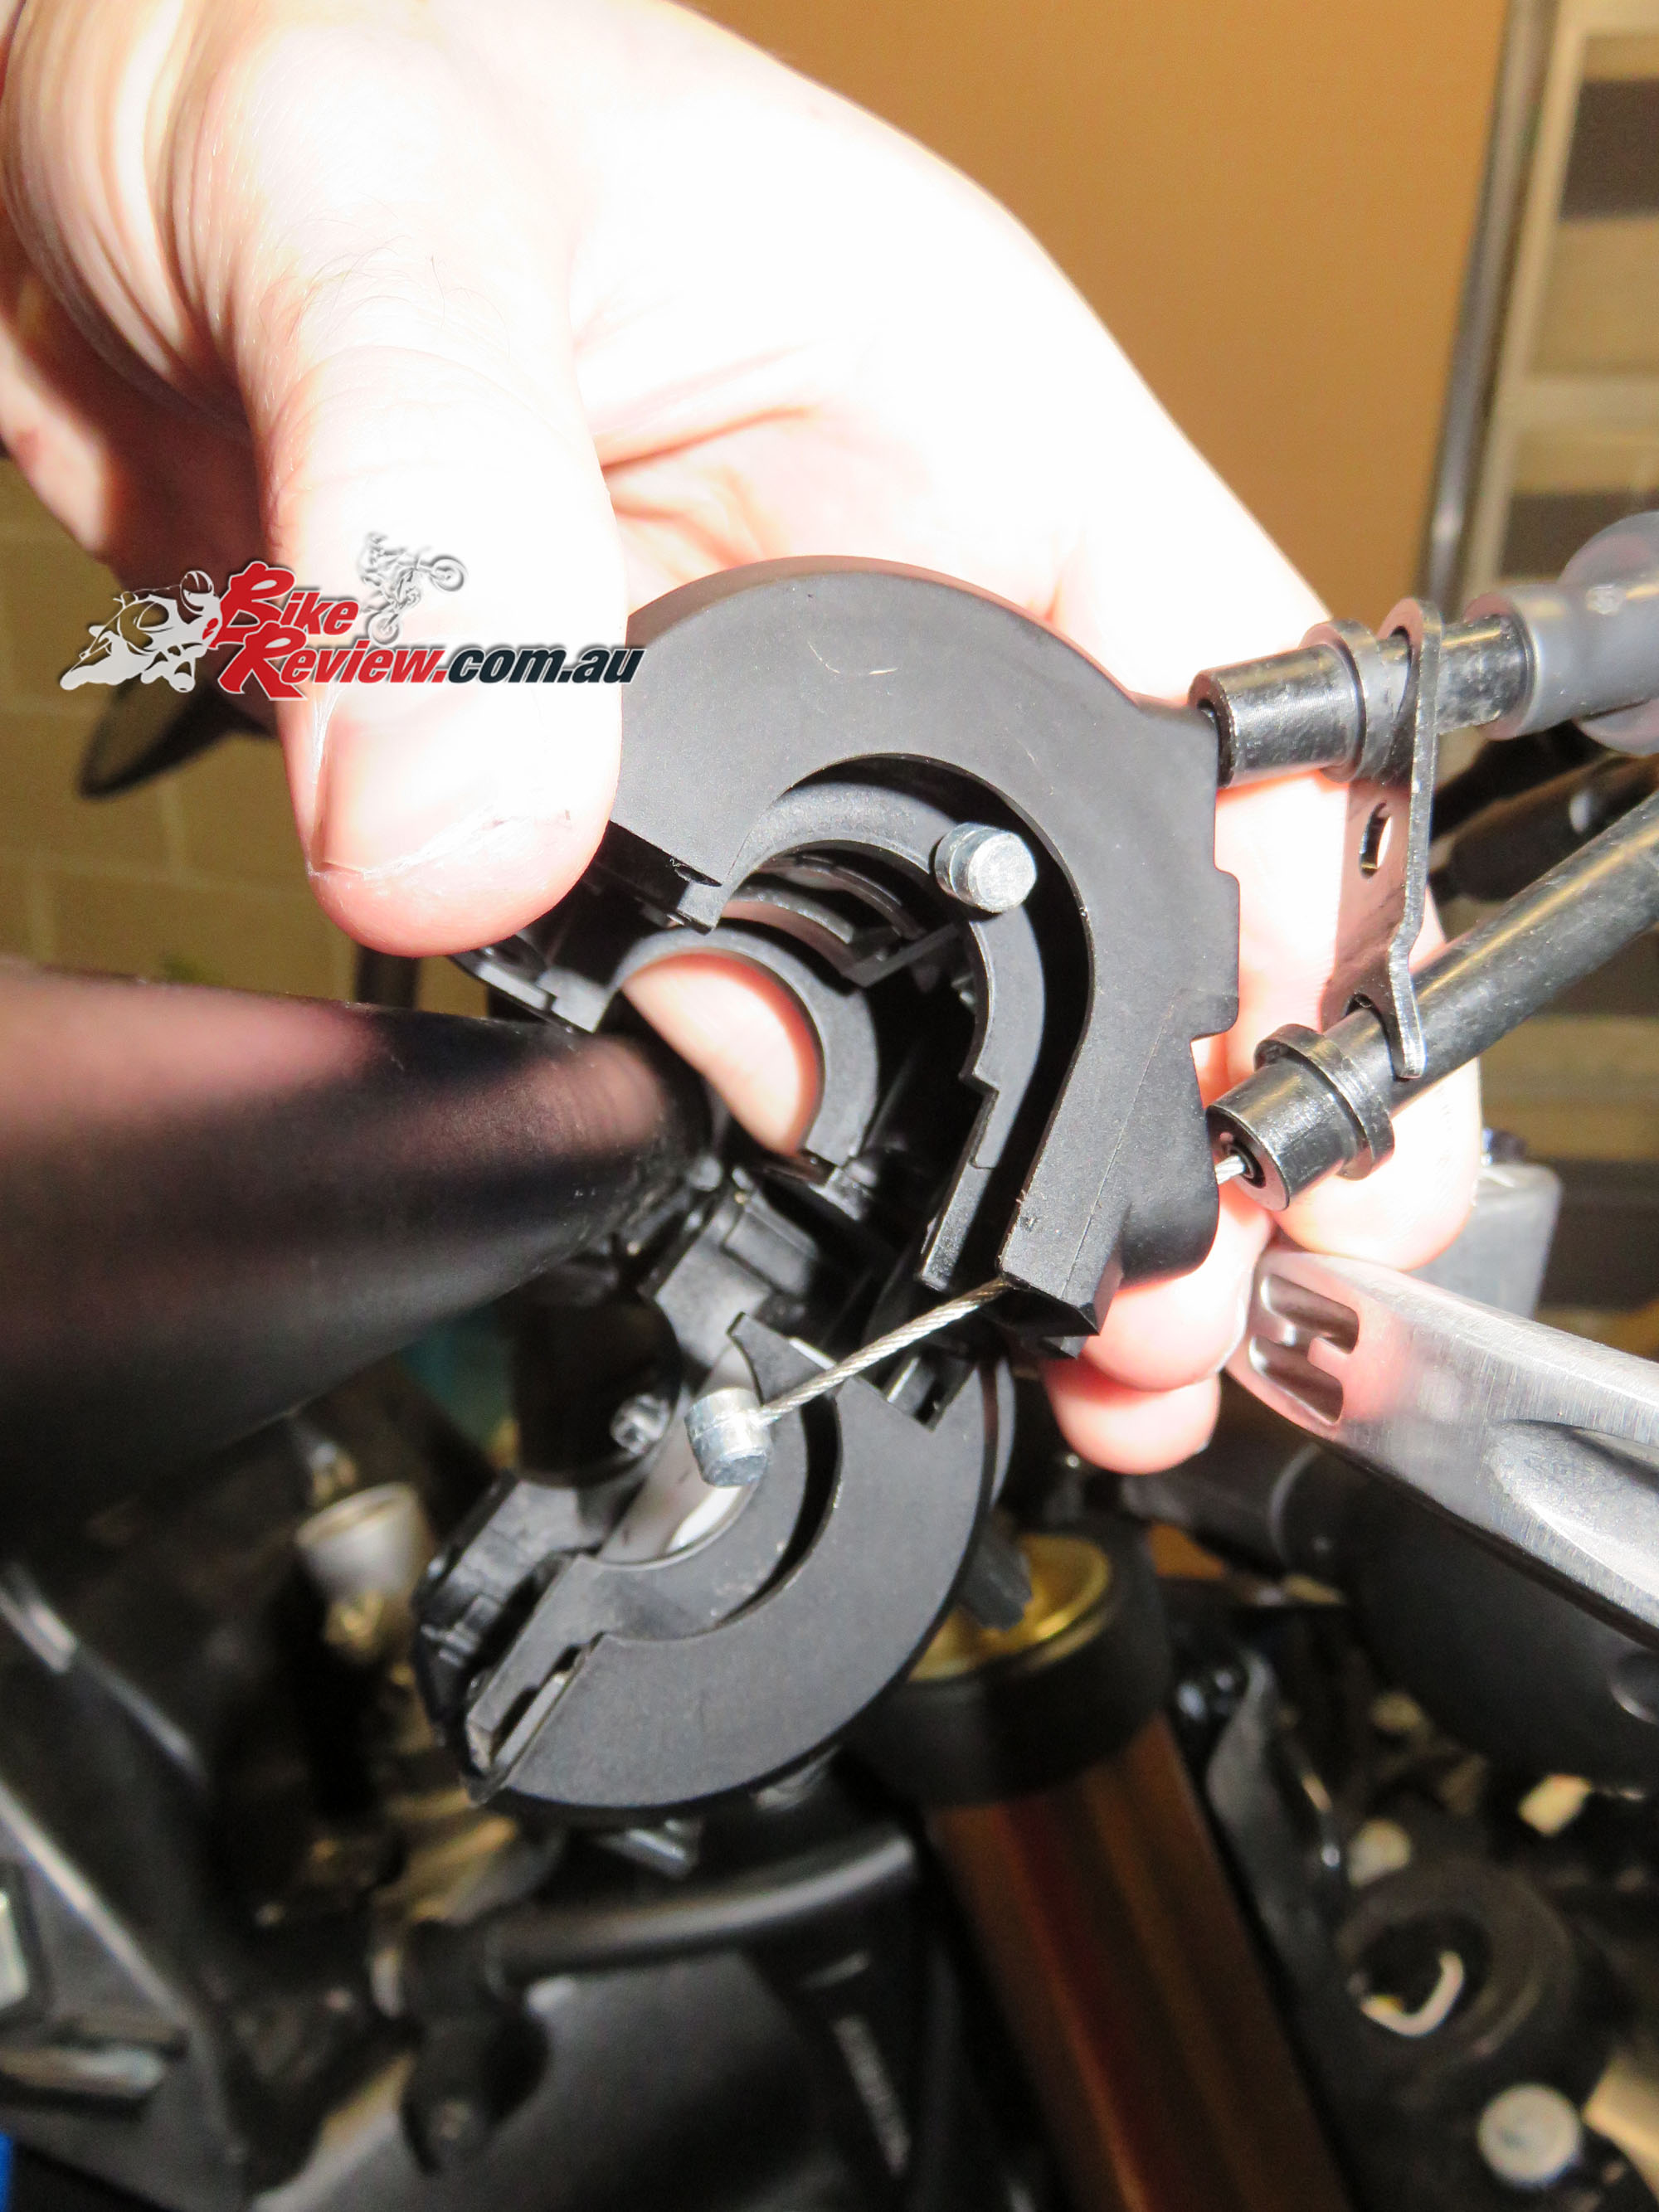
Here you can see the knobs that come out of the original throttle tube, getting them out takes a bit of finesse. First maximise the slack available on the top cable using the adjuster. The instructions recommend not using pliers in case you damage the cable which is fair enough, but there’s no clues about how to do this easily. I just moved the switch block around until I had enough slack on one of the cables to get my fingers in and pull the knob out of its slot in the plastic. Once one is done the other is much easier, as until then the switch block is held onto the ‘bars and slack is limited.
The replacement throttle tube. As you can see the wiring connects into the provided harness. It’s also important to ensure you follow the directions on which way to face the cable. It’s a little easier on the throttle side, as it’ll only fit back in and connect to the throttle cables one way.
The instructions recommend a little grease on the throttle cables and knobs to aid in getting them back in. I only had some heavy duty stuff on hand, so used some sparingly and wiped everything clean that it came into contact with.
Yes it’s a (slightly different) picture. With only one set of hands I sadly couldn’t get a shot of my putting the throttle cables and knobs into place, but here’s how. Get the switch block roughly into position, and then run the new heated grip onto the ‘bar, you’ll need to connect the two cables first (the same as disconnecting them, but in reverse), then close the switch block over the throttle tube, holding it in place. You also need to ensure the switch block is closed back around the lock-in point on the handlebar, which keeps it in place and stops it turning.
The throttle tube, and switchblock now in place and tightened back up. Here the heated grip cabling isn’t cable tied into place yet. It’s important when you get to this step you leave plenty of slack, so that at 100 per cent throttle – or with the throttle pinned, the cable/wiring isn’t strained or preventing the throttle turning.
Here you can see the instructions recommended routing of the wire, which is on top of the throttle cables and then onto the ‘bar beside the switch block. I probably would have run it between the two throttle cables or behind them with some extra slack, for a cleaner look, but this way does mean there’s nothing for the wire to become caught on.

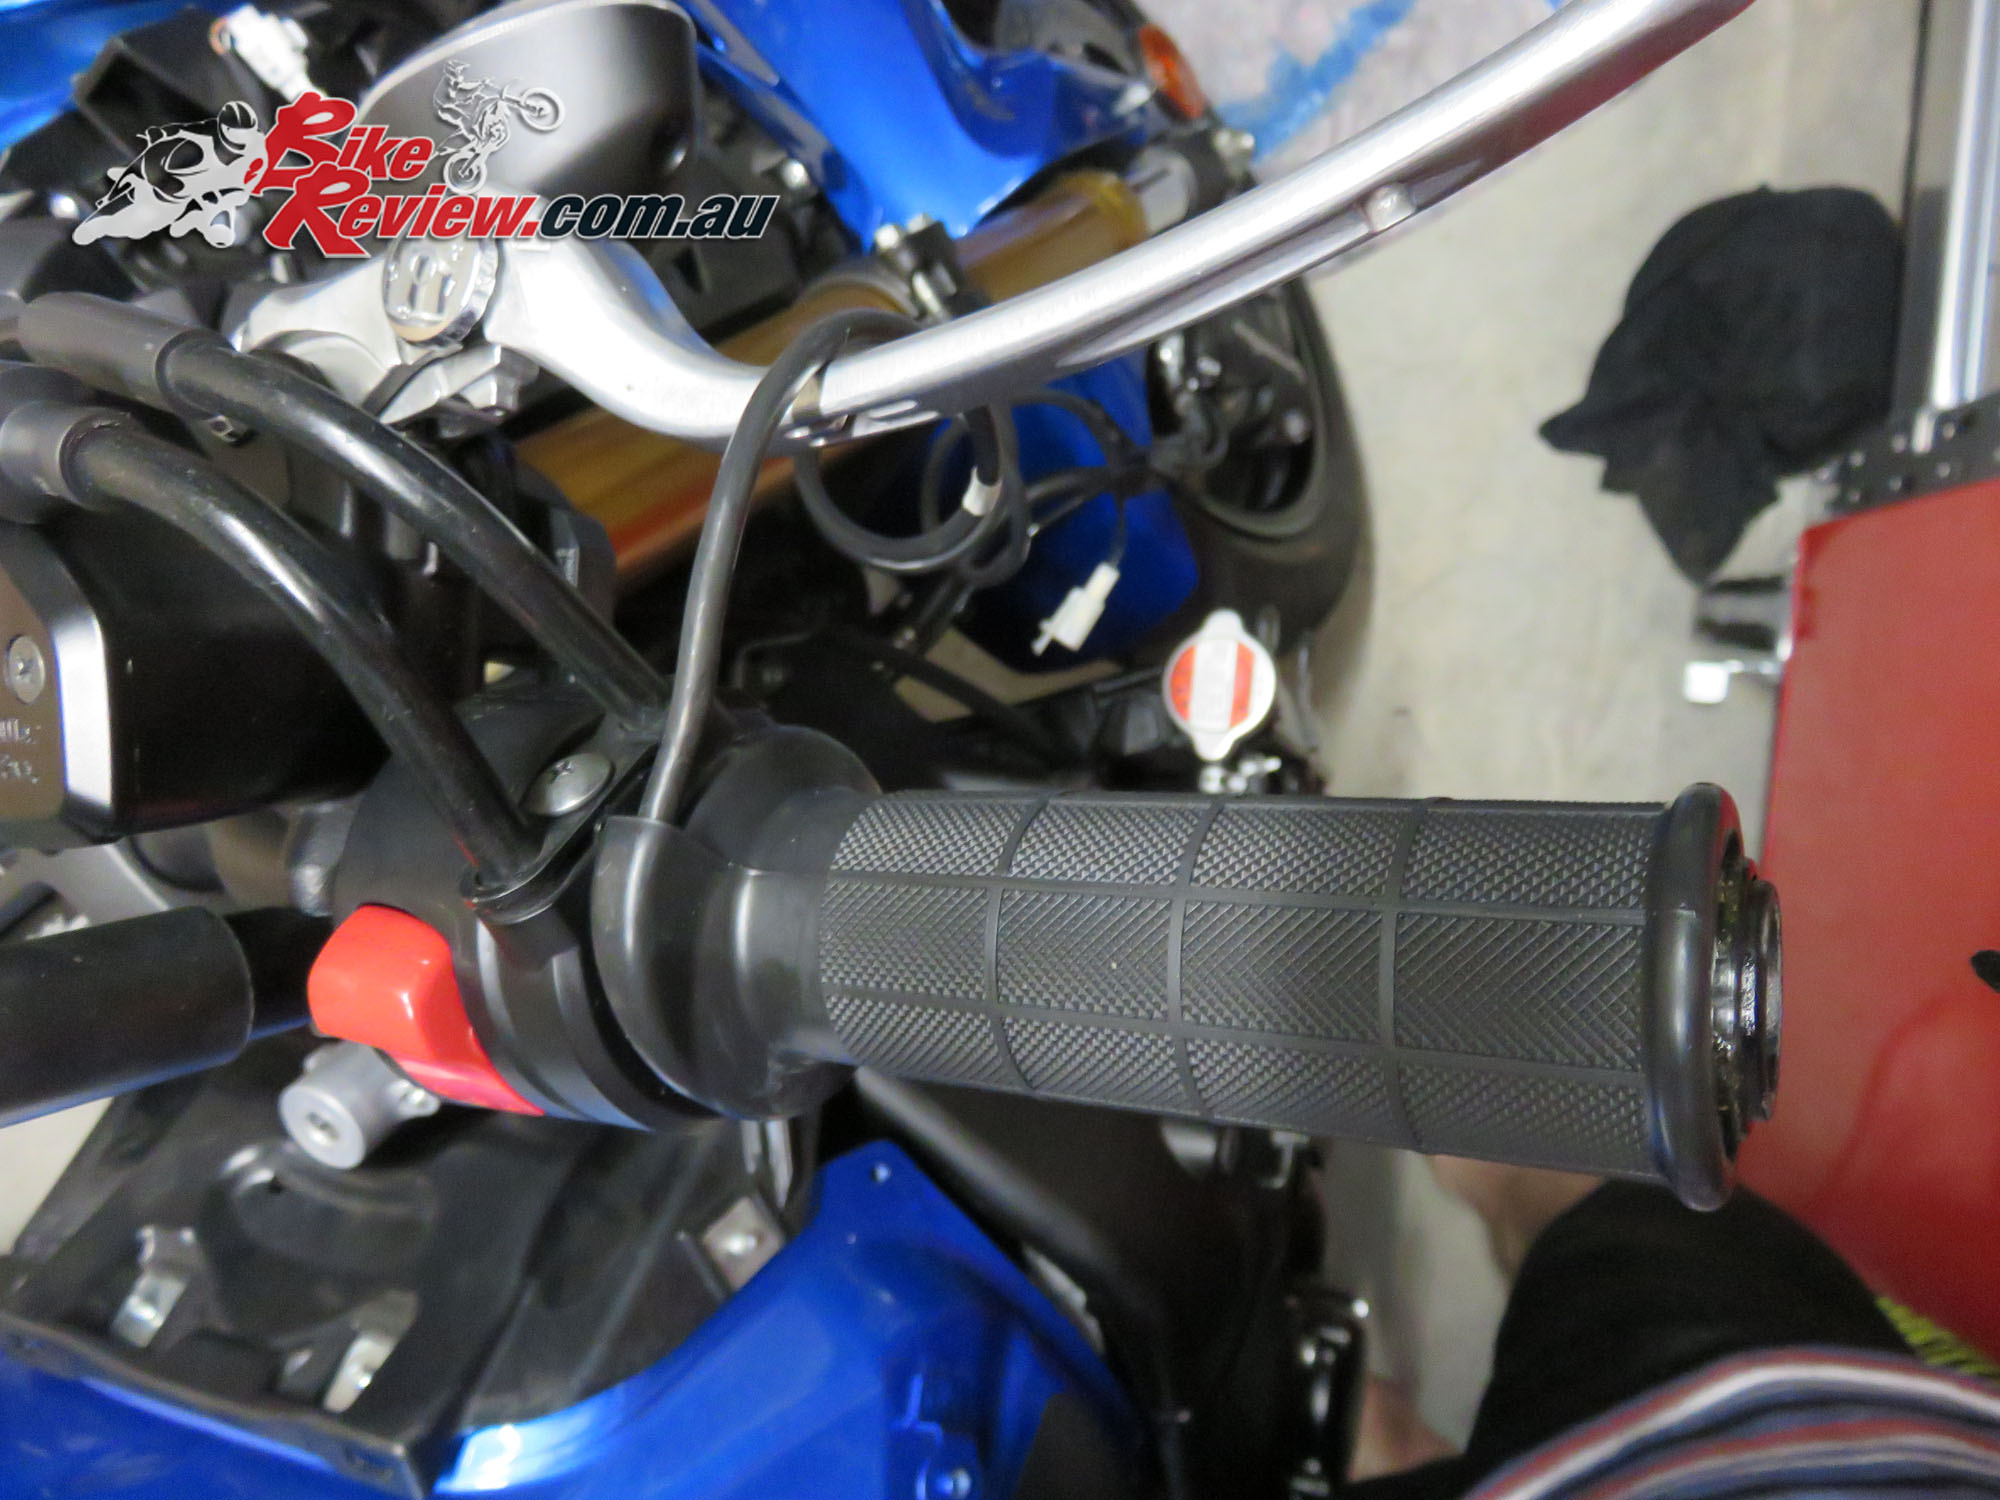
The left ‘bar grip is actually glued on, to prevent it turning. A little WD-40 sprayed under the grip after carefully using a screw driver to break the seal makes removing the grip easy. I just took it easy to prevent scratching the handlebar. A little bit of twisting was required to get the far end loose as I was using a short flat head screw driver. You can also used compressed air with a nozzle if you’ve got one handy.

Here you can see the original adhesive, mainly on either end of the grip. This needs to be cleaned off as it’ll effect the replacement adhesives effectiveness.
The adhesive will wipe off reasonably easily with a clean cloth, I used a little extra WD-40 to help in removing it and finally washed down the bar with a bit of soapy water, before drying it off thoroughly. Using a grease remover to ensure good adhesion isn’t a bad idea either!
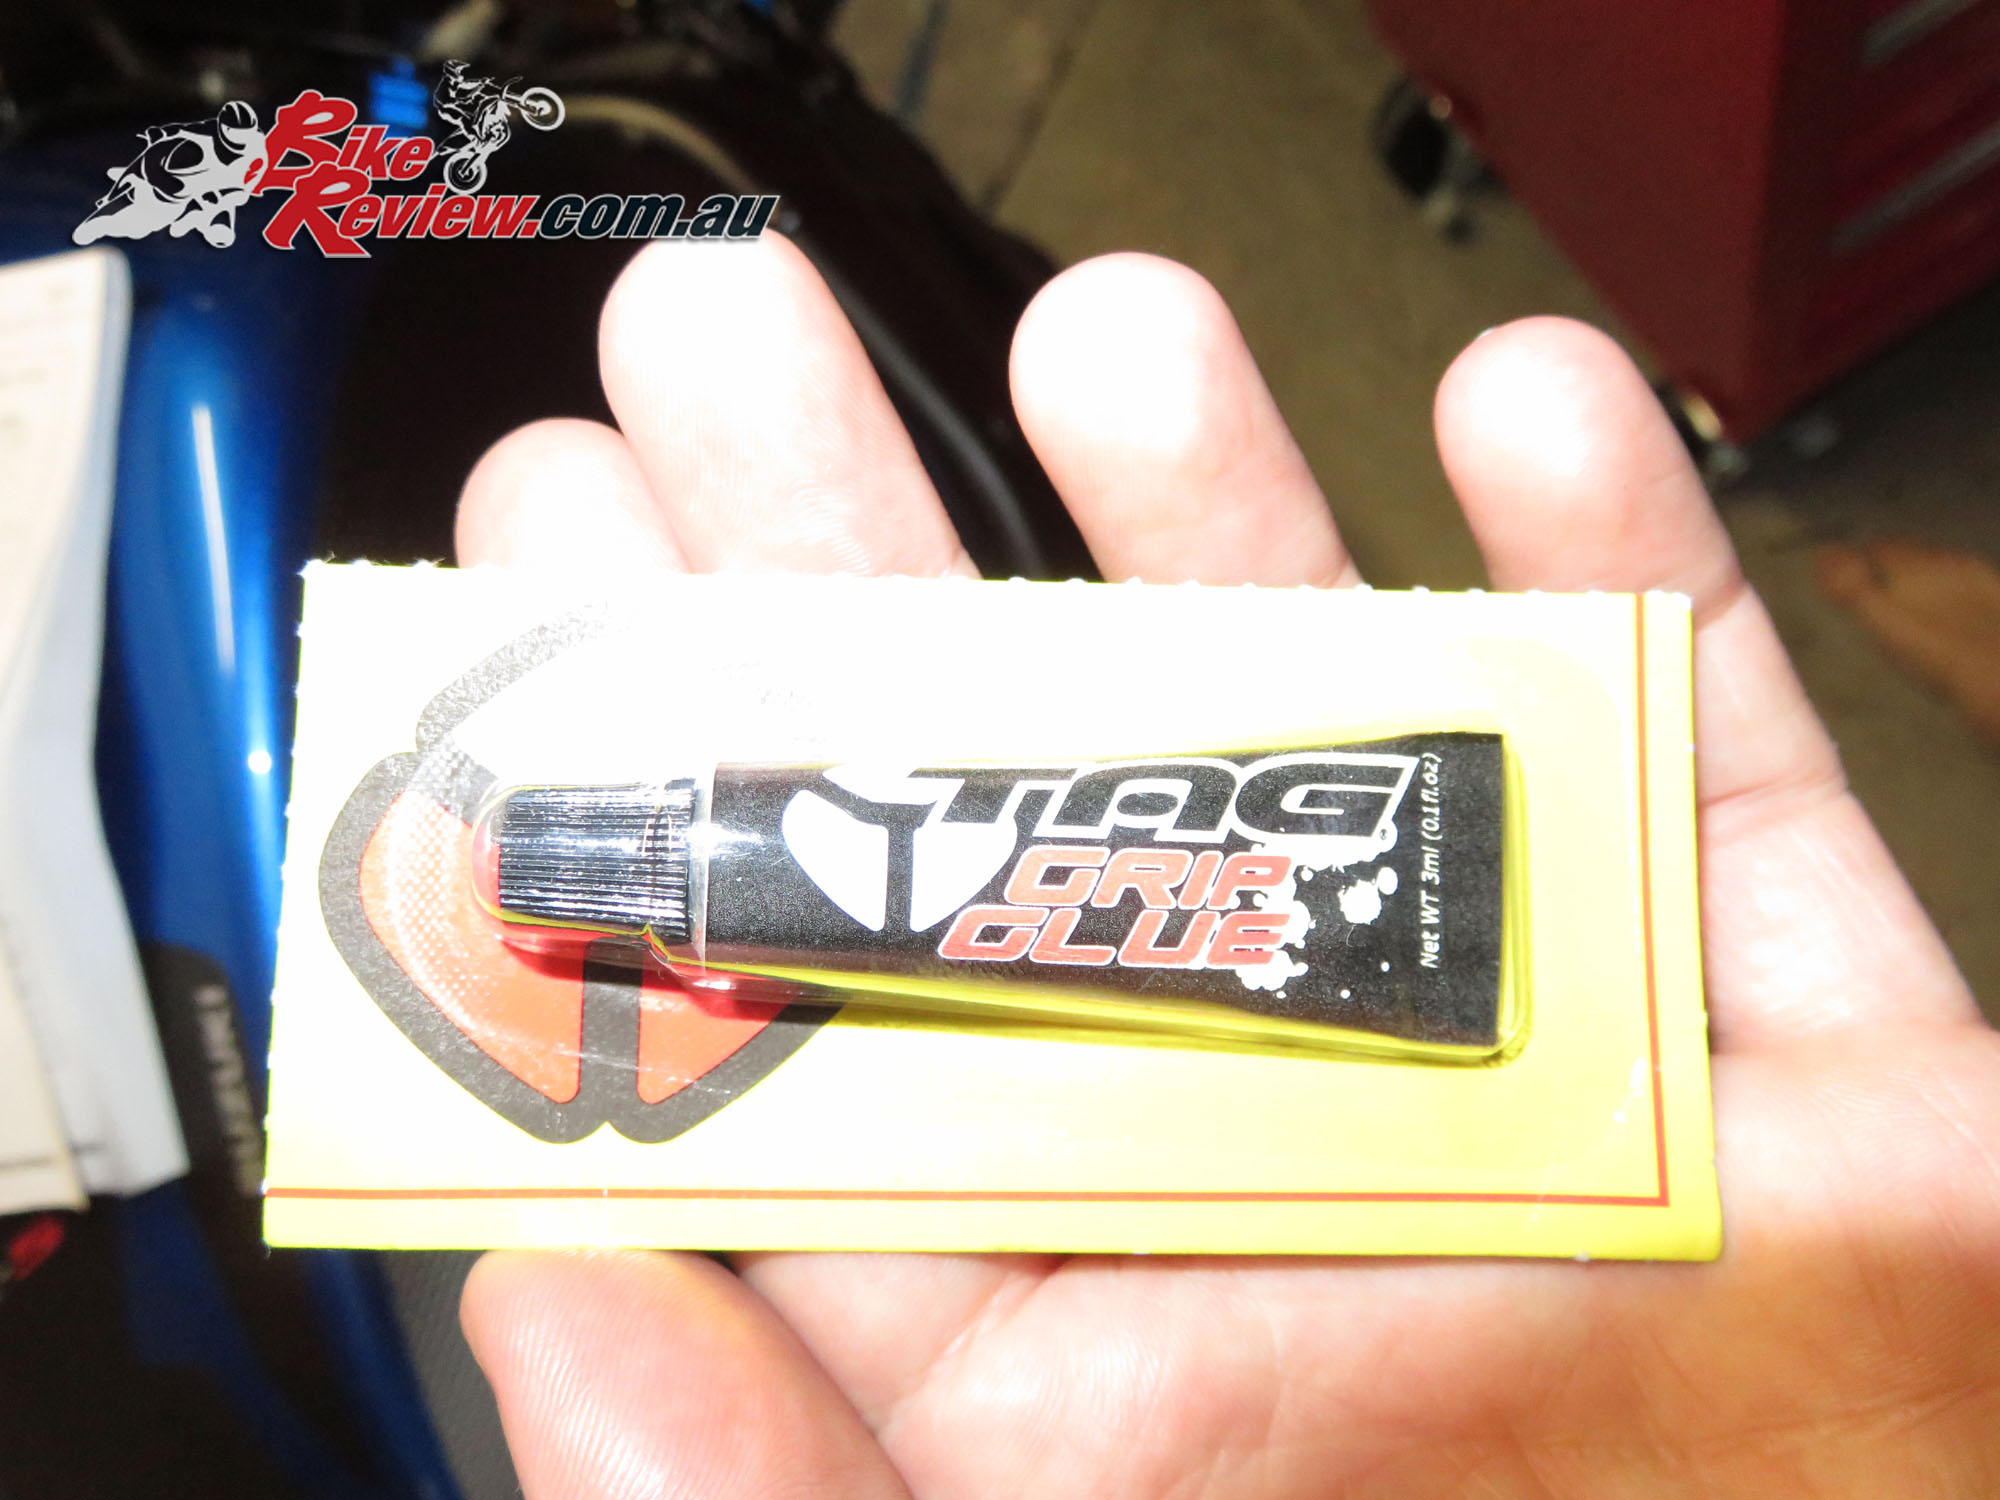
I picked up some glue at my local motorcycle store – Northside Motorcycles – for this job. The tube was less than $5.

Follow the instructions here. Apply the glue to the inside end of the grip, that way it will be spread along as you push the grip into place. The glue is fast drying so it’s important to get the heated grip on with a single movement, and in the right orientation. The heated grip wire needs to be pointing down. This glue is also seriously strong smelling, so you might want to push your bike into a well ventilated area after this step.
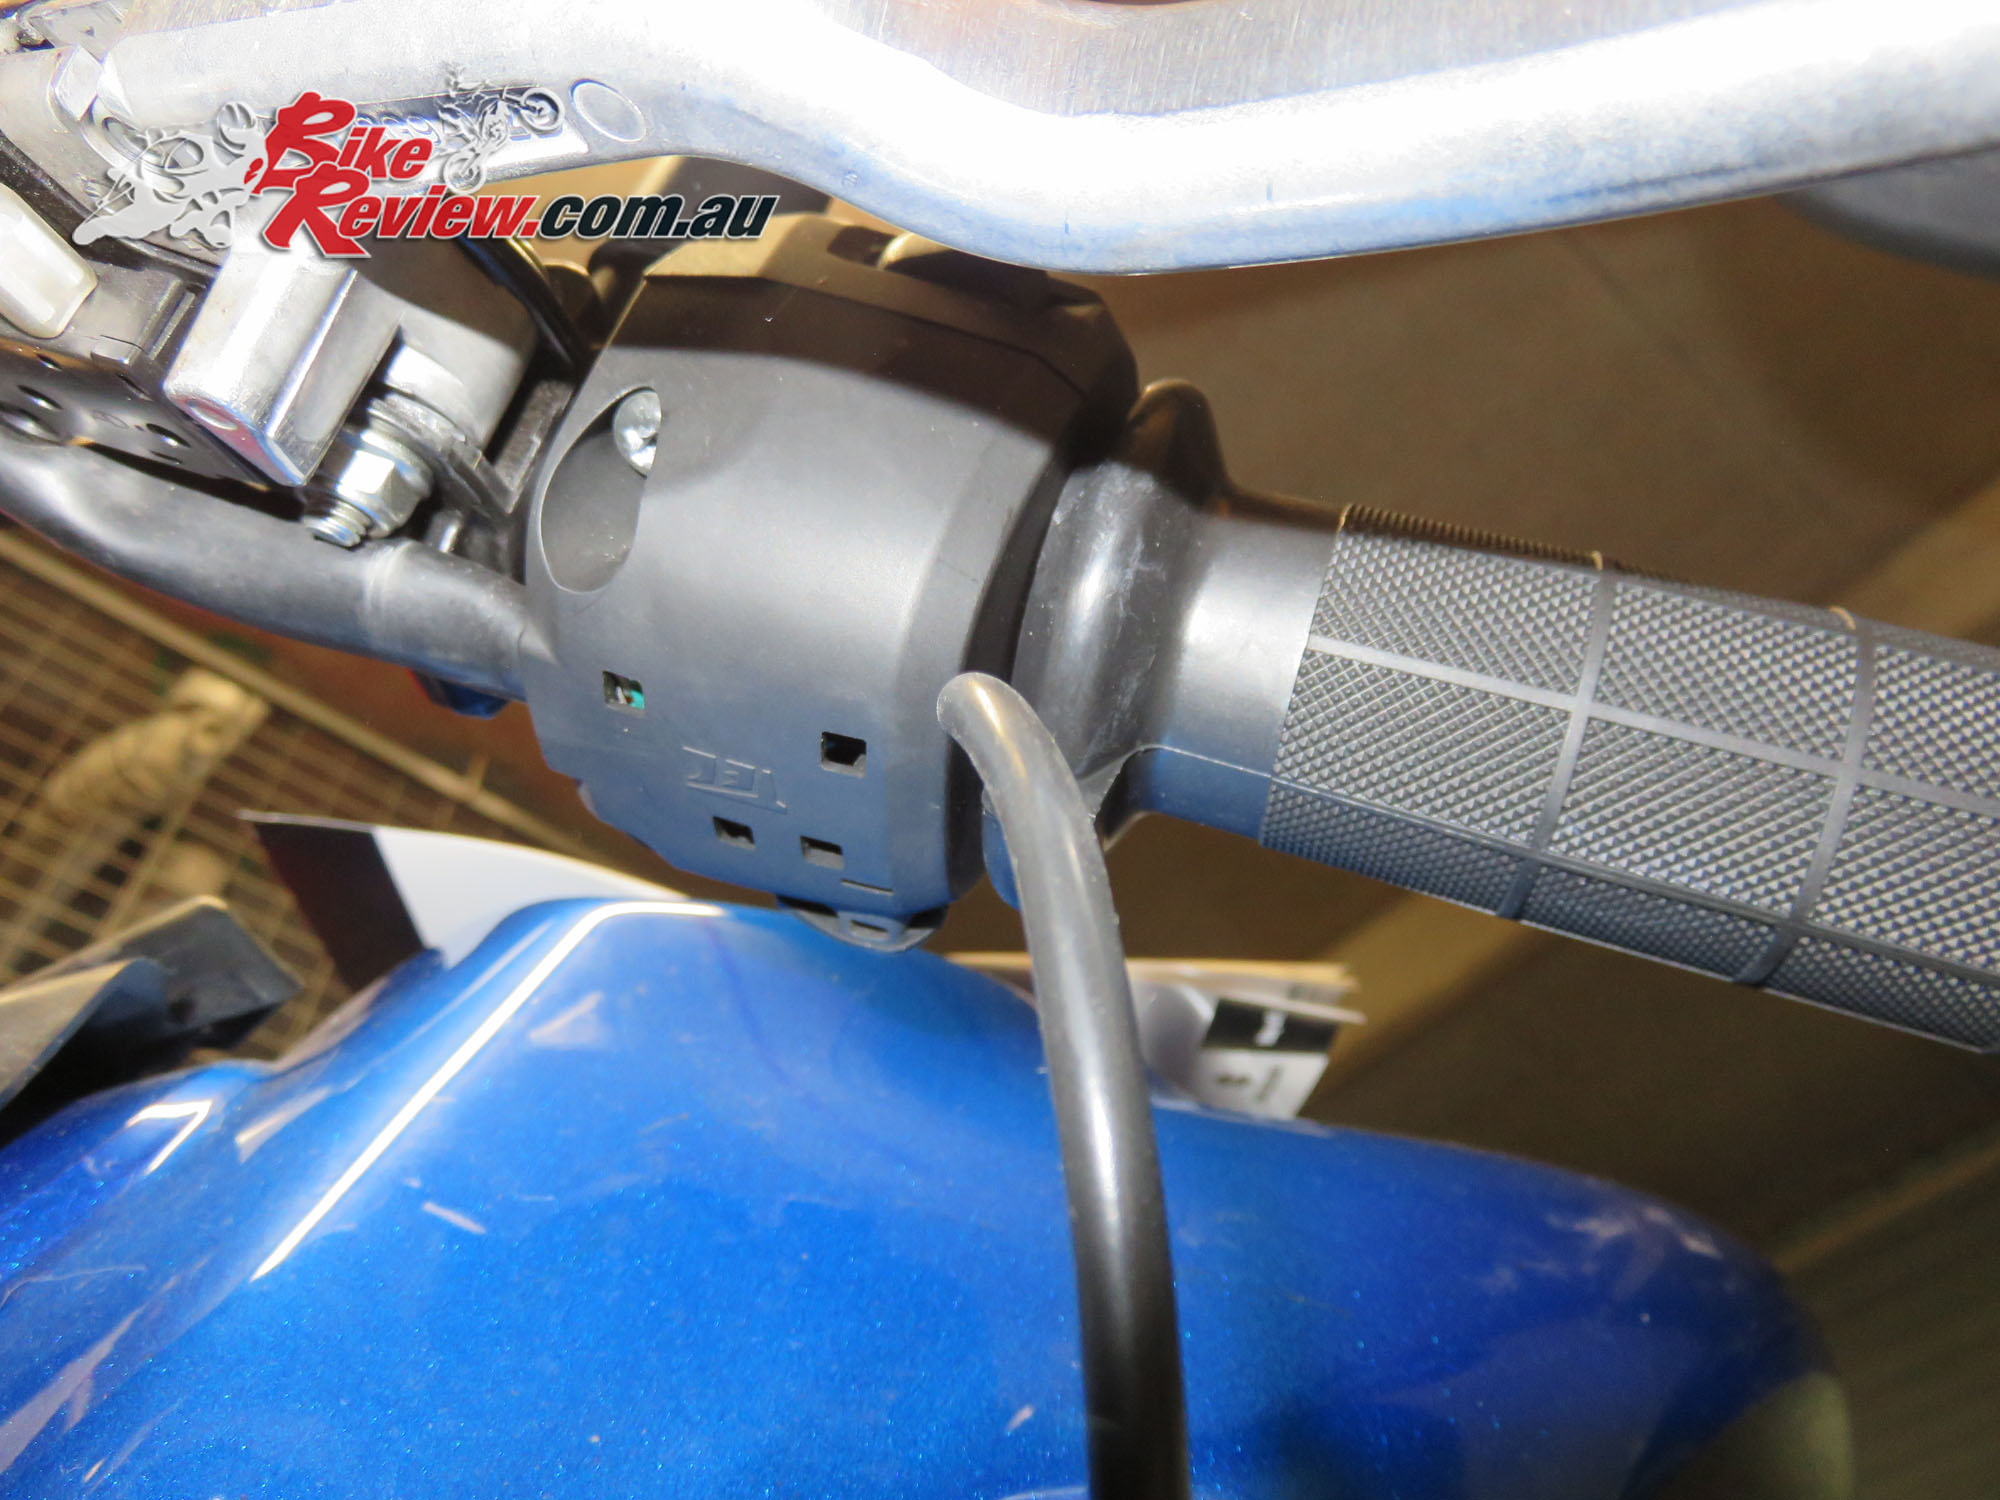
Here is an underneath view of the left (clutch side grip), you need the wire in roughly this orientation so you can route it alongside the rest of the switch block wiring seen to its left. It also keeps it out of the way.

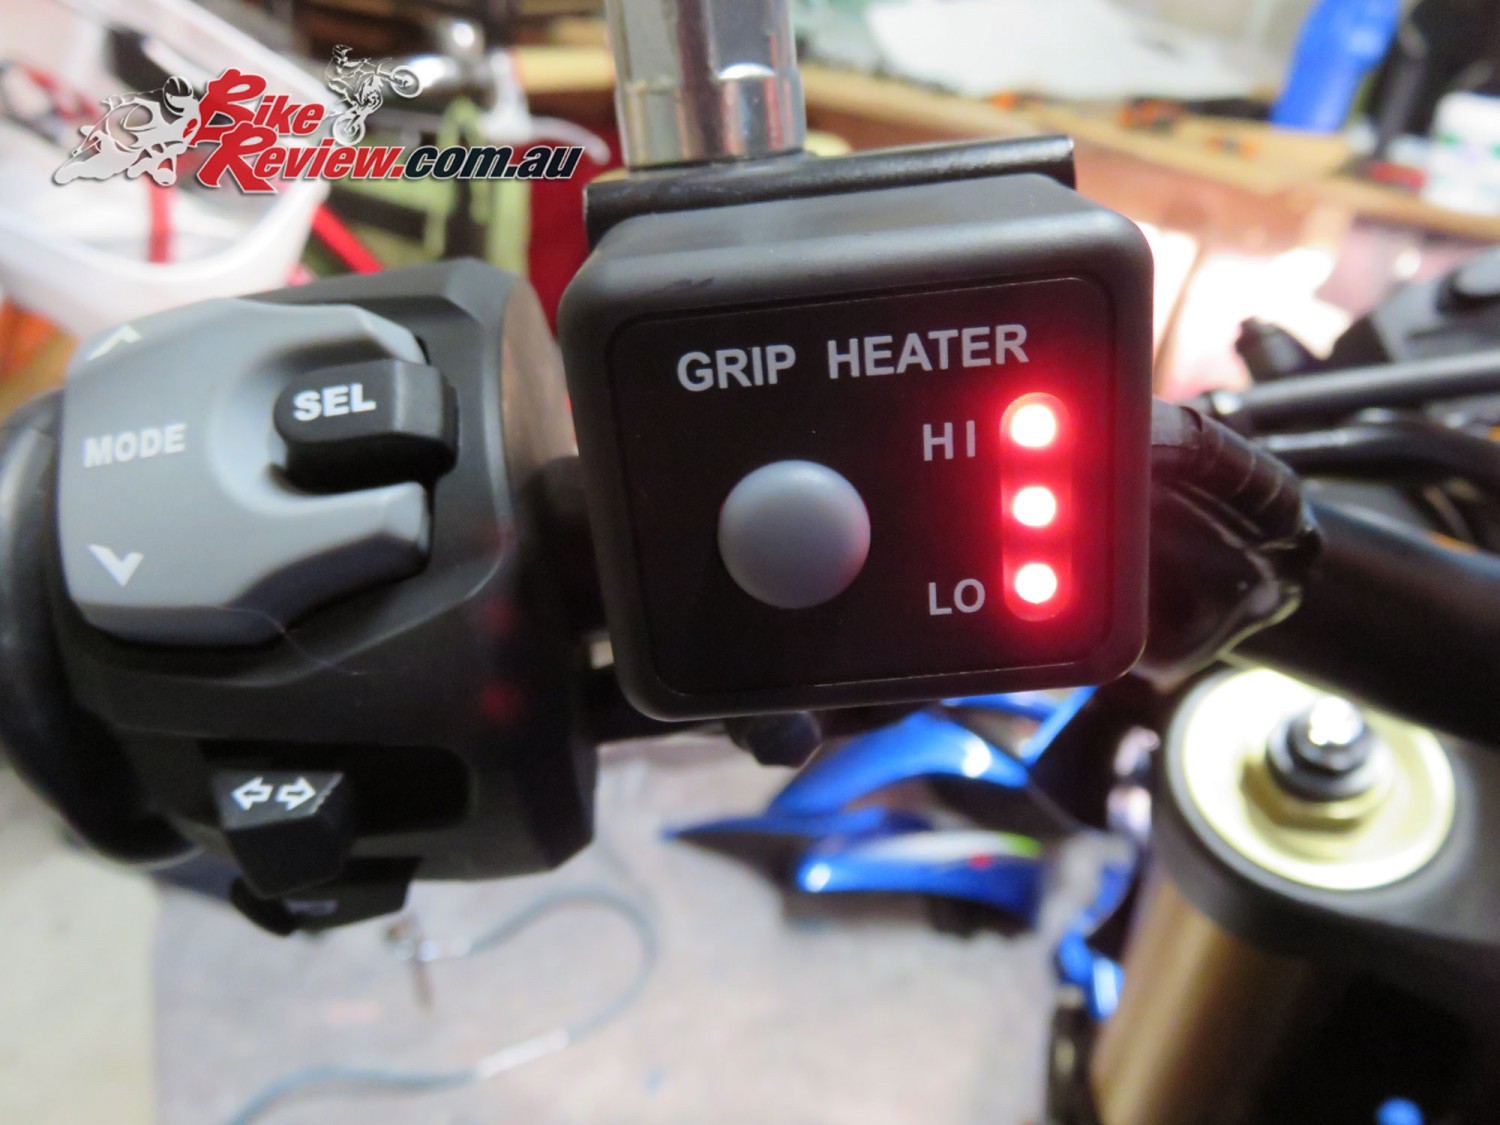
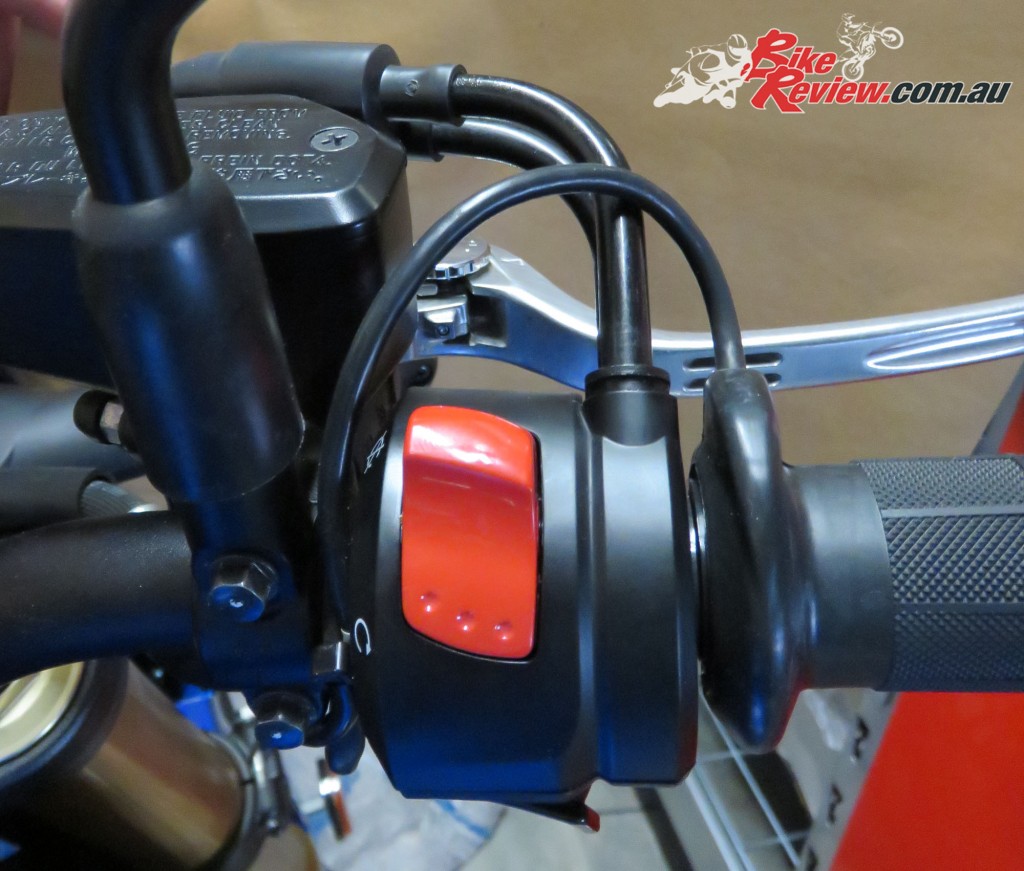
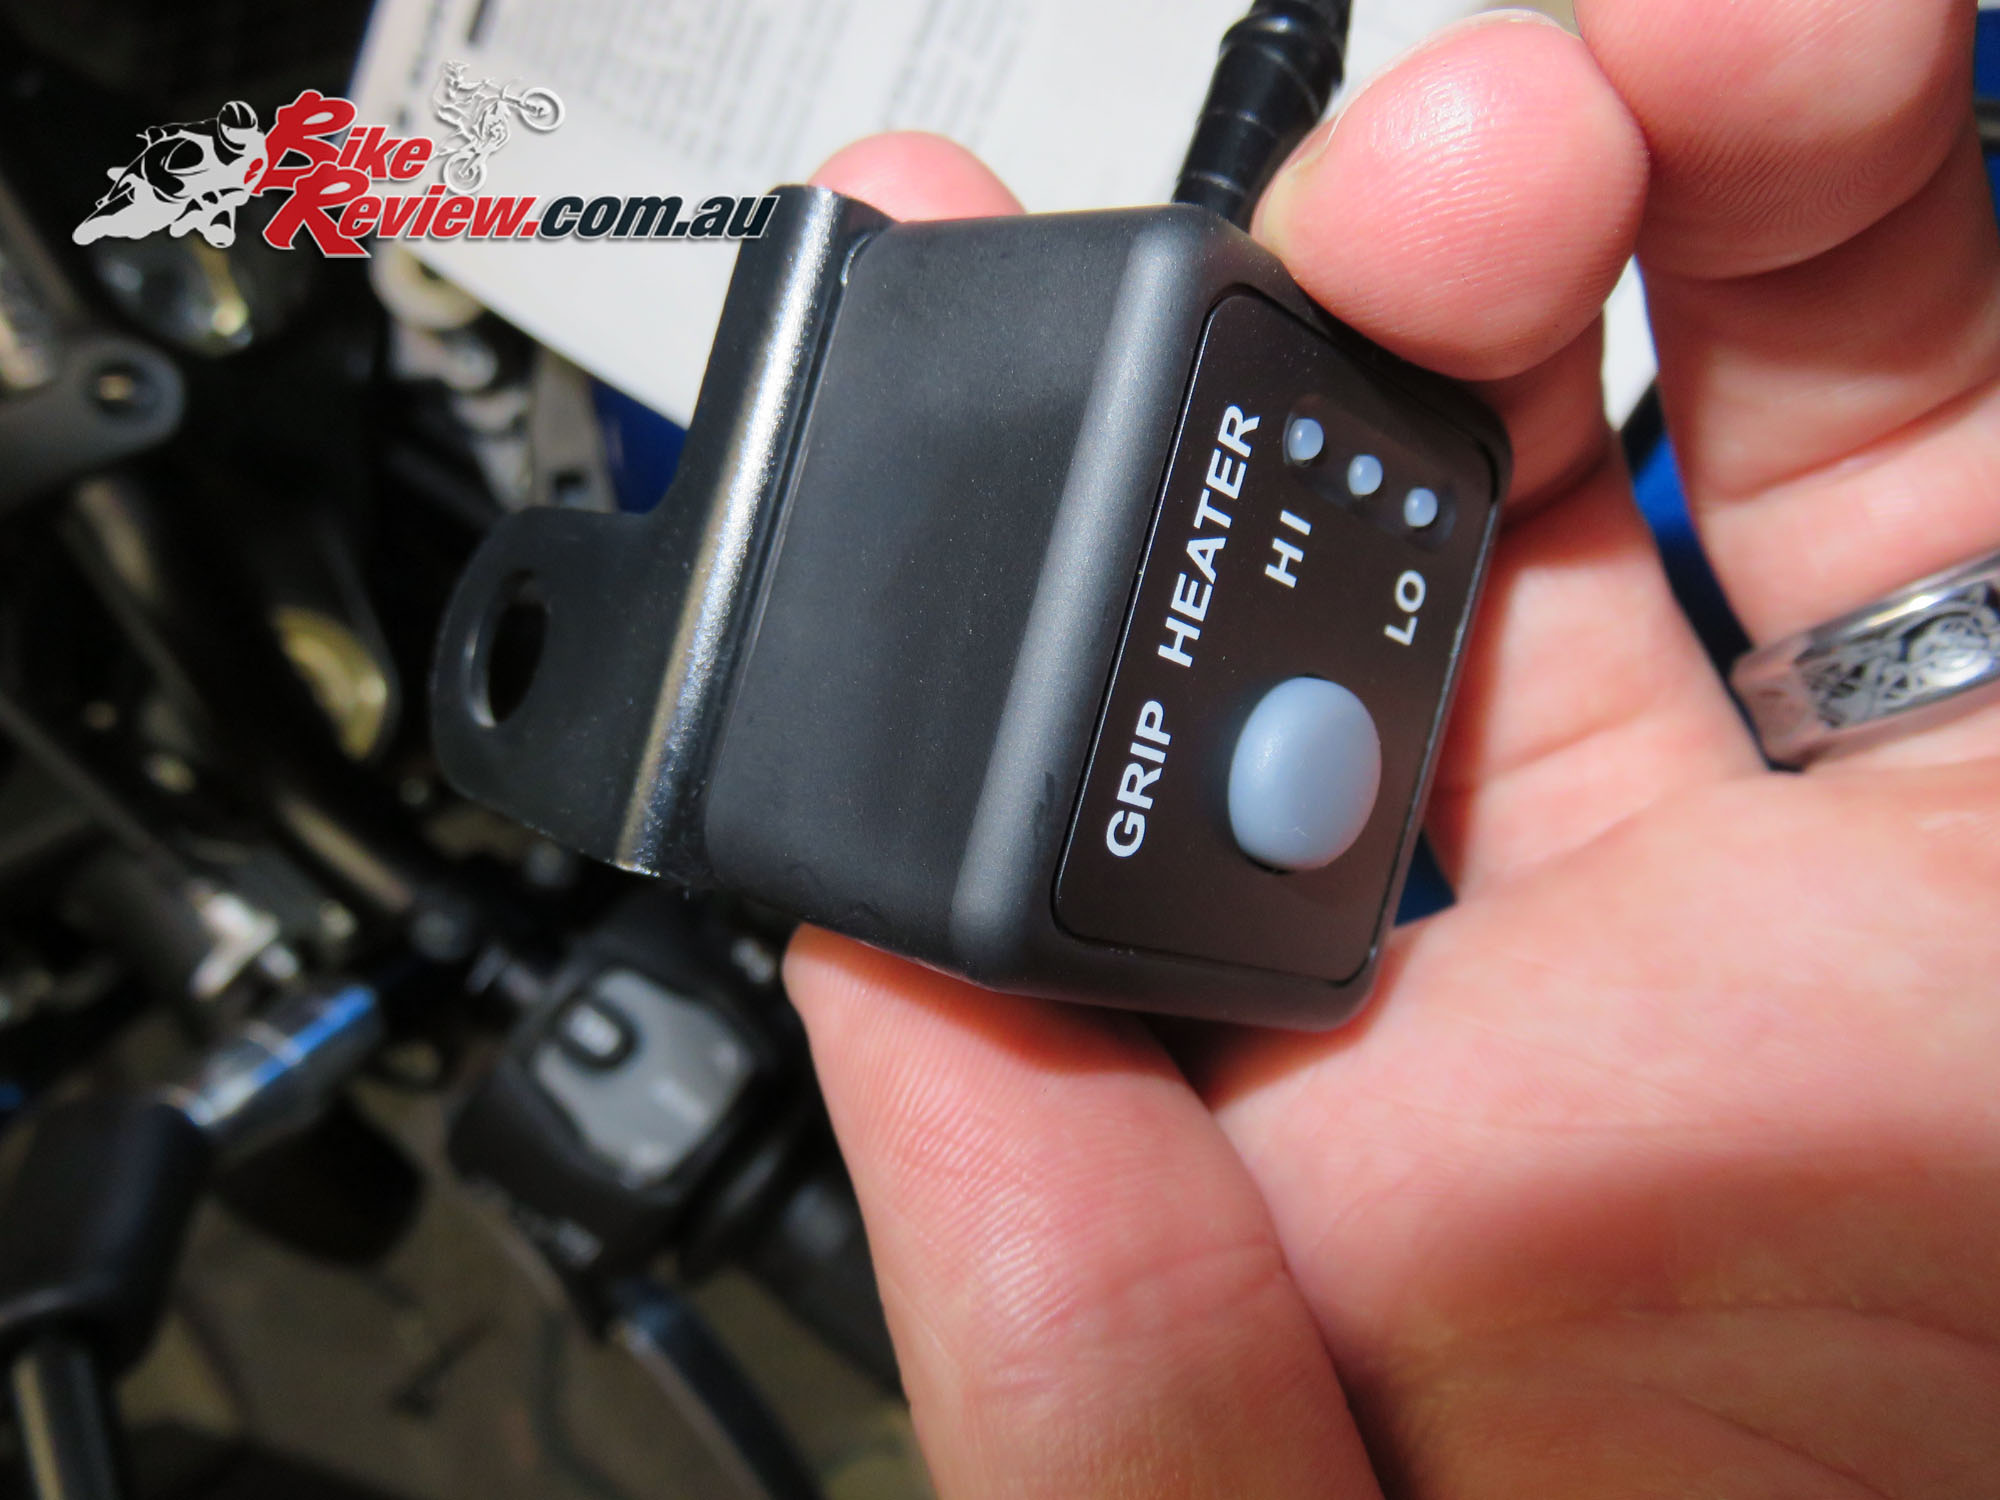
Here’s the heated grip controls. It uses a single toggle to run through the settings, so it’s nice and simple, and Suzuki do say it only runs if your rpm are high enough to ensure it won’t drain your battery. Otherwise it’ll auto-off.
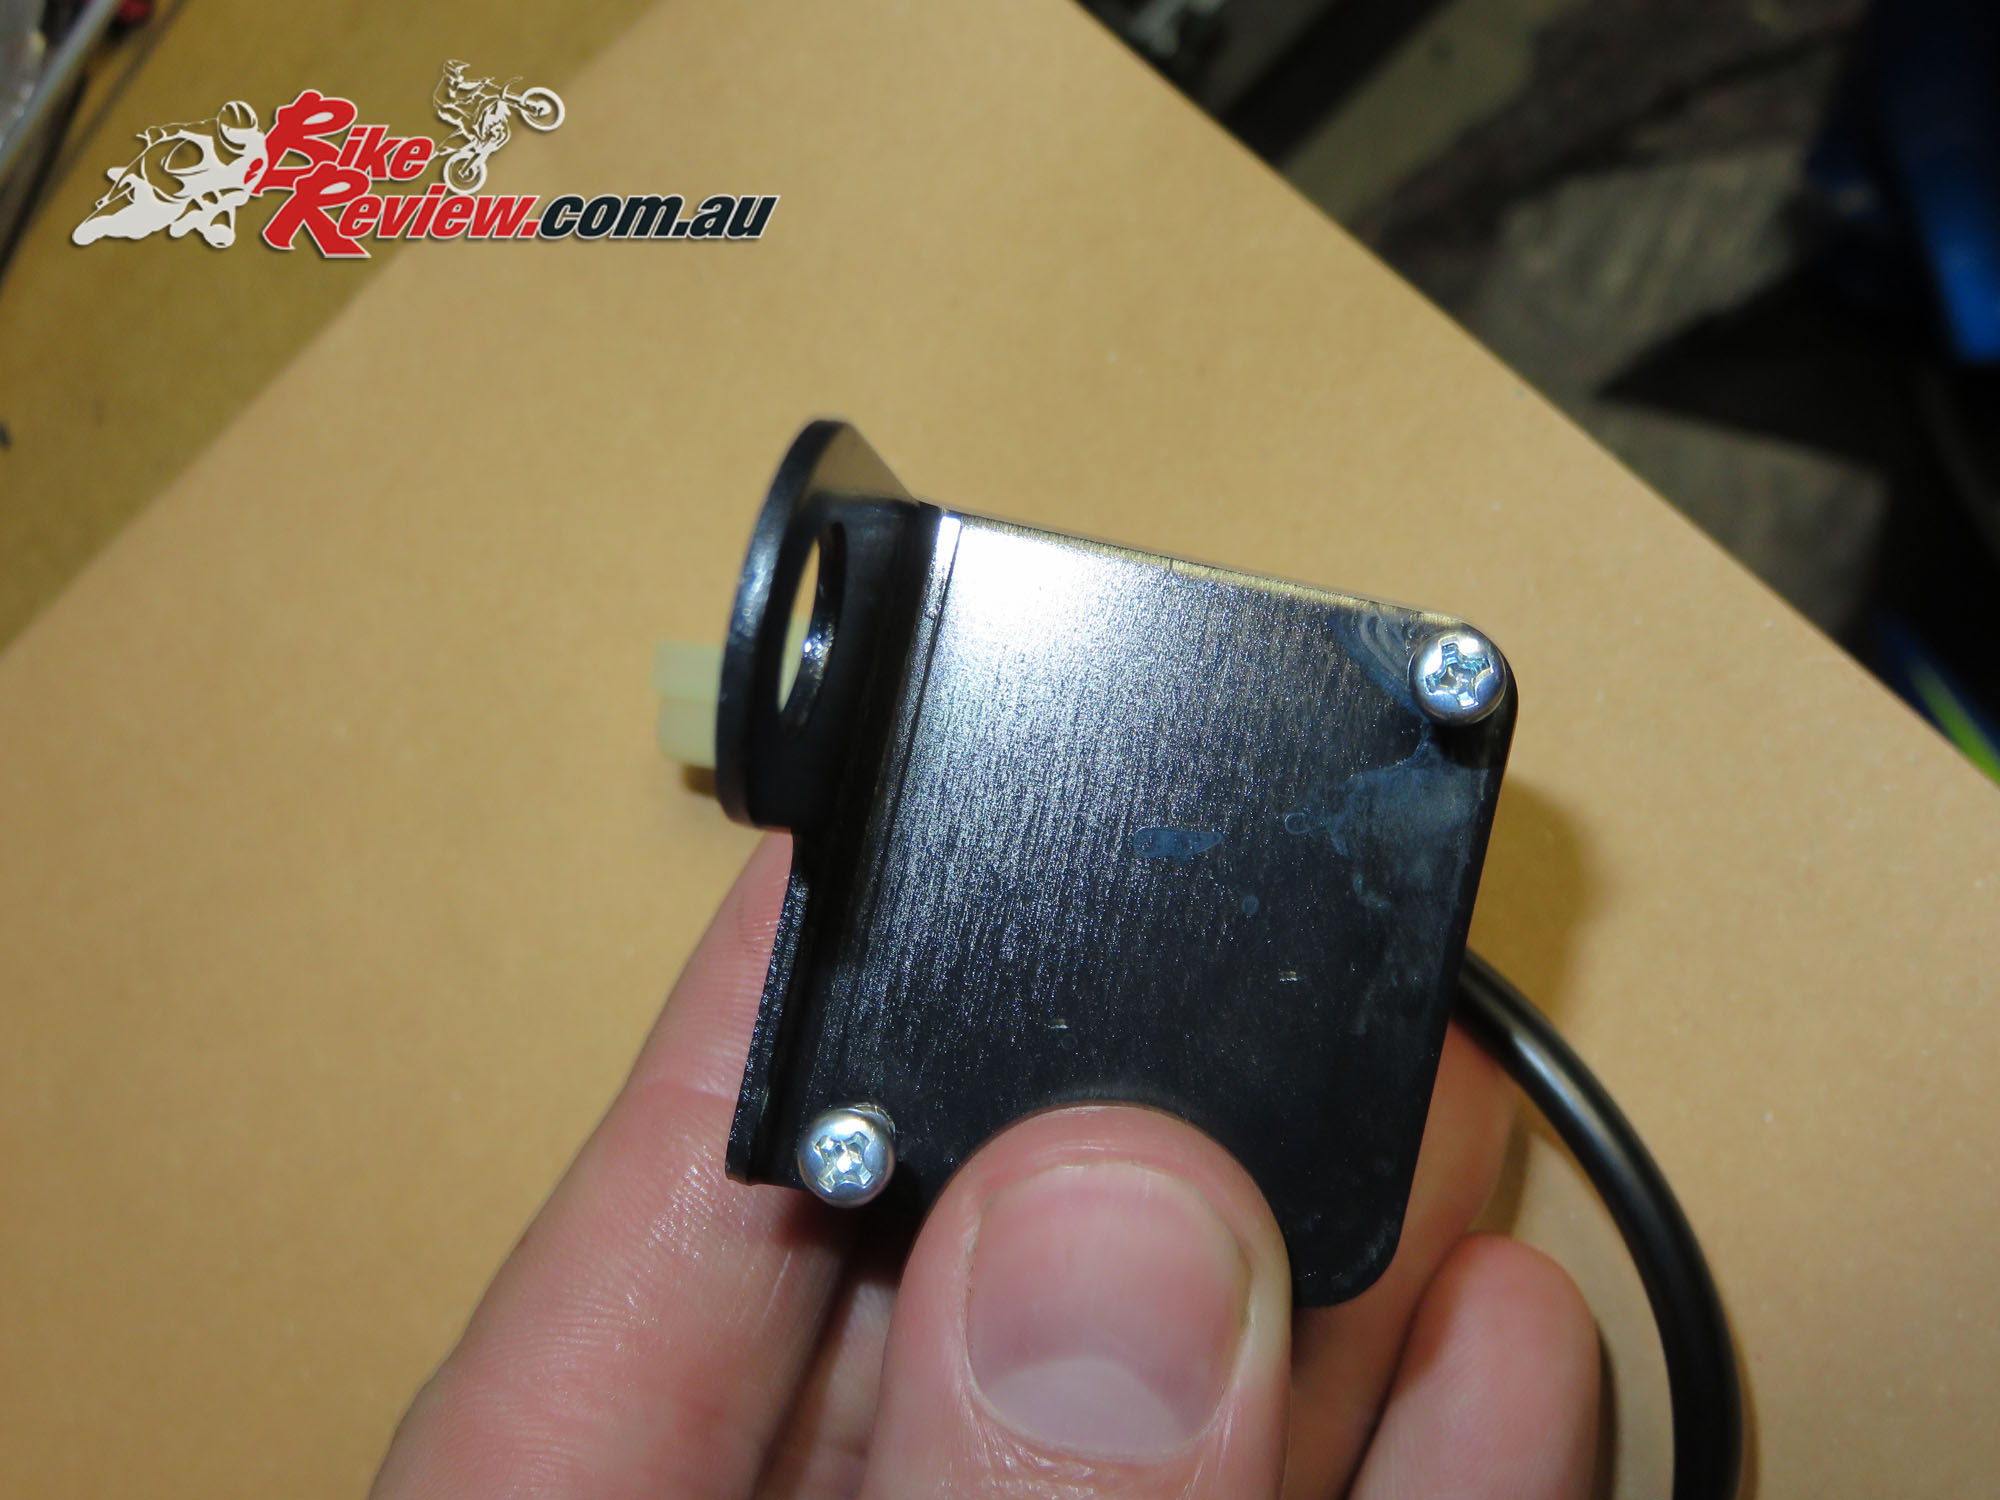
Mount the control to the mounting plate provided, which will be bolted into the mirror stem. Even with the right screw driver these screws go into the back of the control very tight and I stripped a lot of material off the screw heads.
Make sure you’ve got it facing the right way too! Here you can see the mounting point for the mirror is on the top left corner.

Undo the mirror with a wrench from the bottom nut, fit the mounting bracket and then re-tighten. The extra depth of the mount means you mirror won’t be in the right position anymore so loosen the top nut to tweak it, till you’ve got it right, then tighten both. The mounting bracket will move as you tighten, so you’ll probably need it facing towards the middle of the bike, as it’ll end up pushed to the left.

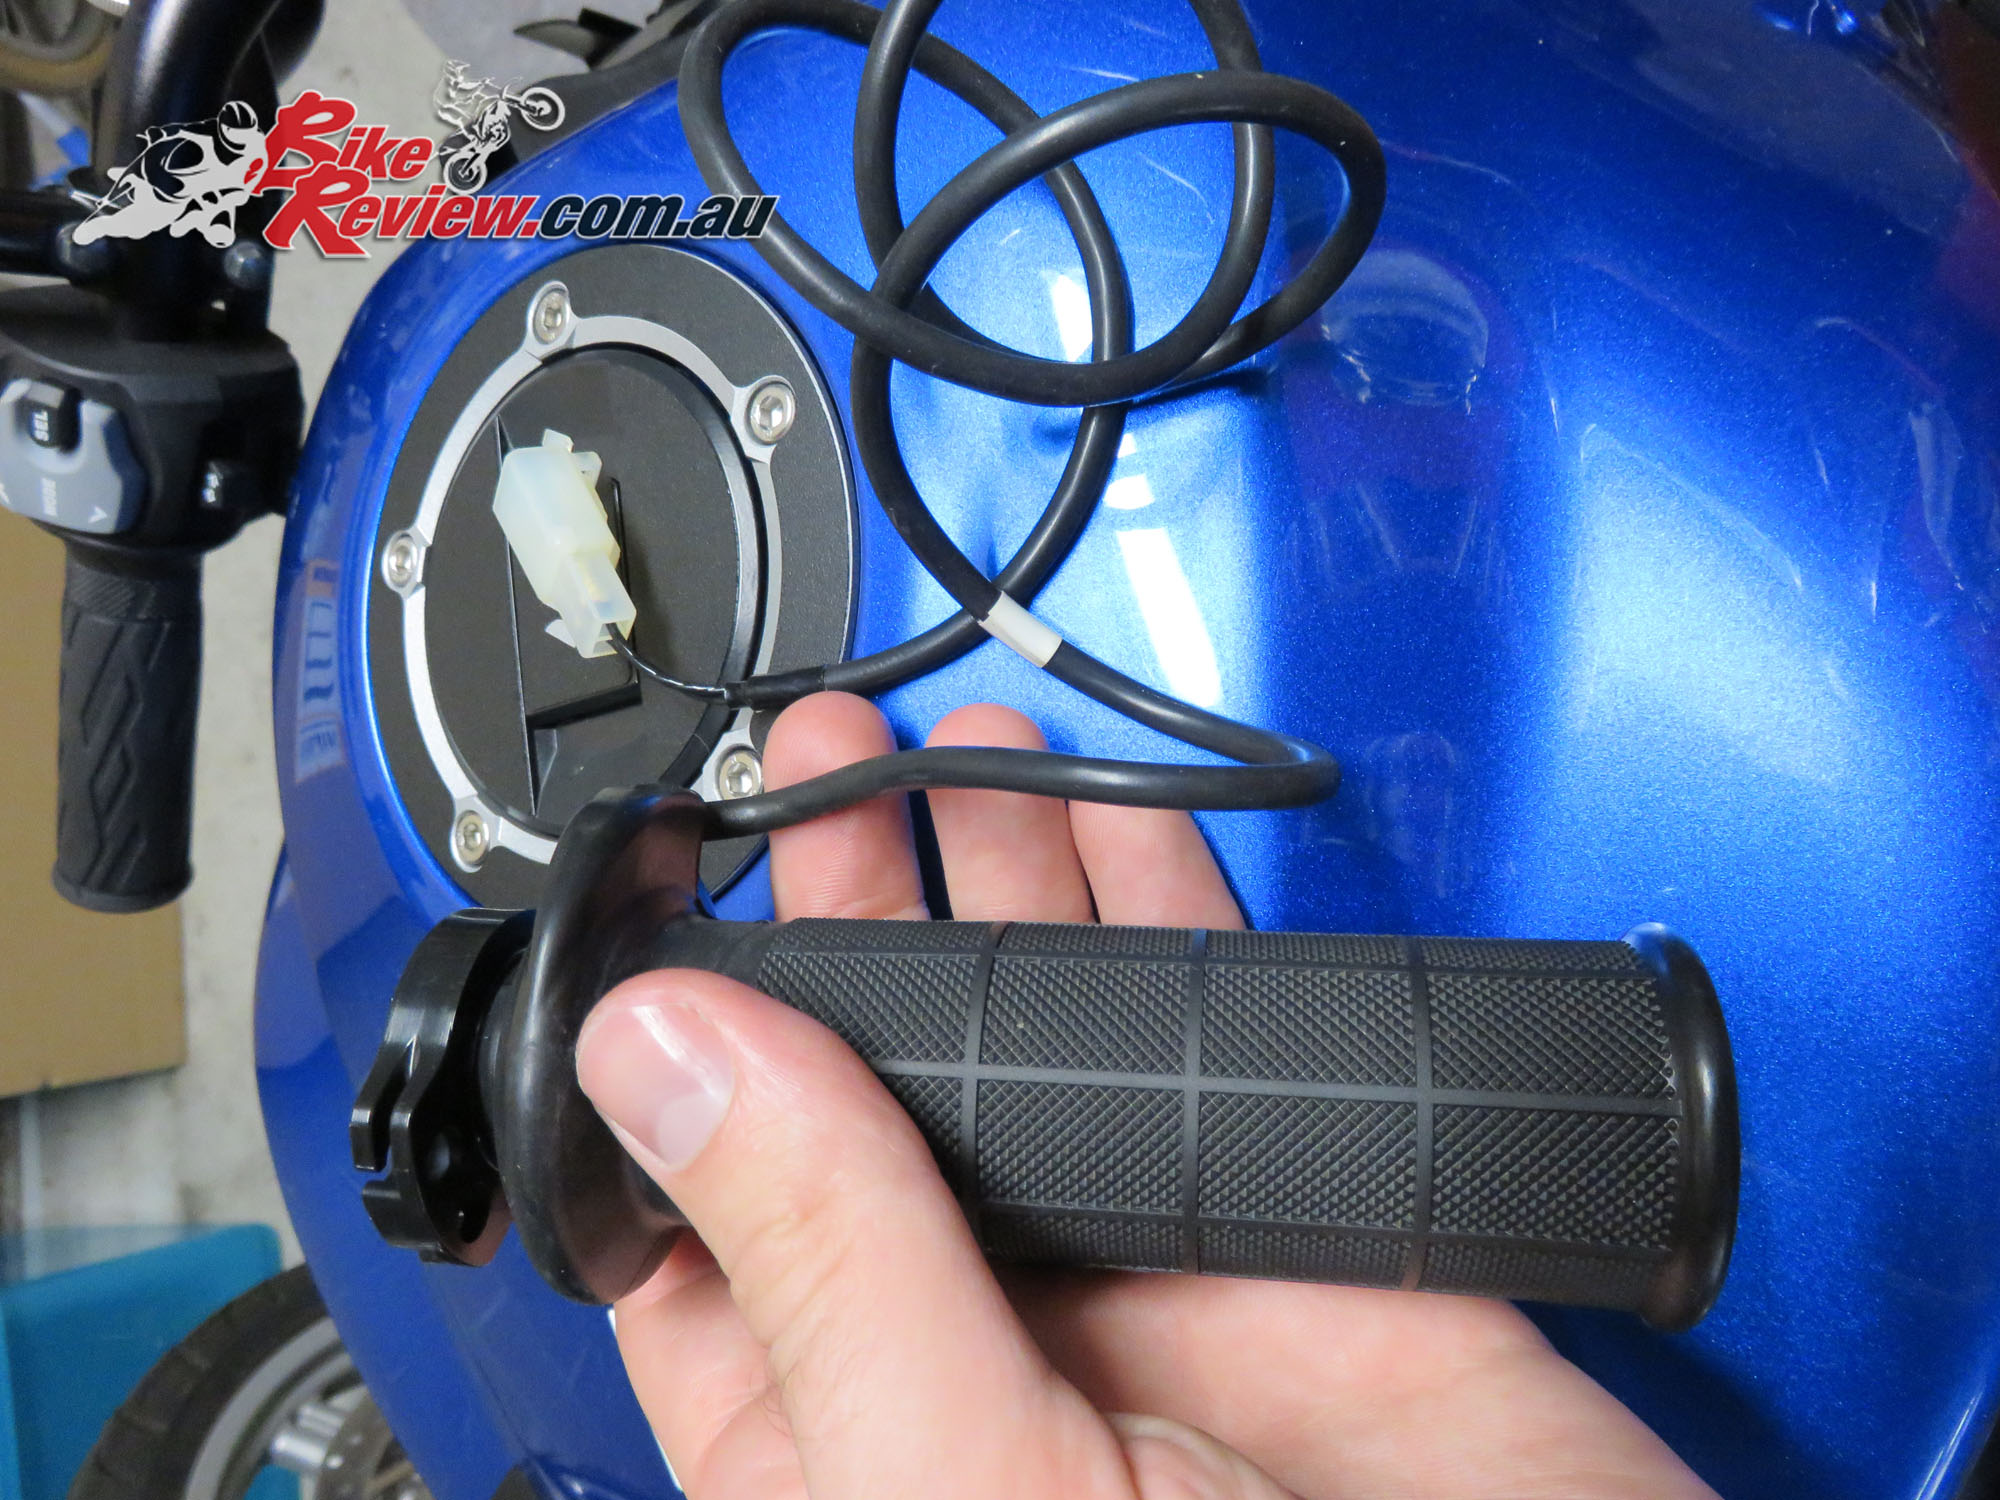
Now you need to drop the headlight forward to connect the heated grip system up to the main loom. If you’re fitting the ‘Smoked Instrument Cover’ from Suzuki as well, definitely do your heated grips first, as you’ll have to remove it to do this part of the heated grip installation. First grab off this top plastic cover, with the two bolts.
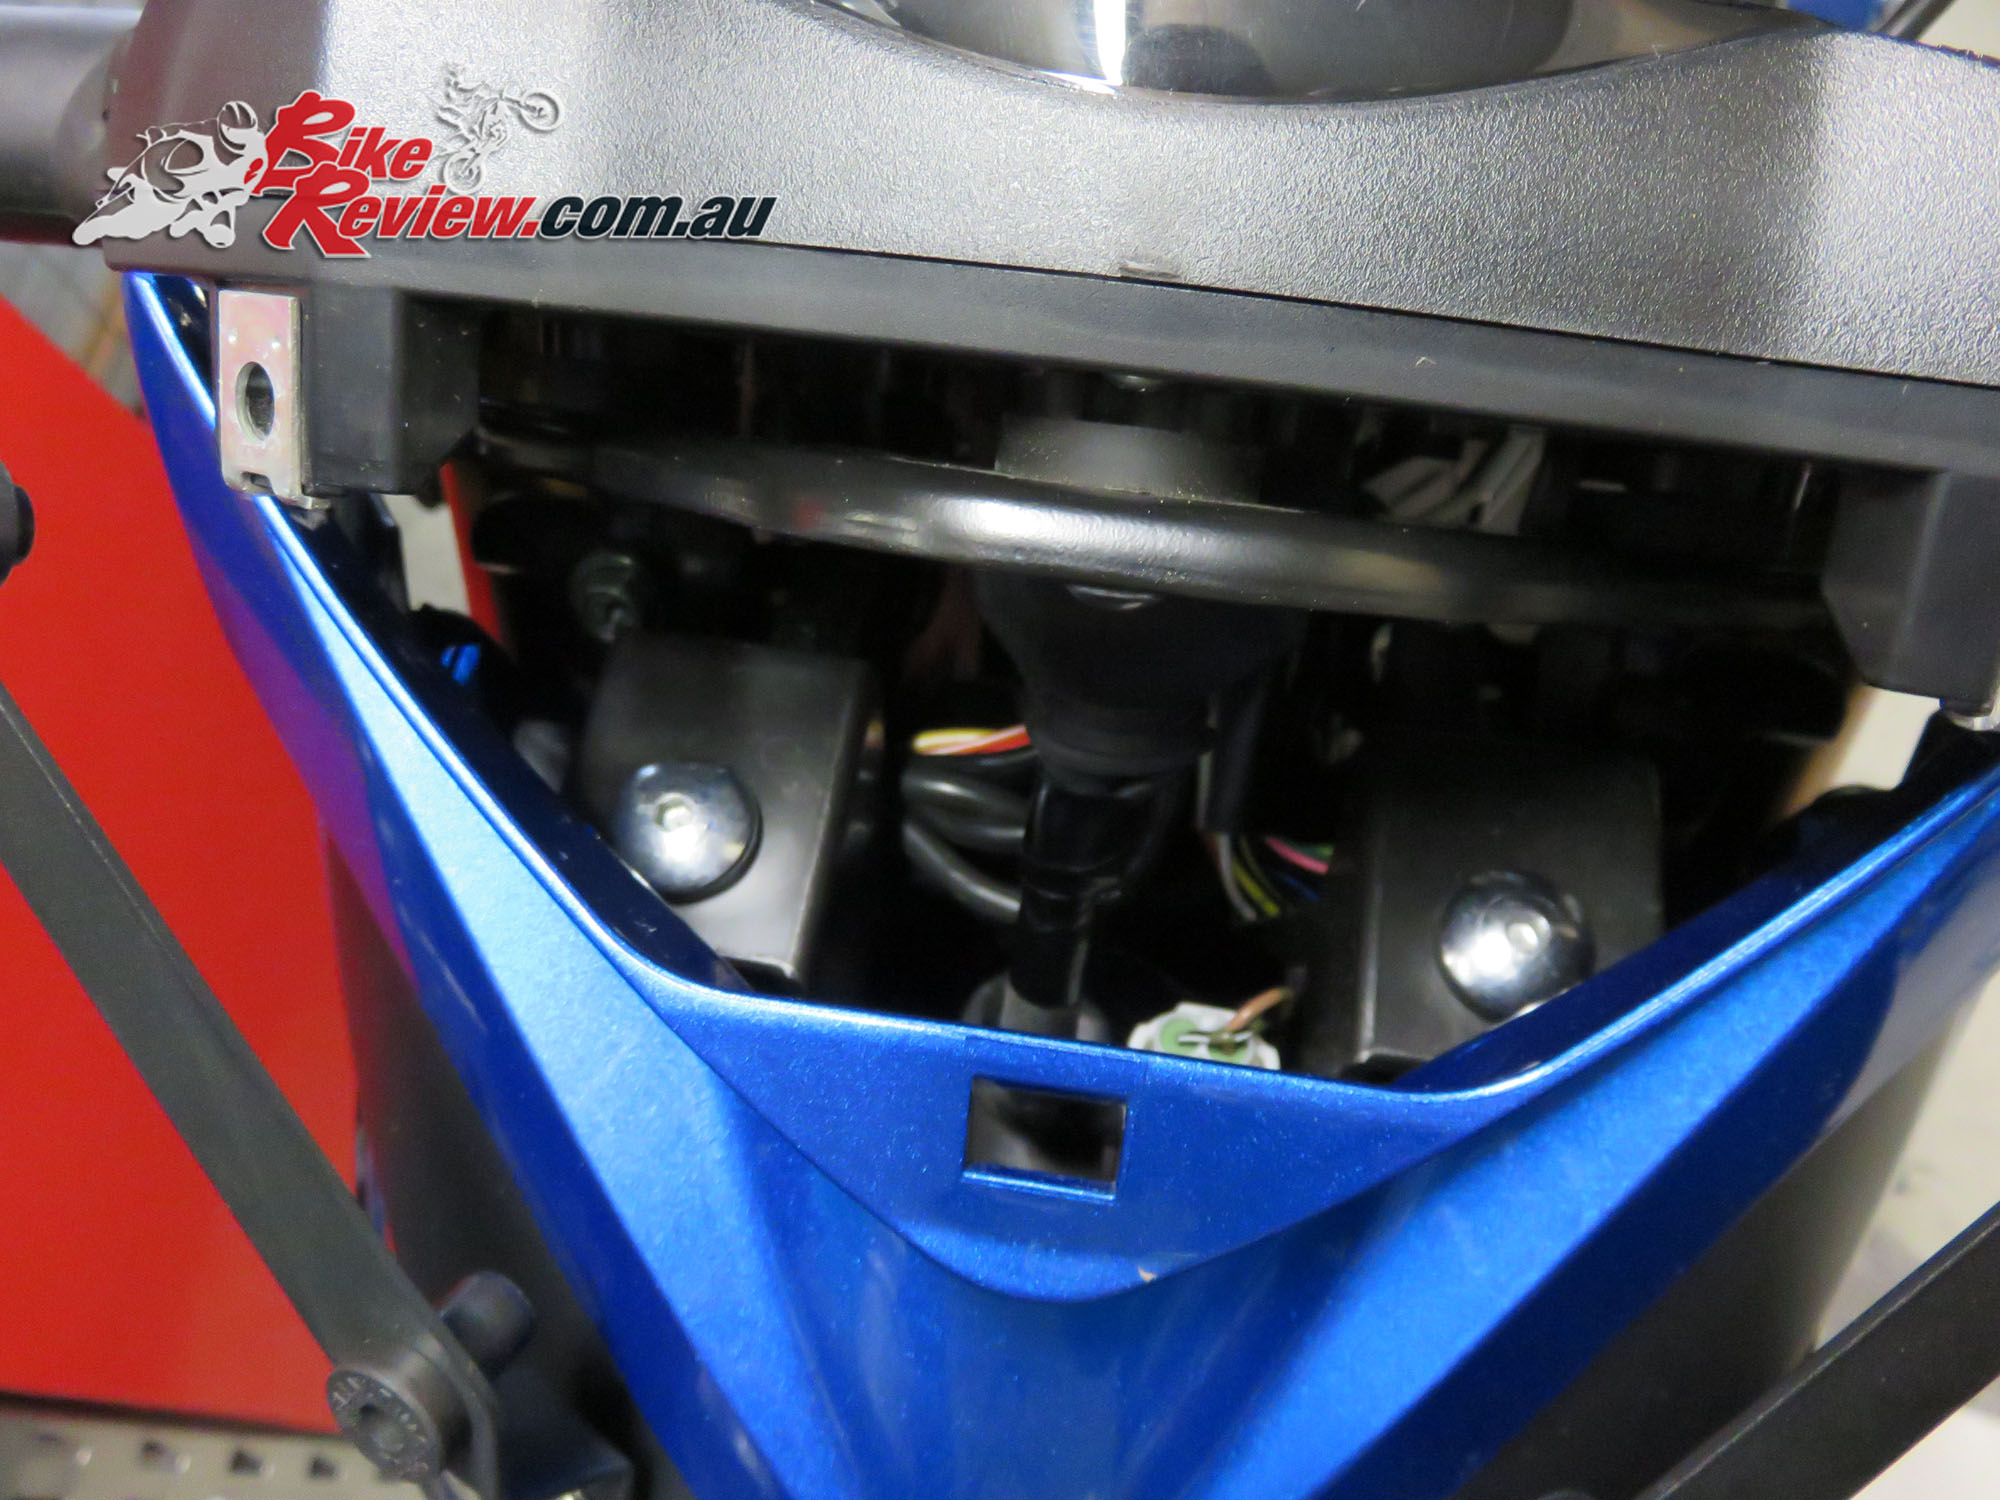
Underneath are these two bolts. Once they are loosened and removed the headlight will pivot out from the forks, thanks to a very well designed lower hinge. This makes getting behind the headlight and changing a globe or similar very easy!
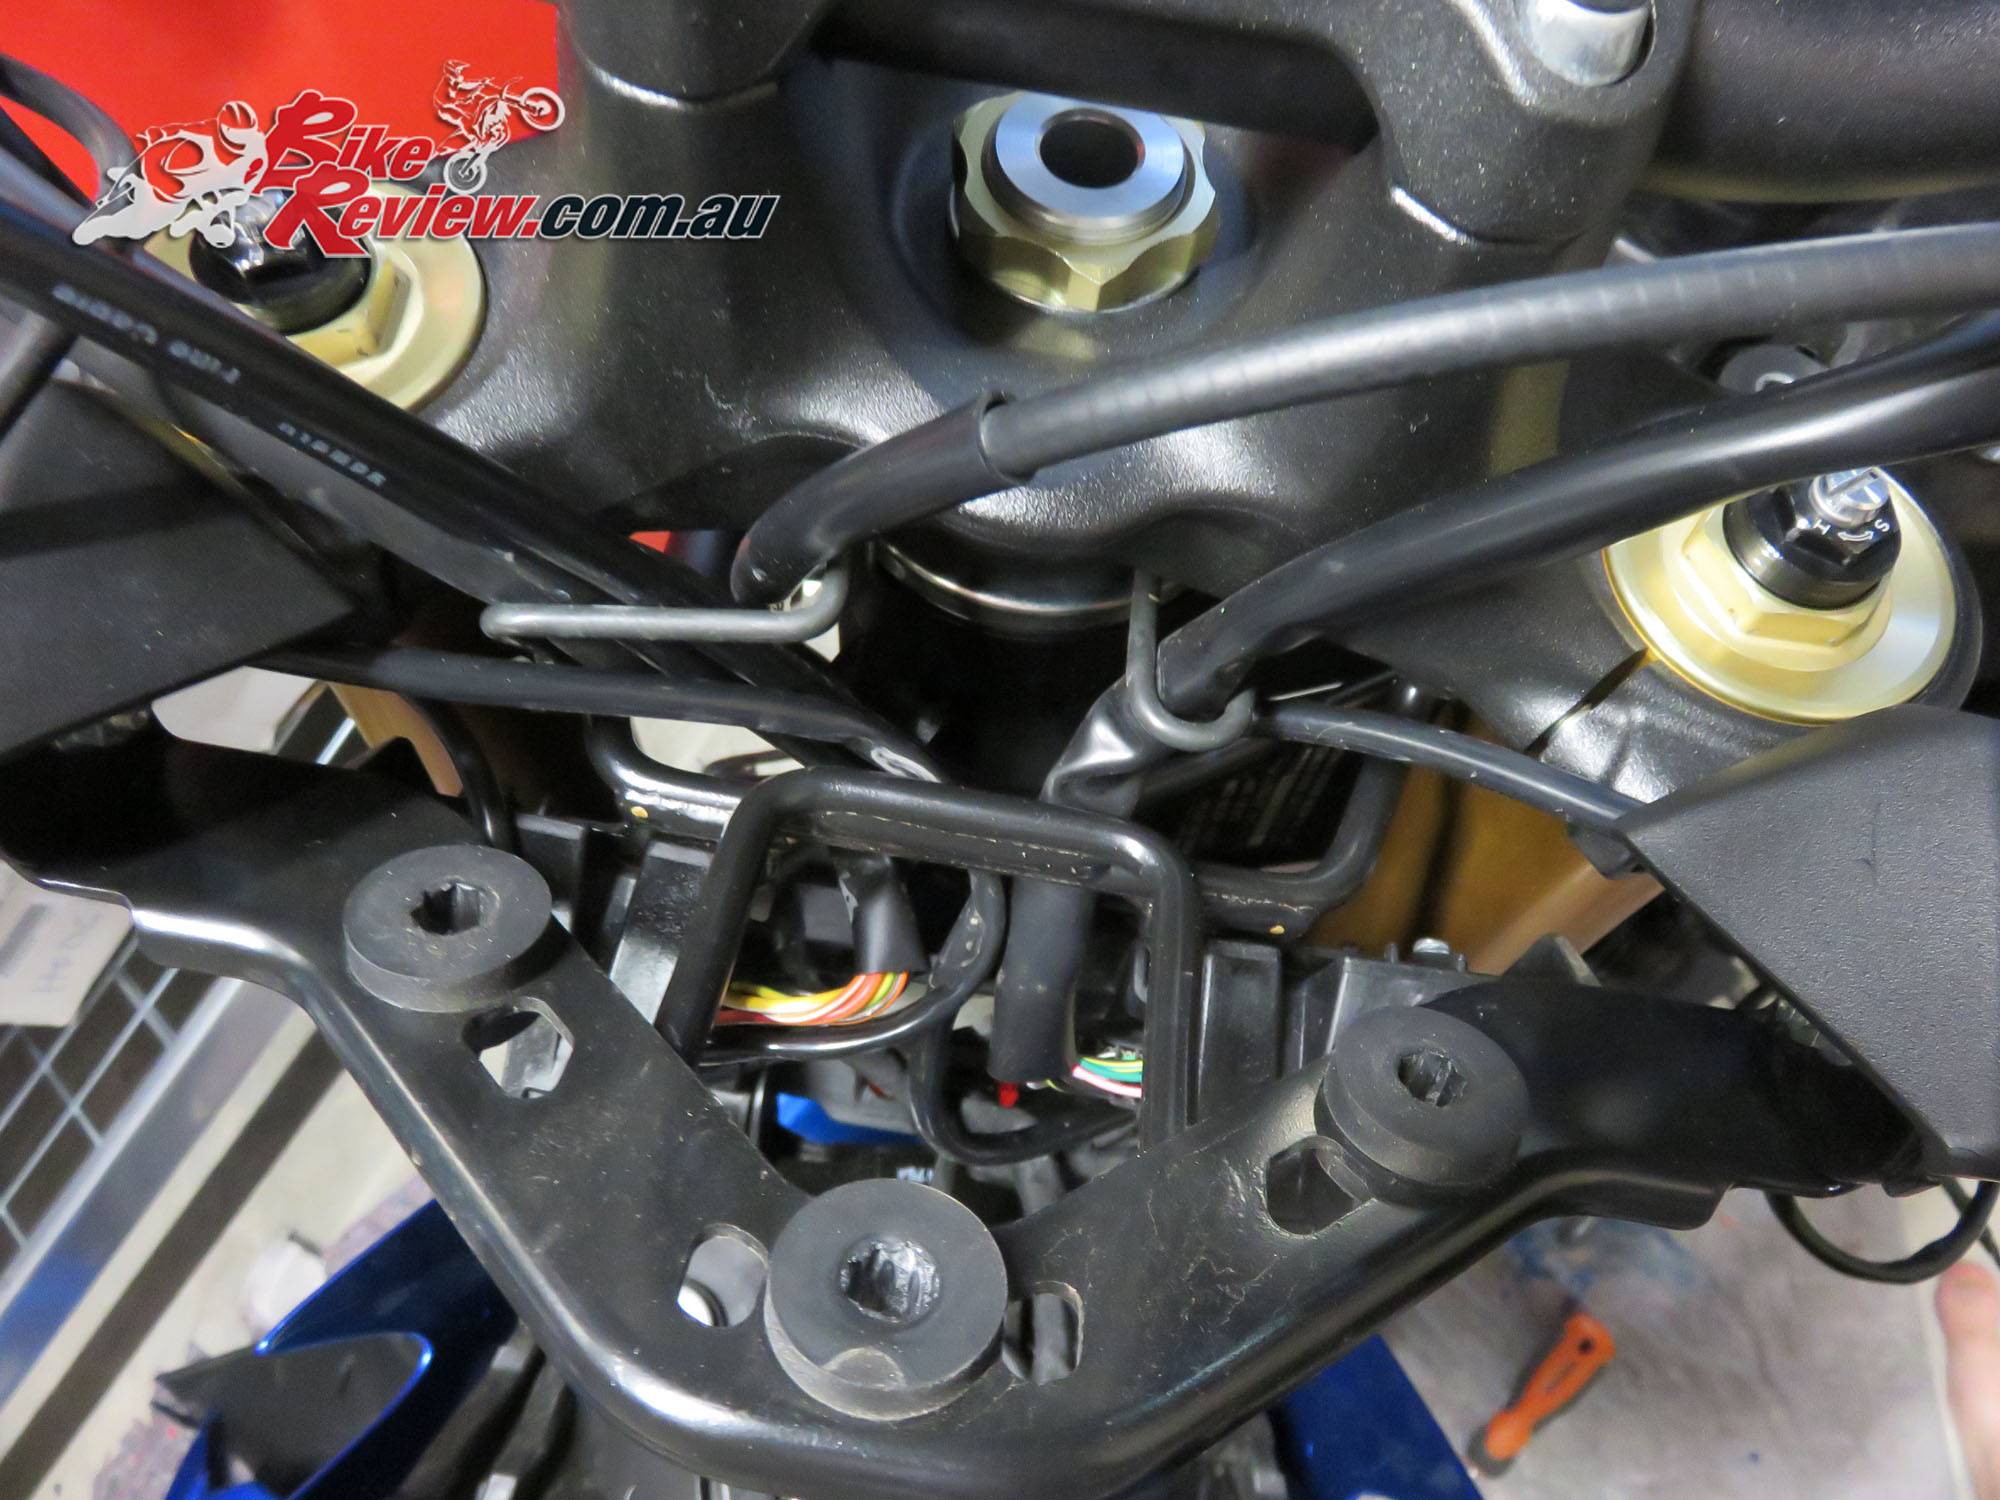
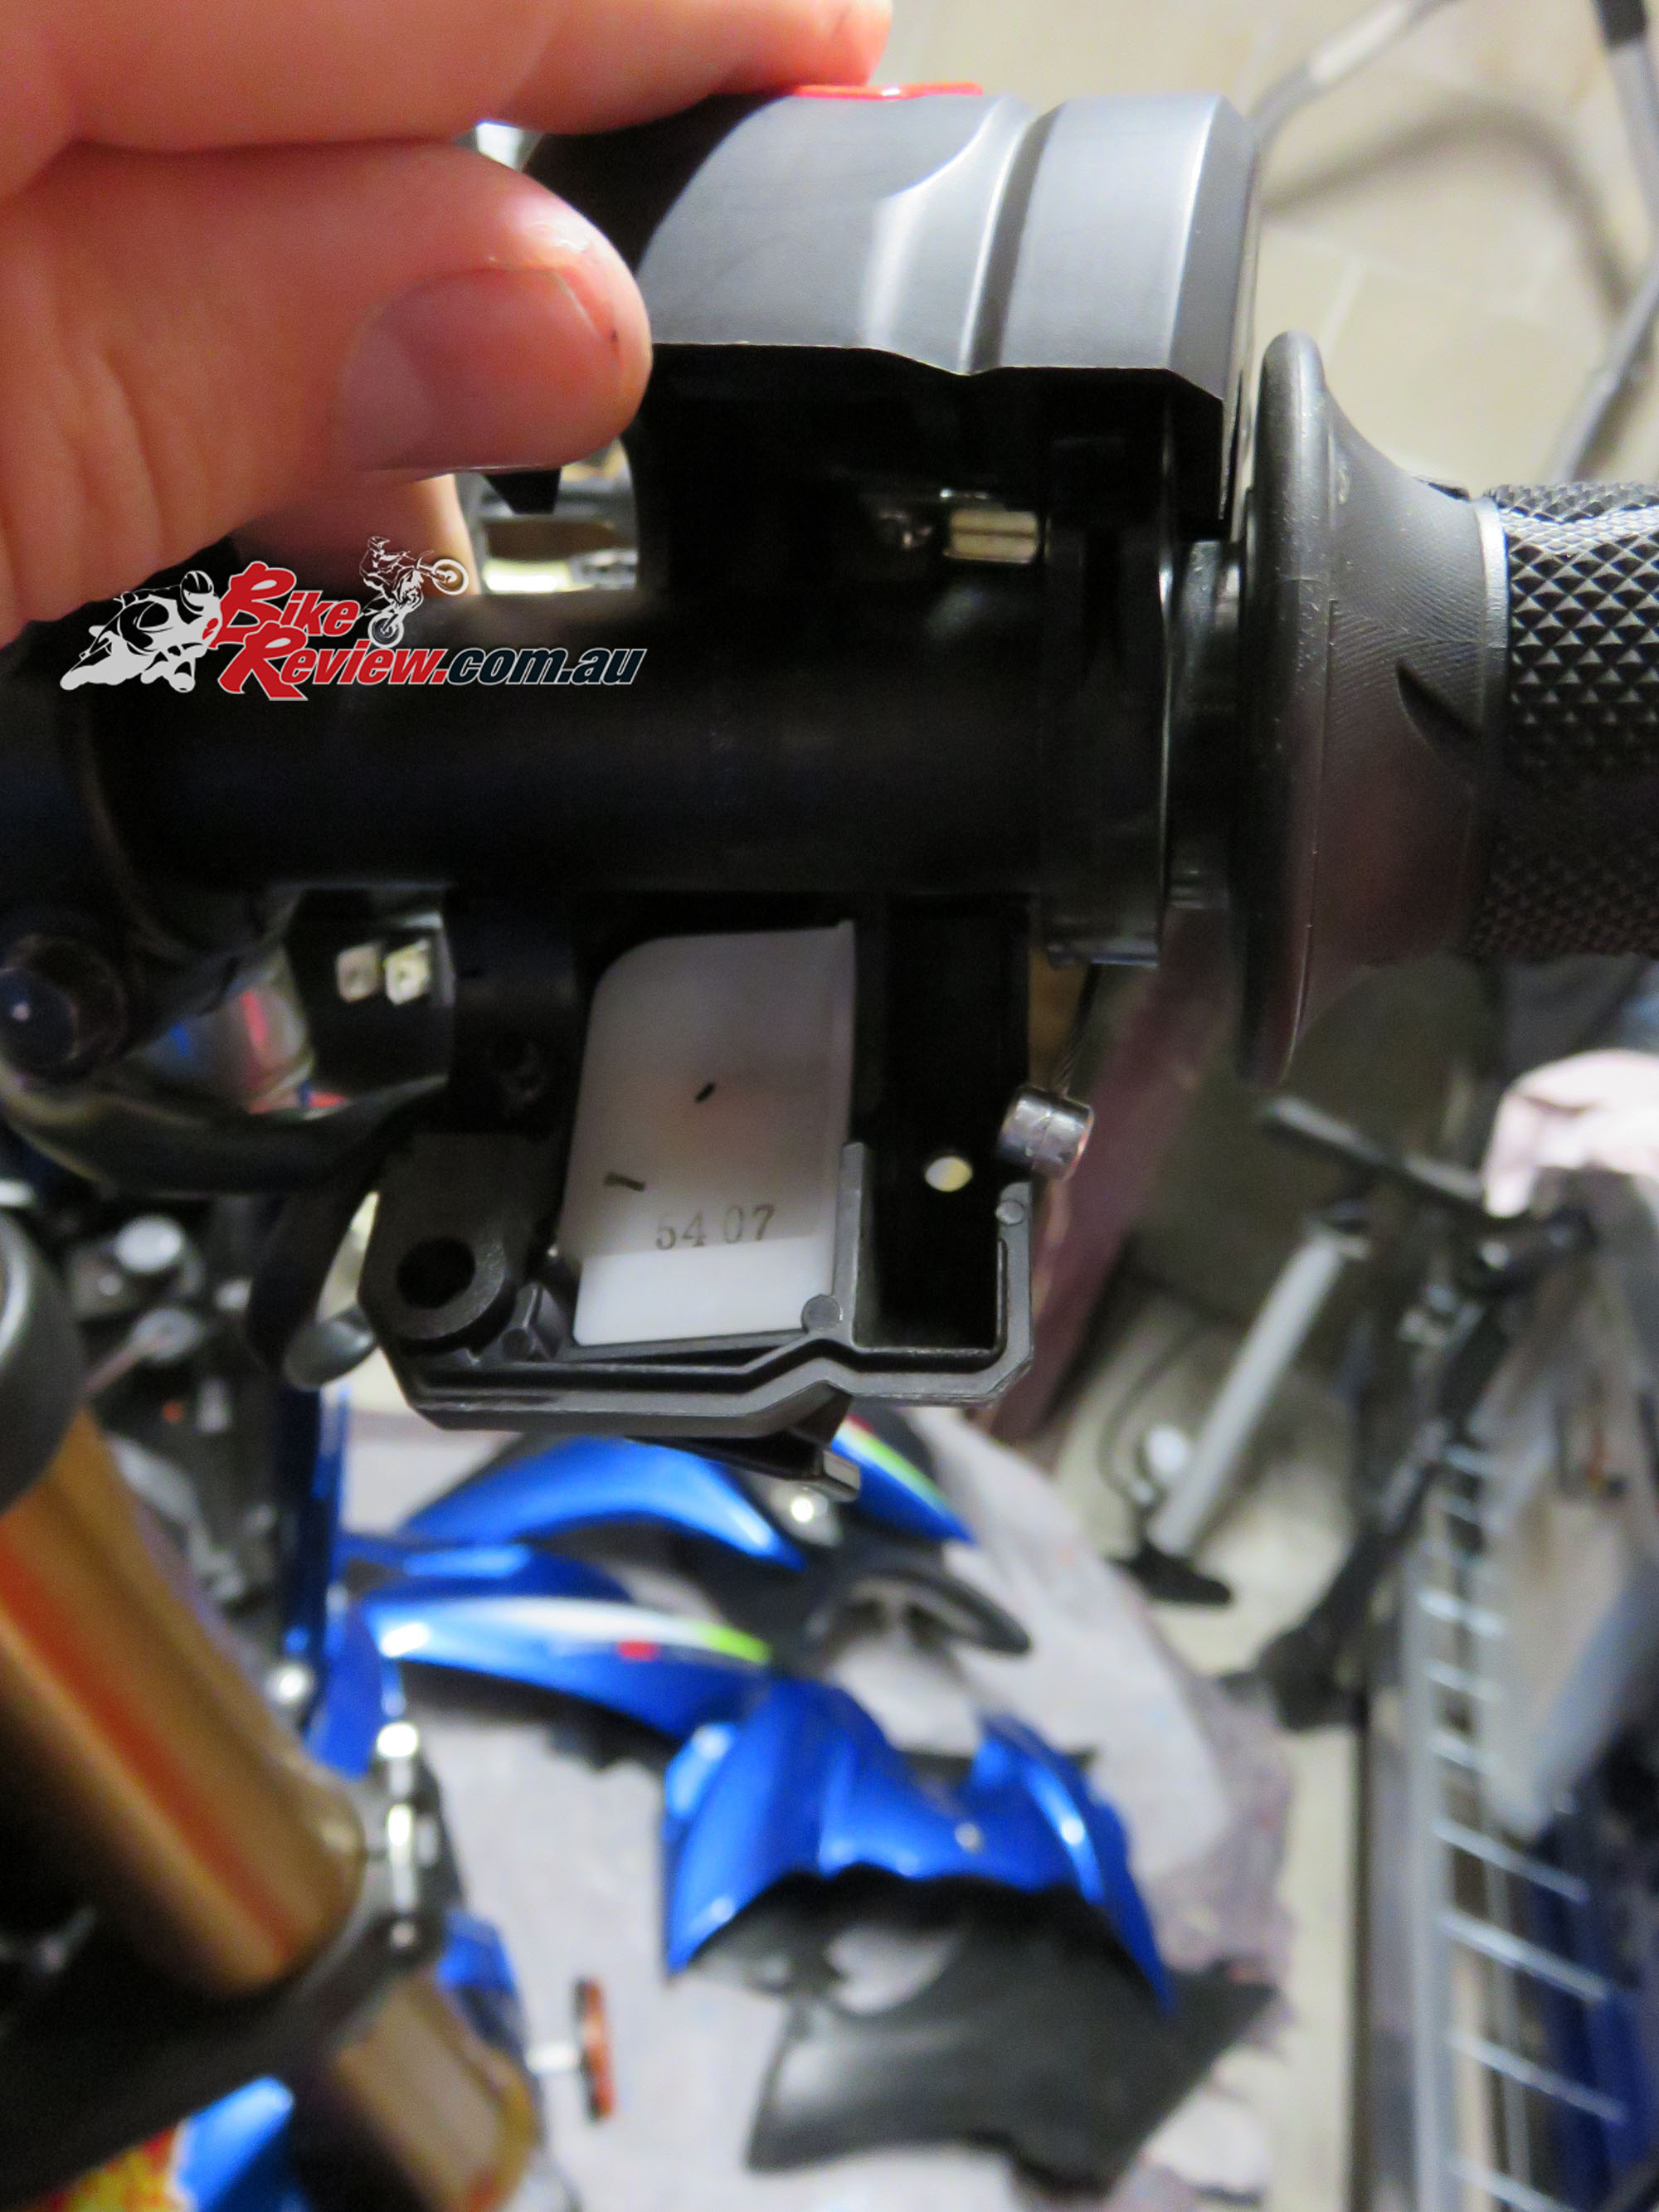
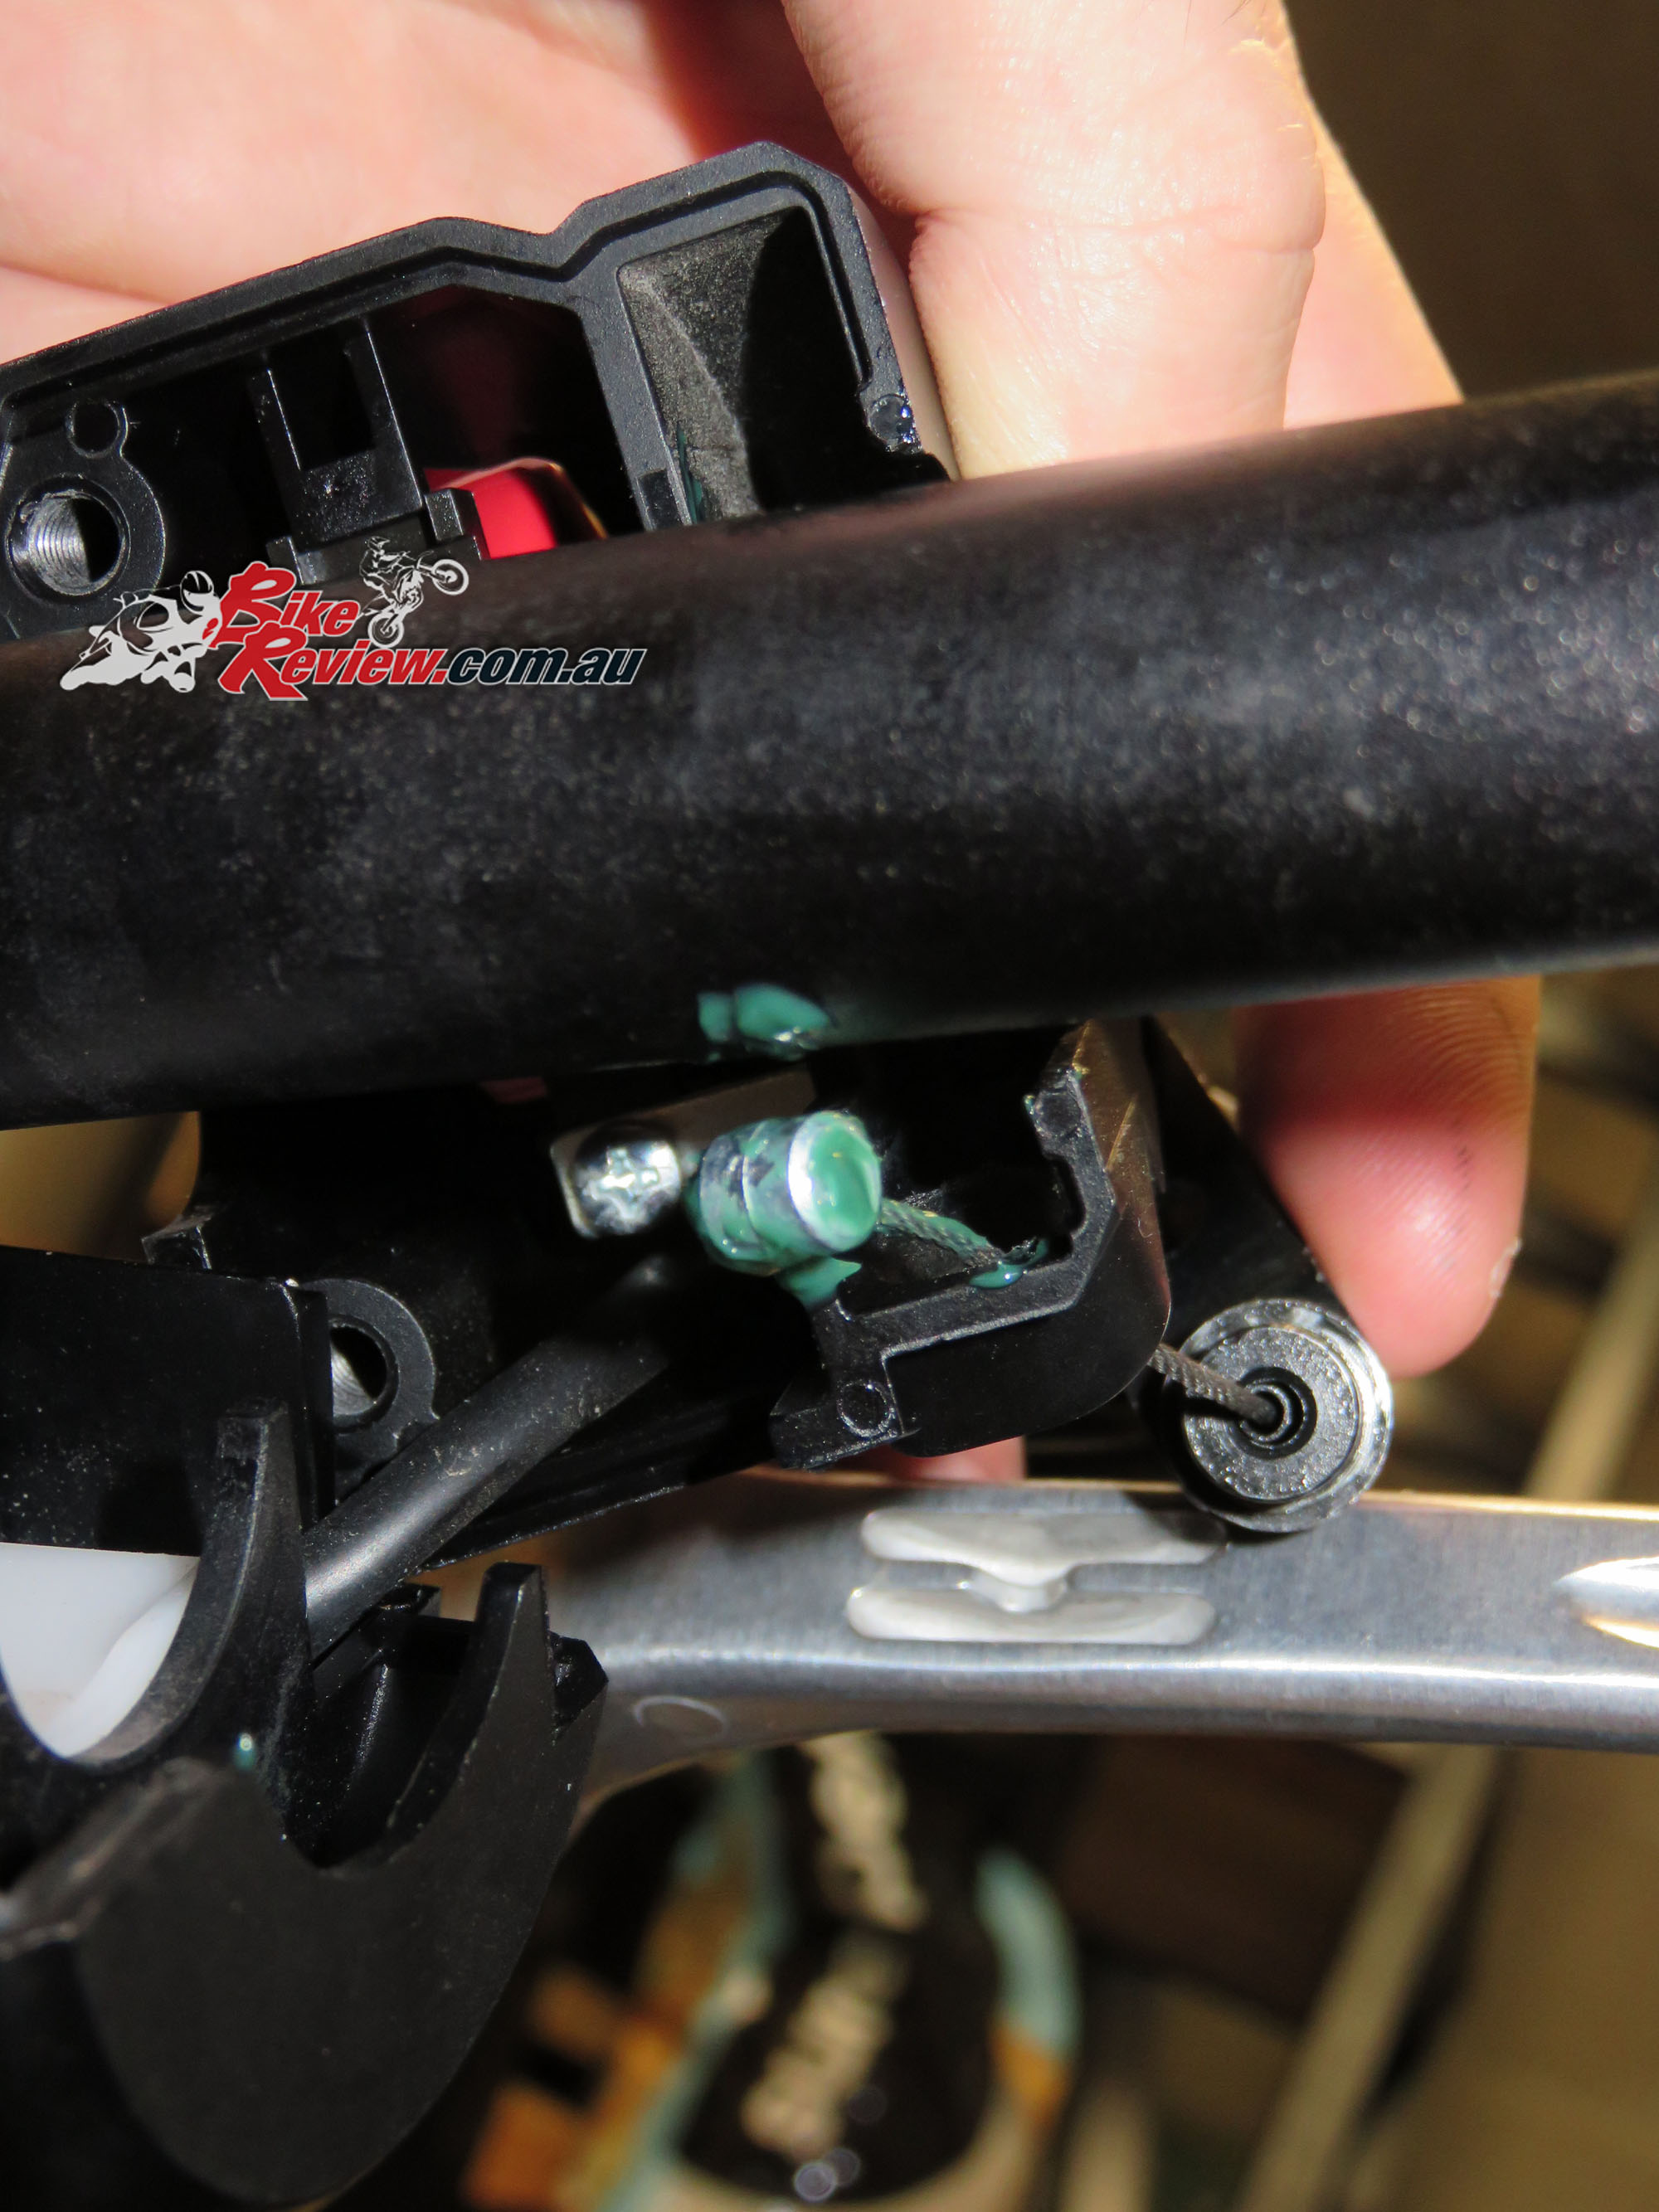
The dash/instruments sits here normally, and is held in place by a single screw through the forward middle mounting point. All three are male connectors on the dash that push into the female rubber mounting points. A single plug also needs to be pulled out to clear this area for running the heated grip wiring. I ran them all through the left bracket as there just wasn’t room on the smaller right bracket.

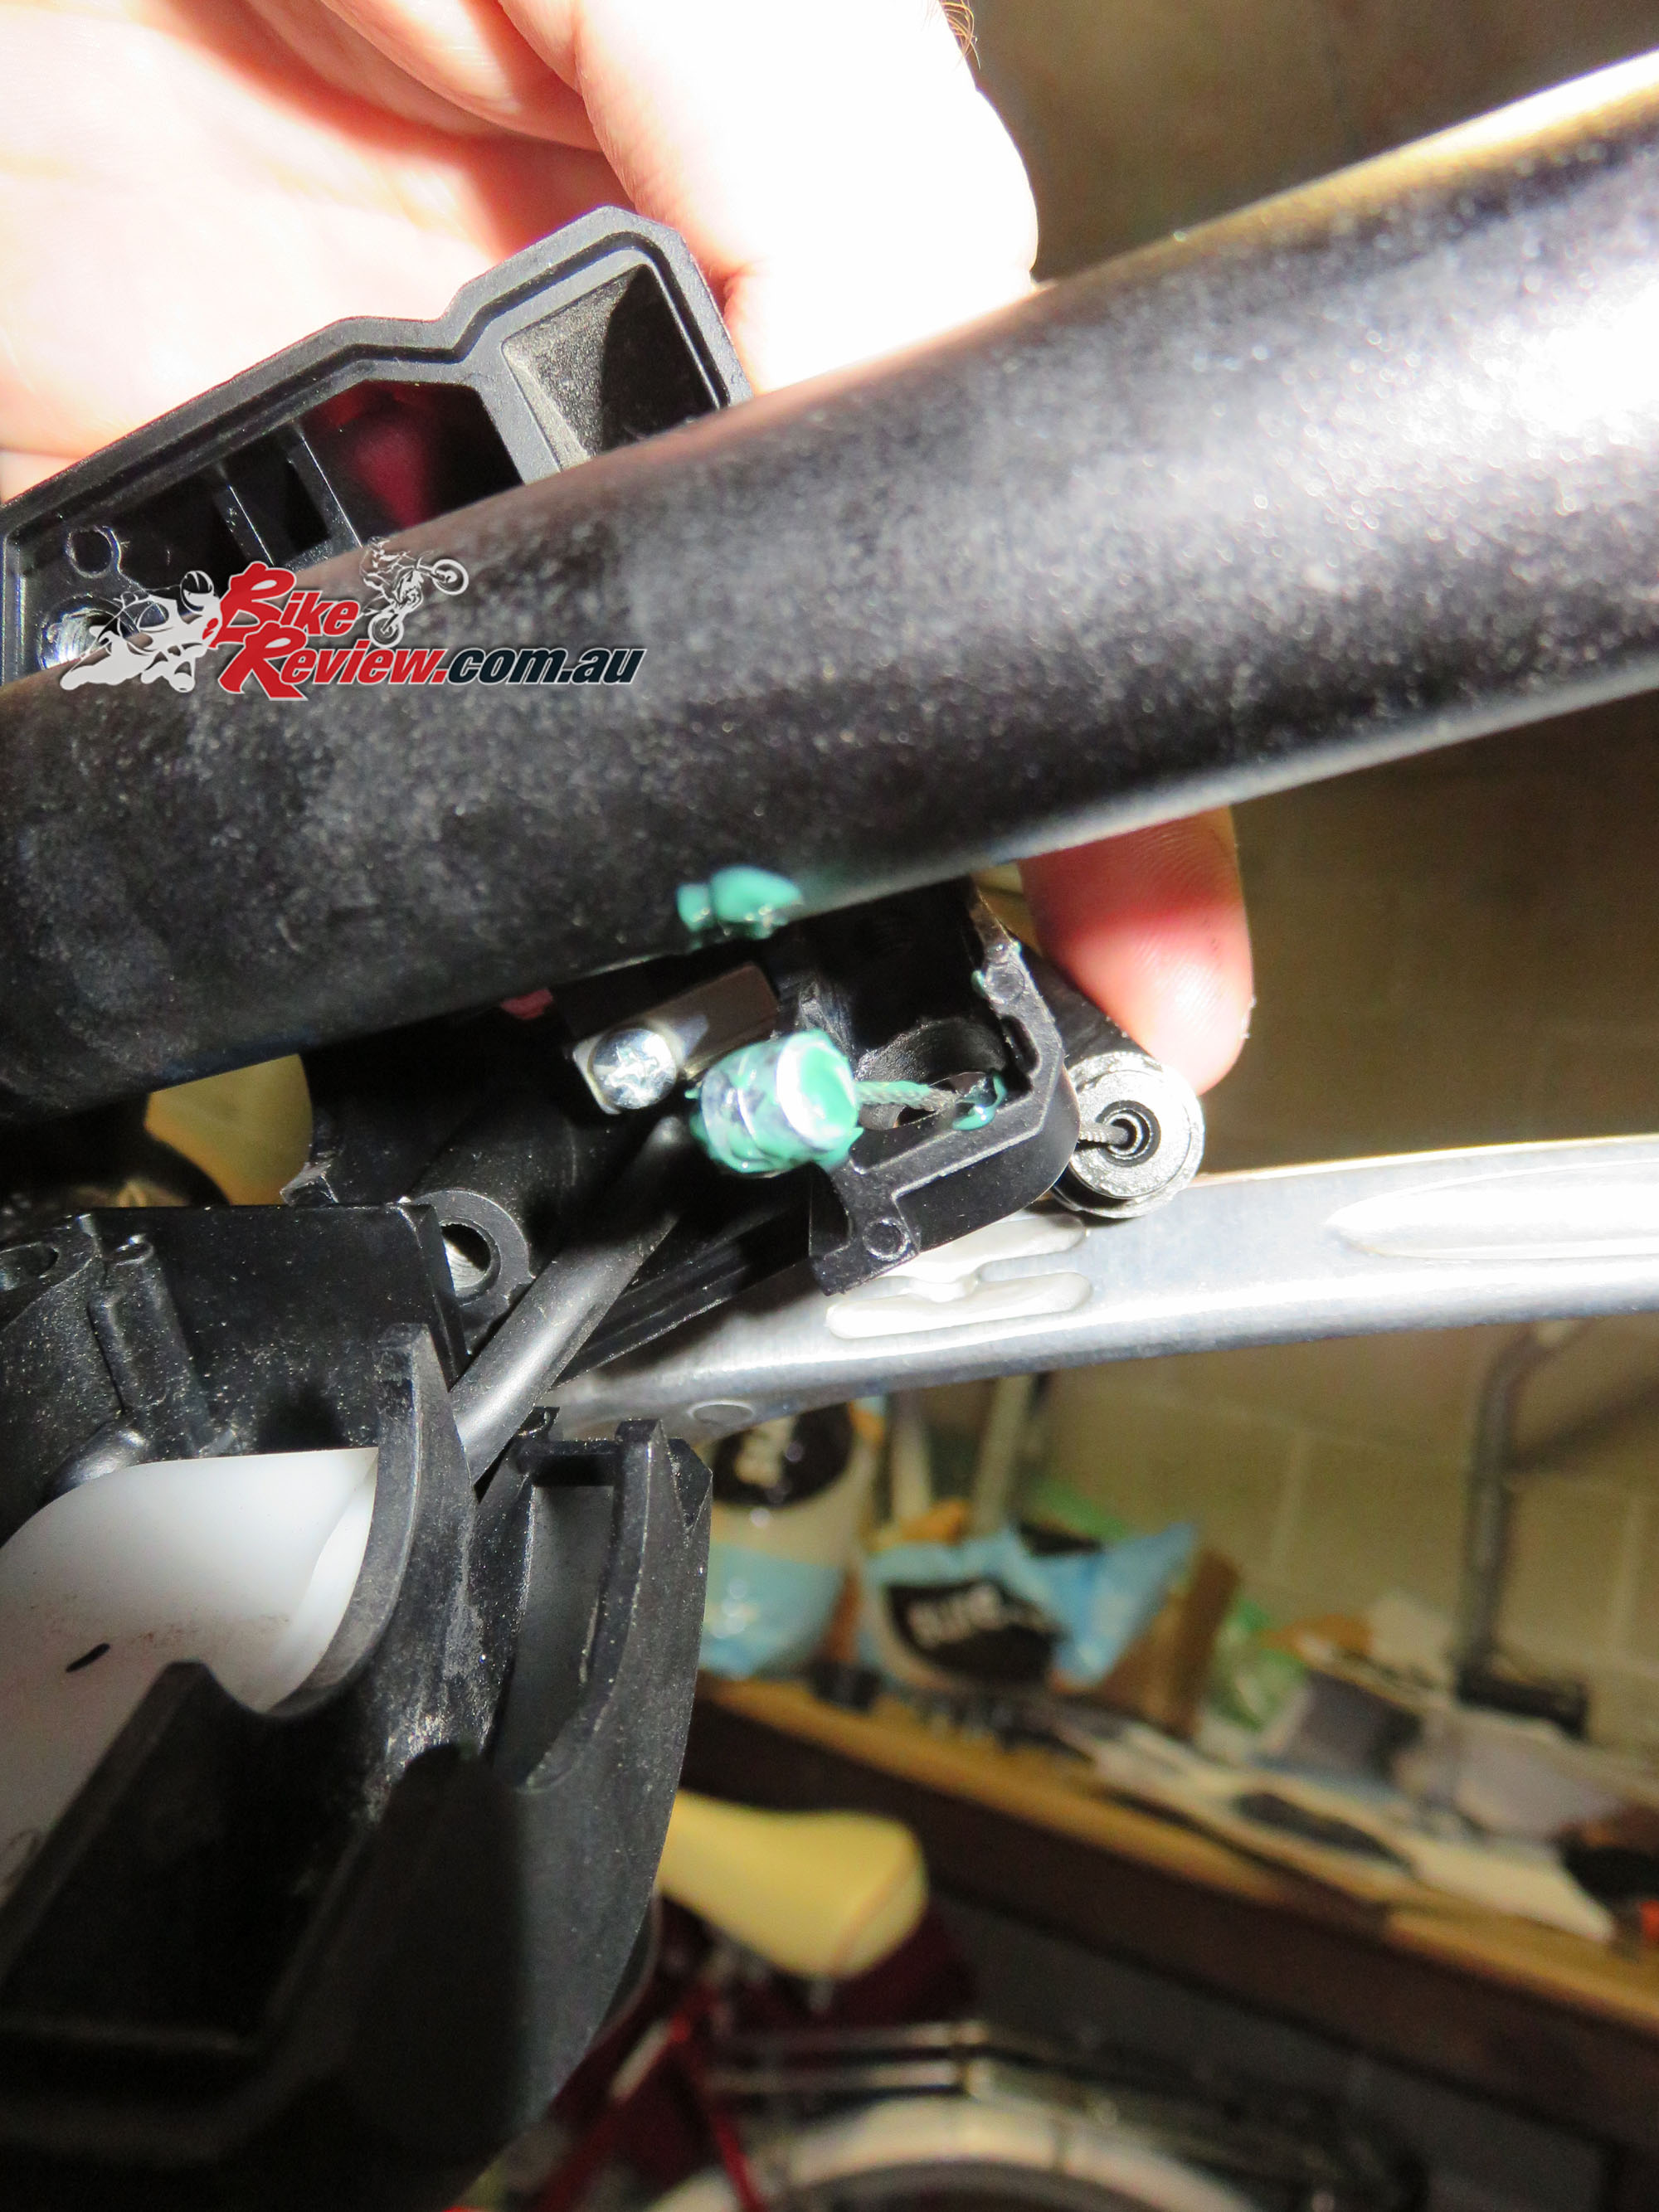
Here is the mid wiring loom piece that comes with the heated grips. It has one connector for the bike’s loom on one end and three on the other, two for grips and one for the grip controls. Follow the instructions for right and left grips. The control is a three prong and will only fit into one plug!
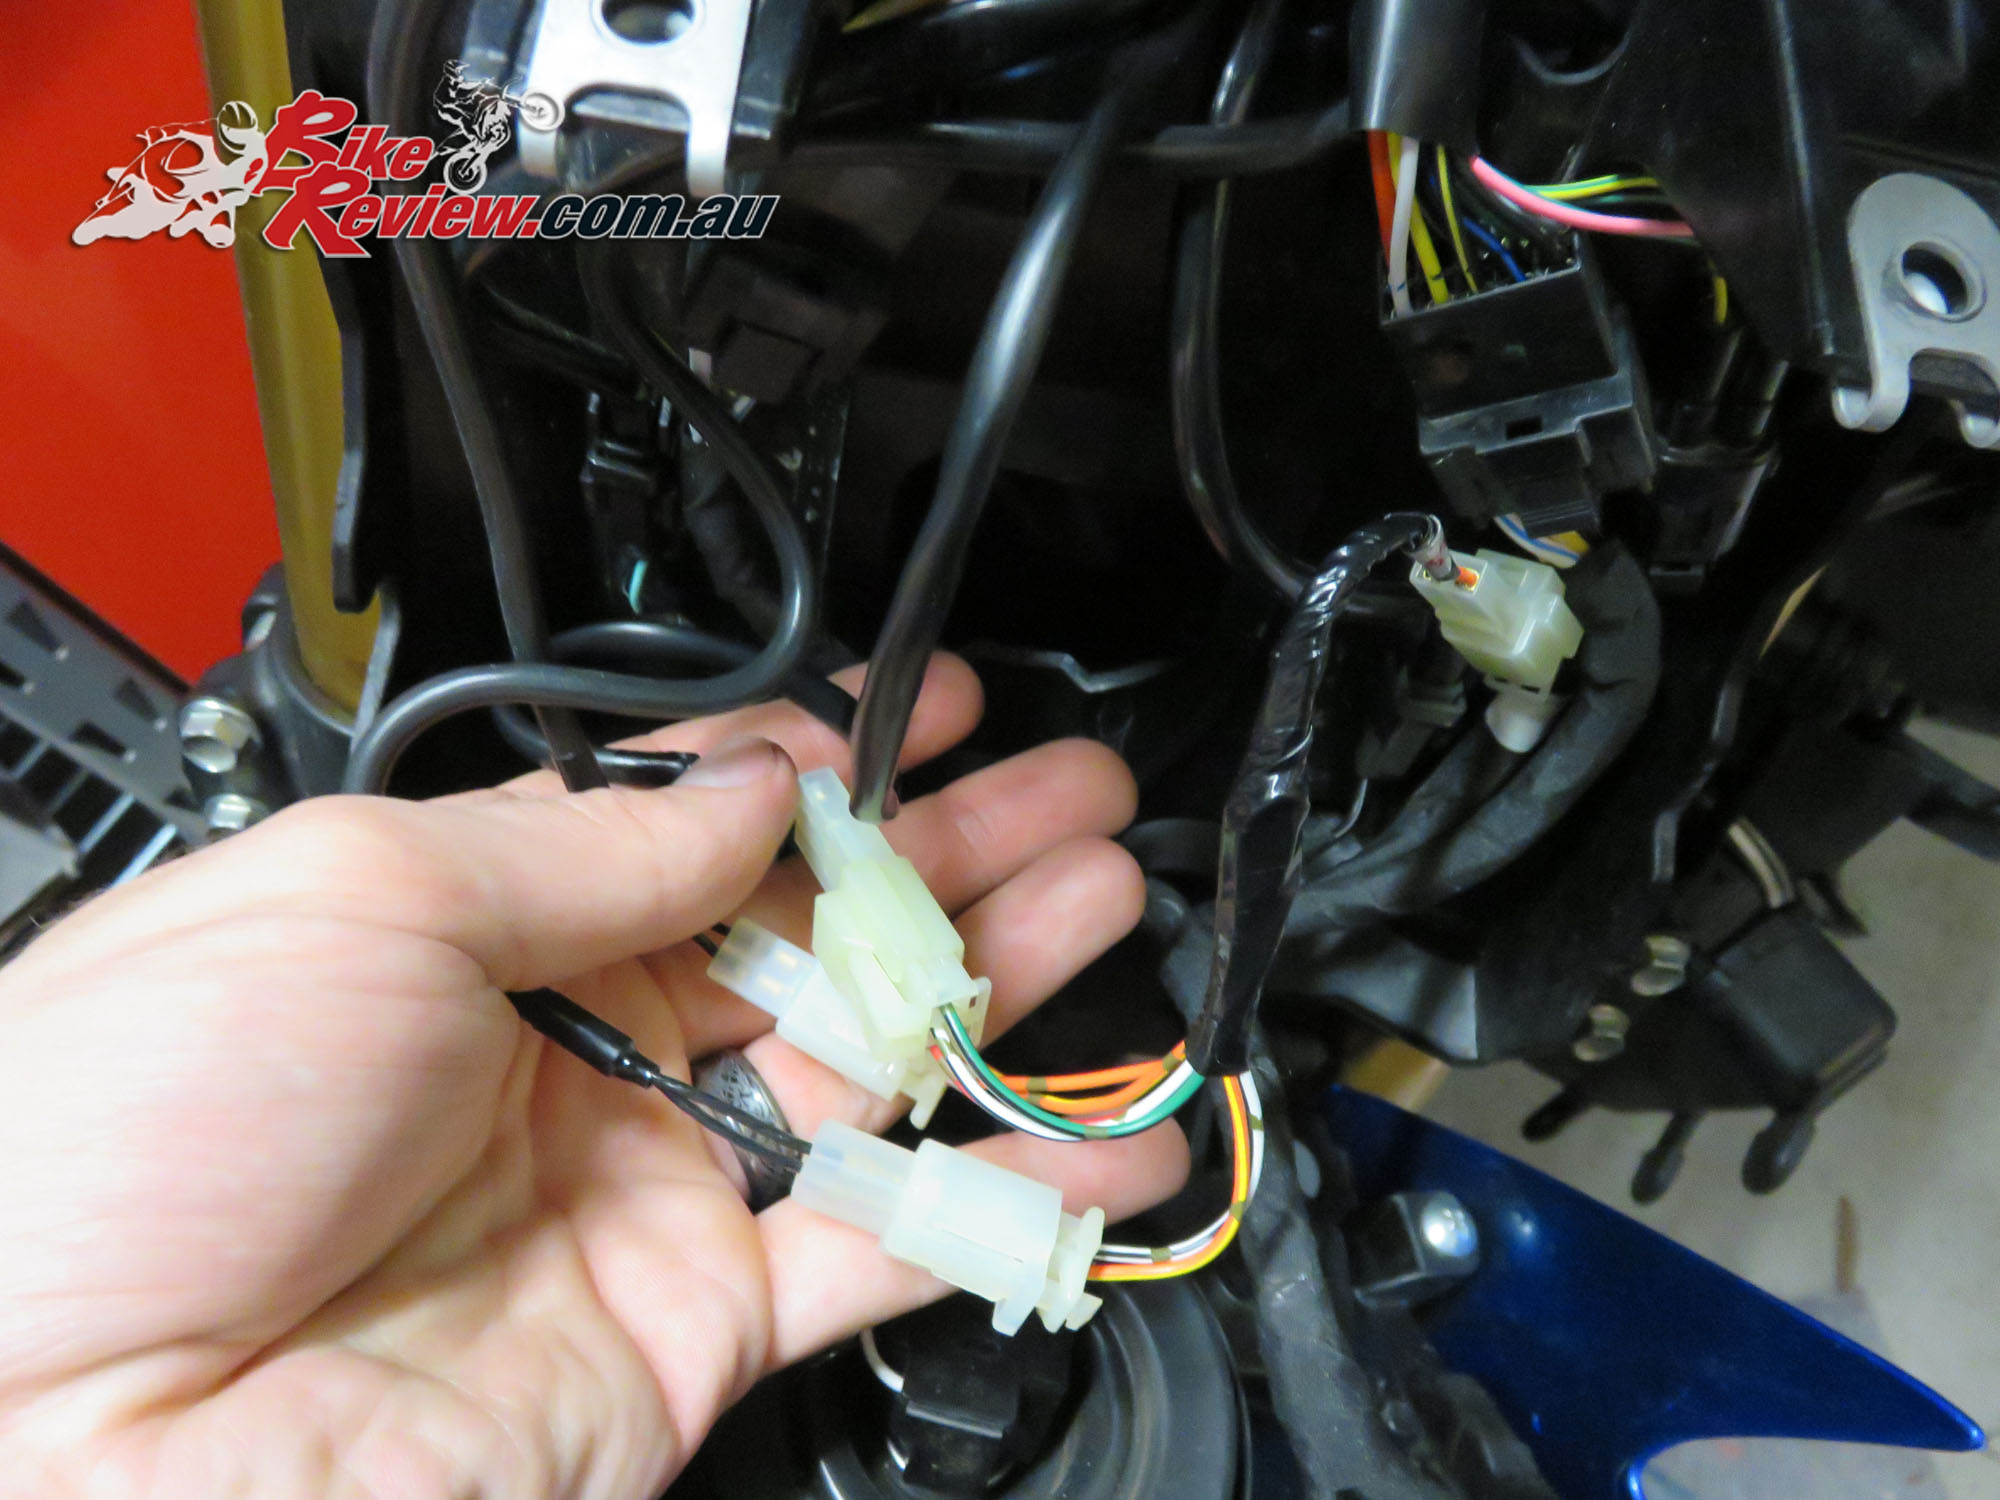
The other end connects directly to the one free two-prong plug behind the headlight. Easy!

With everything plugged in – especially the dash – do a quick test to ensure that the control is working correctly with the bike turned on. The last thing you want to do is put everything back together, then test and realise something is wrong!
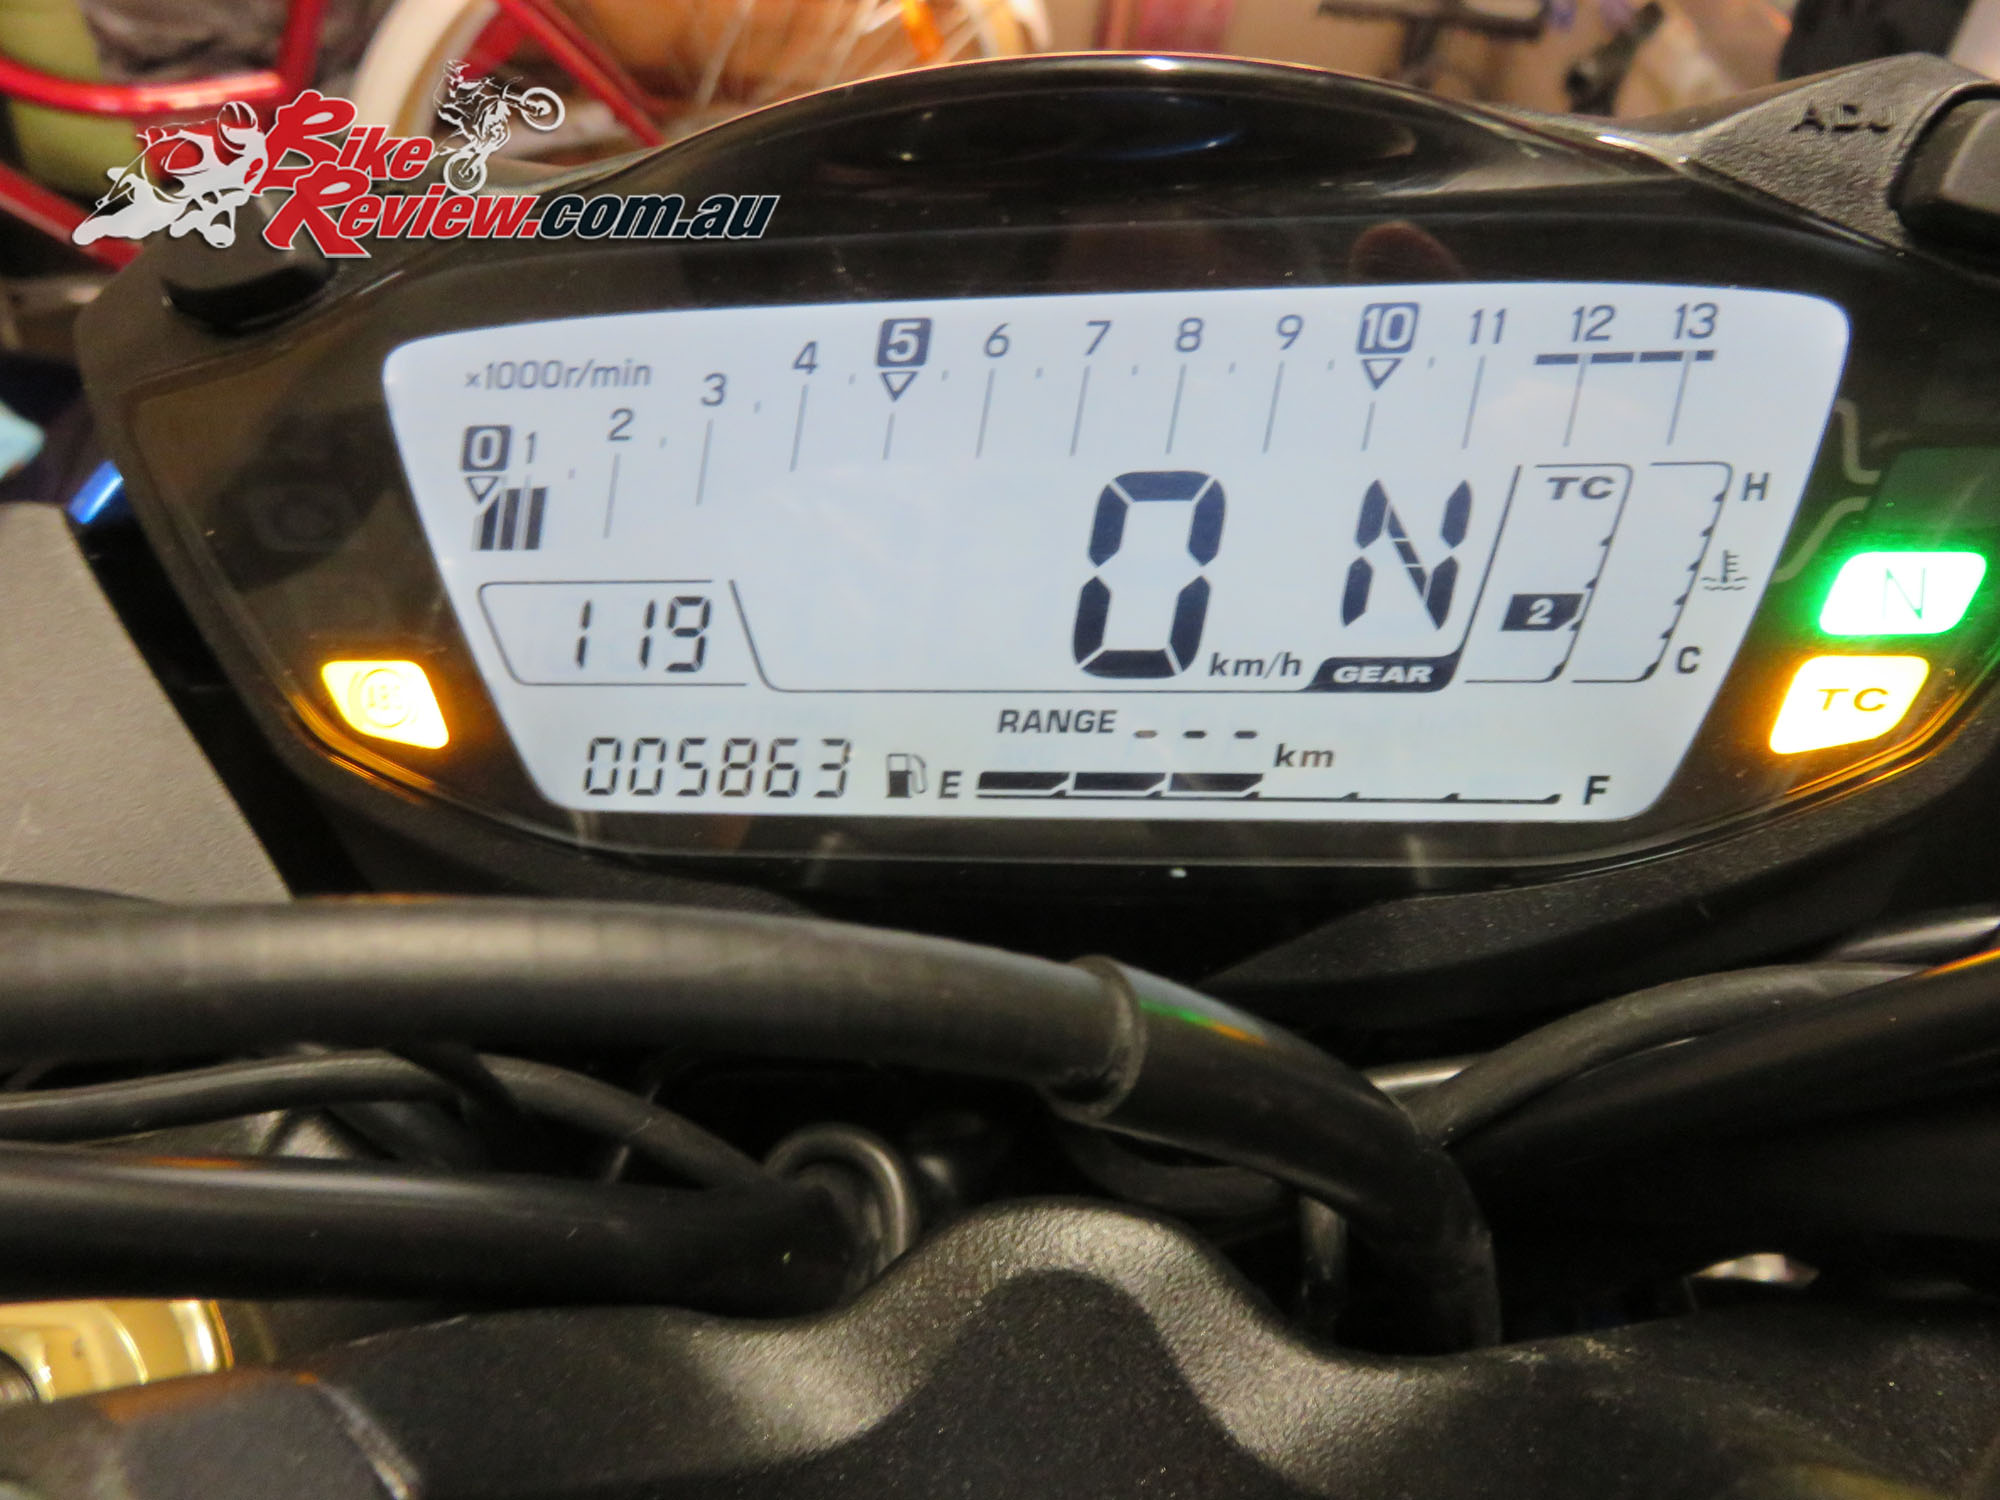
No problems with the bike turned on!
The final steps are just replacing the headlight and plastic instrument cover, which are two bolts a piece, making sure you aren’t squashing or pinching the heated grip wiring in the process.
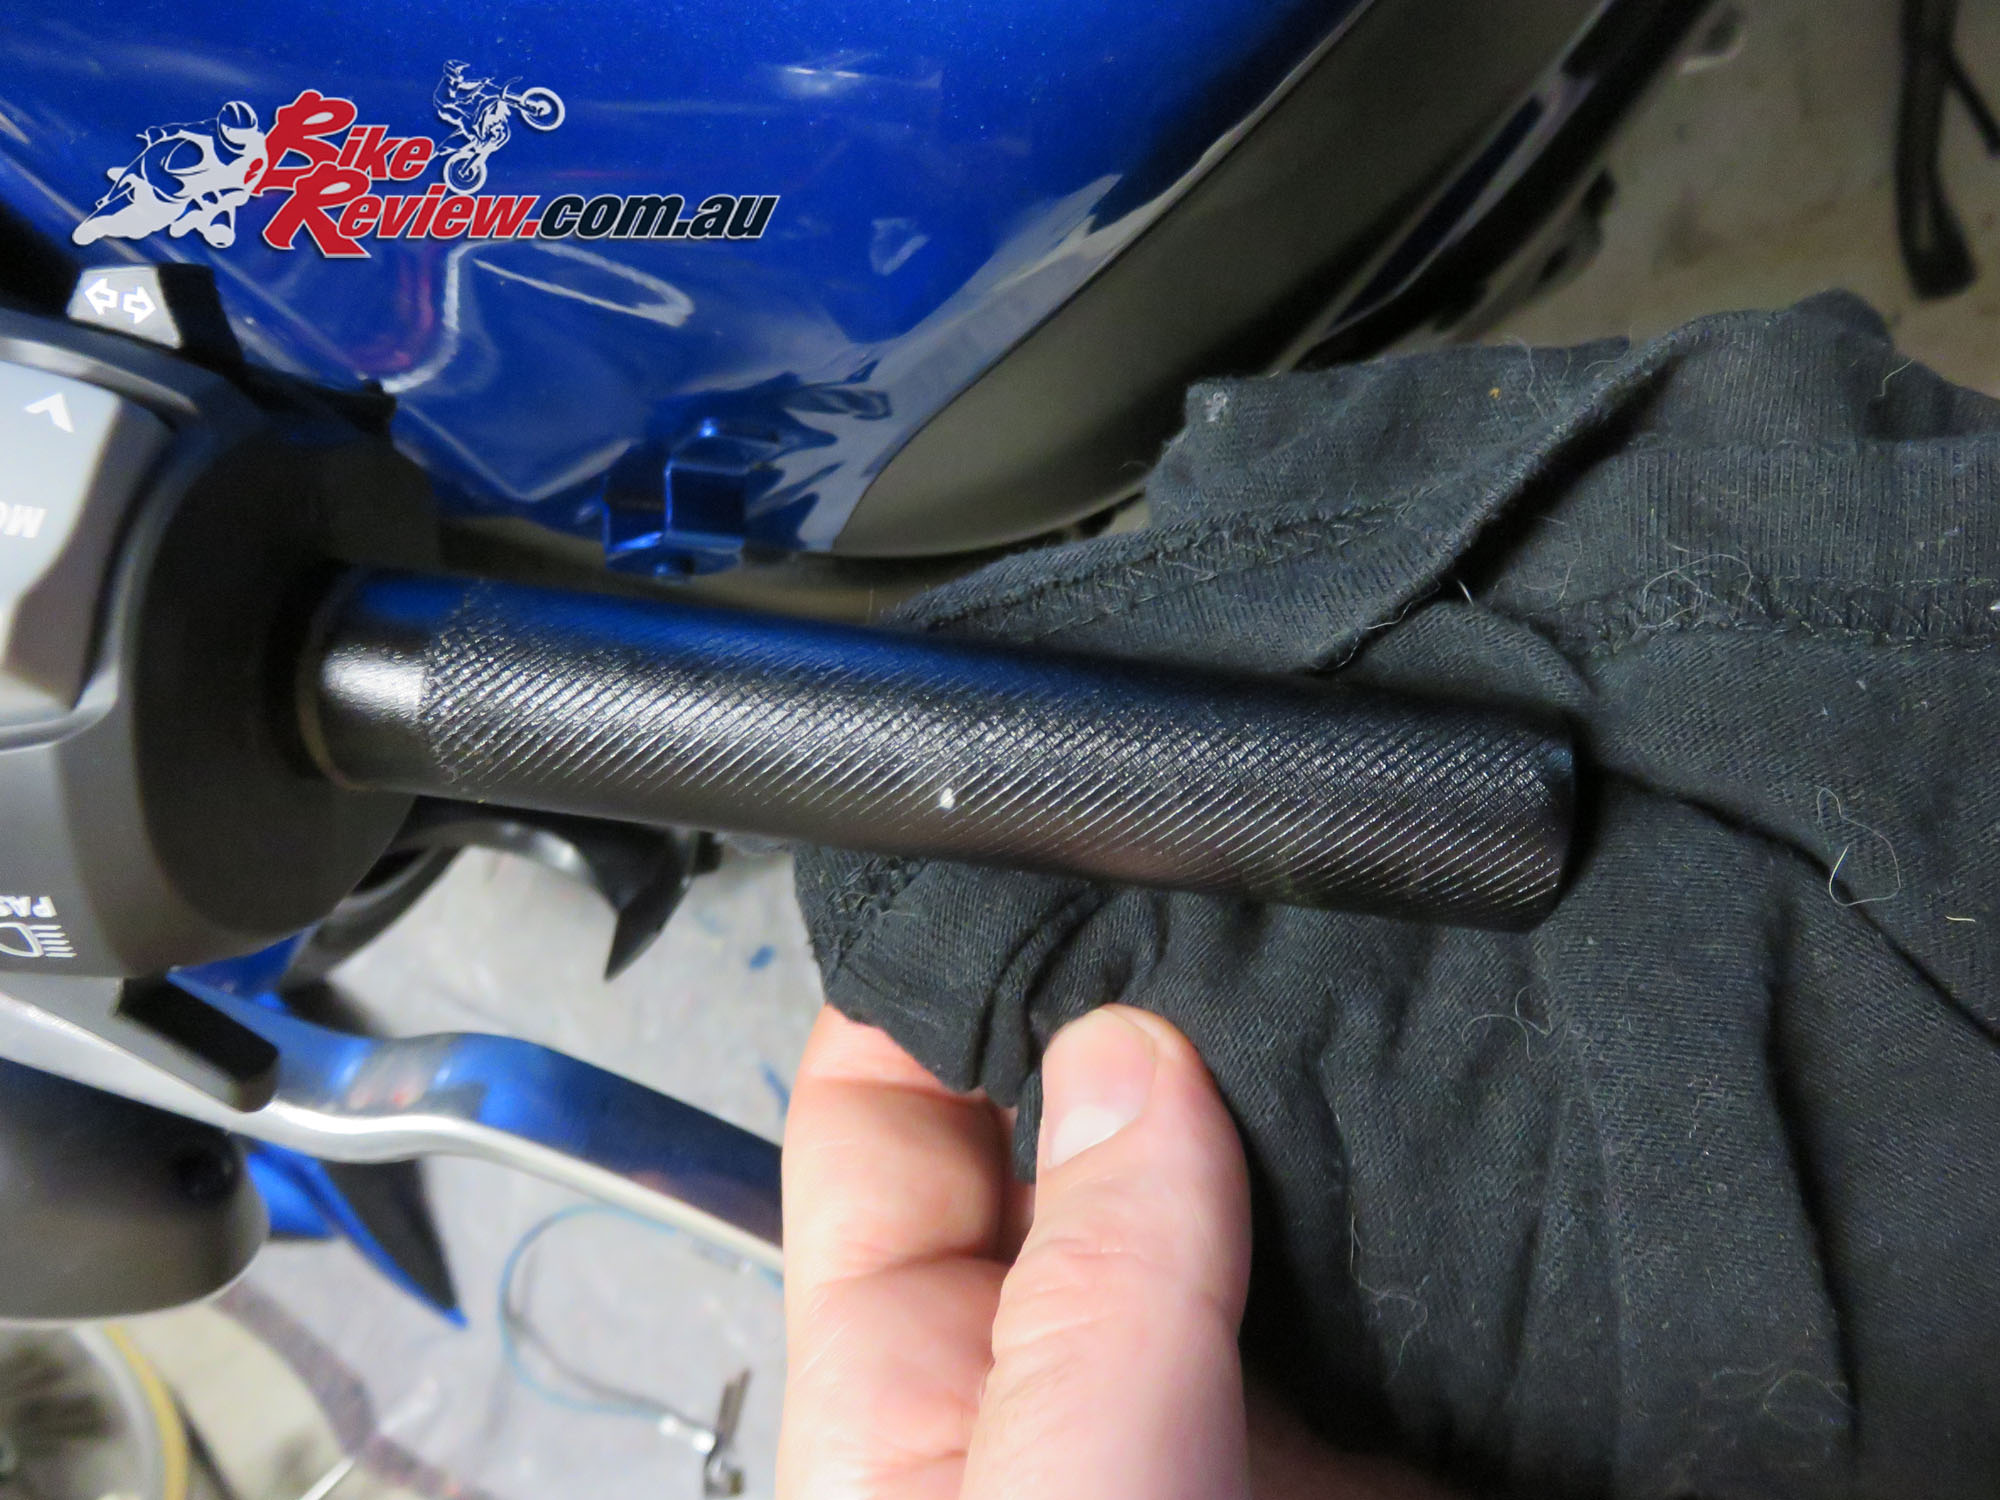
Then give the left grip plenty of time to dry and replace the ‘bar-end weights on both bars.
Time to head out for a ride!
Stay tuned for the Smoked Instrument Cover install and sticker sets.
For more information you can look at Suzuki accessories on their Suzuki Motorcycles website (Australia), or check at your local Suzuki dealership.
You Might Also Like