Staff Bike: MT-07 Tracer – Akrapovic Exhaust & Sub-Cowl
BikeReview.com.au fits an Akrapovic Carbon Racing System and Yamaha Sub Cowls to our Long Term MT-07 Tracer, with a step by step install guide. Words & Images: Kris Hodgson
We’ve just had a bunch of goodies arrive for our Long Term Yamaha MT-07 Tracer, and it’s quite the treat to fit everything, especially the Akrapovic full exhaust system! In this installment we’ll fit the exhaust as well as a Sub Cowl, while a set of Gilles levers, Billet Oil Filler Cap, and genuine Yamaha Comfort Seat were also in the care pack from Yamaha Motors Australia.
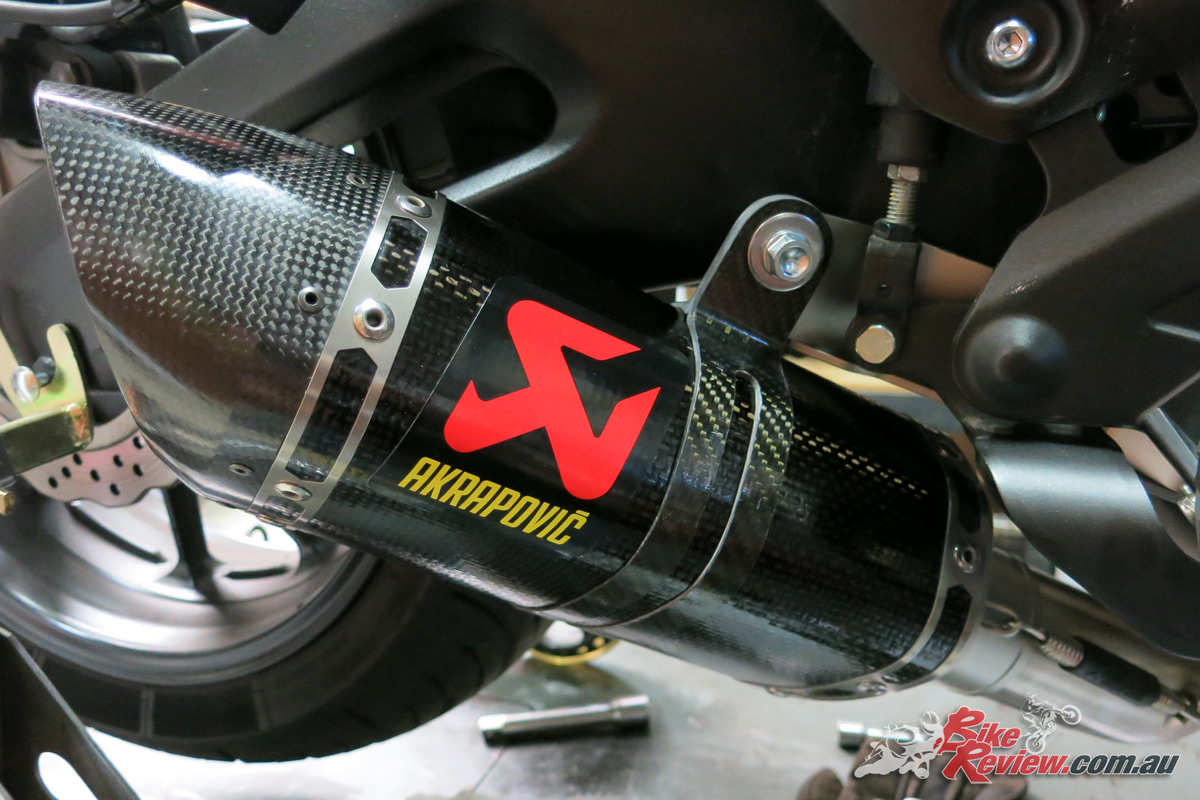
We’ve got the Akrapovic Carbon Racing Line Exhaust System, which comes with the carbon-fibre muffler, a mid-pipe, and the headers which are already assembled. This replaces the standard item, which is a single-piece exhaust.
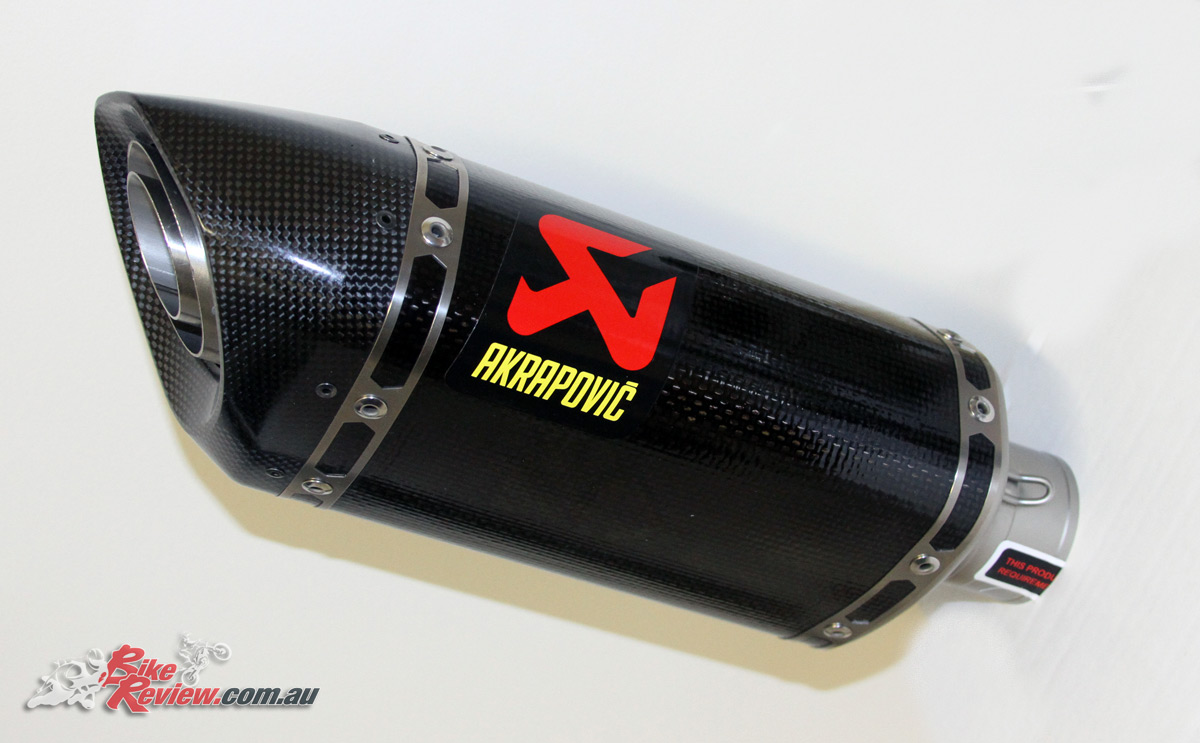
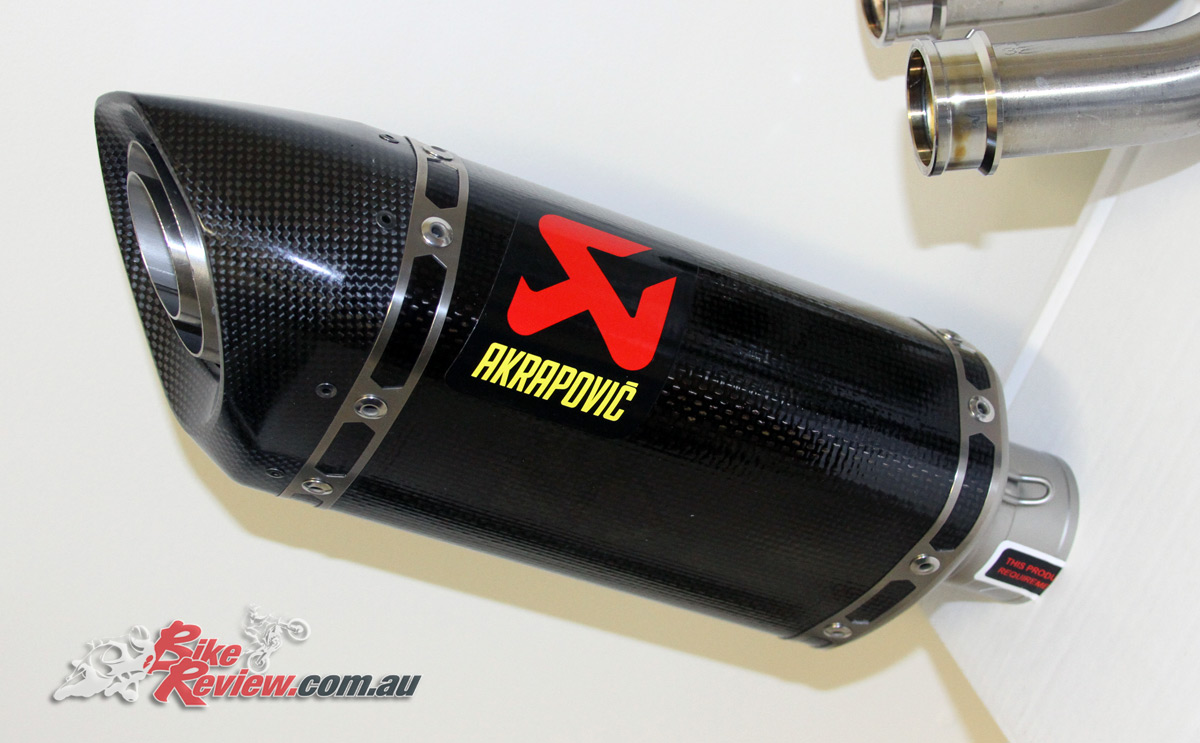
It’s a stainless steel system, which explains why it’s available for $1022.59 RRP, instead of the megabucks you’d expect for a full titanium system. It’s damn sexy no matter how you look at it though, and that’s a pretty good price for a full system. It’s also available directly through Yamaha, so check with your local Yamaha dealership if you’re interested, or check out the Y-Shop for the full range of accessories.
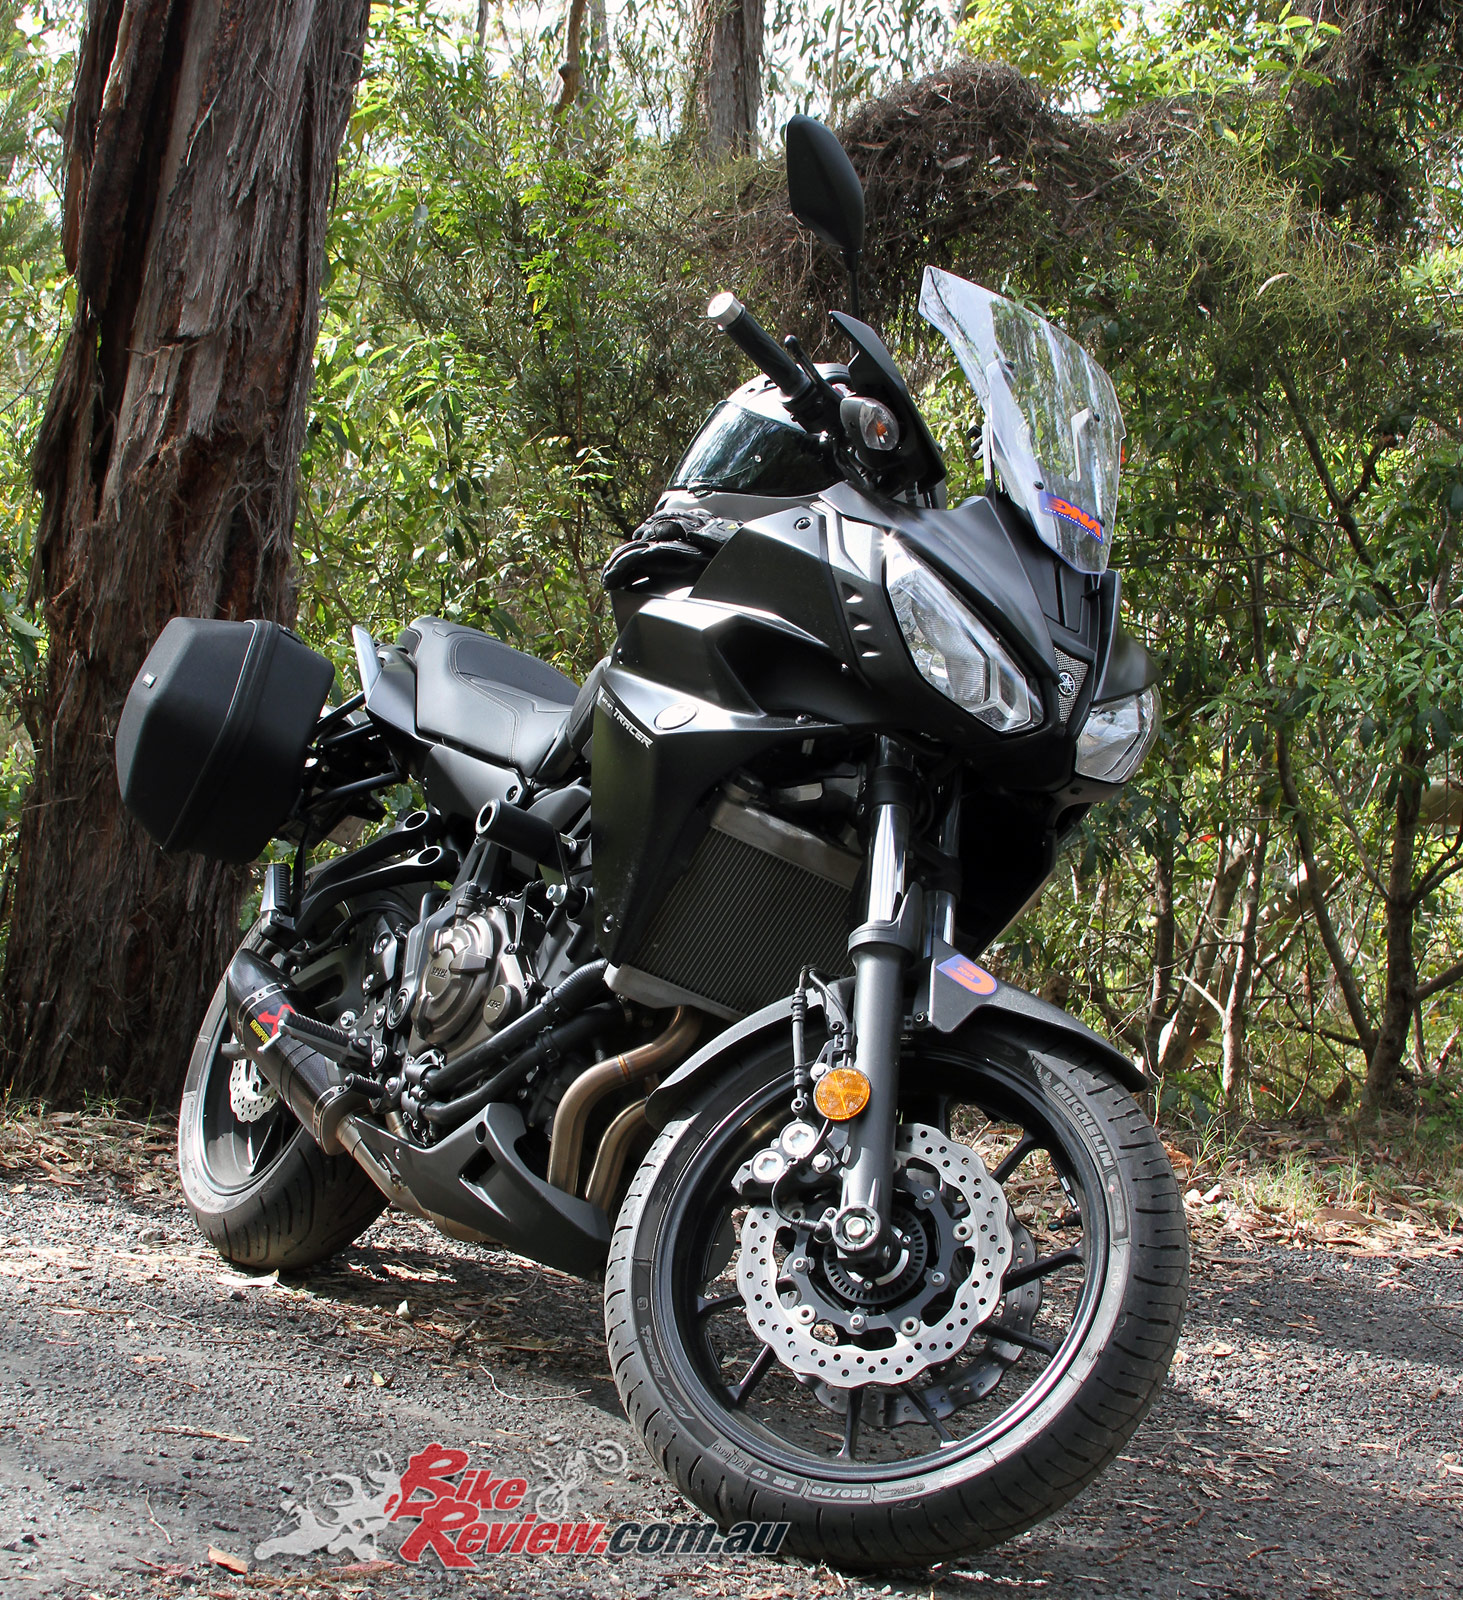
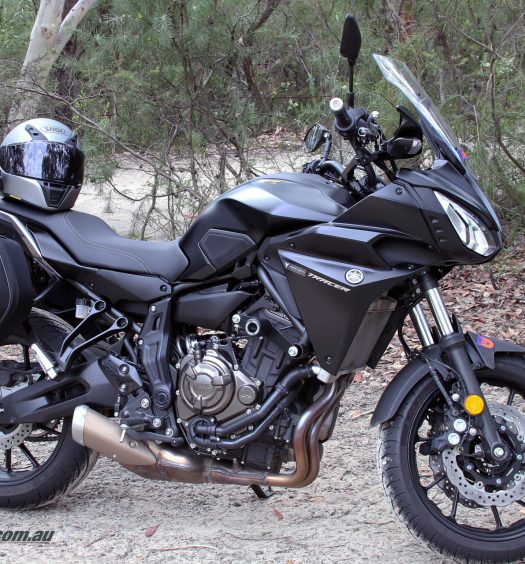
Our Long Term Tracer with the Akrapovic Carbon Racing exhaust fitted, as well as the Sub Cowl,
This system isn’t precisely approved for road use either, so that’s at your own risk. It does include a bung to keep the volume down though, but it’s got character to say the least.
Build quality is as you’d expect exemplary, down to all the fixings, including the mounting plate and carbon-fibre hanger. Weight savings are significant too, and we weighed the Akrapovic system in just under four kilograms lighter than the outgoing system
The Sub Cowl system helps give the Tracer a sportier look and is mounted via two brackets on either side of the bike, through bolts into the sump. The left side is easily accessible, and removing the two bolts didn’t cause any leakage. The right side on the other hand requires removing three bolts, which requires removing the exhaust for access, and there was slight oil leakage.
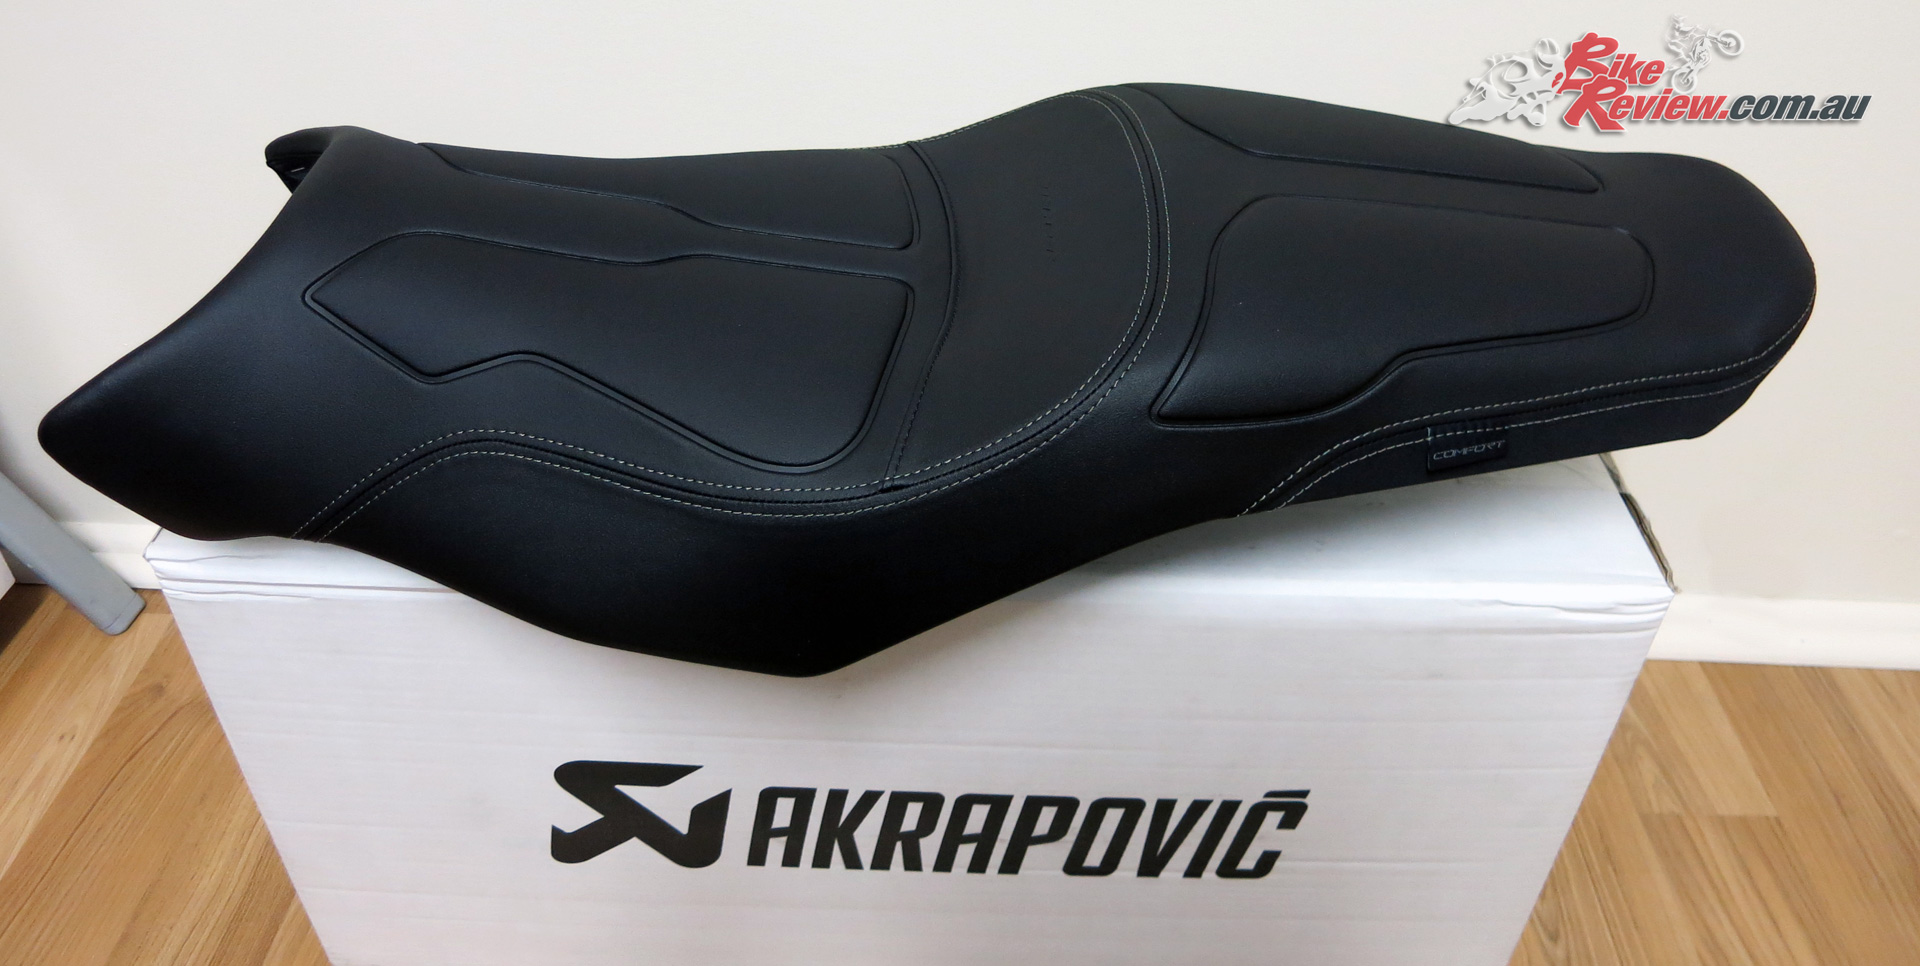
Other new additions include a Yamaha Comfort Seat, as well as Billet (Gilles) Brake and Clutch levers, a Billet Oil Filler Cap by the same brand, and of course the Yamaha Sub Cowls.
We’ll cover the full exhaust fitment, followed by the Sub Cowl, however you’ll want to fit the right cowl bracket while the exhaust is off. It’s not a particularly difficult installation, except getting the two headers into place which required two people to muscle them into position.
We’ll be doing a separate review on each accessory in the near future, plus an installation guide on the Billet levers and briefly covering the Oil Filler Cap and Comfort Seat, although the latter two are very simple.
Read on for the full install, illustrated with images and captioned for each step. Also note the instruction booklet is full of constant warnings about not damaging the bike or any components during the install process. Yep, logical, but rushing is how things get damaged, or getting frustrated and doing something wrong. If you’re getting annoyed grab a coffee or a beer and recheck the instructions. This is a straight forward install, with the main challenge being a few slightly awkward nuts or bolts to reach.
Akrapovic Carbon Racing Line Exhaust System Install
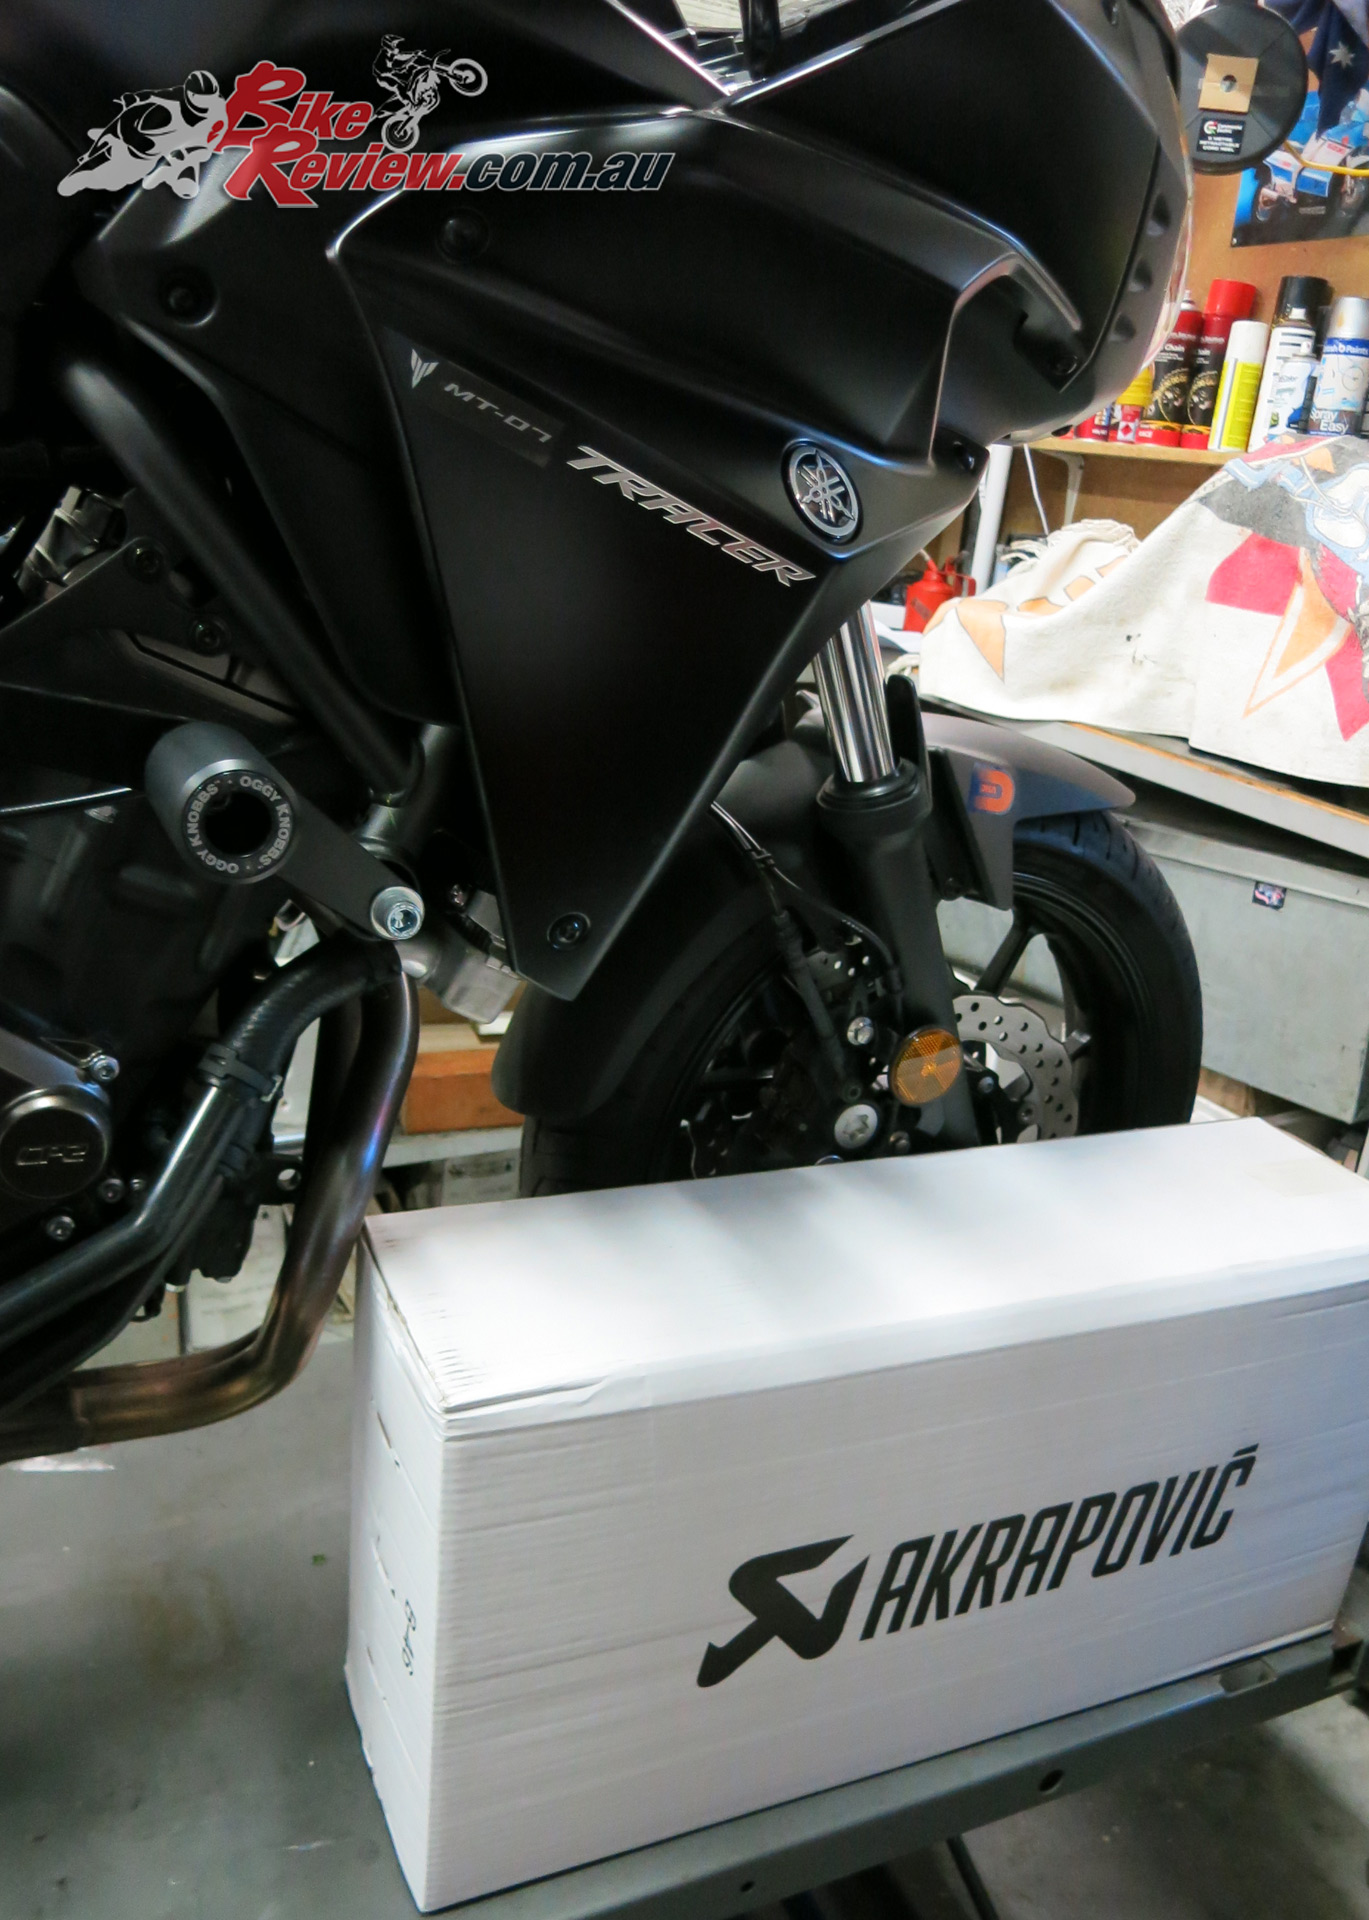
The excitement of a big box of motorcycling goodies!
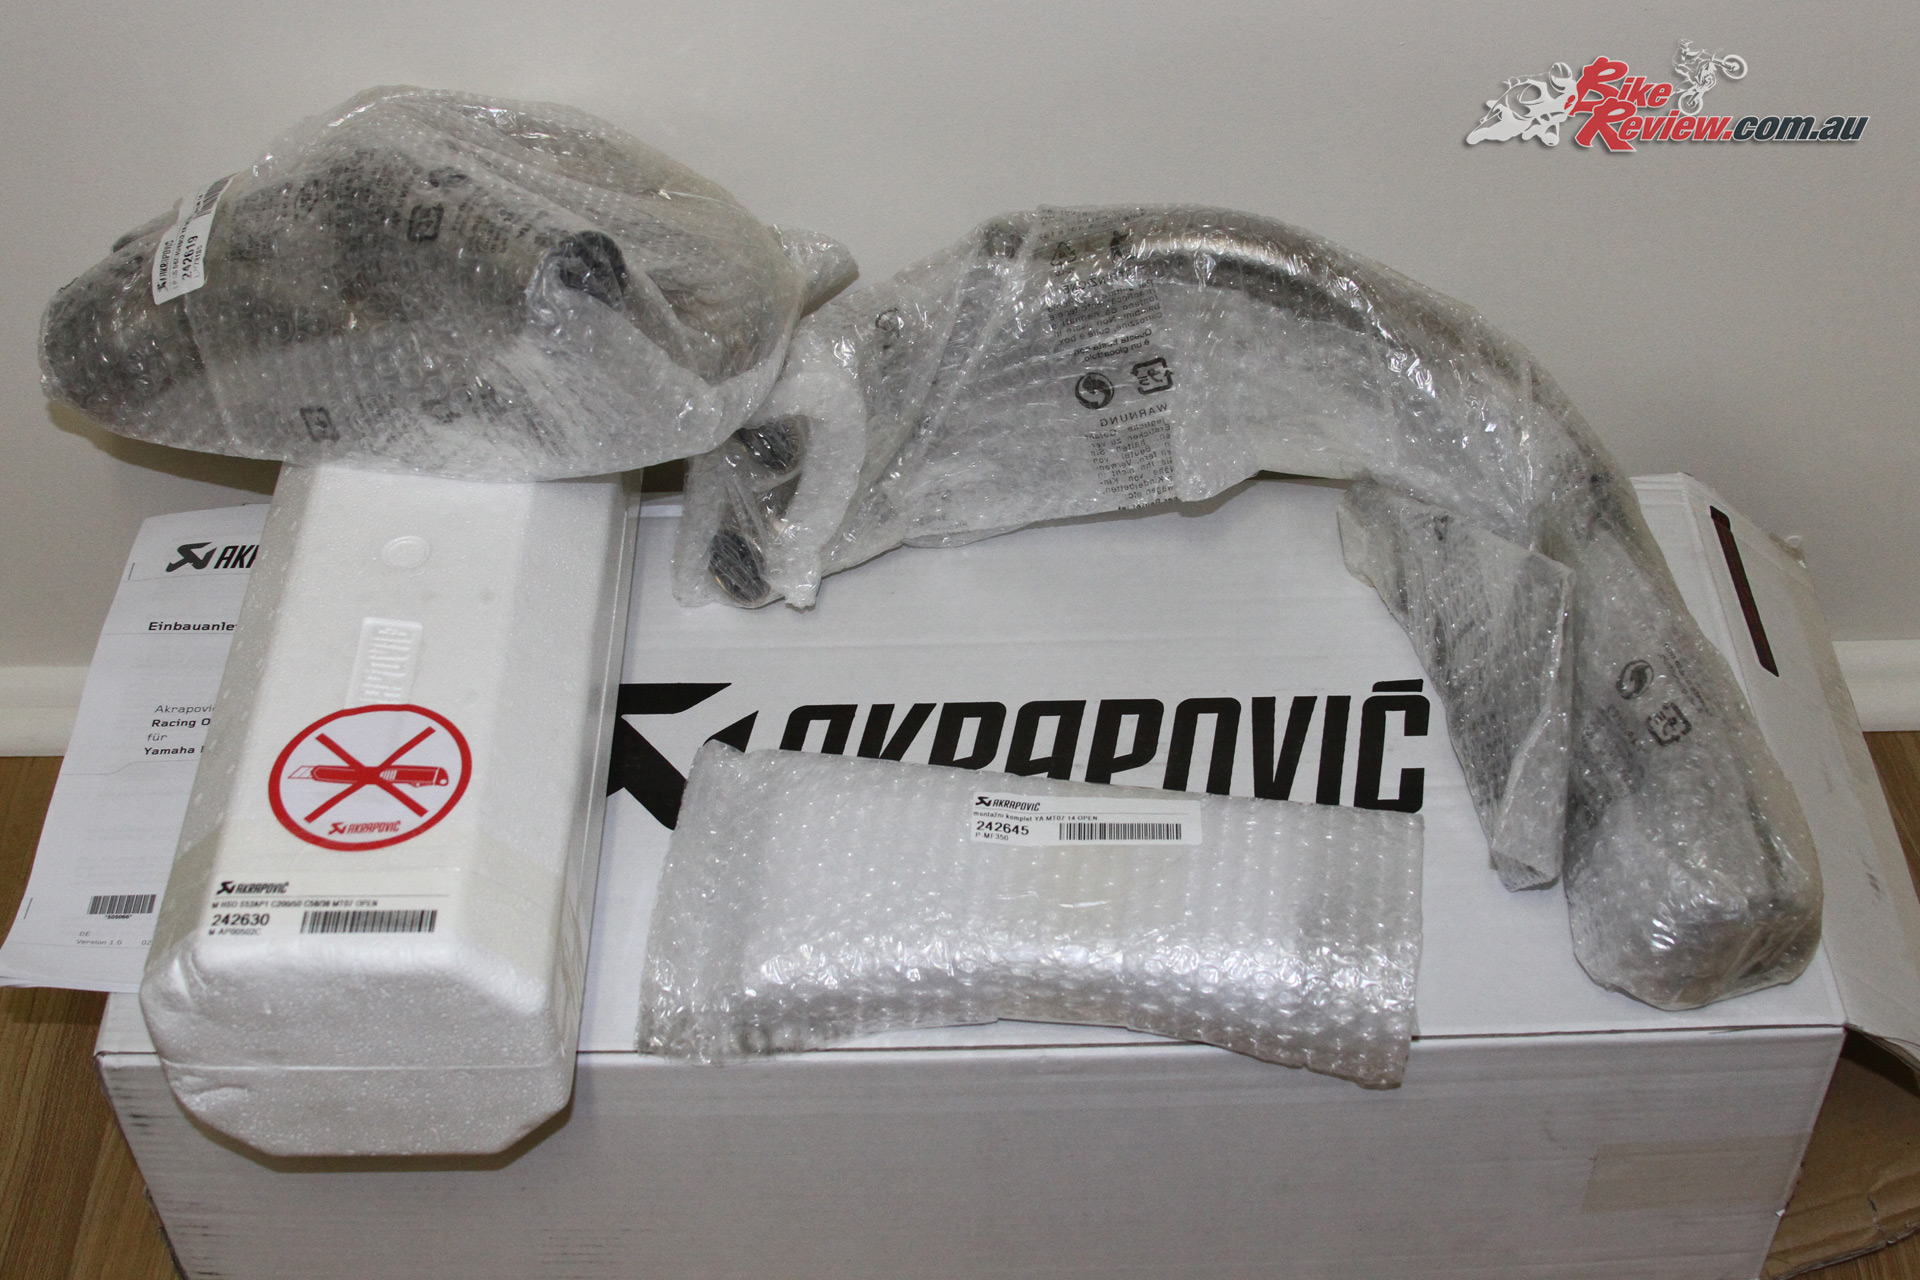
Best take a look. There was a book with different language installation instructions and a separate English version. Grab that and make sure you’ve got everything.
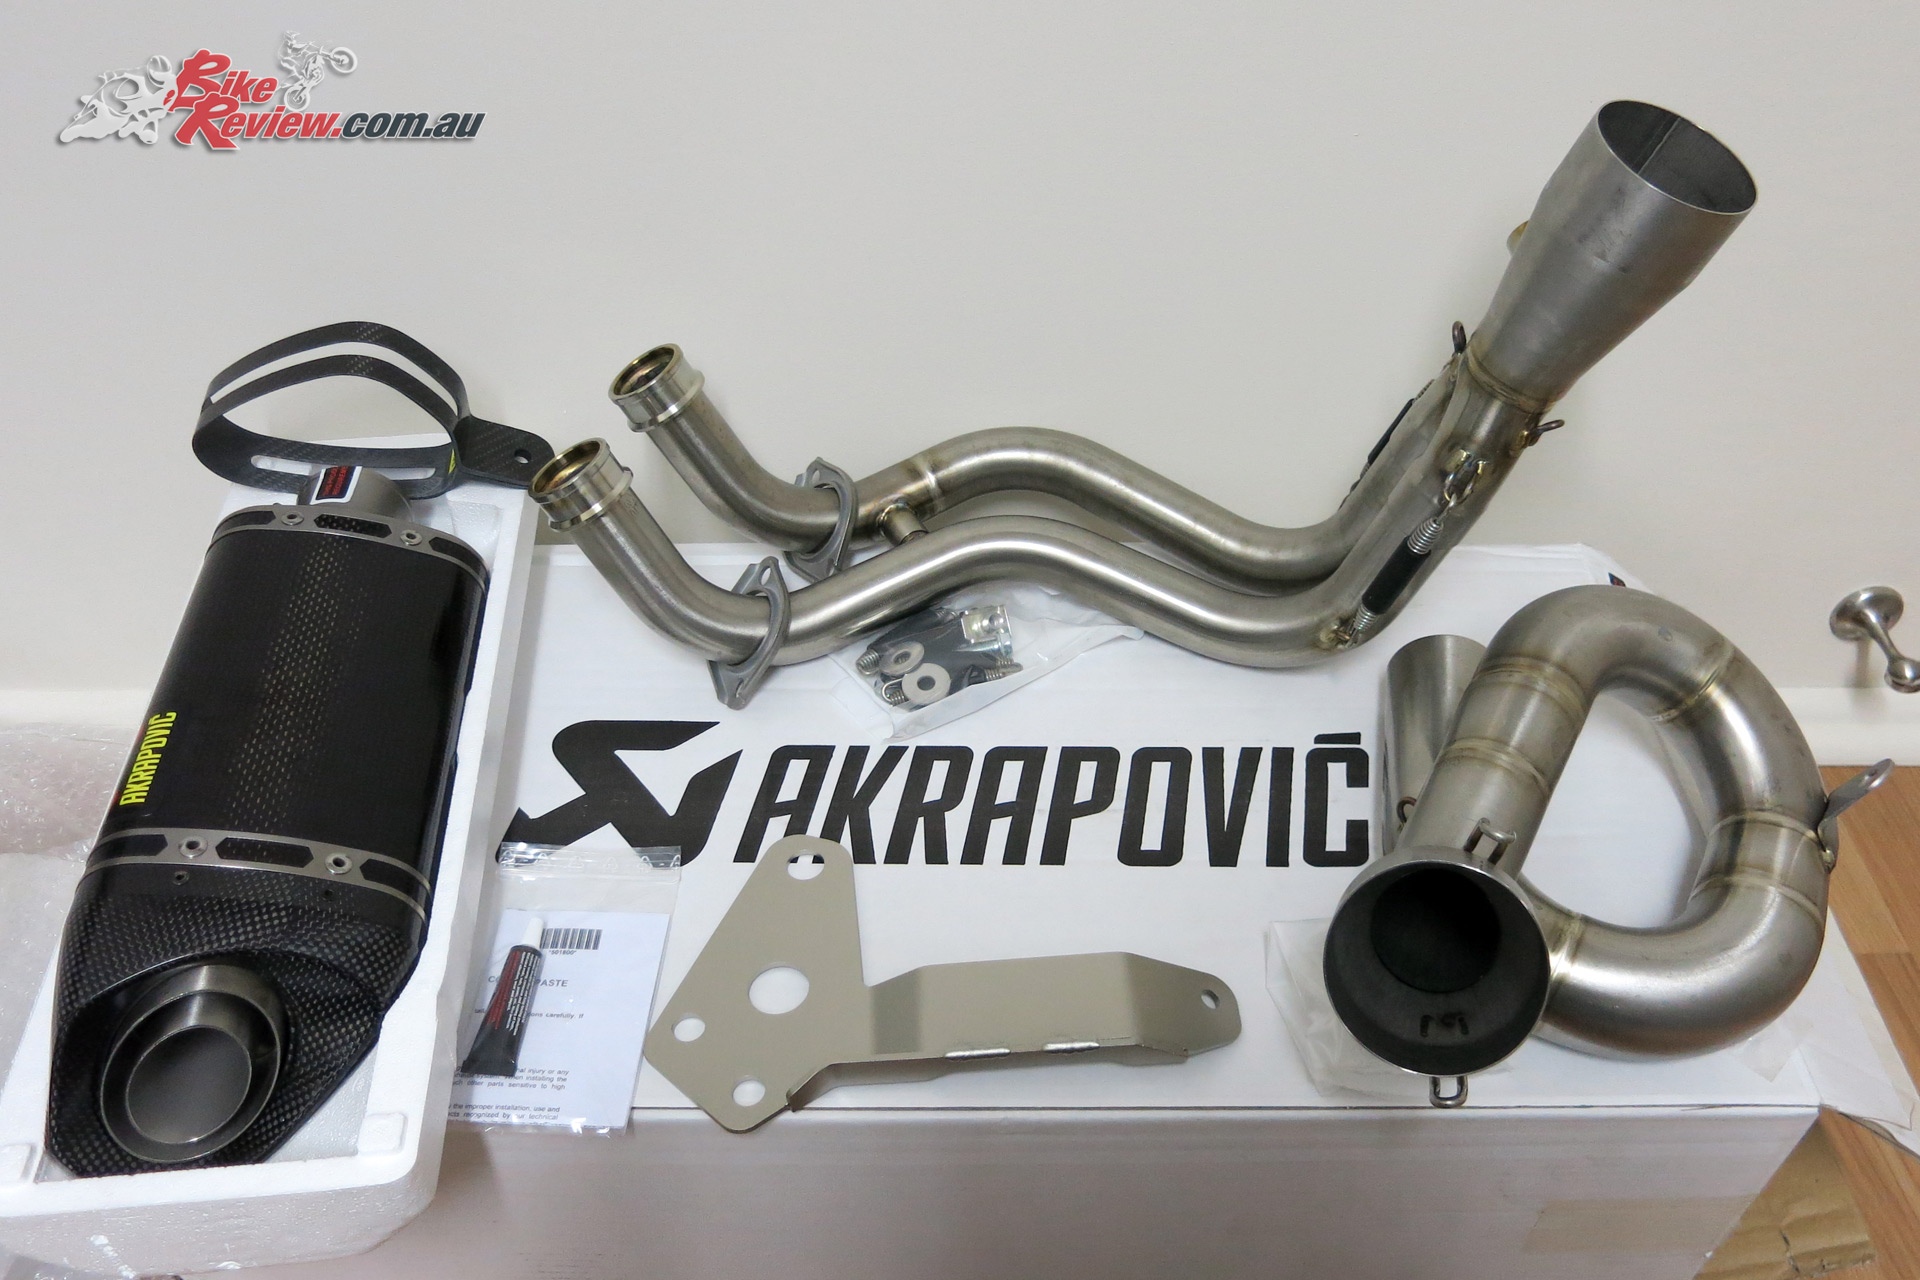
Everything in it’s glory. Good idea to be careful unwrapping everything. Avoid using a blade on the muffler packaging as noted. Headers are already fitted to the collector, then there’s the mid-pipe, muffler, muffler hanger, bracket, Lambda sensor nut and washer, copper paste, and exhaust springs/extra fixings.
That’s the stuff!
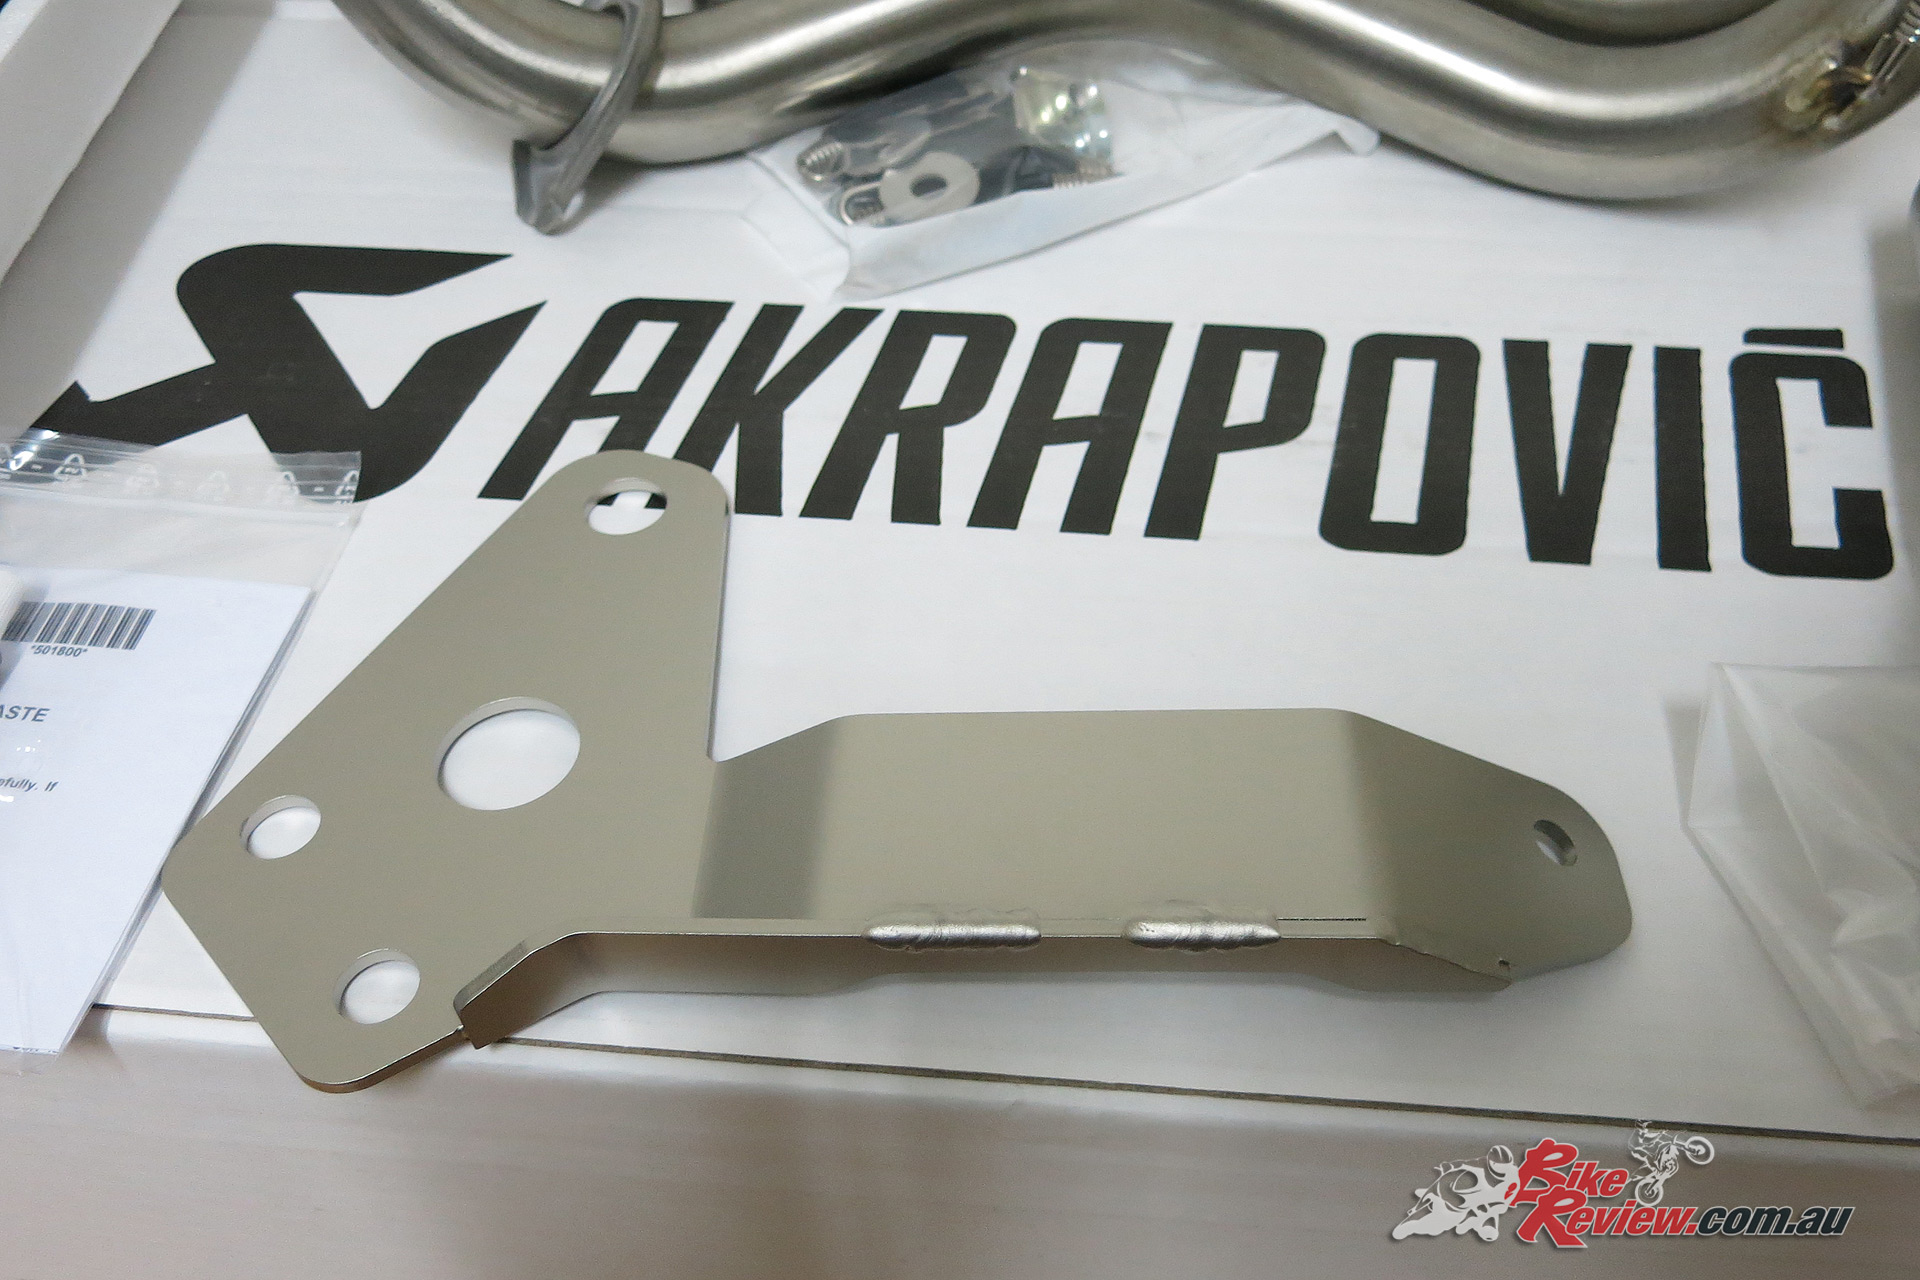
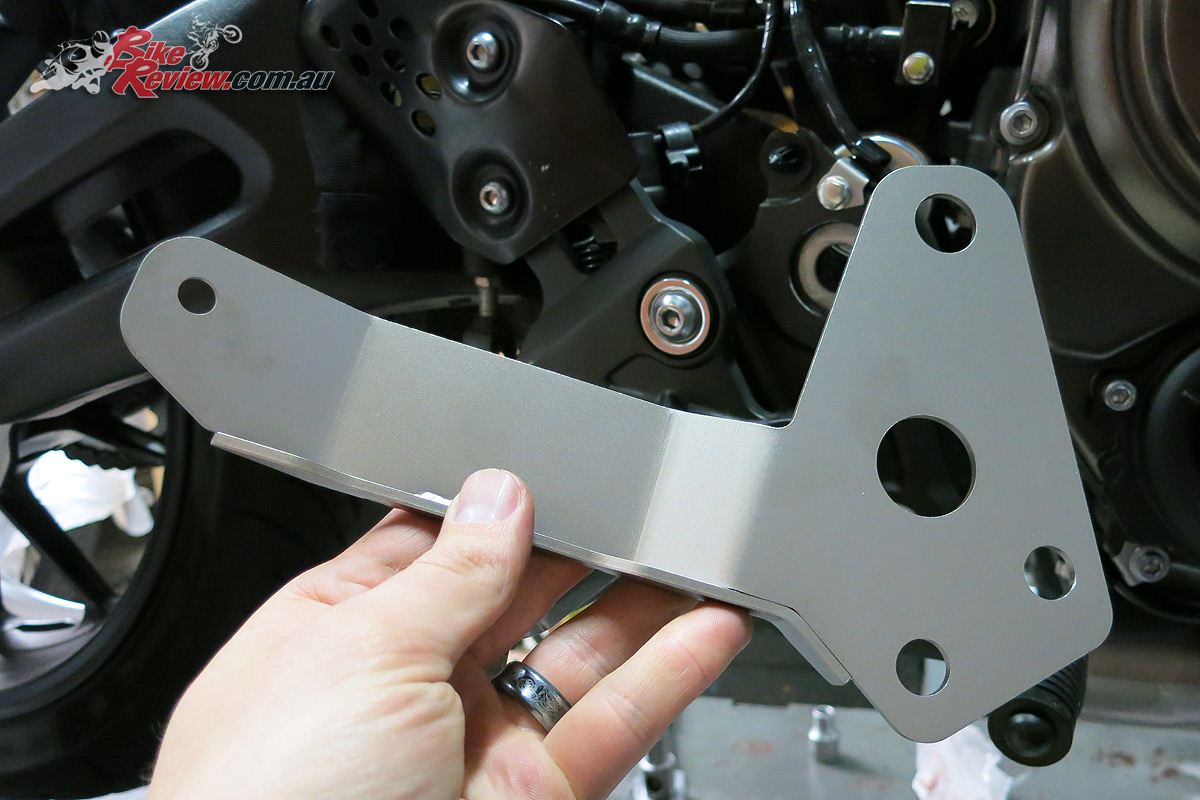
The rear mounting bracket. We won’t show every part individually to save a little time.
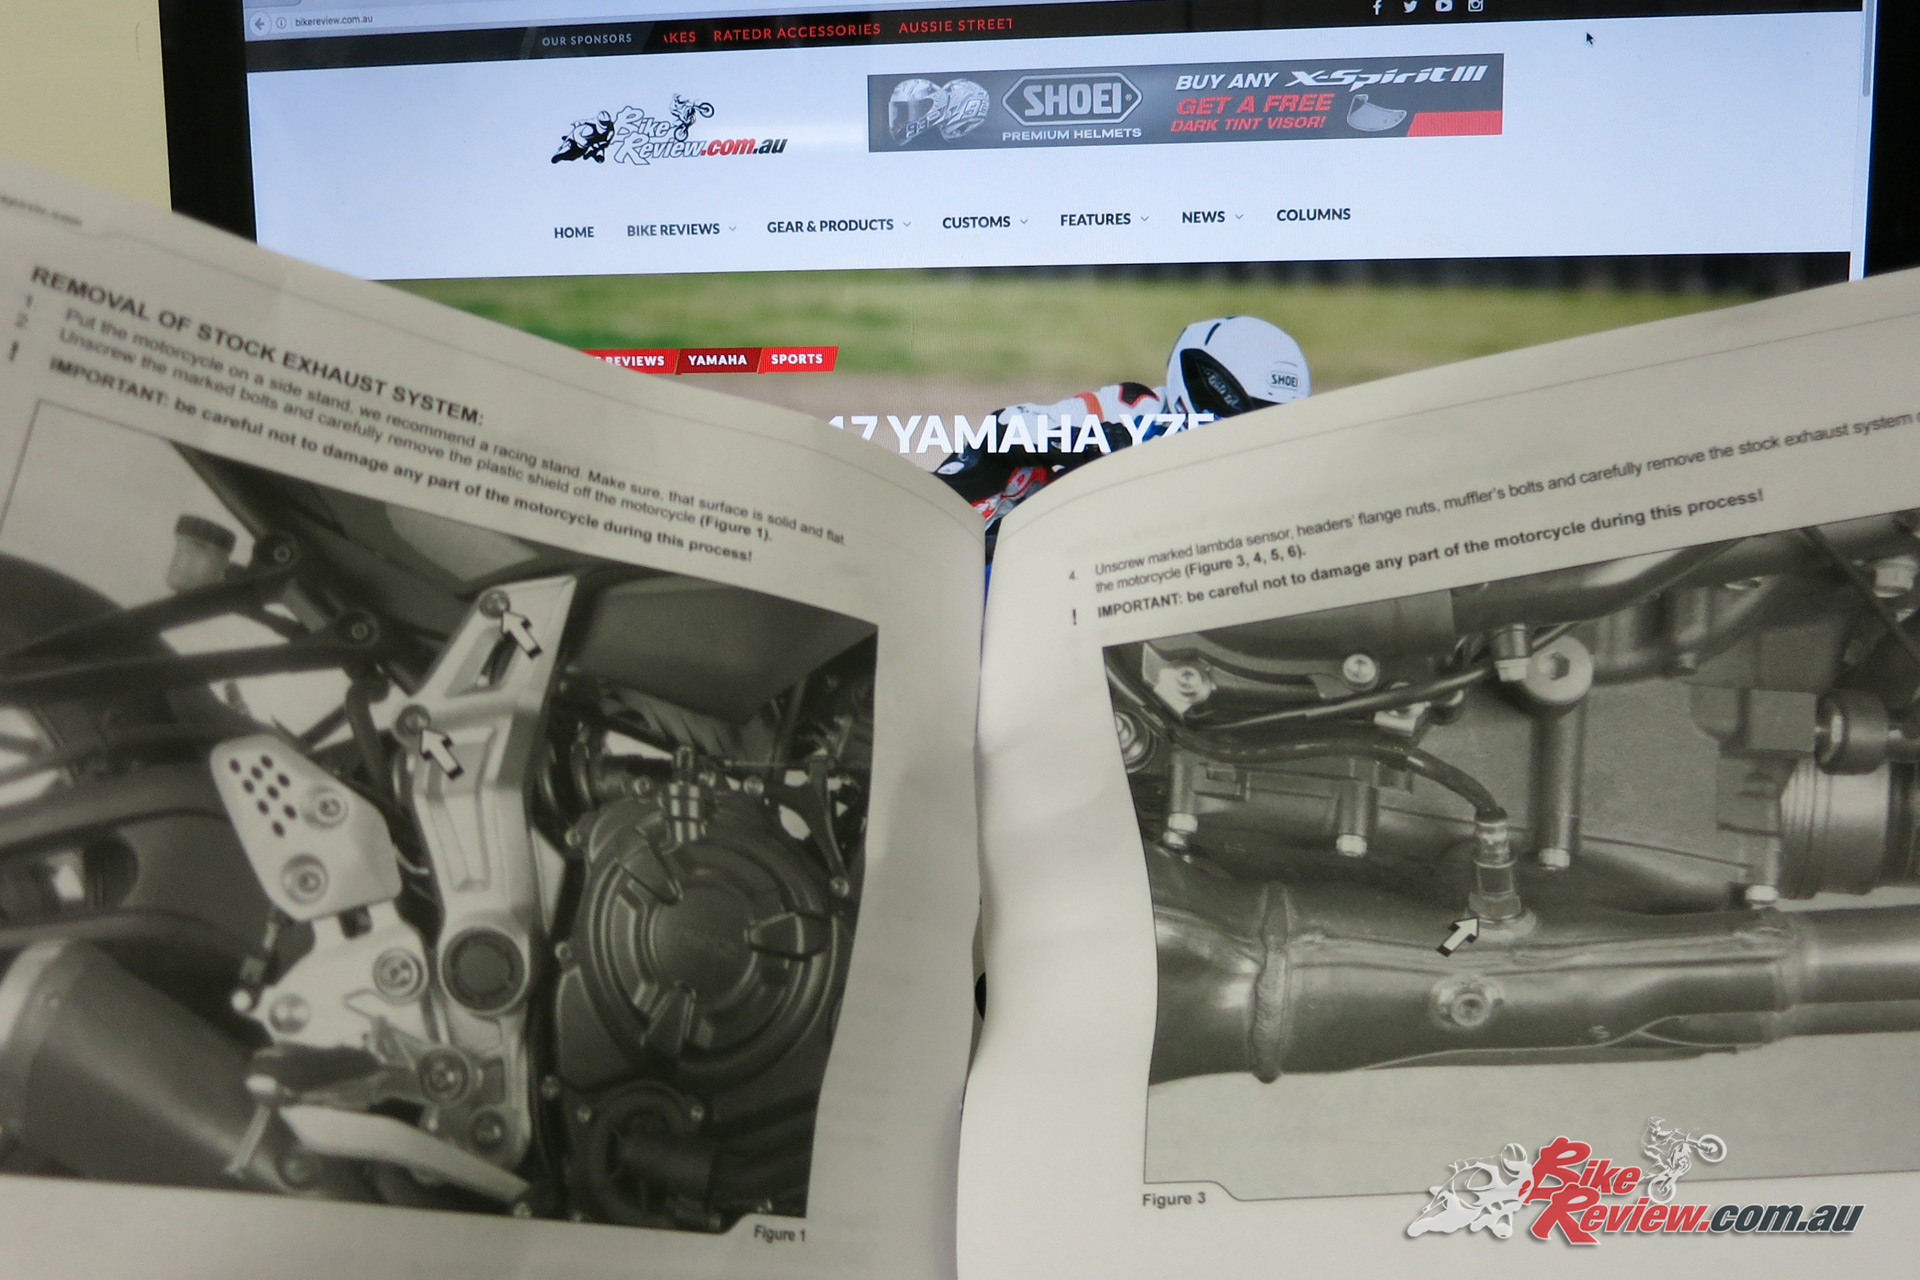
Have a good long read of the instructions. They are straight forward, but it’s worth knowing what you’re getting into. It also gives you an opportunity to check you have all the necessary tools, against the various fittings you’ll be removing.
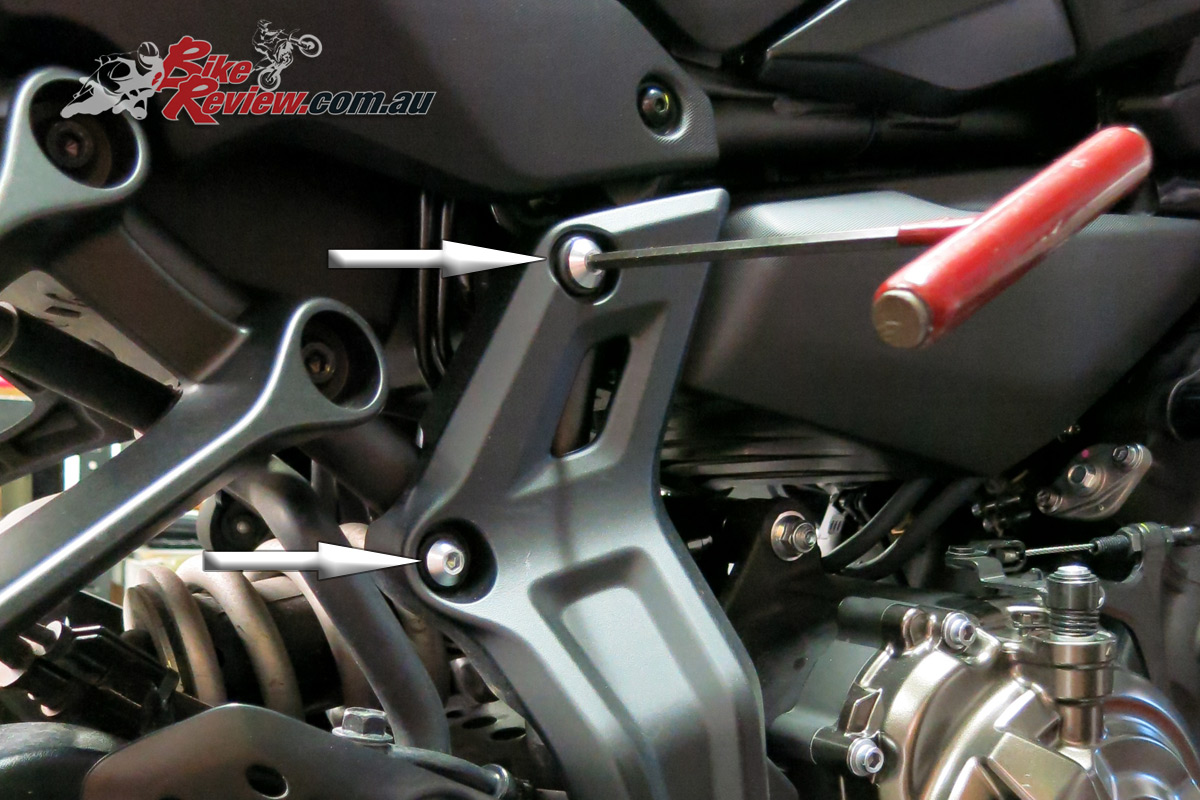
First up remove the right (facing the front of the bike) frame cover, by undoing the two bolts noted.
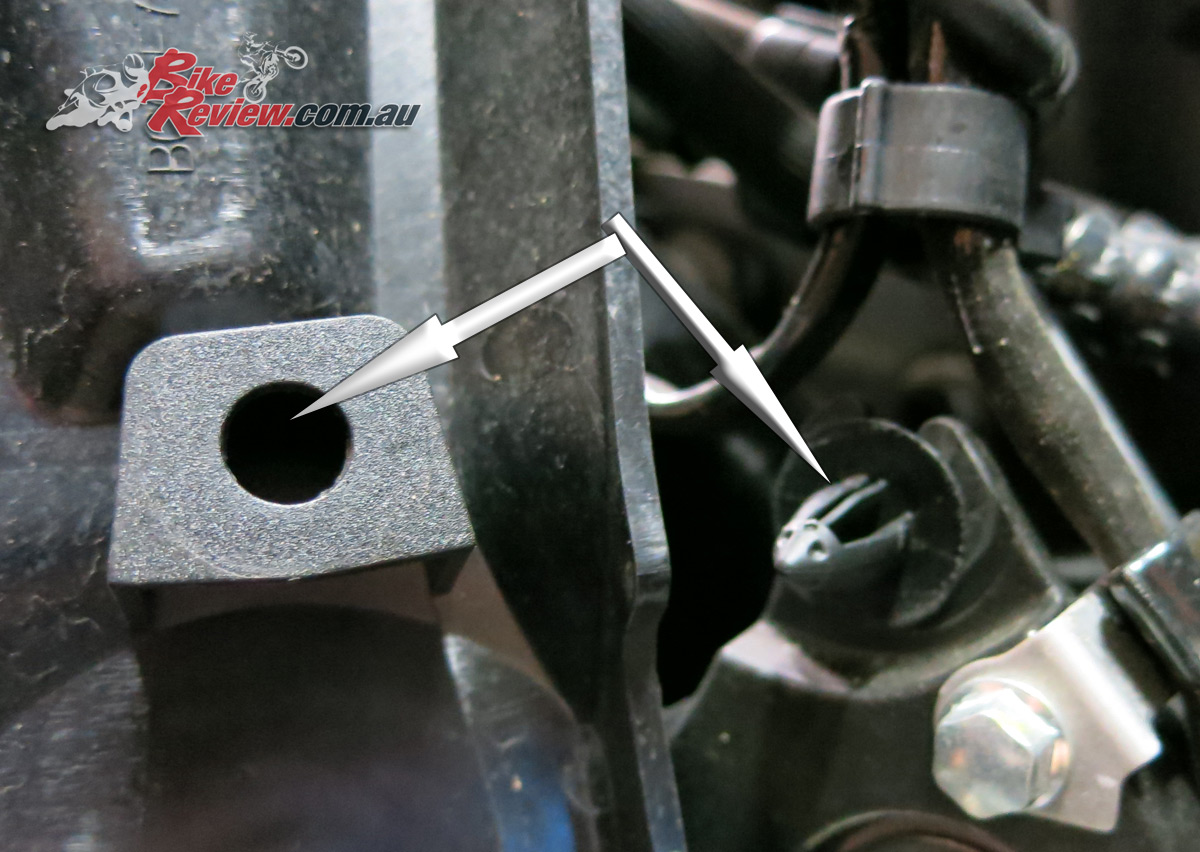
There’s a third attachment point that simply clicks into place. A gentle but firm pull will get the cover detached, don’t force it.

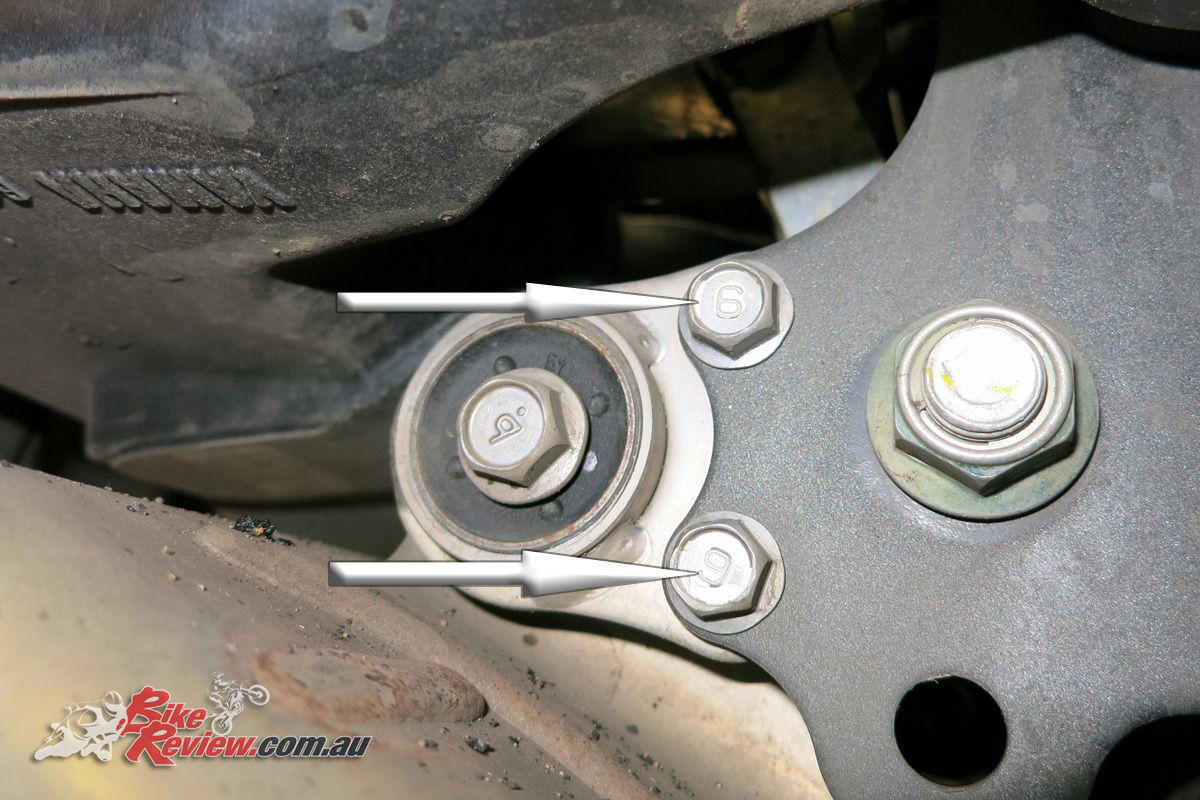
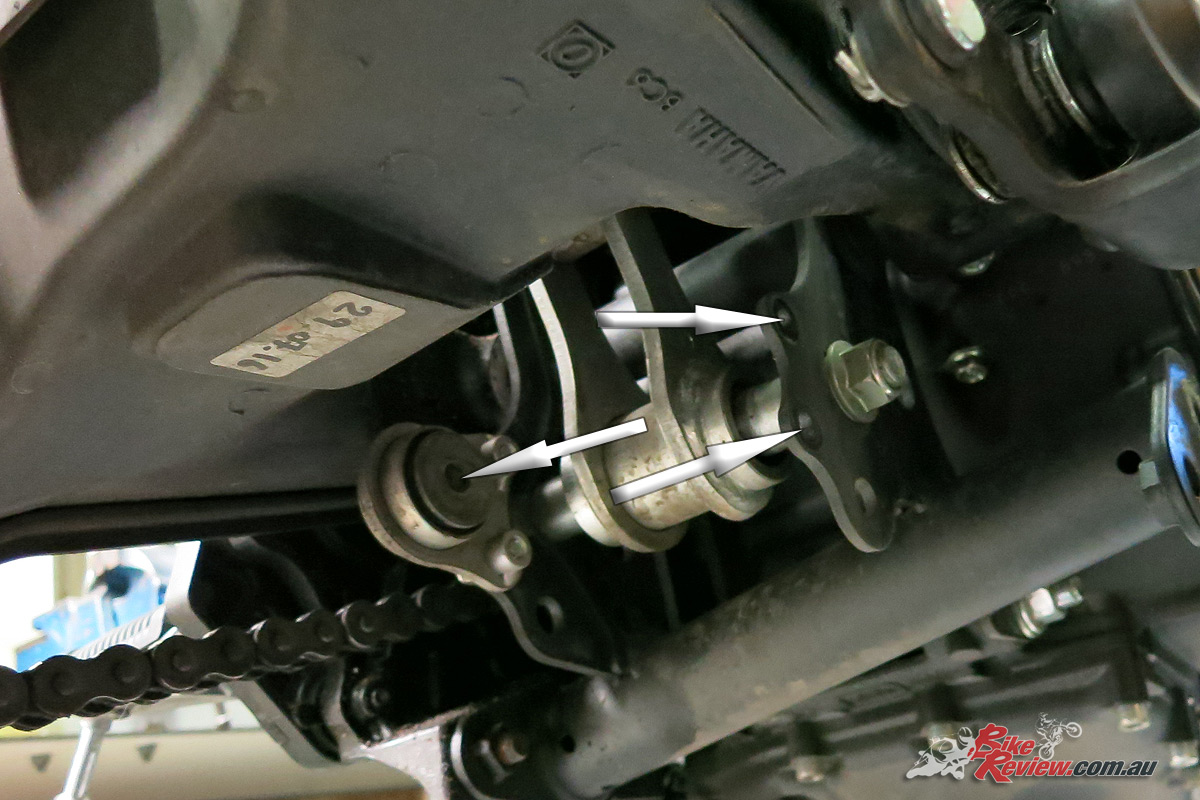
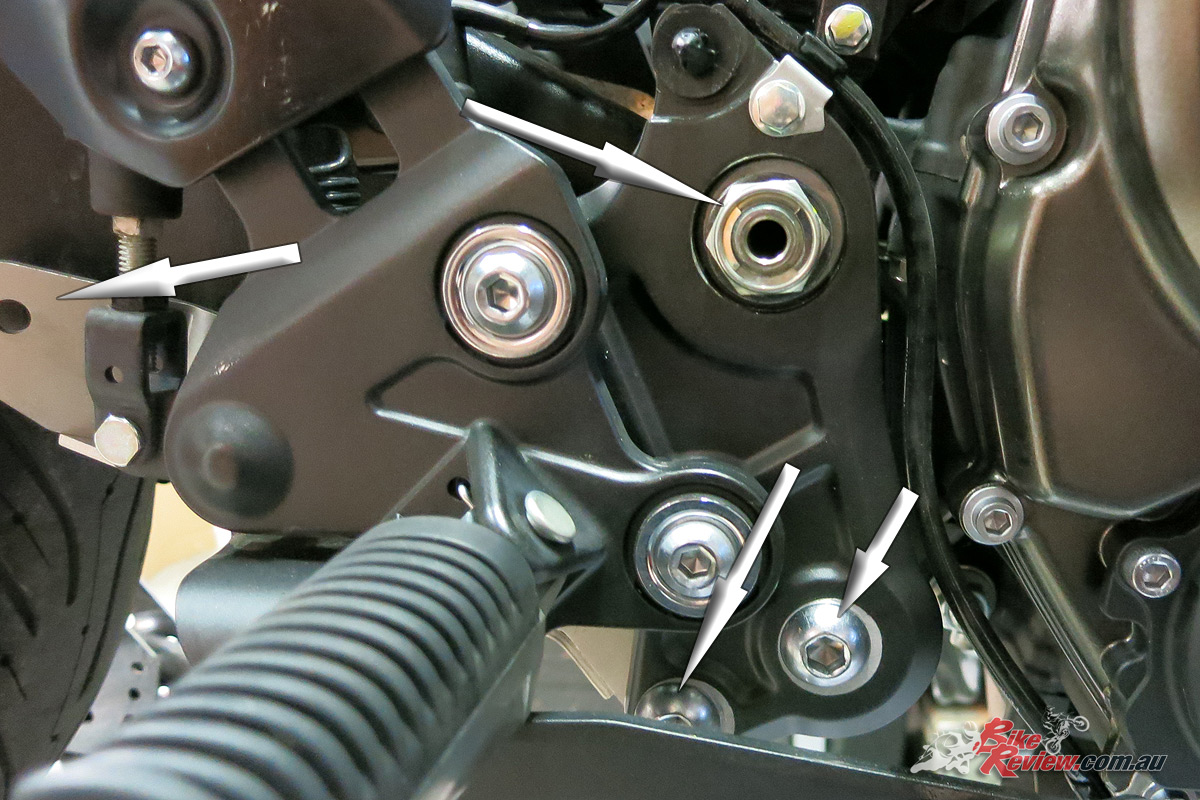
Next remove the rearset mount. This means undoing the rear swingarm nut (top), and the two lower bolts which are quite close to the rear brake pedal. They are still accessible however.
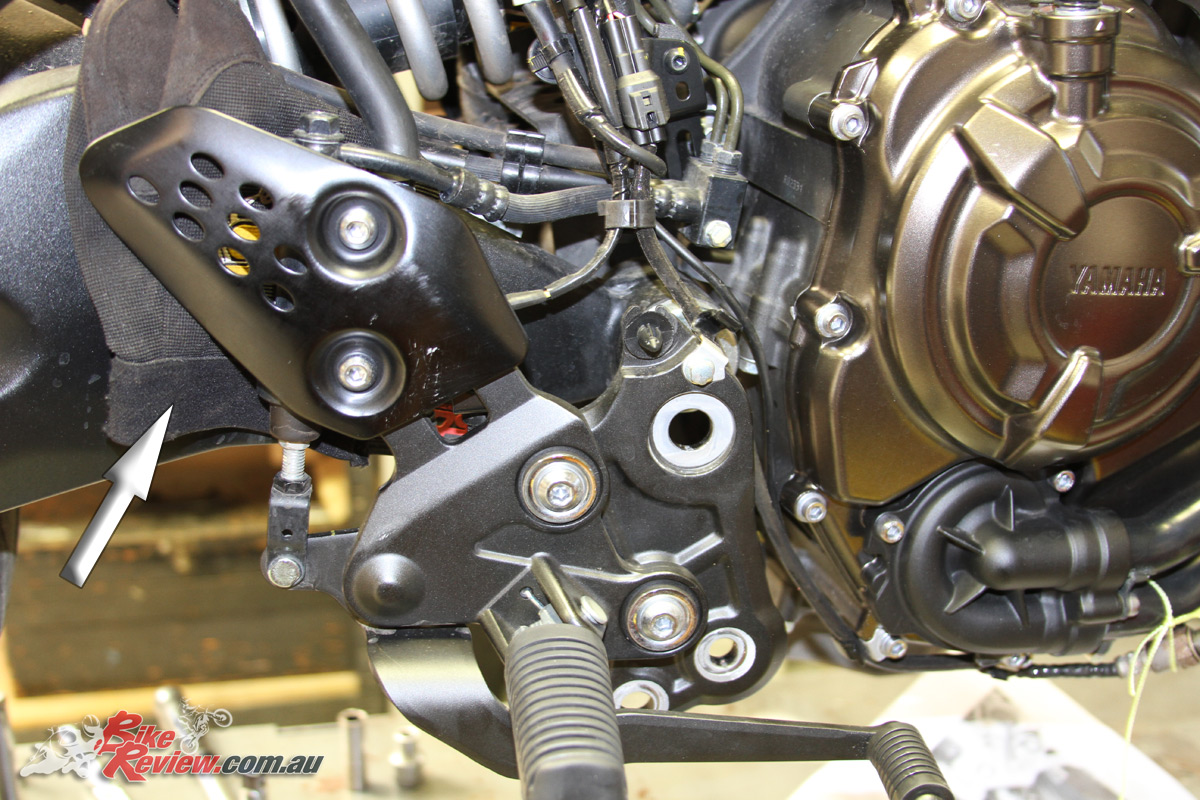
Once unbolted place something between the swingarm and the assembly to prevent damage. Arrow shows glove used to this end. You’ll be accessing an exhaust mount under this area later (exhaust already removed in this picture).
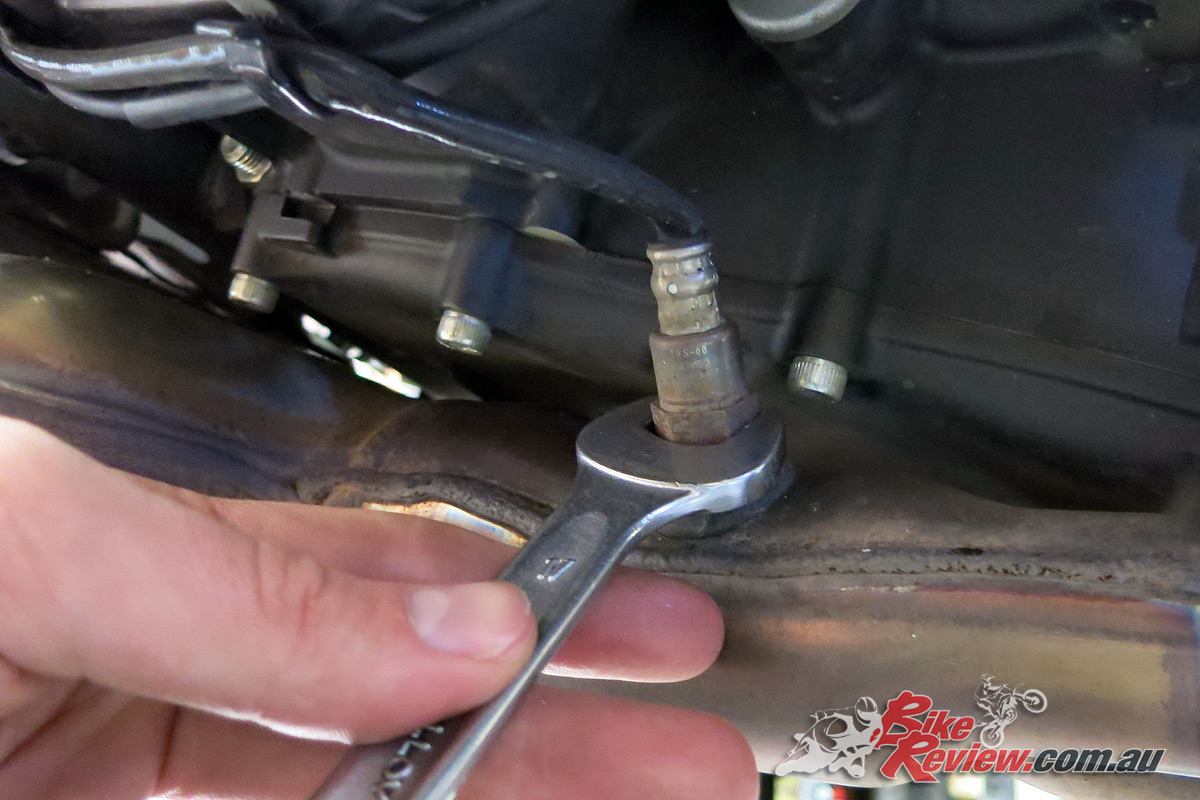
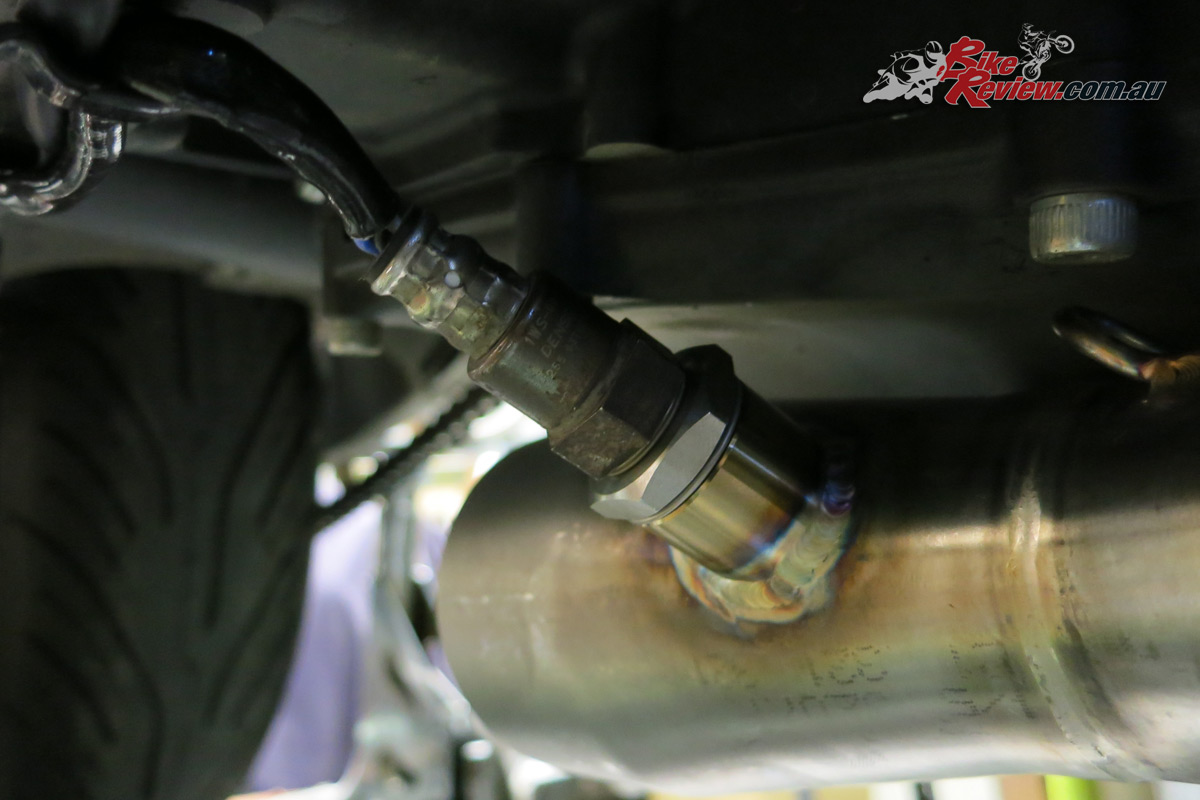
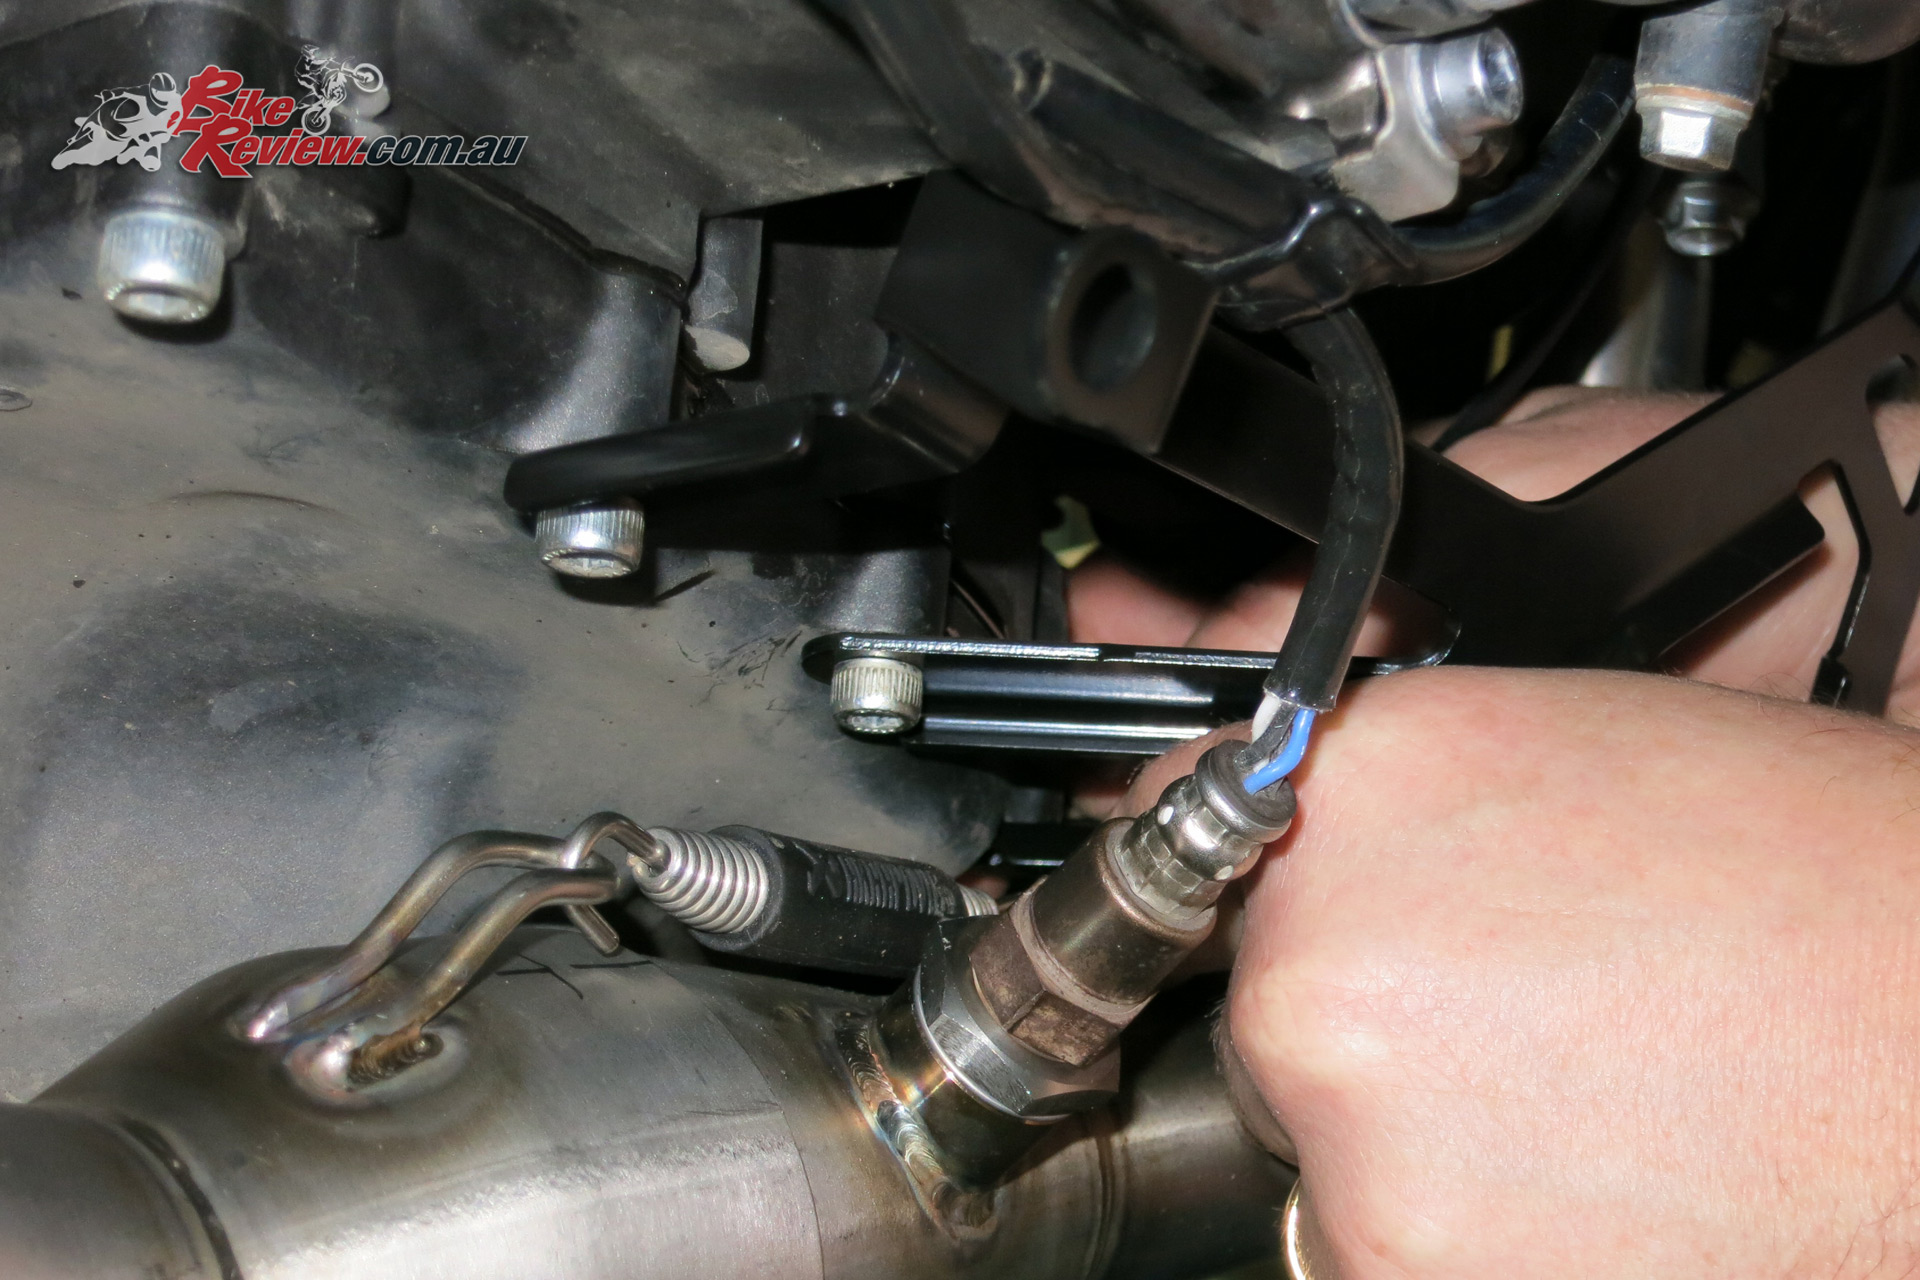
Now remove the Lambda sensor (carefully).
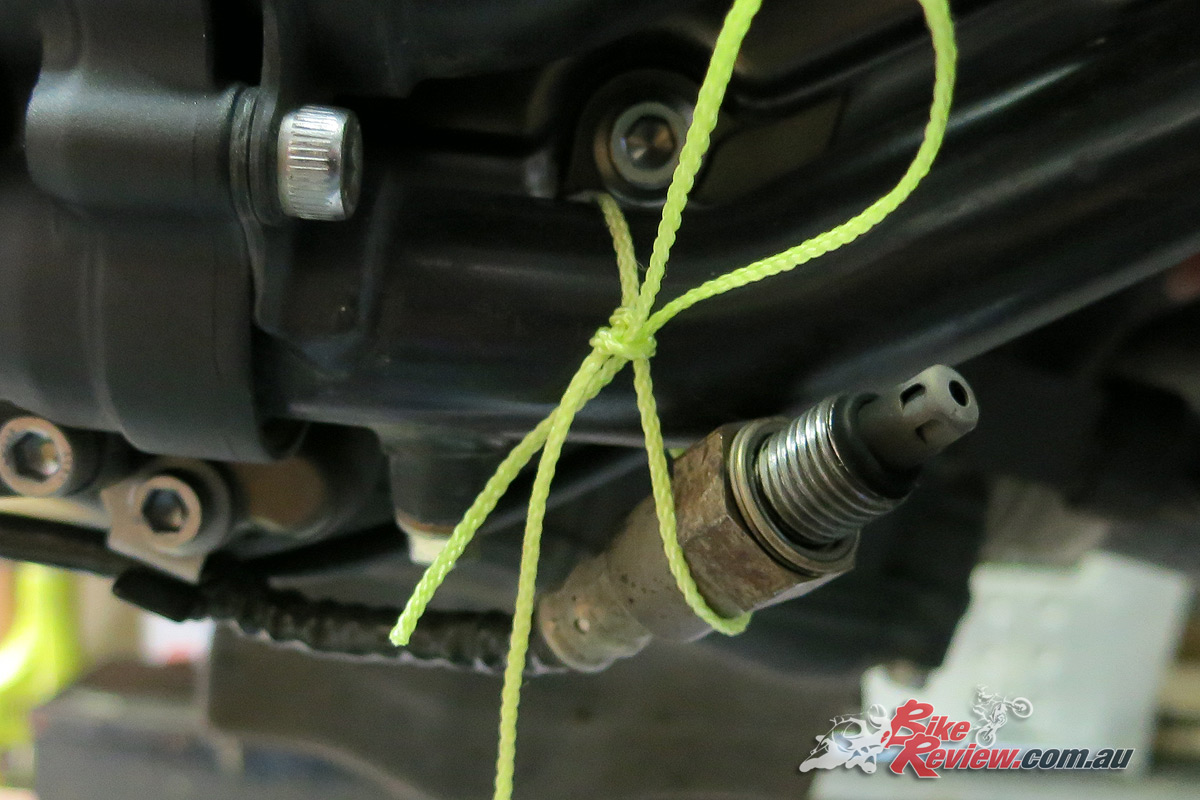
I tied the Lambda out of the way, it’ll be reconnected later.

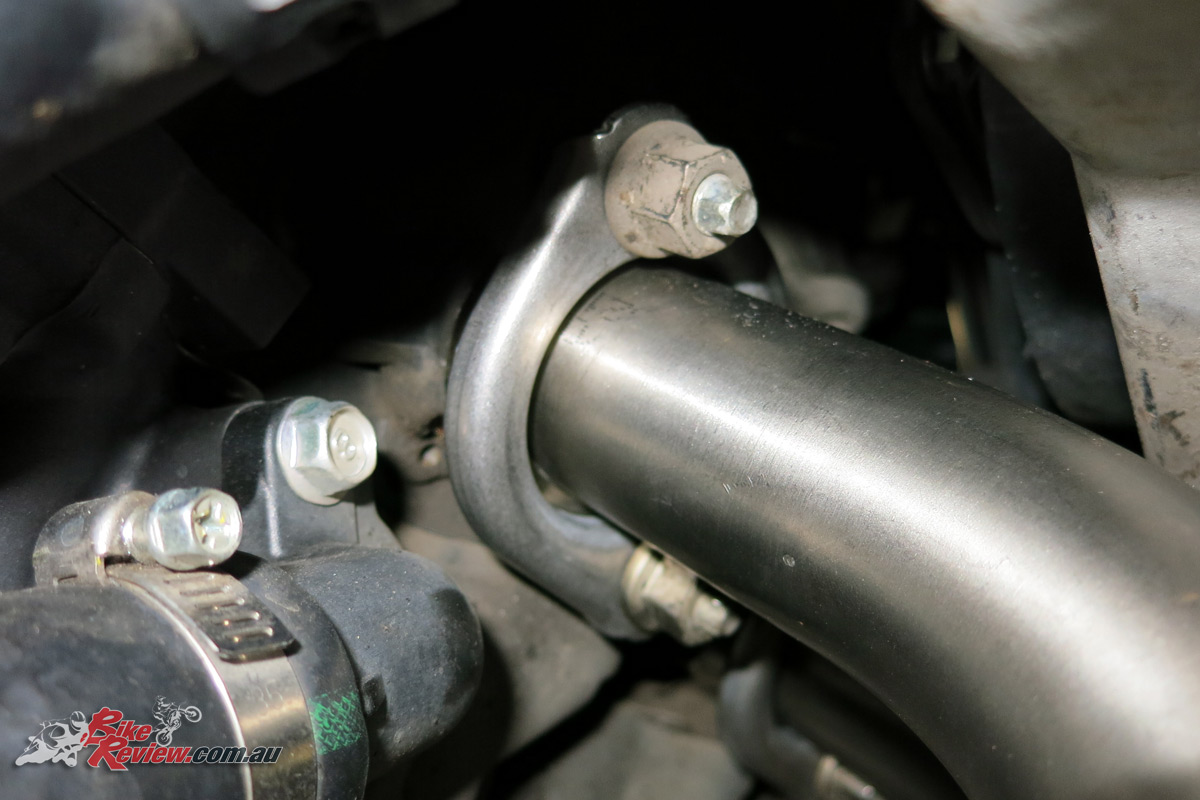
Now remove the header flange bolts. There’s two per header and space is a bit tight around the radiator, but with an extension on your socket it is not difficult. The exhaust will still be held in place by the rear mounts. Retain the exhaust gaskets.
Rear mount one. The standard exhaust is mounted on both sides off a small plate with a rubber mounting point. On this side you’re removing the plate entirely.
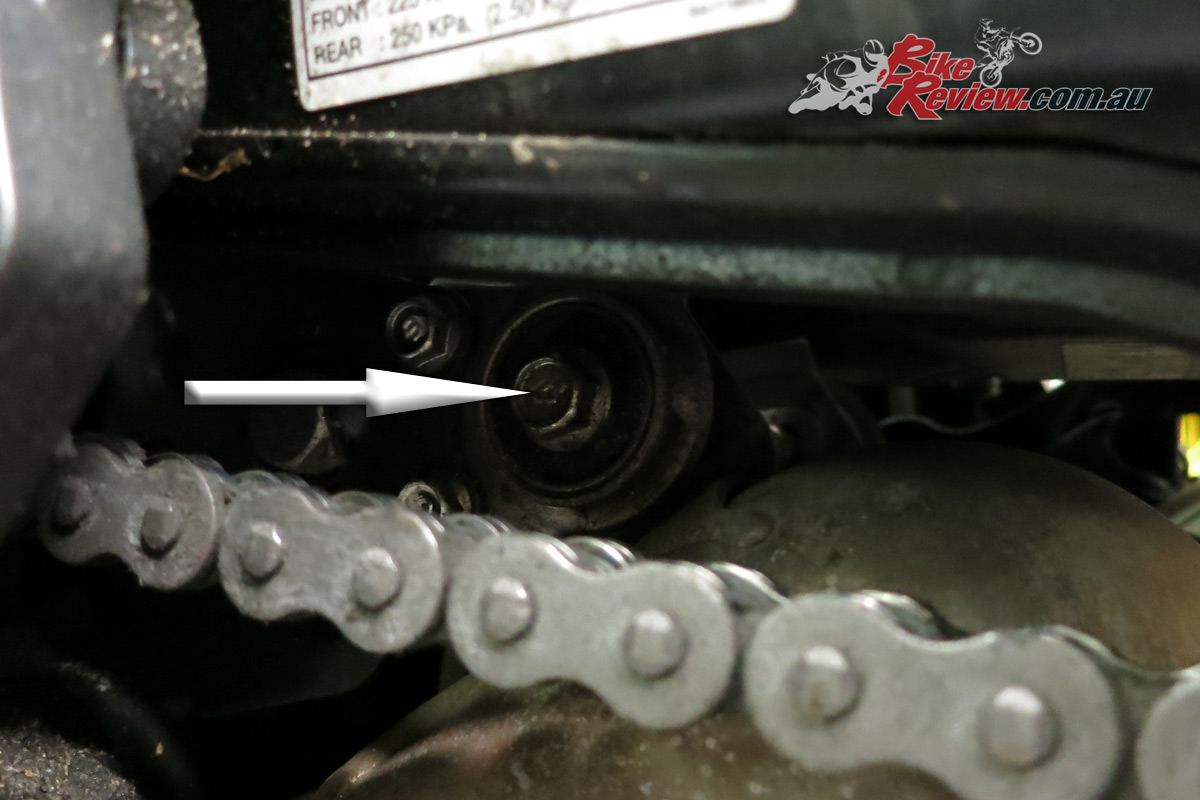
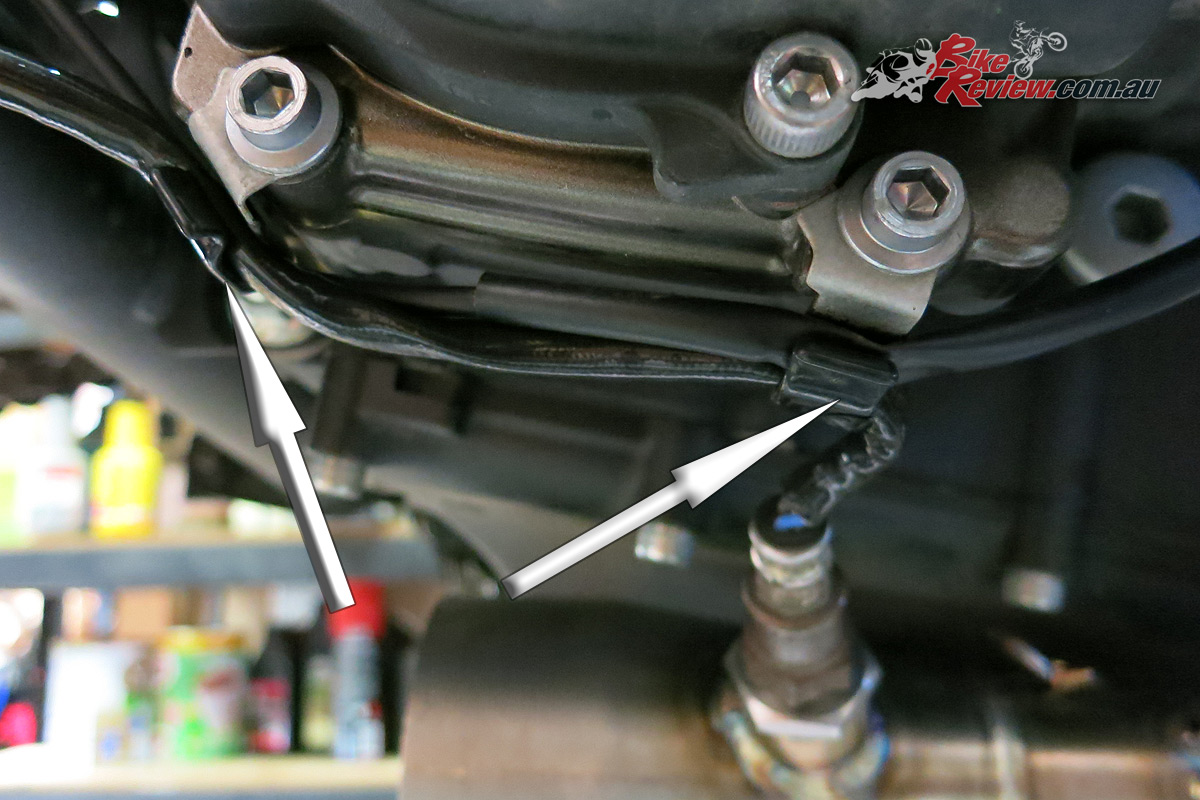
On the other side you’re undoing the bolt through the rubber exhaust mount. You’ll need to reach it past the chain.
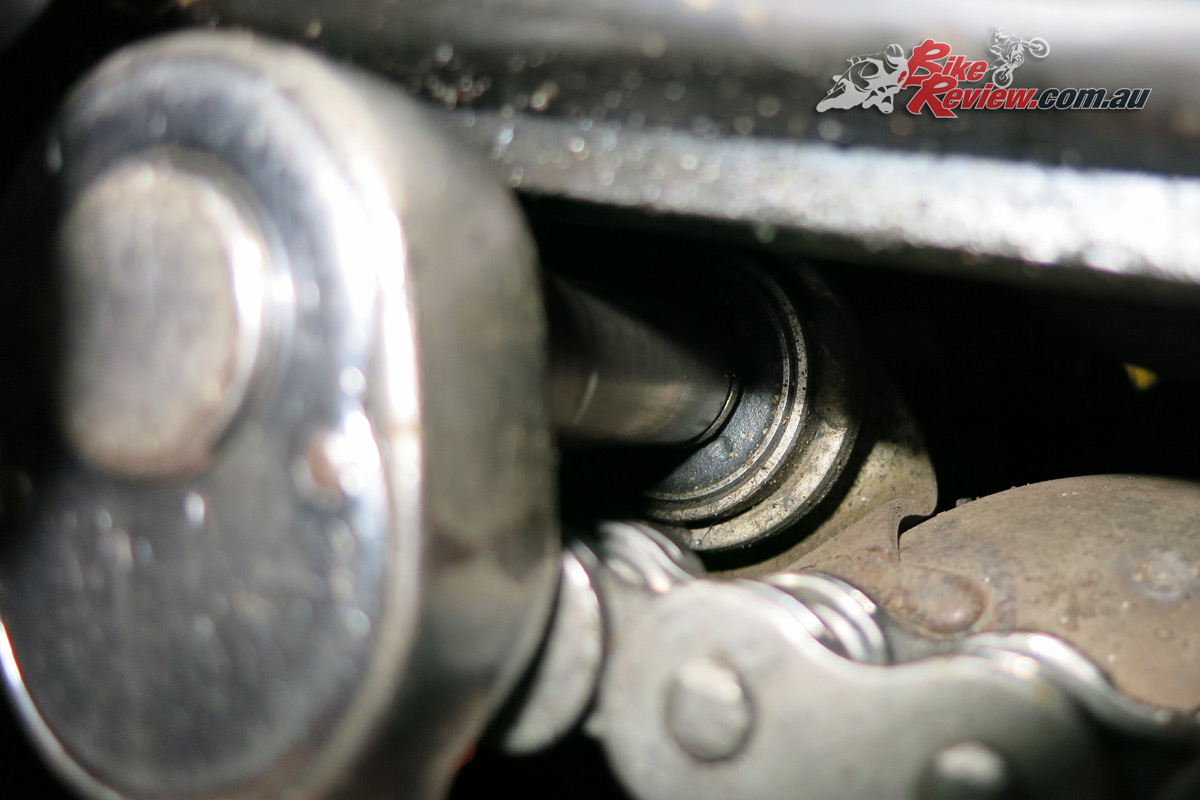
It’s a tight fit here, so having the right tools helps.
View from underneath, on the left is the rubber mounting point. On the right, where the mounting plate was removed.

Old versus new. The MT-07 Tracer’s standard exhaust weighed in almost 4kg heavier than the Akrapovic replacement.
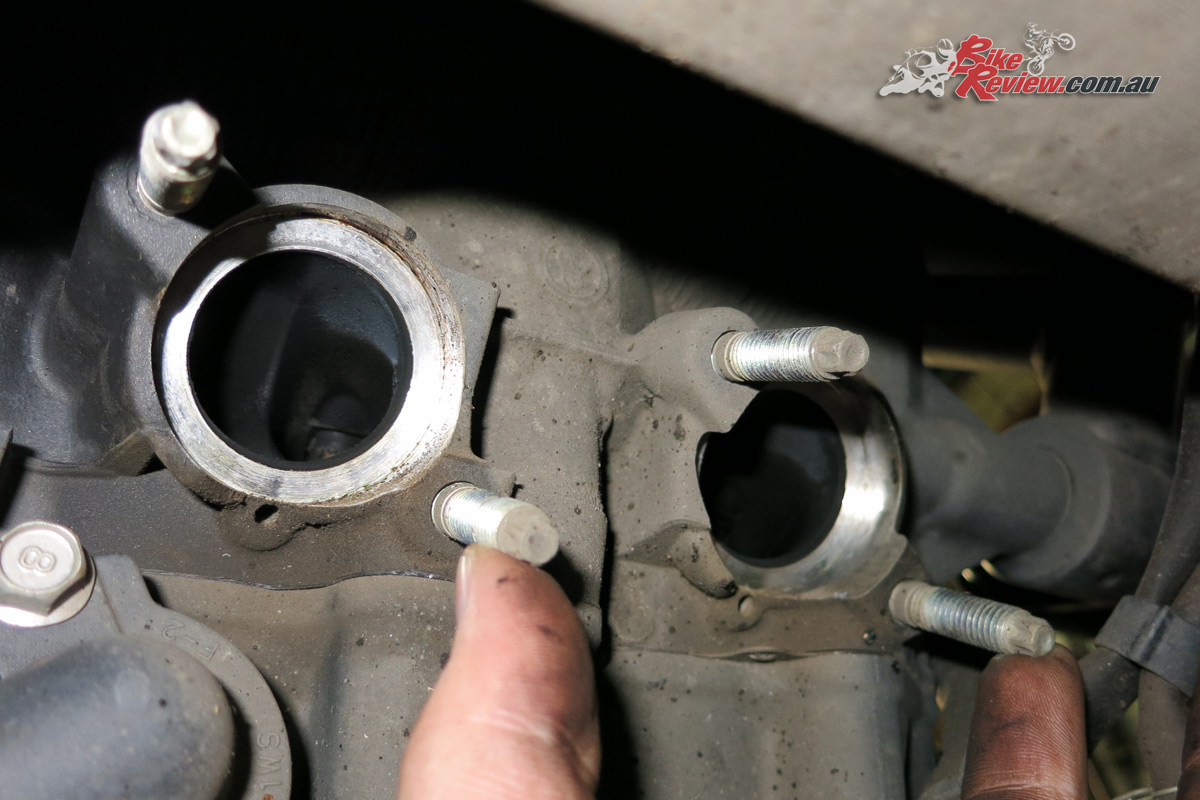
Now you’re fitting the Akrapovic headers, see the flange mounting bolts where you’ll secure them.
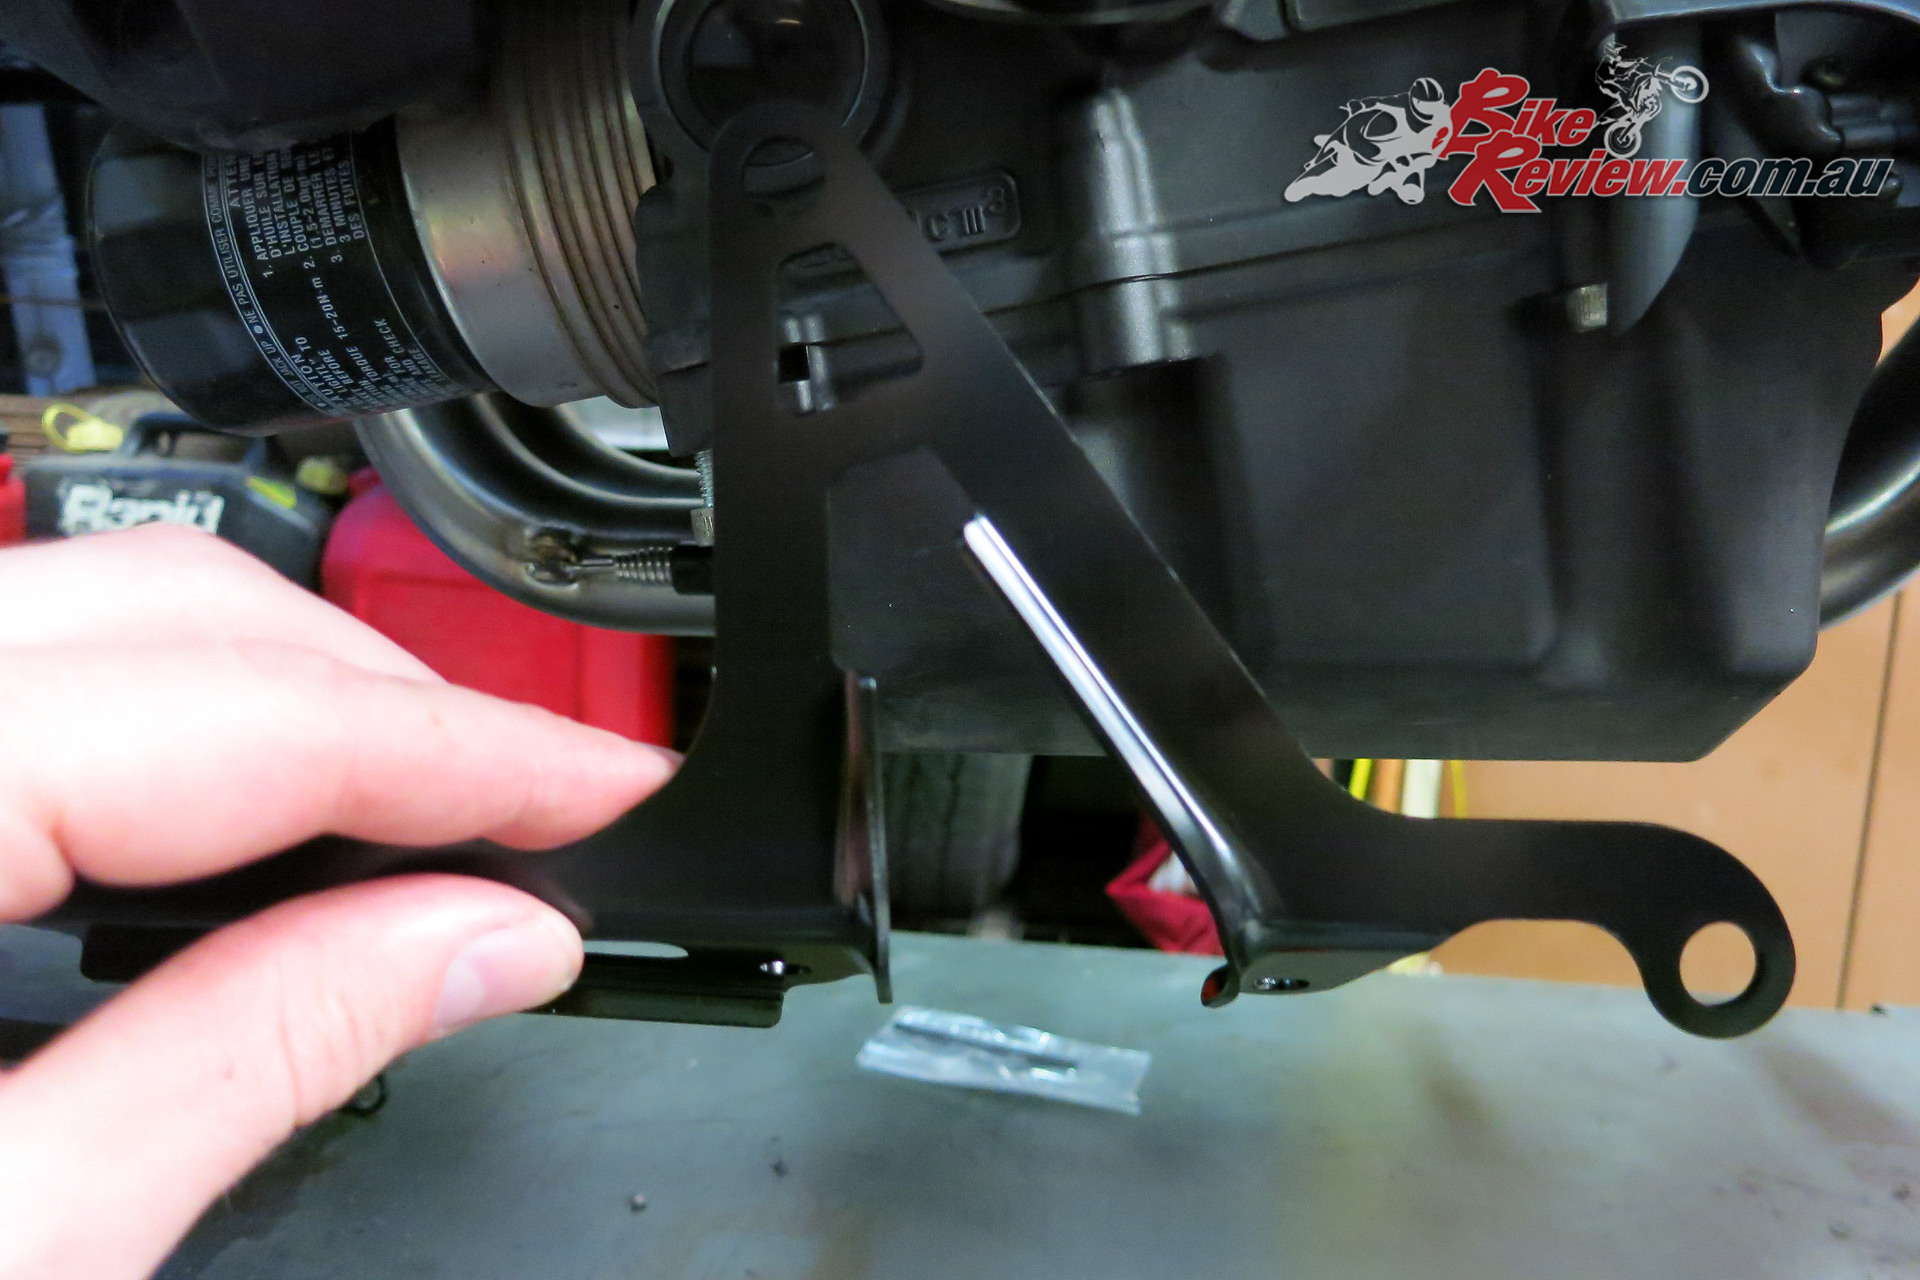
NOTE: It’s at this point you’ll want to fit the right side Sub Cowl bracket, if you’ve also got this part to install, as the exhaust prevents access to the sump bolts required for it’s mounting. See instructions below for the full install.
This was a two-person job, as with one header in place the other was a fair bit out of place and needed to be muscled across.
Hand tighten the nuts holding the header flanges into place.
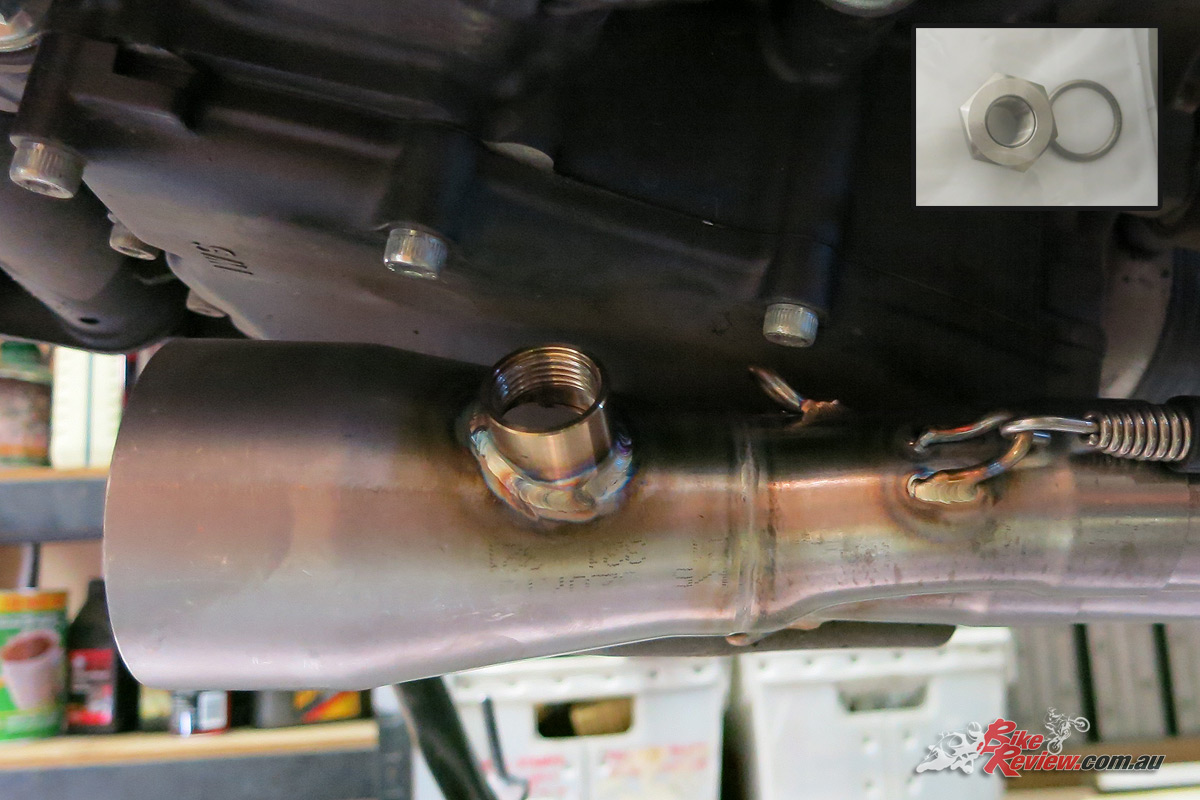
The other end of the header and collector assembly, with a mounting point for the Lambda sensor. In the top right corner you’ll see the image of the nut and washer that is used to mount the standard Lambda sensor.
Now you need to connect the nut and washer assembly, followed by the Lambda sensor. This will twist the wire that goes back to the harness.
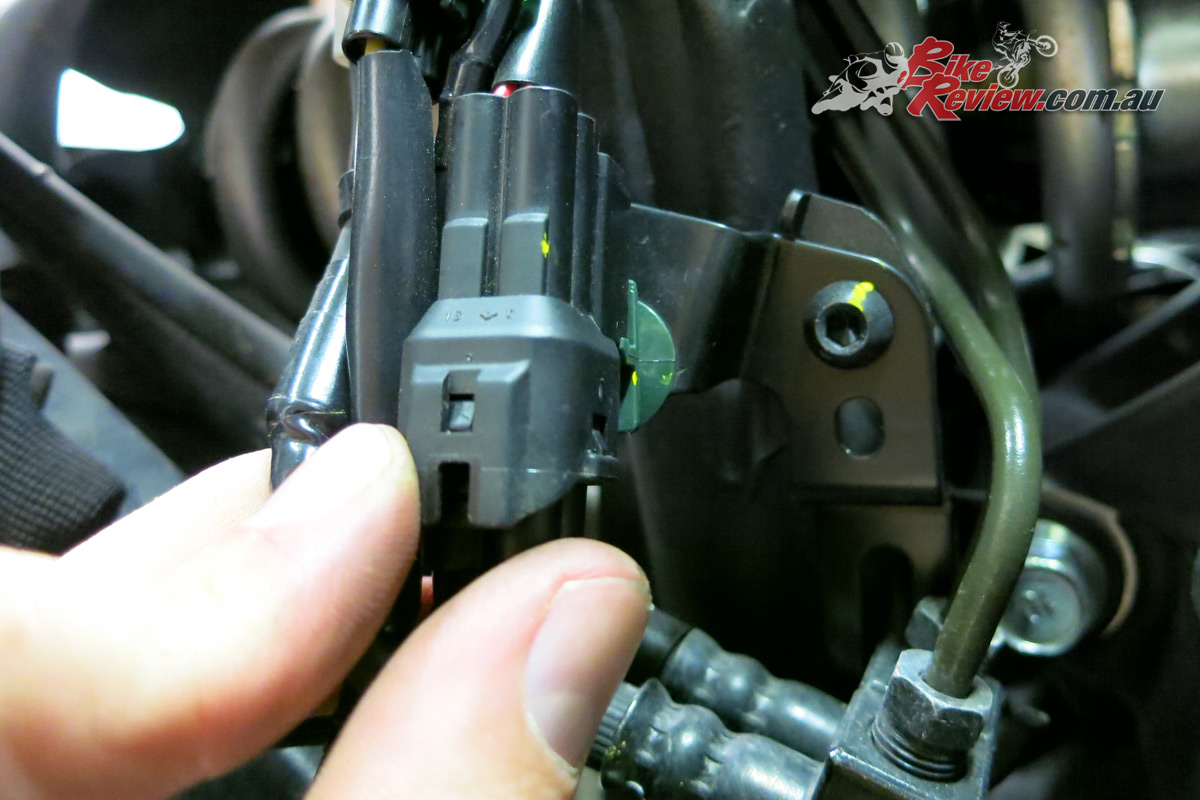
You can disconnect the Lambda at the plug to straighten out the wires.
If you removed the wires from the stock mounting points, now’s the time to replace them. These are a cool system from Yamaha to hold wires in place, without damaging or pinching them.
Now place the new exhaust mounting plate under the rearset mount.
Here’s the rearset plate back in place, including the standard bolts and swingarm nut. The far left arrow shows the new exhaust mount point.
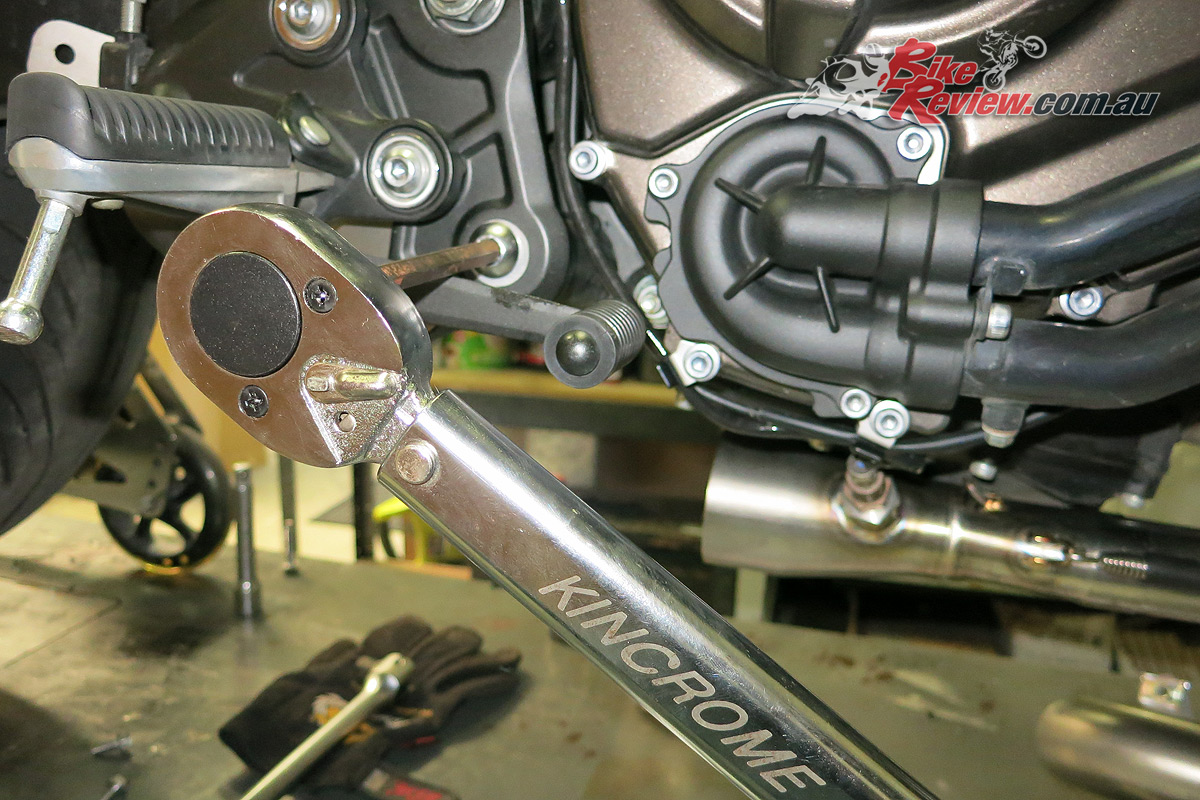
Torque to the advised values.
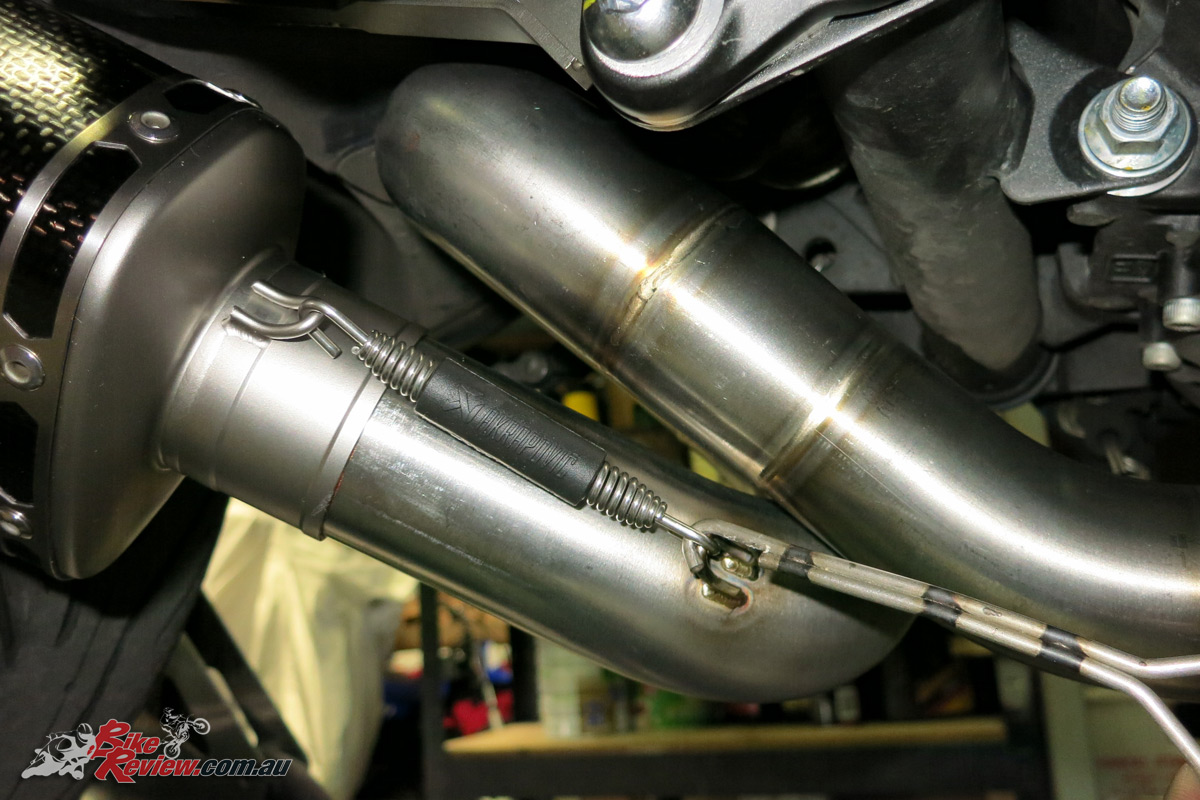
Connect the mid-pipe, add the exhaust springs provided, and bolt onto the left side rubber mounting point. Then add the muffler and the exhaust springs.
You can get the carbon-fibre exhaust hanger into place by gently stretching it out so it won’t scratch the muffler.

Then using the provided bolt, nut and two washers, tighten onto the mounting point.

Now it’s time to check all nuts and bolts are tightened to the correct torque setting, particularly those on the header flanges, which will still be hand tight.
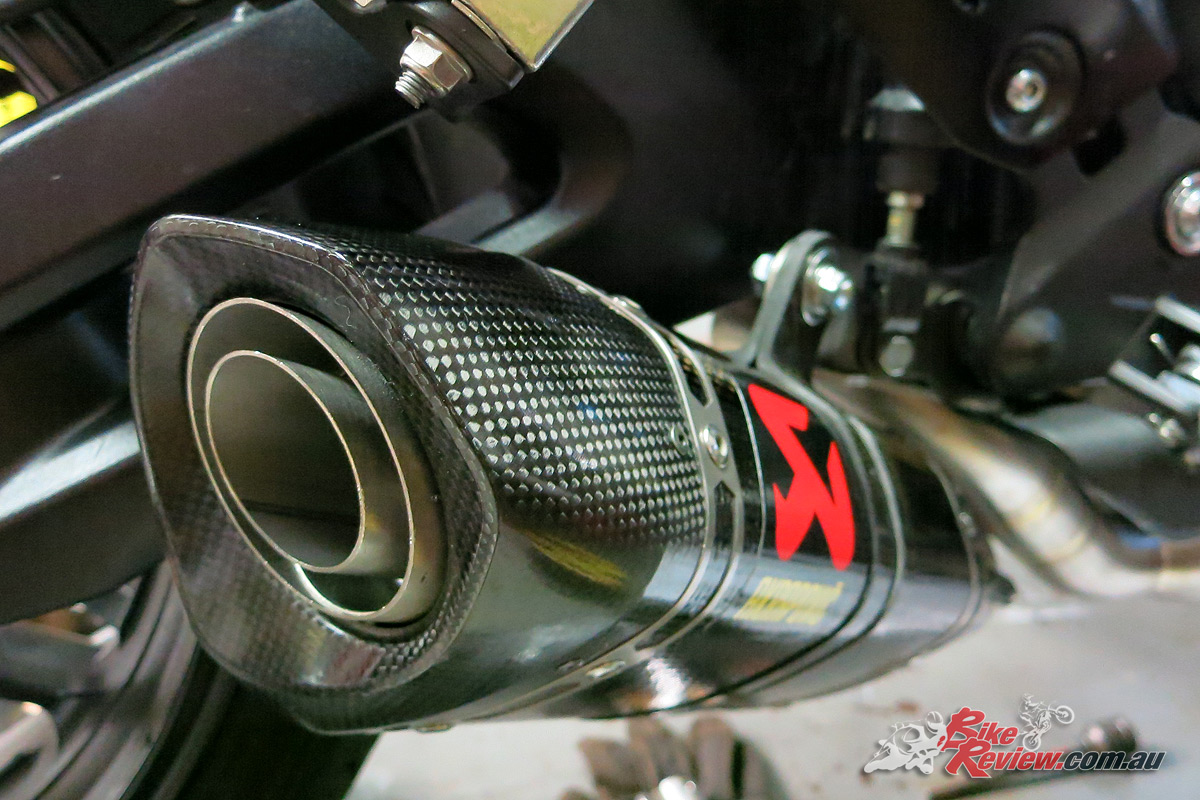
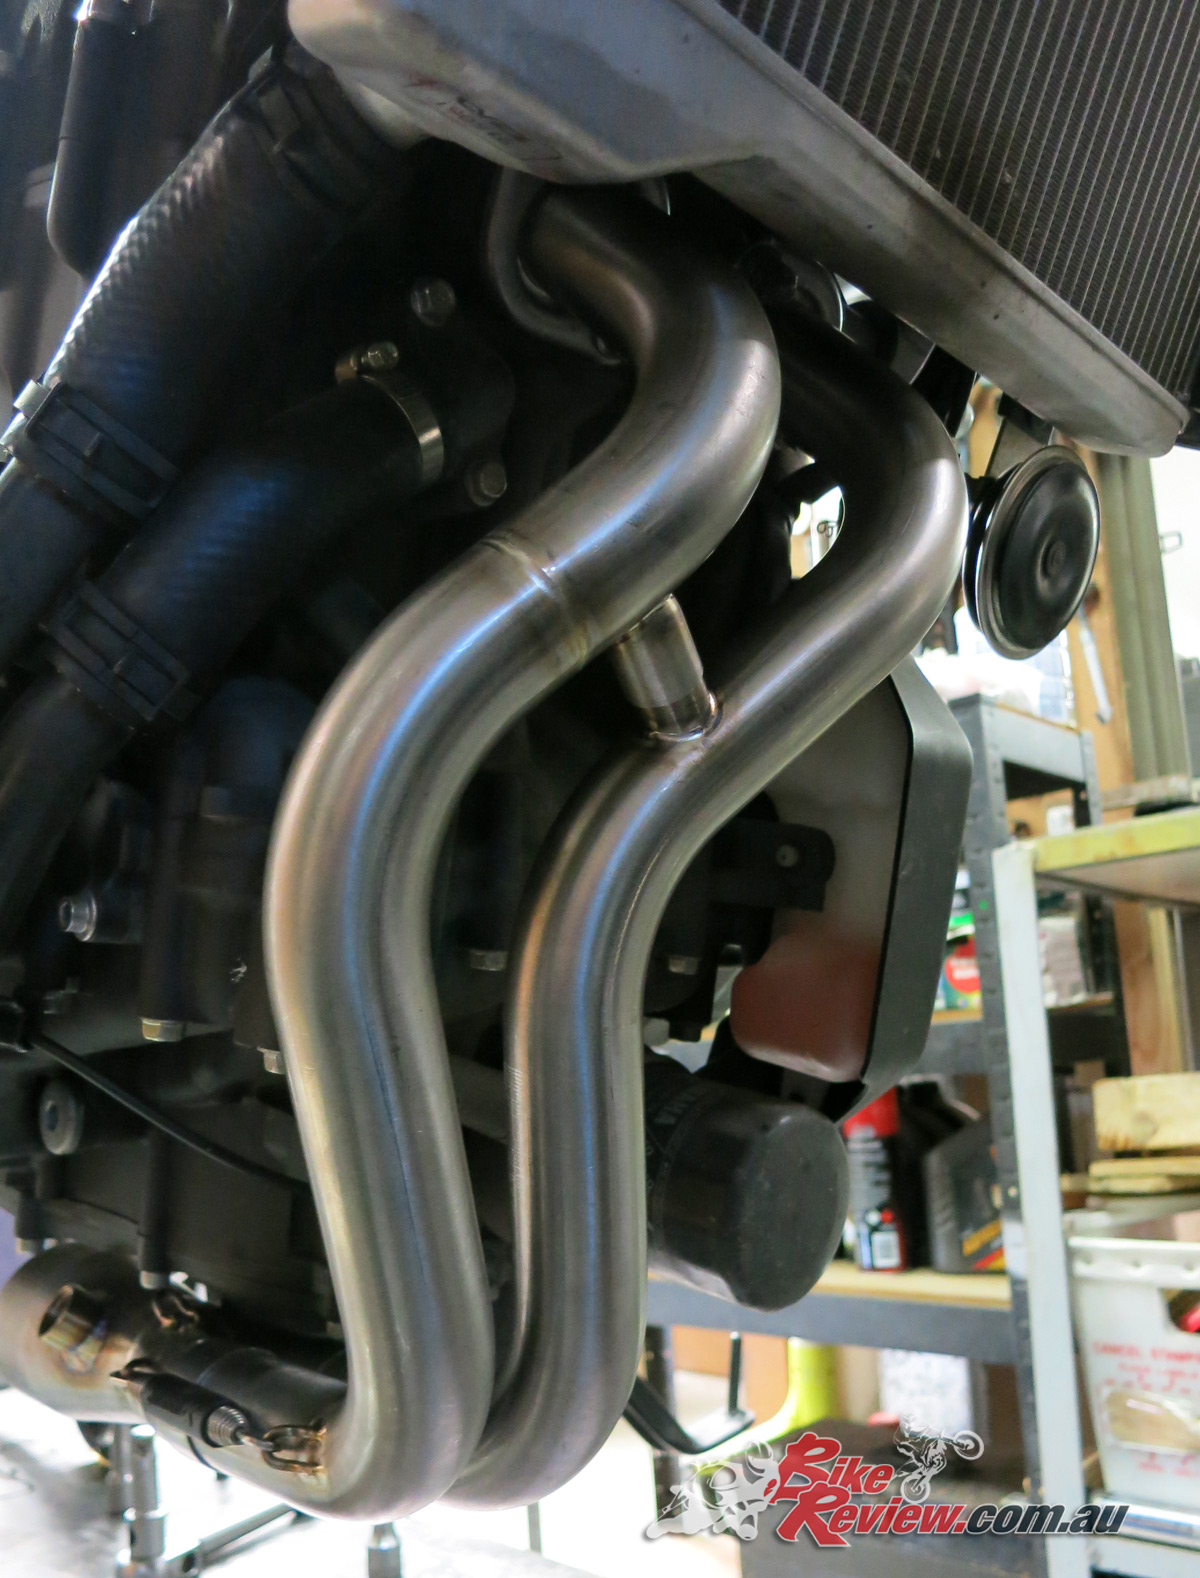
That Akrapovic exhaust looking good!
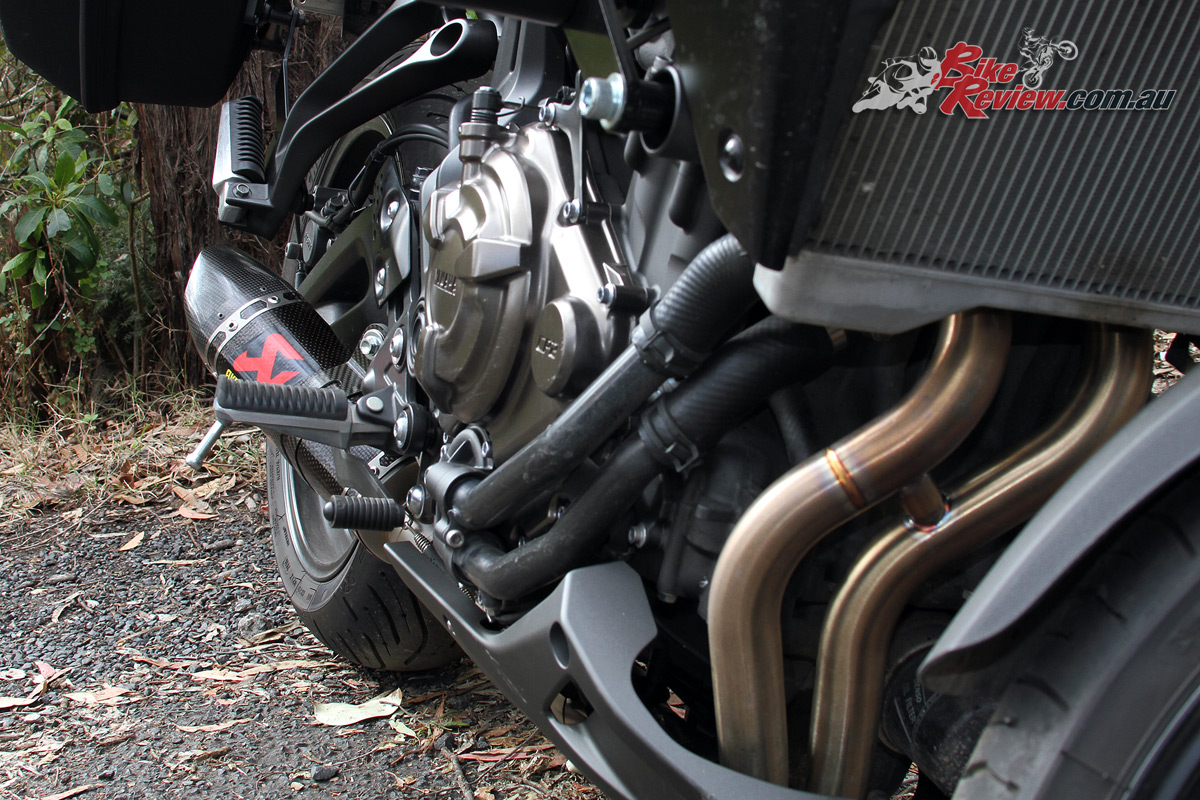
The headers colouring up nicely after the first ride.
MT-07 Tracer Genuine Yamaha Sub-Cowl Fitment
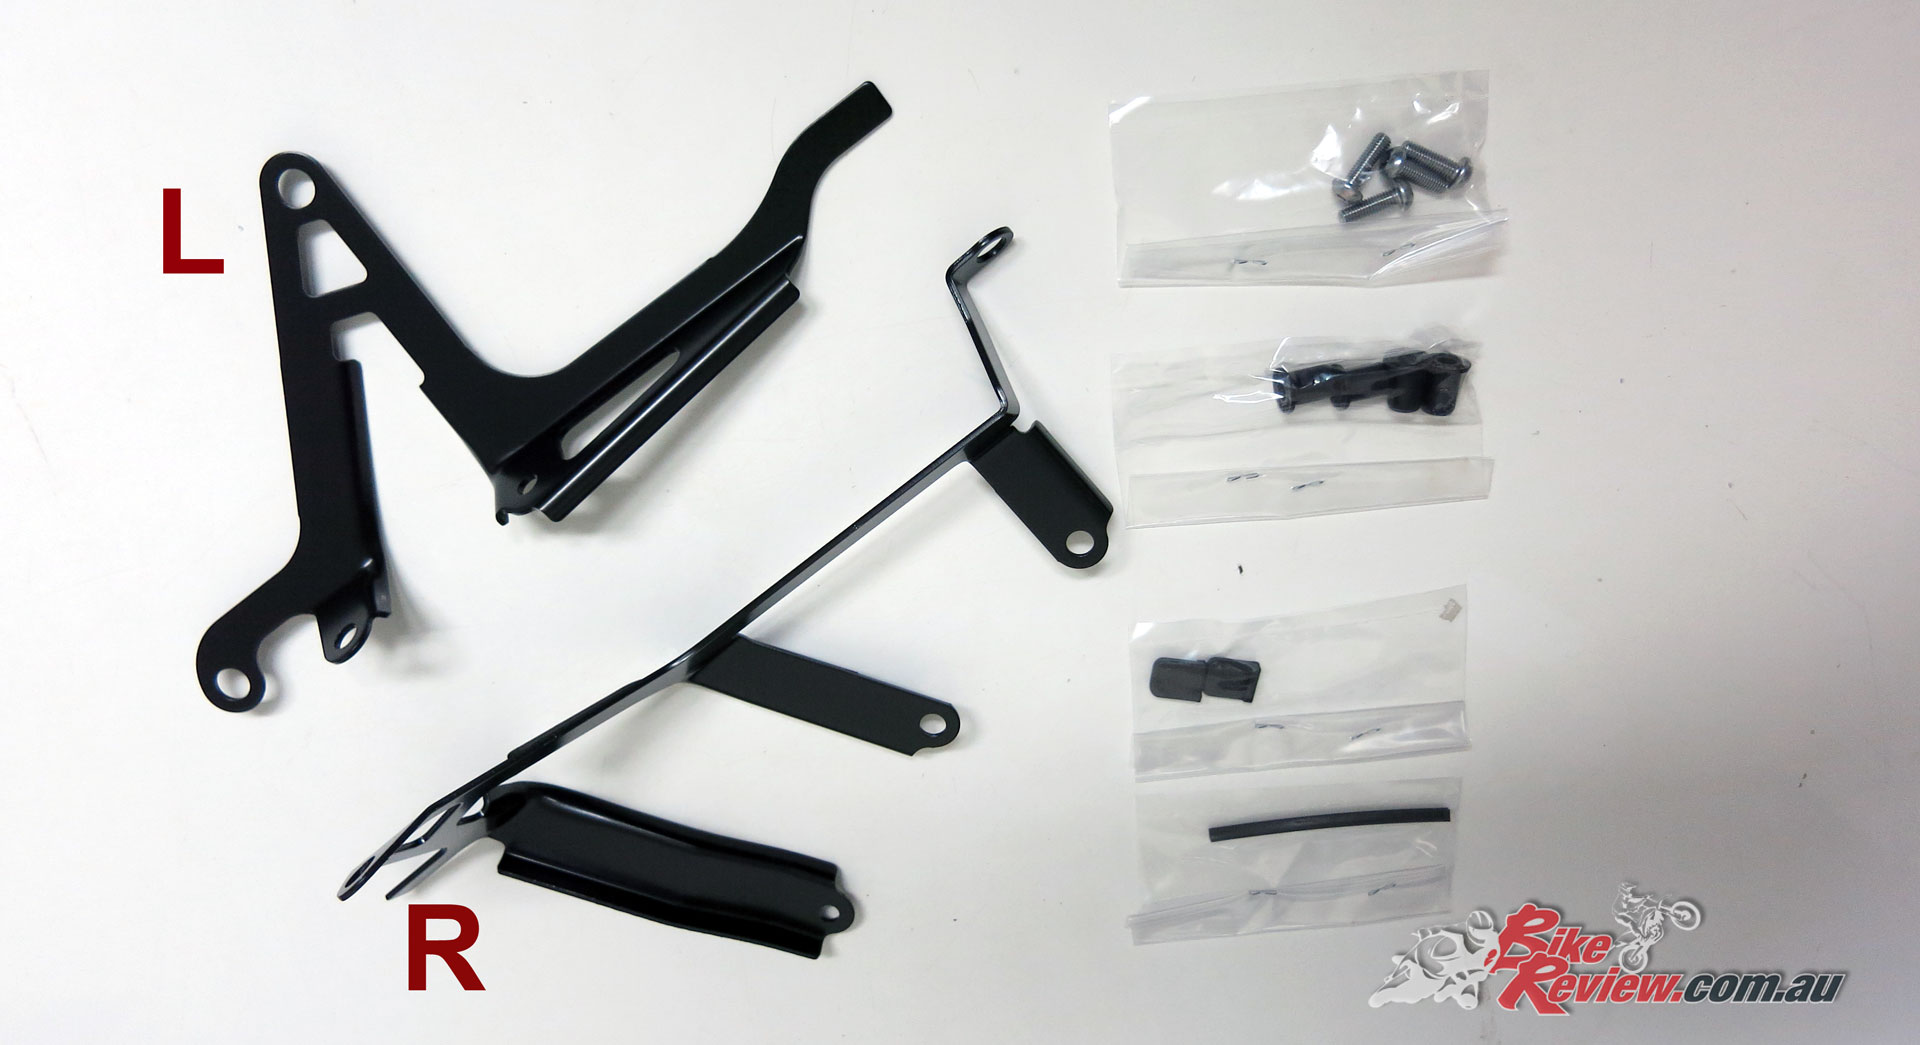
Check you’ve got all your Sub Cowl parts and give the bike an eye-ball to see how they connect. The brackets are bolted on to sump points, which means removing the standard bolts, fitting the bracket and replacing them. Marked left and right (facing front of bike).
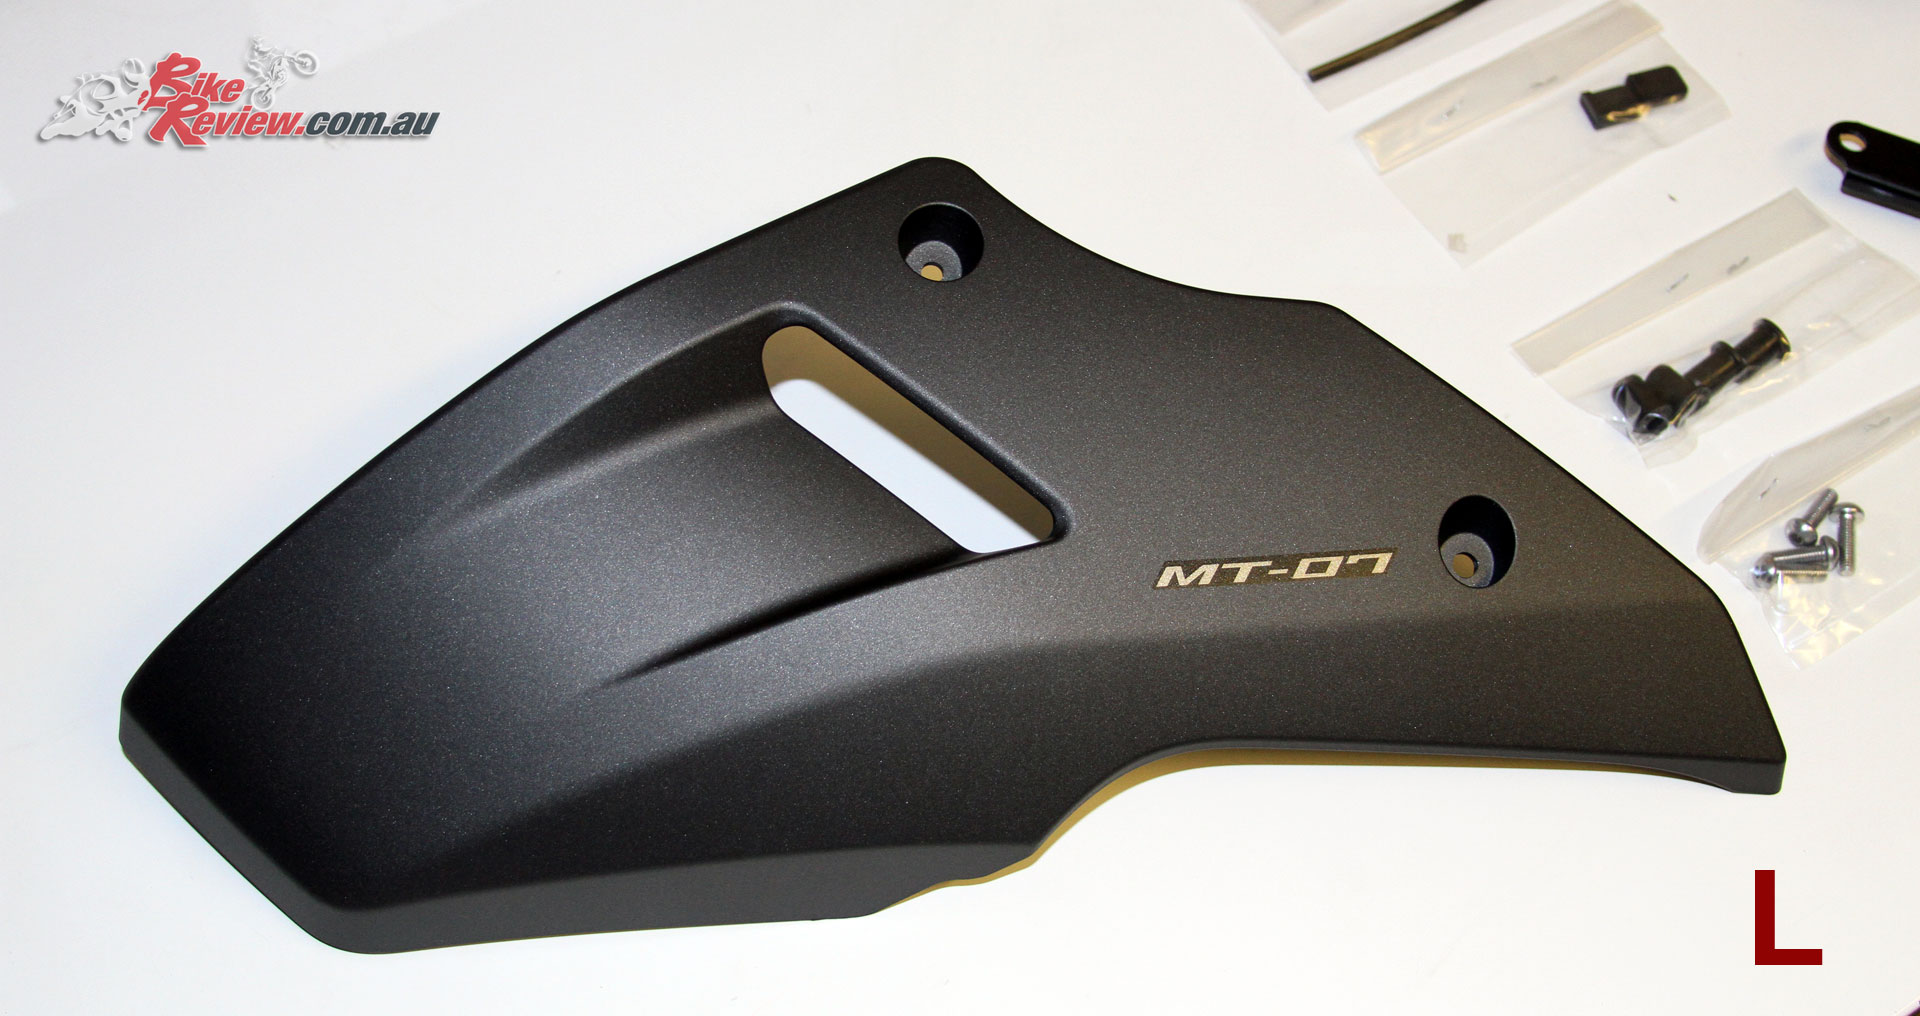
The left side Sub Cowl. These basically give the bike the belly-pan look.
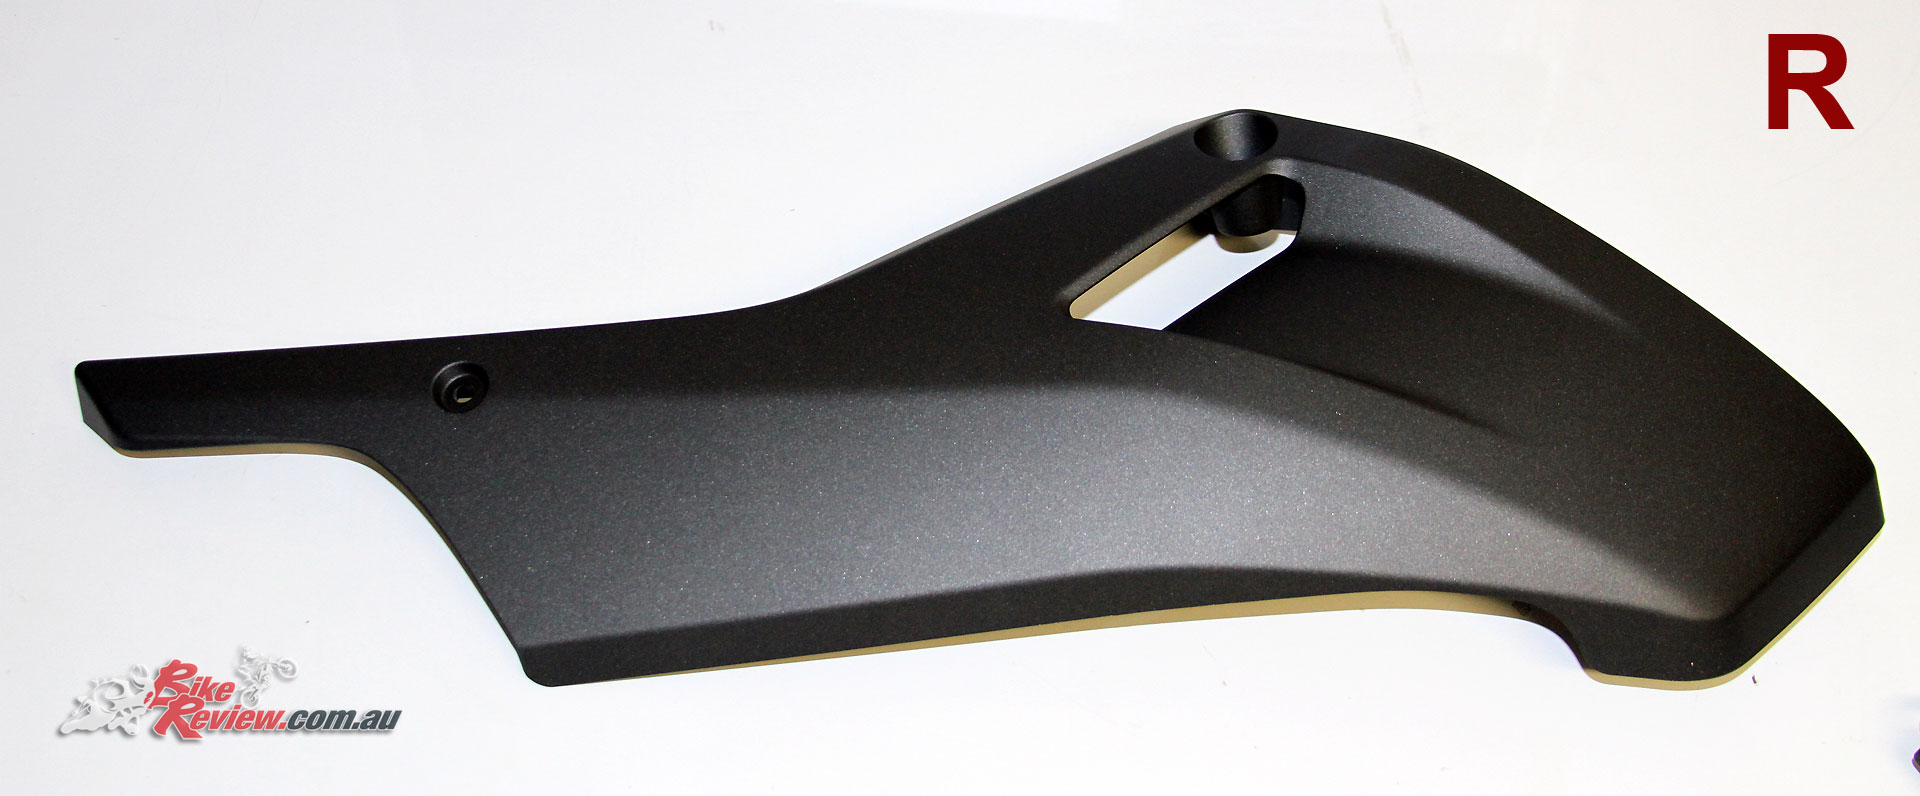
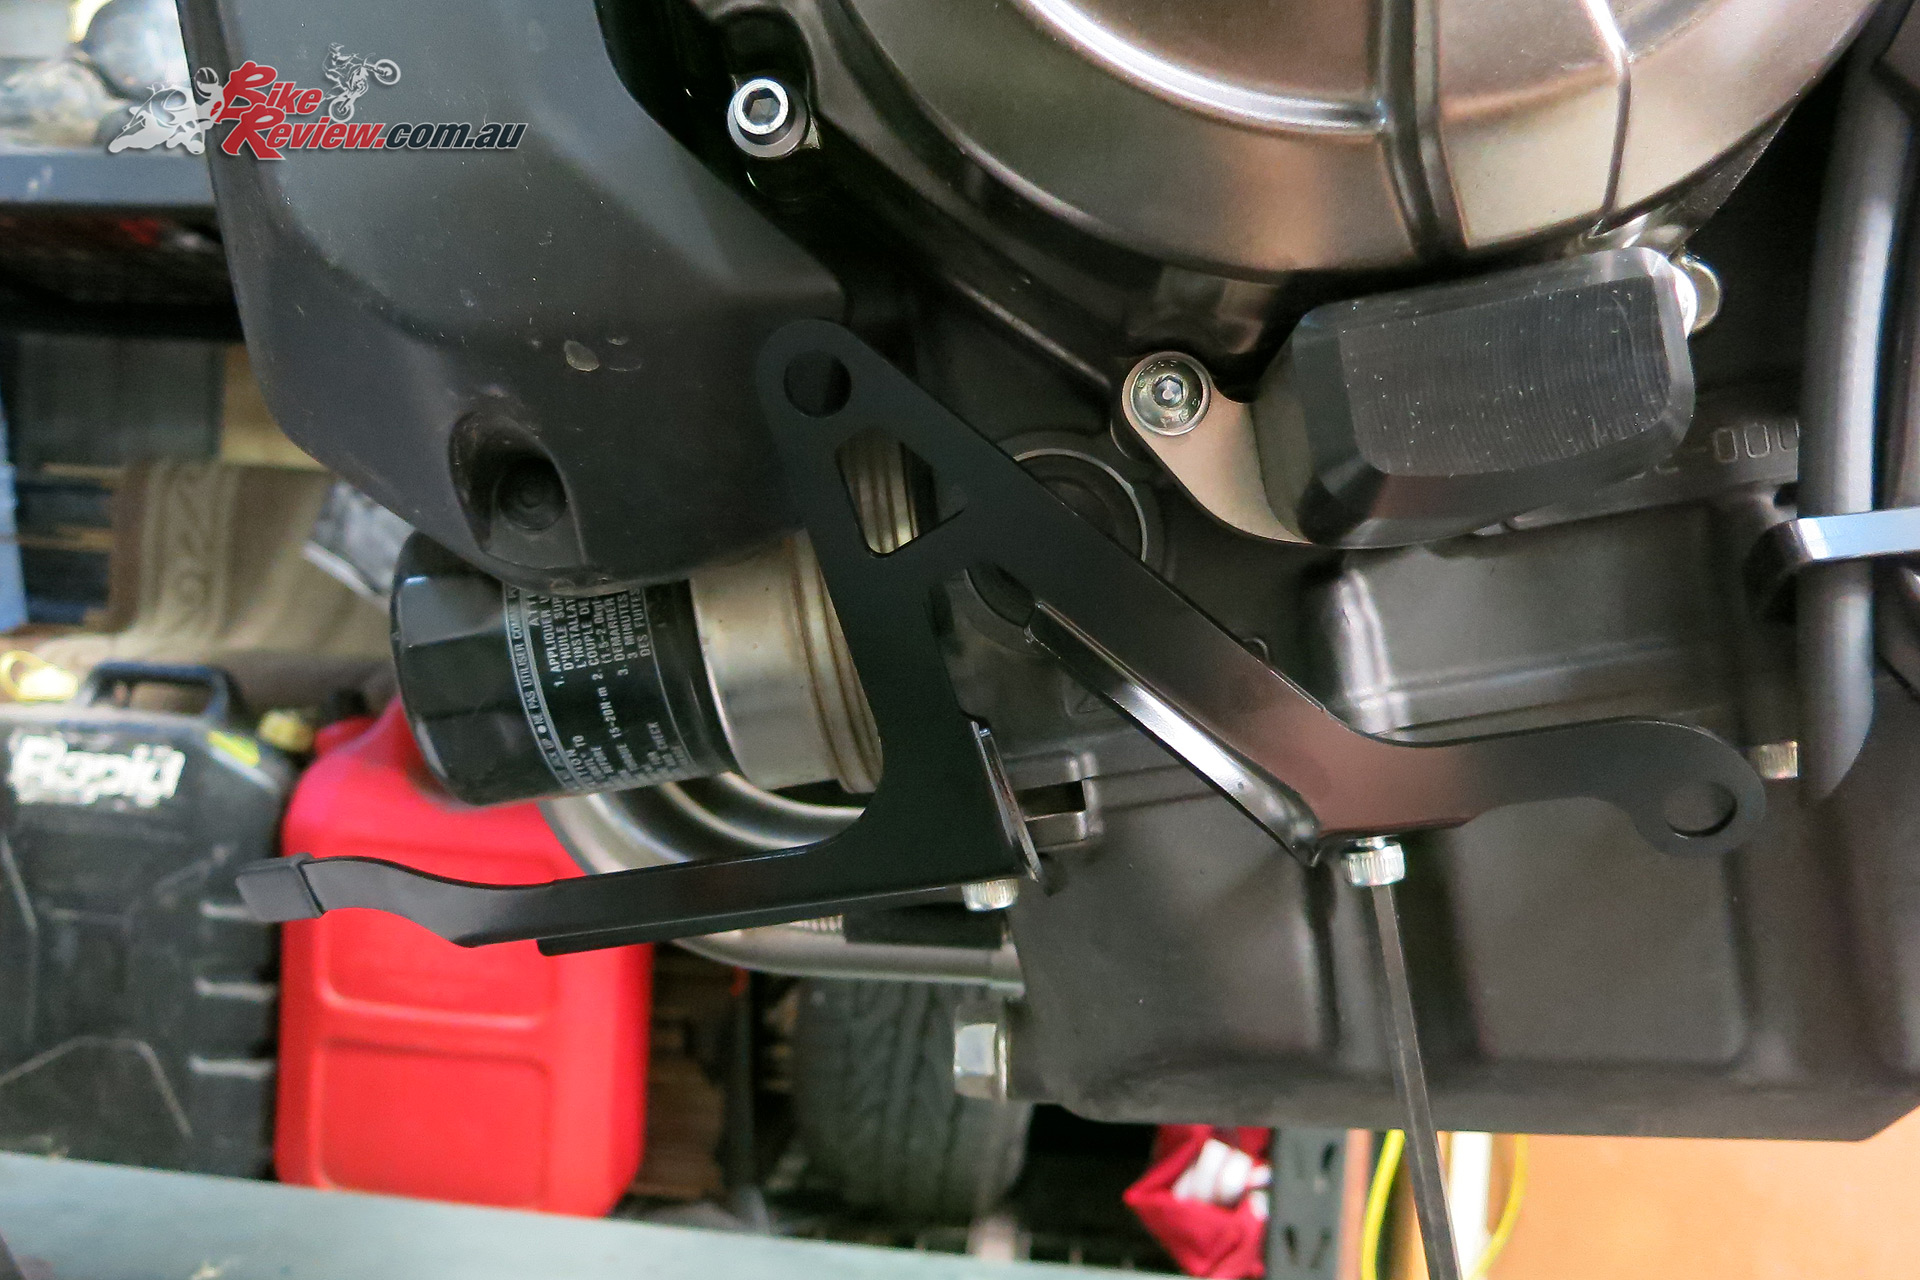
Right side sub-cowl. This side has the bracket which is mounted under the exhaust.
Left side is as easy as it gets. Check which sump bolts to remove.
Pull those two bolts, then fit the bracket. I tried to be quick to reduce the chance of leaking oil. This side didn’t seem to be a problem however.
Bracket fitted and bolts retightened. Obviously take the usual care that you would with sump bolts. You don’t want to overtighten these and damage the sump.
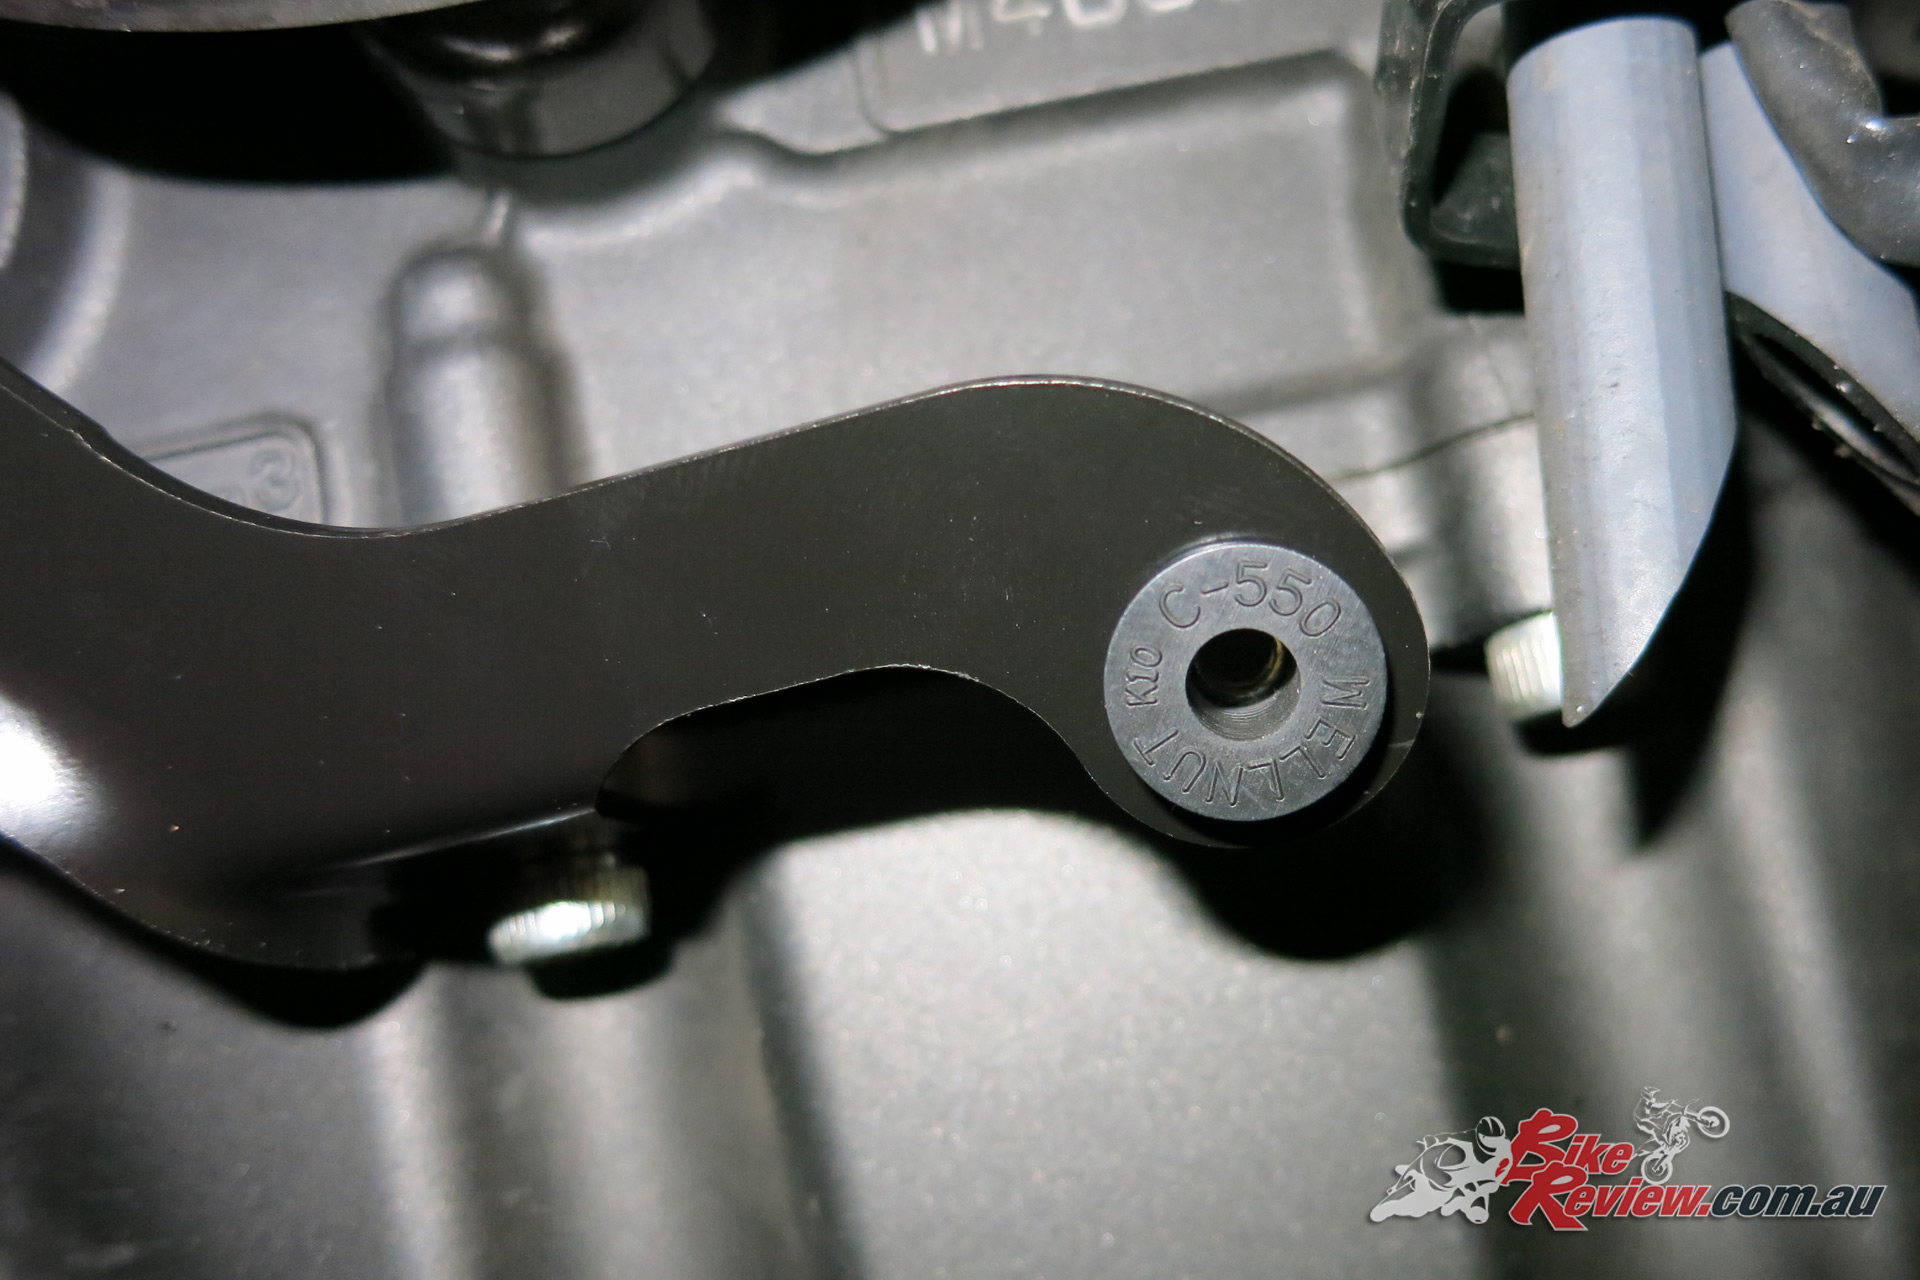
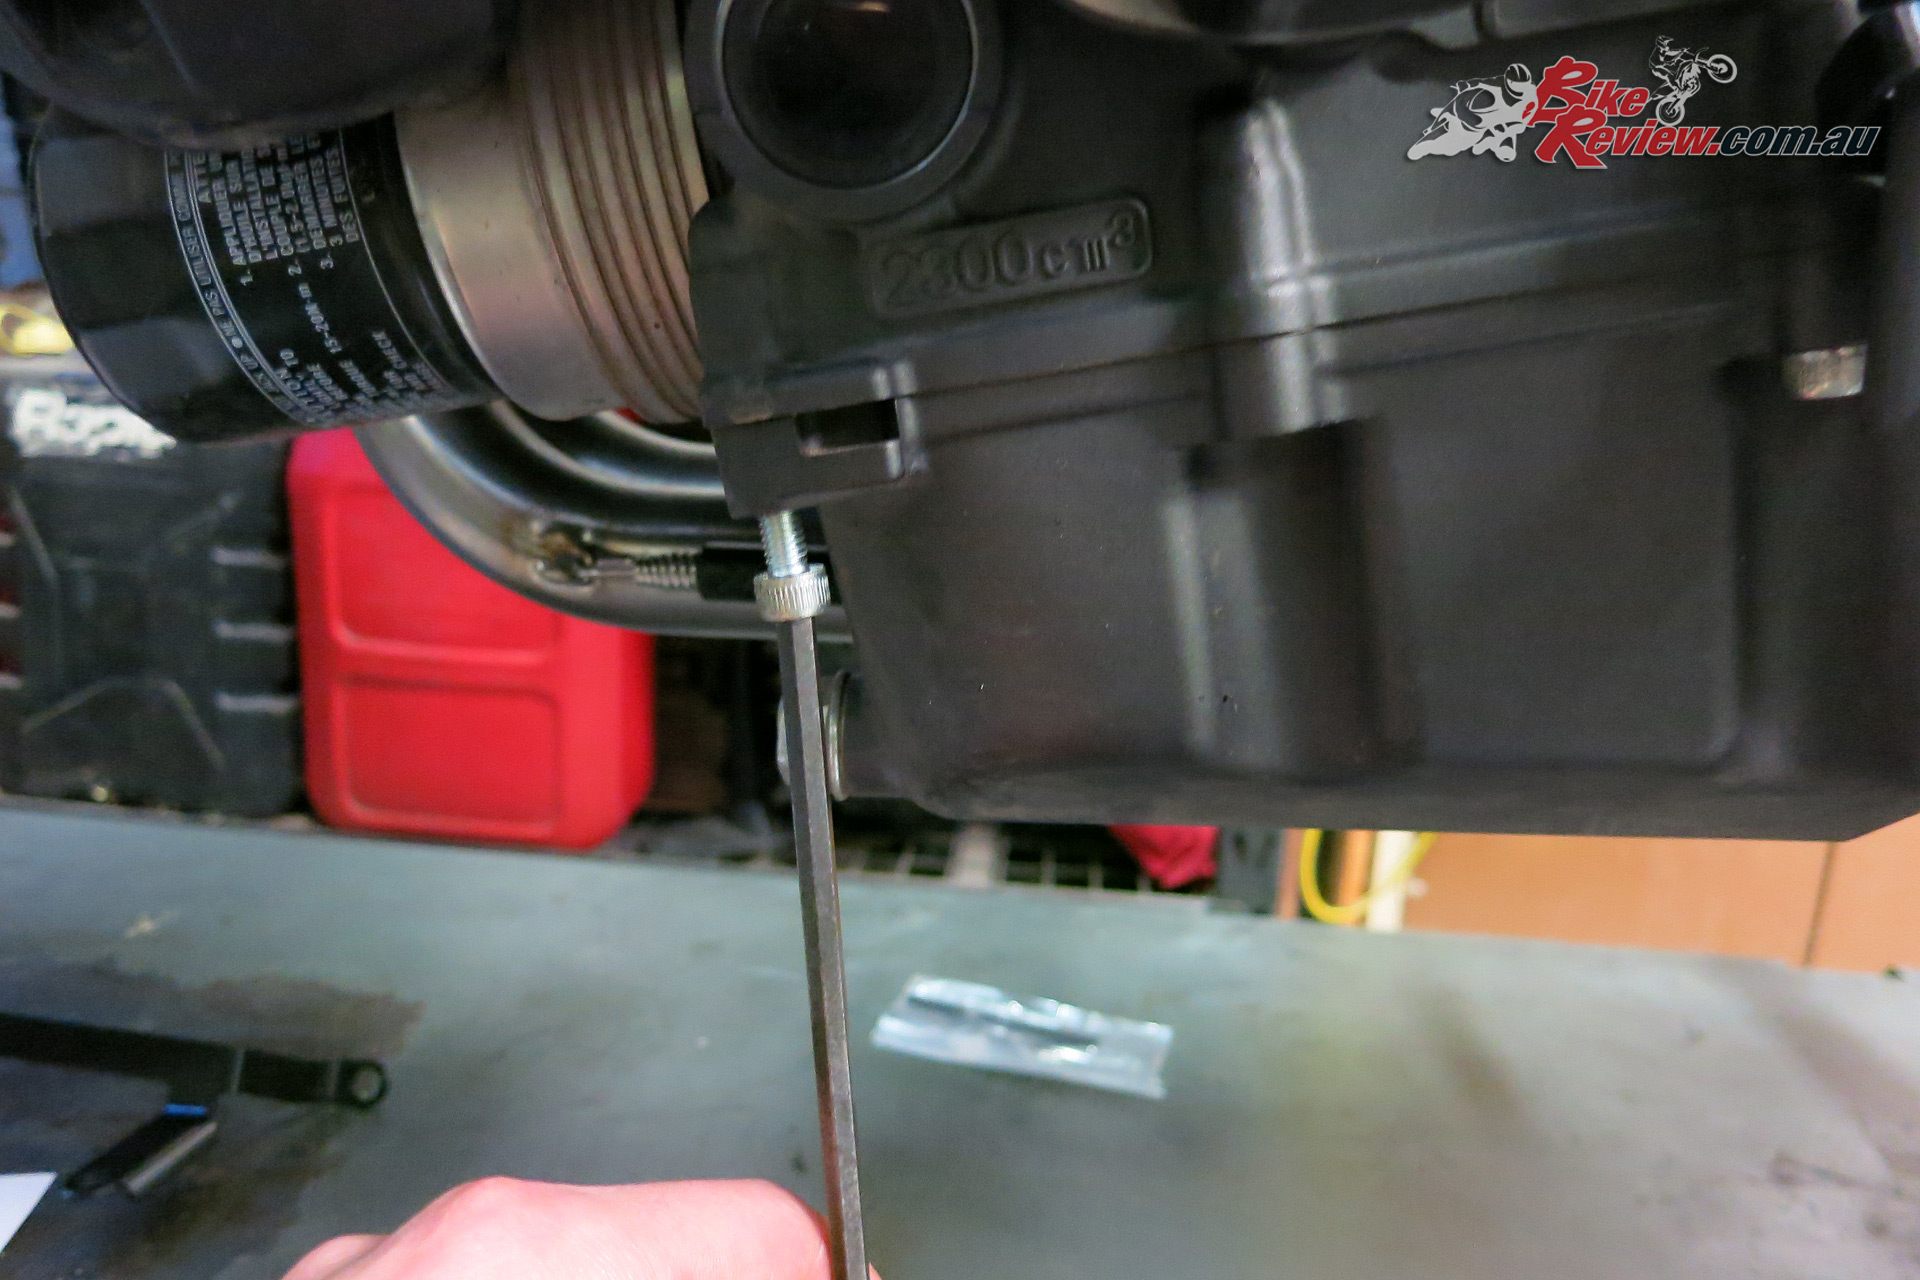
Put the wellnuts (rubber captive nut assembly) into the appropriate holes. These basically allow you to bolt the Sub Cowl in place, rubber mounted to reduce vibration issues. As tightened the rear expands holding the cowls in place.
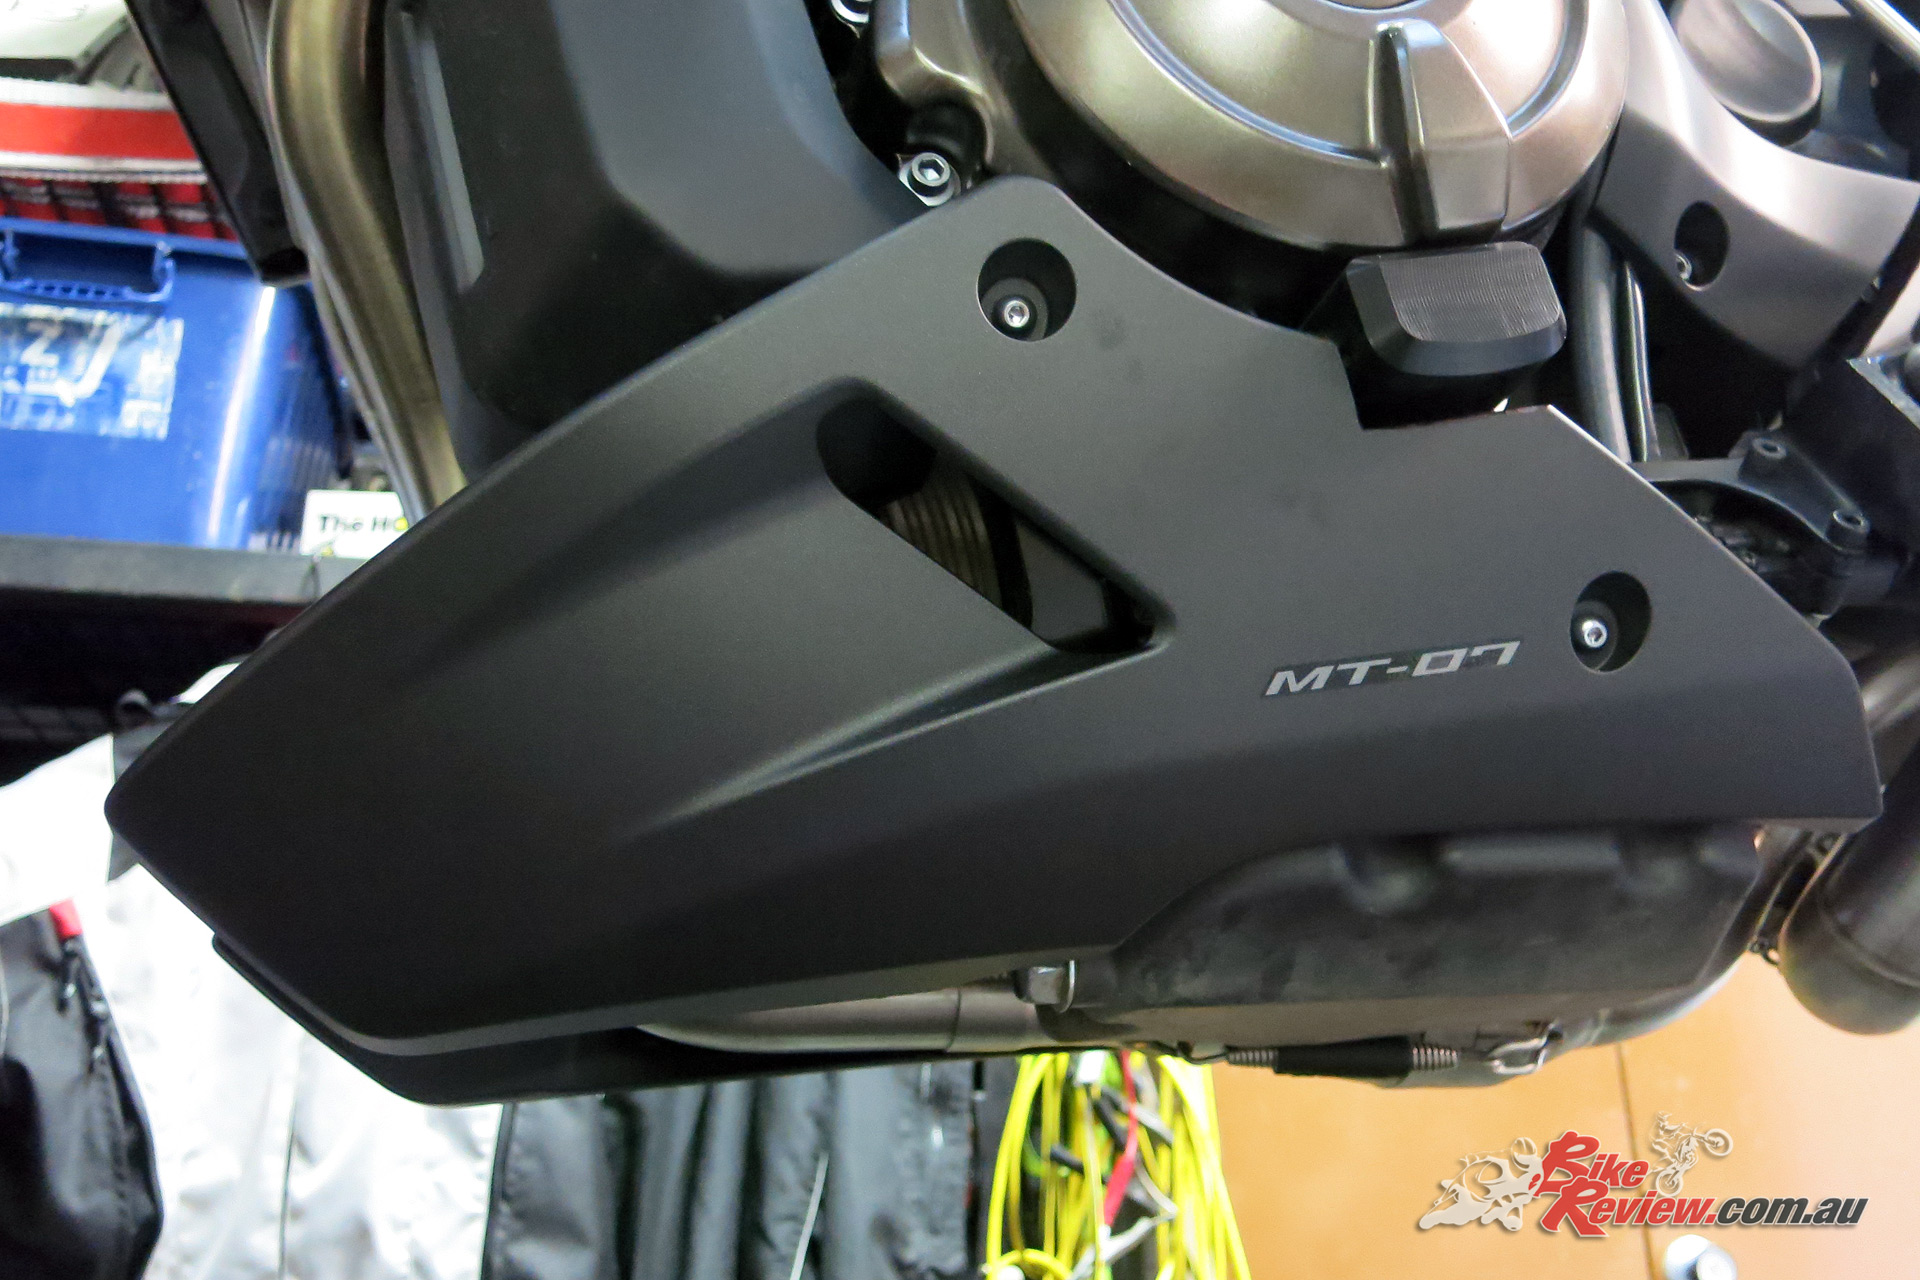
Left side fitted!
The other bracket requires access under the exhaust. We lowered the exhaust, but it would be much easier to do this step with the exhaust off.
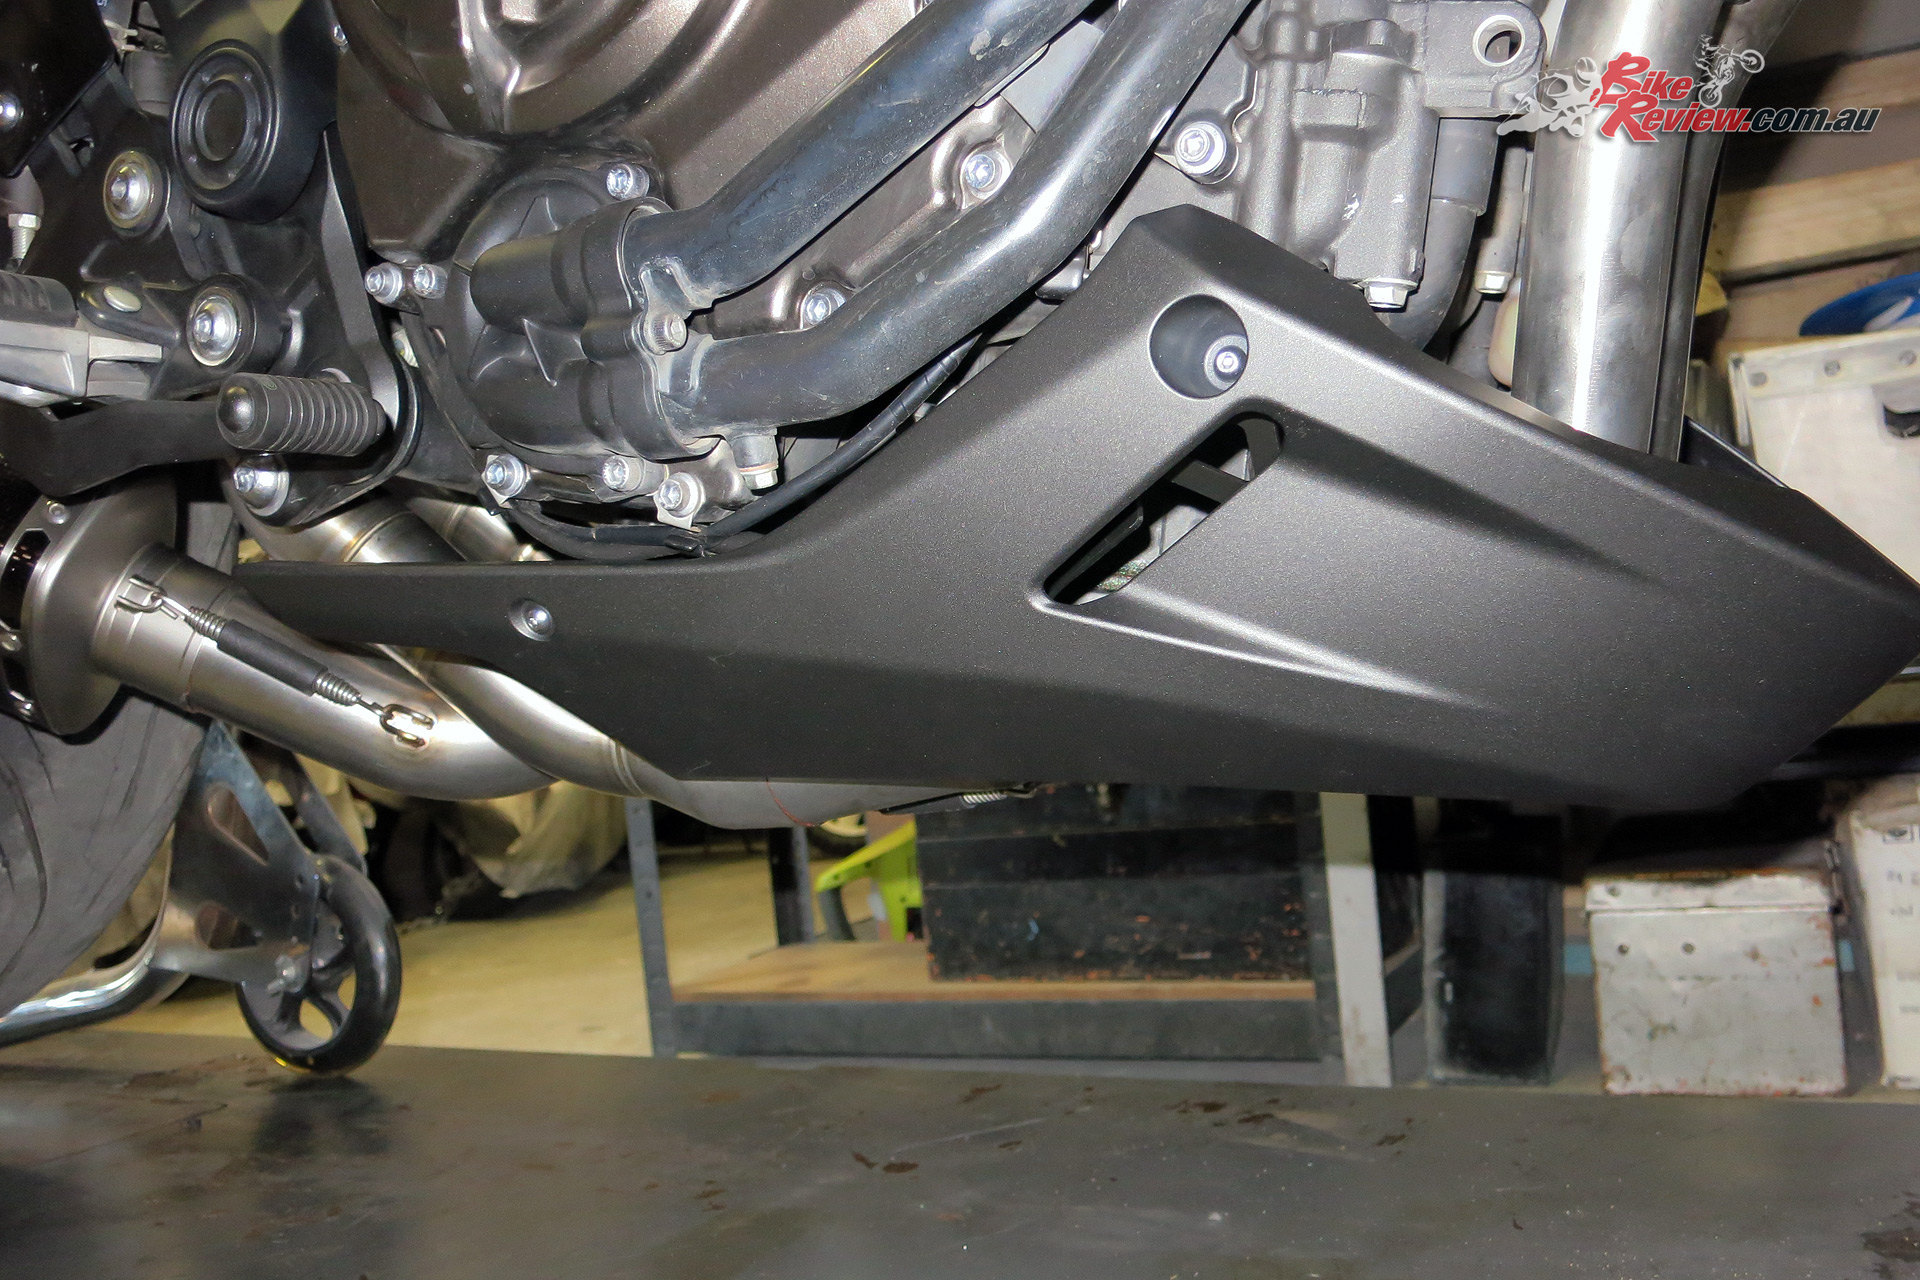
Right side fairing is fitted in the same method. Fit the wellnuts and then bolt on with the provided bolts. And you’re done!
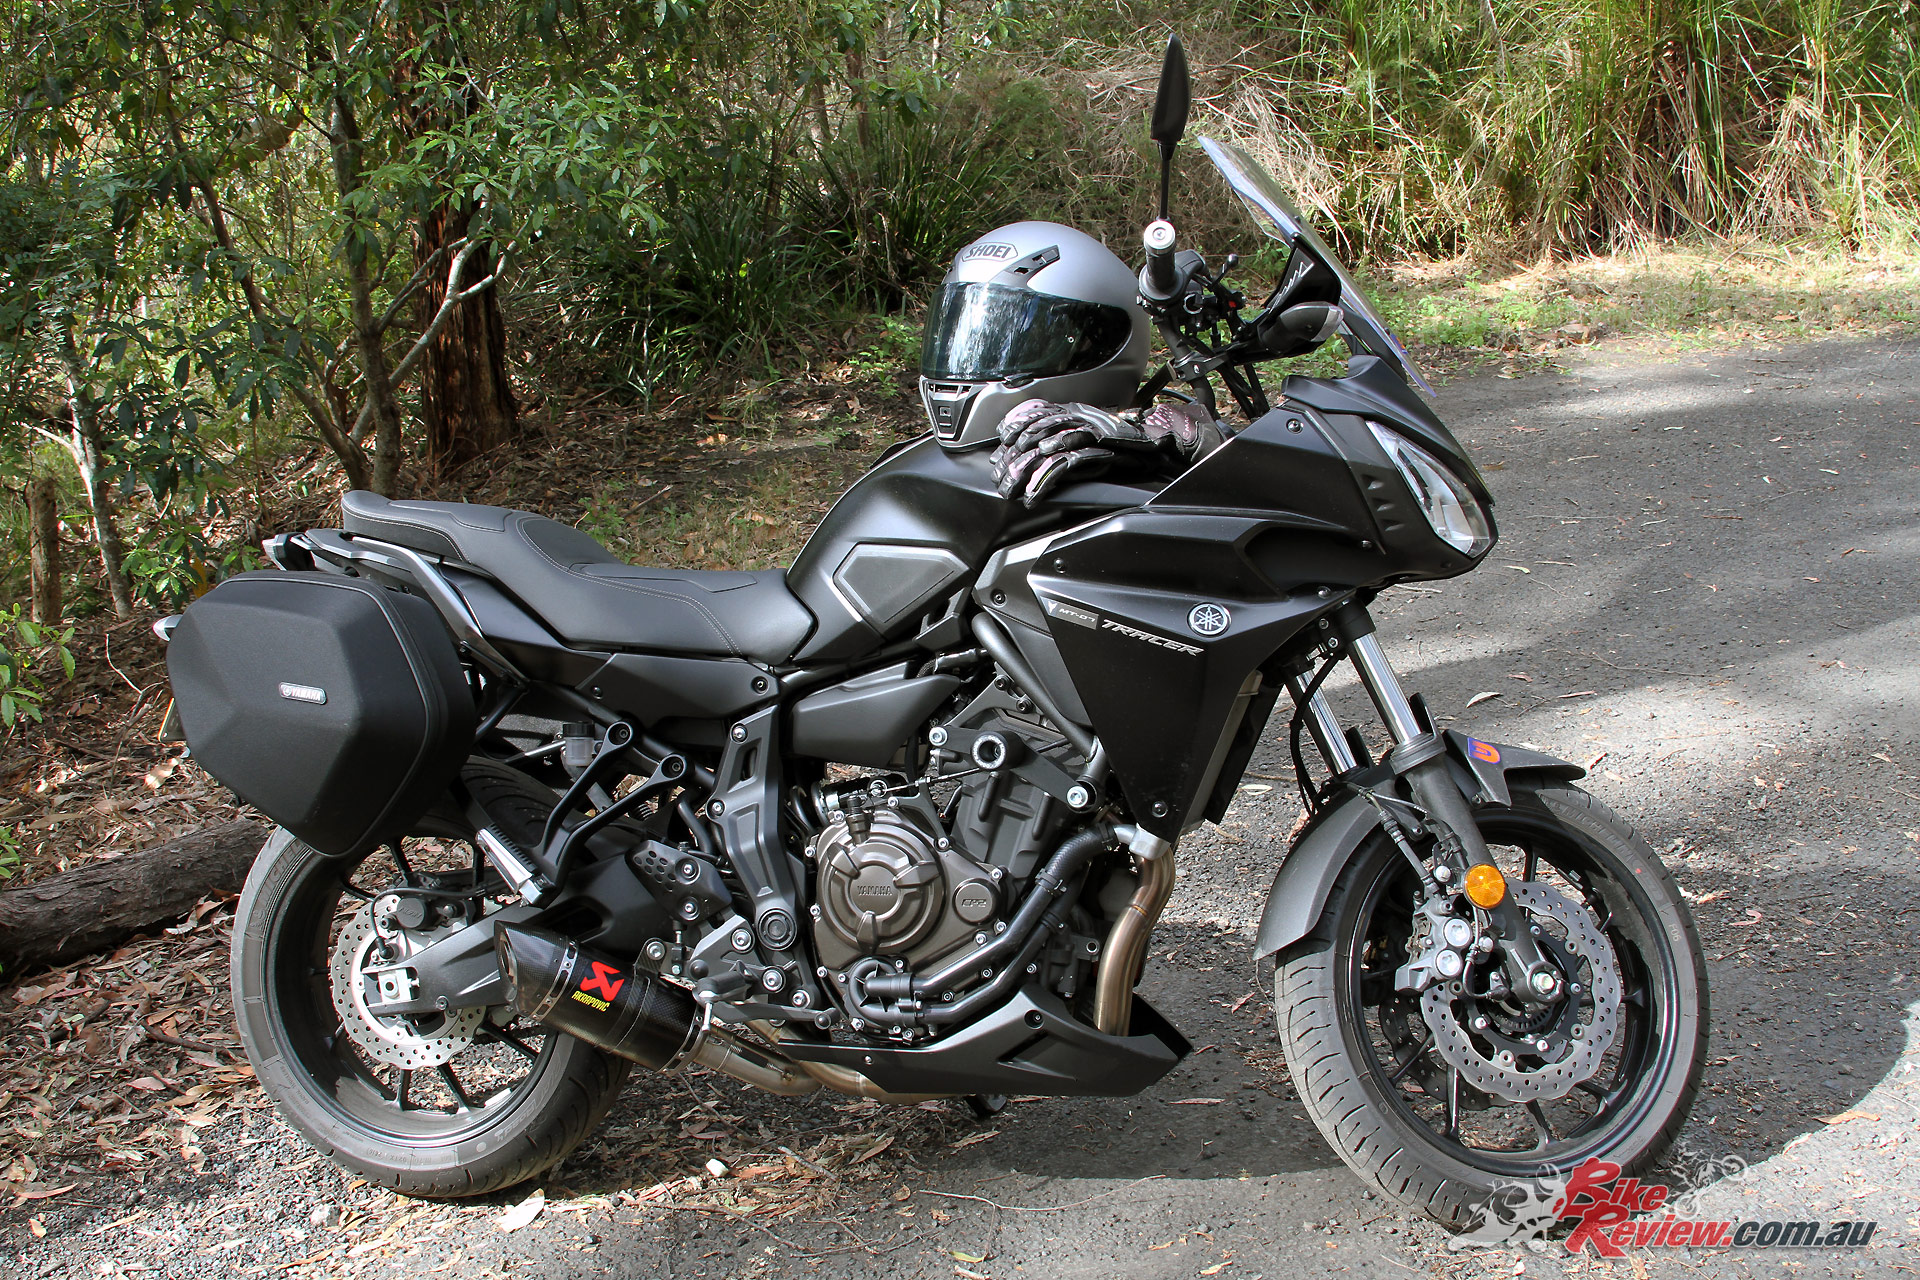
Our Long Term Yamaha MT-07 Tracer all kitted out.
All up the Akrapovic and Sub Cowl exhaust on our MT-07 Tracer only took a few hours, but that was slowed by taking photos each step of the way, as well as while unpacking everything. It could probably be done in about an hour, if you’re familiar with your tools, and have done this kind of work before.
The provided instructions are easy to follow and the end result looks the business.
You can check out the full range of genuine accessories available for the Yamaha MT-07 Tracer (Tracer 700) at the Y-Shop, or enquire at your local Yamaha dealership.
To check out all out Long Term MT-07 Tracer articles see here, or for our full review here: Review: 2017 Yamaha MT-07 Tracer LAMS.
You Might Also Like