
Fitting a Rapid Bike fuel module is a great way of improving performance or allowing tuning for aftermarket performance accessories. Here's how to fit the EVO module.
Installing a fuel module is generally pretty straight-forward as long as you’re comfortable lifting the tank on your bike and working with the many electrical plugs that connect your bike’s wiring loom to the various sensors and systems. Most will plug right in, so all you’ll need is a limited number of tools, a good light source, the instructions, patience and a camera or phone with build in camera.
This last item will help if you’re not super familiar with where everything goes, like the various plugs/tubes under your tank. Just take a snap shop and you’ll be able to refer to your pictures when it comes time to put things back.
Likewise being organised with any nuts or bolts removed will make putting everything back really easy!
With this Rapid Bike EVO unit, from Quick Lap Performance (quicklapperformance.com.au) the instructions are really clear, with the bike specific wiring that comes with your unit having each connector marked for it’s specific plug. The instructions themselves explain where to find each plug so as to avoid any confusion and how they are numbered, for the injectors.
Disconnecting the battery is also a good idea, and you’ll be connecting the EVO unit to the negative terminal once installed.
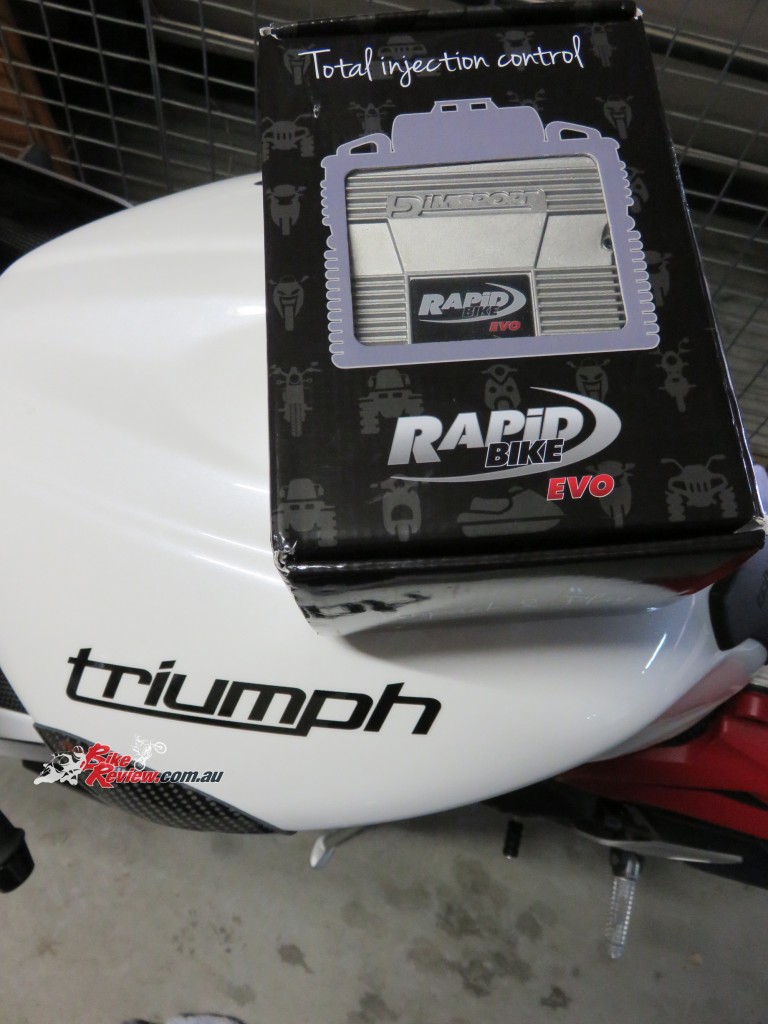
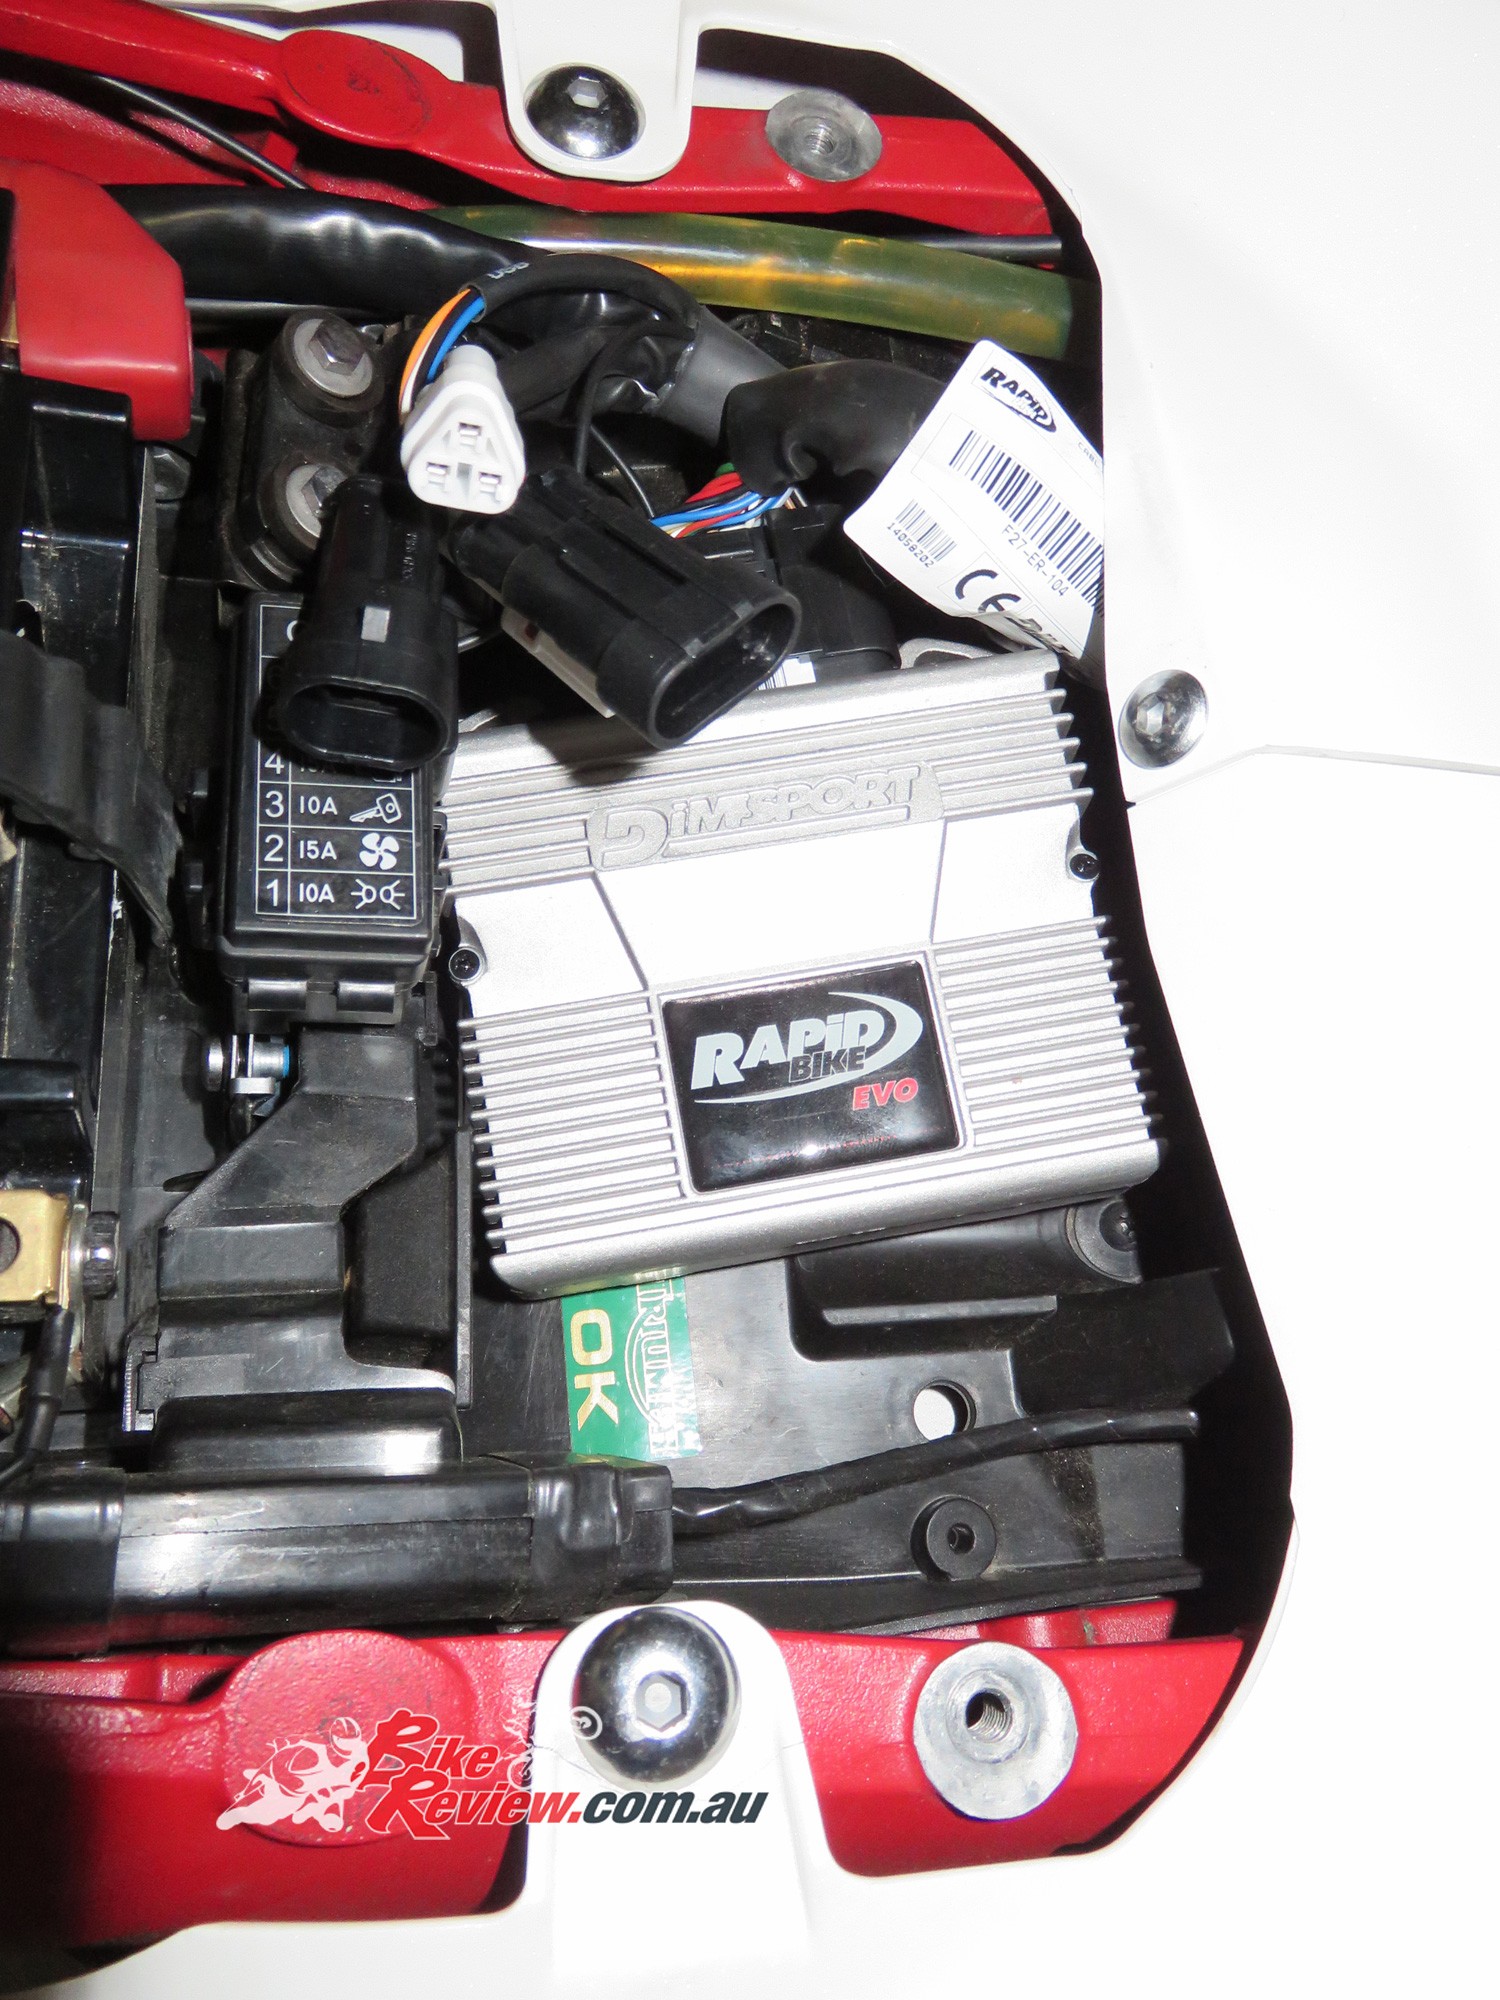
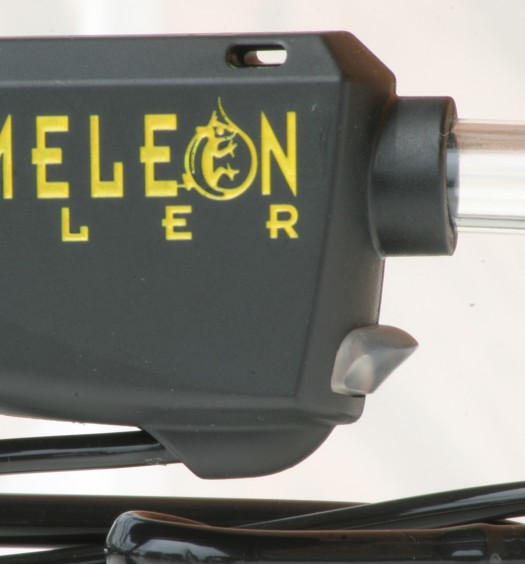
The Rapid Bike EVO module has arrived, specific for a Triumph Daytona 675 2013-2015. That includes the specific wiring loom and the software loaded, although you can move modules between bikes if you update the software and get a new wiring loom (for the fuel module) as required.
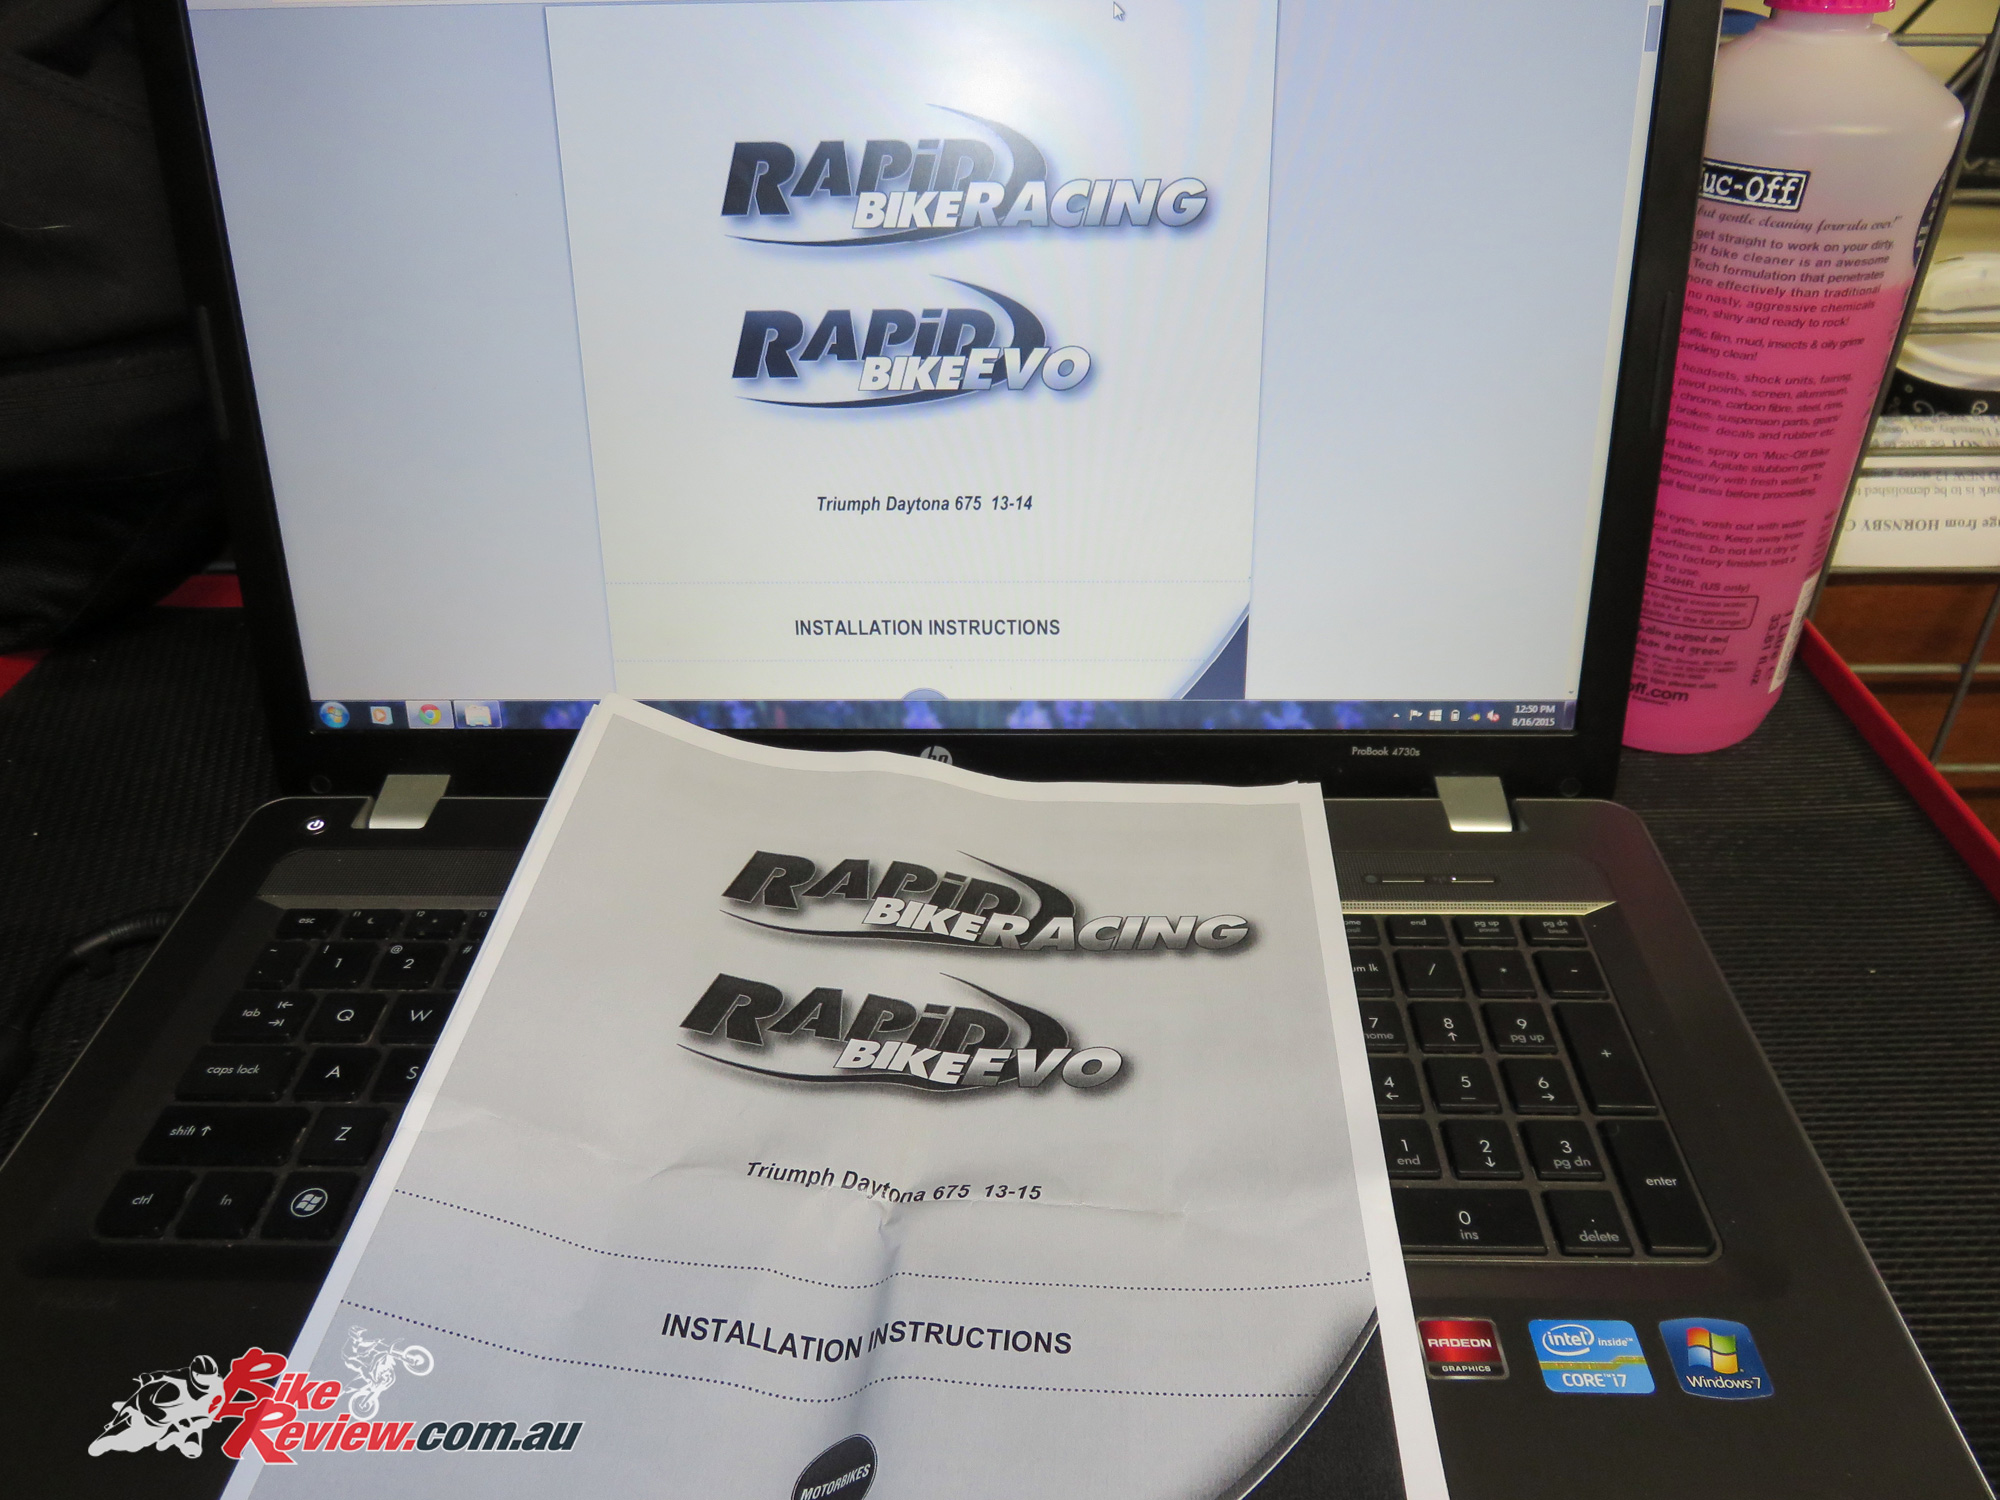
Here’s the instruction booklet and it’s available in a PDF as pictured behind on the laptop screen. Having the printed copy on hand worked well for me, especially once your hands are dirty. Now’s also a good time to download the Rapid Bike software, which you’ll need the serial off the back of your Rapid Bike module to register. Record that somewhere safe now, to avoid having to find it after the install!
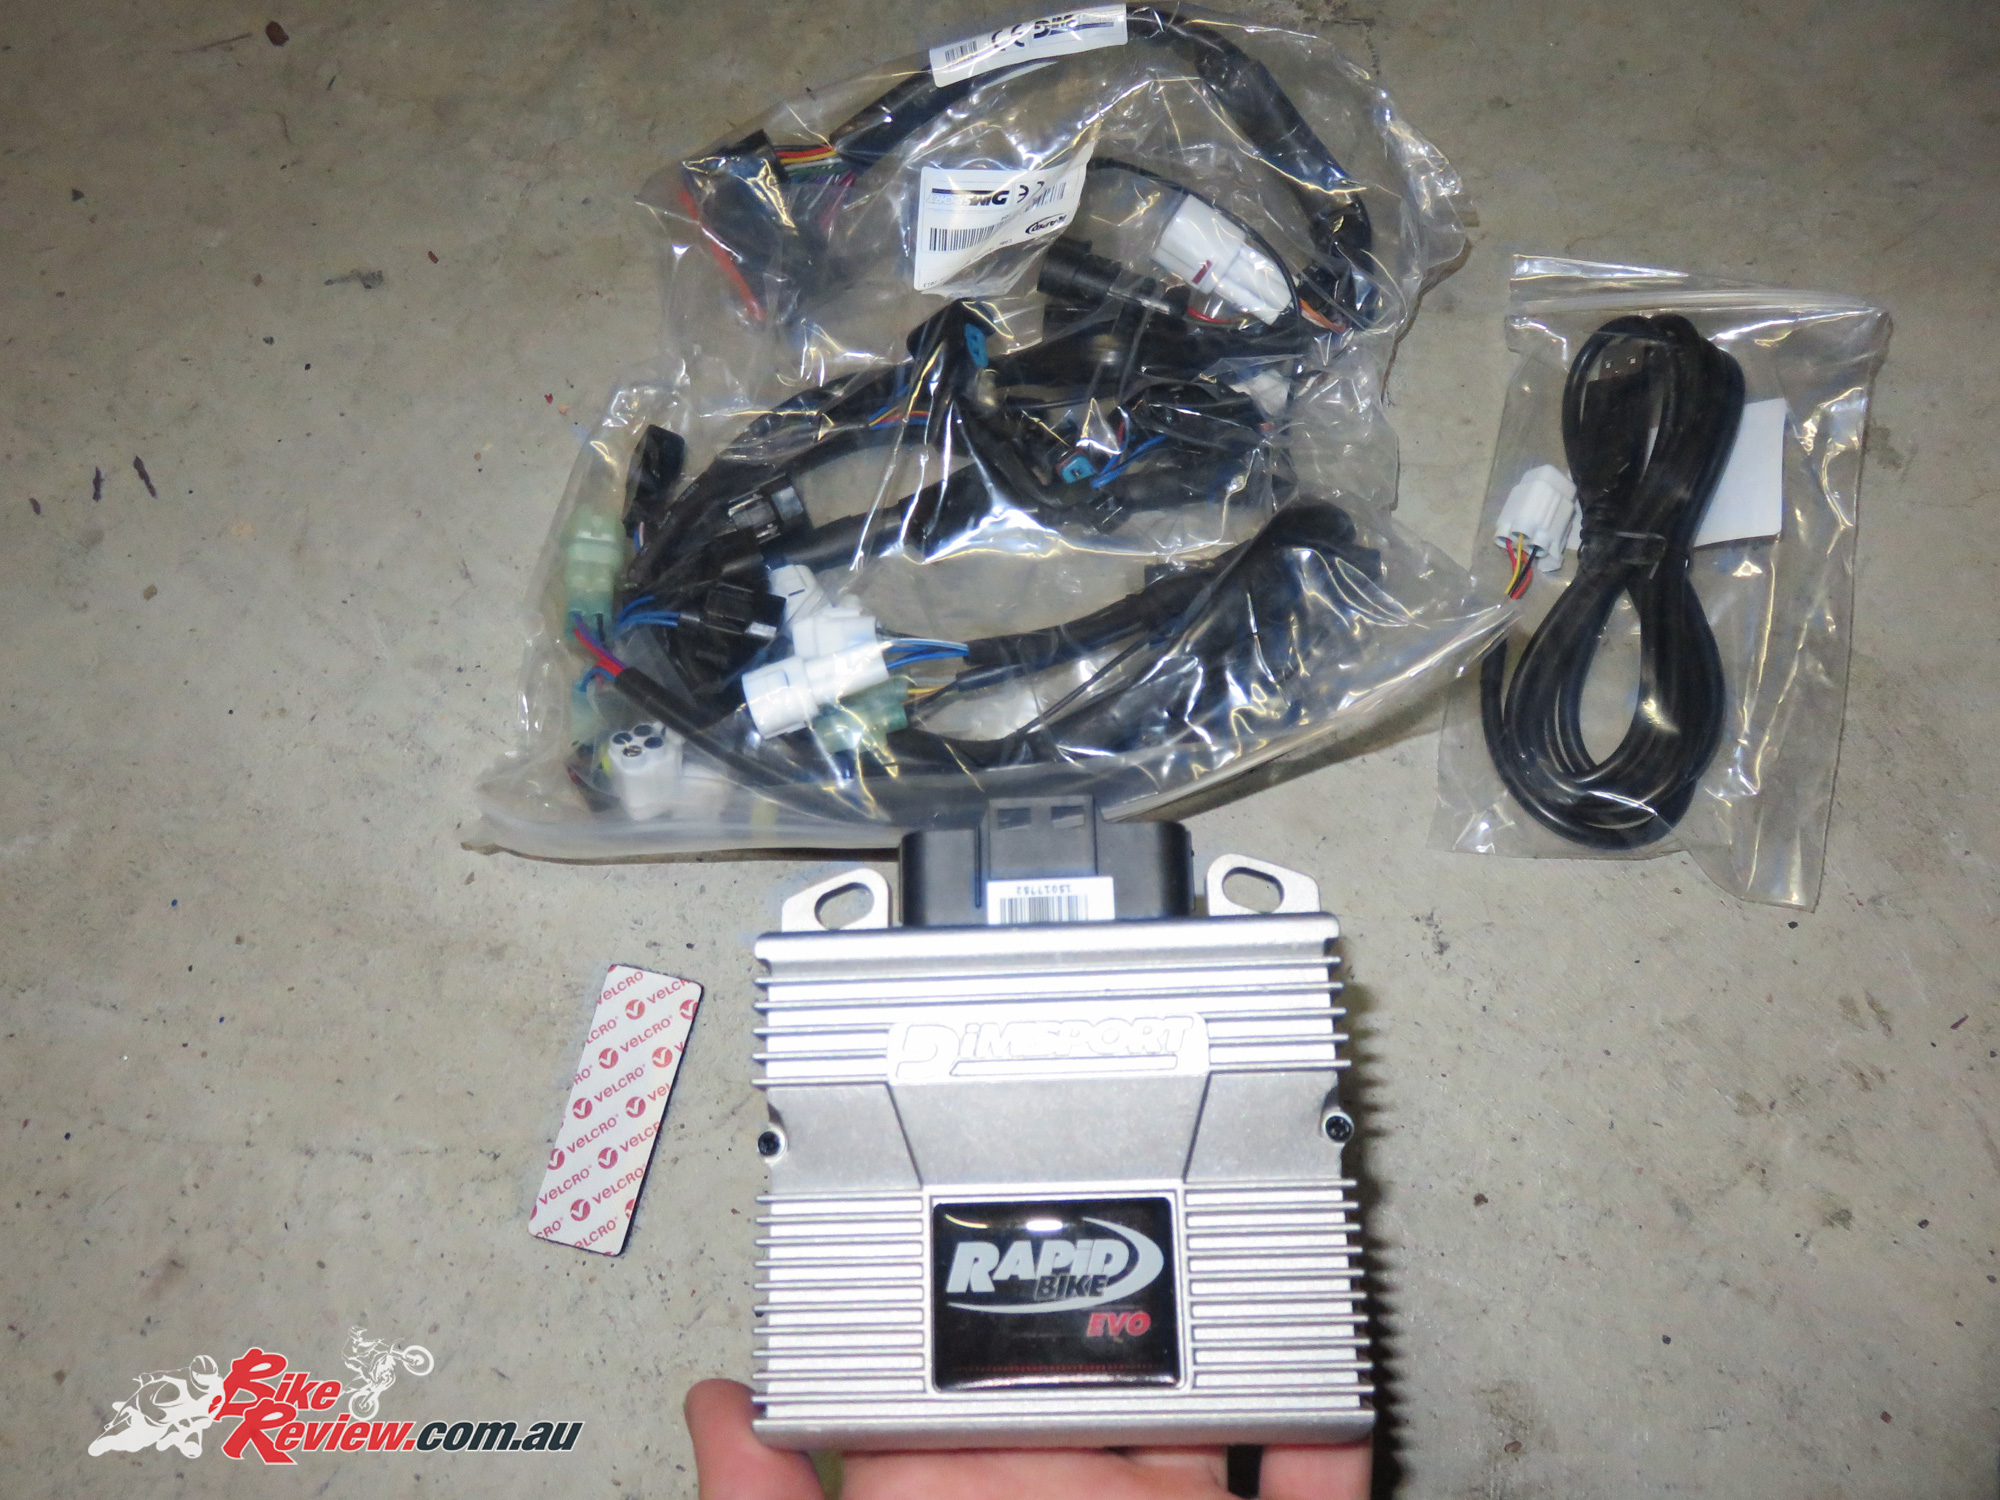
Here’s the contents of the box, minus the instructions pictured above. There’s the module, with Velcro to hold it in place, the wiring loom to connect into your bikes wiring loom and the USB cable for connecting the module to your computer.

Here’s the Rapid Bike wiring loom. Now’s a good time to check if it matches the instructions and familiarise yourself with what the plugs are connecting to. You can also start planning where you’ll run it, under the seat and tank if you’re familiar with your bike’s layout.

Once you’ve read the instructions a few times and have everything on hand the first step after disconnecting the battery and removing your seat is to lift the tank. On the Daytona that’s two bolts with allen key heads. The tank will also safely sit lifted once you disconnect the overflow and air breather pipes, just remember which is which. It’s a good practice to hold the tank up in place with a bungee cord or similar. If the tank comes down on your fingers or head you’ll be regretting not taking the precaution.
If you need a photo of the undertank plugs, just lift it enough to get your camera in with the flash on and take a couple of snaps. It’s a bit of easy insurance, although you’ll often be able to find similar info on forums specific to your bike.

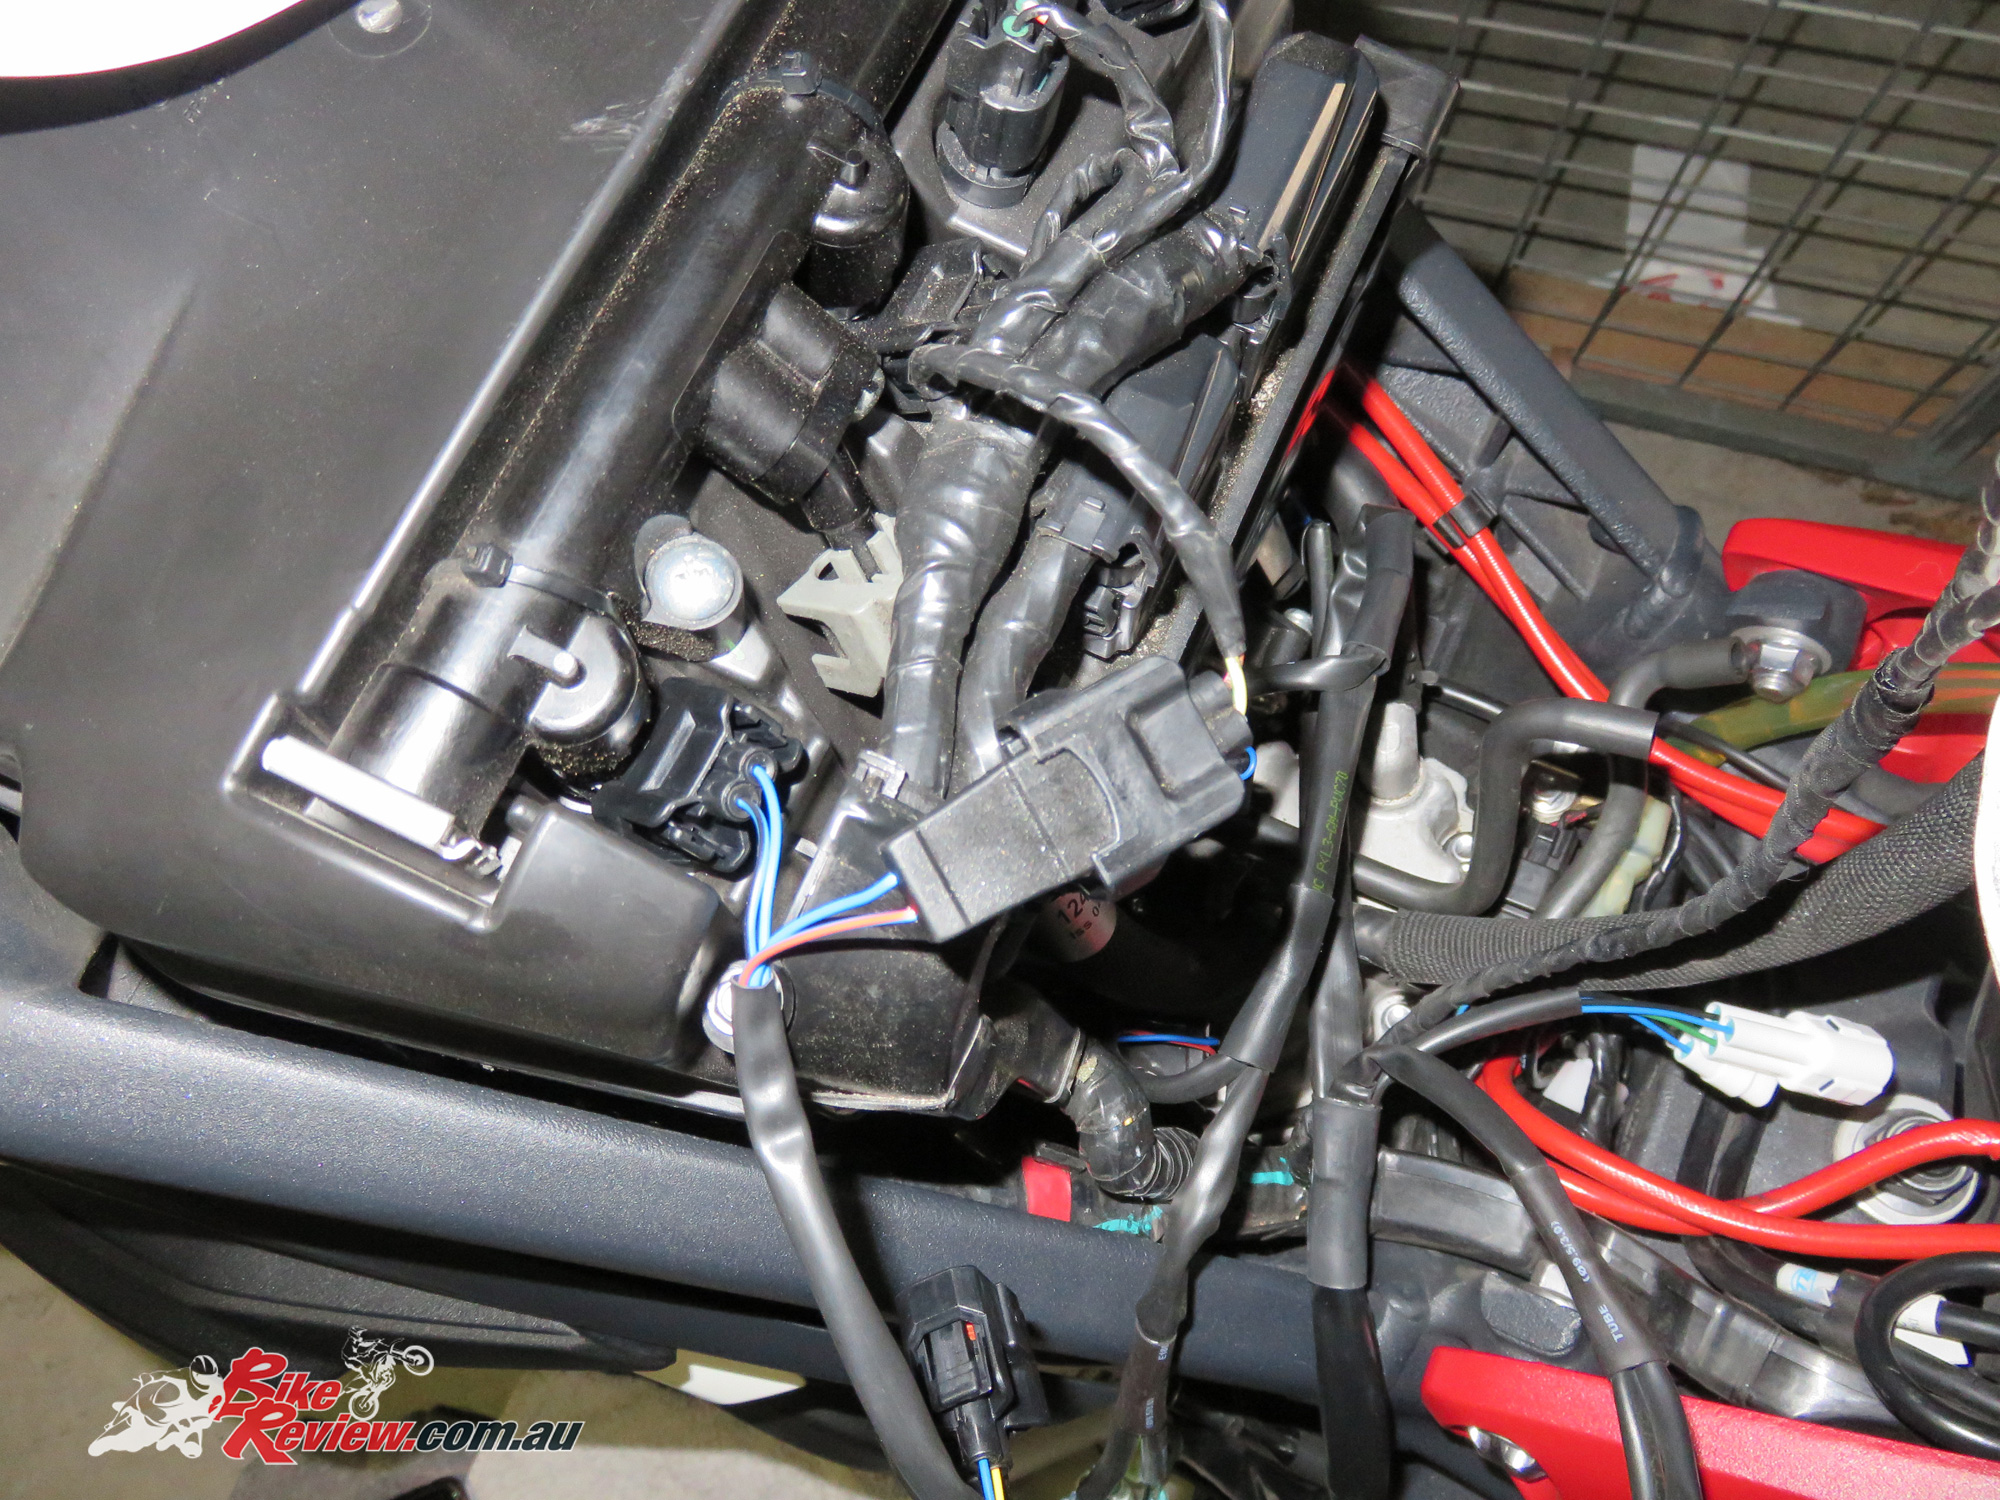
I’ve loosely run the Rapid Bike wiring loom along the inside of the frame, back to under the seat where it’ll connect to the Rapid Bike EVO module and plugged it in to make sure it’ll sit OK once I add the Velcro. You need to make sure there’s enough free play to get all the plugs onto the correct connectors, which it shouldn’t be a problem with the module situated under the seat. Also make sure the black connector for the battery negative is run appropriately. Moving the wiring later is quite a chore with all the connectors on either end making it quite difficult!
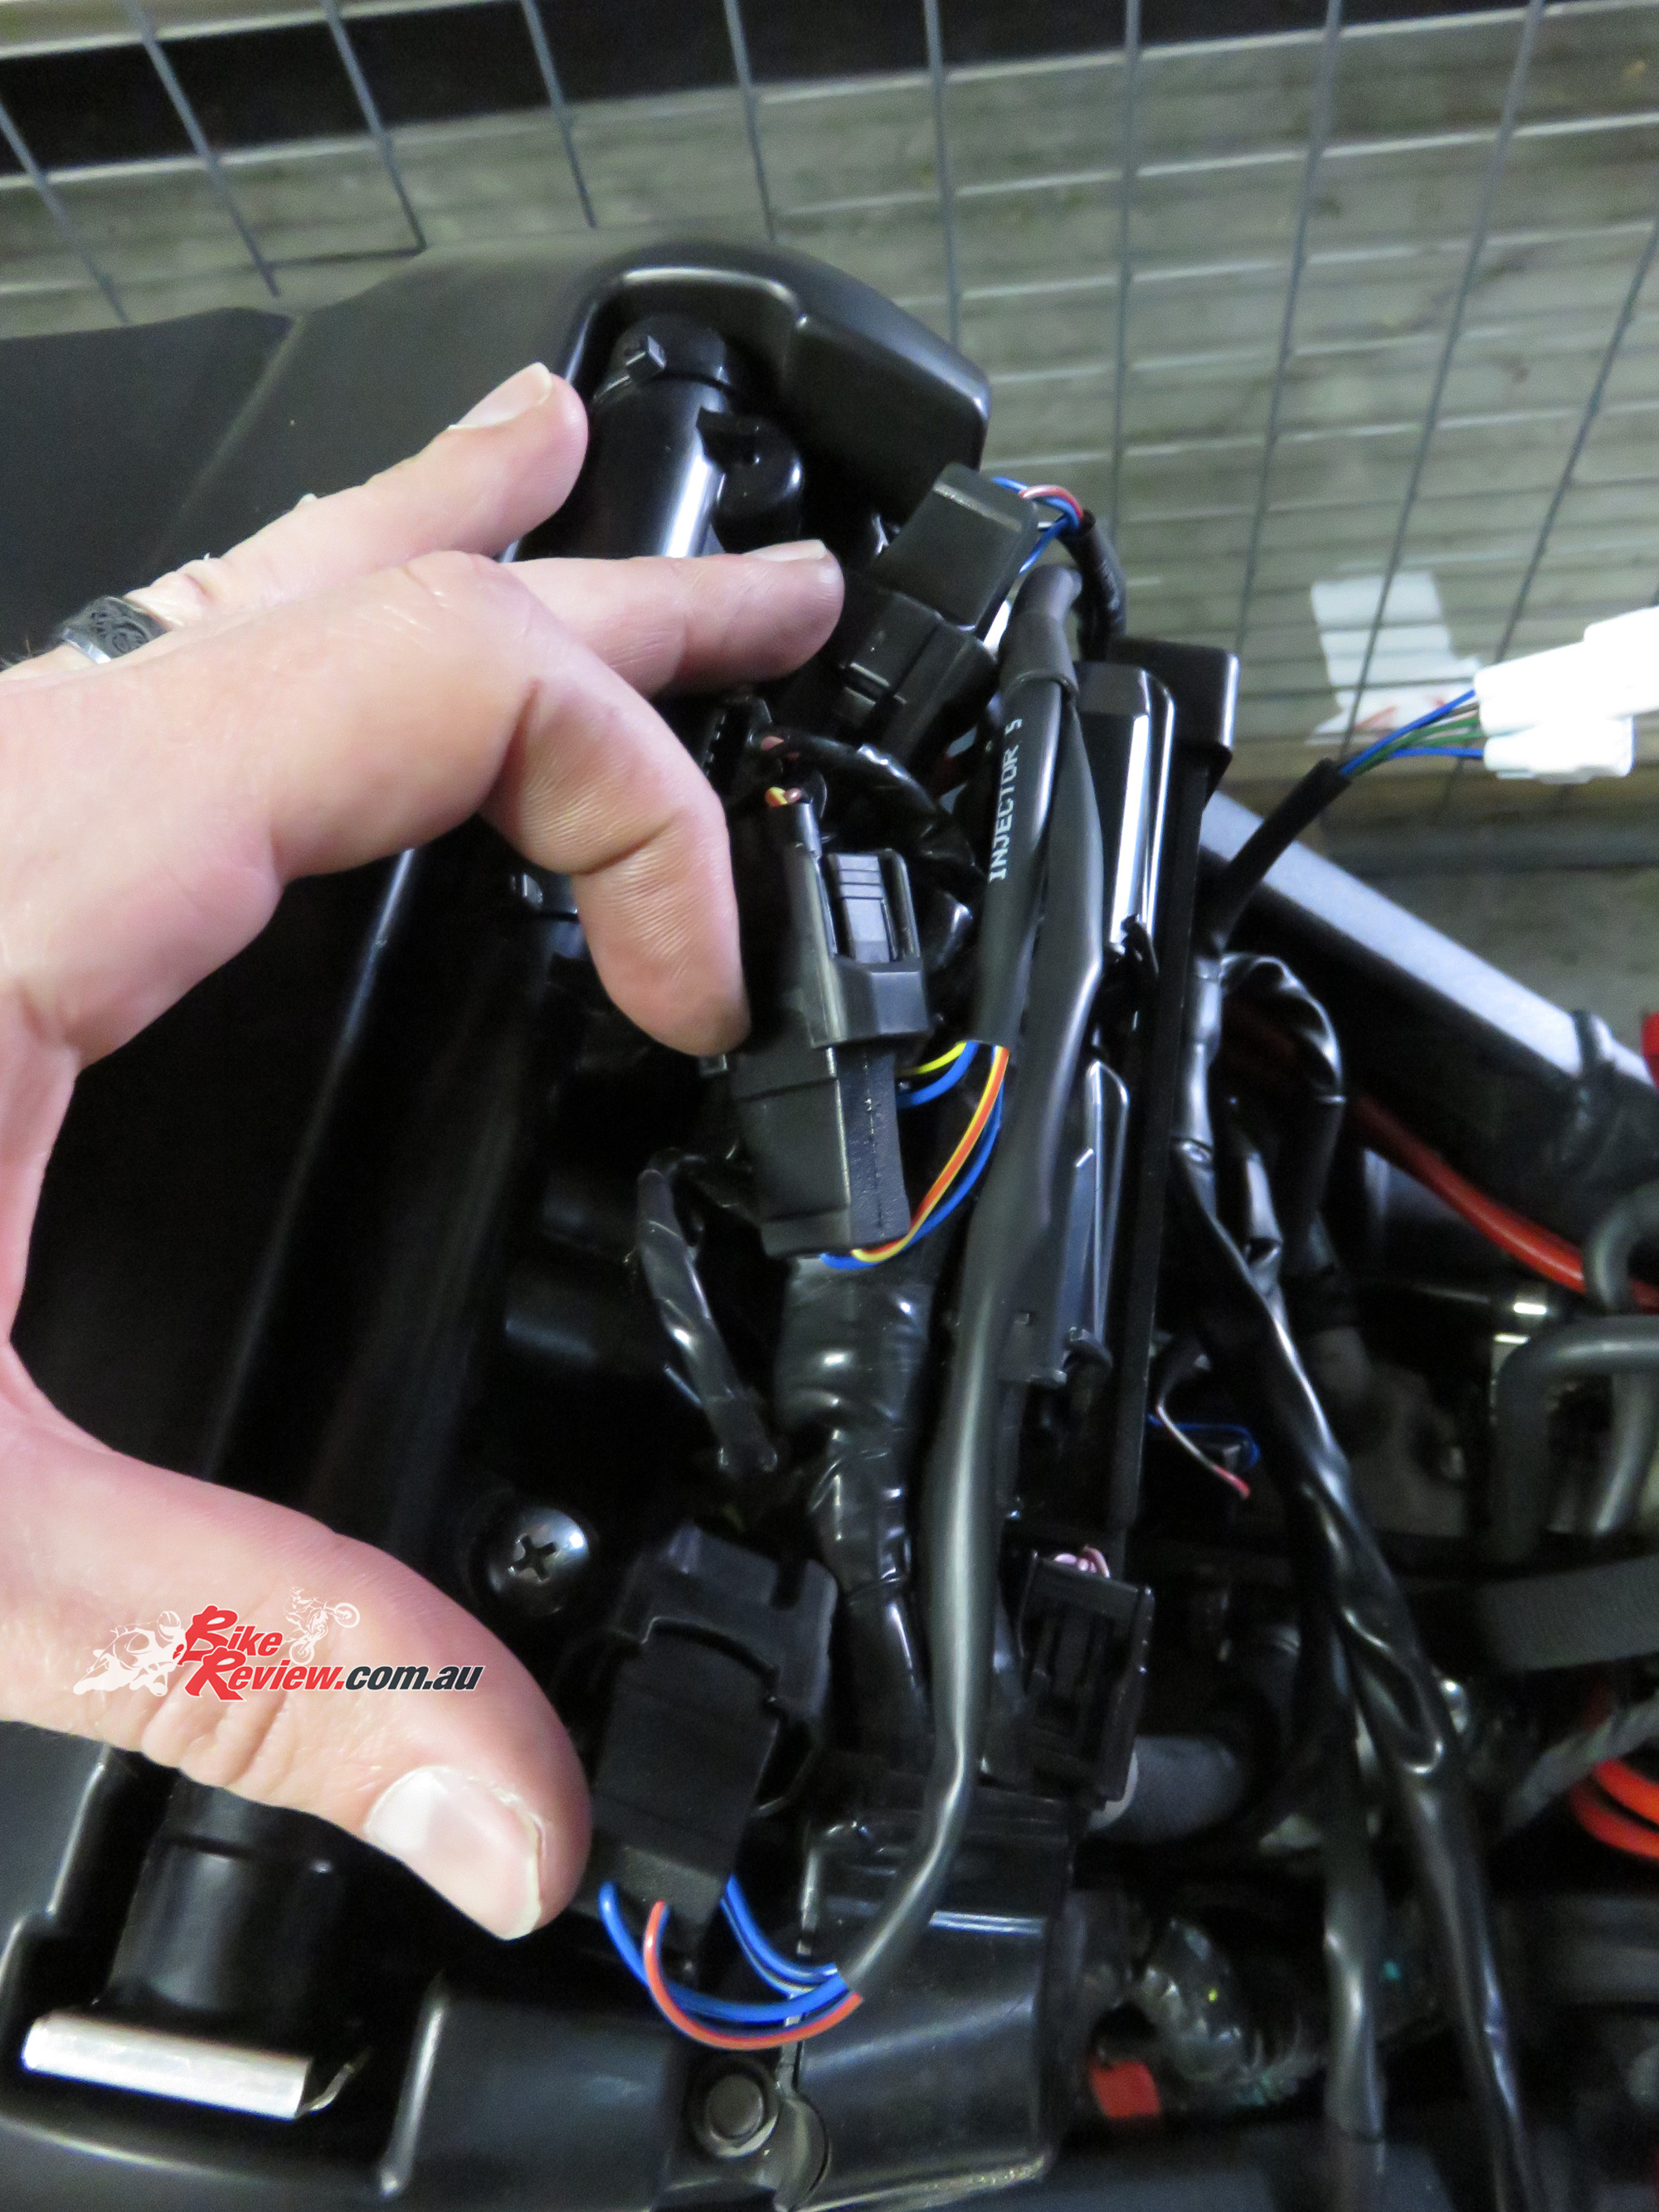
Now it’s time to start plugging in, there are the injector plugs, with an upper and lower row on the Daytona 675 2013 model, the lower ones are quite a tight squeeze to get fingers into, to disconnect them and then put the EVO module plugs in between. Make sure you read the instructions thoroughly here to ensure you’re plugging each plug into the appropriate injector plug. They are numbered with instructions provided.
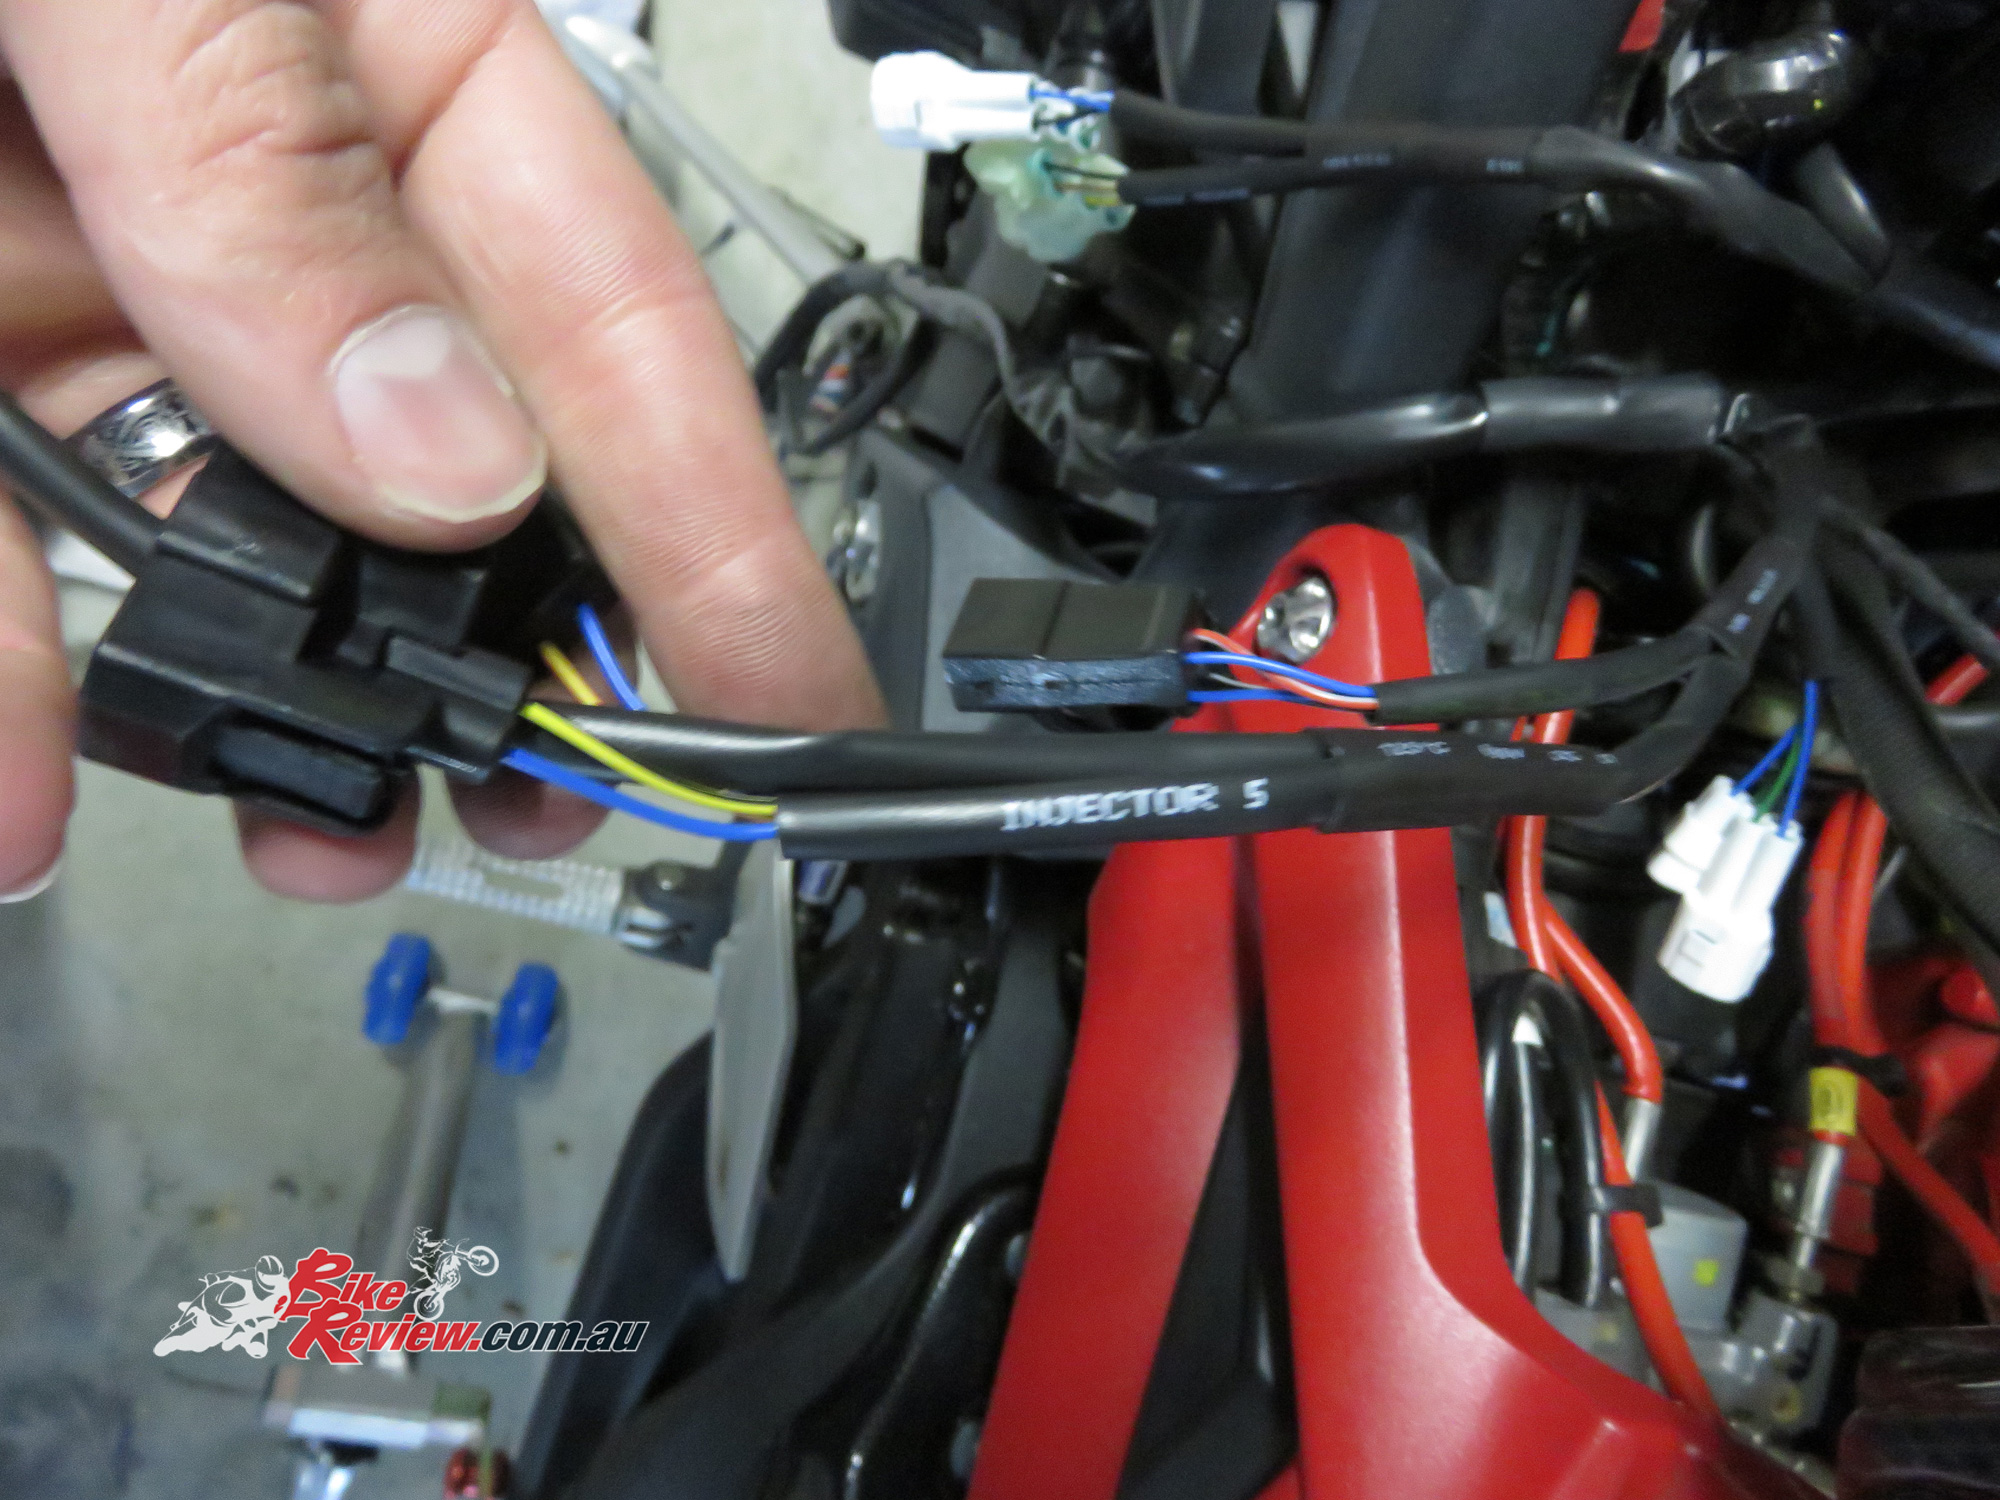
Here’s the first of the plug sets on an injector fitted. You disconnect the standard plug and then connect the corresponding two plugs from the EVO wiring loom into the bike’s wiring loom plug and the injector plug (on the airbox/injector assembly). The EVO basically intercepts the signals from the ECU and modifies them before passing them on. There’s a male and female plug so you can’t mix them up, just do one injector at a time to avoid confusion.
Here you can see the two EVO plugs and the original plug (connected to the blue/red lines plug).
The top row of injectors all connected.
The plugs are clearly marked for your convenience, just follow the instructions and you’ll be right! Every set is marked with what it connects to.

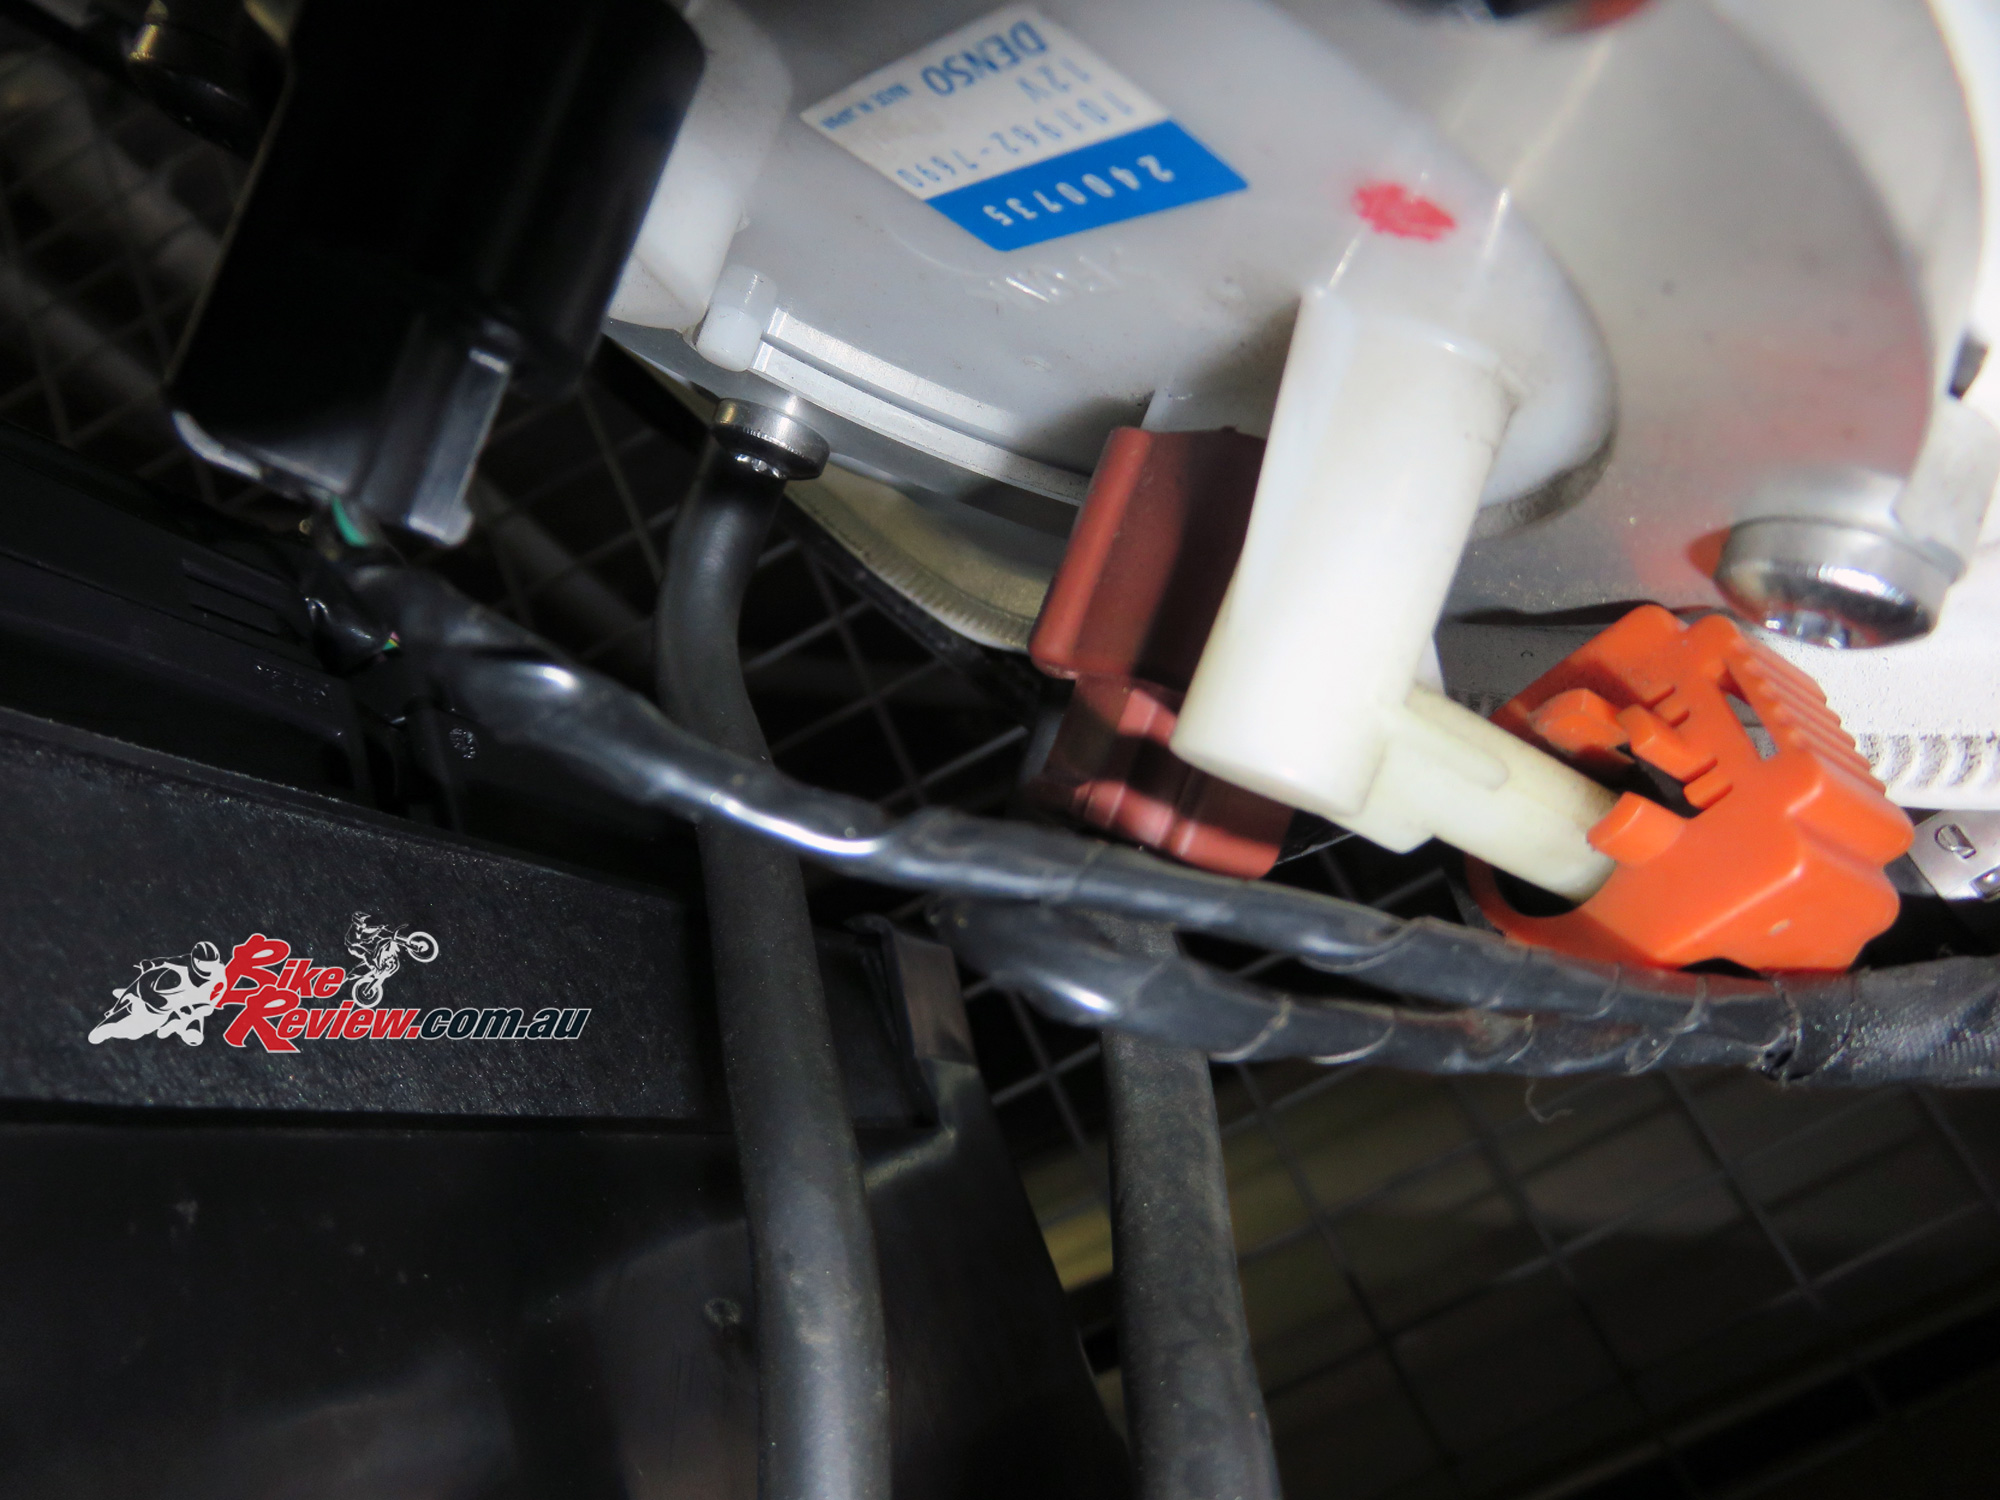
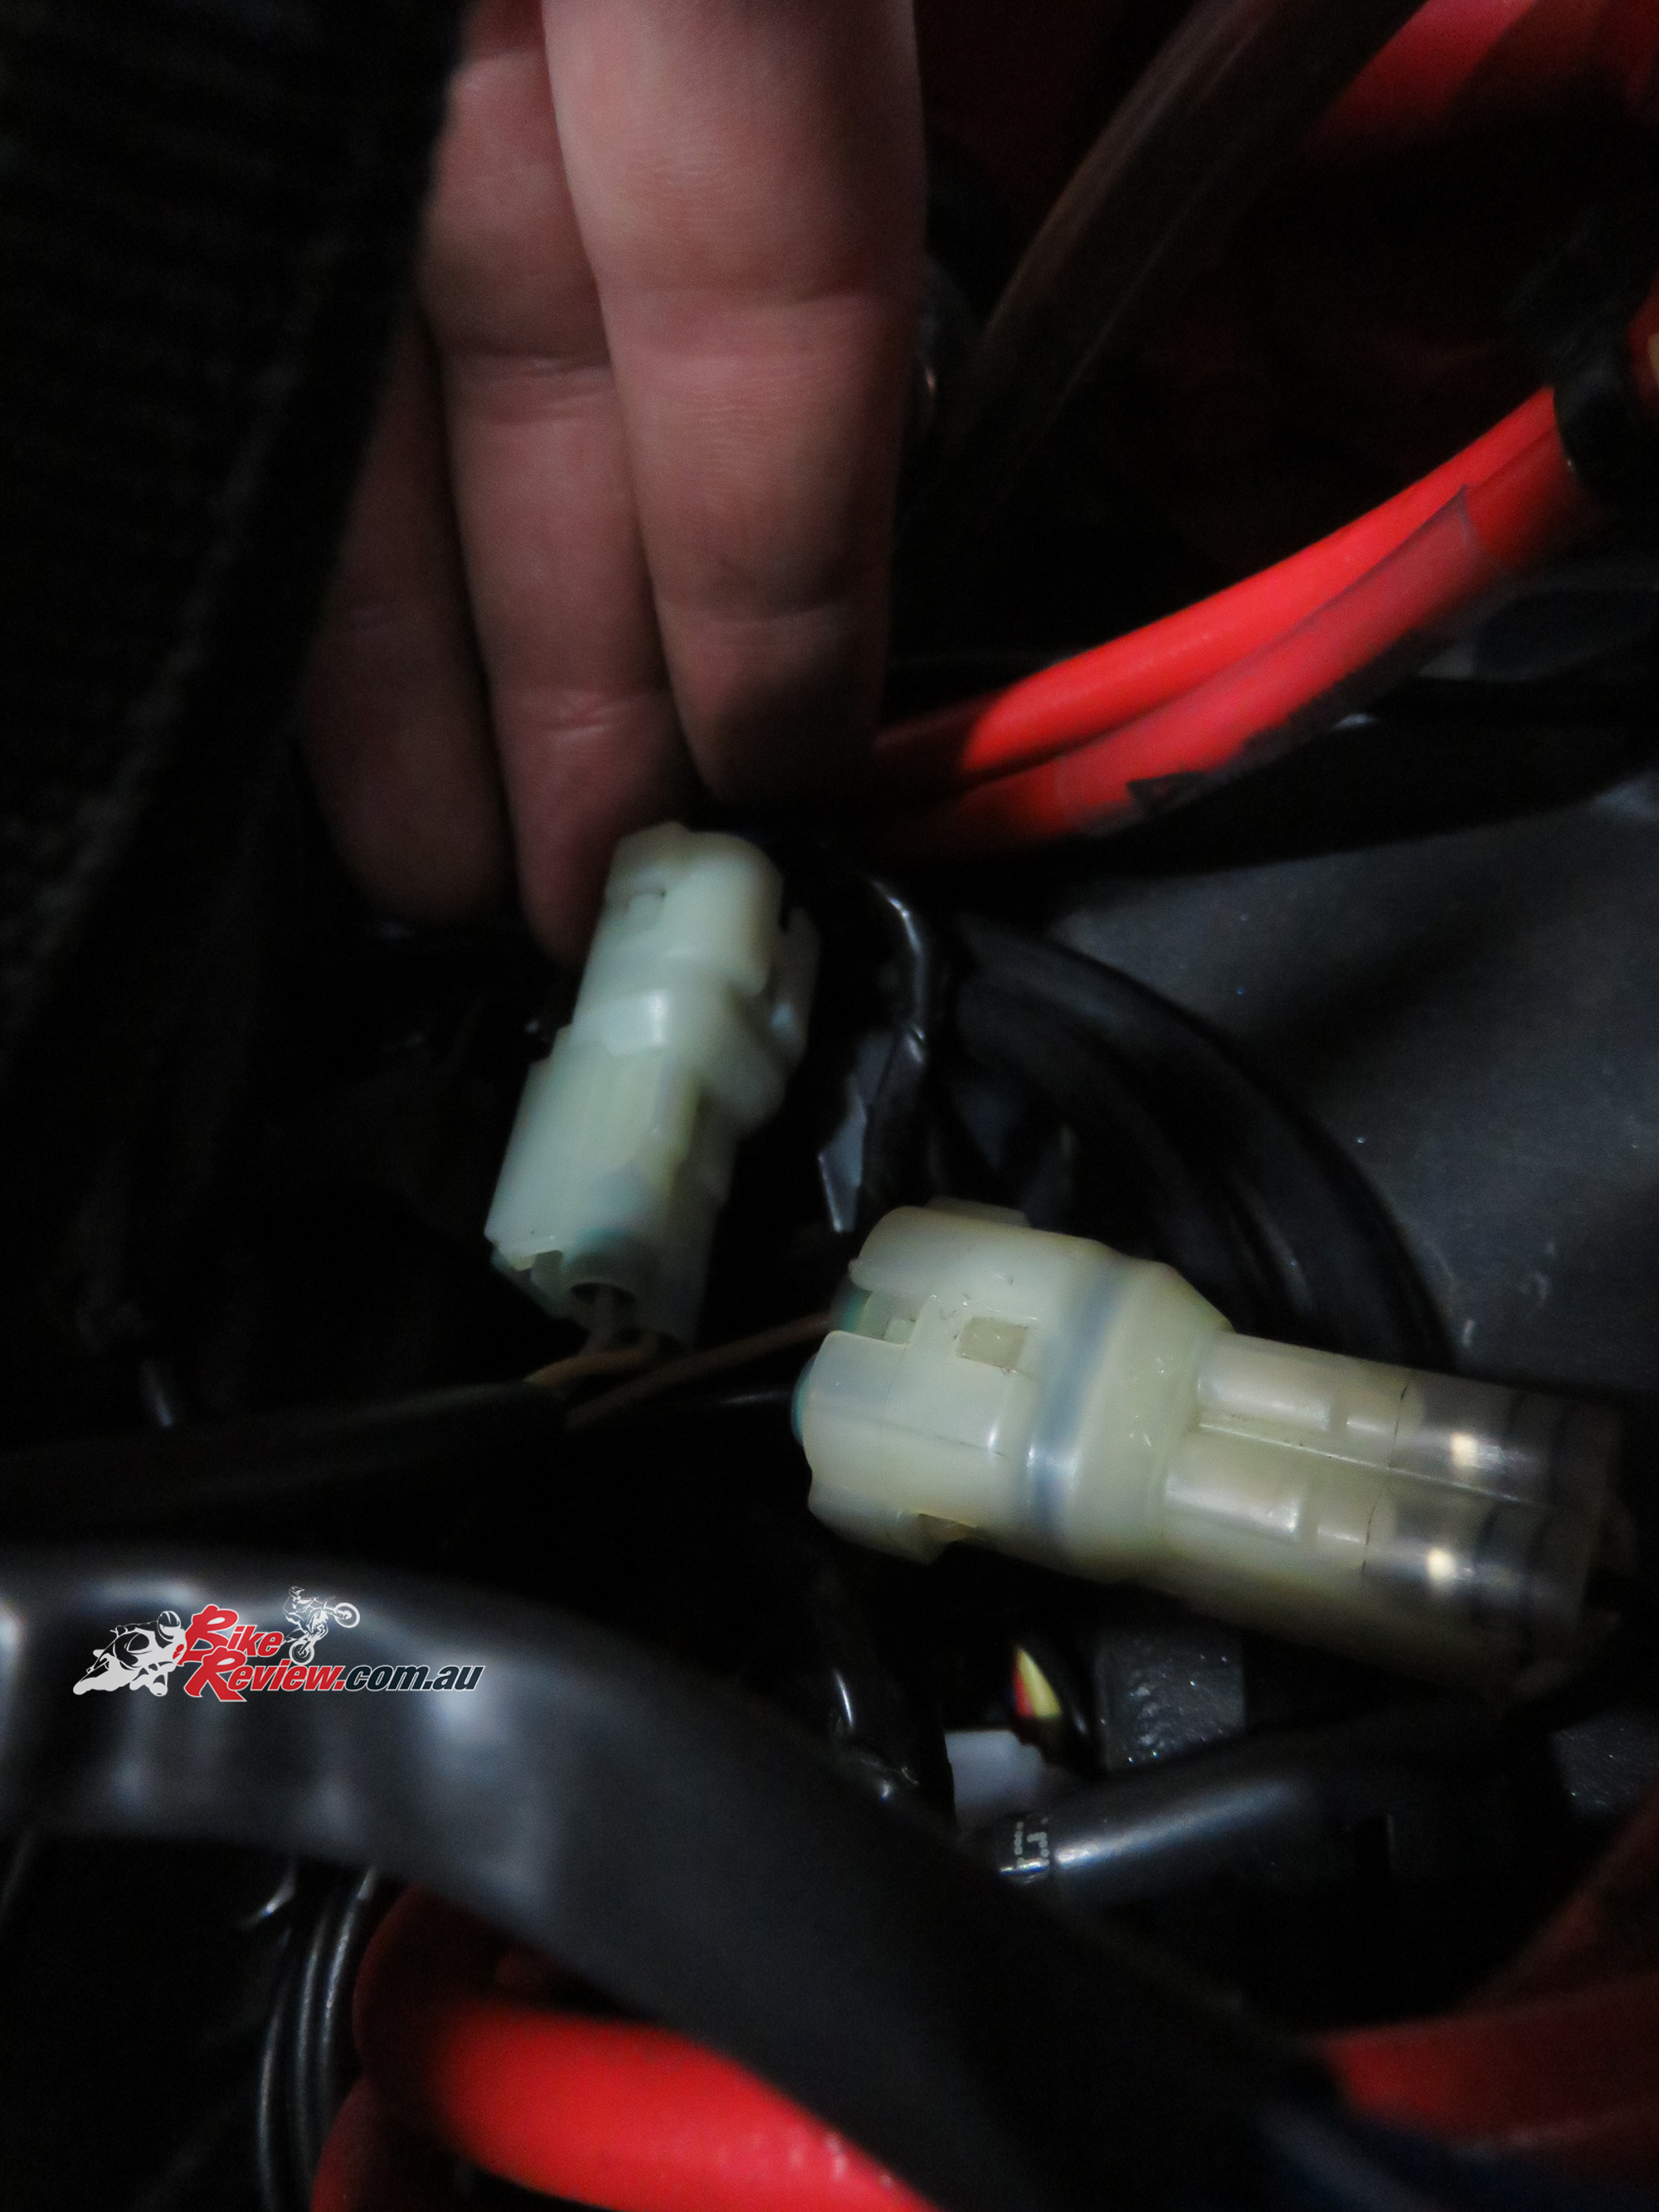
Here’s the TPS sensor connectors (in white from the EVO module) and black for the original. It’s another tight area to get into so just take it slow and be careful. A tiny flat head screw driver can help separate plugs, where there is a clip that holds them in place.

A better look at the EVO wiring plugs for the TPS. Nice and clear!
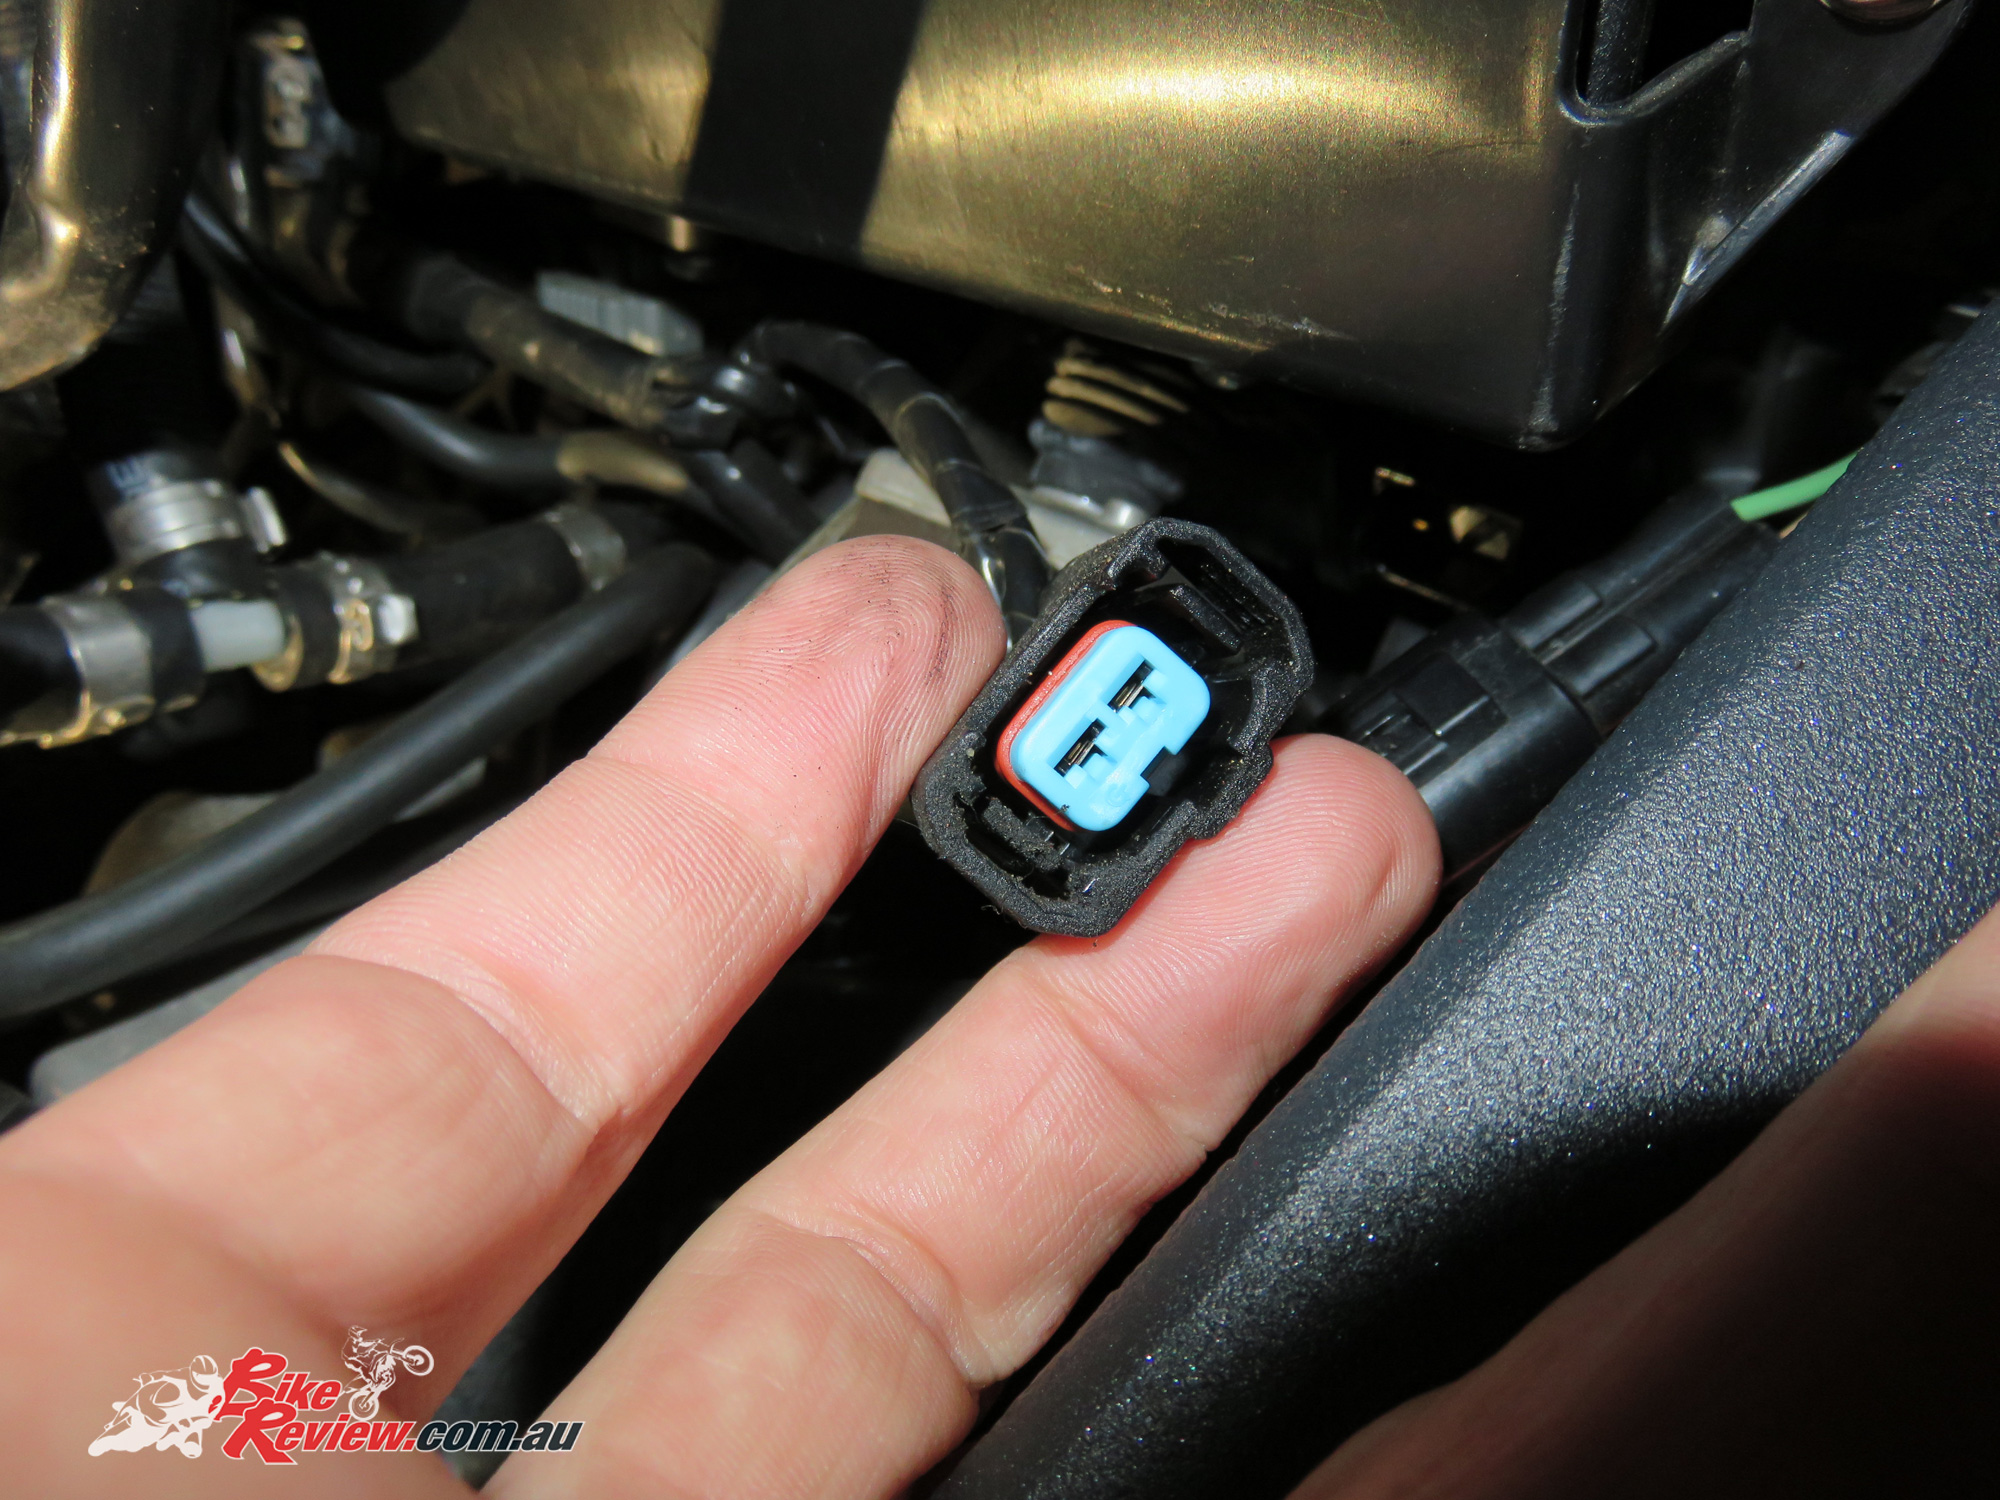
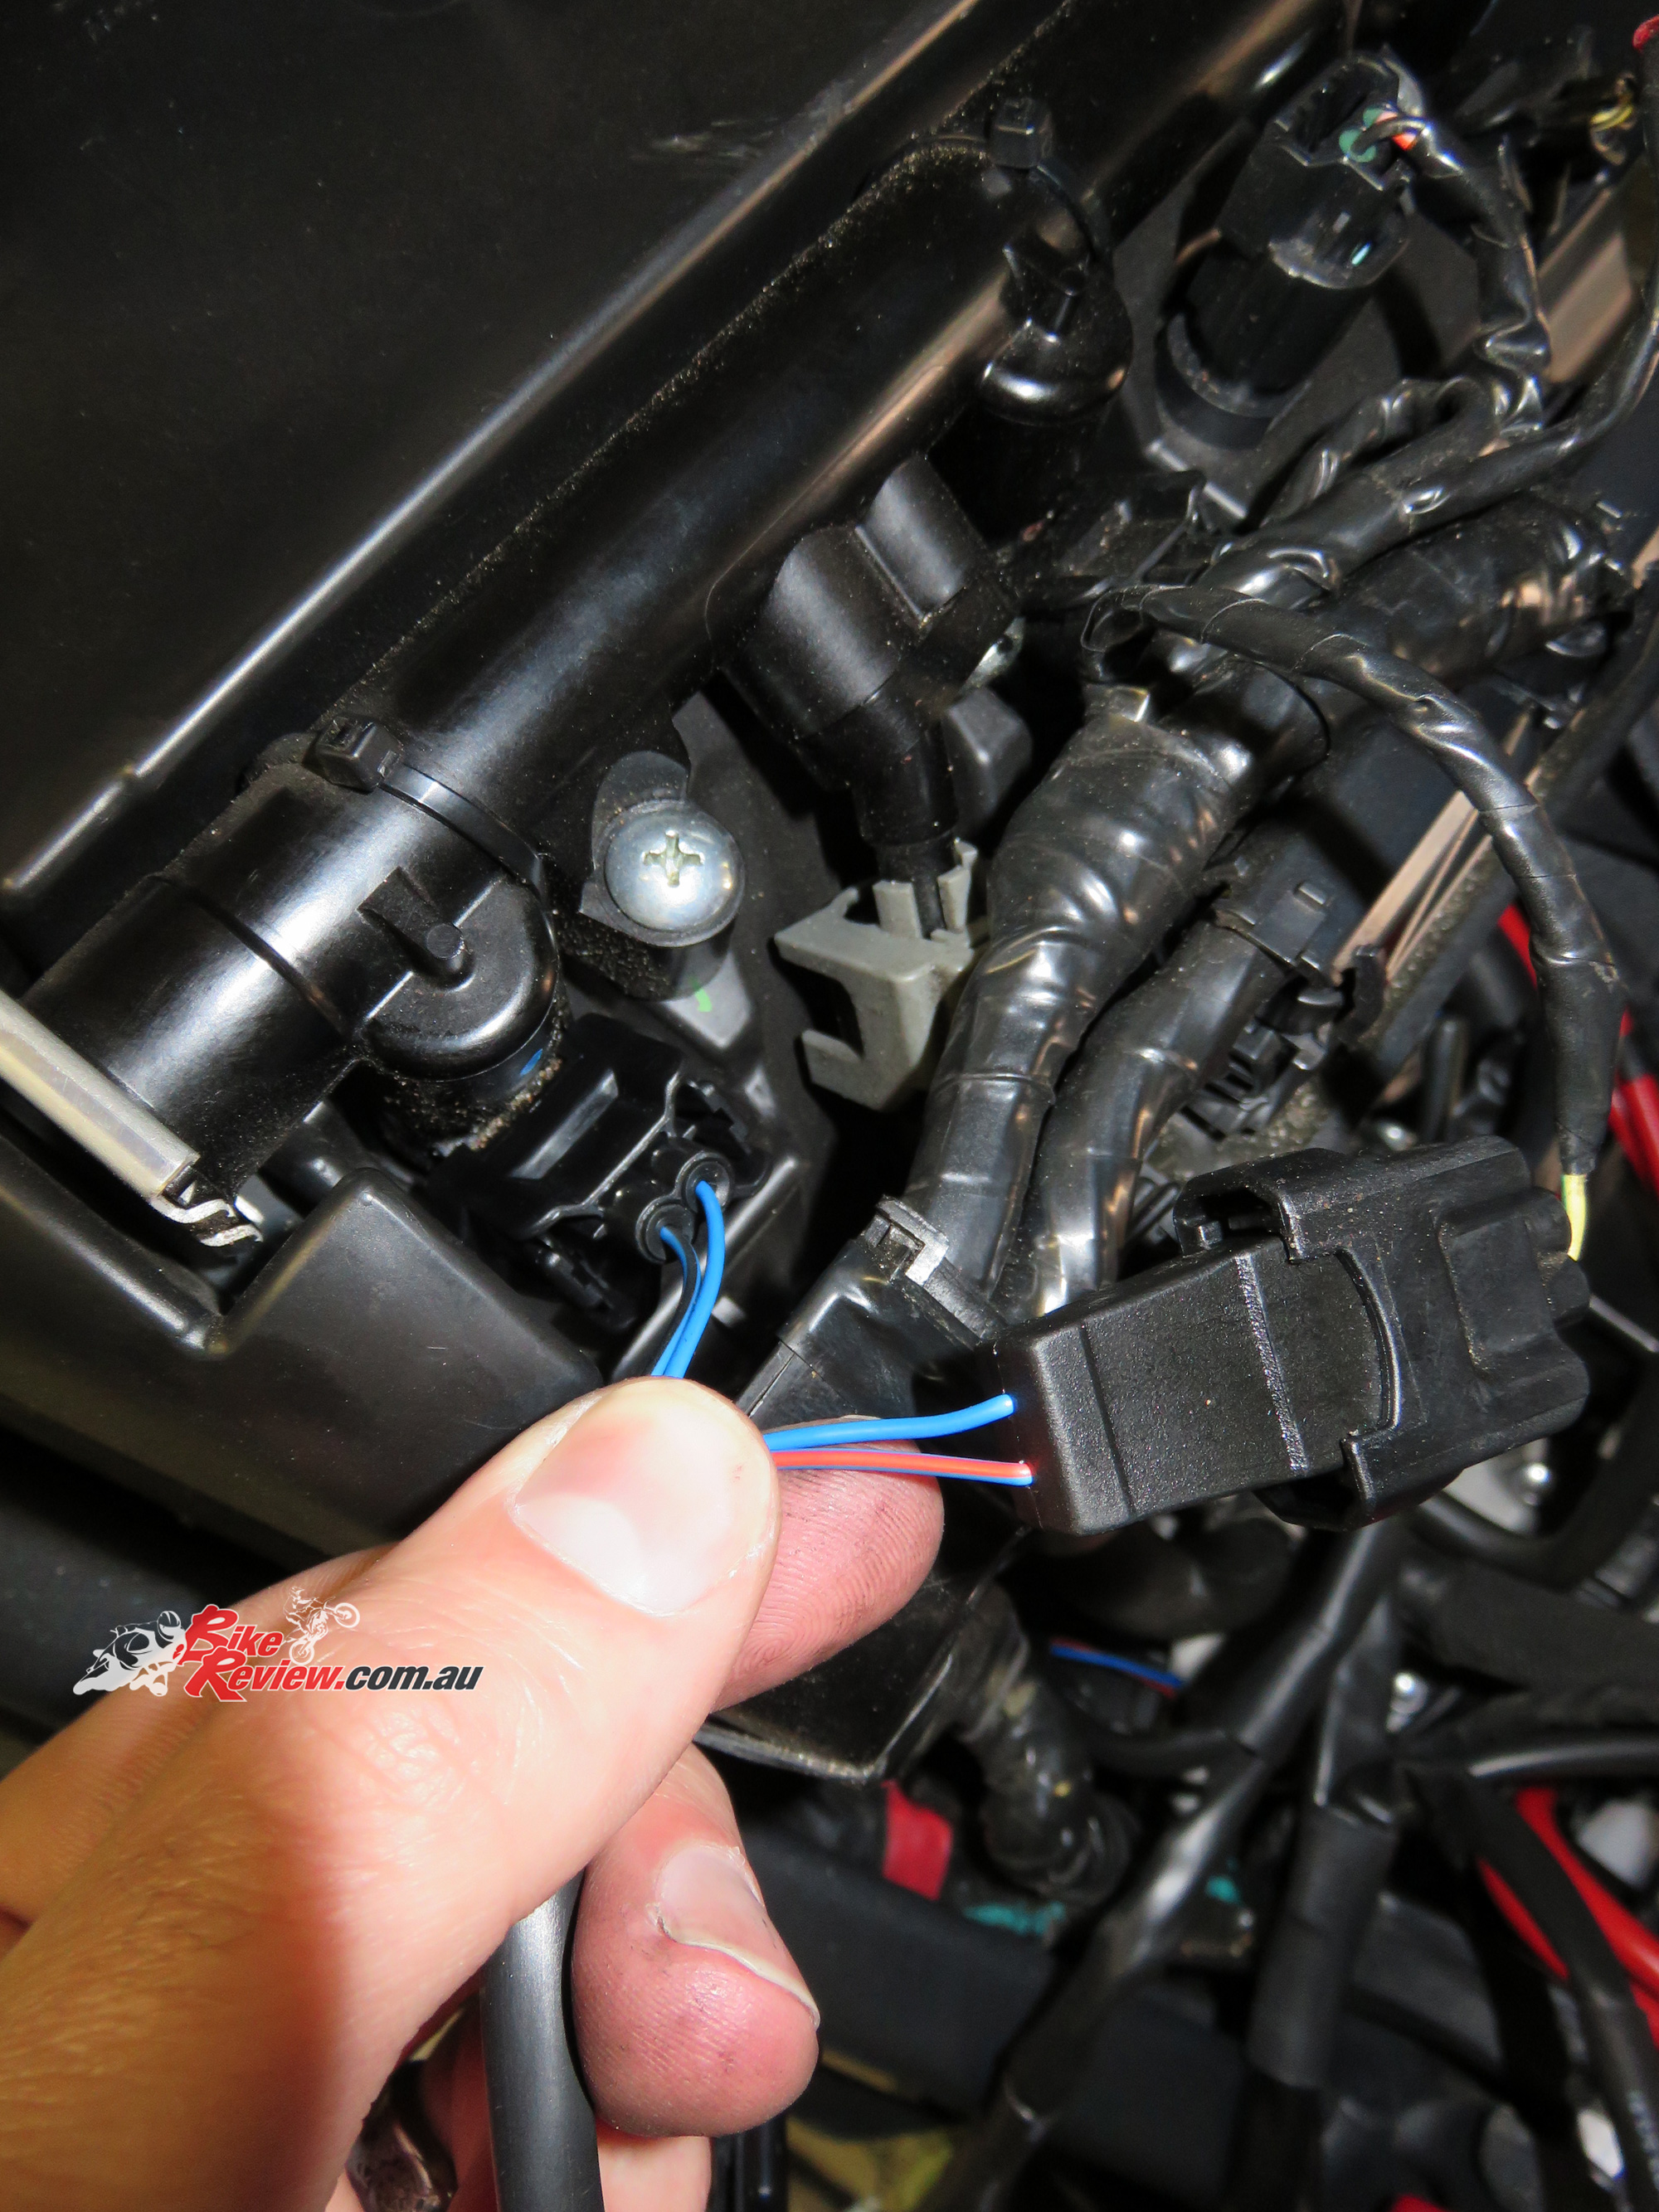
Not the greatest shot but these are the crank position sensors. As well as having their use written on the wiring sheath there’s also wire colours in the instructions, just look for the wires just behind the plug before the sheath starts.
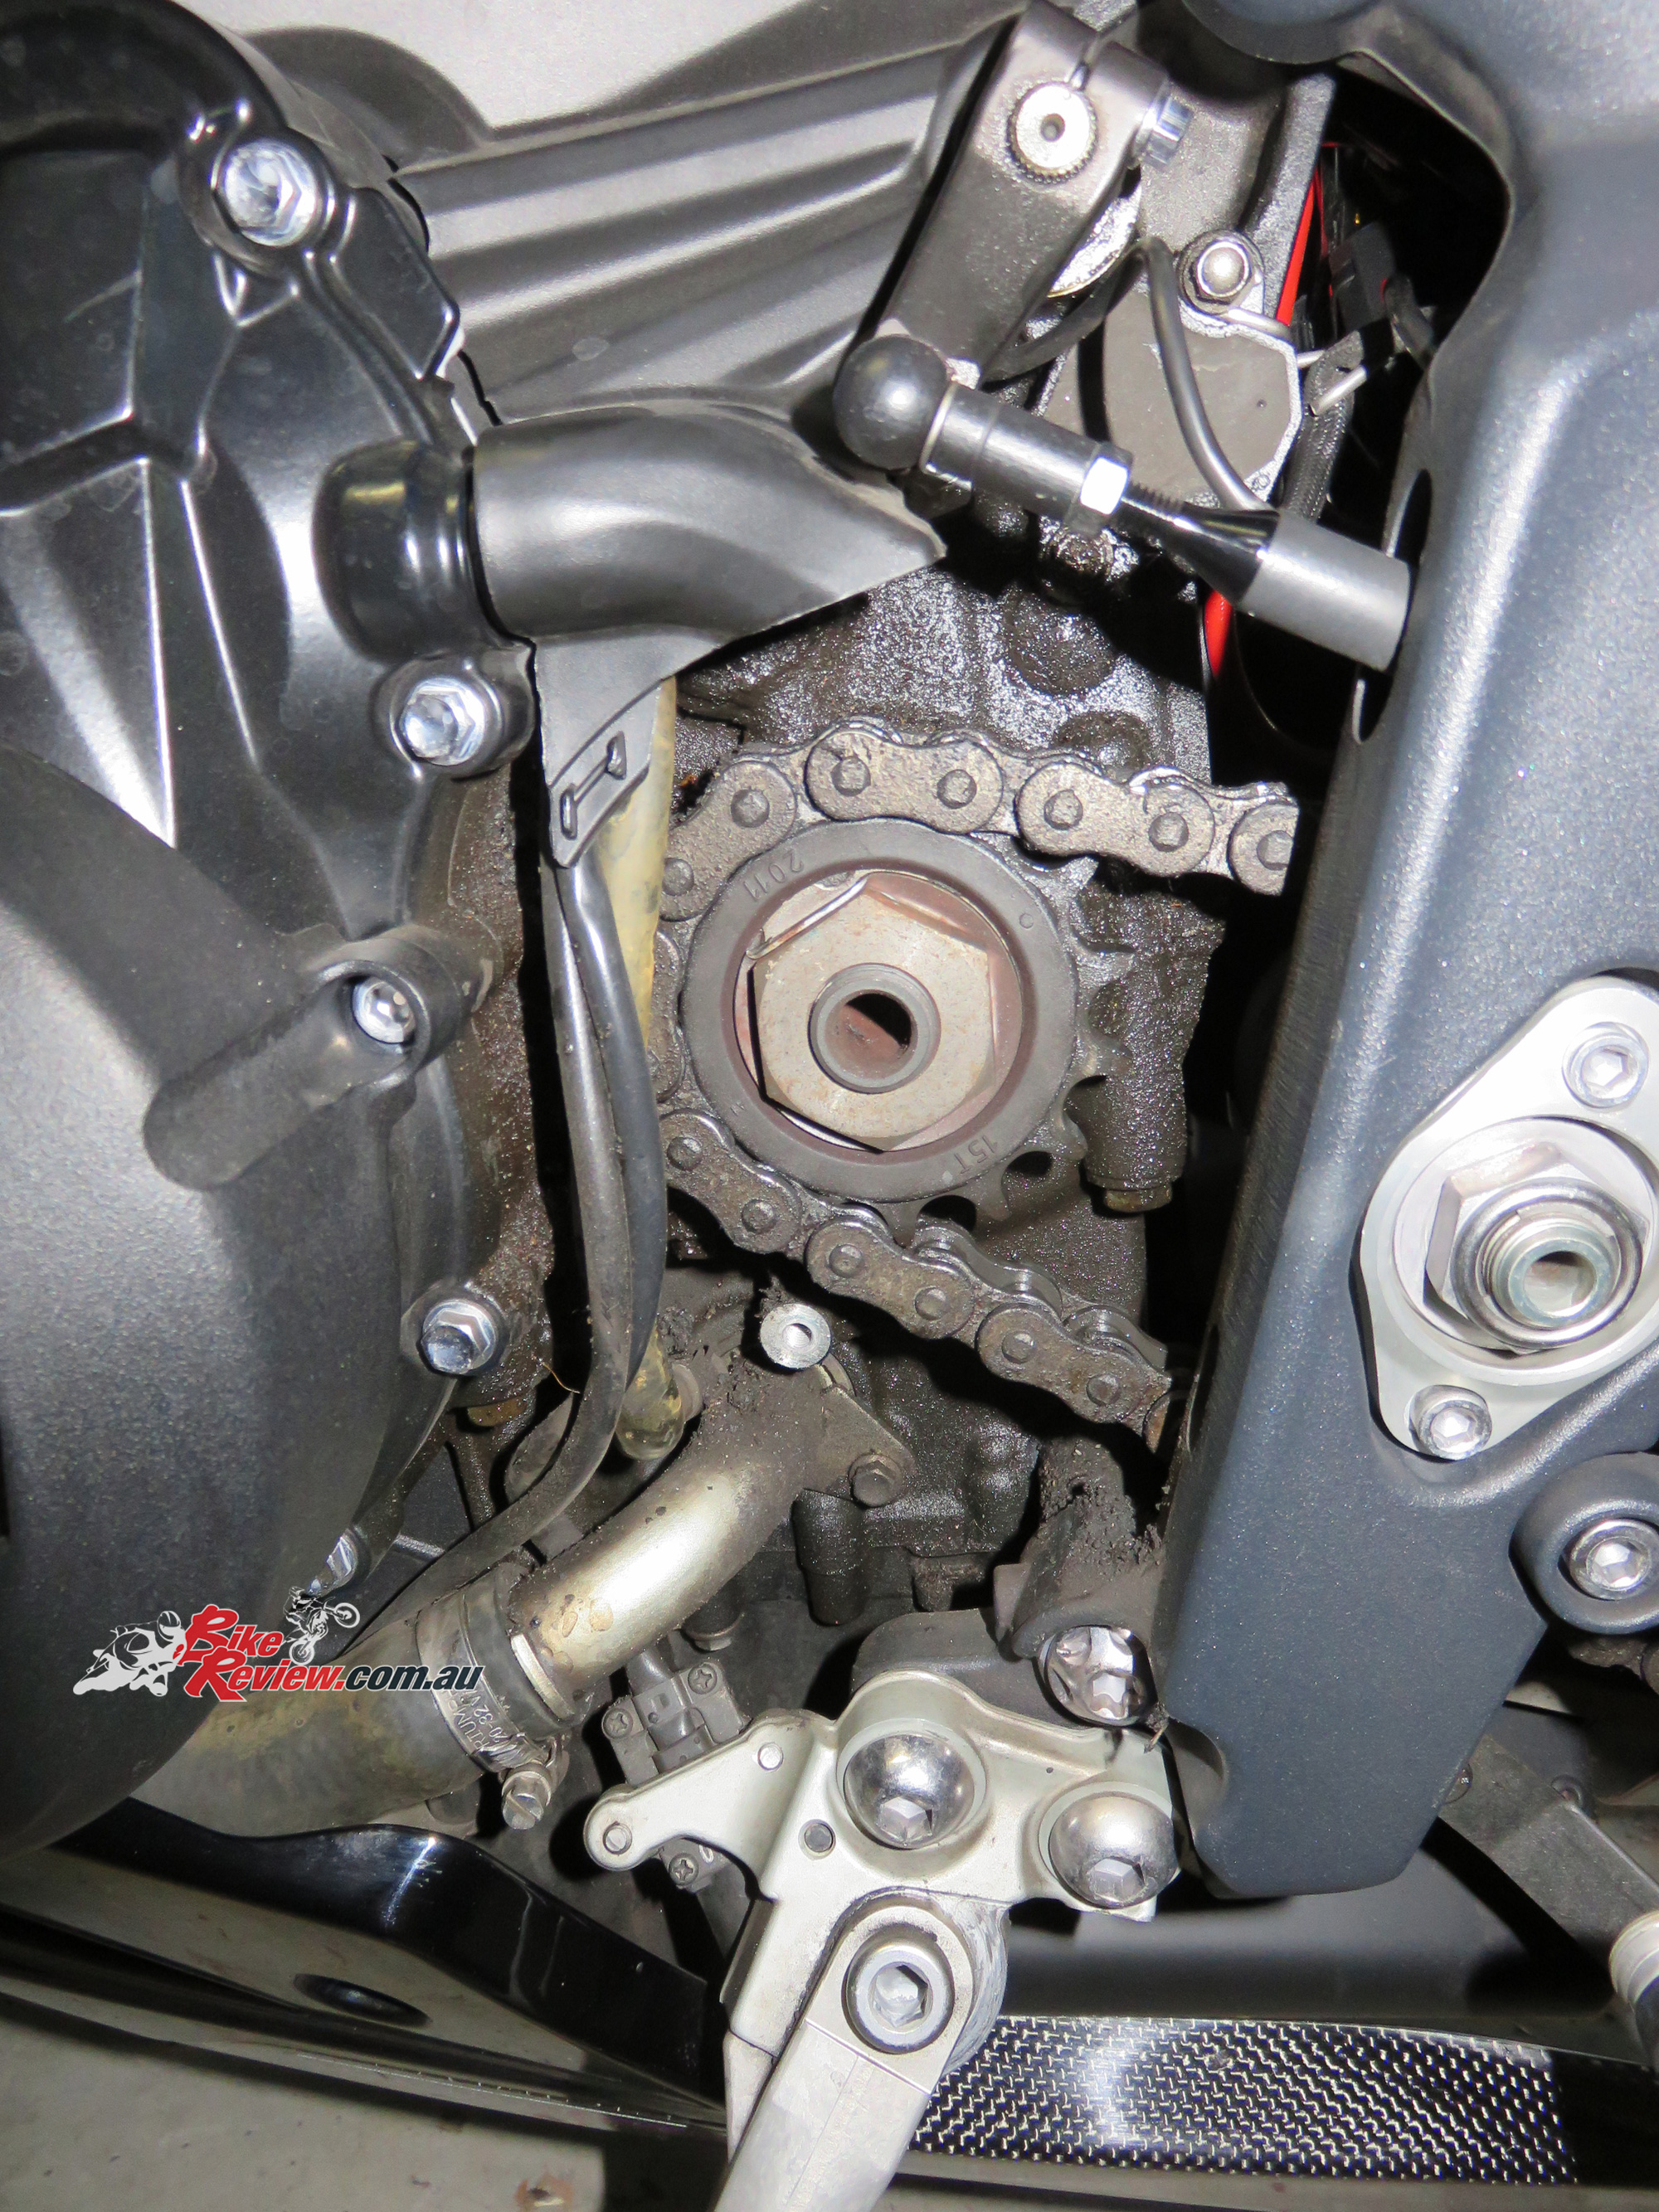
Next was the O2 sensor, which I took the sprocket guard off to help in getting to. It was filthy under there, so I gave it a very quick clean (see next image).
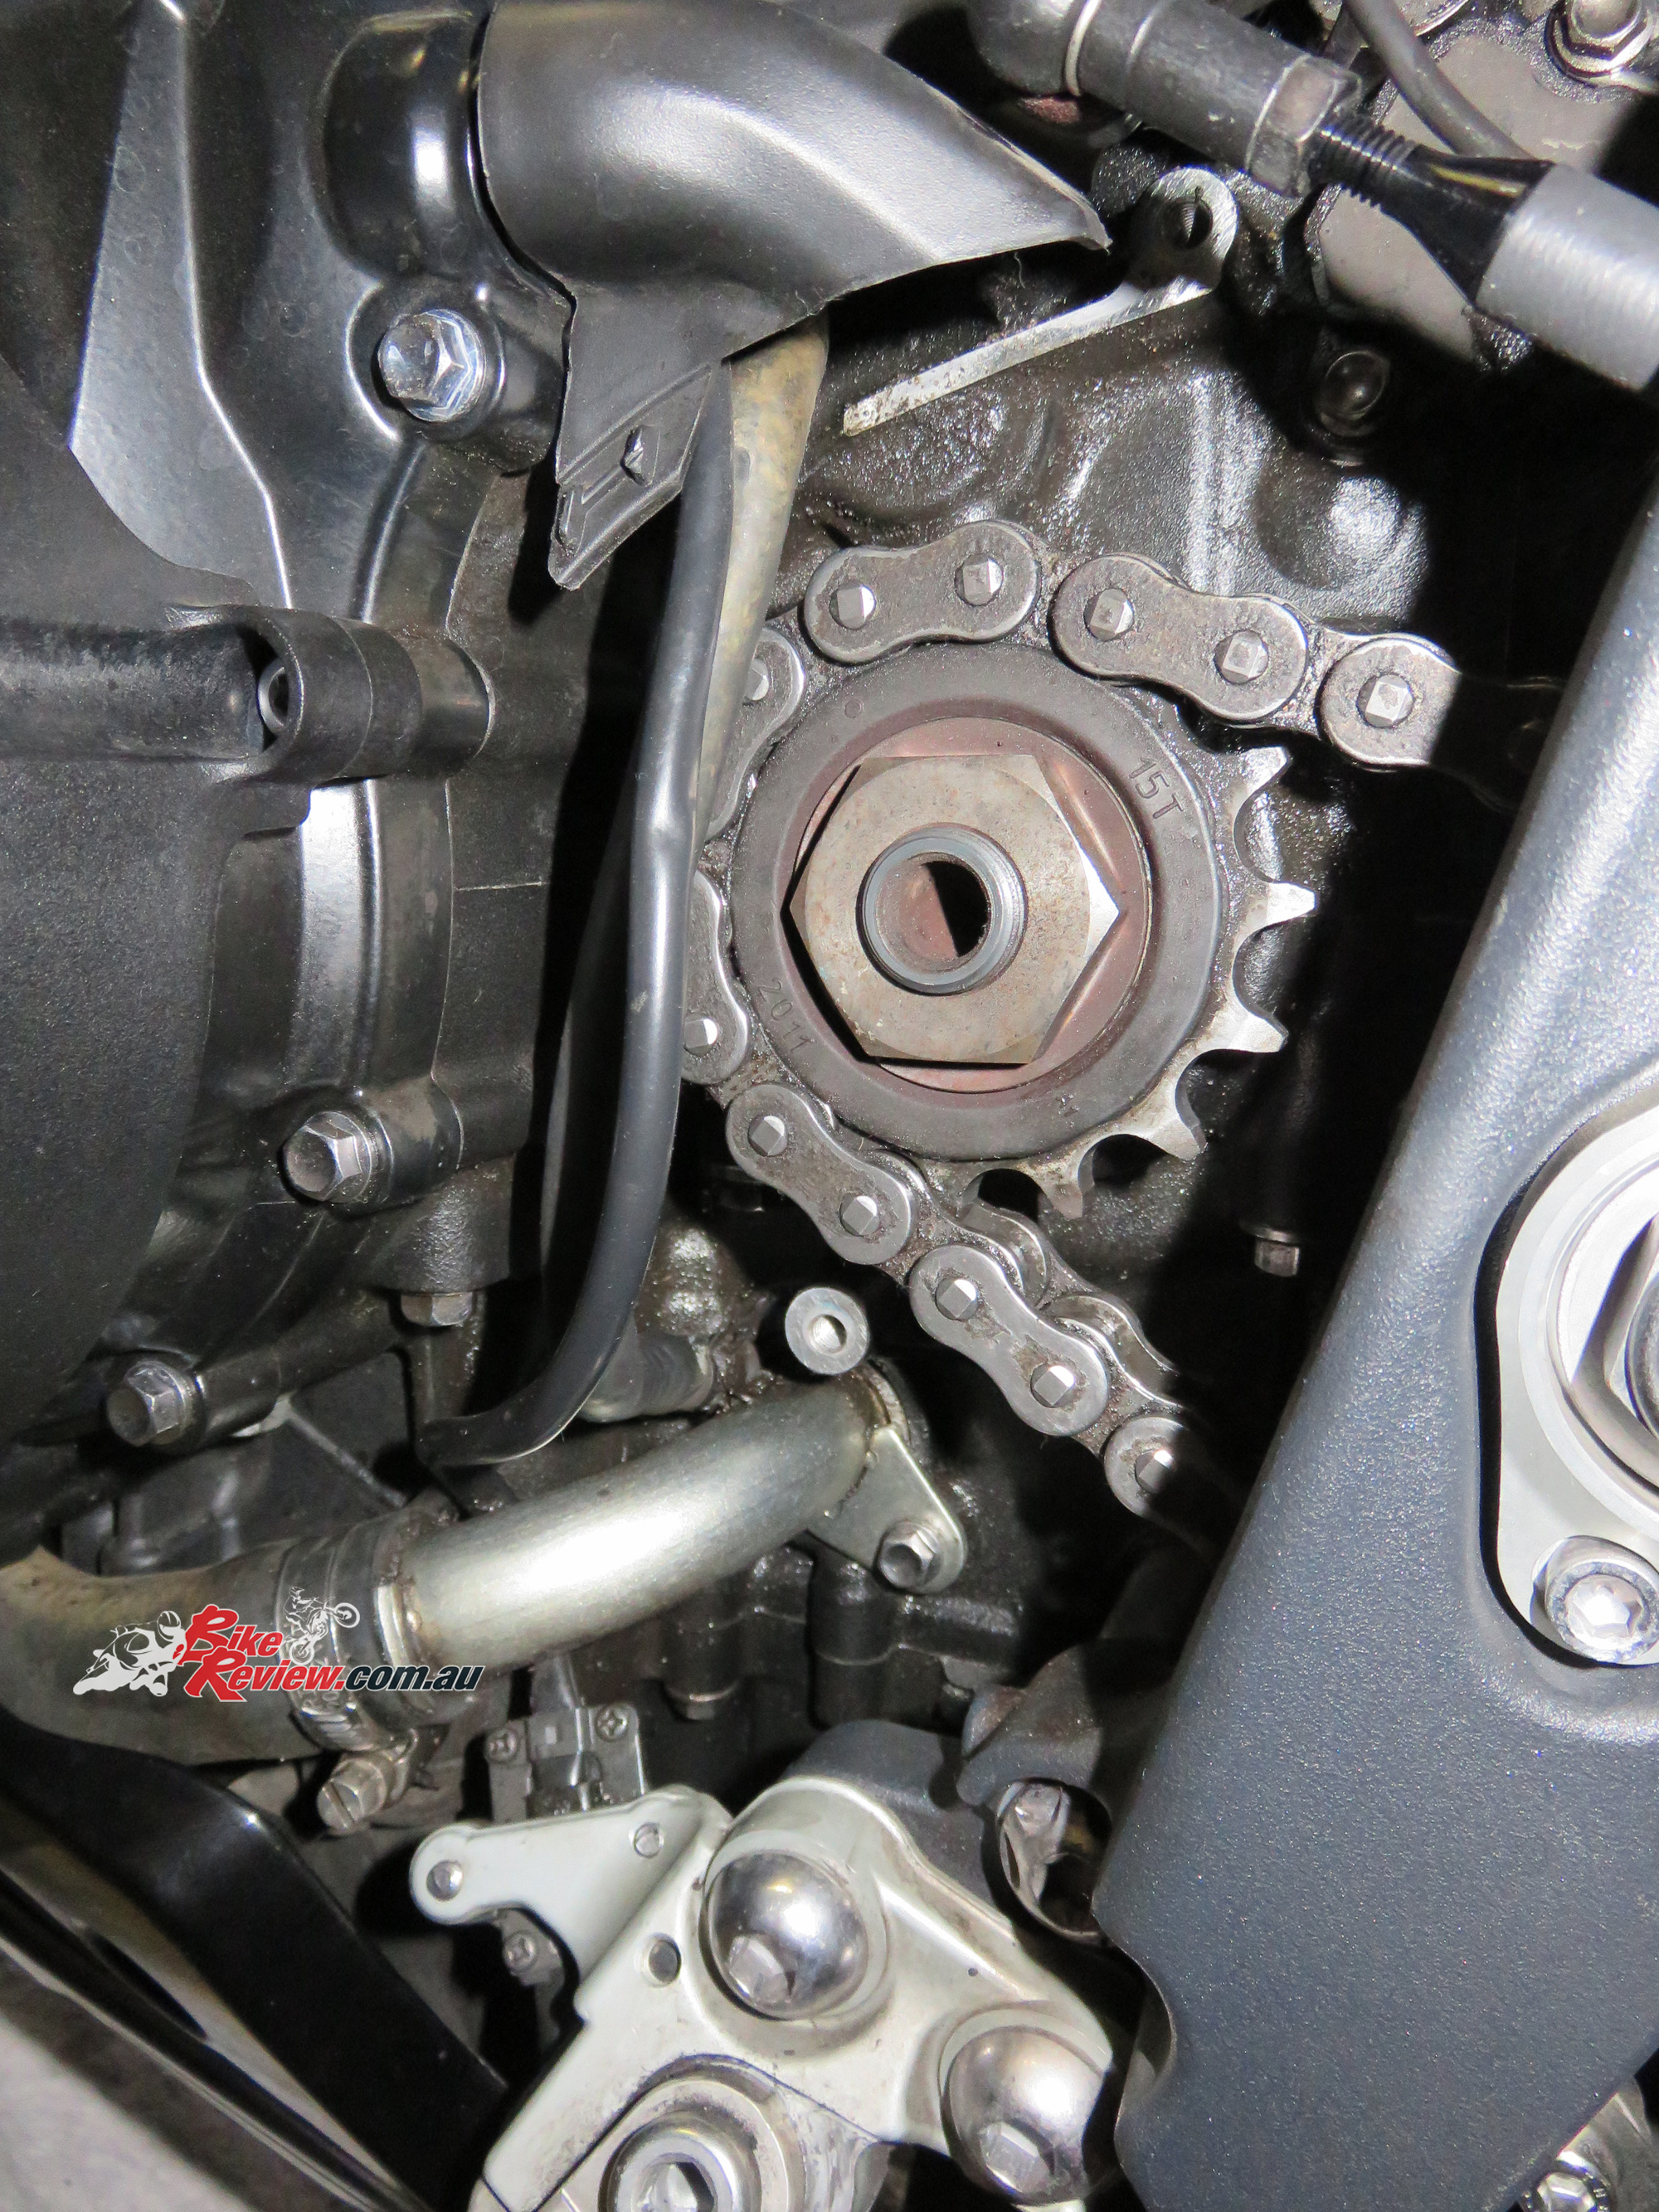
A little bit cleaner but still not great! The plastic cover at the top can also be popped out gently to give more access. It’s reasonably durable and just holds the wires in place. Just remember when replacing the front sprocket guard, it’s got a channel the wiring needs to run through to ensure it doesn’t contact or wear against the chain or sprocket.
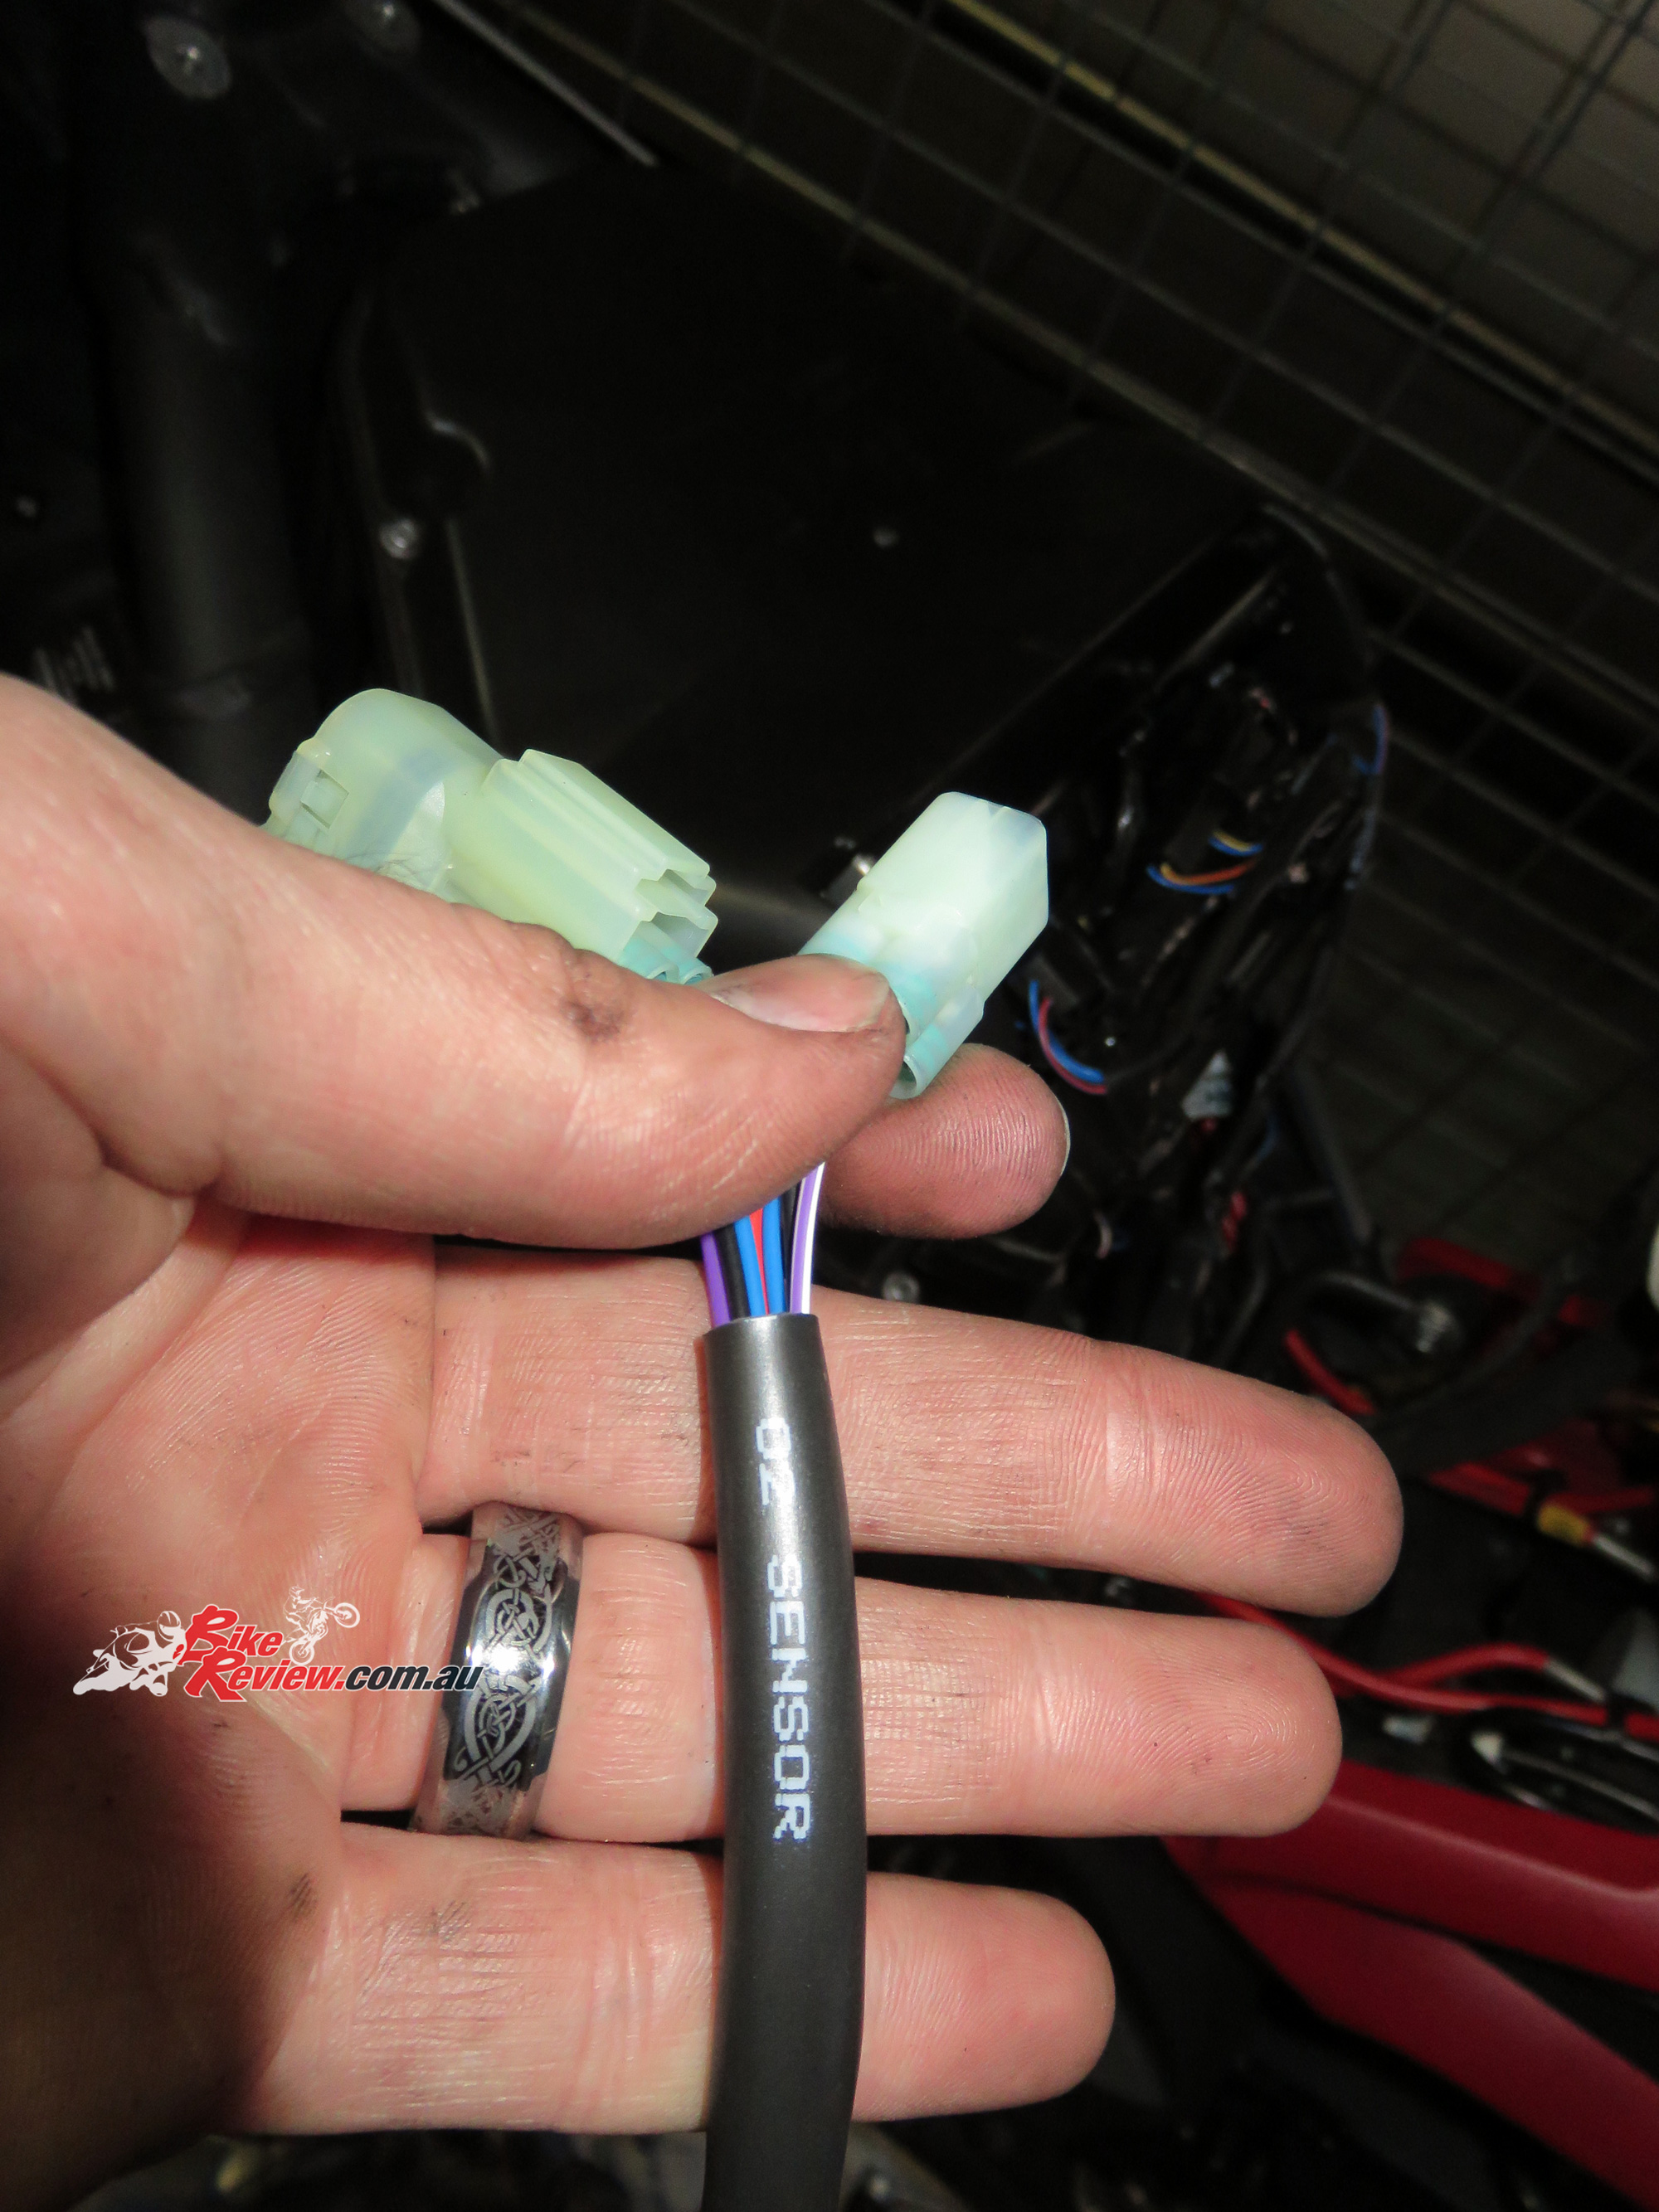
O2 sensor plugs, you’ll need to get them into position down between the frame and the rest of the wiring, towards where the front sprocket is.
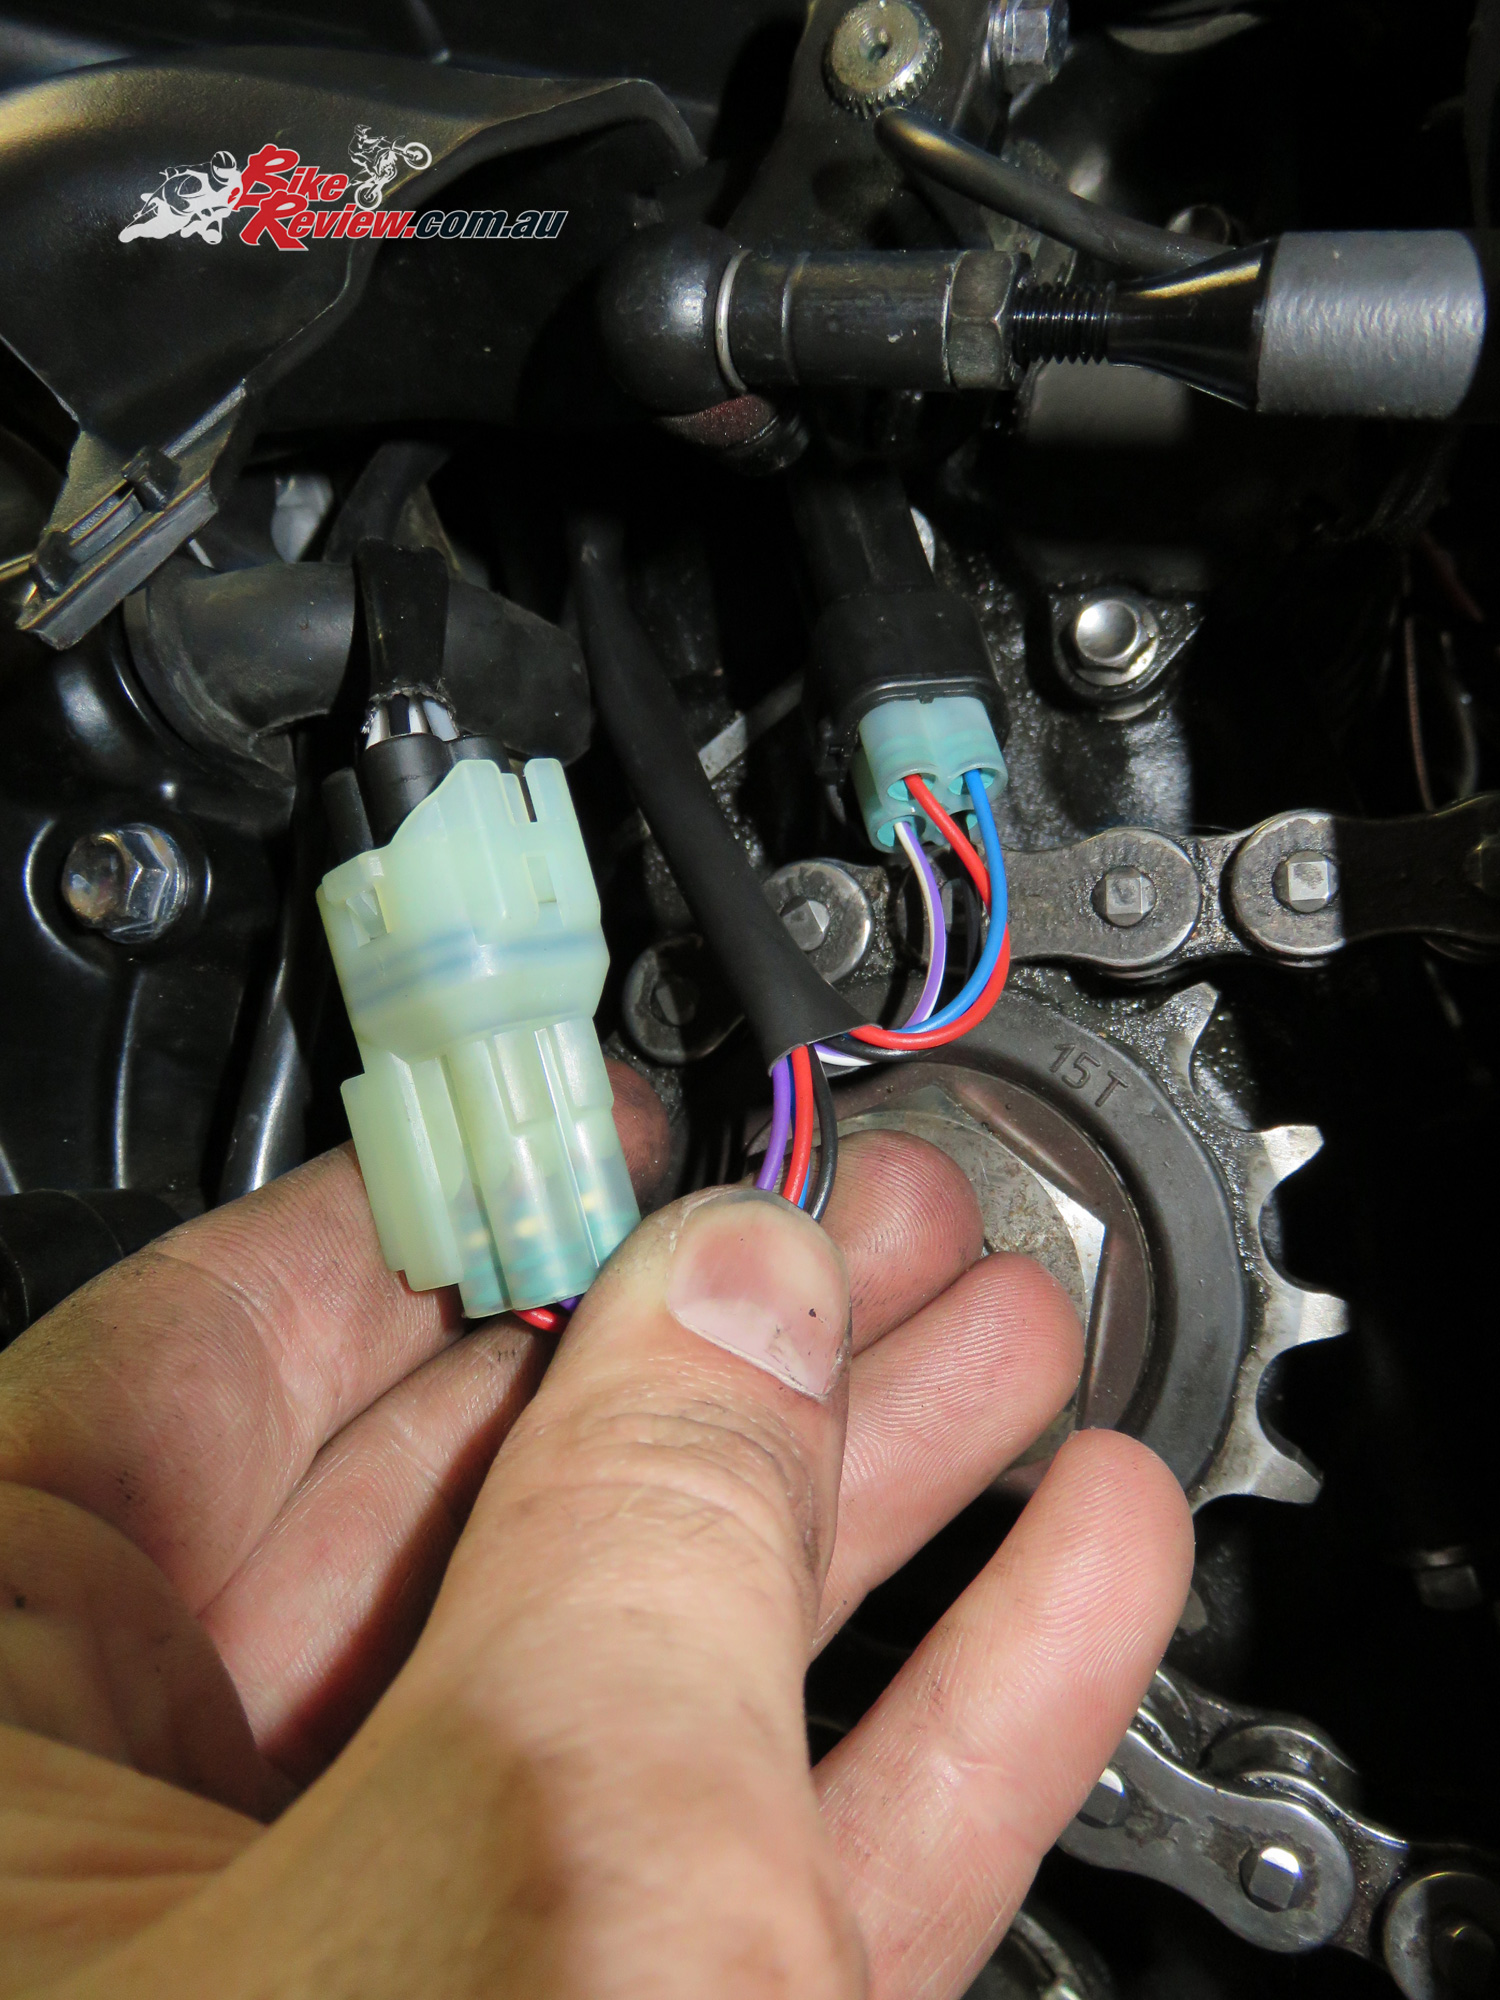
You can see the plastic upper guard bent up and away for more room. All connected! This was probably the slowest and most time consuming part of the whole process! Just remember about running the wires through the channel in the sprocket guard when replacing it!
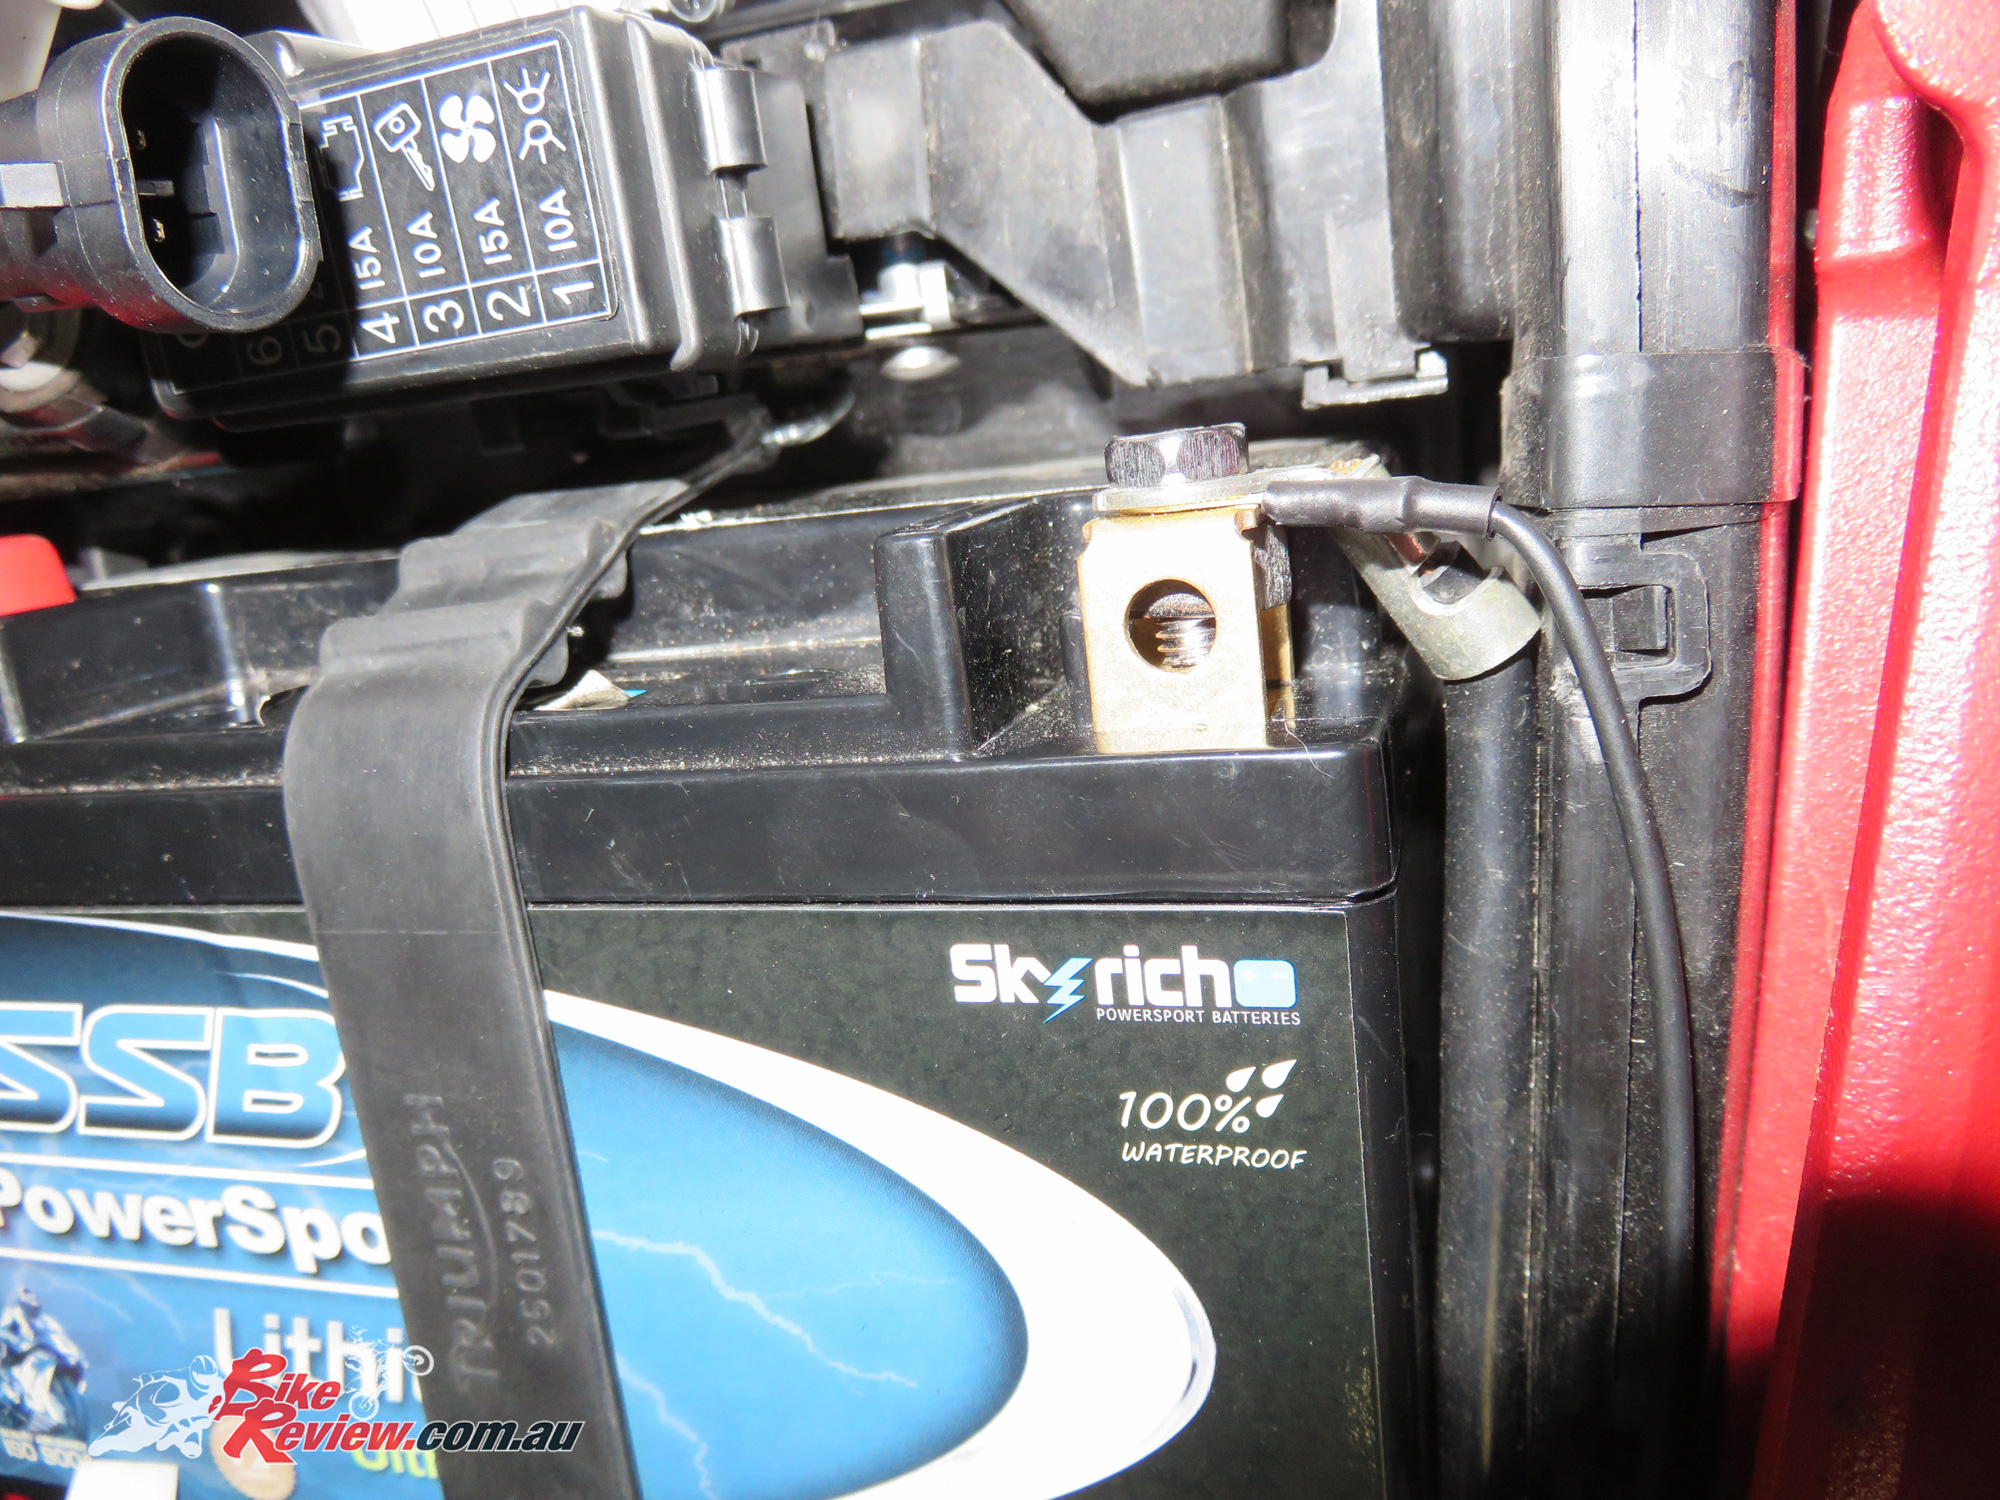
Give everything a double check then reconnect the battery with the black wire connected for the Rapid Bike EVO module.
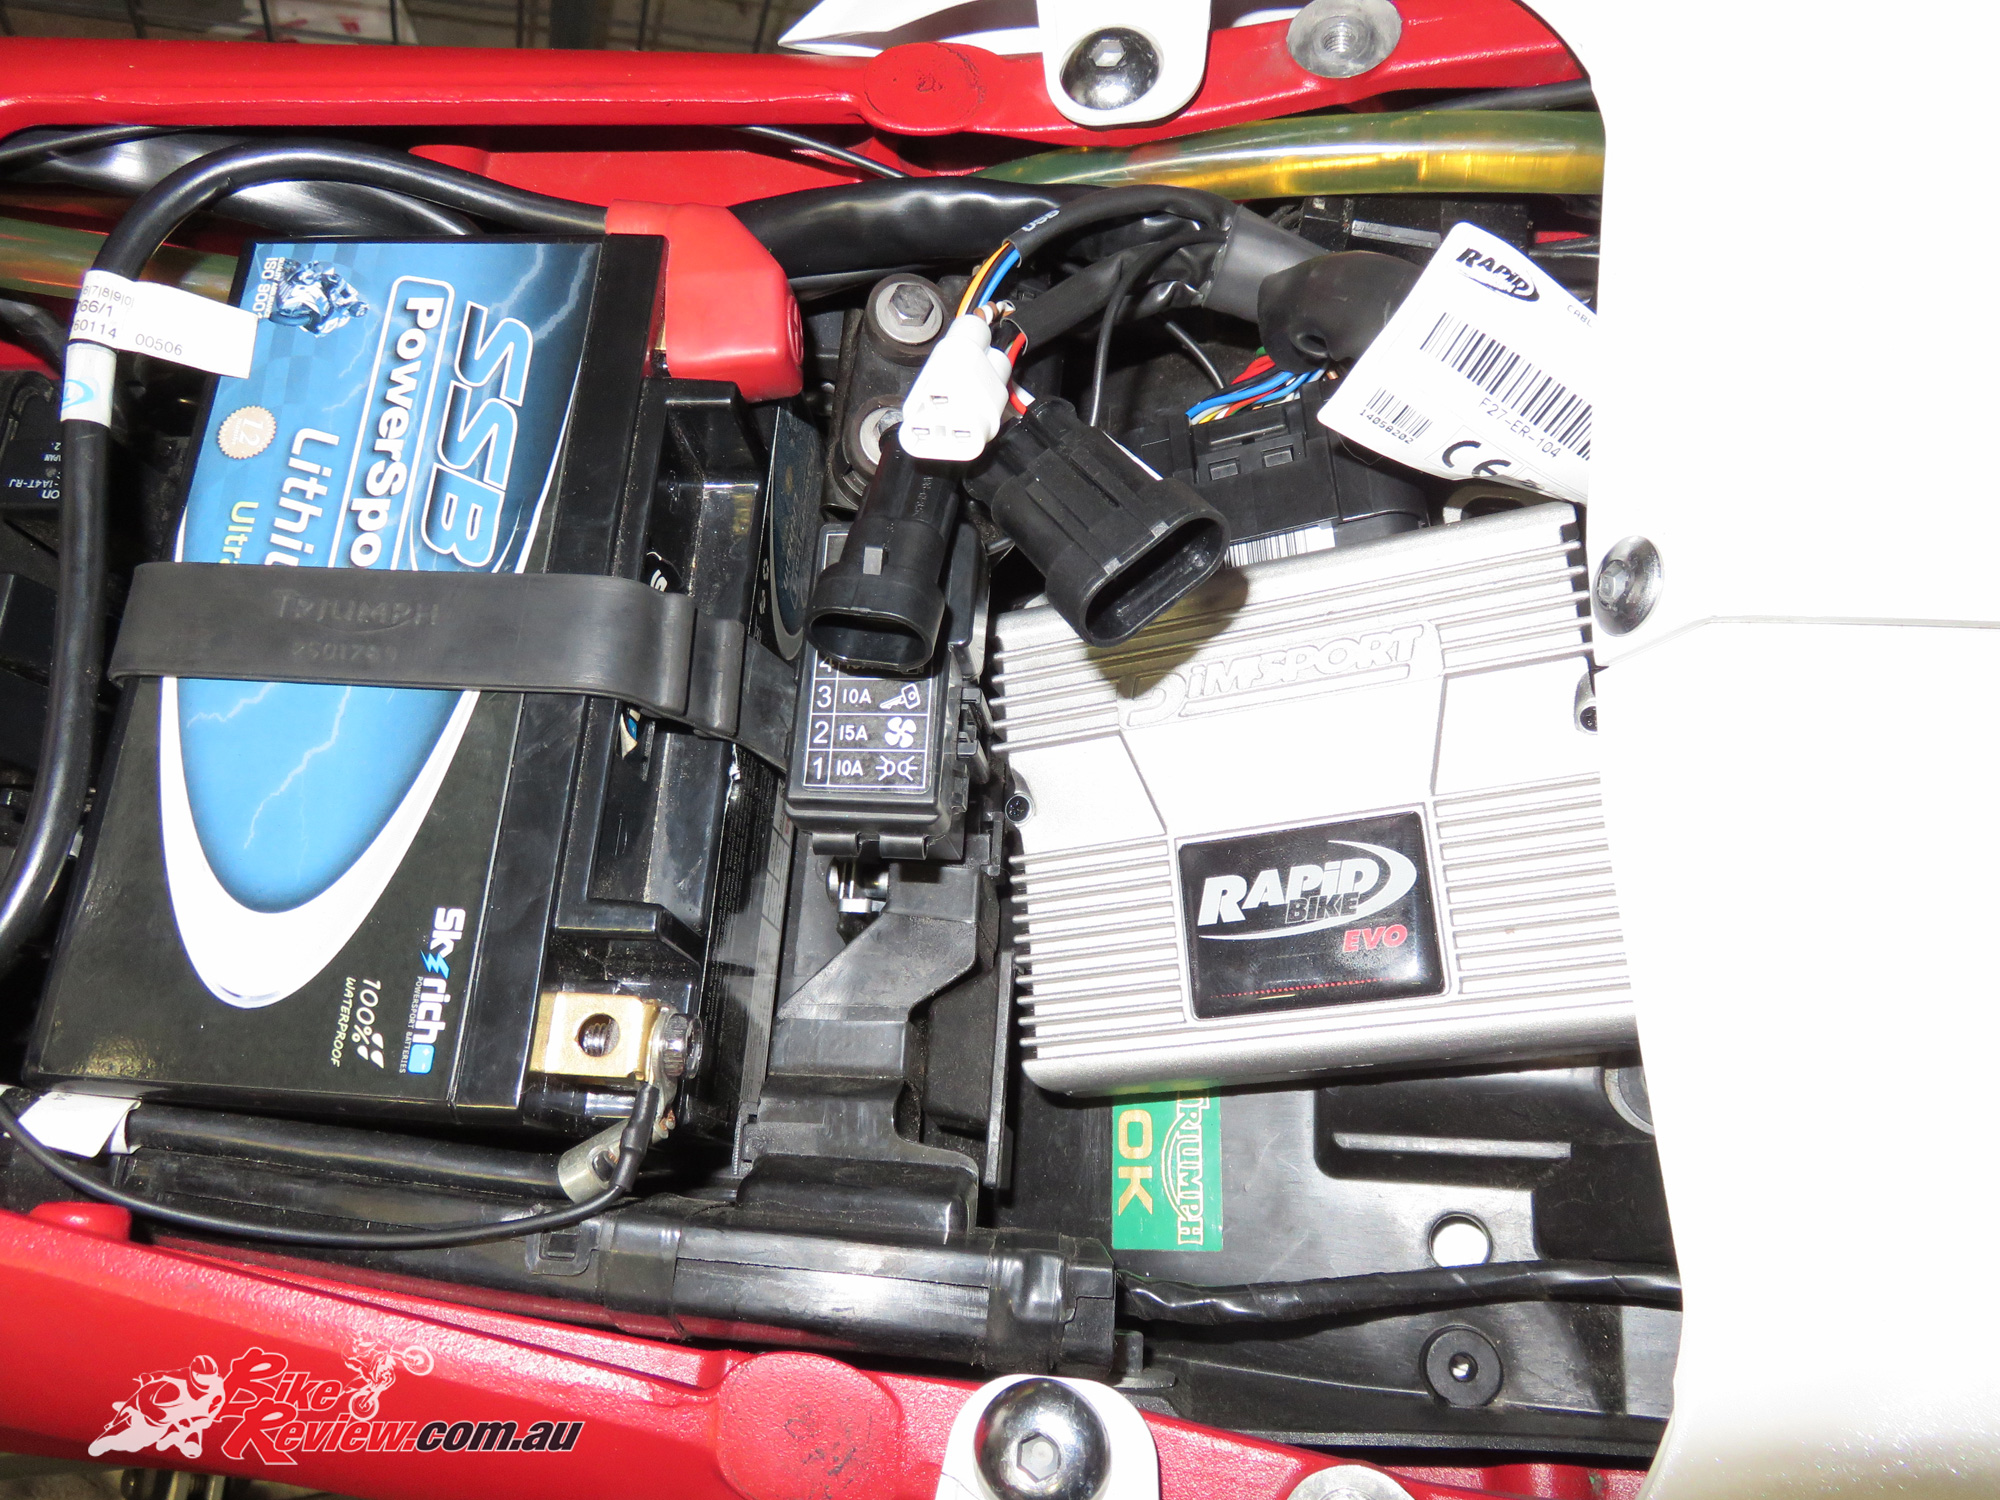
Everything finally in place and ready to go. With the Rapid Bike EVO module it has an auto adaptive feature that’ll do some of the tuning for you, but it’s still recommended to visit a proper dyno tuner to get a good baseline, specific to your bike’s loadout, especially with a custom exhaust and performance/high flow airfilter. Now just Velcro the module into place, reconnect your breather/overflow lines to the tank and bolt that back down. If you’re going to connect the module straight up to your laptop I recommend having WiFi setup so you can download all the latest firmware and maps from Rapid Bike, so it’ll all be up to date.
So all up the job probably isn’t as hard as you imagined! Having done the job once I was able to strip the system out in about 30 minutes, with re-installation probably taking about the same amount of time a second time.
With everything installed start your bike up and let it warm up, checking for any error codes. You shouldn’t have any problems if you’ve done everything right, so now you can just go for a lengthy ride to give the module (if you’ve chosen the EVO) a chance to start the auto adaptivity. It’s probably worth trying to use as much of the rev range as possible for this so it’s got a good baseline!
You Might Also Like


May 13, 2018
Fucking useless as it gives no indication as to whether the device (cost & install time) actually is beneficial.
May 13, 2018
Hey Roger, it’s just a fitment guide. Unfortunately the bike in question had extensive problems that continued after removing both the Rapid Bike EVO and a Taylor Made exhaust which took months to resolve (neither of which were the cause), so we weren’t able to go into the usual level of detail. I did do a write-up talking about the power gains we’d found on the dyno (at Sydney Dyno) using just the Rapid Bike EVO, which were still noticeable despite the issues, but for some reason the post has disappeared entirely from the site – not sure what happened there. I’ll see if I can dig up the details and dyno results, but that was the big caveat to our results.
The advantage of the system was being able to use the auto-tune feature where we saw small gains (a couple of hp and feeling smoother on throttle), however I also wasn’t able to find anyone in NSW willing to work with this module on the dyno for a custom tune, (we just did comparison runs with the auto tune), so that may be a consideration compared to something like a Power Commander.
August 30, 2020
Hi Kris, The picture of the front sprocket looks as though there might be some movement between the nut and lock tab washer. There appears to be red dust (metal filings) covering the tab washer also evident by the clean witness marks adjacent to the nut flats. Worth checking out just from that visual cue anyways. Enjoy your reviews, Cheers Andrew.