The second instalment of Kel’s 3-into-1 Yamaha TRX850 moves from idea to action, as teardown reveals condition, compromises and the parts that will shape the final build.
The second instalment of Kel’s Project TRX850 build sees the three Yamaha sport-tourers stripped back and assessed, exposing hidden issues, salvageable components and key decisions shaping the project. And that means now it’s time for the fun part to begin…

It probably wasn’t long after the 1996 bike was rolled into the shed, I’d more or less made the decision. The aftermarket fairing, the reupholstered seat, and various non-genuine items. Too many unknowns, too many hands on it over the years and, I feared, too many shortcuts buried beneath. Getting it on the road wouldn’t be difficult, but getting it back to standard is a different story. And in hindsight, was probably the very reason it has taken me so long to get to this point.
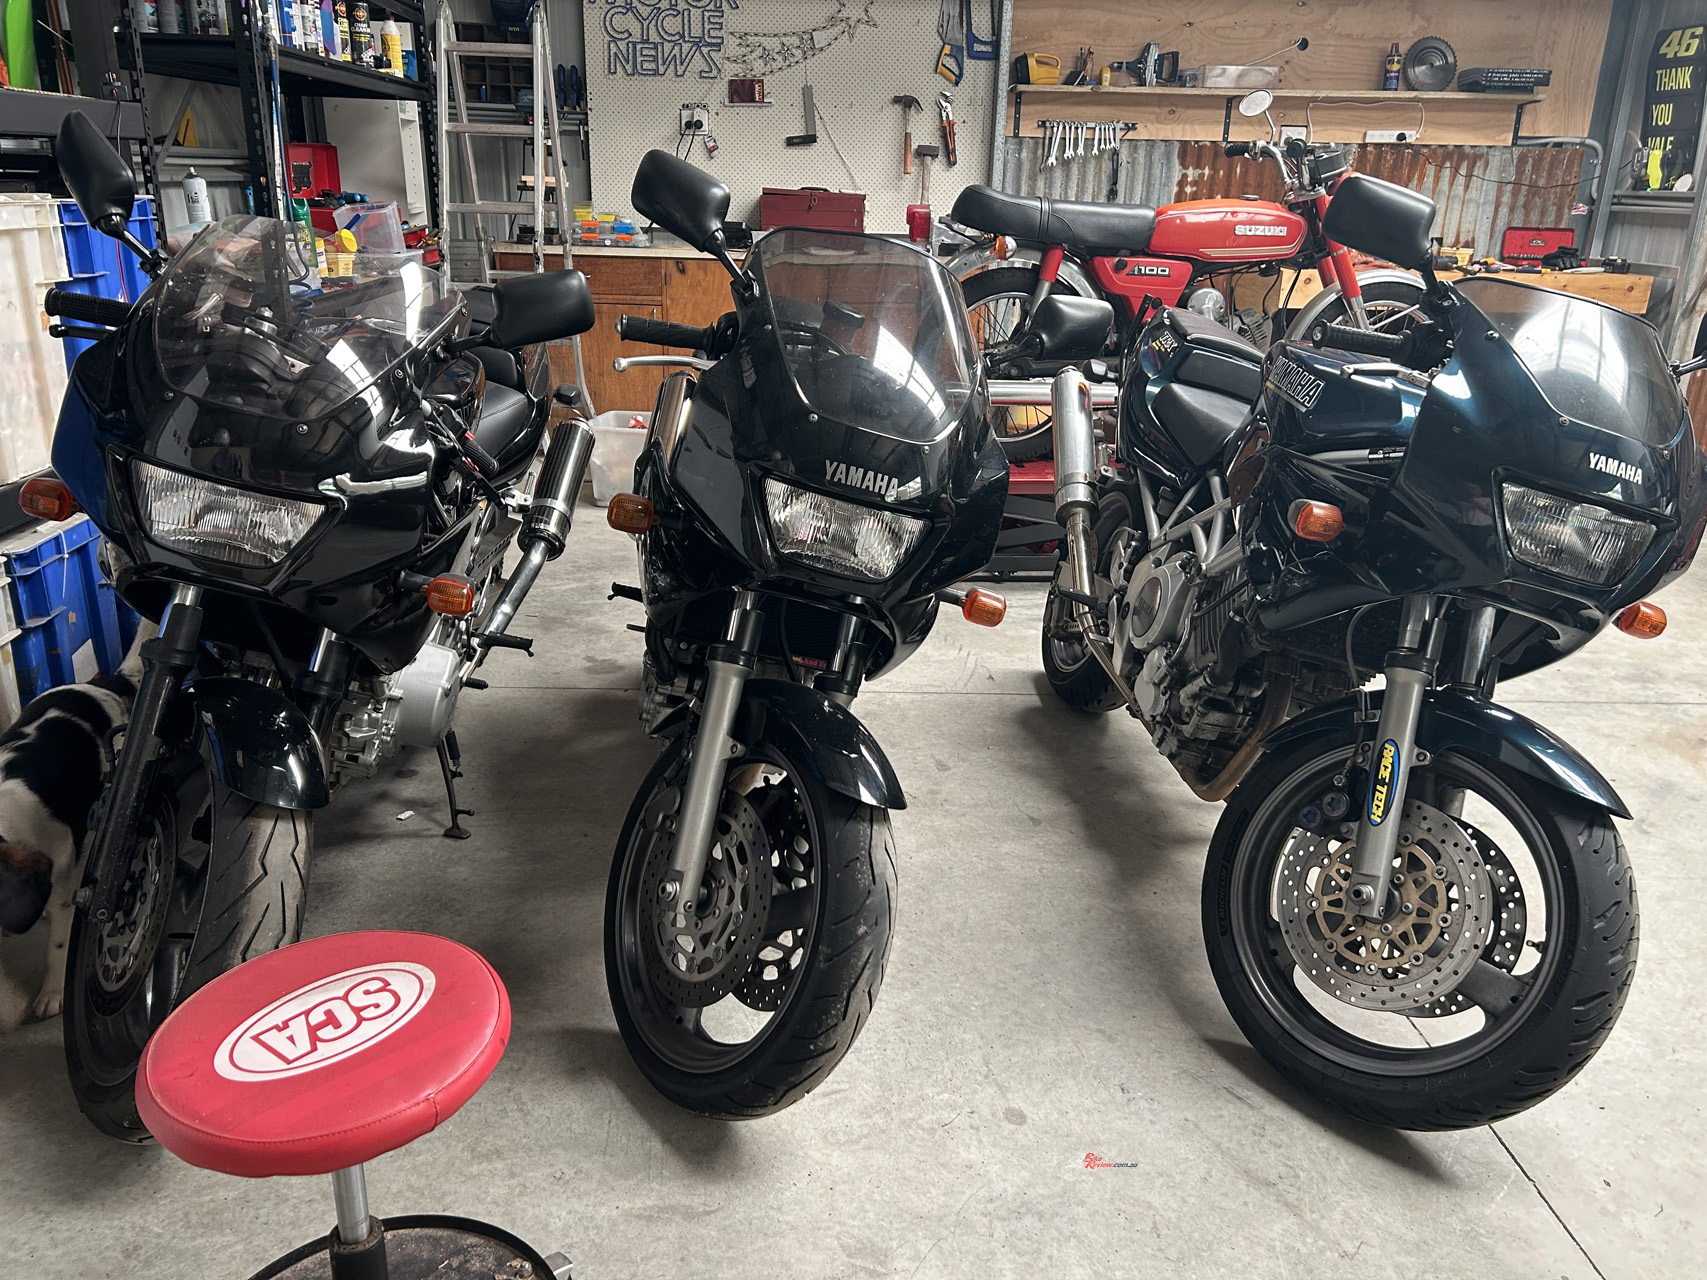
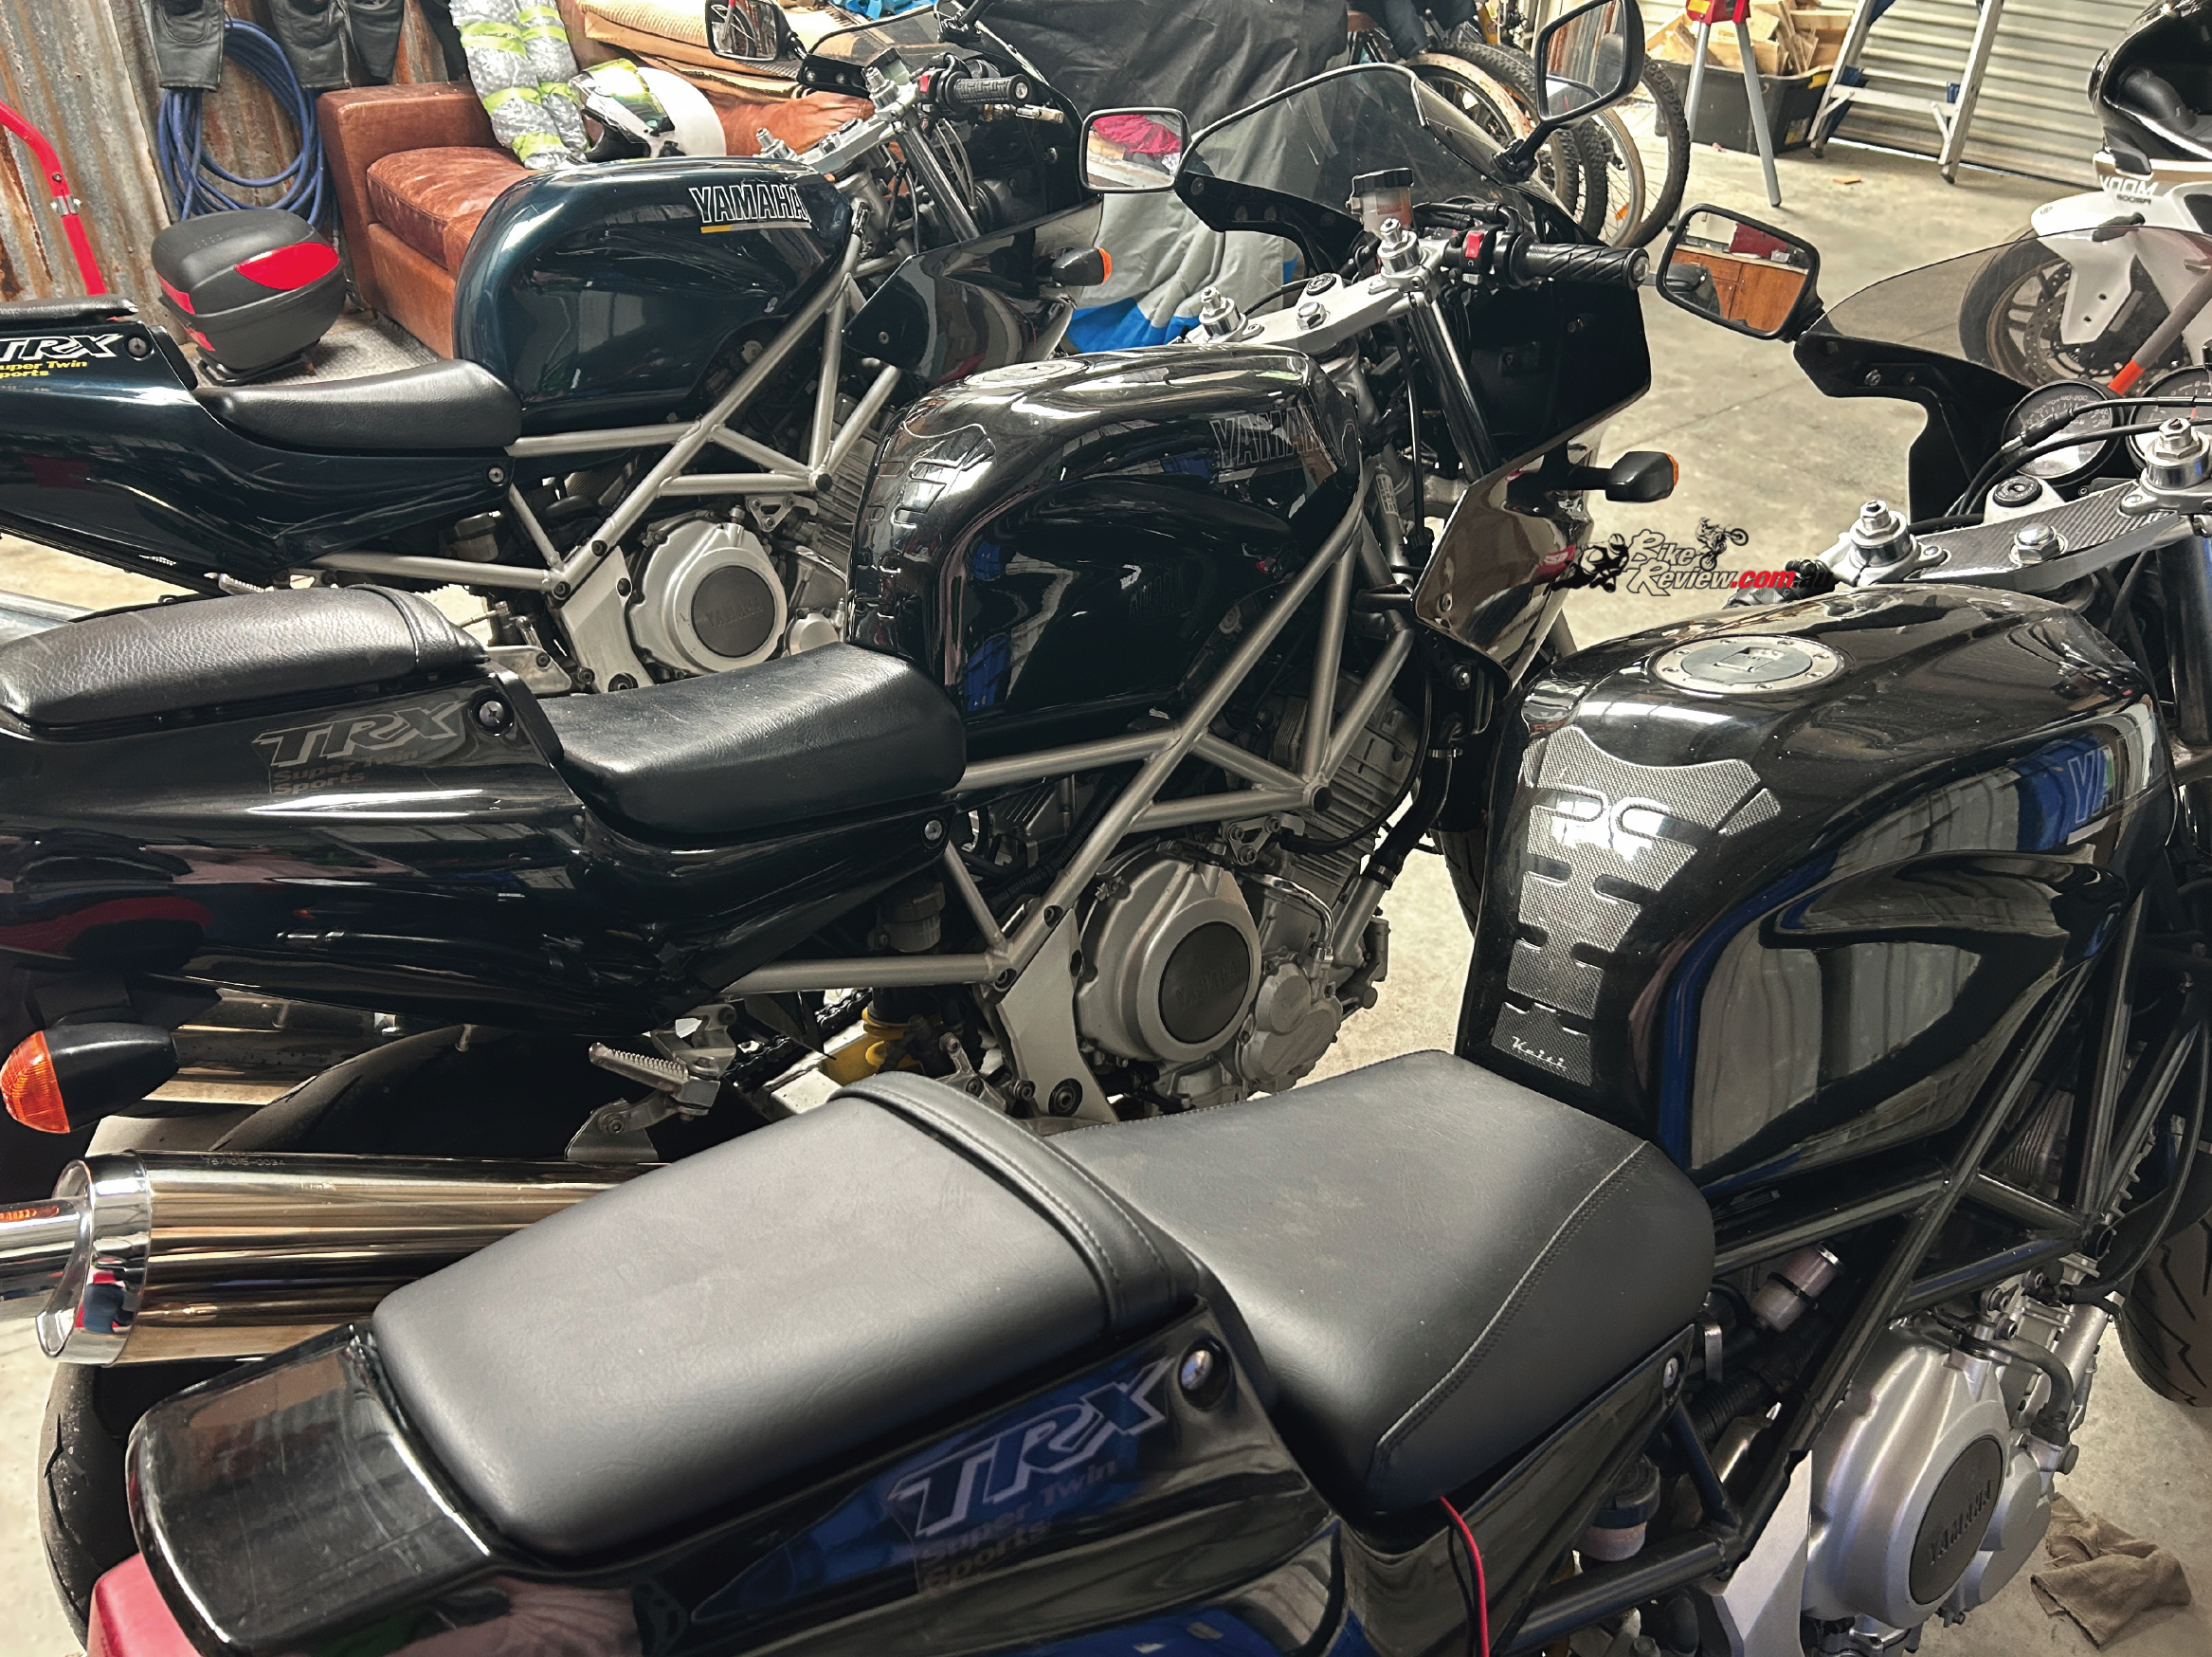
Having more than one example makes cross-referencing parts and condition easy.
I was blinded by the super strong engine and various bits of bling, but it wasn’t the right bike to get me to the place I wanted to take it. The second TRX850 (1999) however, gave me all the encouragement I needed. It had the engine and chassis I trusted most, and the small wear and details backed that up. The ’96 – the one that started all of this – would donate what it could, and the ’97, despite looking like it had spent more time outside than in during its 29-year-old life, had some of the best components that I hoped I could clean up and transfer across.
The goal – as it was from day one – was to build a clean, honest TRX850 from the best parts of what I had in front of me. Something that stayed true to what the bike is, but fixed the things that age and previous owners had compromised on. As long as the cost to do so was reasonable.
“Something that stayed true to what the bike is, but fixed the things that age and previous owners had compromised on”
The only way forward was to start pulling it apart. I began with the ’99, stripping it back to see exactly what I had. It didn’t take long to be reminded of some of the joys of working on a 27-year-old bike. The rear bodywork came off easily enough, but the front fairing put up a fight. Two screws, one each side, undone and tightened that many times over the years that the head was stripped. A handy-to-have extractor sorted those for $24.98, and once they cracked, the rest came apart as expected.
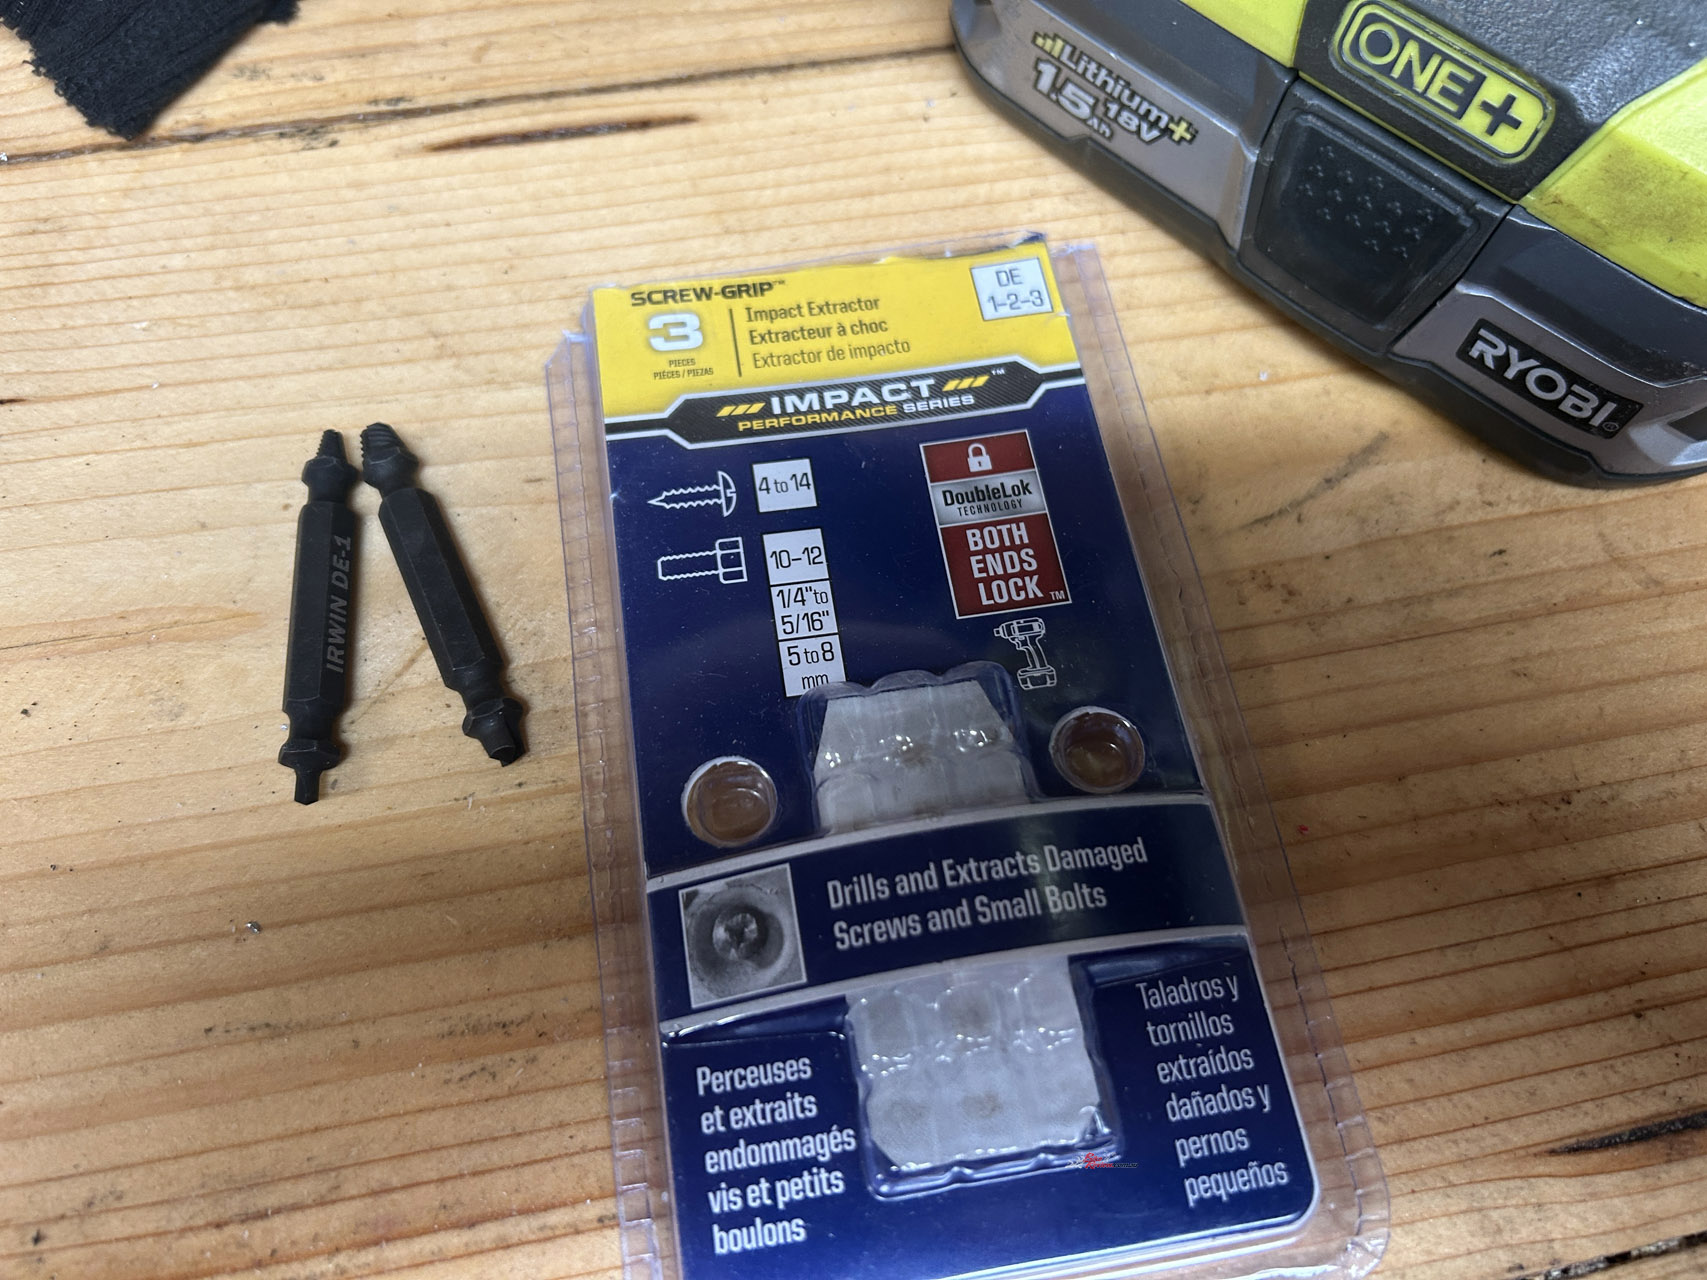
For $25 bucks, this extractor tool turned a lot of swearing into a smile.
Indicators unplugged, headlight disconnected, speedo cable unrouted, and the mirror bolts that tie the upper fairing to its mount backed out and mirrors removed. With that out of the way, the fairing came free. With it removed, it gave me a clear view of the bolts which hold the instrument cluster in place and I was pleased to see they looked untouched; no rounded edges or evidence that a tool had been on them – which is more than I can say for the ’96 bike…
And that’s where having three of the same model starts to pay off. You’re not guessing what’s original, or what’s been modified, or what may or may not be looking worn out. You can cross-reference everything. If something looks off, you’ve got a direct comparison sitting a few metres away and takes a lot of the guesswork out of the decisions.
")
")
Because I’m changing bodywork – the goal is to end up with a green, sorry, Very Dark Blue Metallic according to Yamaha – I needed to keep the key consistent with the donor bike, which meant looking at swapping fuel caps. In theory, straightforward. In practice, nothing like it. The openings between tanks are just different enough that the caps wouldn’t close cleanly with the swapped locks. Unusual, I thought, but not to worry, I’ll just swap the lock mechanisms over within the fuel caps. In theory, straightforward, in practice, nothing like it. Even the all-knowing Andy Strapz took the two units home and spent a frustrating couple of hours trying to figure it out. Turns out there are springs in there about the size of your nose hair clippings. That’ll need another solution.
“Even the all-knowing Andy Strapz took the two units home and spent a frustrating couple of hours trying to figure it out”
The tank itself came next, and again, age showed up in the fasteners. The right-hand bolt came free with a bit of effort, but the left was so stripped out – and too far seated within the bike that I couldn’t get the extractor bit in deep enough without an extension. With more experience than me in this type of work, Andy suggested I pack the stripped head with steel wool, drive an Allen bit into it with an impact driver, and it should give it just enough bite to turn and free the bolt. It worked.
")
")
With the tank off, the condition underneath gave me plenty to be pleased about. The airbox on the ’99 was clean. Not just pretty good for a 27-year-old bike – really lovely and clean. The filter looked near new. Definitely a step in the right direction. Removing the right-hand fairing bracket meant disconnecting the clutch cable, because the fairing doubles as a guide, which turned into an opportunity to service it. I couldn’t find my cable oiler, so improvised – taped up a makeshift funnel at the top of the cable and fed oil through it. Not elegant, but it did the job.
")
")
The exhaust headers come off really easily. Once the flanges on the header pipe have been loosened, there’s just a single bolt that goes through a saddle that connects the two pipes directly underneath the engine, and they drop away. Getting them back on is a different story entirely, and one that riddles TRX forums the world over.
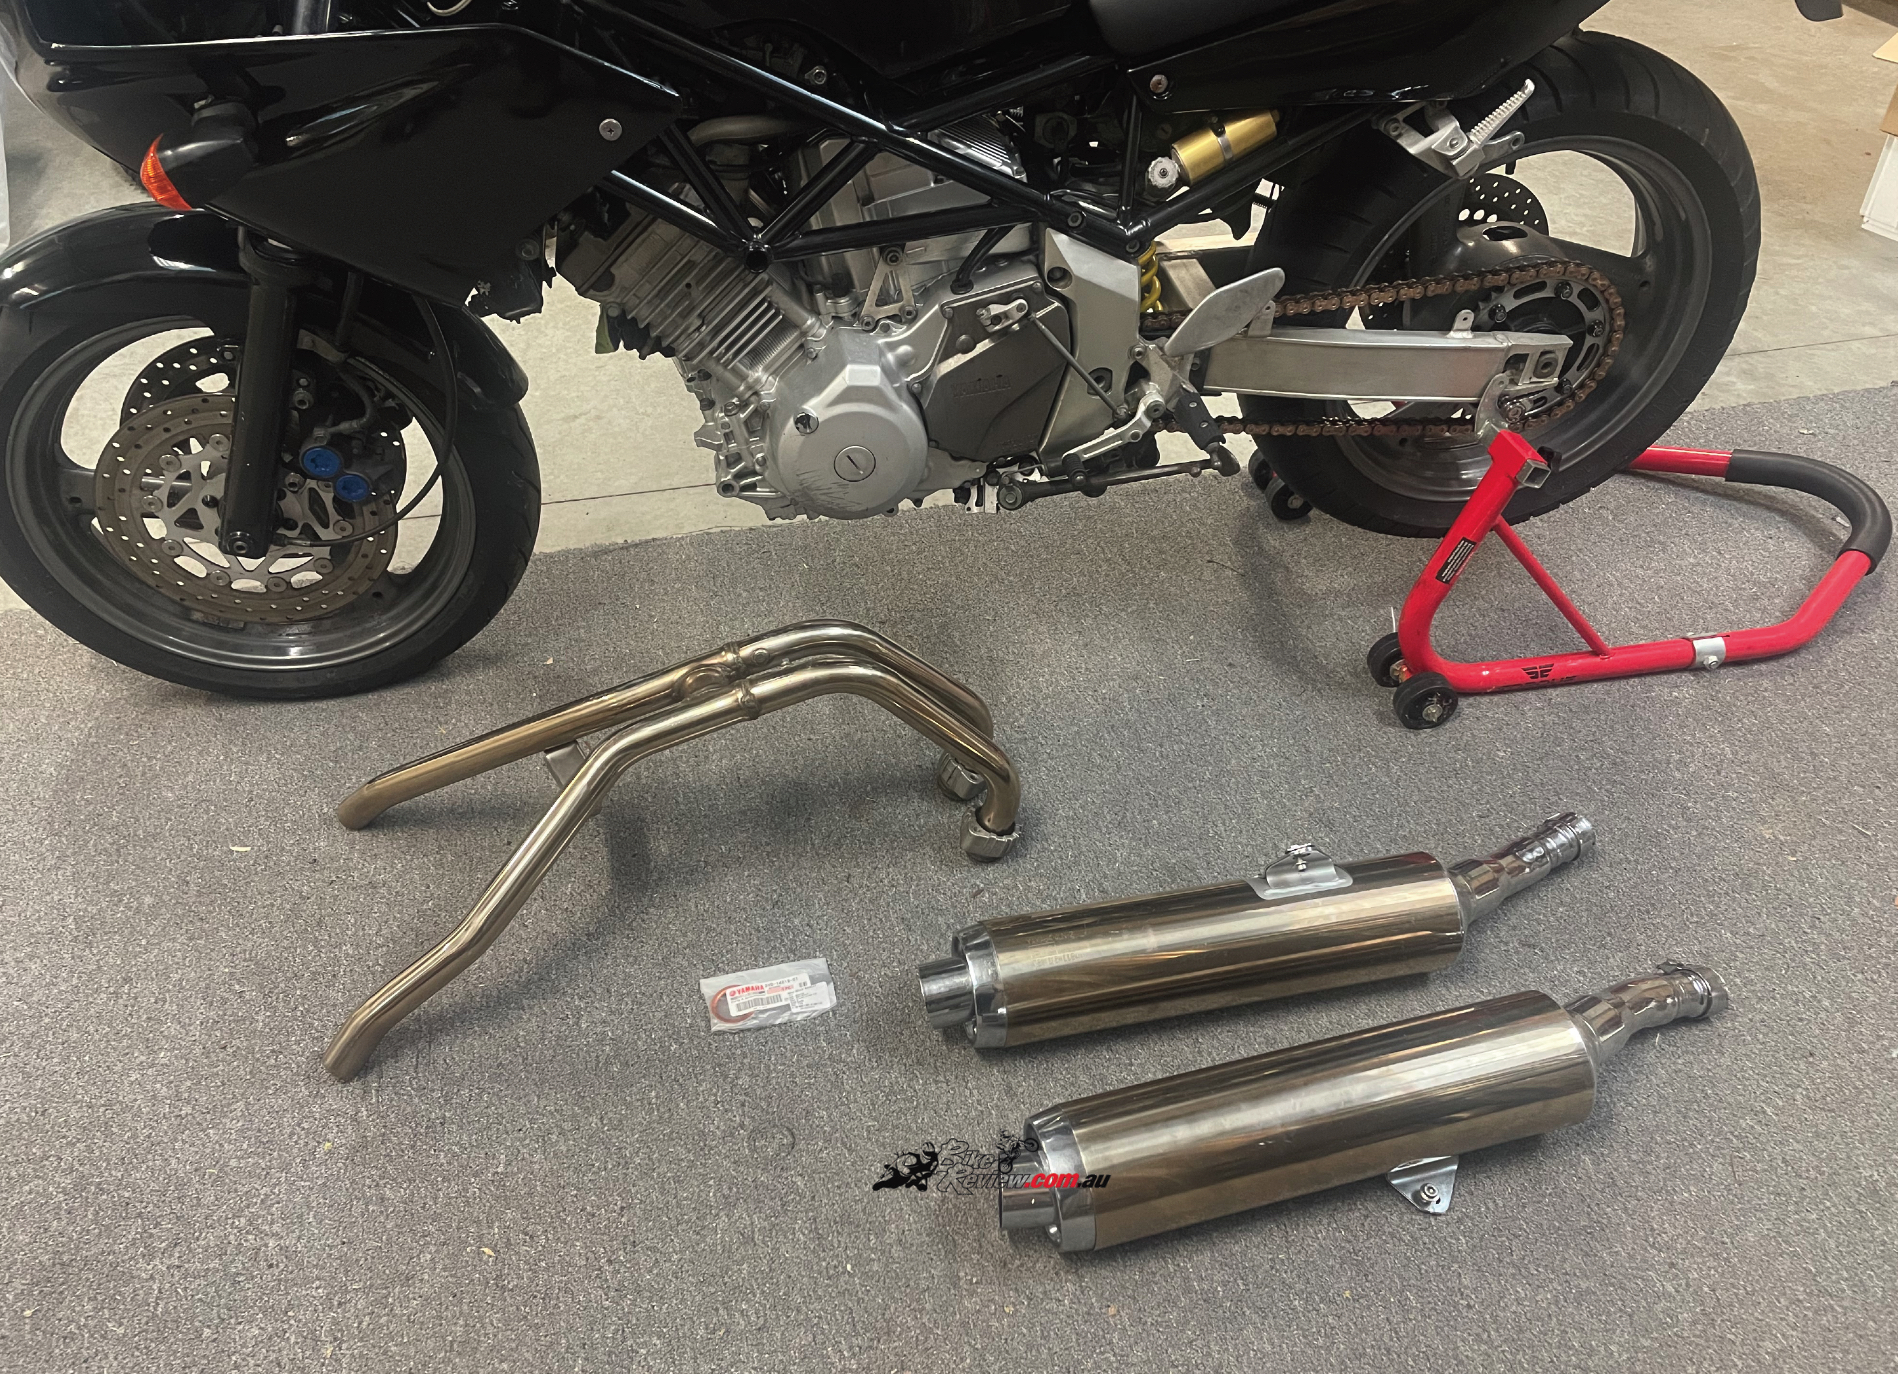
Removing the headers is a quick job. Getting them back on is a different story.
Because, for reasons unknown to me, getting that single bolt to catch on the thread to get it back in is nigh-on impossible. In the end, I laid on my back and wedged my head under the bike to try and see to line up the saddle, the bolt and the hole. After an hour of swearing and cursing, I ended up using a clamp between the saddle and the rear shock mount, as well as a couple of rags to prevent any scratches, to hold everything in alignment just long enough to get the thread started.
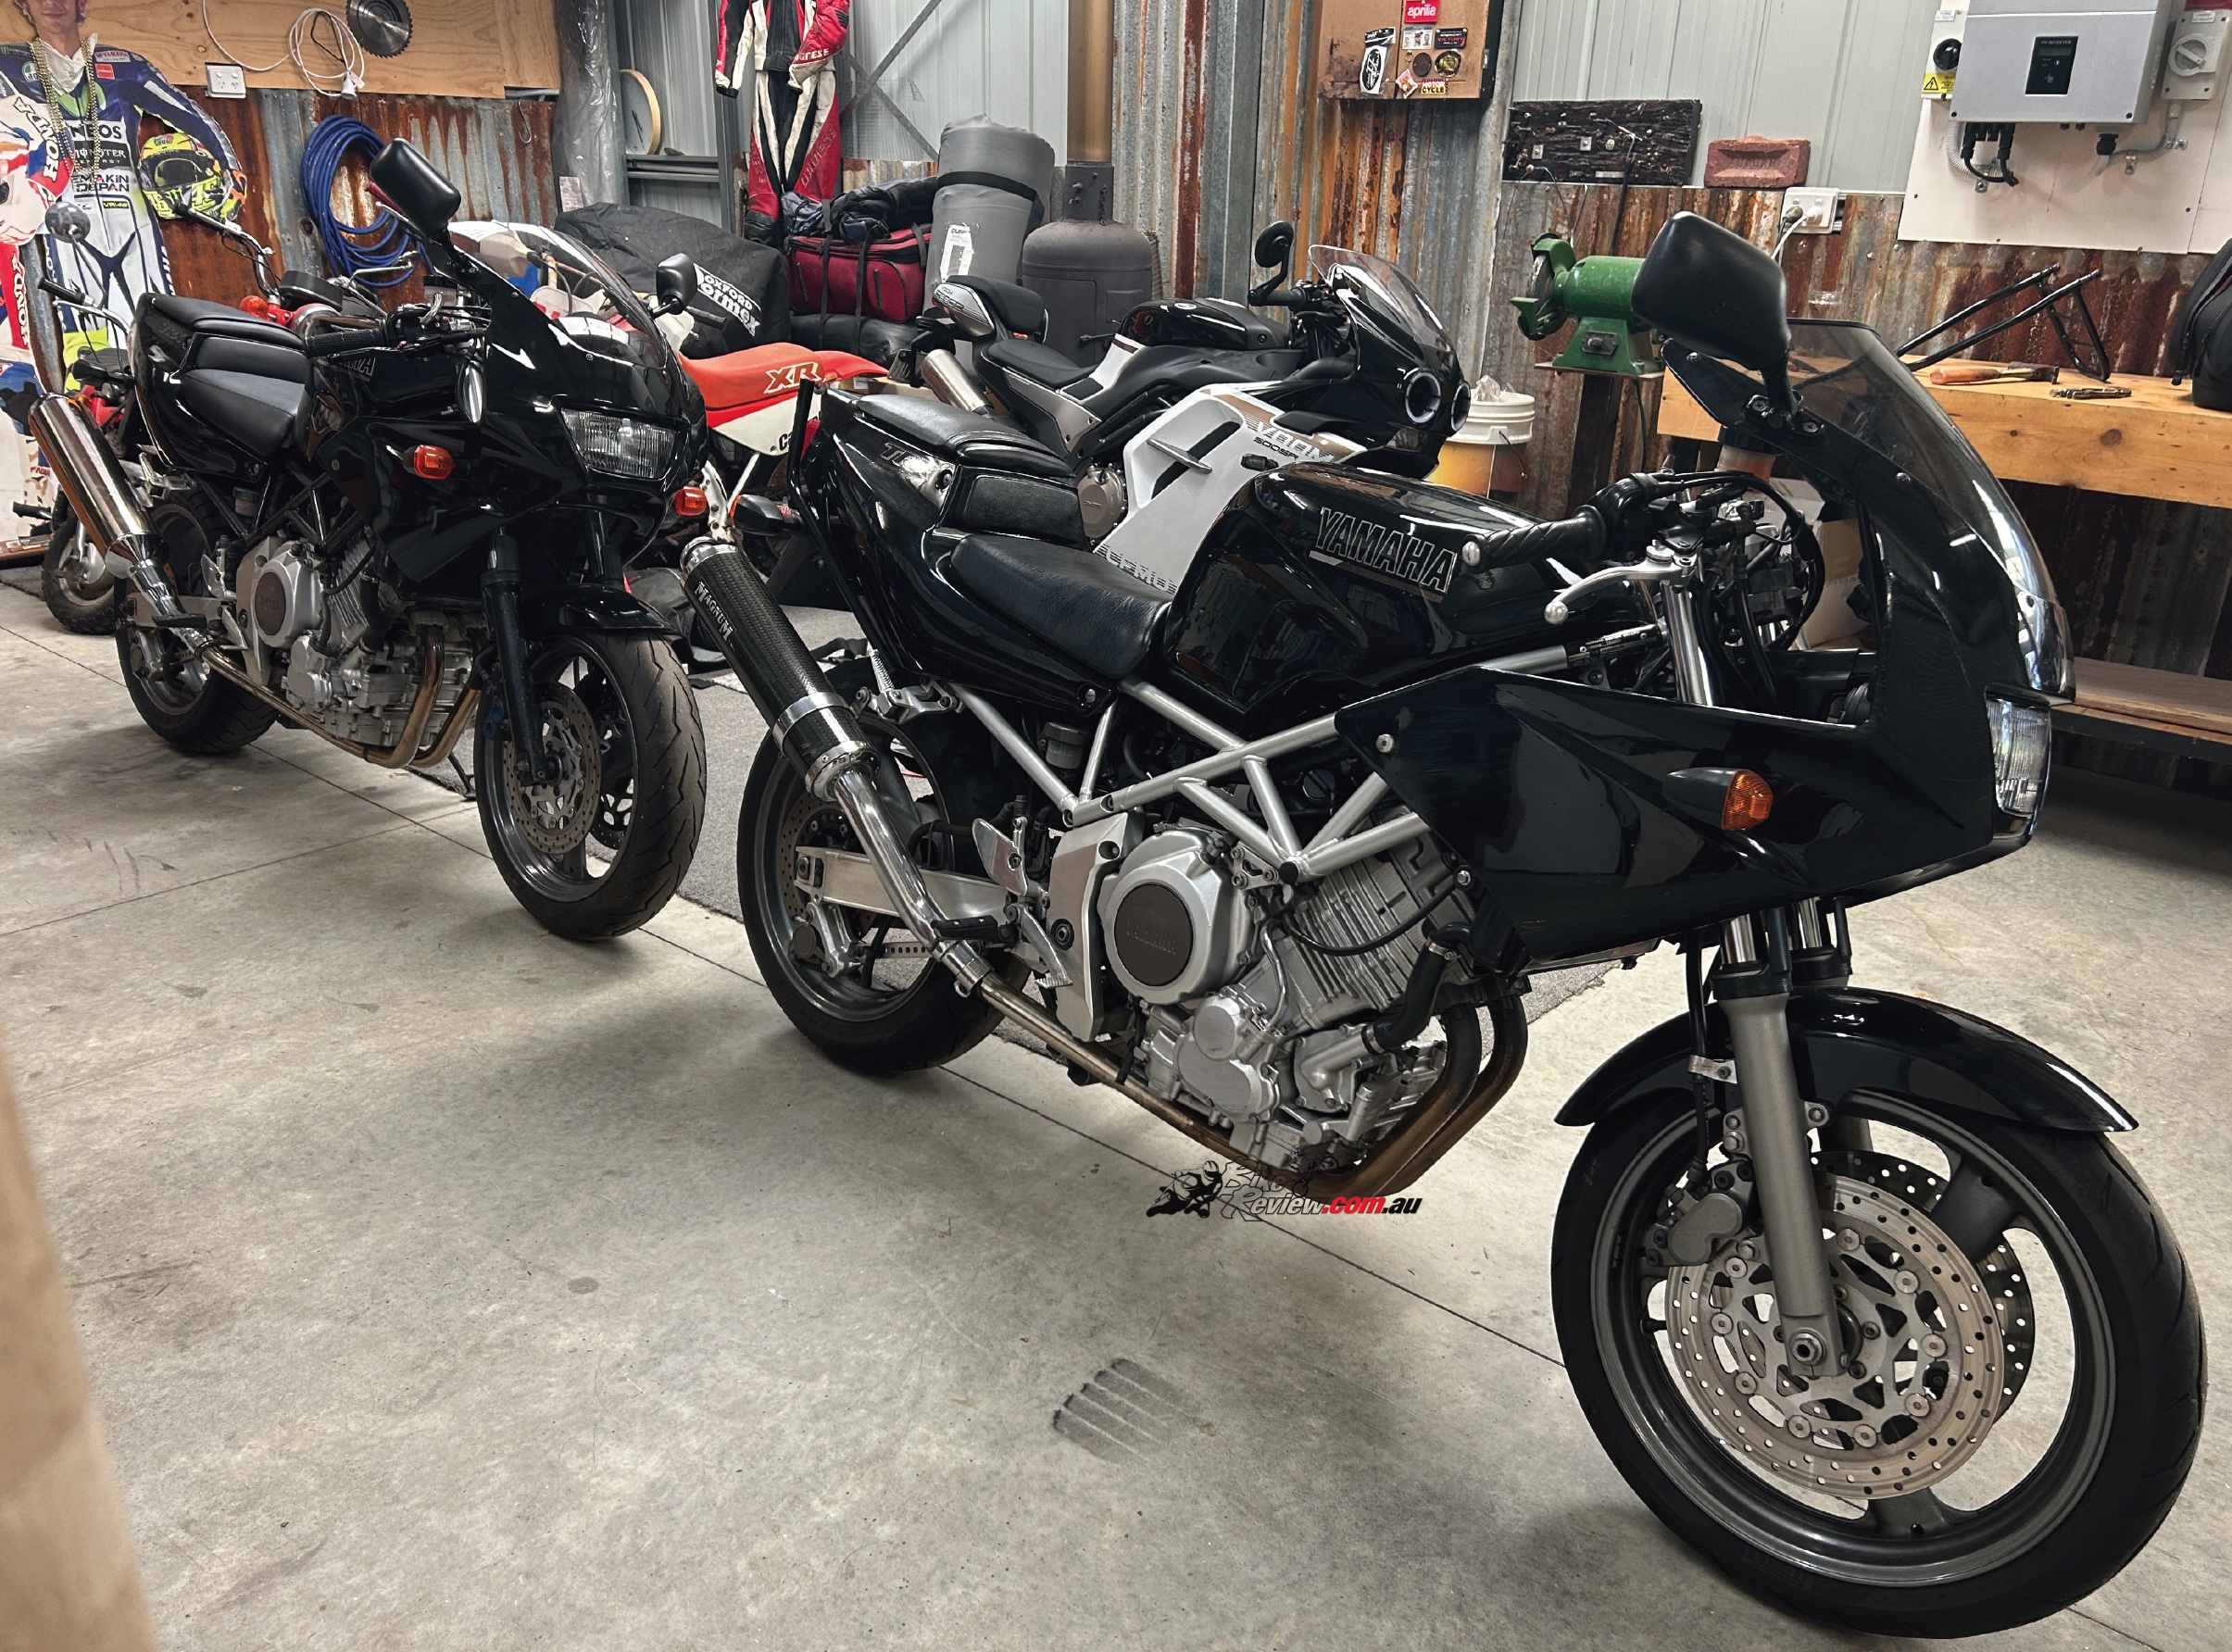
With the ’99 stripped far enough to understand what I had, attention shifted to the ’97 – the bike that looked rough, but had the parts I wanted. The front end was the priority. Forks, calipers and braided lines would all come across, so its fairing and headlight came off, followed by the handlebars. Yamaha did a good job here – once you separate the bars from the clamps, everything stays attached. It makes removal clean and controlled, rather than juggling controls, screws and cables.
“I ended up using a clamp between the saddle and the rear shock mount, as well as a couple of rags to prevent any scratches”
The front guard came next, and that’s where another odd detail popped up. The brake line guide uses an imperial bolt – 5/16 – not metric. Same across all three bikes. It’s the only imperial fastener I’ve come across so far. Odd, but interesting. The calipers came off without much resistance, but but once they were in my hand, I realised they were covered in oil. A closer look at the forks explained why – the stanchions have a fair bit of rust on them, and the seals are done.
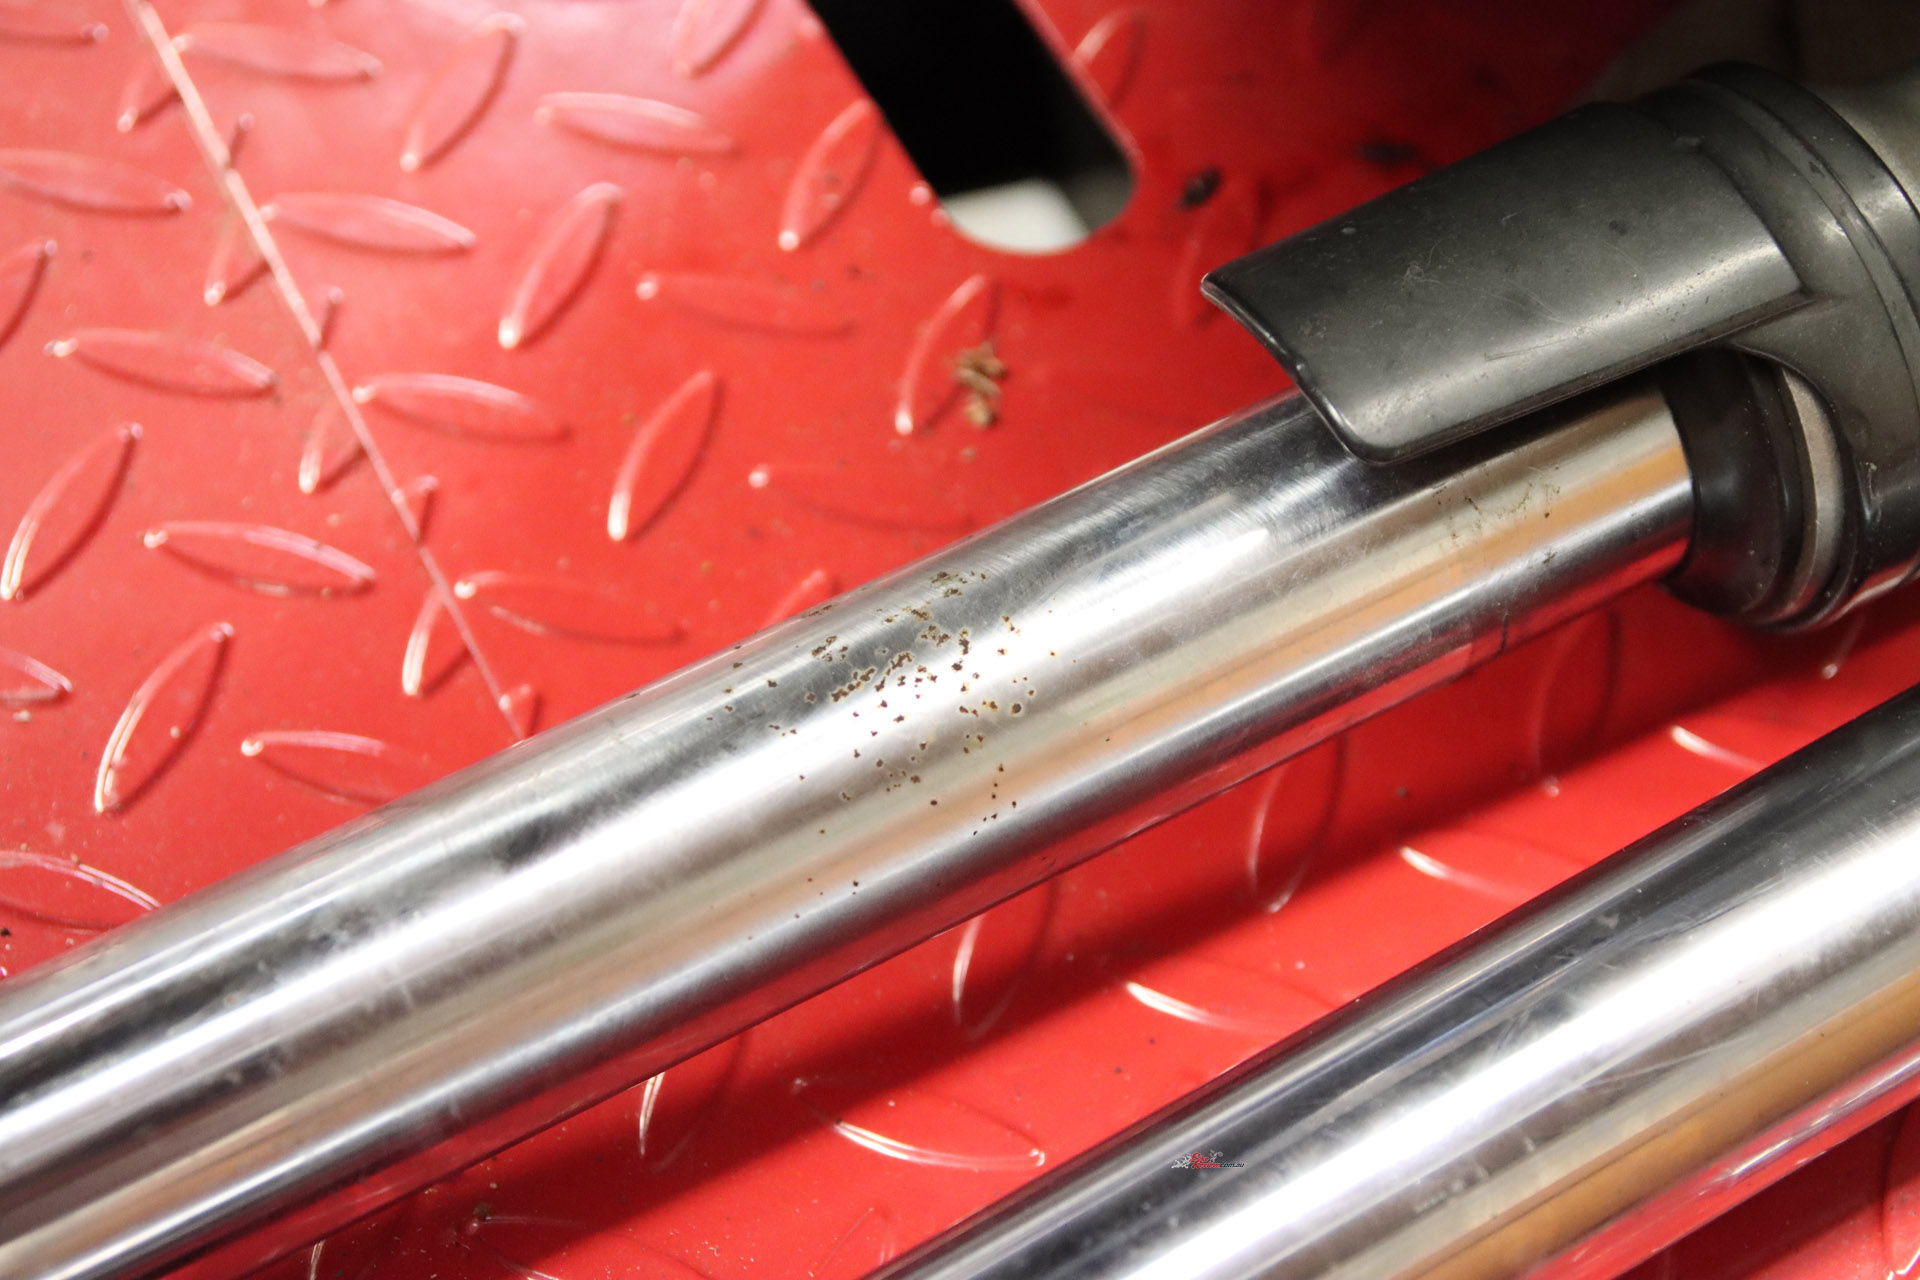
Repair, replace or rip out and switch the internals? More research to be done.
Next step is working out whether they’re salvageable – whether they’re innies or outies – and the best plan of attack. So while the blue-spot calipers and braided lines are valuable, the forks themselves are going to need attention – or at the very least their internals swapped – before they go anywhere near the ’99. That’s pretty much the story with this bike. Good parts, but not well looked after. It’s either spent a good proportion of its days outdoors, or very close to the ocean, is my guess.
")
")
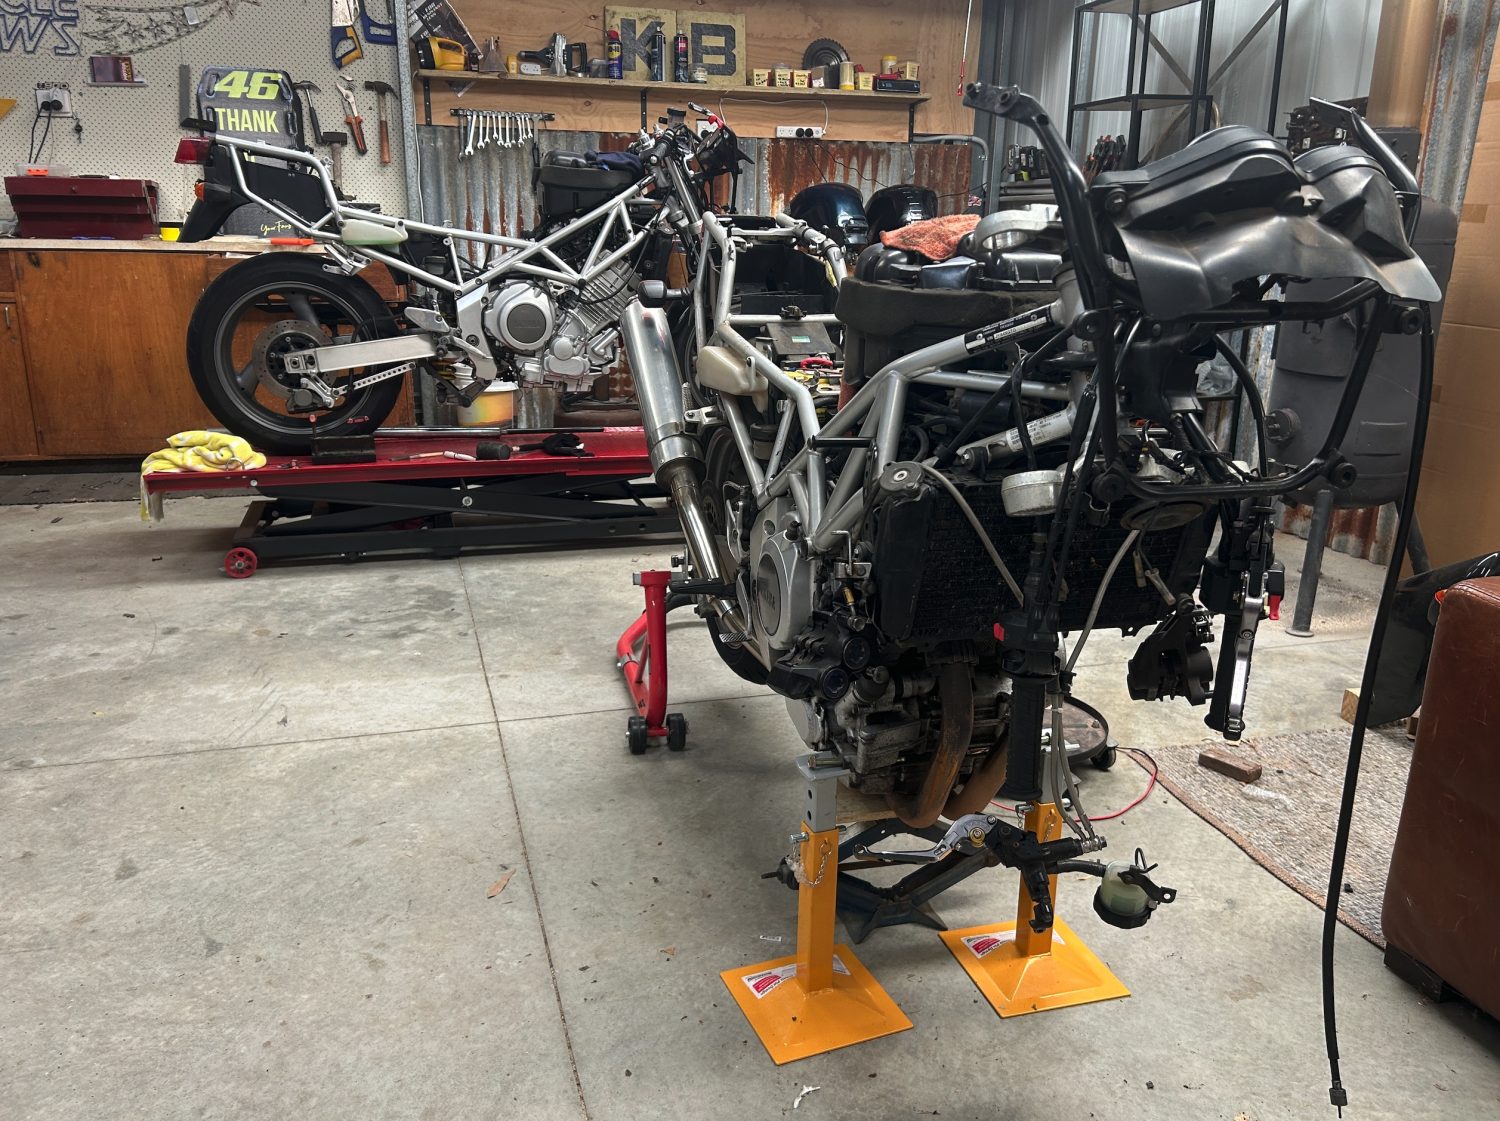
To get the front end out completely, I had to rethink how the bike was supported. An under-fork front stand was out of the question, obviously, and with the donor bike already on the hoist, I needed it off the ground and stable enough to remove the axle, wheel and to drop the forks. A front stand that lifts from the headstock would have solved it, but I didn’t have one. What I did have was a pair of 1200kg jack stands and a convenient hole running from one side of the base of the engine to the other.
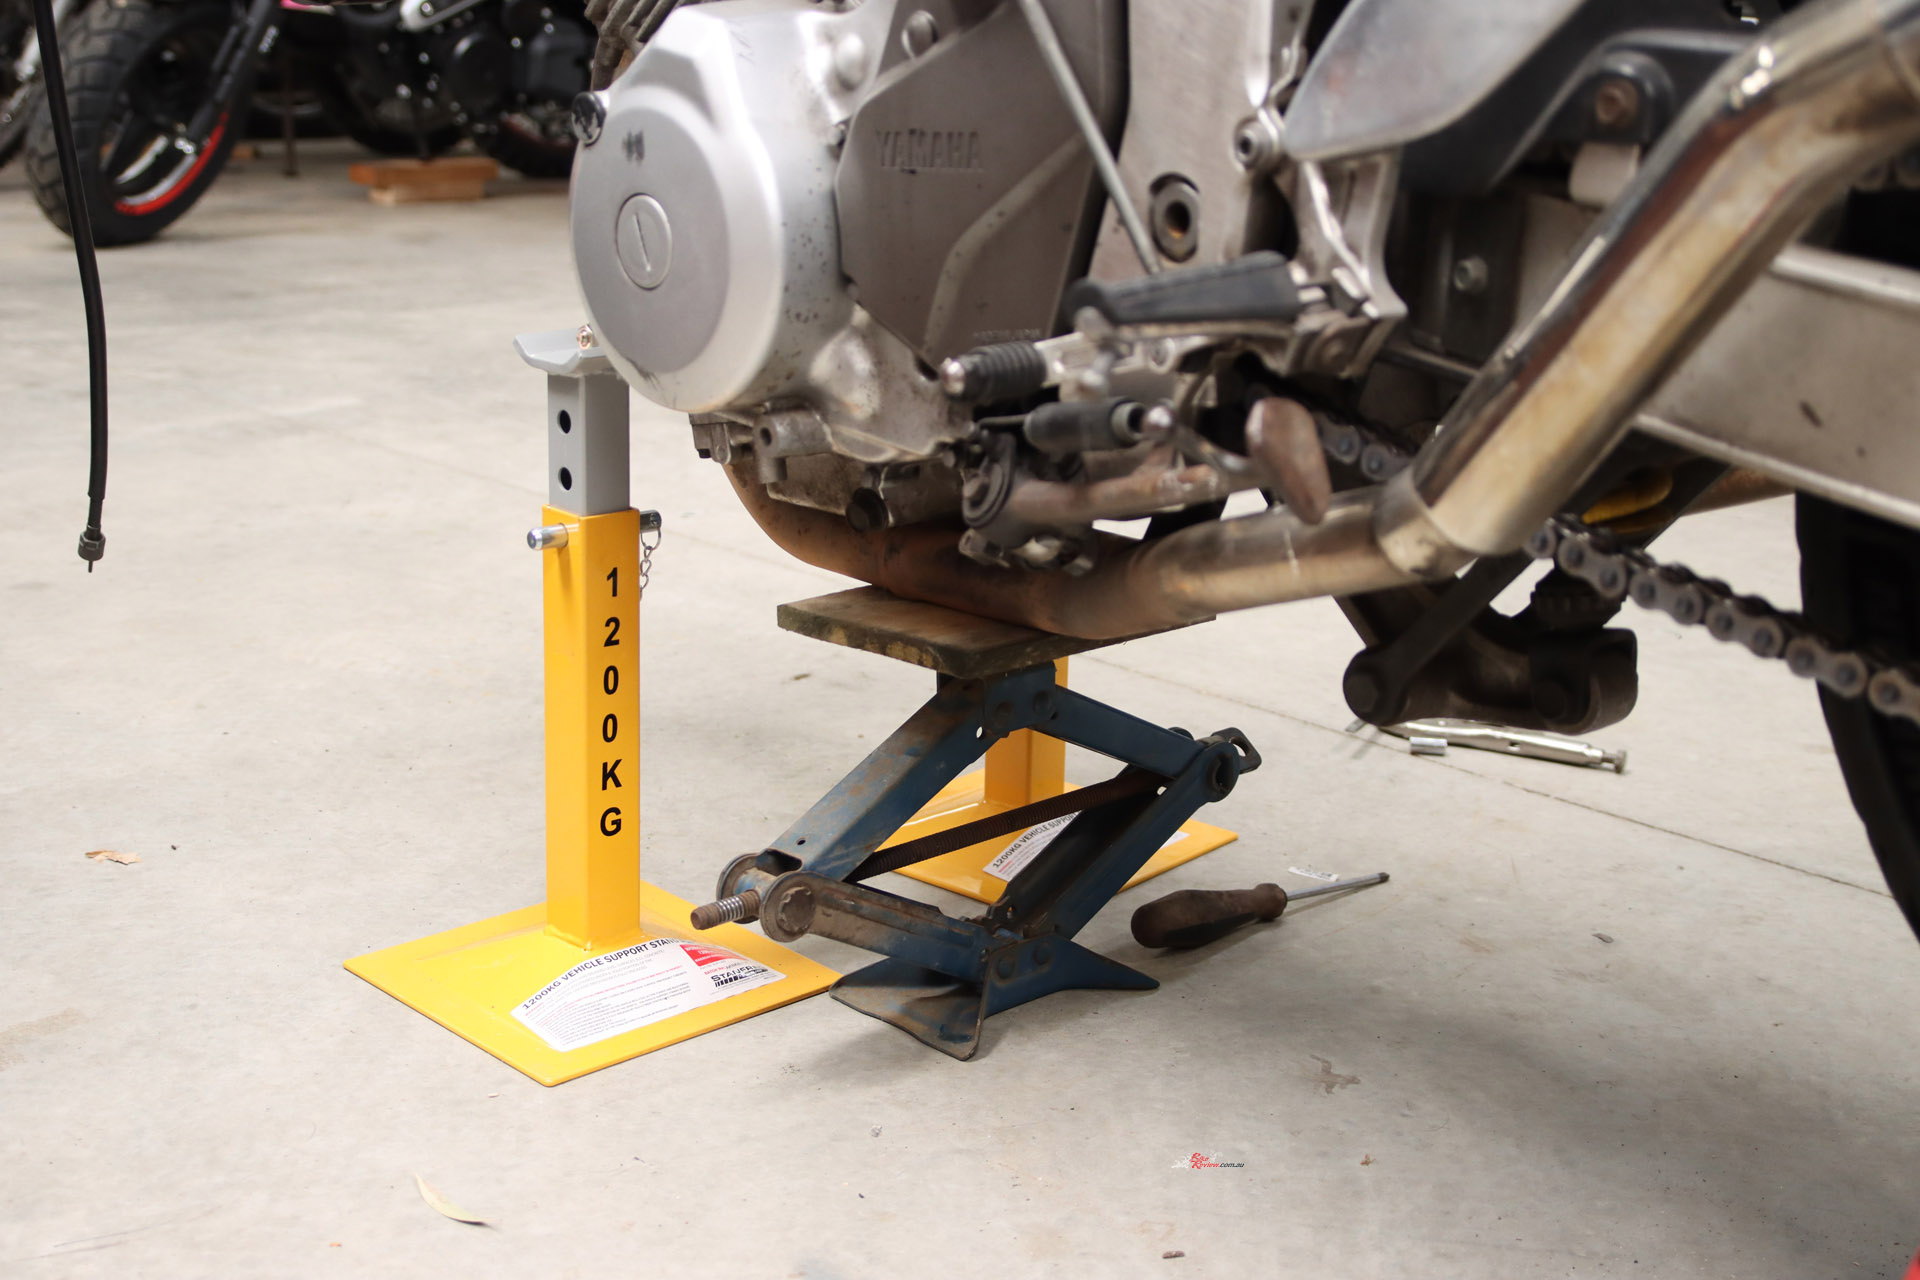
Those jacks were picked up brand new at a garage sale for $10!
Despite hanging on to nearly everything in the event that it might come in handy one day, I couldn’t find a rod to suit, so I used a pair of dynabolts inserted into either side of the hole, carefully placed a car jack underneath a thin board to spread out the pressure and lifted the bike just high enough to place the jack stands underneath the bolts. And I left a small amount of pressure on the jack and timber underneath to share the load and create a triangular area of support, which I figure is better than a two-point system.
“The last thing you want is to be leaning on a spanner and the whole thing come tumbling down”
It works really well, but it comes with a rule. Any fastener that needs serious force gets cracked loose before the bike is up in the air. Once it’s on stands, the last thing you want is to be leaning on a spanner and the whole thing come tumbling down. With everything supported, the fork legs came out cleanly. What happens next with them is still up in the air and will require a bit more research.
")
")
Under the tank, the ’97 kept delivering mixed signals. There’s a long roll of fuel hose tucked away, like someone replaced it at some point but never cut it to length. Under the seat, a good quality Motobatt battery – easily the best of the three – so that went straight onto the trickle charger to keep it in condition.
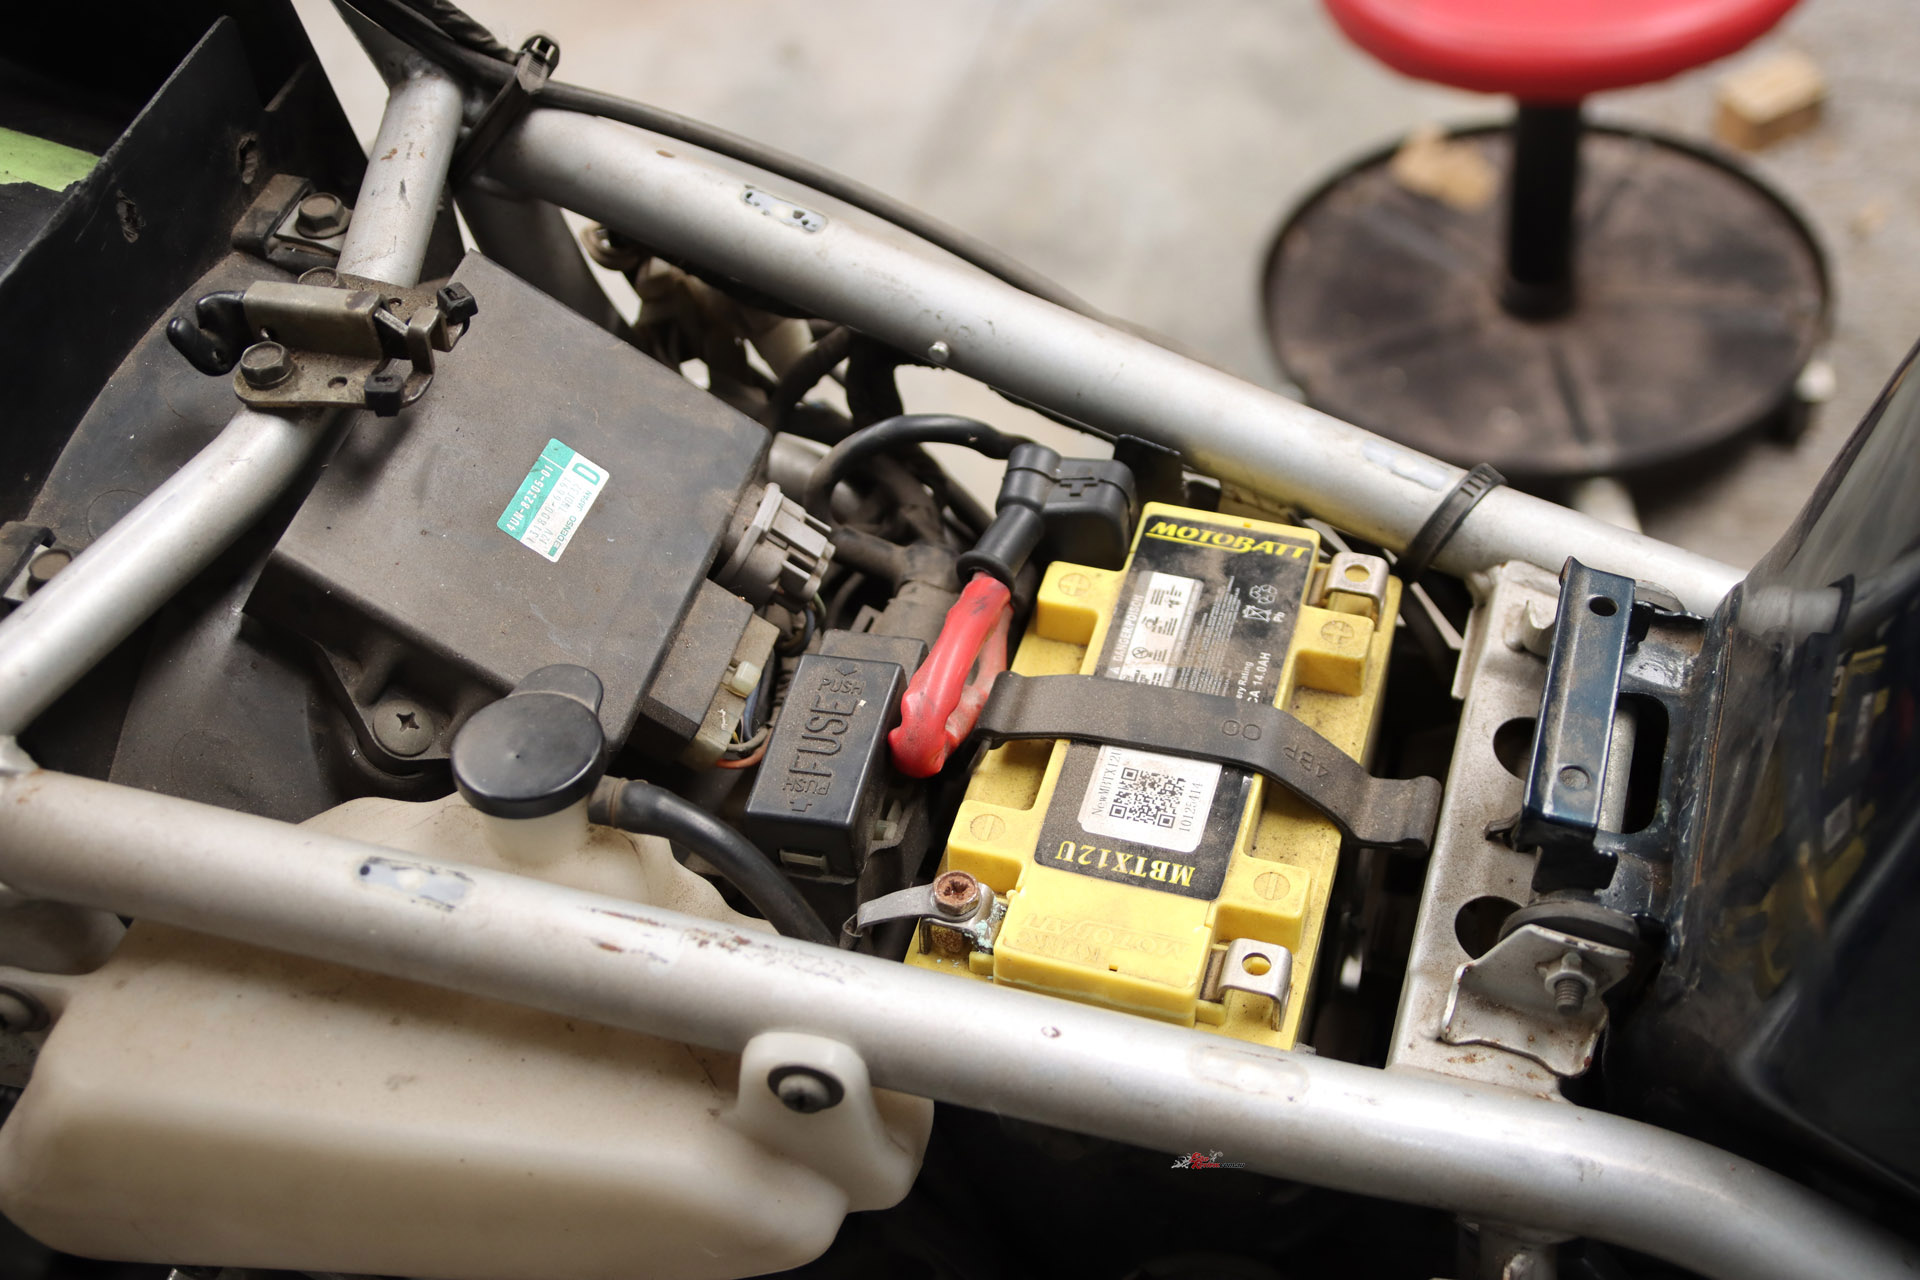
The 97 bike might have had a hard life, but it was given a decent battery at some point.
The airbox, on the other hand, was the opposite of the ’99. Dusty, dirty and the seals around the filter are starting to perish. The fuel cock tells a similar story. The ’97 tank is the paint colour I want, but the cock underneath it is in worse condition than the ’99. So parts will move across accordingly. That’s the reality of this approach. You don’t get a complete solution from any one bike. You build it piece by piece, choosing the best version of each component and dealing with whatever doesn’t line up along the way.
")
")
")
")
At this point, the shape of the build is starting to come into focus. The ’99 is still the foundation. Clean, so far consistent and a solid base to build from. The ’97 contributes key upgrades, even if it needs work before those parts are ready. The ’96… well, I’m starting to think the best way forward would be to cut my losses and move that on in a bid to fund the remainder of the build.
Check out plenty more Yamaha TRX850 content on BikeReview!
There’s still plenty to sort out. The forks need a clear path forward. The fuel cap issue hasn’t been resolved. The condition of smaller components will keep revealing itself the deeper I go.
Three bikes are already becoming one. The only question is how much of what I’ve got will actually make it to the finish line once everything’s cleaned, measured and proven. And that’s the fun part.
The Author
You Might Also Like