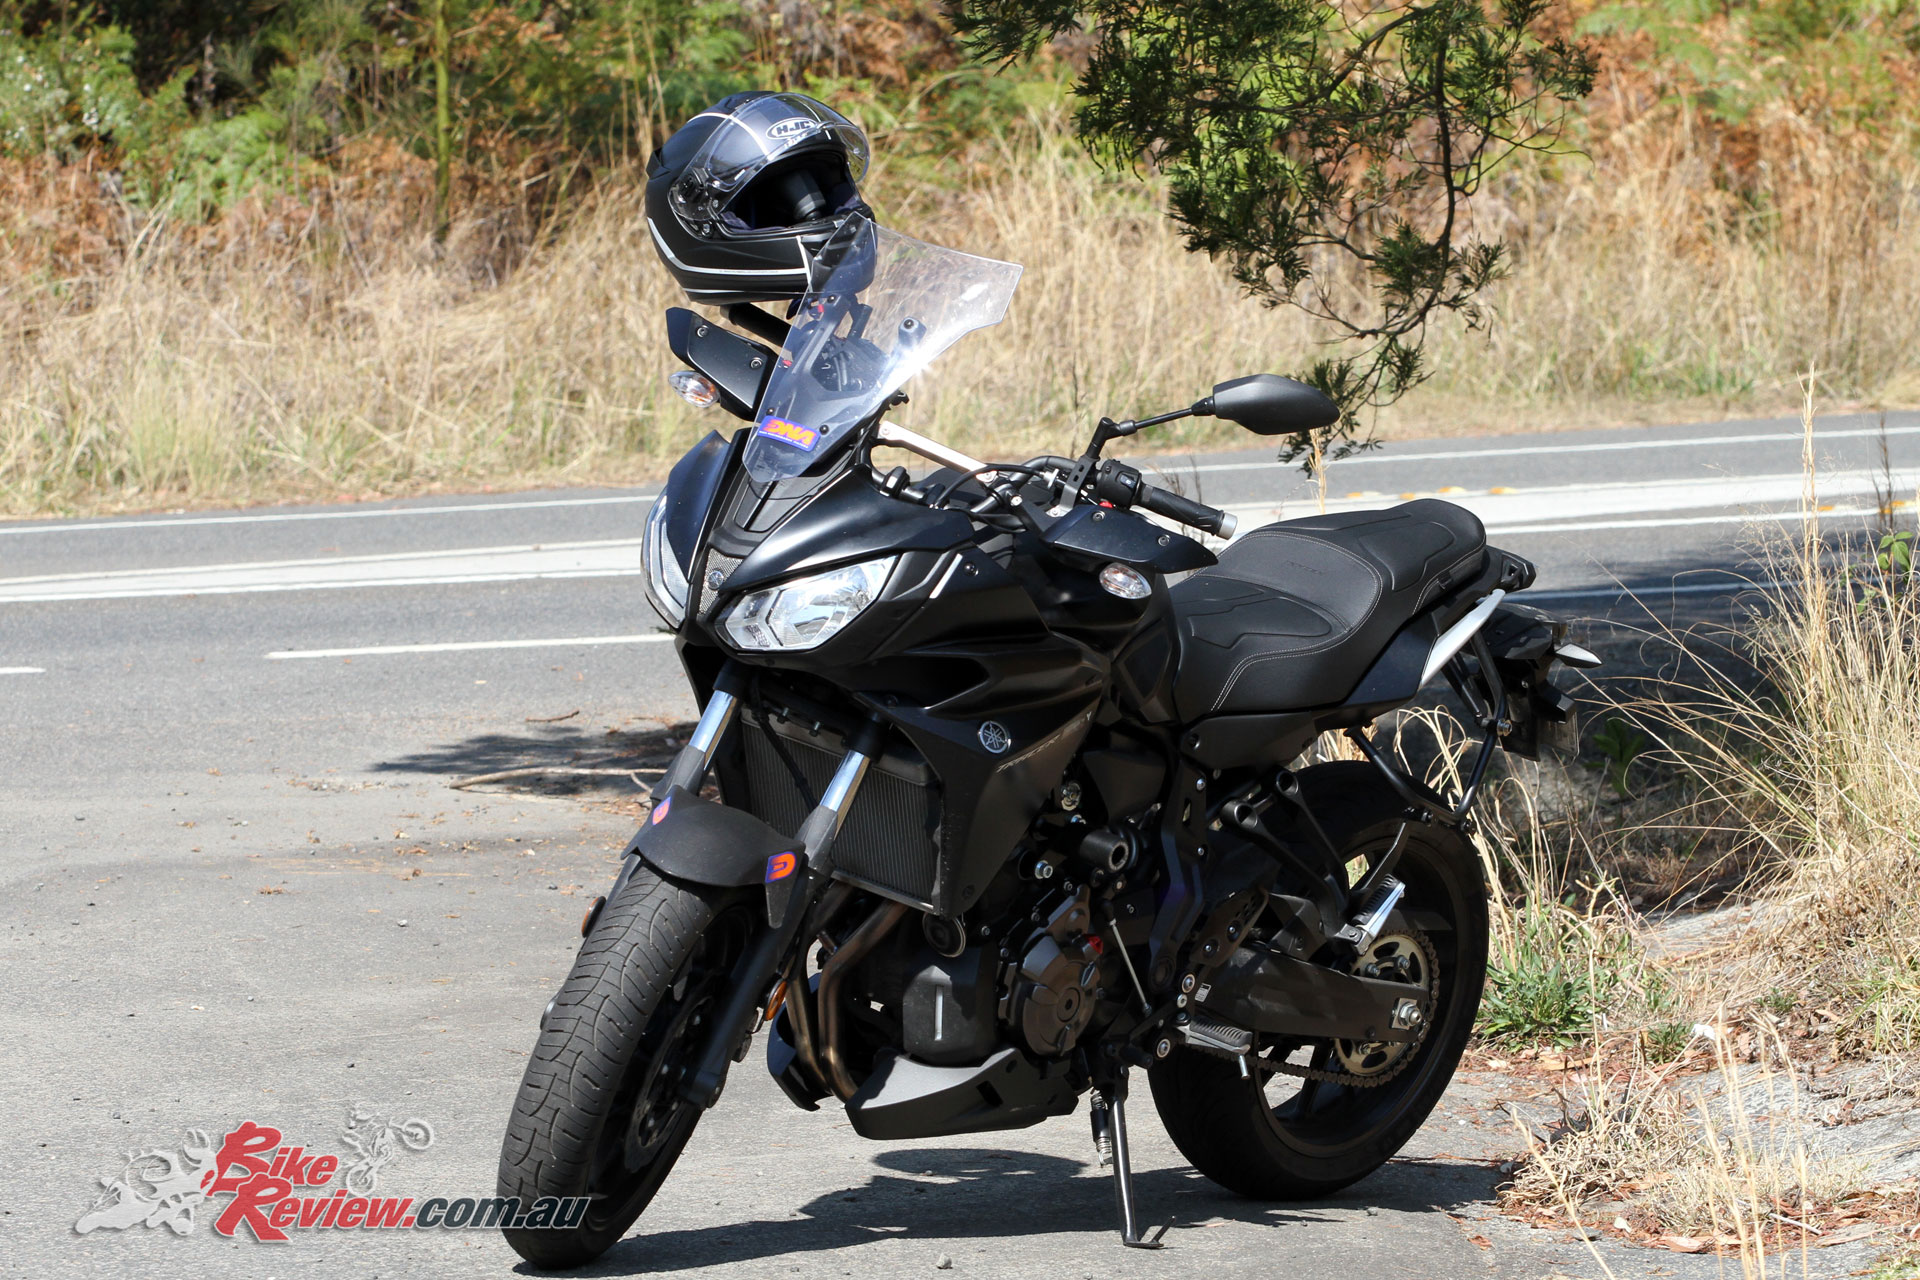
We've given our Long Term MT-07 Tracer a fresh fill of oil and a new filter, and some quick basic maintenance, check it out! Words & Pics by Kris Hodgson
With 5000km on the clock it was time for a little TLC for our Long Term MT-07 Tracer, after the recent addition of an Akrapovic exhaust, not to mention the billet bling in the form of Levers and Filler cap. This is a great DIY job, and while complexity and time required varies by bike, it’s a smart one to do yourself, to save a bit of money and keep your machine in tip top shape between major services.
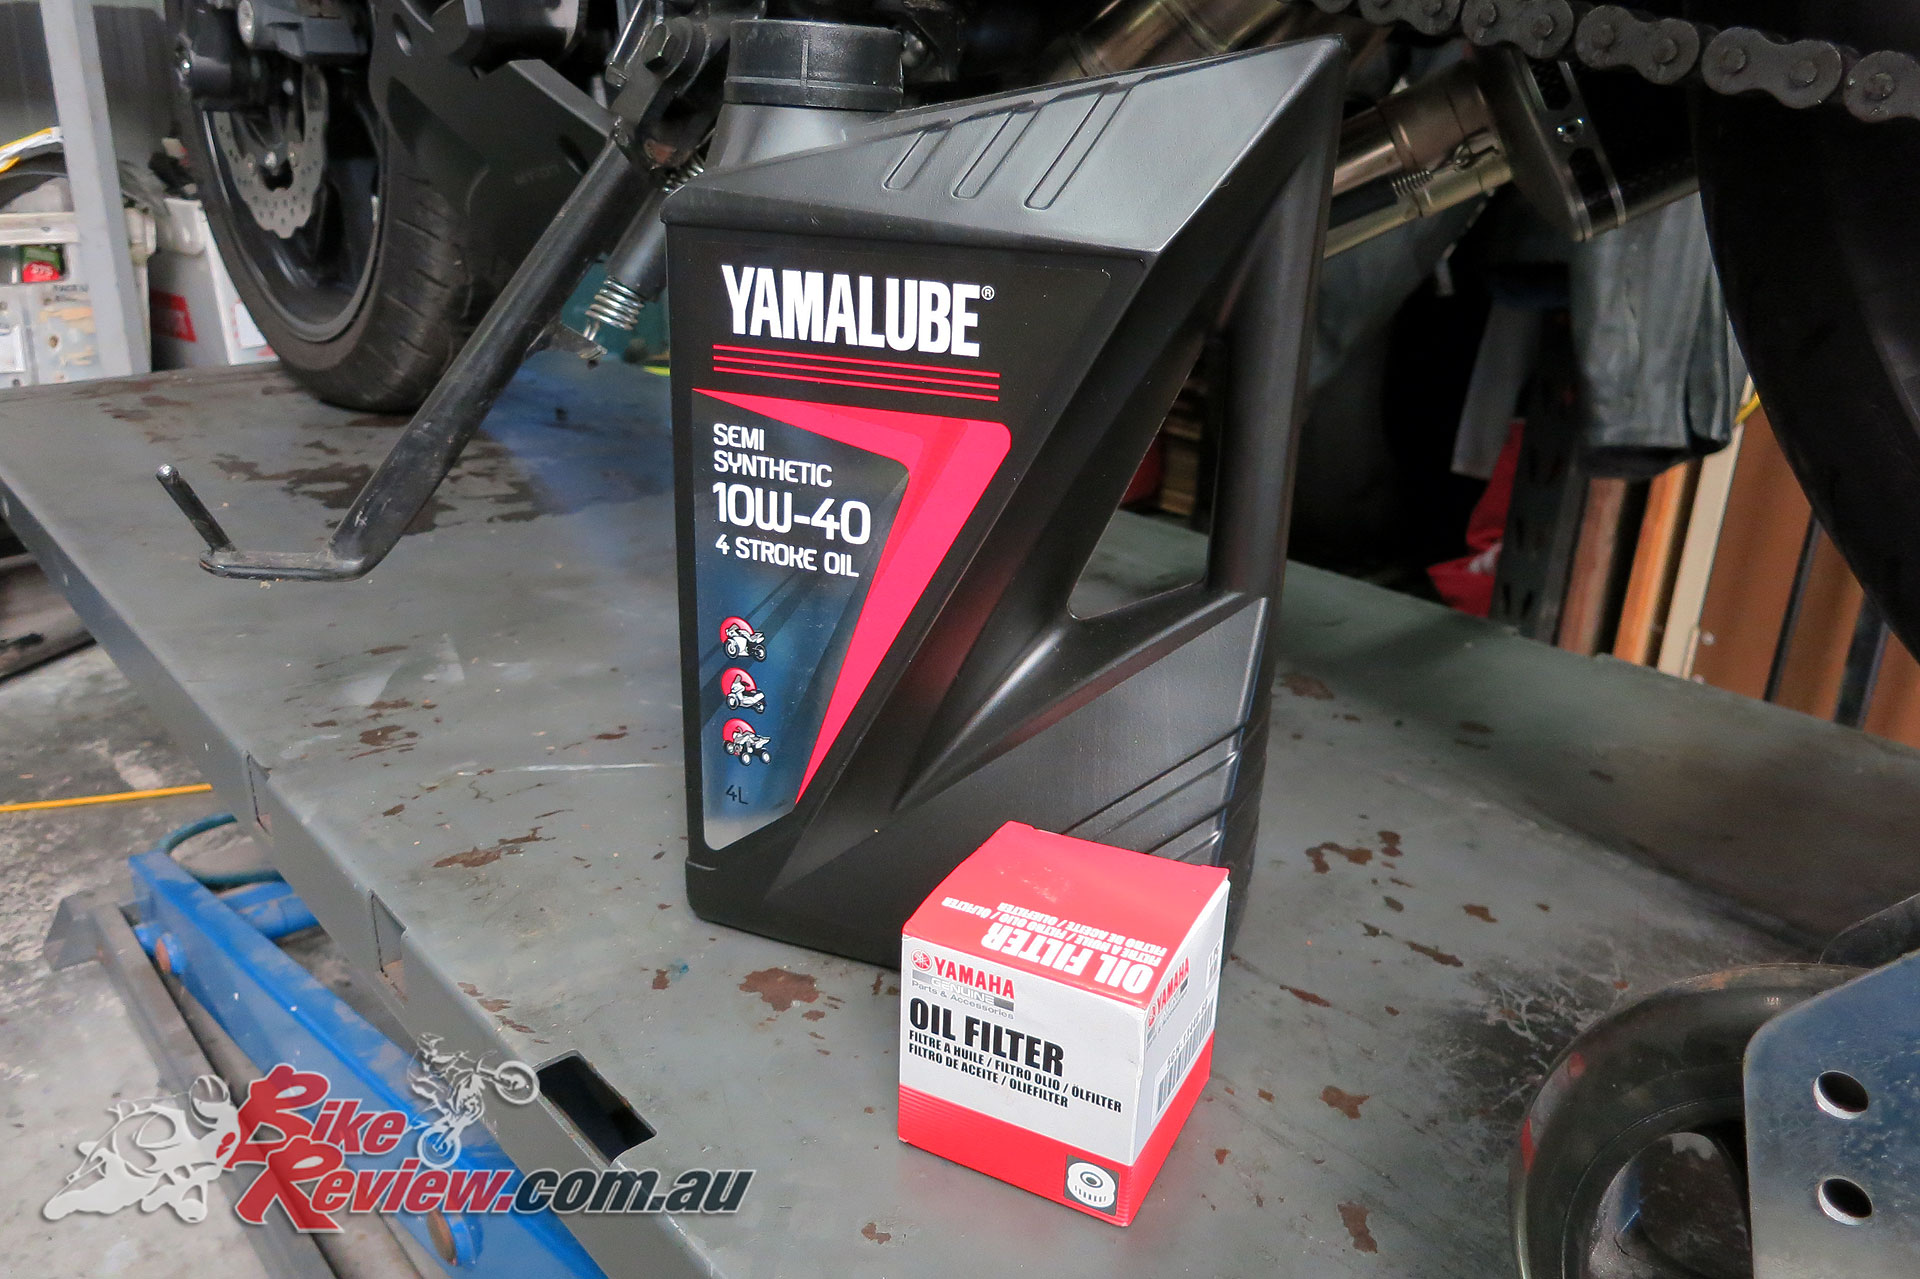
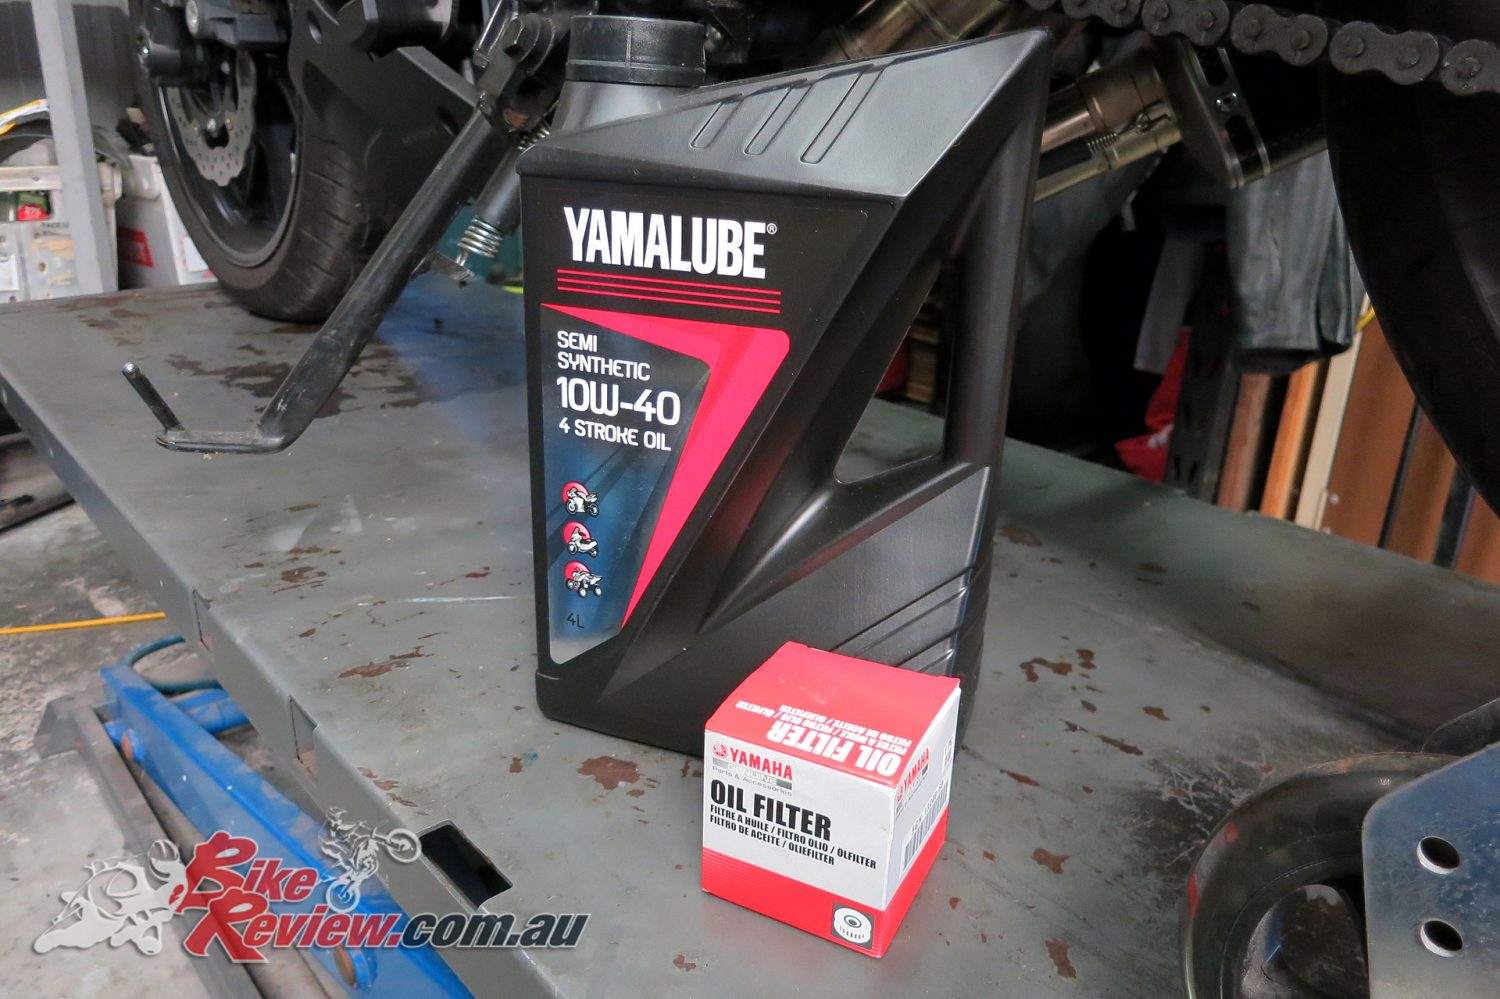
Time for a MT-07 Tracer oil change. We’ve got Yamalube semi-synthetic 10W40 four-stroke oil and a Yamaha oil filter
We’ve just made this a quick service, checking coolant, brake fluid levels and as mentioned changing the oil, and lubing various areas, which mainly ended up being giving the chain a good clean.
Checking fluid levels should be a weekly part of your motorcycling regime, along with tyre pressures, brake pad wear, tyre wear, and giving everything a good once over.
If you’re running a faired machine, it’ll take a little longer to change the oil and filter yourself, while hopefully you don’t own a machine which requires the headers to be taken off for this job.
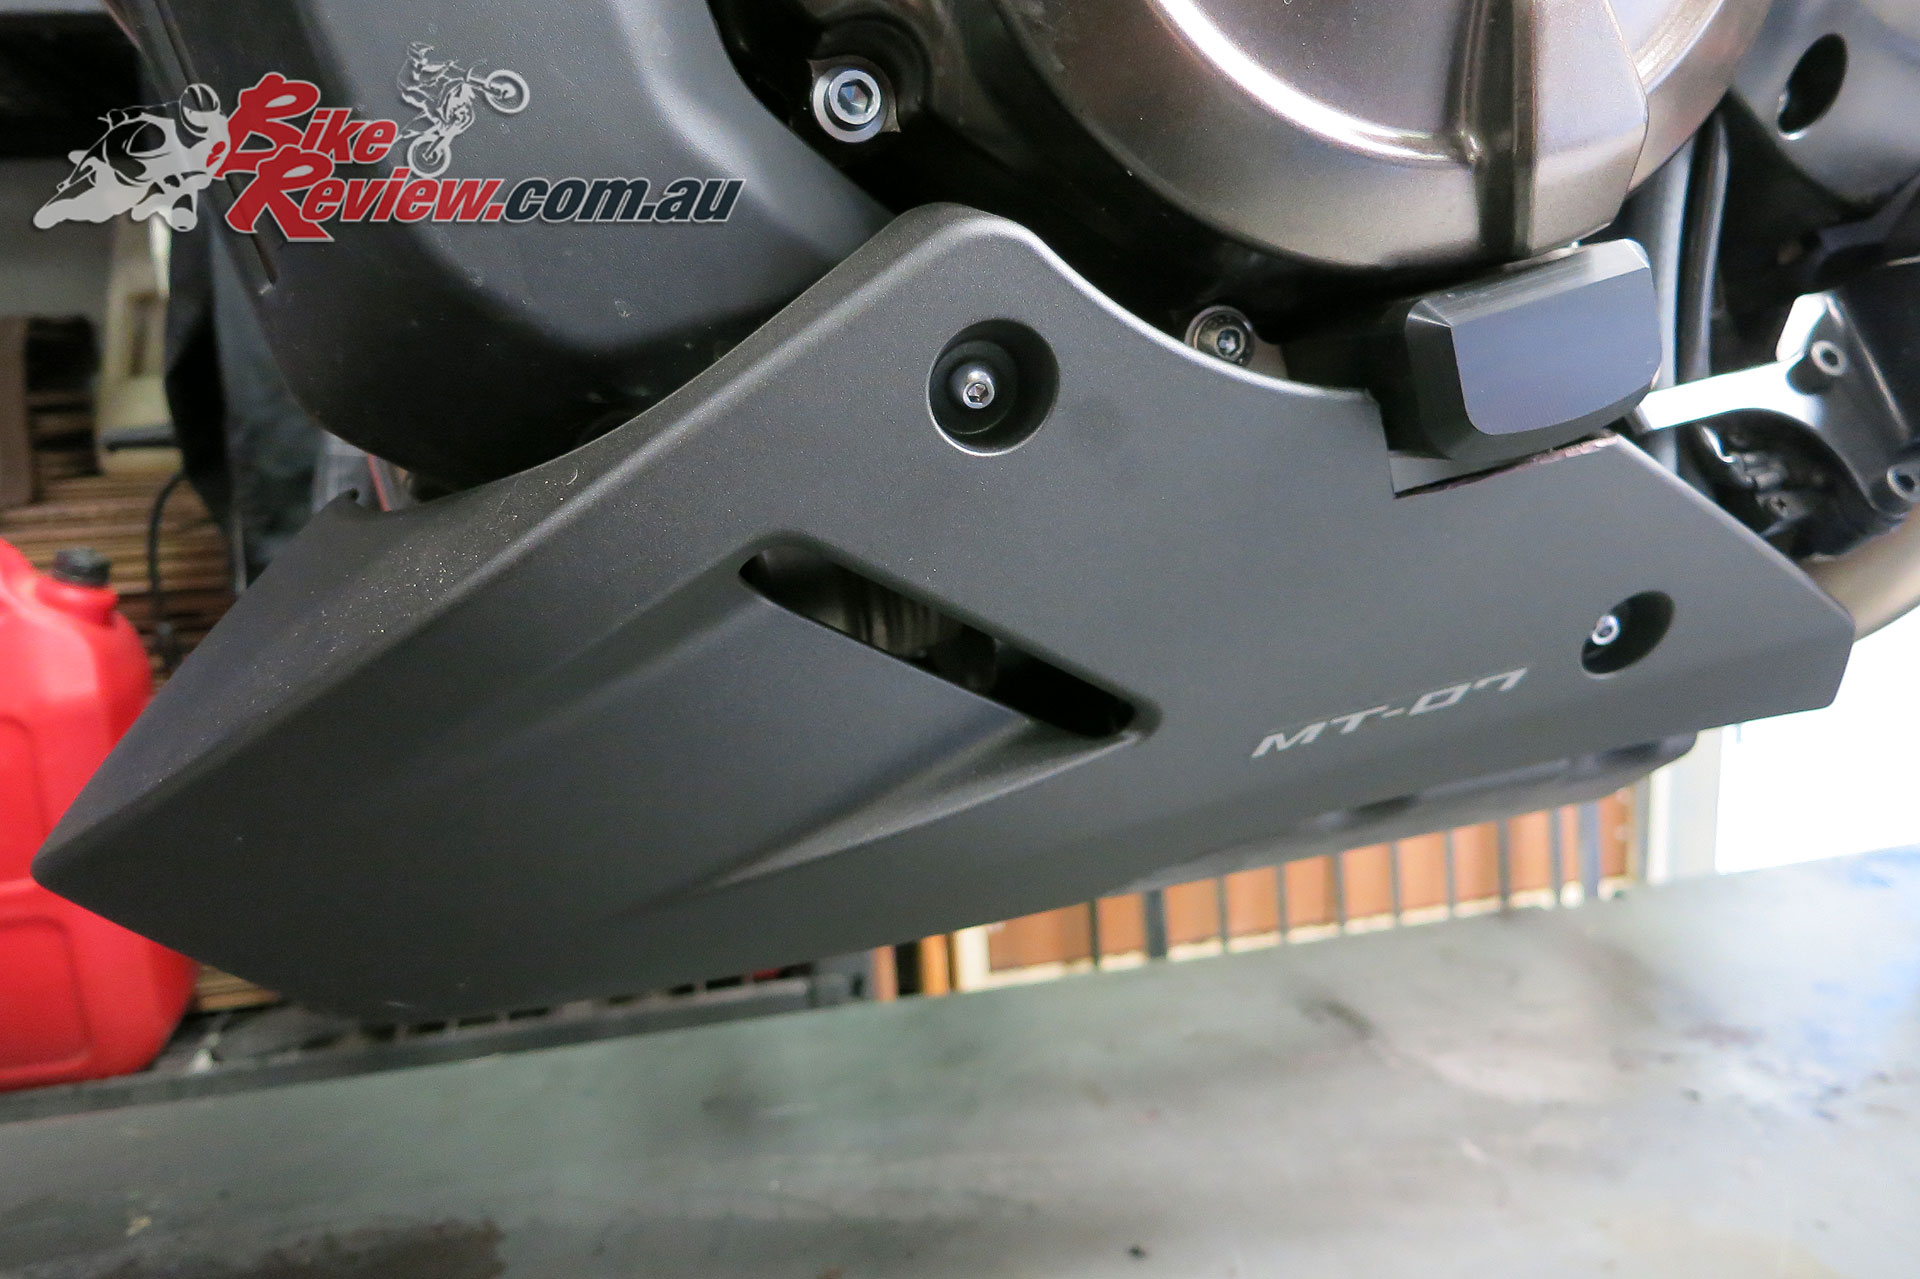
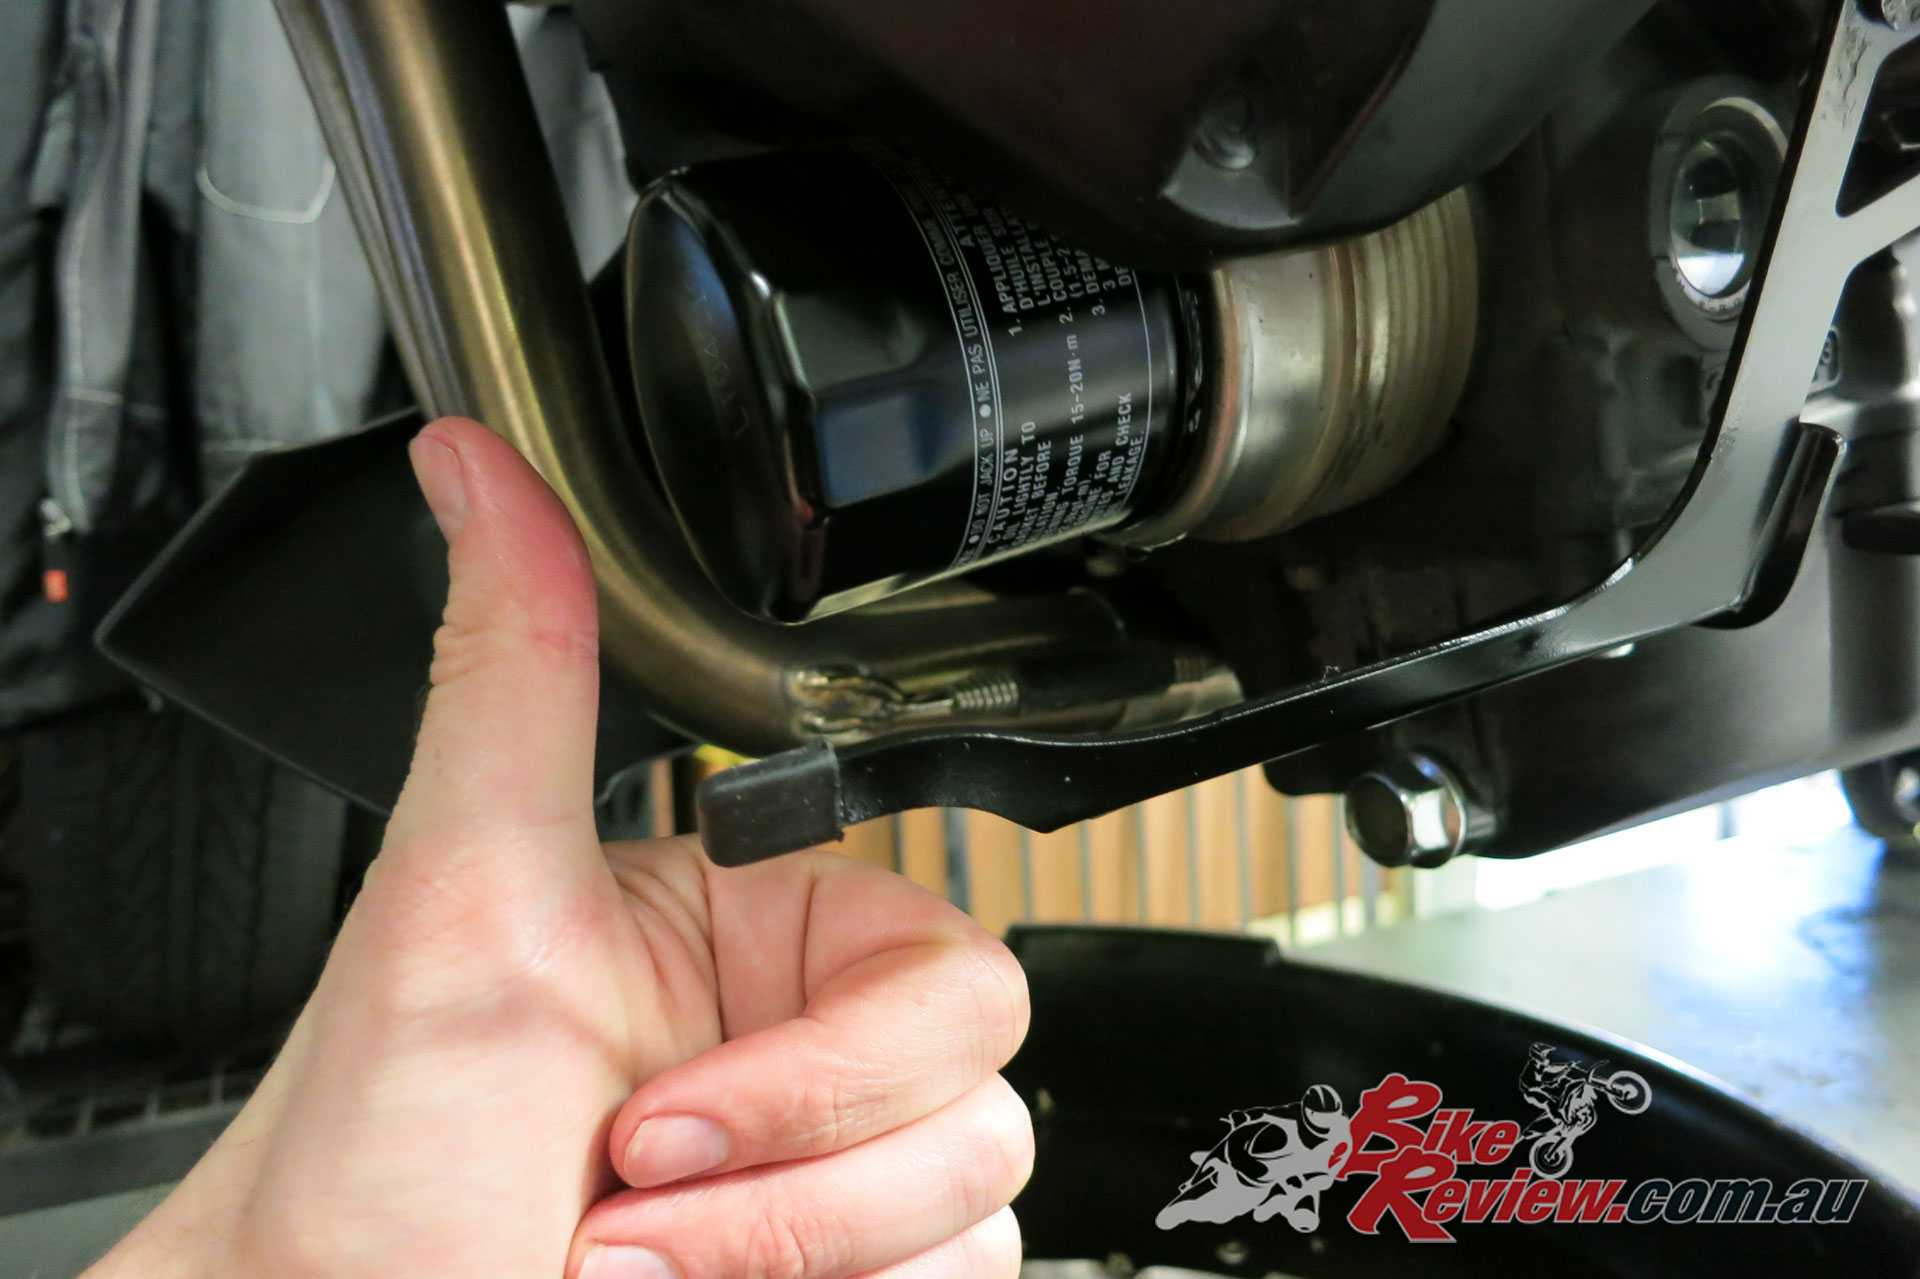
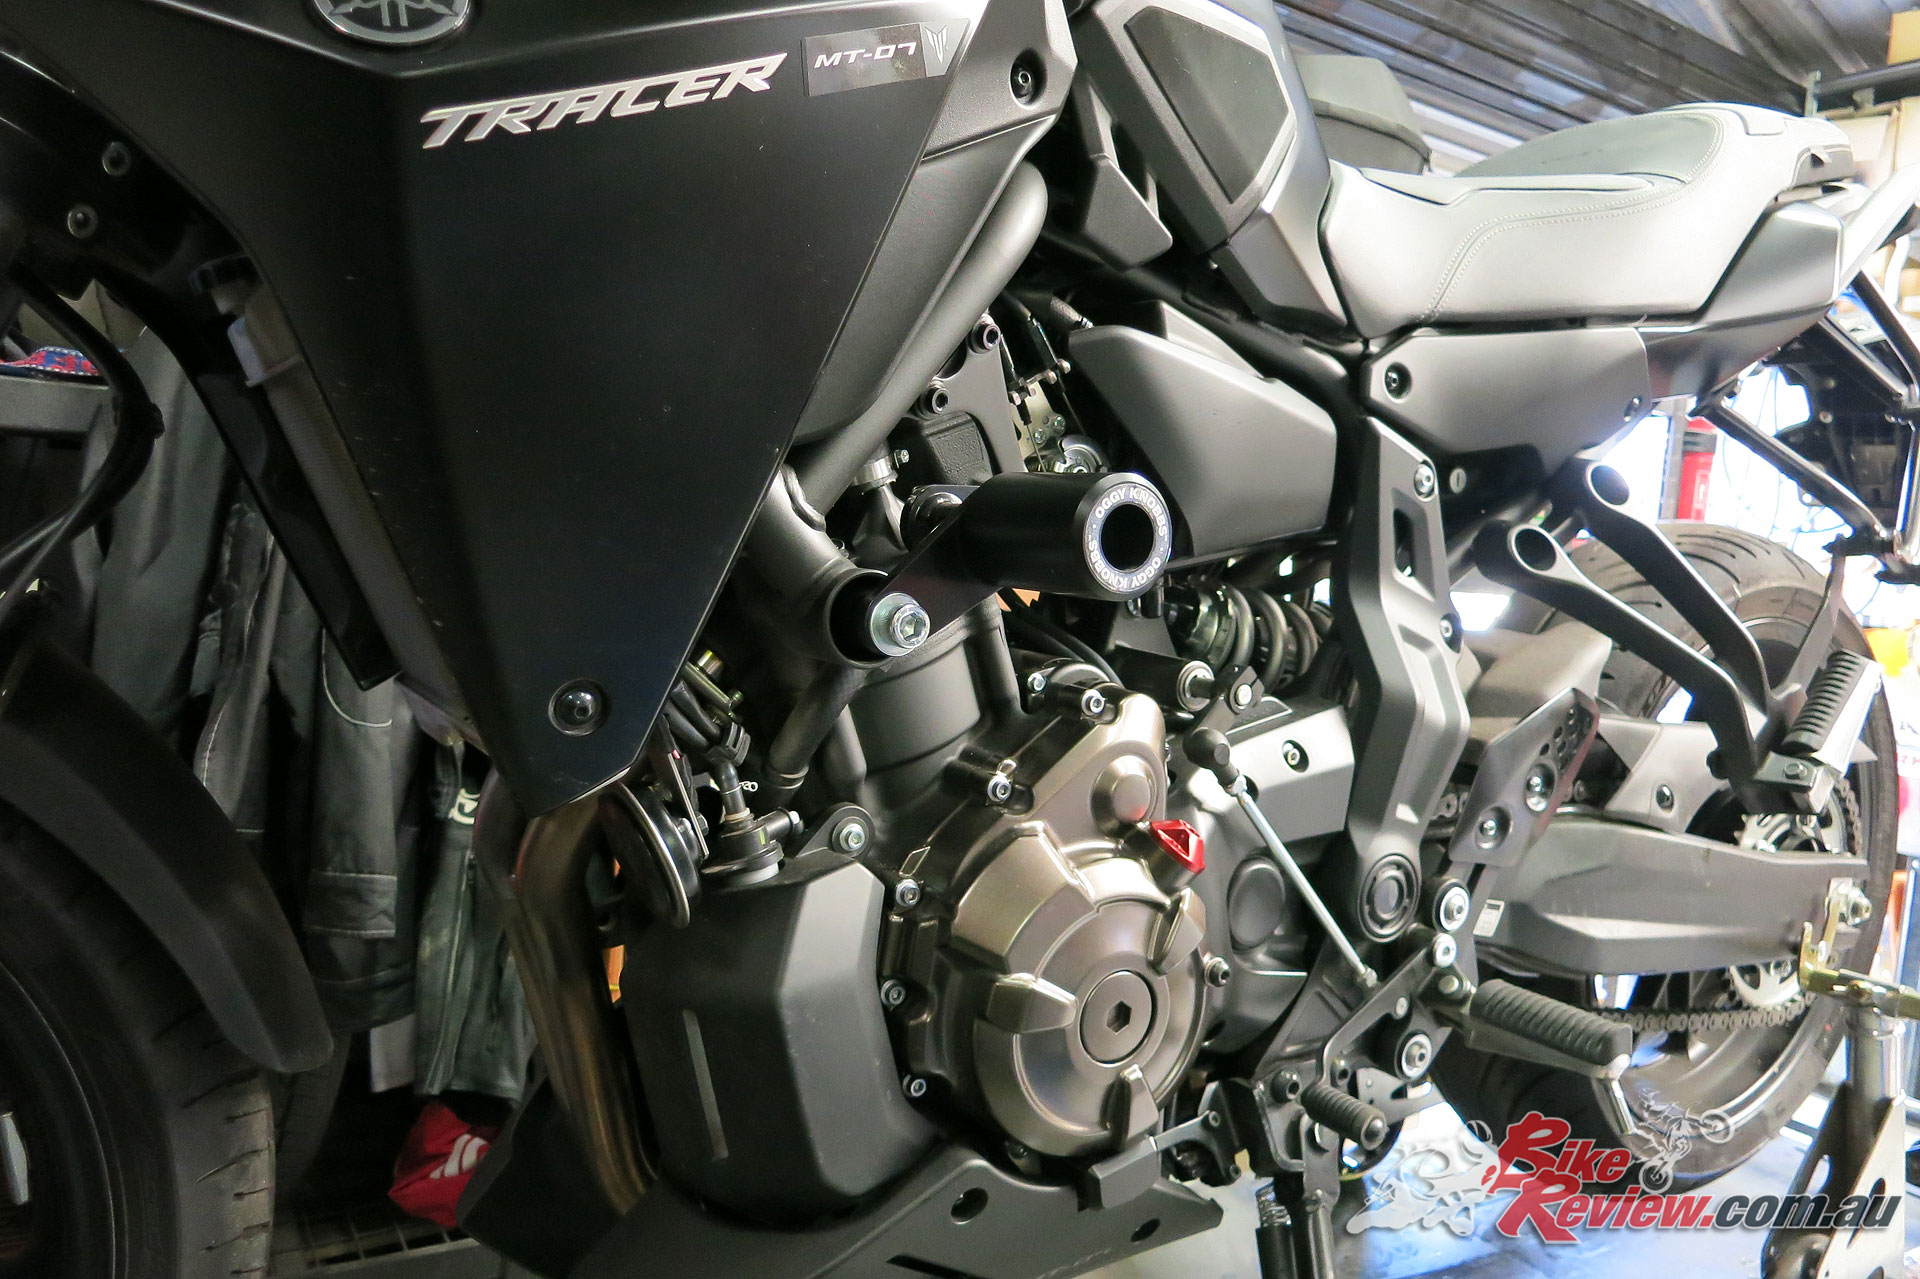
If you’ve got a faired bike, or bellypan/sub cowl it can add a bit of extra work. The Genuine Yamaha Sub Cowl we’ve got fitted it an easy two bolt removal however
The Tracer is super simple, we did pull off the new Yamaha Sub Cowl’s we fitted recently, just on the filter side, but that was two bolts and 30 seconds work. You’ll just need 4L of oil, a new oil filter and the appropriate tools. We’ve got genuine oil and filter from Yamaha to suit.
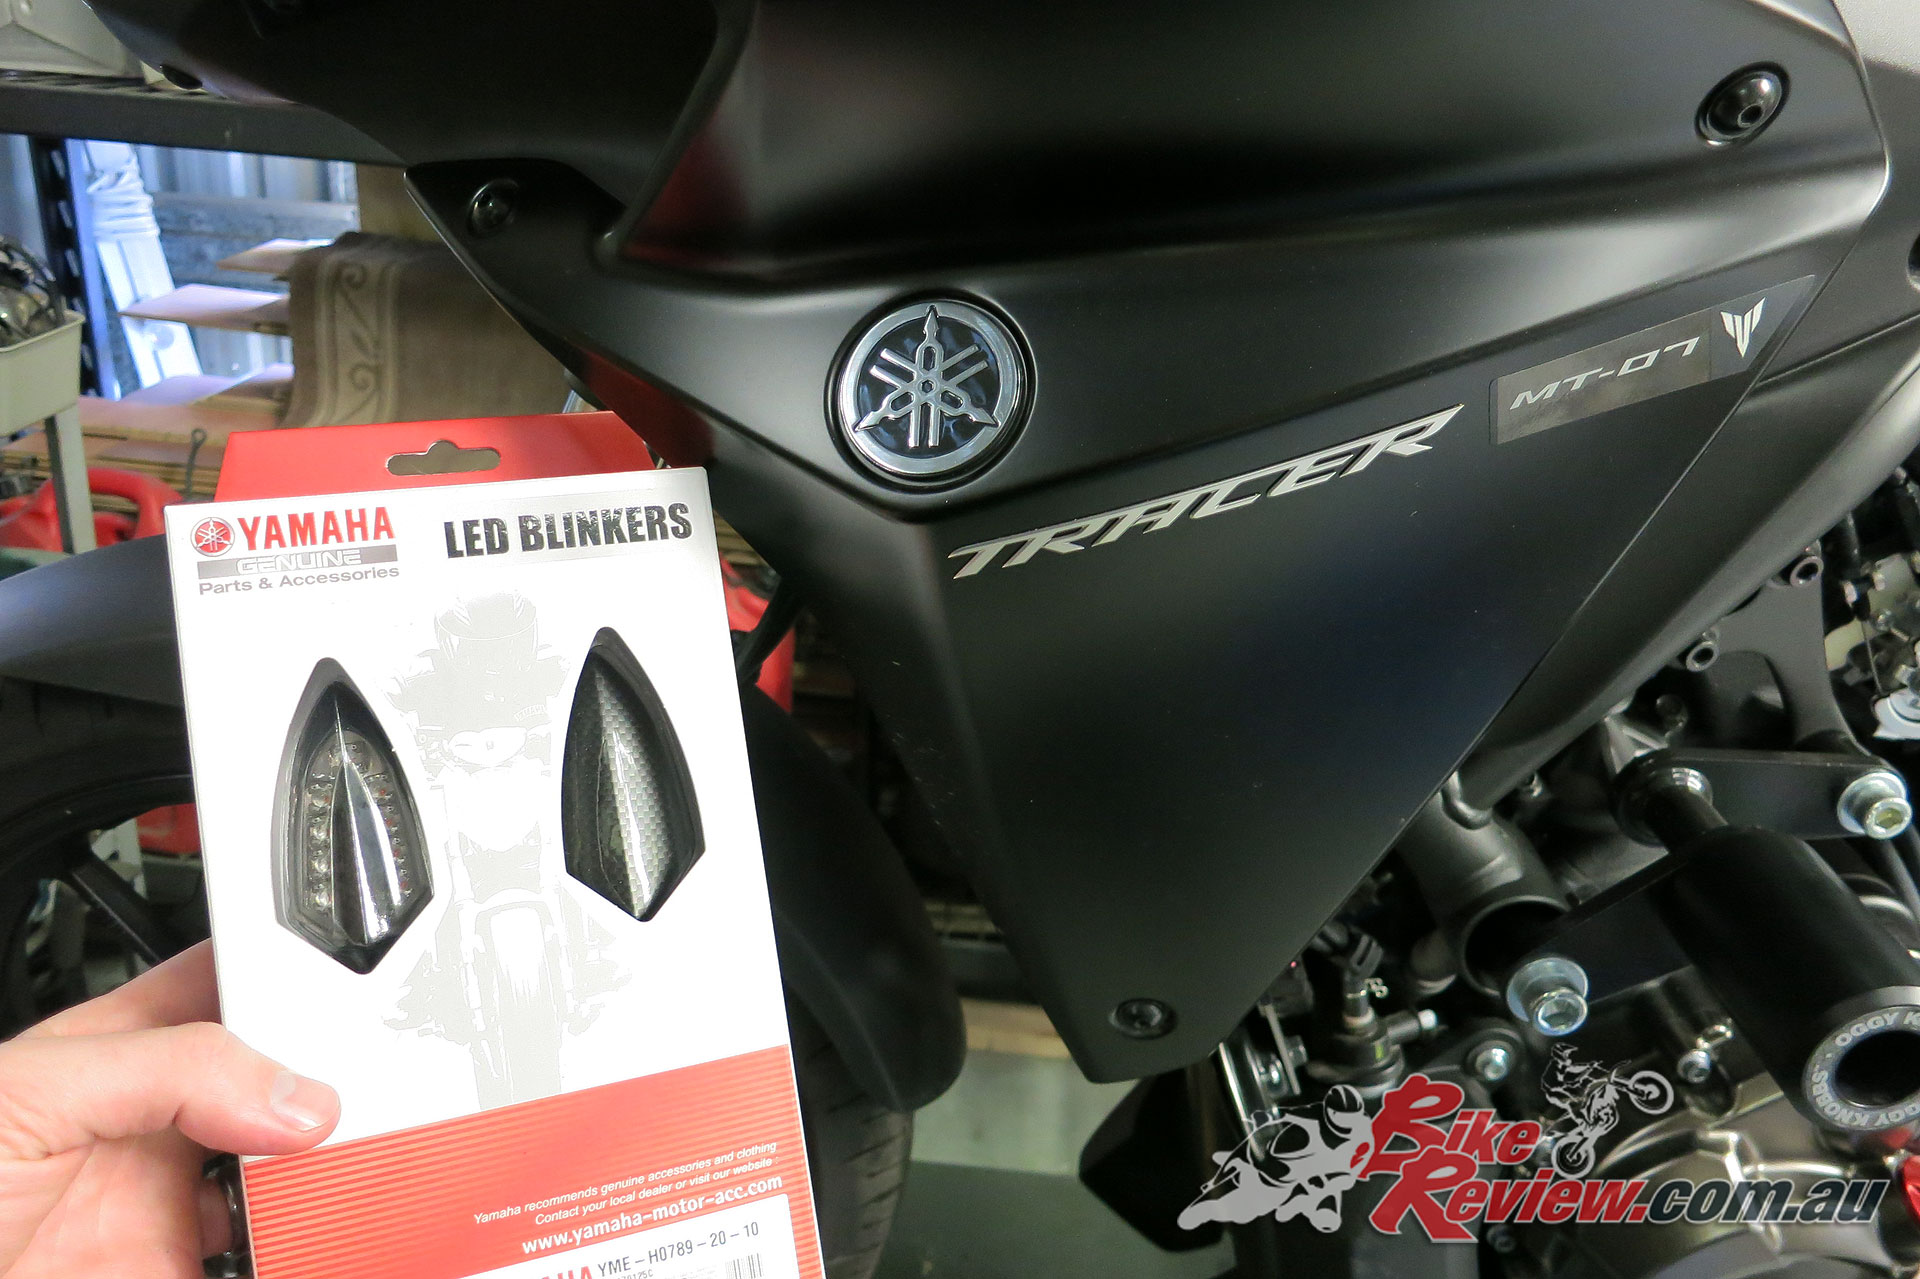
We also took the opportunity to fit a set of Yamaha LED indicators (blinkers) to the rear of the bike, and they are a great piece of kit, which look the business, are super bright and were a relatively pain-free installation, only slightly complicated by need to strip the standard indicator plugs off the wiring loom and install the provided plugs to match the provided blinker relays. All in all super easy. We’ll cover that in another installment to keep this (relatively) succinct.
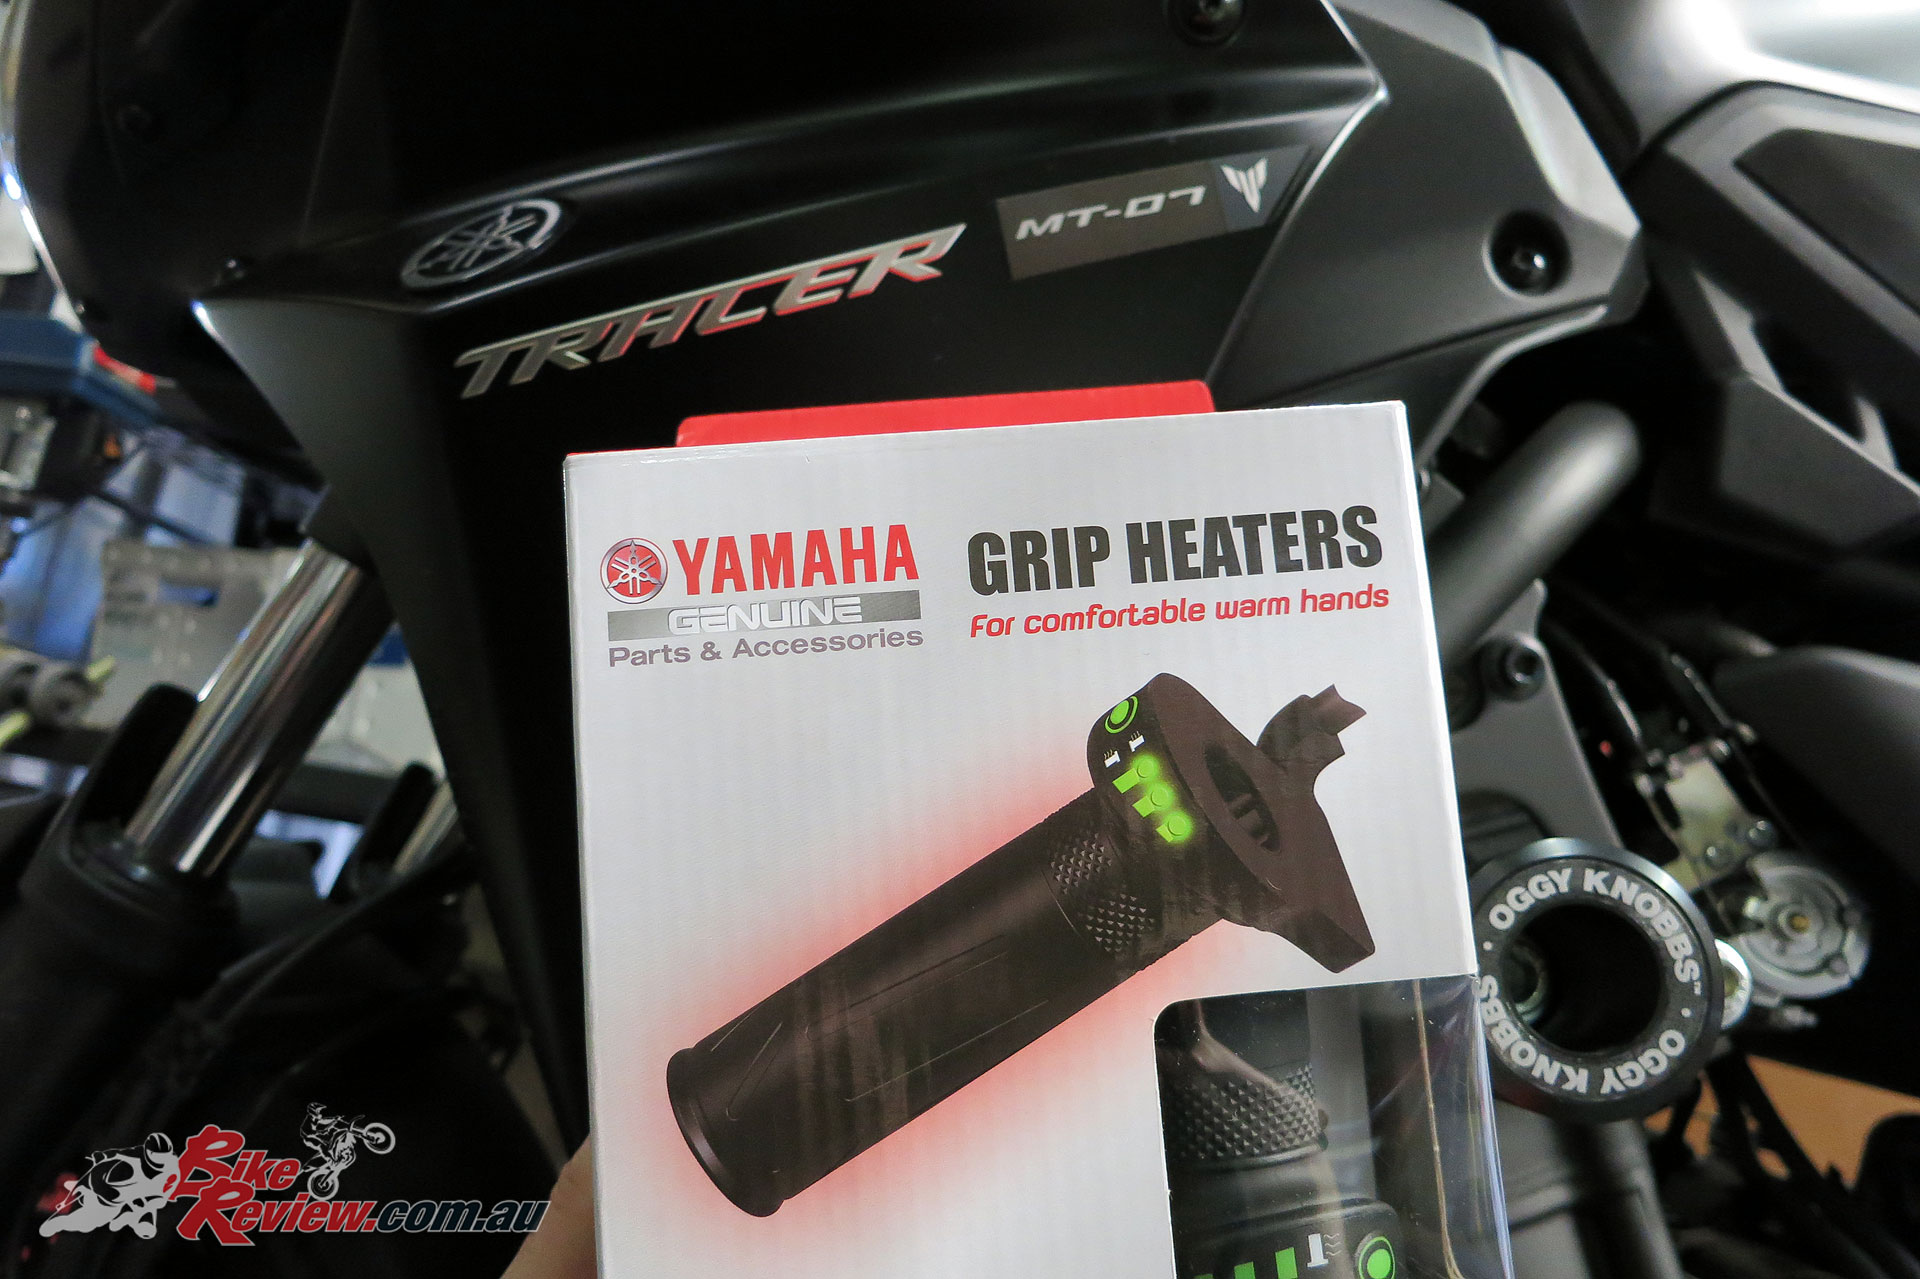
We’ve also had an awesome set of Yamaha Heated Grips arrive for the MT-07 Tracer as well, so stay tuned for fitment and a review on both those and the LED Blinkers.
You can check out the full range at the Yamaha Y-Shop Accessories Online website, or talk to your local Yamaha dealer.
Here’s a quick guide to changing oil on the MT-07 Tracer first up:
Yamaha MT-07 Tracer Oil Change
First up you’ll want your bike located somewhere flat, with good access, and it’s best to warm the bike up so the oil will flow out quickly. This doesn’t mean the bike needs to be red hot, if the cases are warm (not hot) to your hand, you’re probably right. You don’t want the oil too hot, as if you use your hand to undo the last few threads for the sump bolt so it doesn’t drop into your oil pan, you’ll normally end up with oil on one hand. Needless to say if it’s boiling hot, you’re in trouble. If you’re not confident with what you’re doing just use a spanner and keep your hands clear.
Also have some rags handy, your oil pan, and the tools needed for undoing your sump bolt, and taking off the oil filter. If you’ve got a K&N filter you may be able to get a socket onto the bolt welded on, otherwise an oil filter wrench can help get the stubborn filter off.
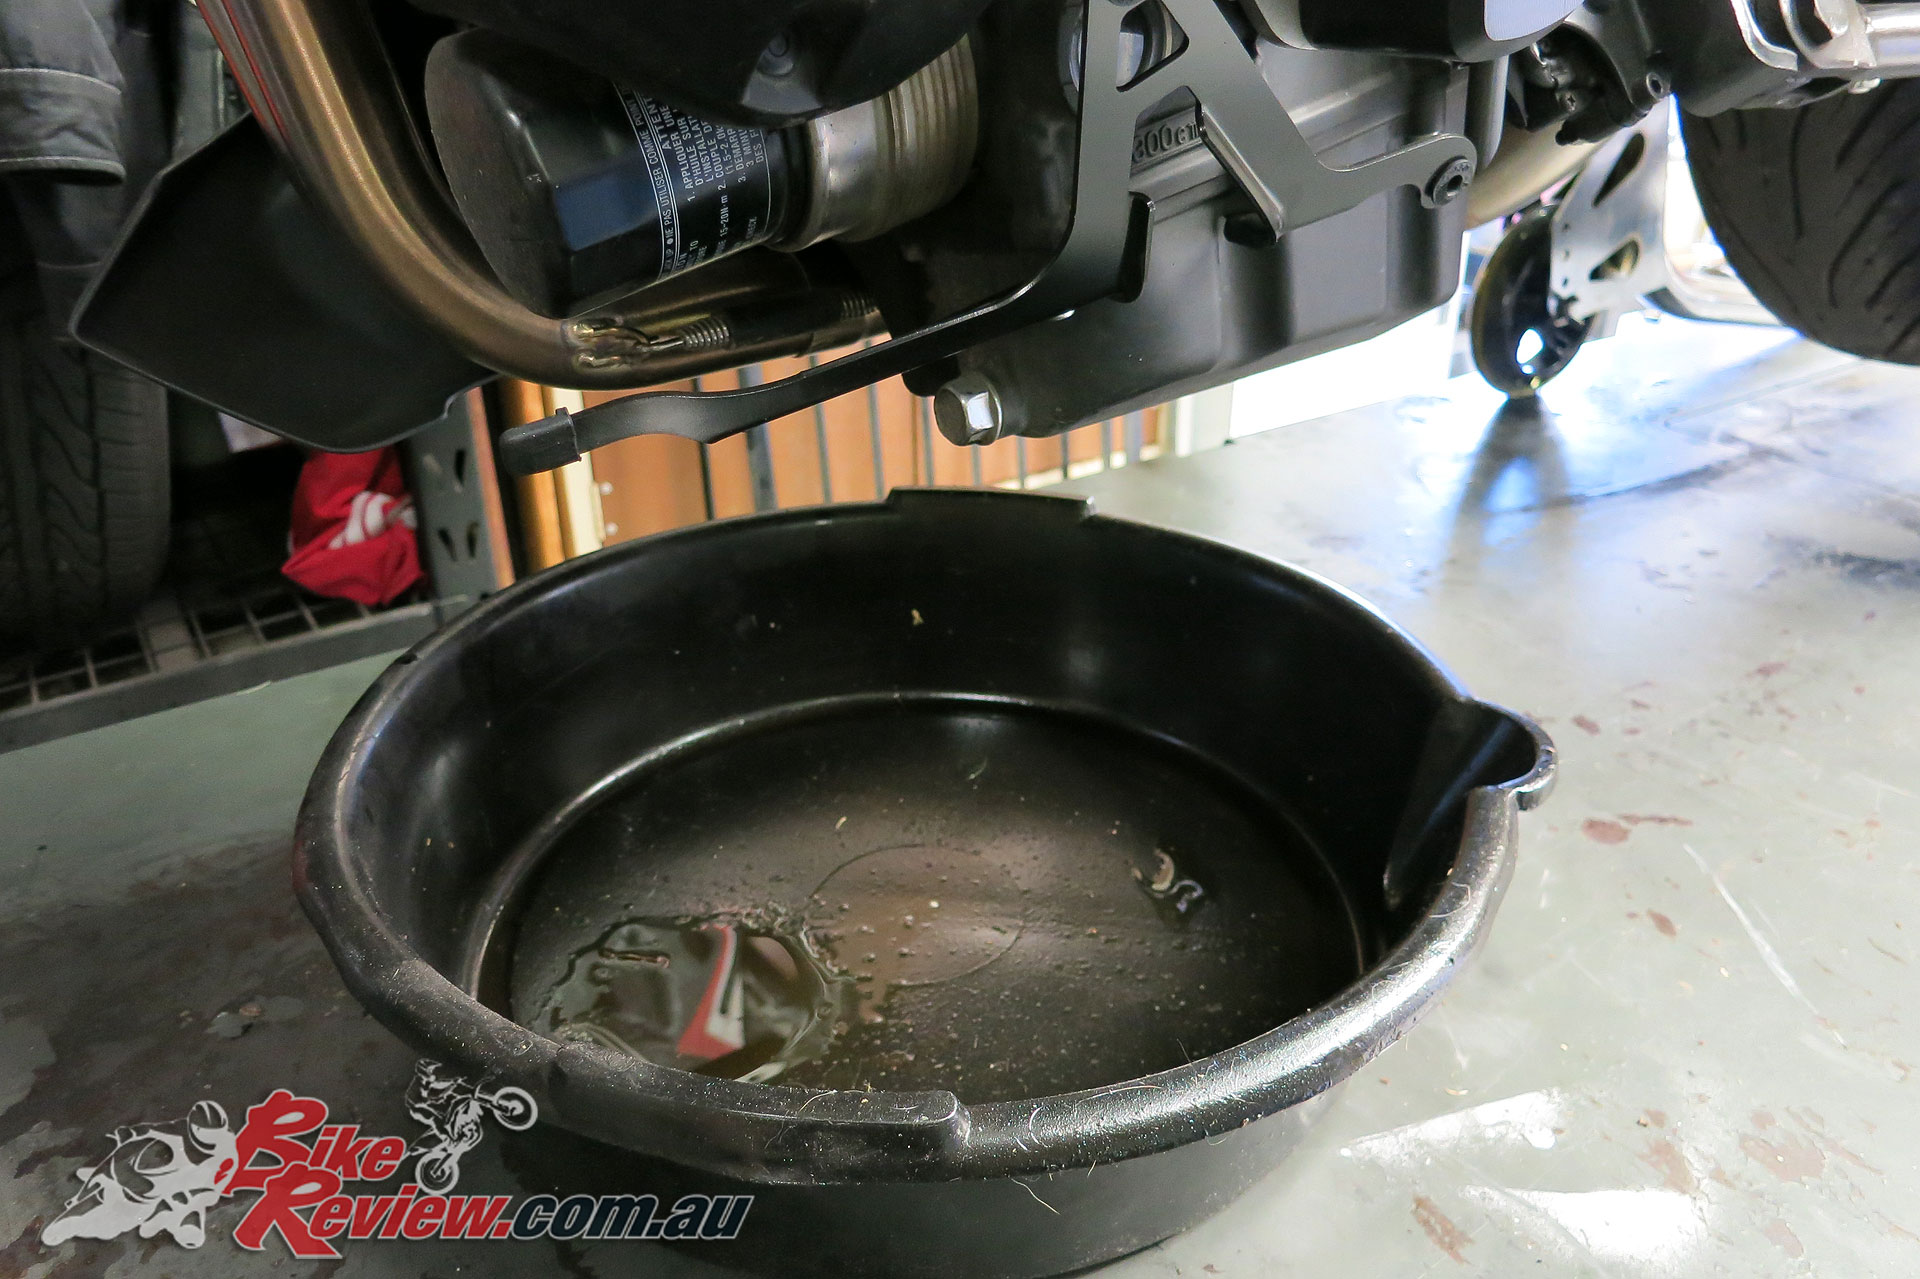
Position the oil pan under the bike, there’ll be a bit of pressure behind the oil, so make sure when it pours out the sump plug hole it is into your pan, not onto the ground. Also remove the oil filler cap so there’s not a vacuum which will slow the oil draining.
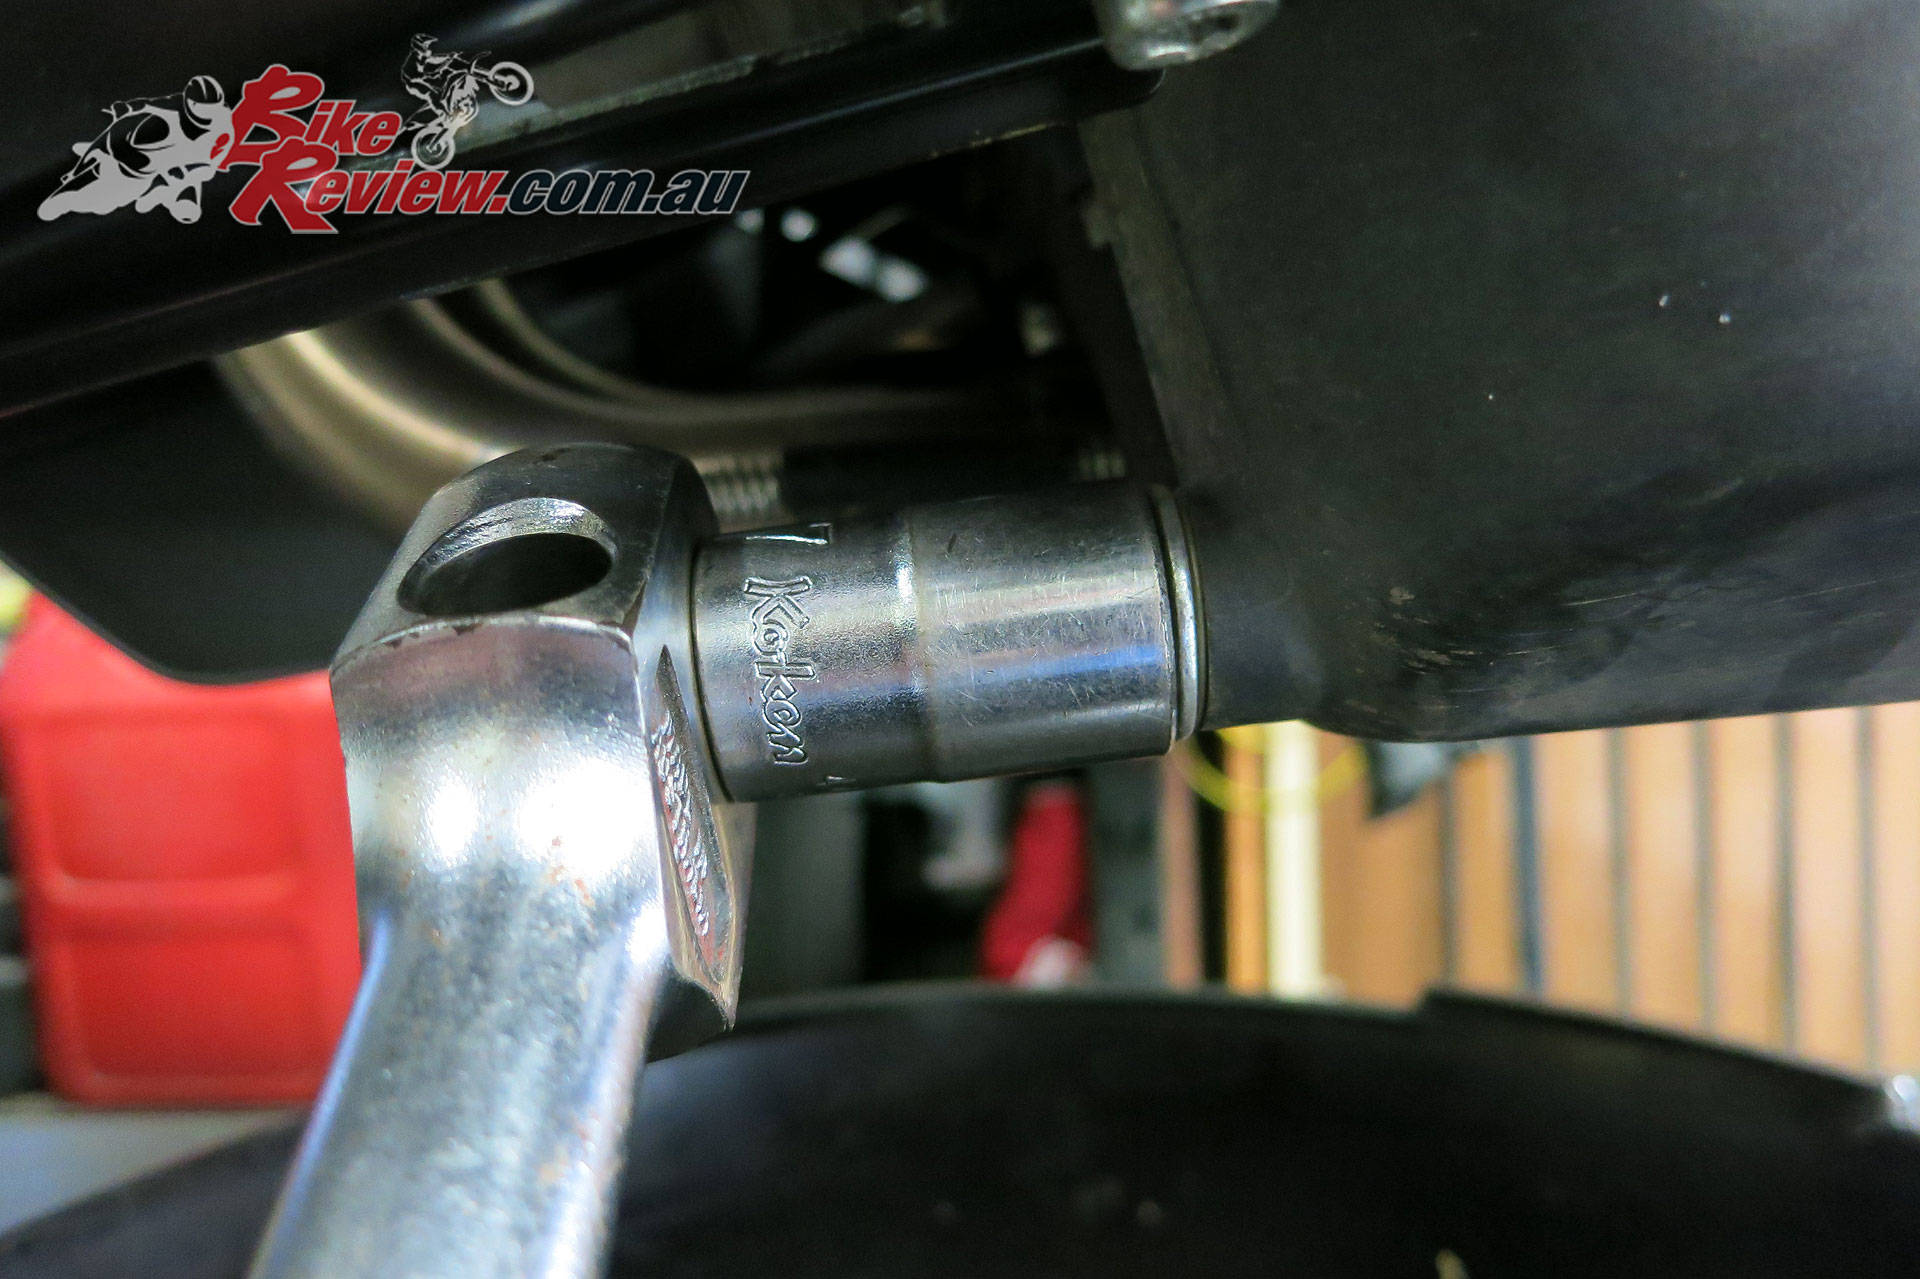
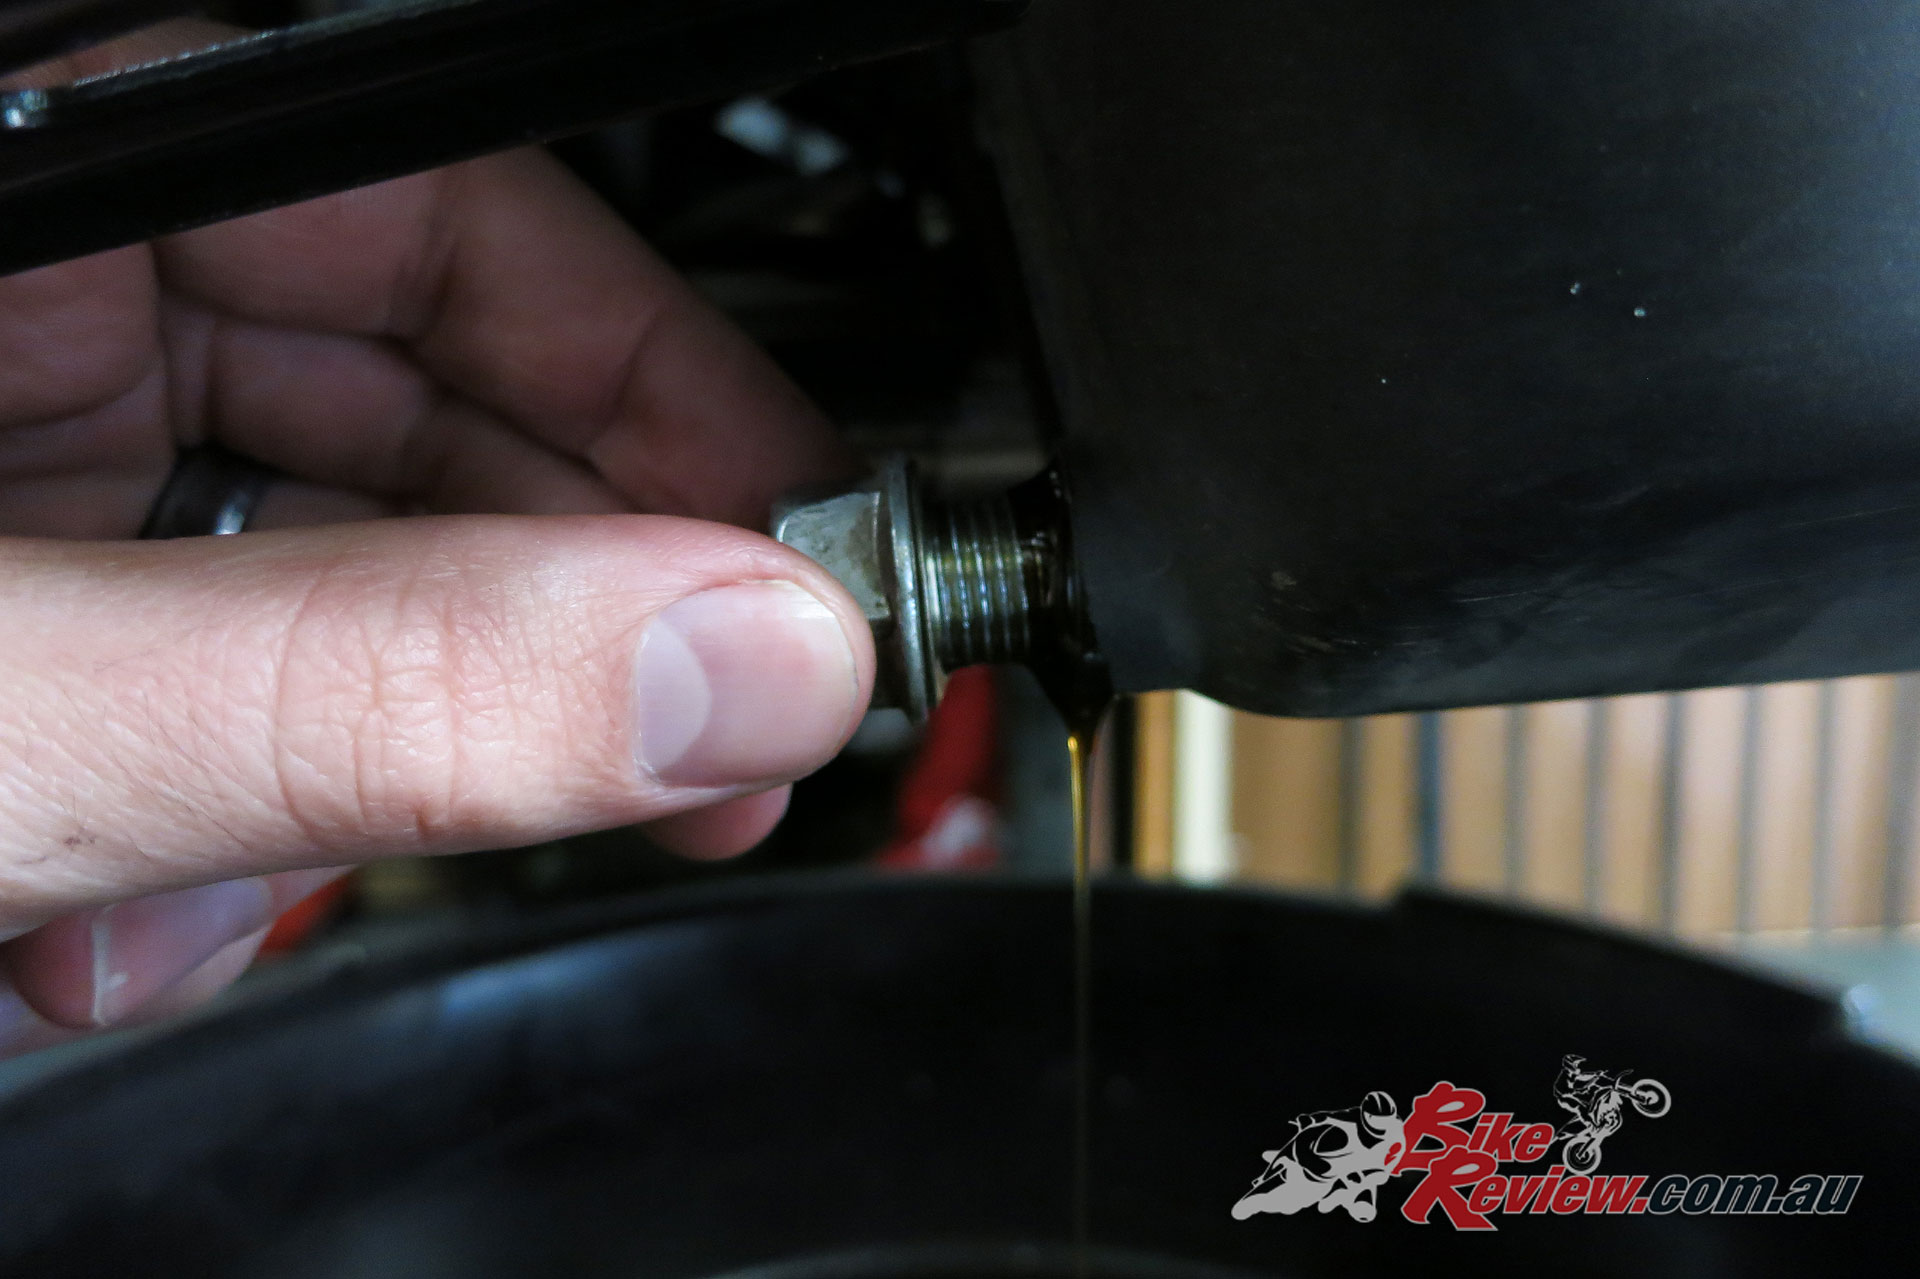
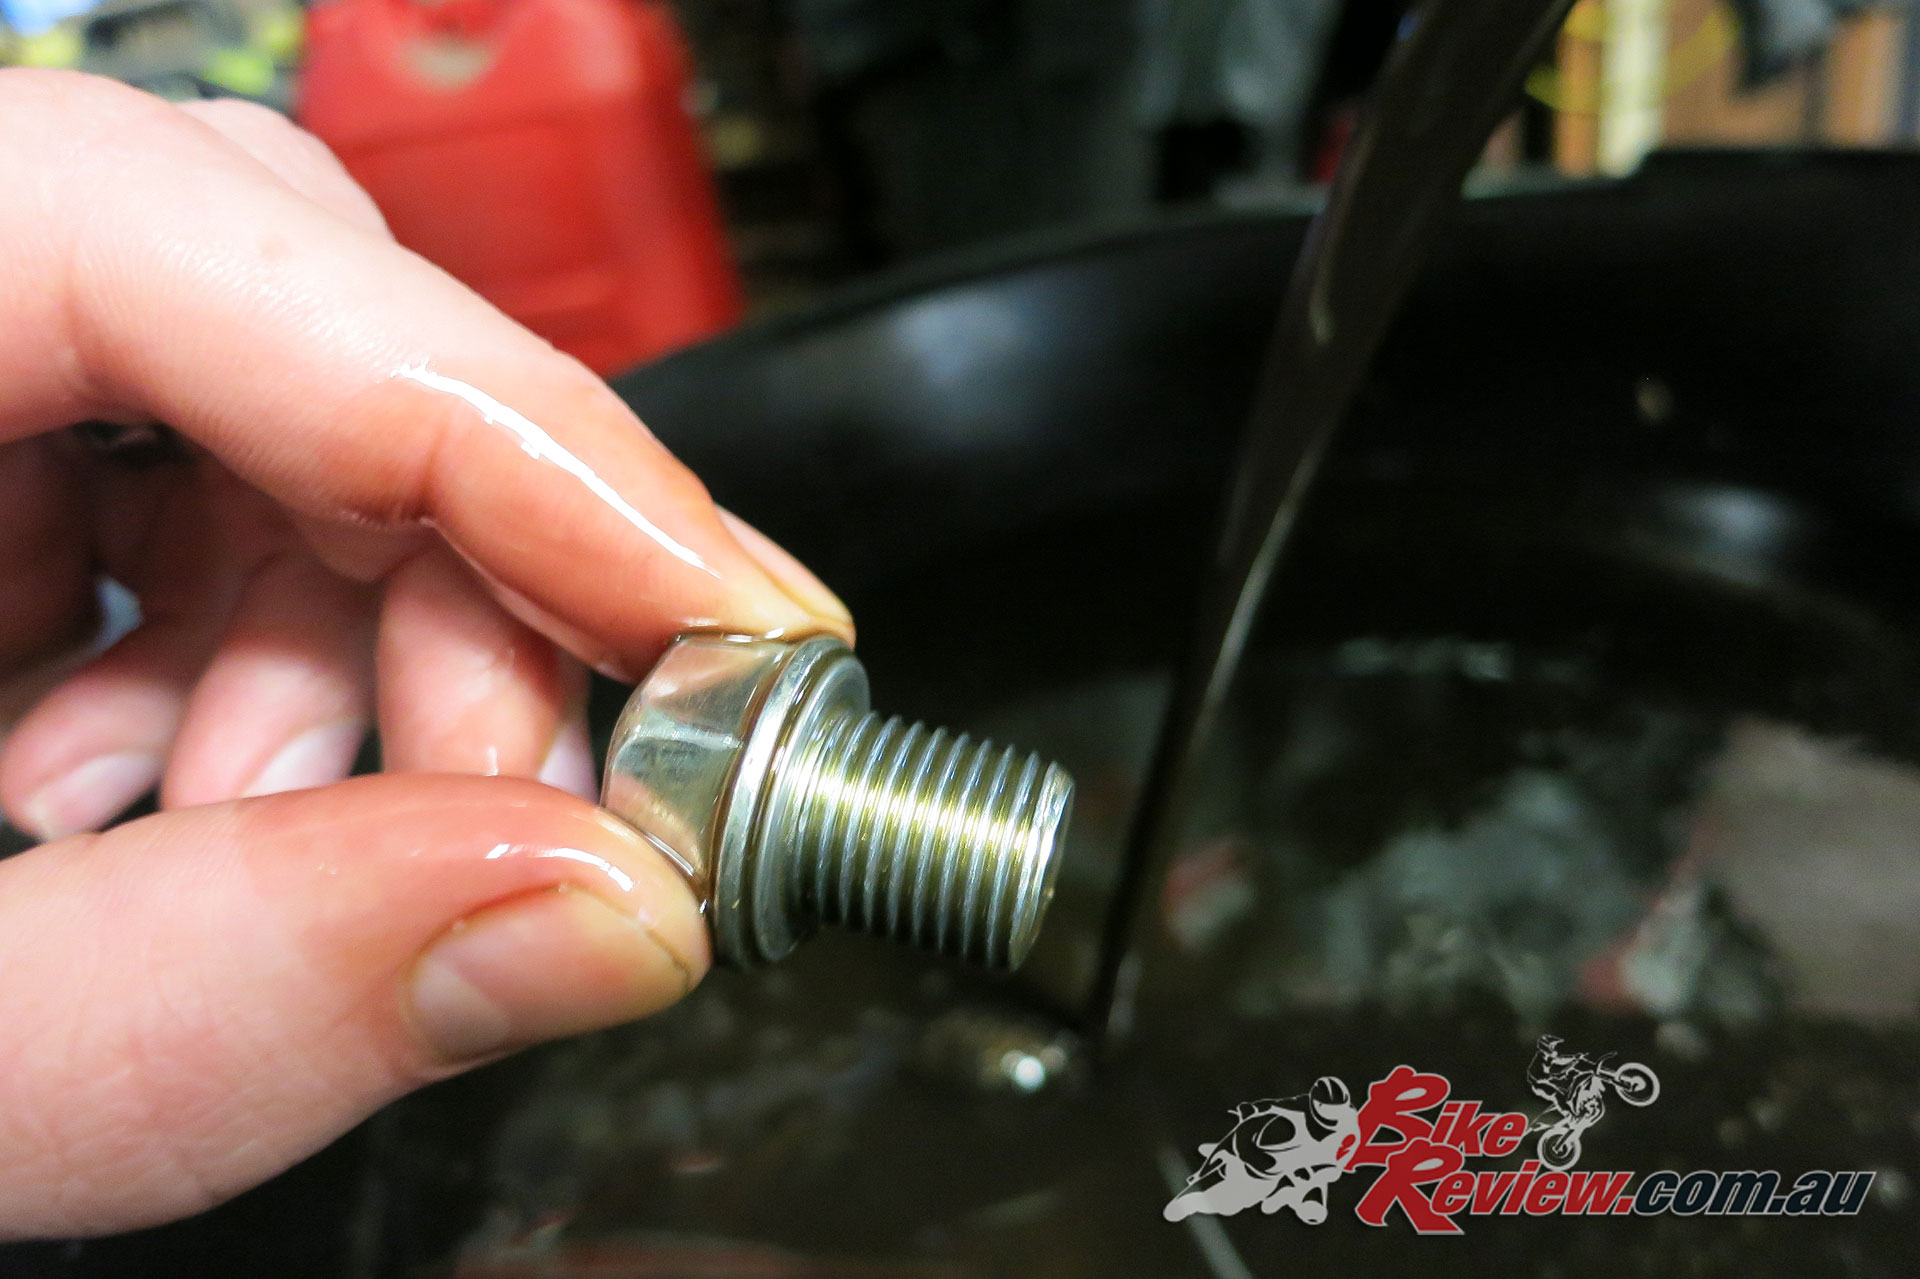
Undo the sump bolt, make sure you’re undoing it, not overtightening it, or you can crack the sump. Try not to drop it into the oil pan if you can, give it a wipe and put it somewhere safe. If you haven’t changed the oil sump bolt’s washer in a while, it may be worth thinking about getting a new one – if you’re halfway through and thinking you need one, keep it in mind for next time instead.
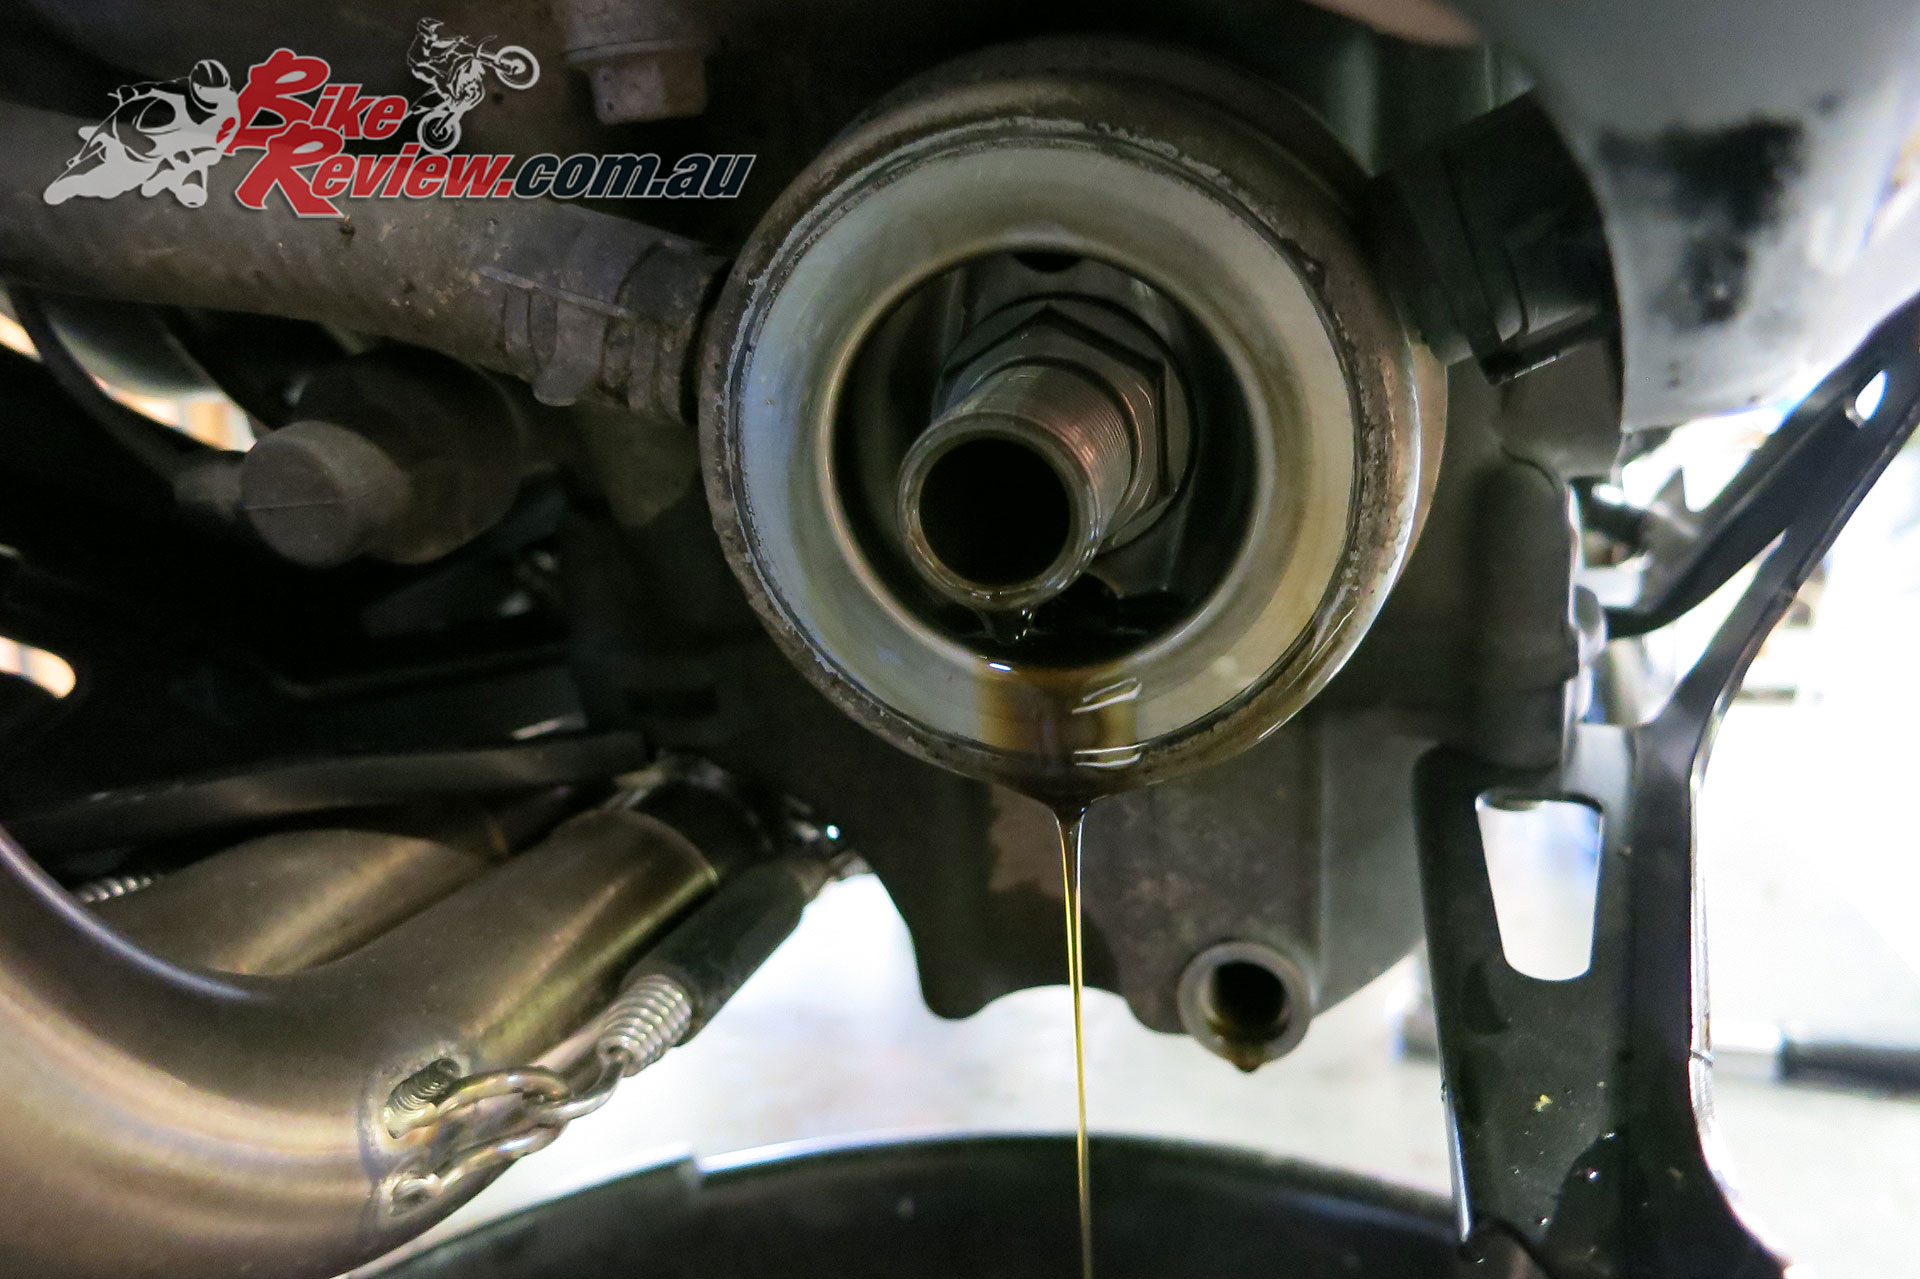
Give the oil plenty of time to drain. Then also remove the oil filter carefully. If you’re lucky wrapping a rag around it will give you enough leverage, otherwise try an oil filter wrench. Failing that, you can use a screw driver, driven through the end of the filter furthest from your bike to loosen it.
When I’ve used the screw driver trick I’ve used a relatively thin screw driver and hammered it through the filter so it’s piercing both sides. Like I said, make sure you hammer it through the end FURTHEST AWAY from where the filter screws onto the bike. This is only for taking an oil filter off too, as it destroys the filter. This is also a messy method, but once you’ve turned it say a quarter turn with the screw driver you should be able to undo it by hand.
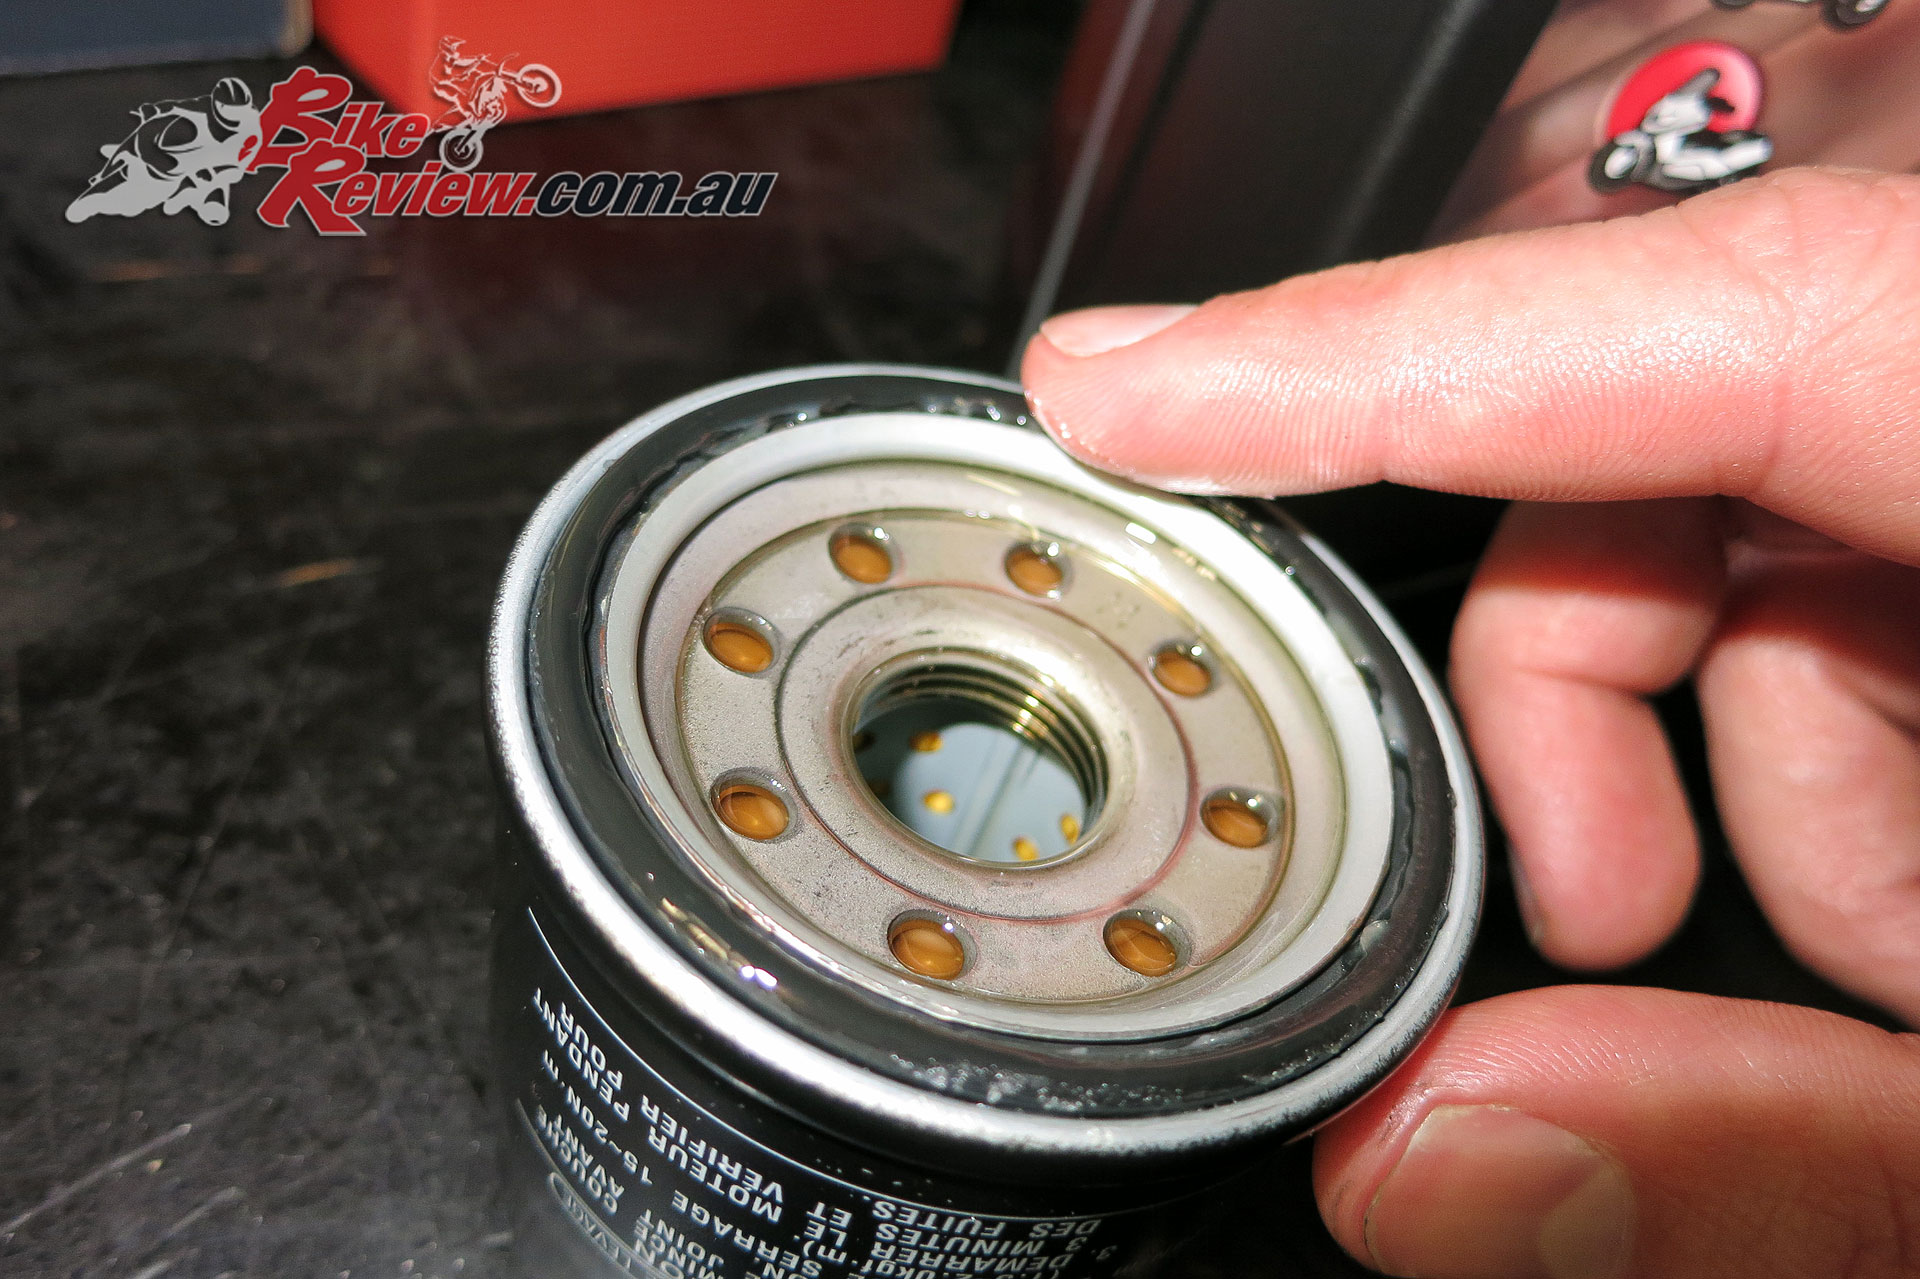
With all the oil drained out you can now replace the sump bolt, with new washer if necessary, torque to spec – do not overtighten. Now grab your new oil filter out of the box and remove the plastic cover over the end that screws onto the bike. Open your new bottle of oil and spread a small amount over the edge of the end of the filter that seals onto the bike (onto the threaded area and the surrounds, out to the rubber seal). It can be quite sharp in some areas, so watch your finger(s).
You can also partially fill the oil filter, keeping in mind it screws on horizontally (in this and most cases), so if it’s full to the rim, you’ll lose a fair bit of that oil getting it into place and screwed on.
I’ve always tightened the oil filter by hand and never had an issue. In fact they are normally almost impossible to get off in the same manner, when it gets around to the next change. Check the torque setting if you’re using a torque wrench.
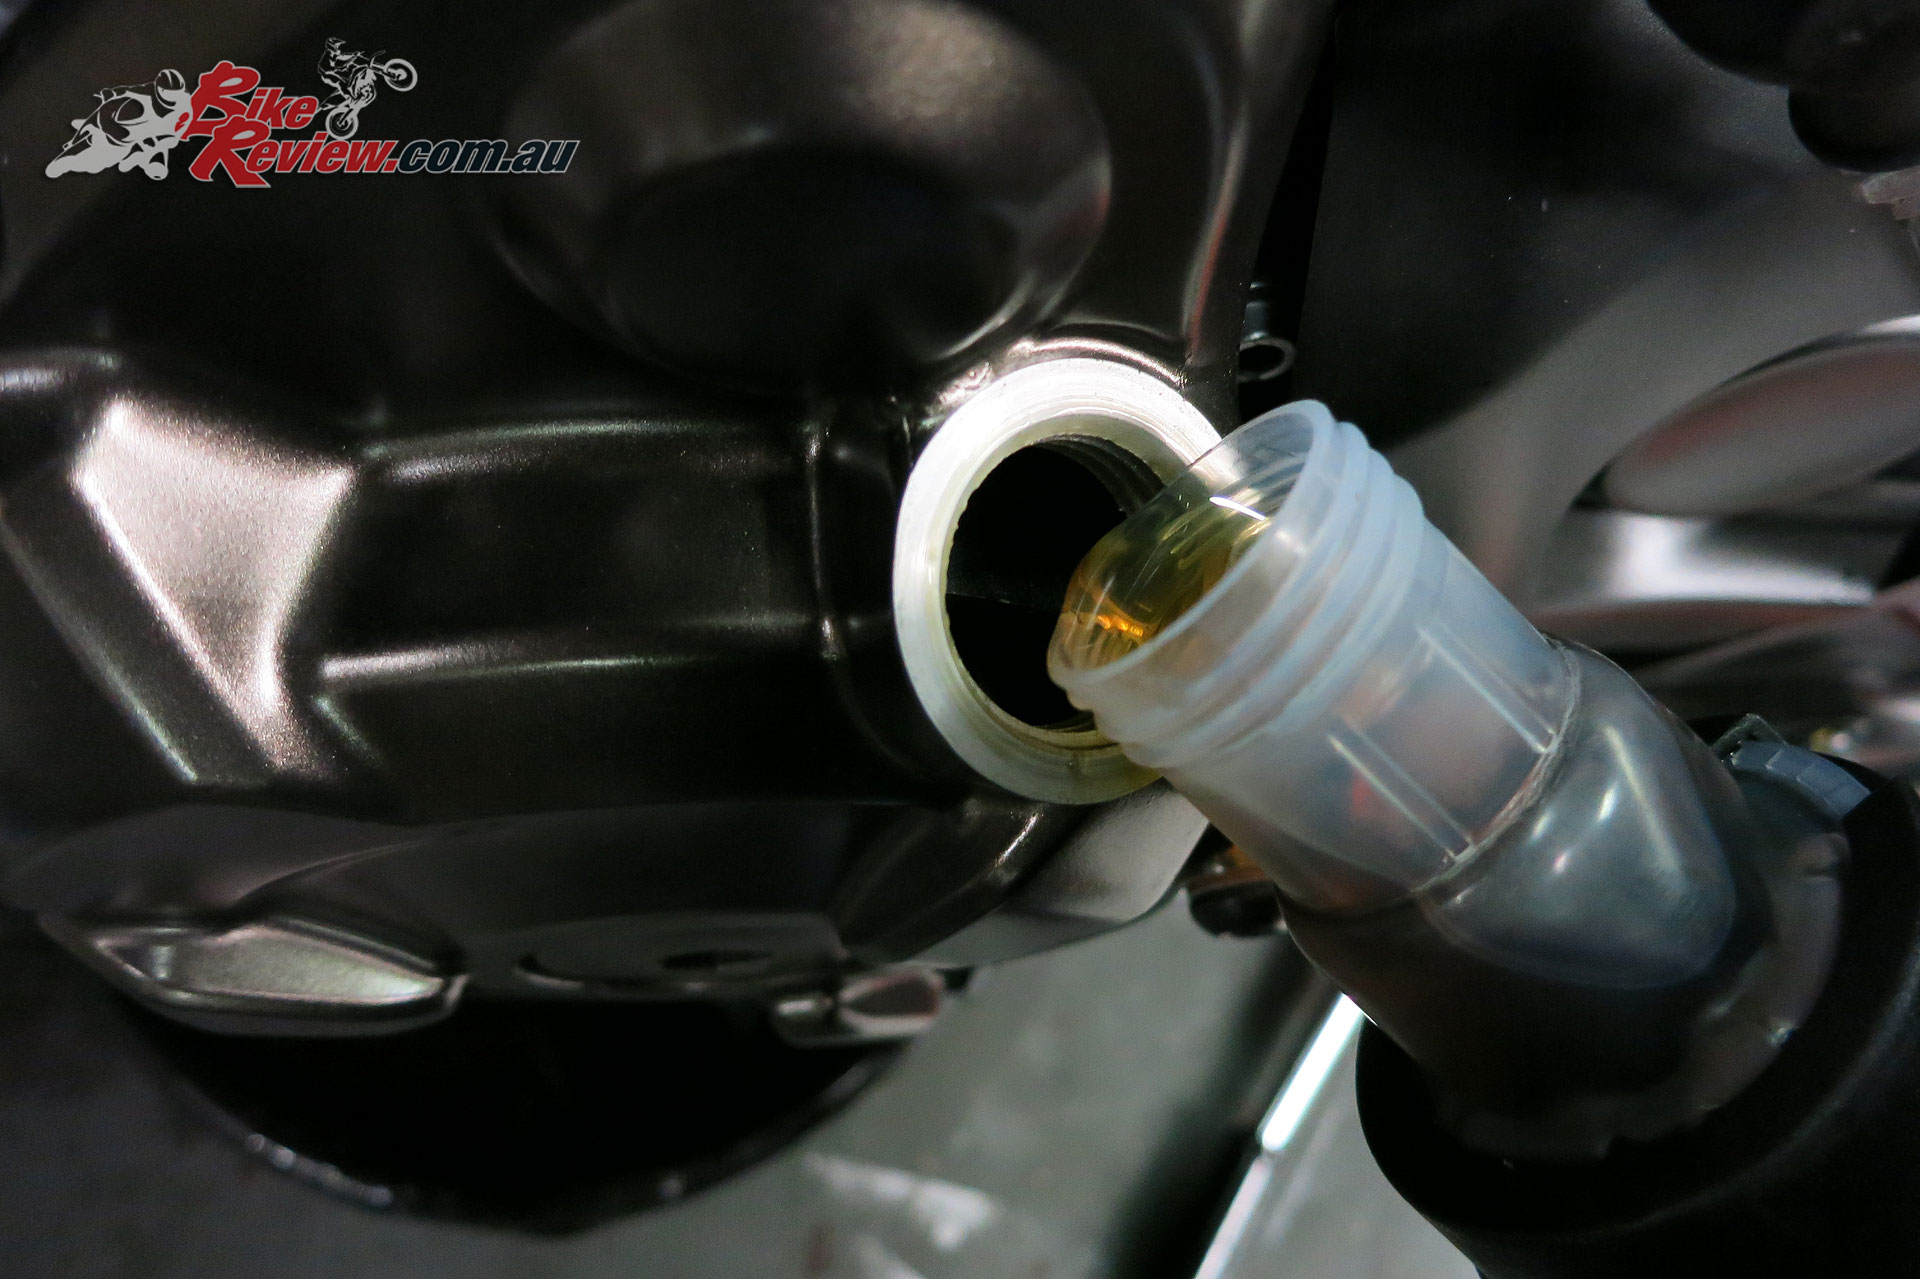
So you’ve got your new filter and the sump bolt back in place and properly tightened (double check this at this point). Now you can pour oil back in via the oil filler cap point, which will still not have the cap fitted.
If your oil pan has measurement lines, you’ll be able to roughly guestimate how much oil needs to go back in (ie at least as much as came out, unless it was previously overfilled). Most oil bottles also now have a transparent section with markers for how much is left in the bottle.

You can see how much oil you’ve poured so far on most oil bottles now (3L being the remaining amount)
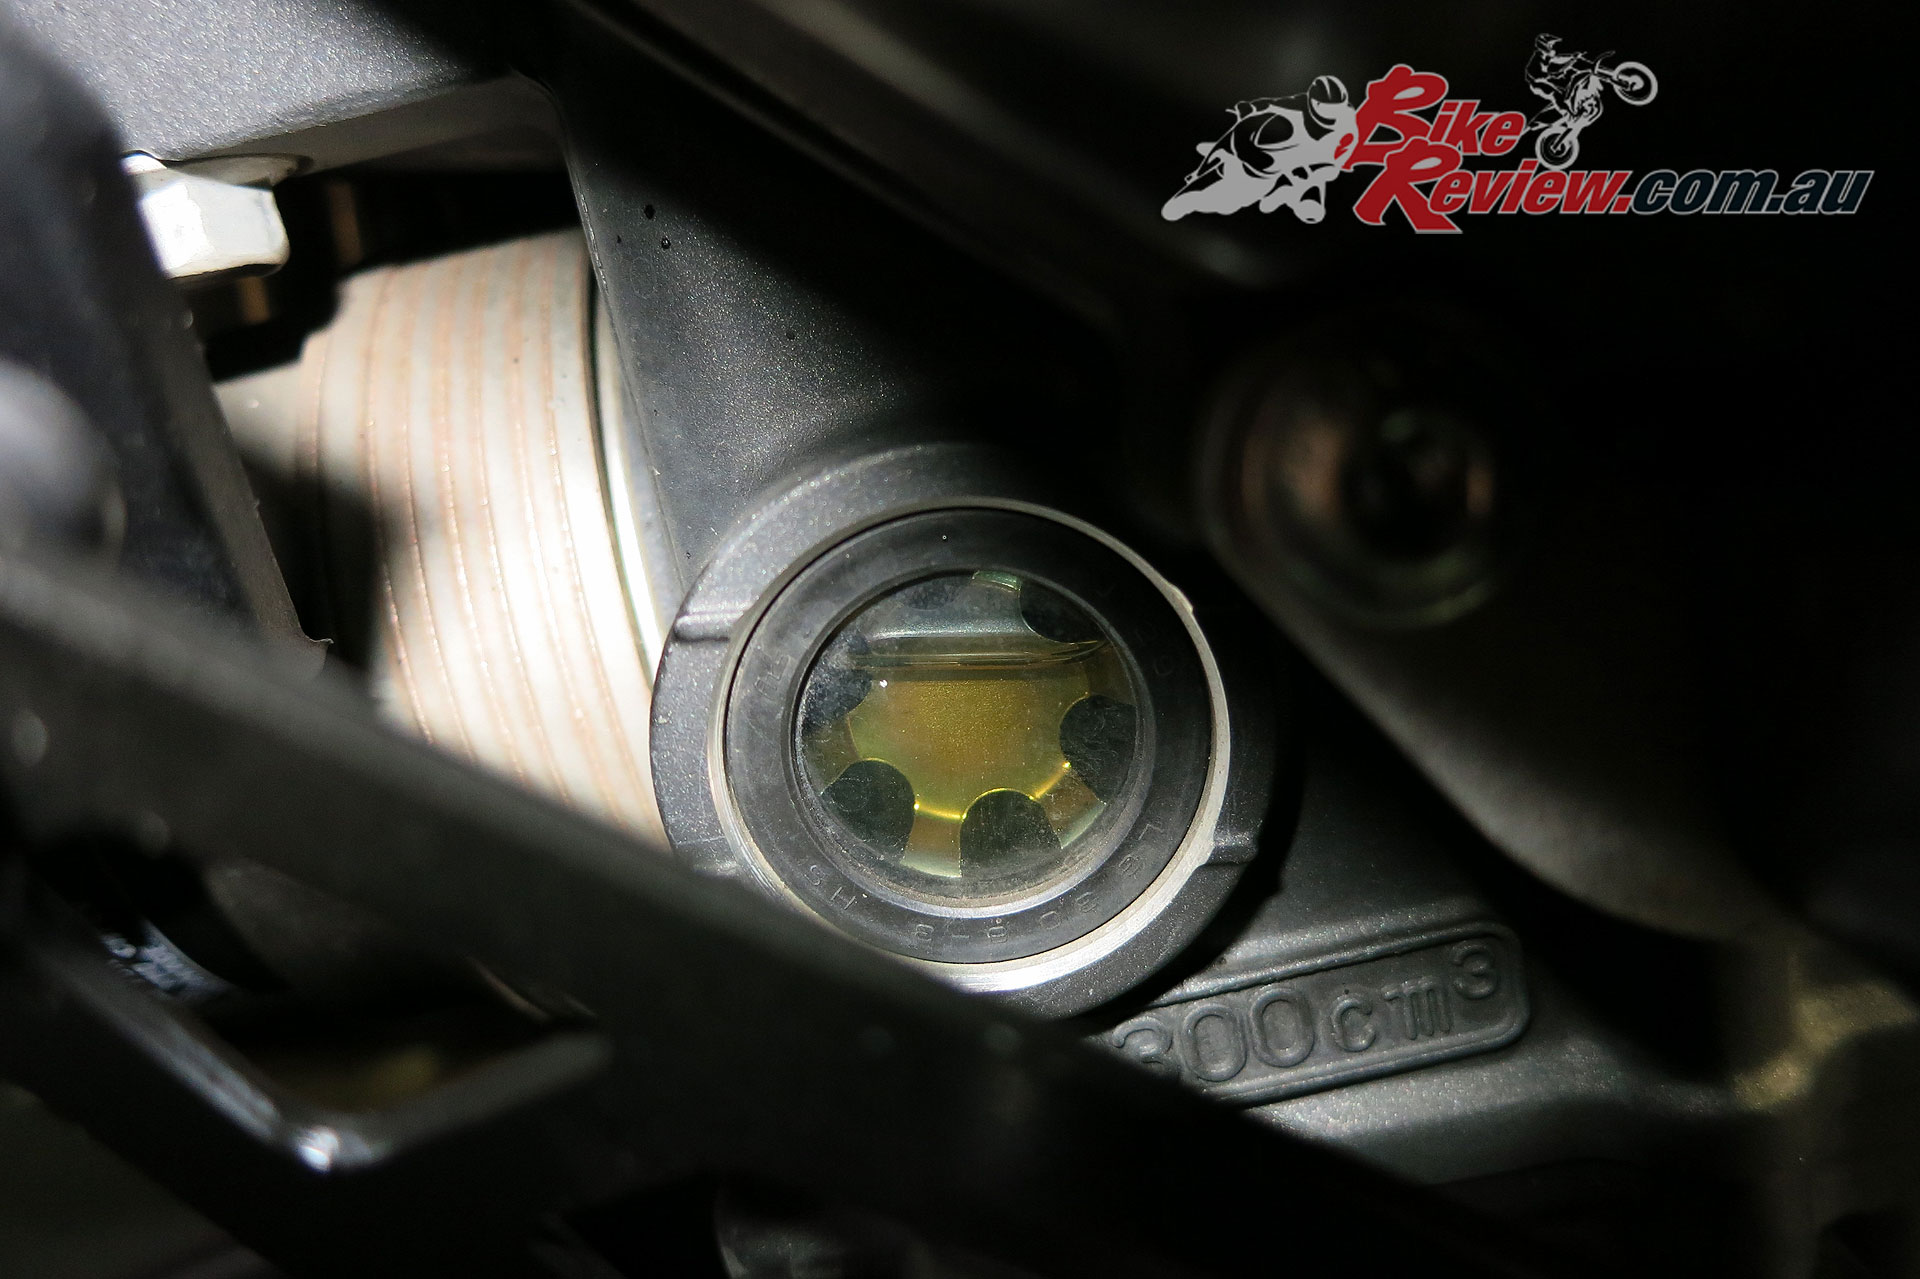
If there’s an oil level window like the Tracer the job is even easier. I filled to the halfway mark in the oil level window, keeping in mind the bike is on a rear stand. We then replaced the oil filter cap and let the bike run for 30 seconds, letting it settle.
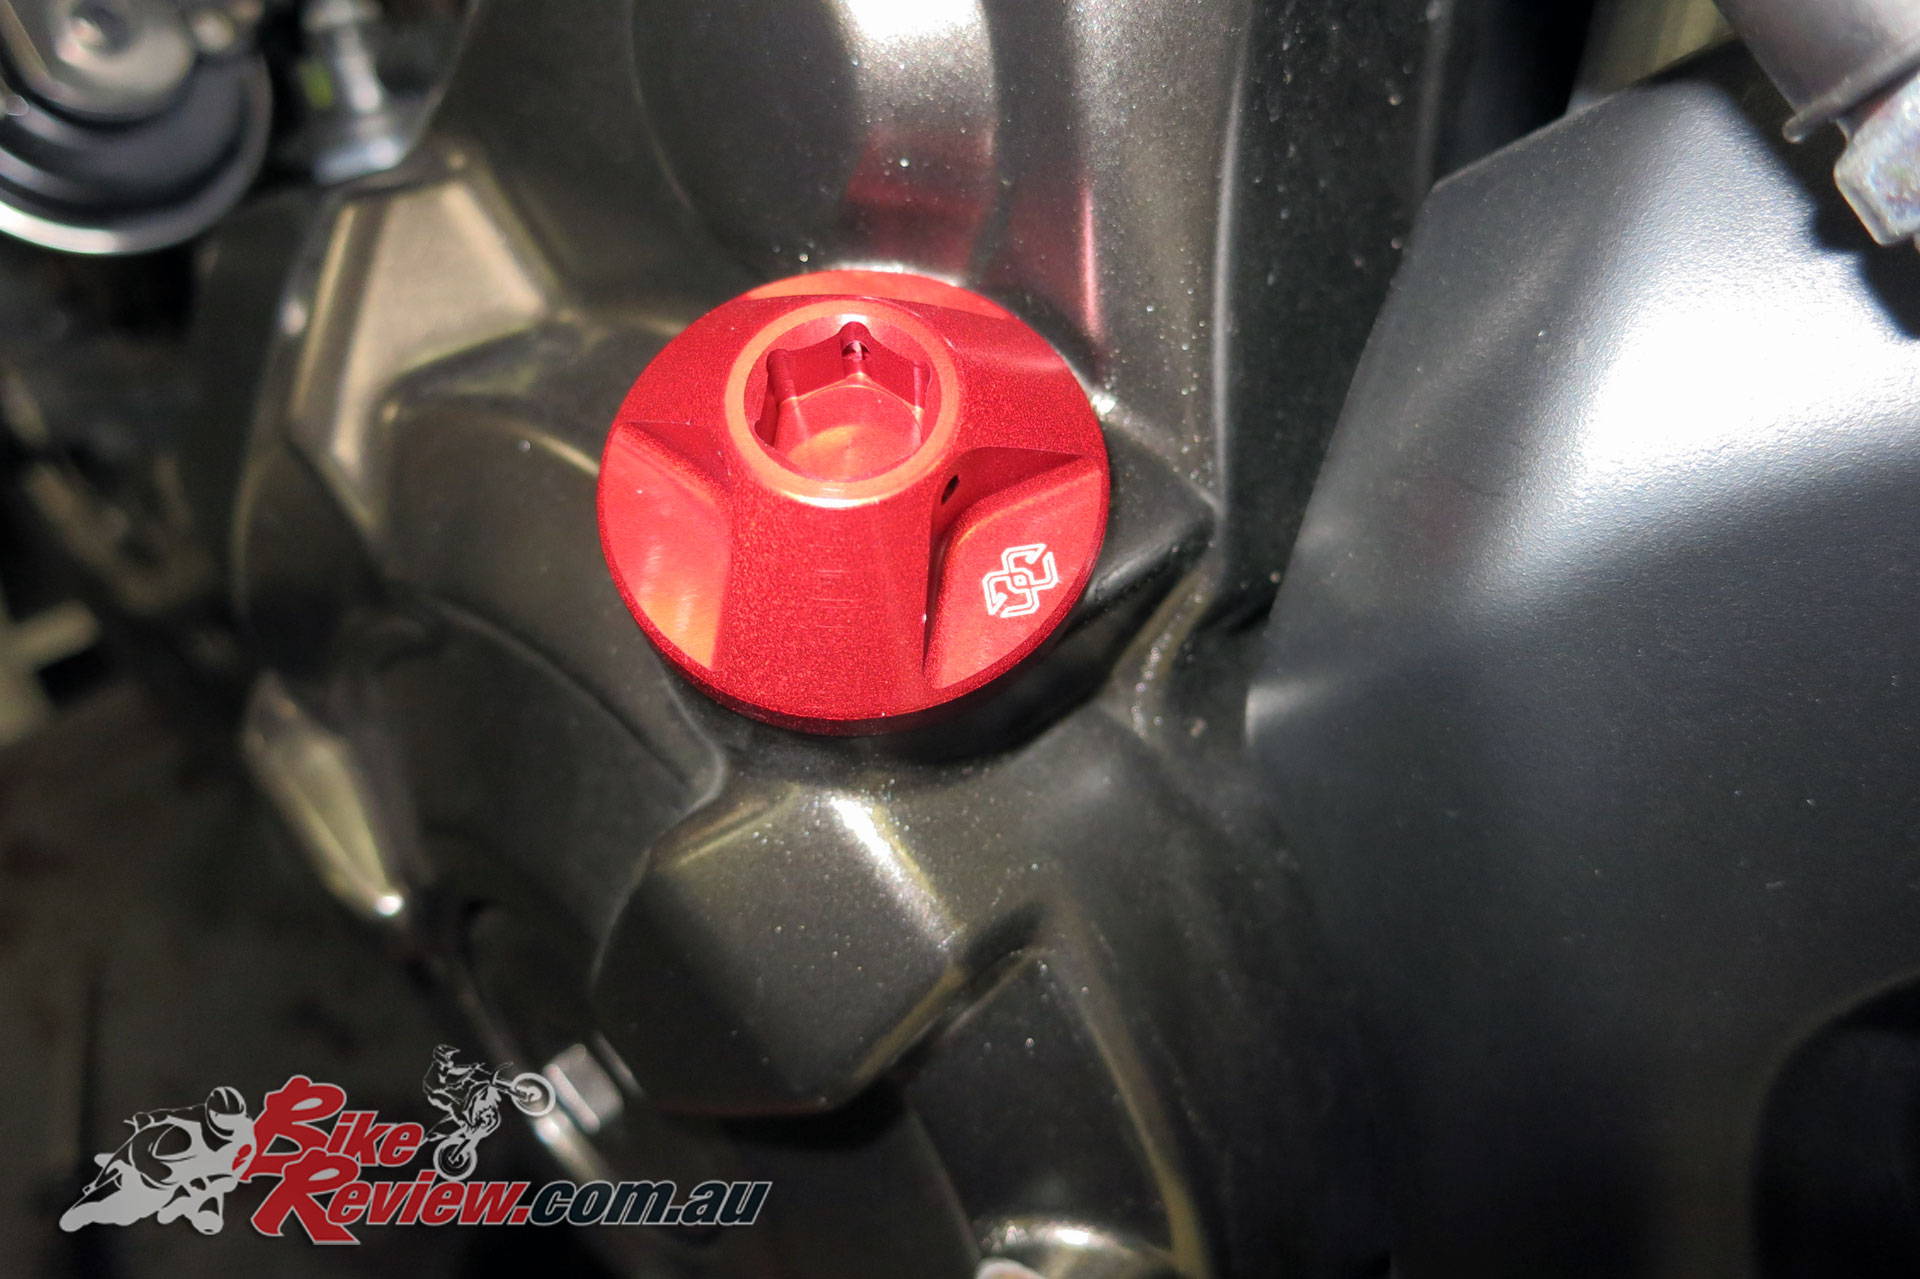
Then we topped the oil back up to just over halfway in the window again, before again replacing the oil filler cap (Gilles Tooling billet cap available from Yamaha fitted). Repeat this step until the oil level remains the same. But give the oil time to settle after turning off the bike.
If you’ve got no window, like my own bike, slow is better, and make sure you’re checking the oil level with the appropriate strategy mentioned by your owners manual. If the oil level is taken with the stick fully screwed in, make sure you do it that way to get an accurate read.
Some motorcycles perform better with a specific oil level (within the recommended range), like right near the top, or on the lower side, with bike’s which have been around longer you can often find your bike’s community will know the best method.
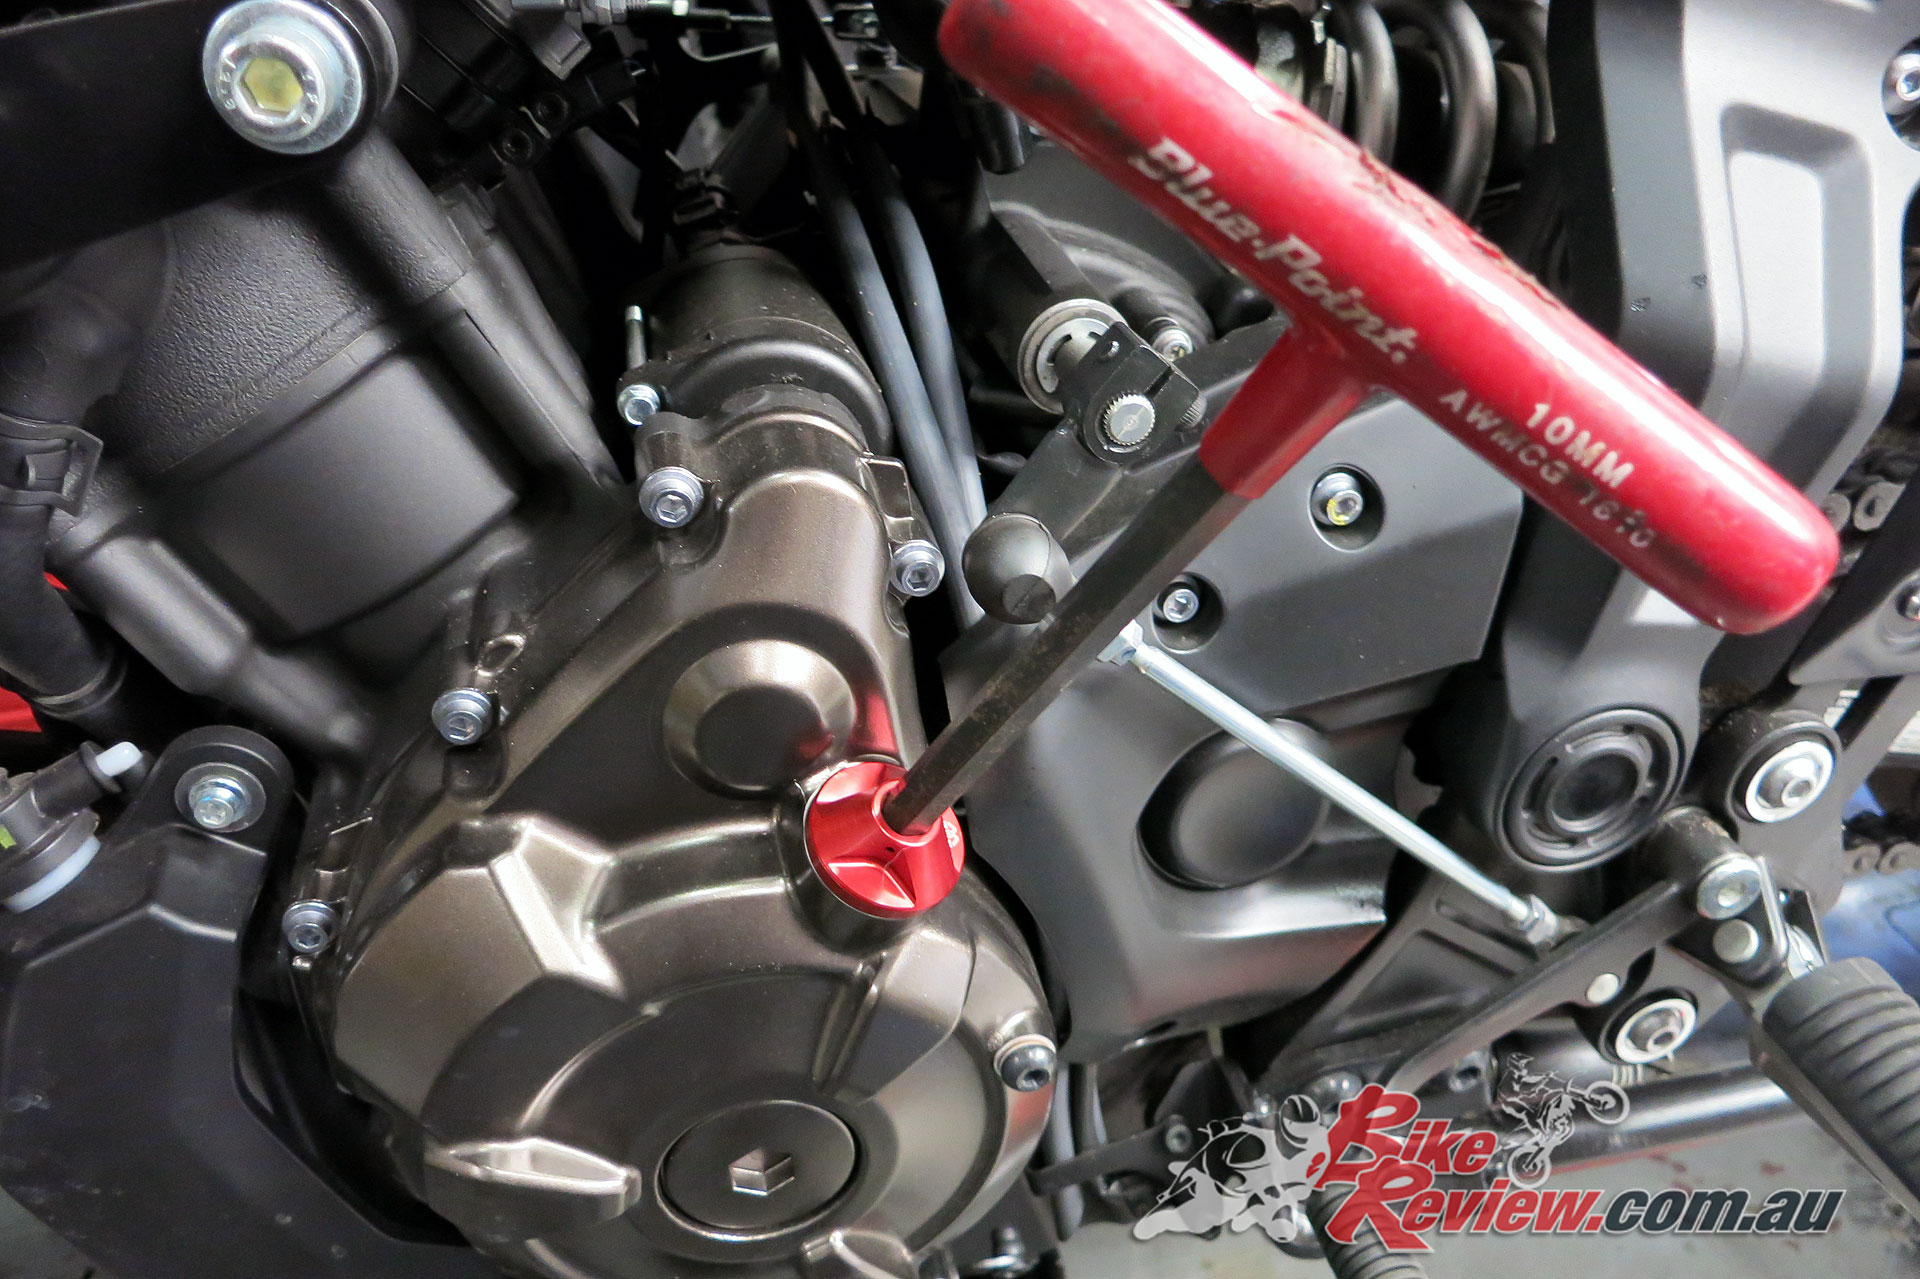
Now wipe any oil drips off the case, and tighten that awesome Gilles Tooling billet oil filler cap with an appropriately sized allen key so some bastard can’t steal it by hand. Double check the oil filler is secure, and the sump bolt, then replace that Sub Cowl if you’ve got one fitted.
If you’ve somehow managed to spill oil onto the exhaust headers or collector, expect to smell it every ride for a while, it shouldn’t be a drama, but if you’re seeing excessive smoke, stop and make sure everything is OK.
With the bike on the stand we gave the chain a wipe down with a rag and kerosene, and then reapplied a quality chain wash sparingly. You can use a bent piece of cardboard behind and under the chain to catch and excess. Turn the wheel slowly by hand and spray as you go.
DO NOT TURN THE WHEEL BY RUNNING THE BIKE. It’s just common sense… you’d think…
Brake fluid and coolant levels are both well within spec, so we haven’t touched those, which is as you’d expect on a bike with 5000km on the clock, but it’s always worth checking. If your brakes are getting spongy, or you’ve lost brakes after hard braking (lever to the grip with no resistance), it’s worth totally replacing the brake fluid.
Tyre wear on the Pilot Road 4s is also looking good, with plenty more mileage in them. We’re still waiting to see if we can get a set of dual sport Avons, for a bit more off-road prowess, but we’ll see how we go.
Also check you’re tyre pressures and top them up if necessary, running low pressure is a good way of quickly wearing out your tyres, well before their normal life expectancy.


