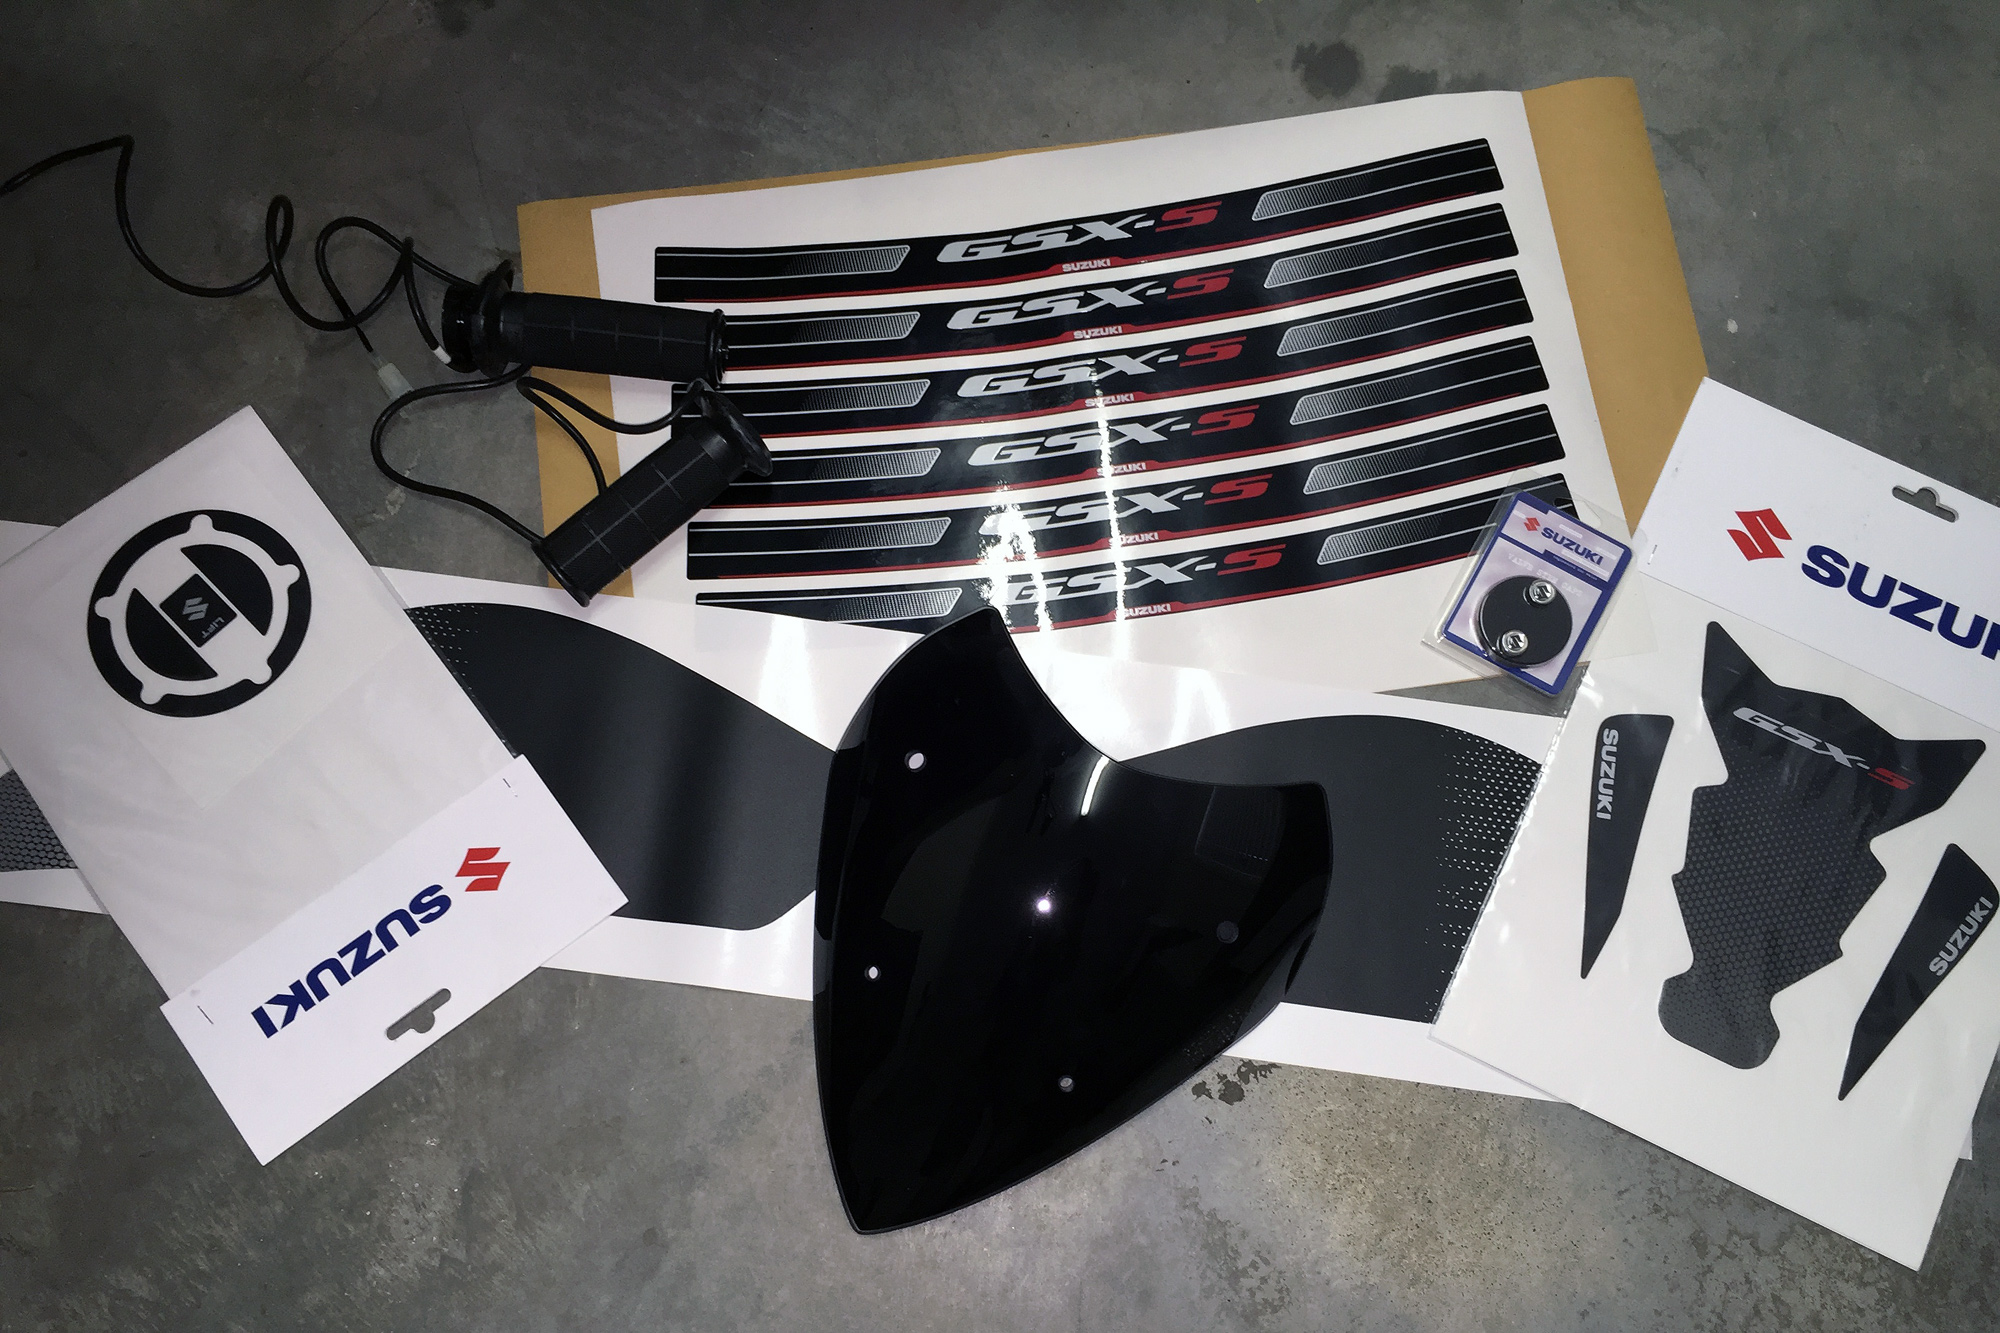
After recently fitting Suzuki heated grips to our Long Term GSX-S1000, we've now also added the tank decal sets.
Fitting stickers or decals can be quite daunting. Most people know that such a simple job can become a real pain the minute a sticker goes on wrong, or picks up some rubbish and no longer wants to stick.
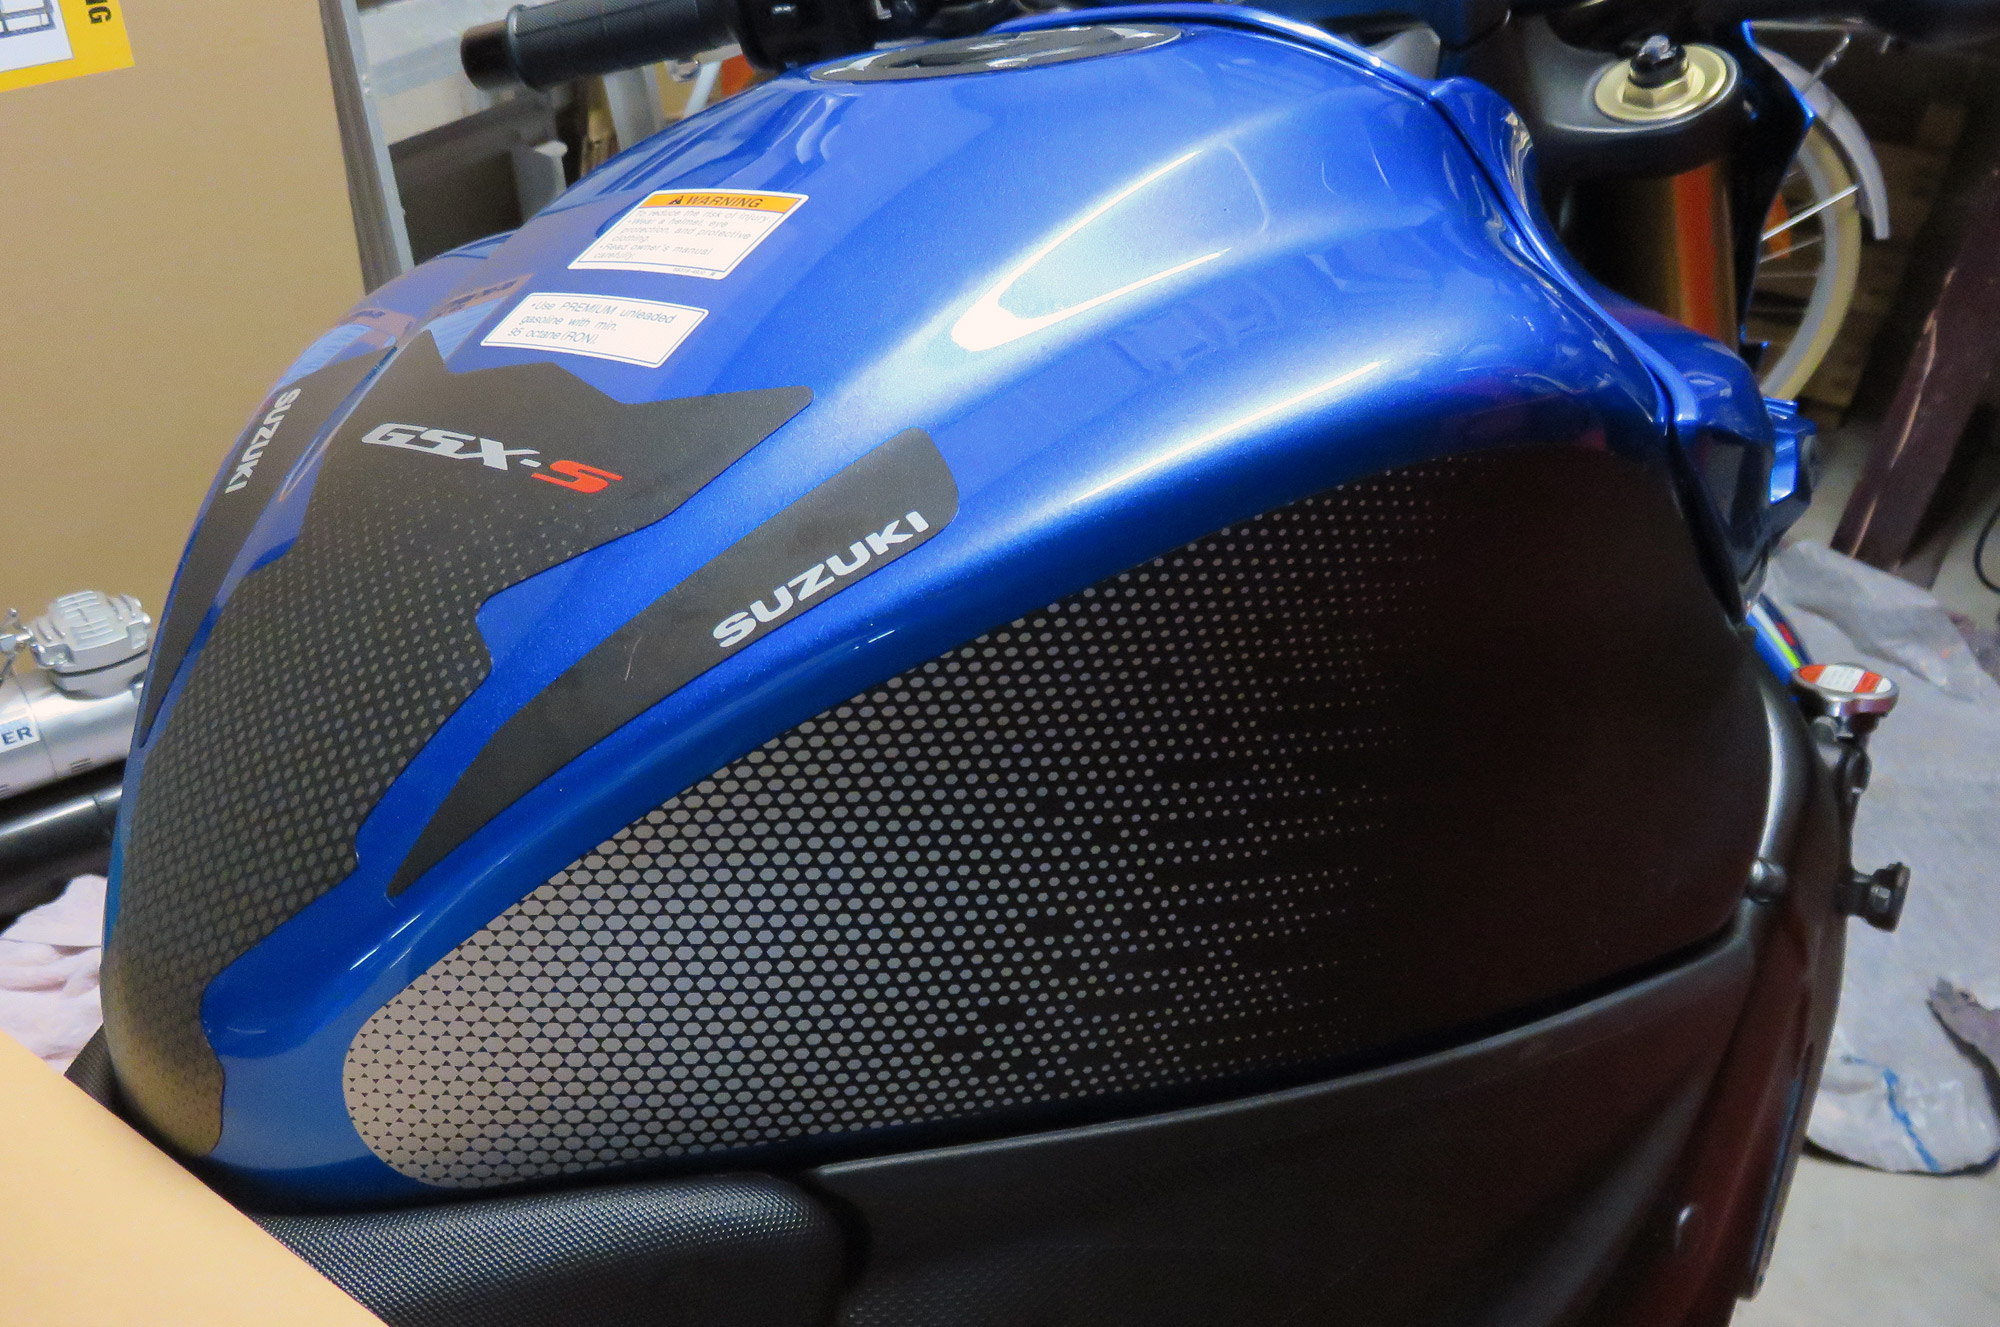
These decals from Suzuki are nice high quality items, that are ideal for protecting your tank, at the regular tank protector area, as well as at the tank contours for your knees and the fuel cap.
The Suzuki valve stem caps are cheap, but I’d recommend getting some billet items over these plastic ones, as particularly on the GSX-S1000 wheels, they look too large and not deep enough. They are generic so they may be more suited to a different model.
We received the Black Fuel Tank Protection Decals, Black Tank Pad GSX-S and Fuel Cap Decal, which help to protect all those areas that cop the biggest beating in general use. Plus these are some good value items, the tank pad is just $55, the tank protection decals only $25, and the fuel cap decals $25.
They also come with surface cleaning cloths, which make your job easier, just make sure you give all surfaces a really thorough wash and these alcohol wipes will help remove grease and other residue that might otherwise effect the long term stick of your decals.
For the full range of Suzuki Motorcycle accessories, visit their website – suzukimotorcycles.com.
Here’s how we got them on with a minimum of fuss.
Suzuki GSX-S1000 Decal Application – Step by Step
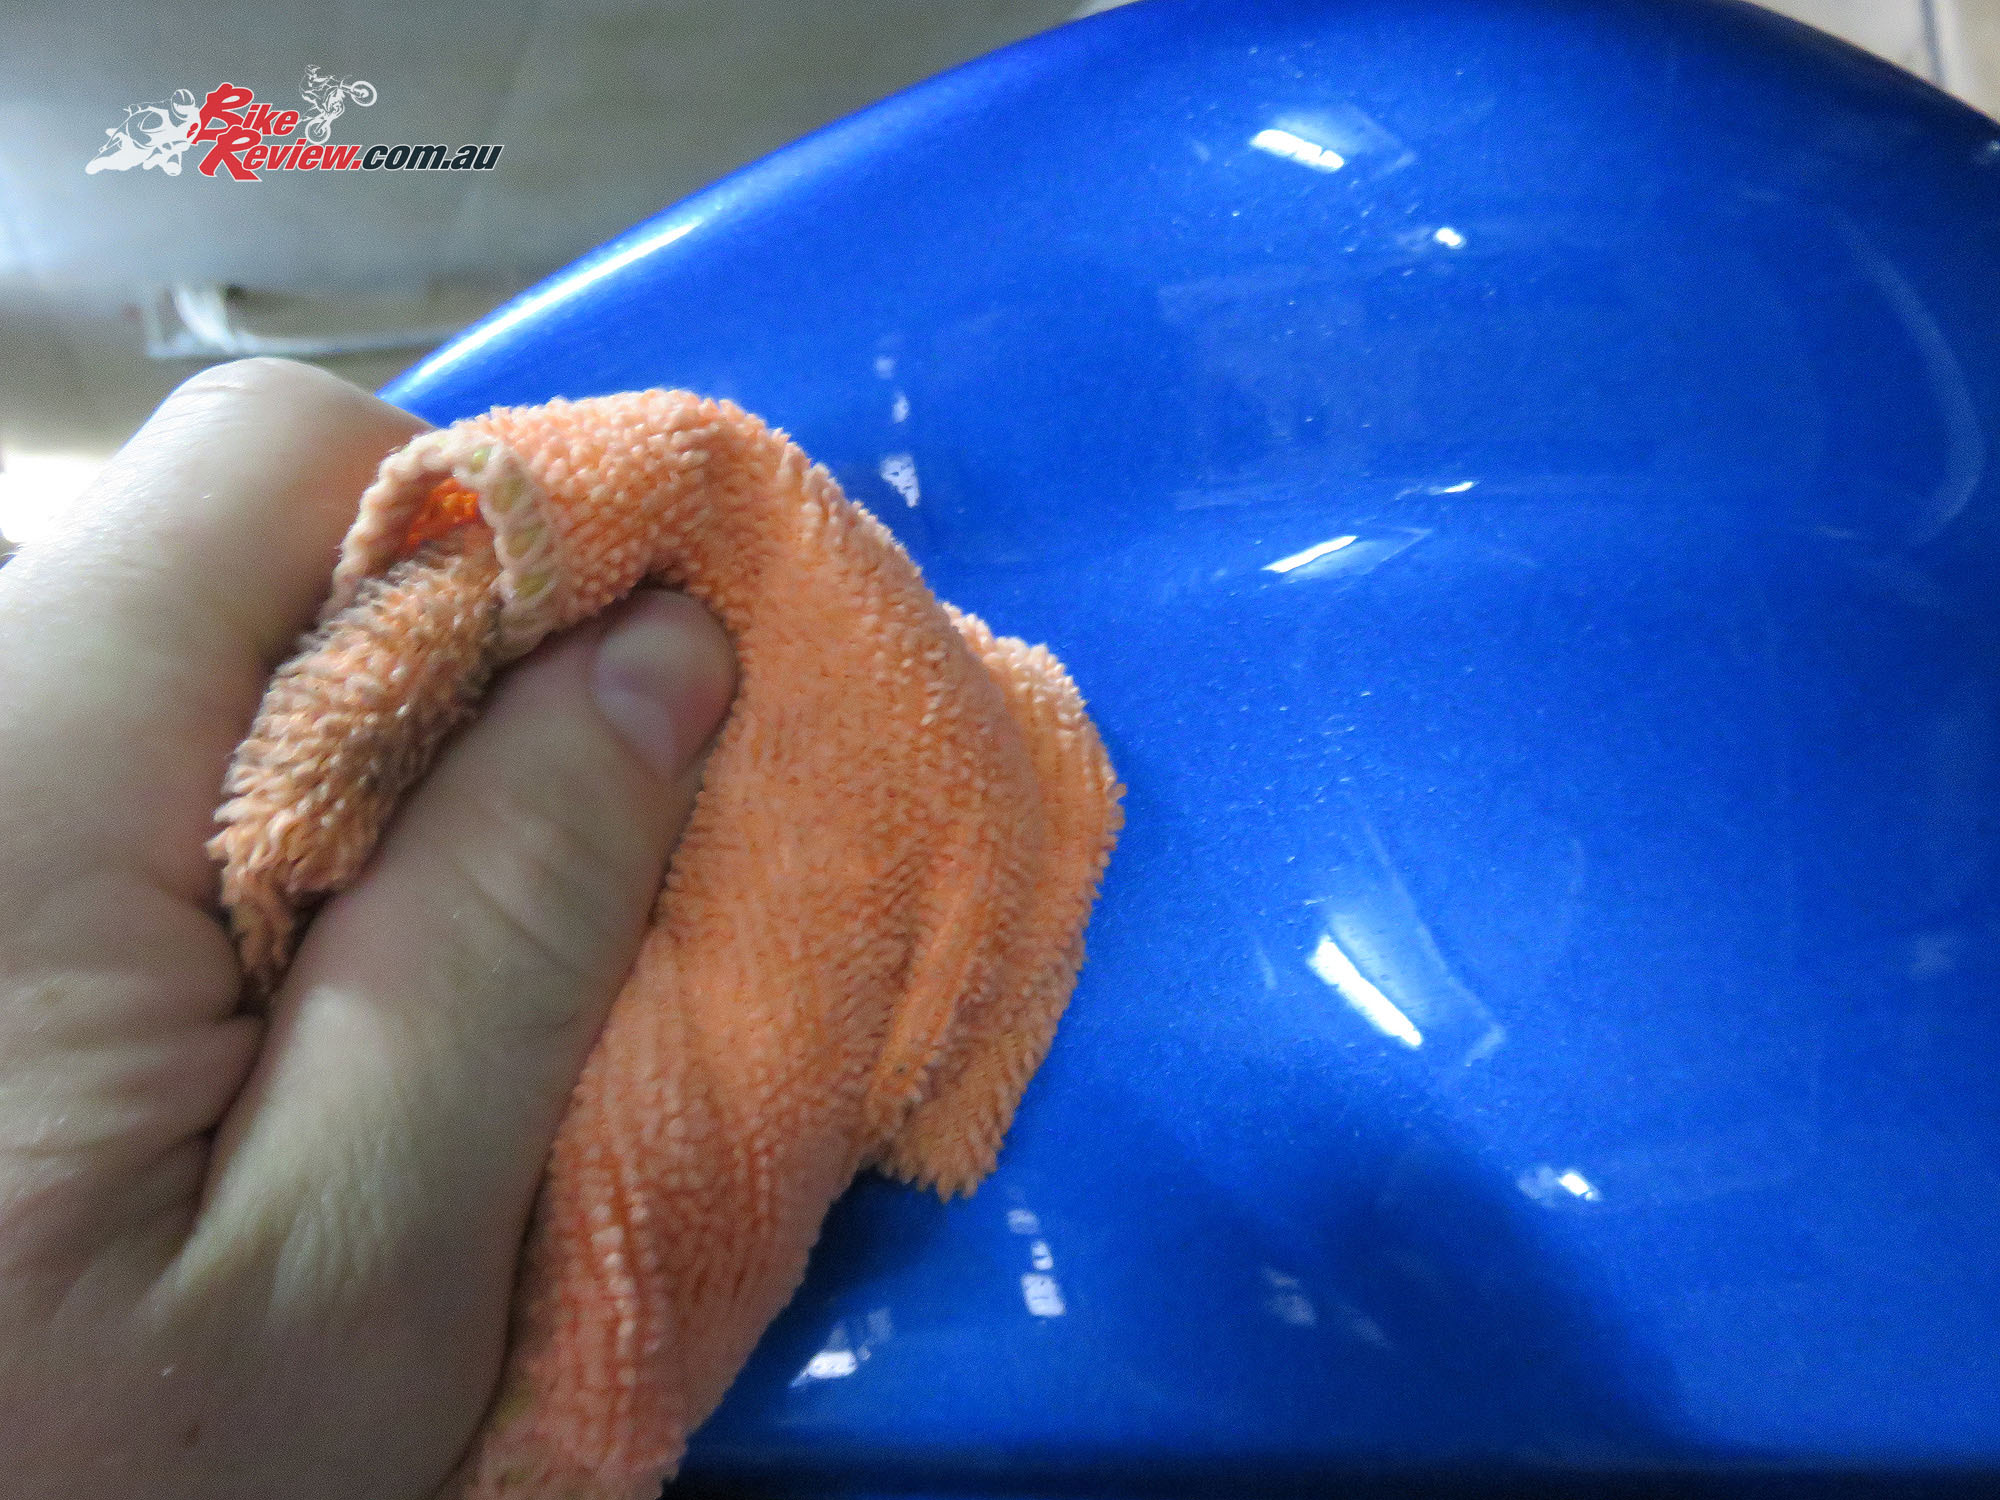
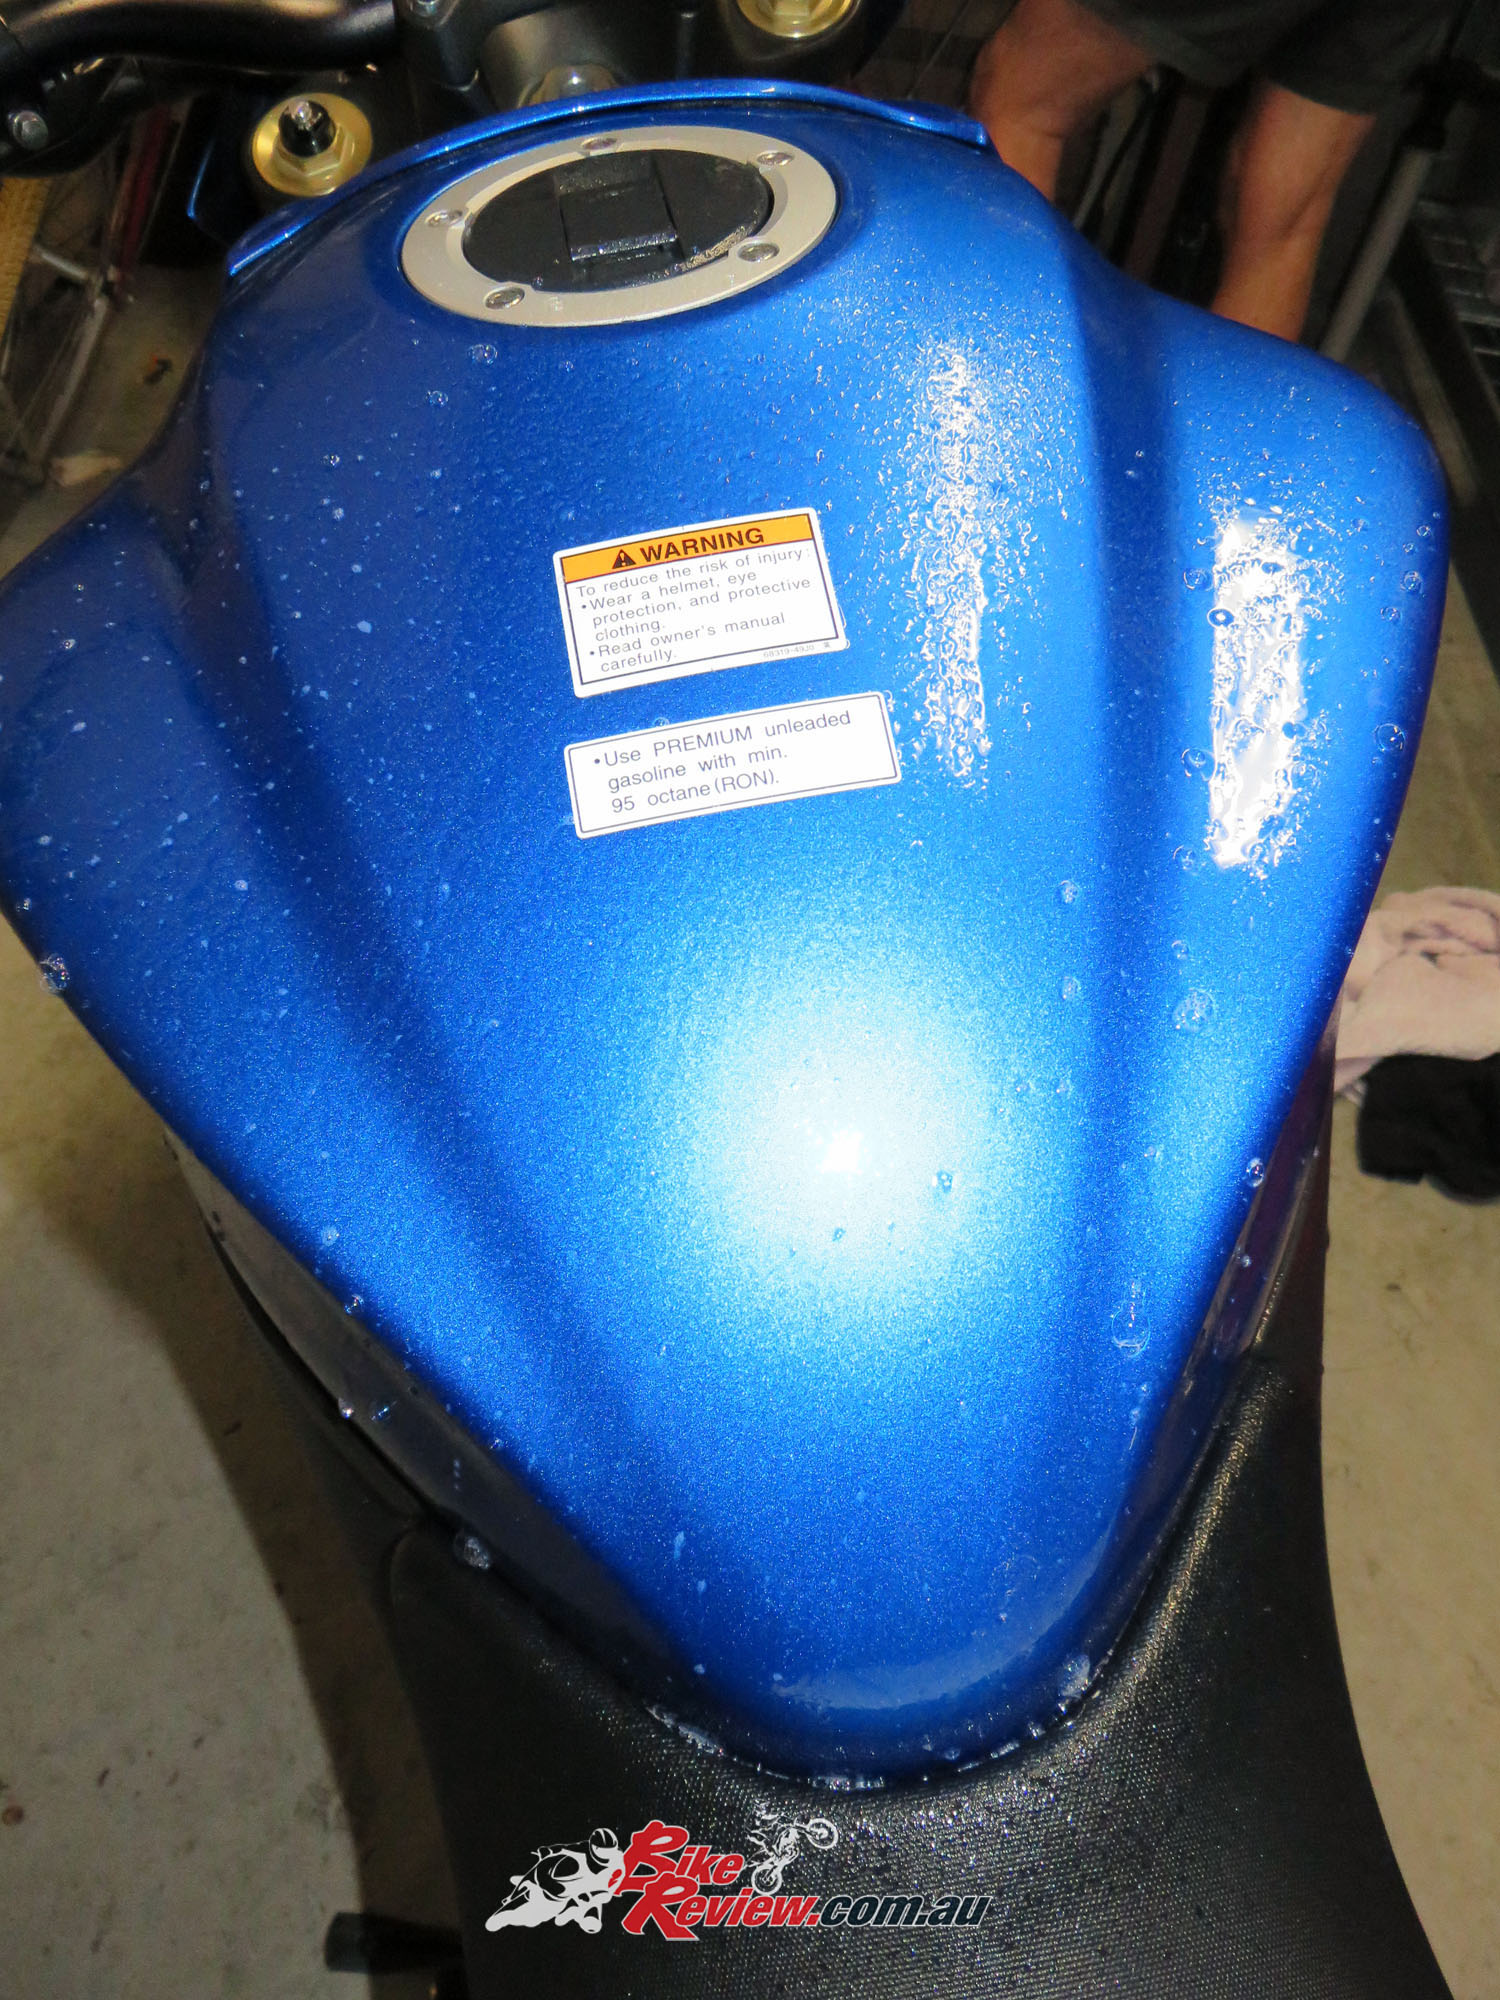
First off, start by washing everything down really thoroughly, I used a microfibre cloth with soapy water, before drying it all off and using the provided wipes.

A large part of this is just preparation. Everything needs to be clean, you need to be really thorough and just take it slow.

I also removed the original transparent tank pad set from Suzuki, to fit the newer item. You just need to pick up an edge with these, with a nail to get each sticker off. Don’t use a tool or blade or you’ll risk damaging the paint.
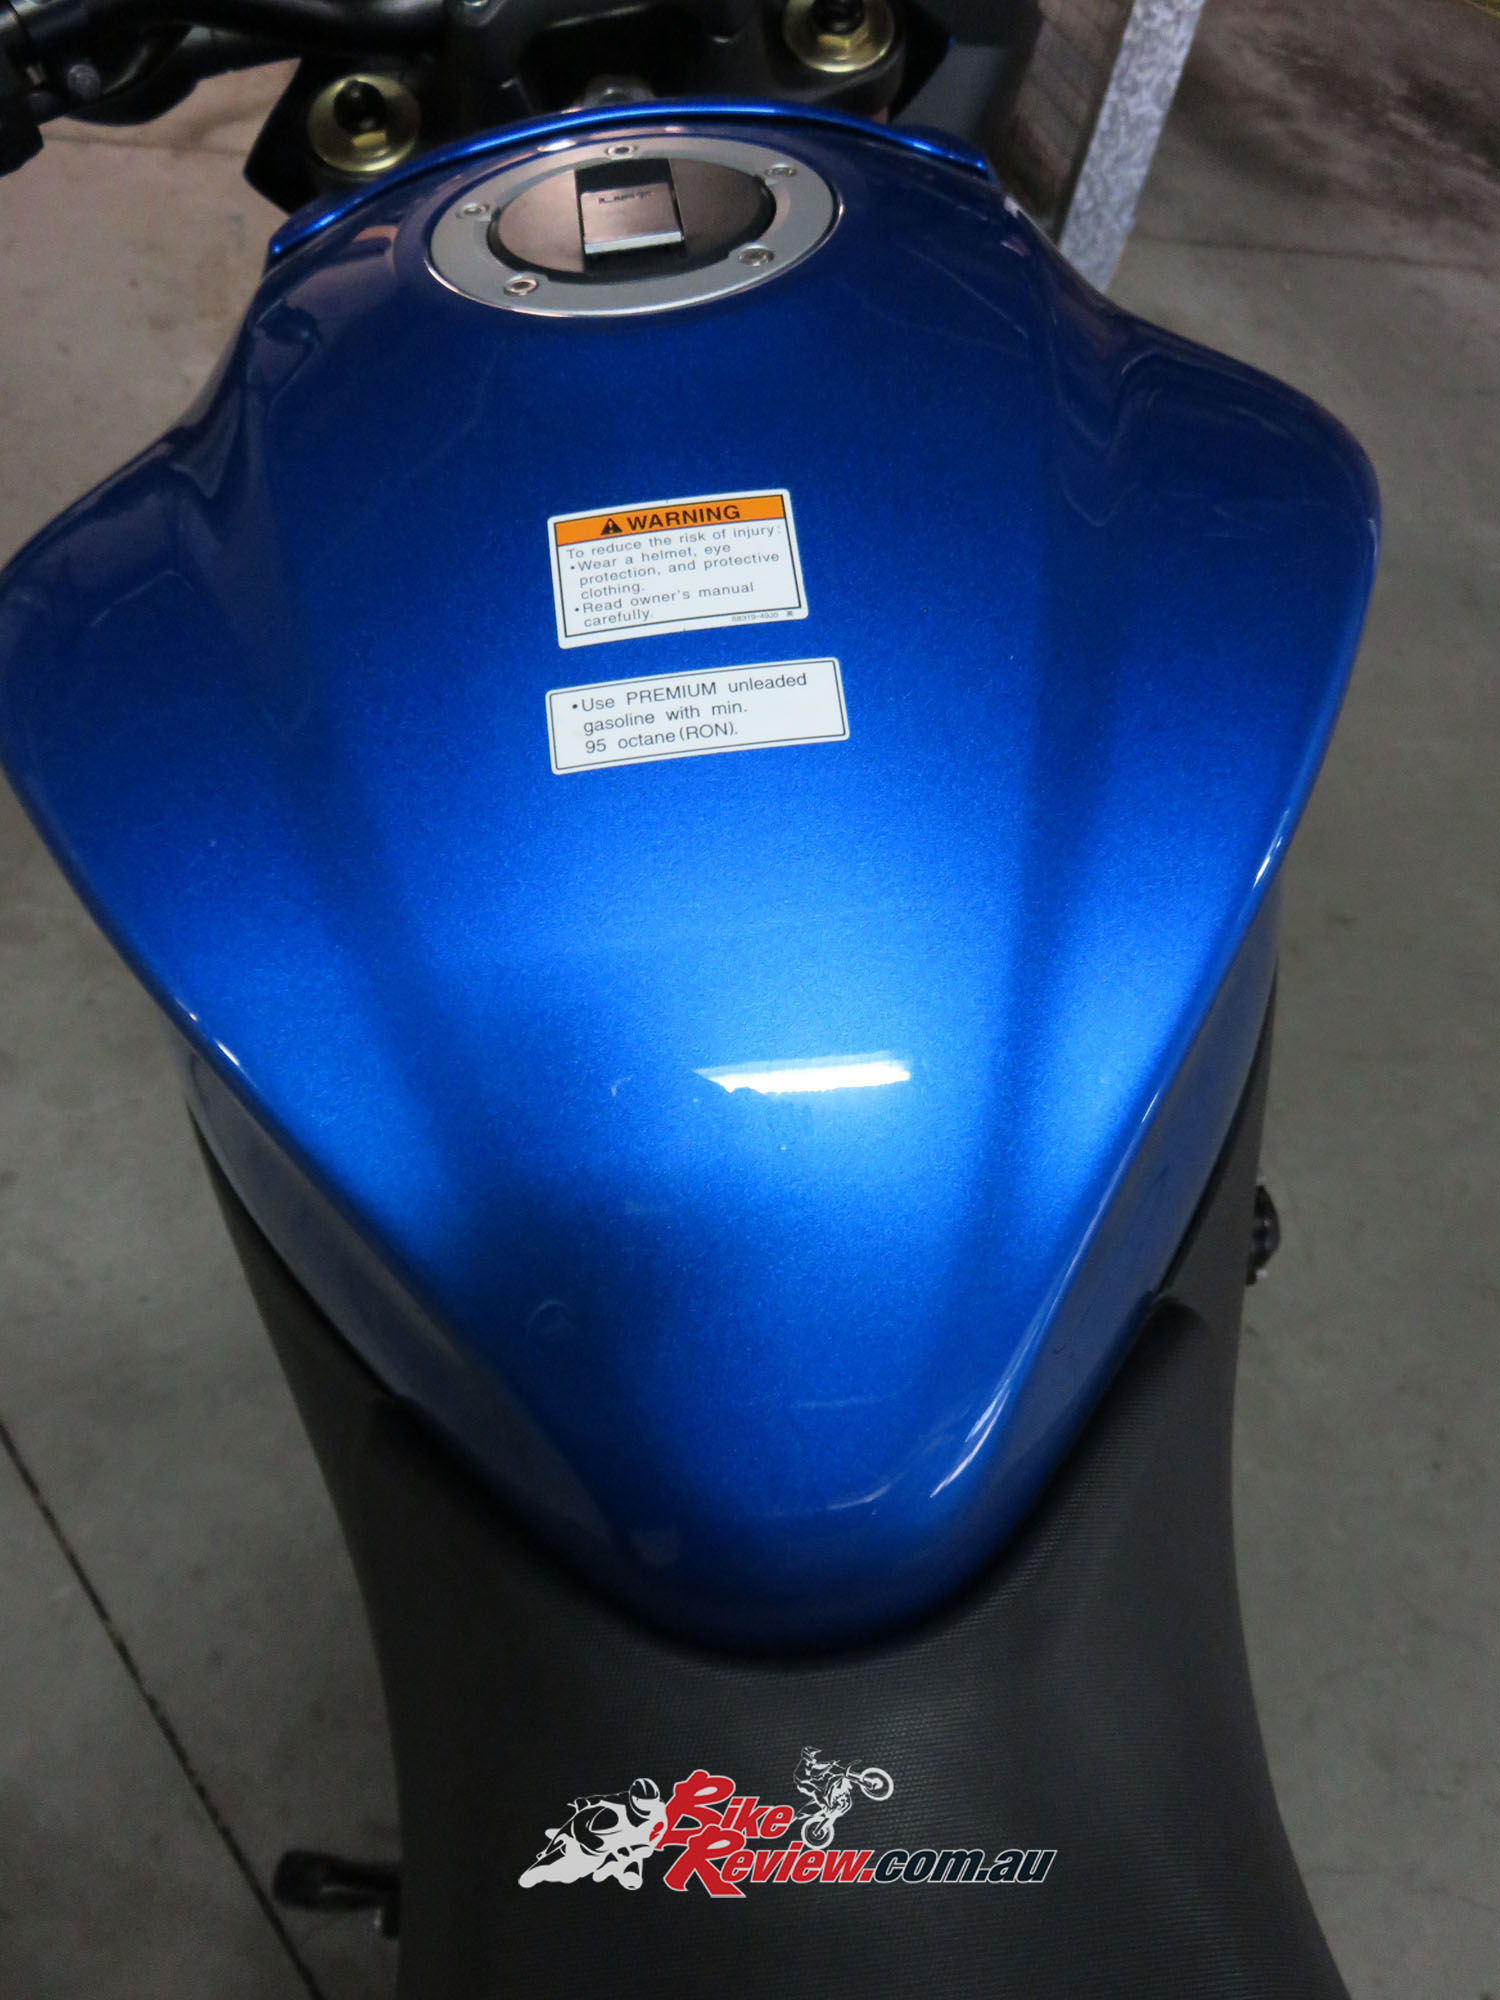
Give this a really good clean where the old stickers were, as there will sometimes be adhesive residue.

Here’s the tank pad, with supplied cleaning cloth. The quality of the stickers is far superior to almost anything I’ve seen. They are a thicker textured sticker/decal.
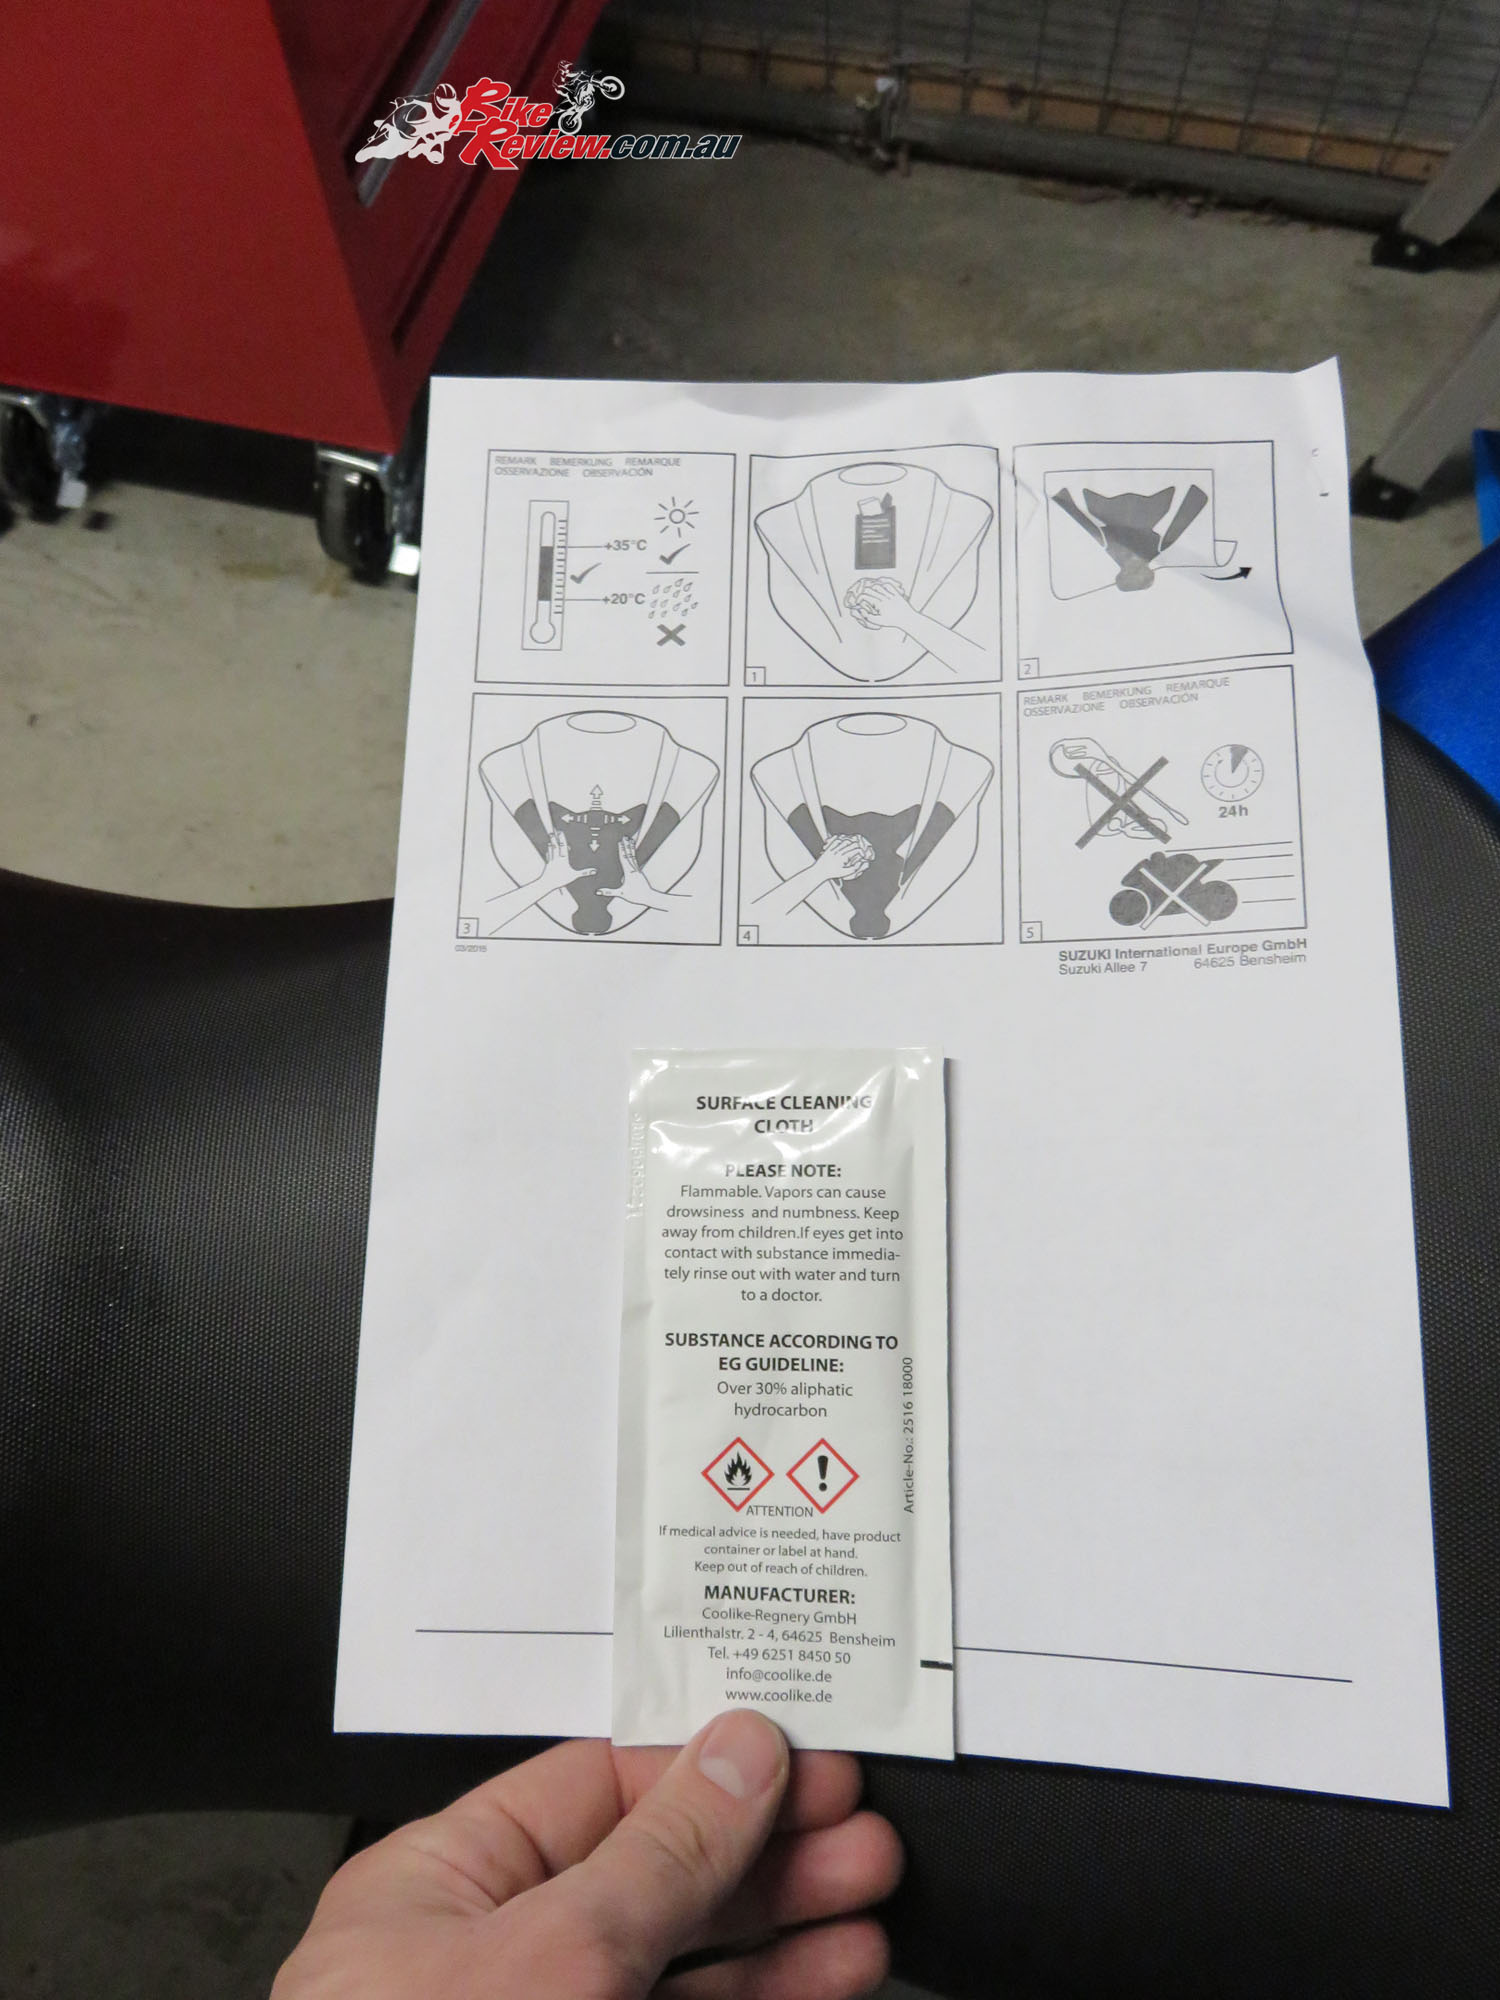
As always take a good long look and read of the instructions. They are only short, but give some good general instructions, particularly about the weather conditions/temperatures to apply the decals in and what not to do.
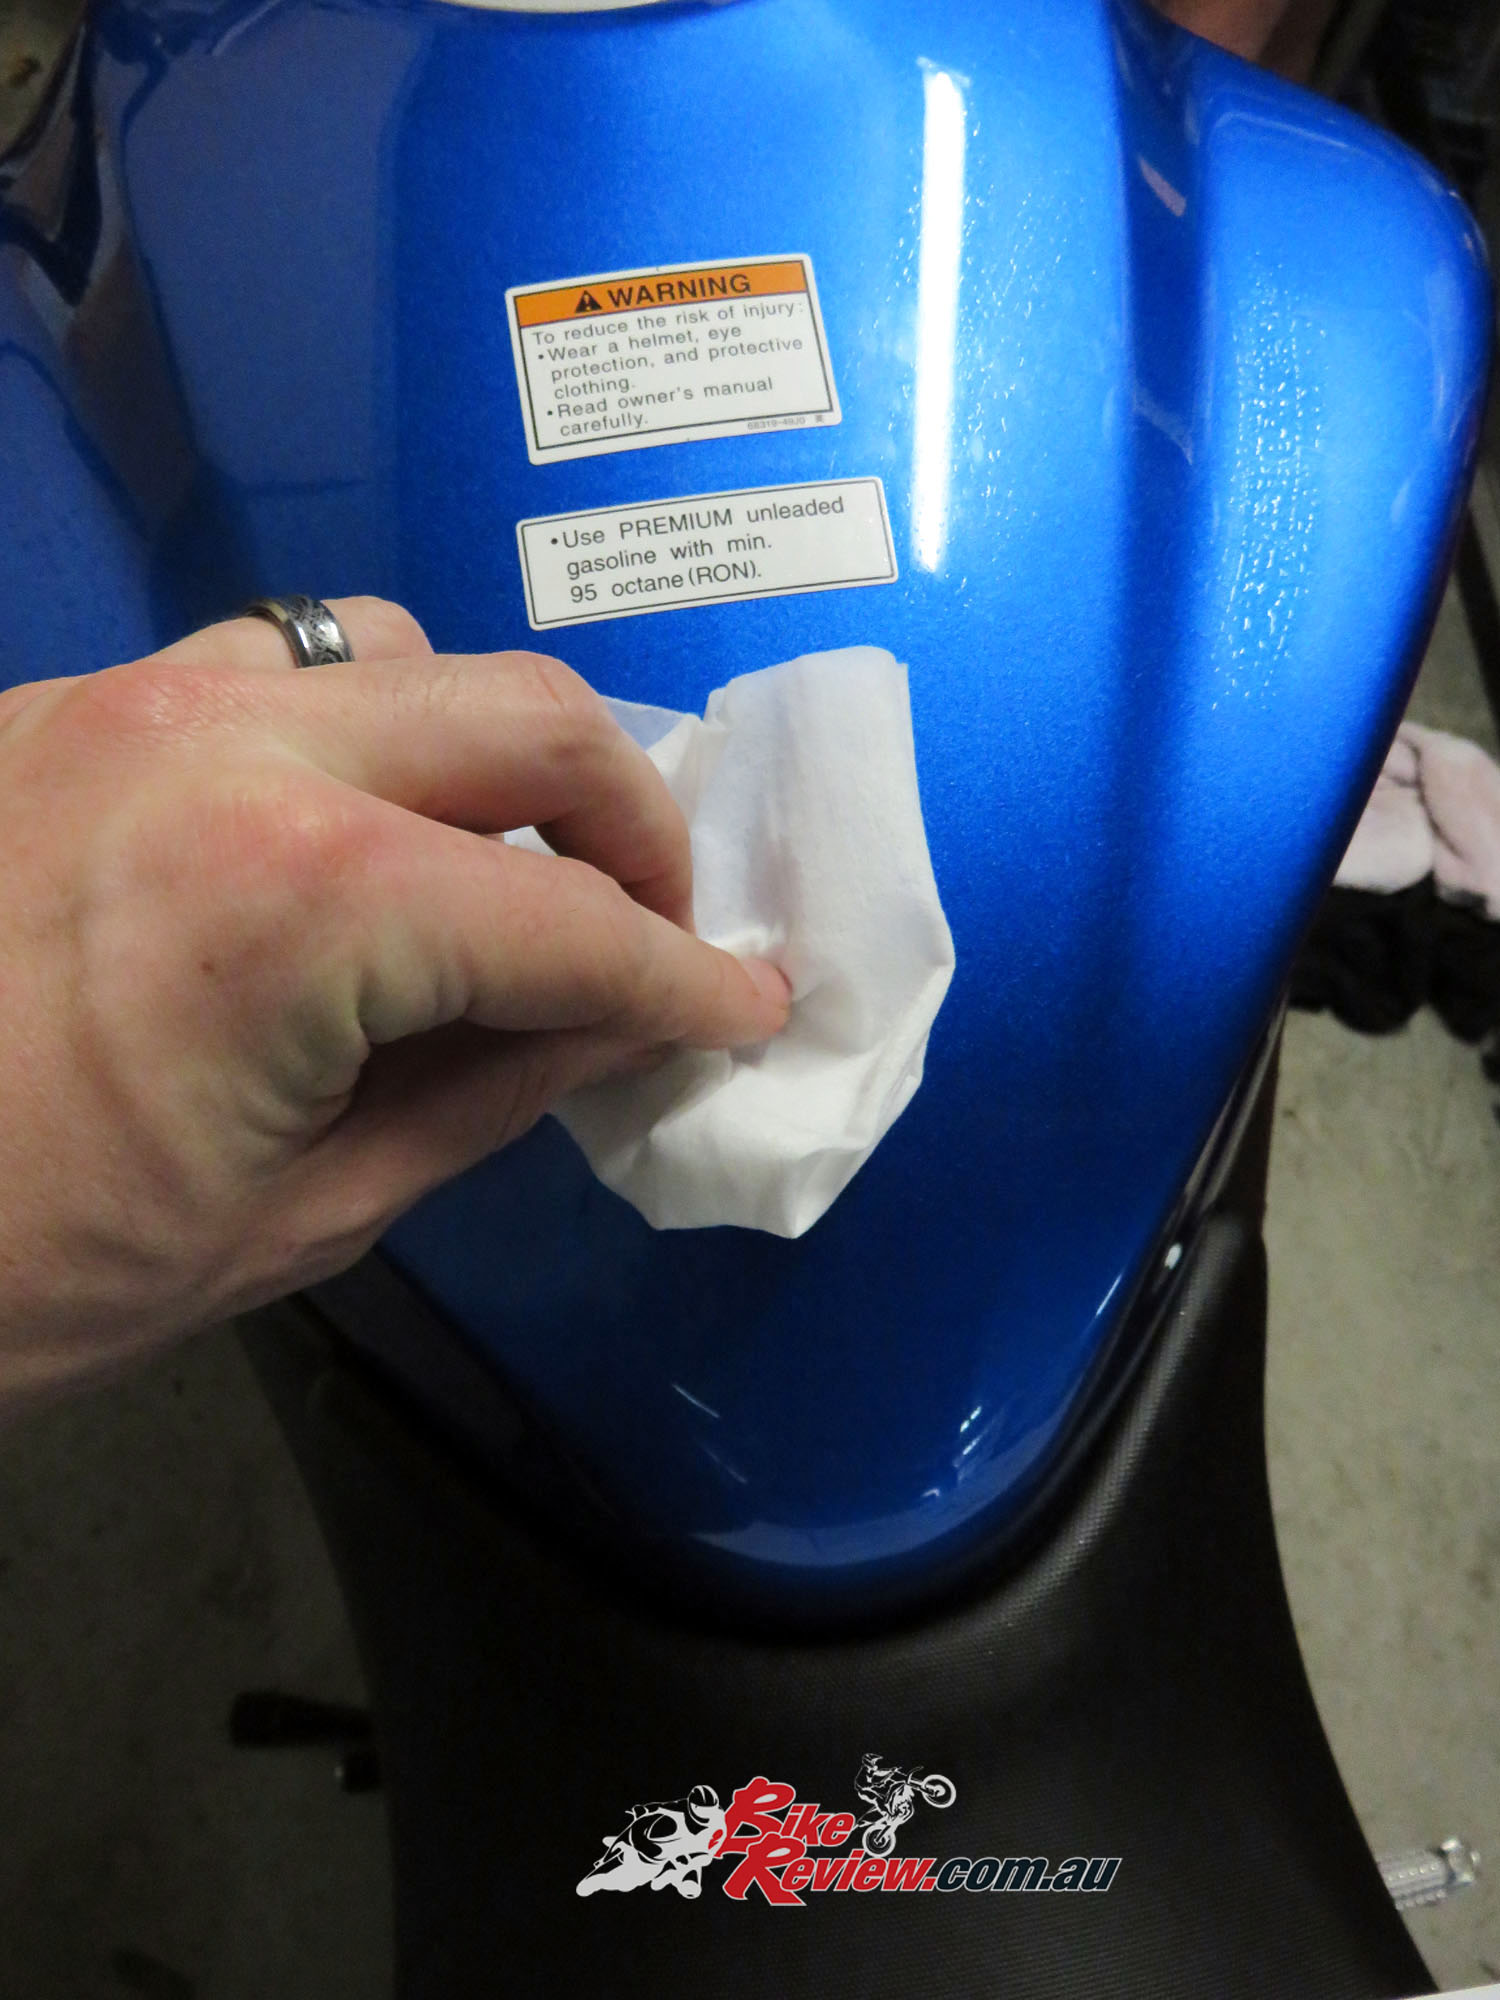
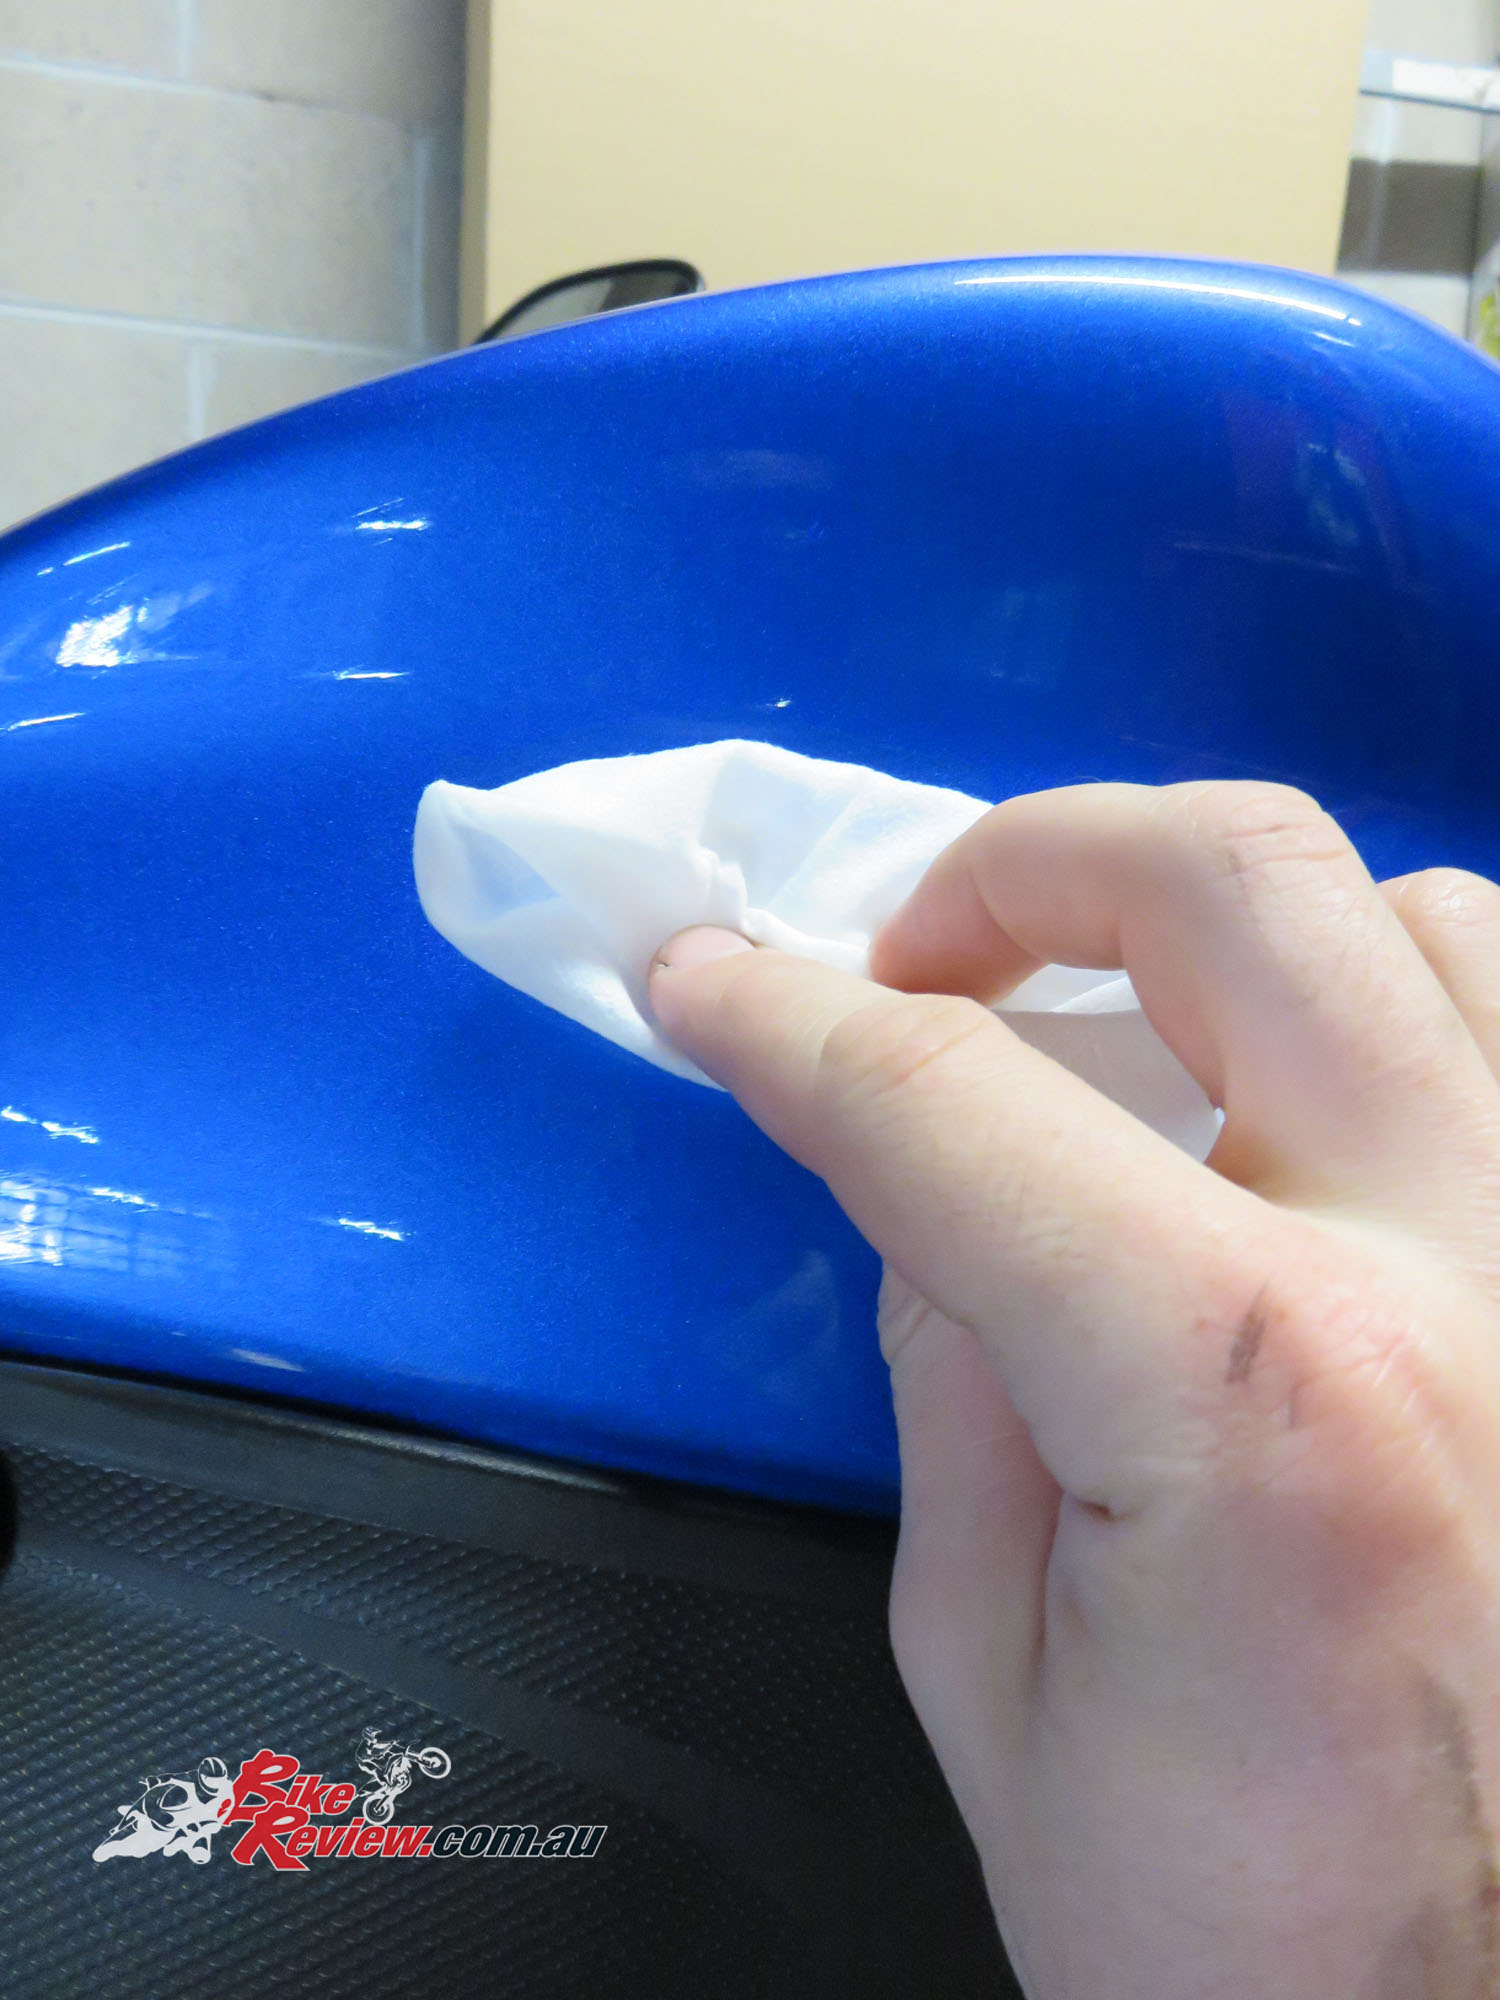
Use the supplied cleaning cloth. With three separate decals to apply I ended up re-doing each of the areas with the cleaning cloths as I went on, meaning most areas got a lot of extra attention.
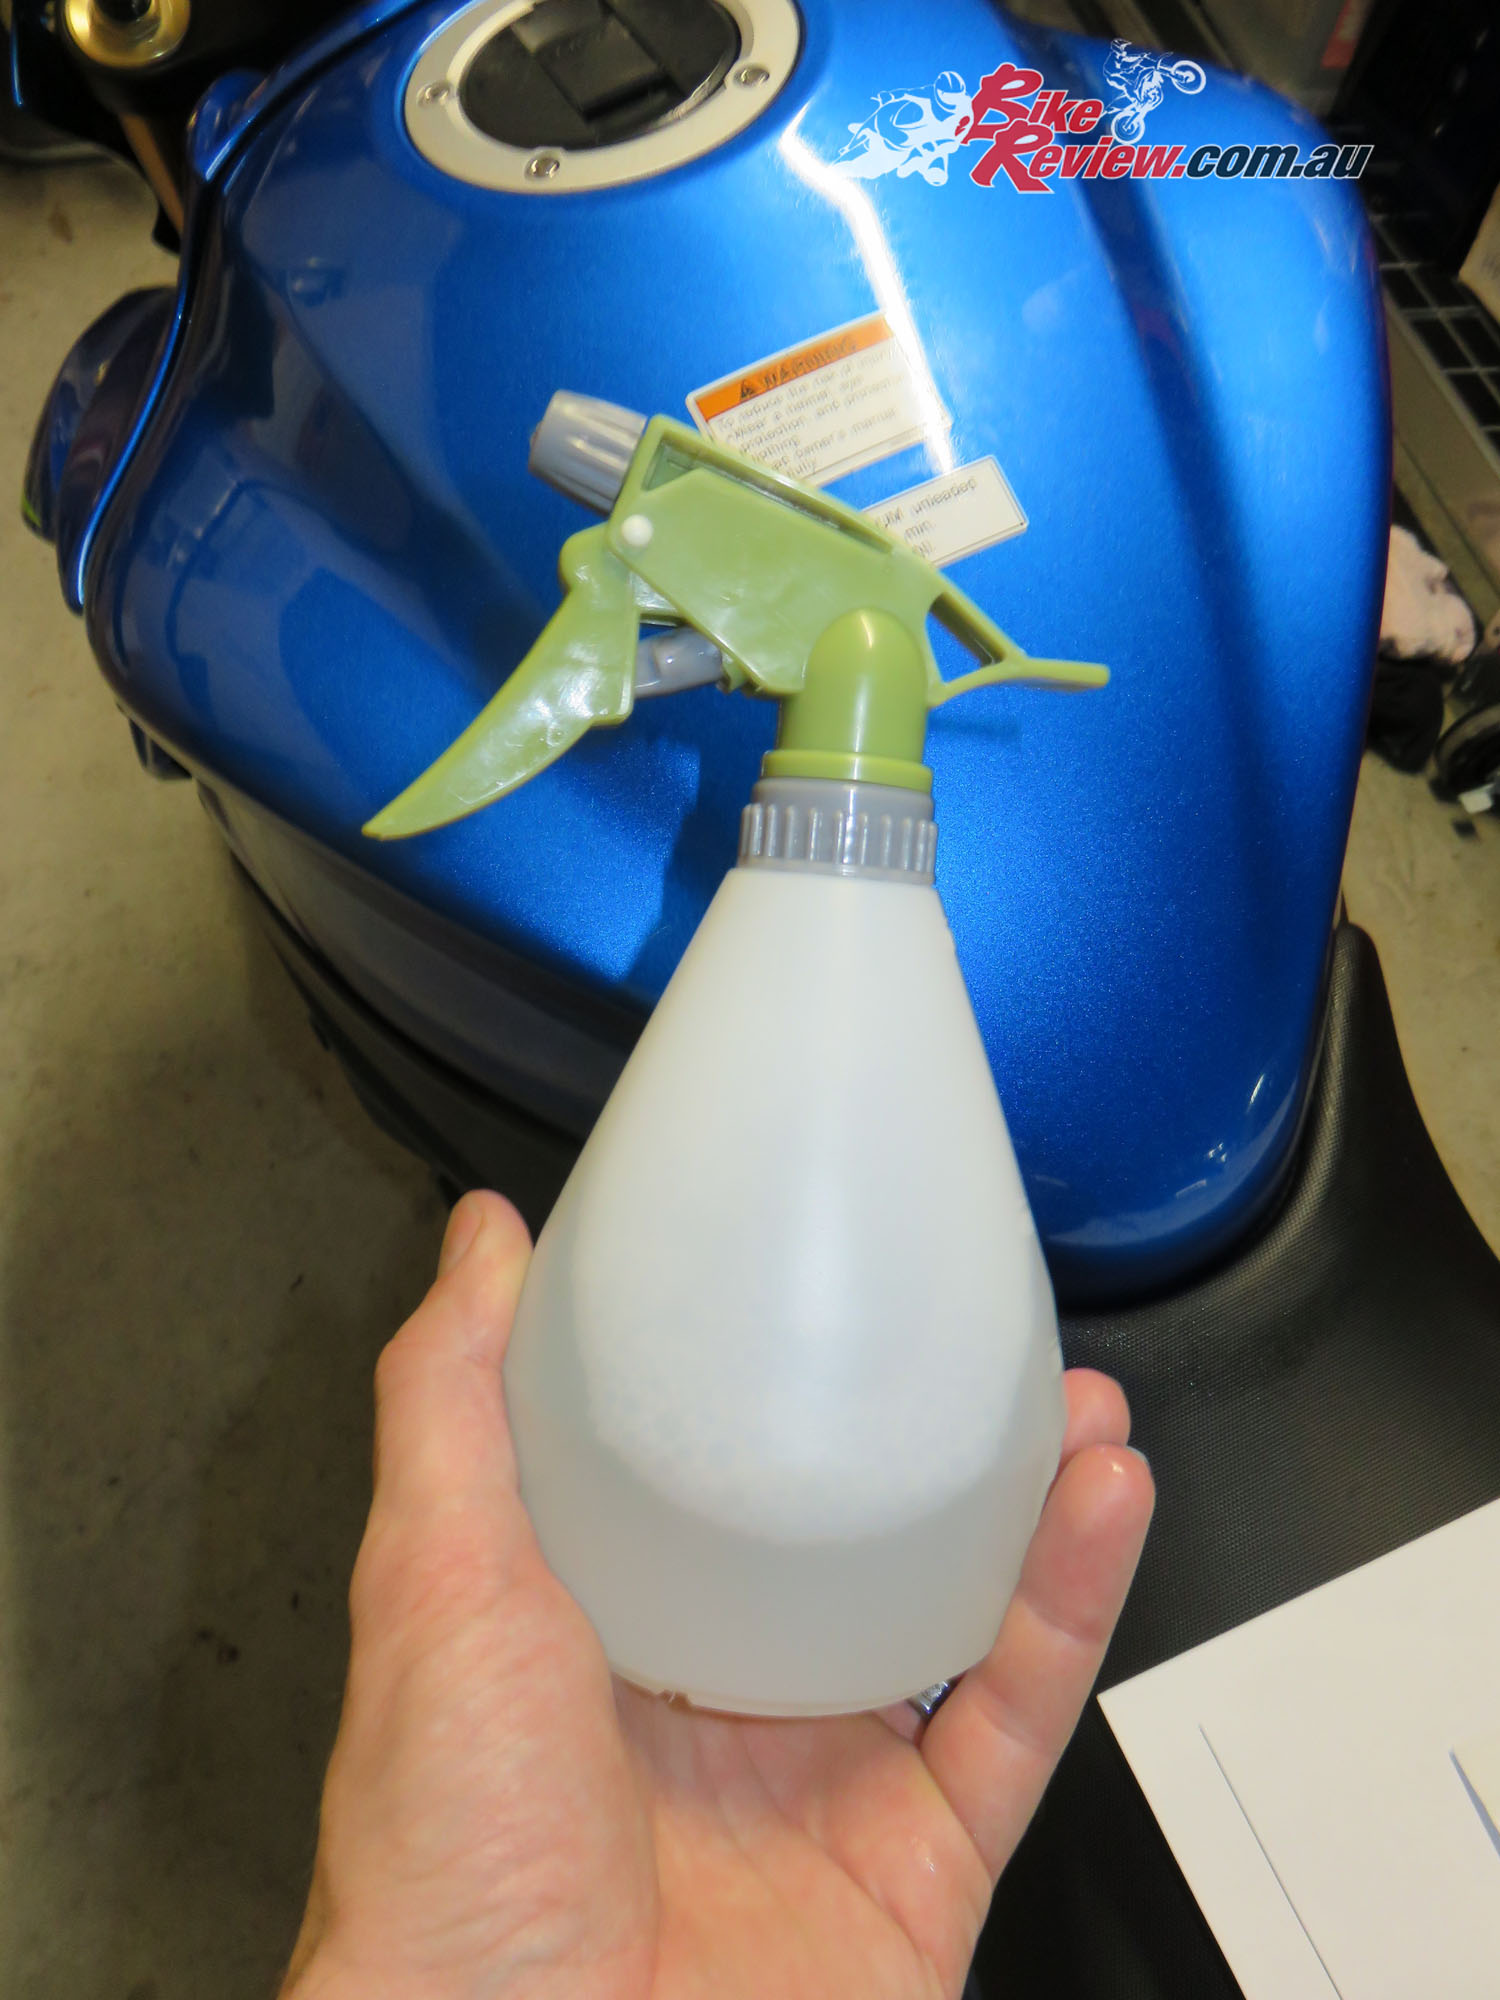
The instructions recommend using pure water in a spray bottle that can be applied under the decal to give you some time to move it around and get placement right before it sticks permanently. After a recommendation to add a few drops of detergent I went with that, with good results.
Give the whole application area a good spray. There needs to be enough to create a layer between the application area and the decal, so that when placed it doesn’t adhere immediately. With smaller decals like the tank protector here it’s easier. For larger stickers it’s little more challenging.
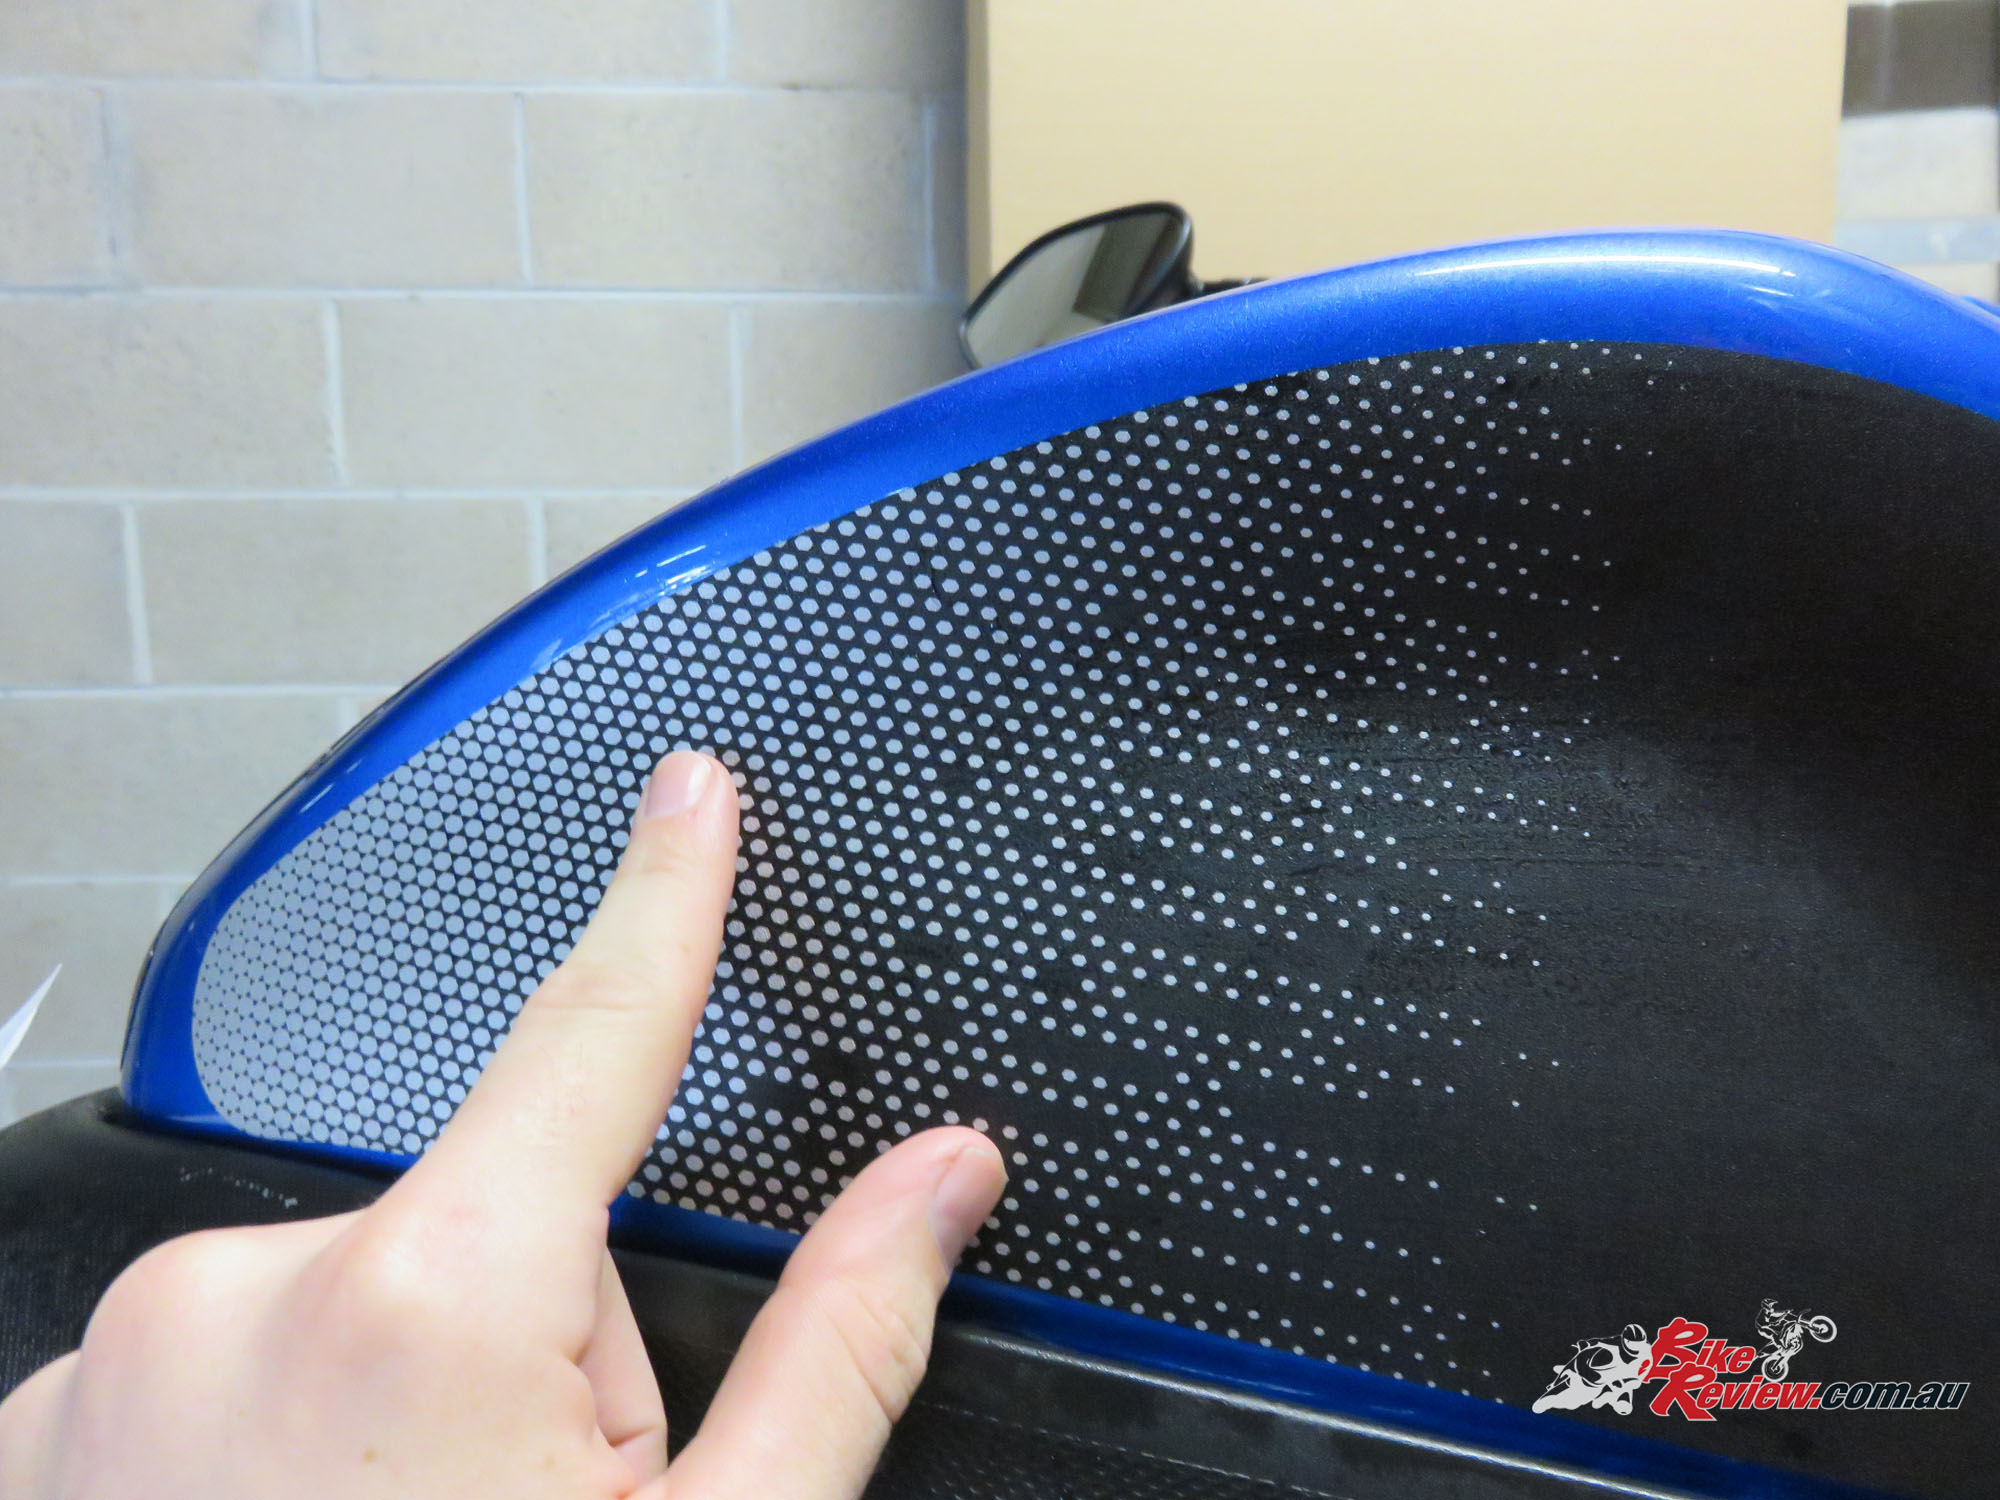
Roll the decal off the backing paper slowly, and avoid touching the adhesive side. The oils in your skin will often cause decals and stickers not to adhere properly. This’ll also allow more accurate application of the sticker as well.

Once applied use your cleaning cloth to push any creases out to the edges of the decal until they disappear. Then use a hairdryer to dry the area, very lightly, once you’re happy with placement.

The biggest challenge is getting everything on aligned properly.
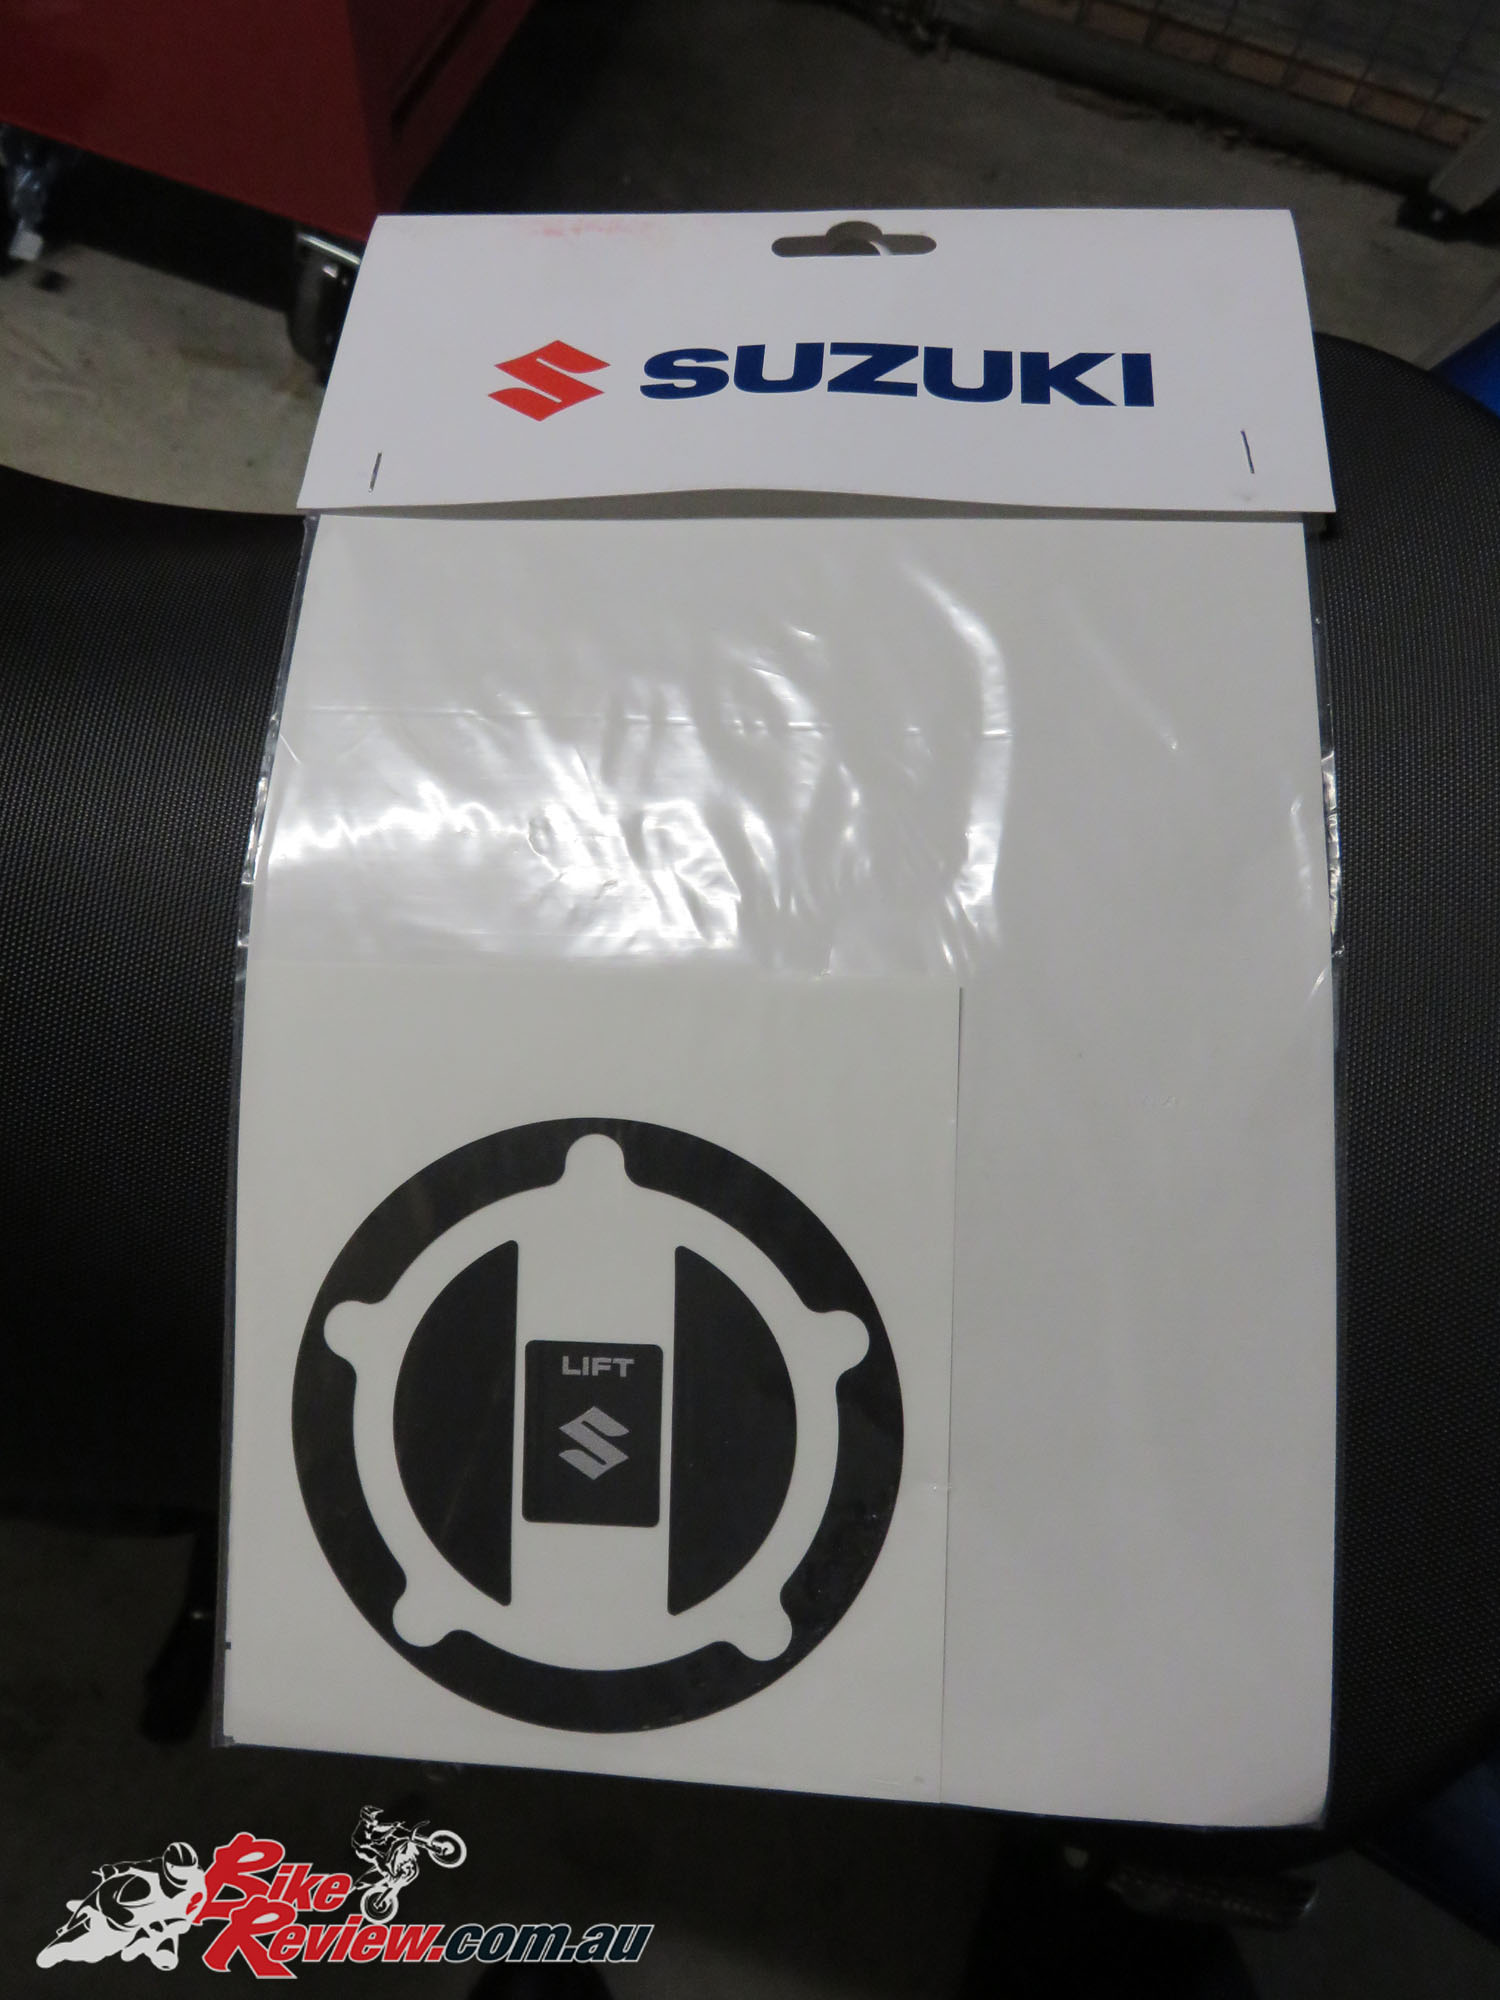
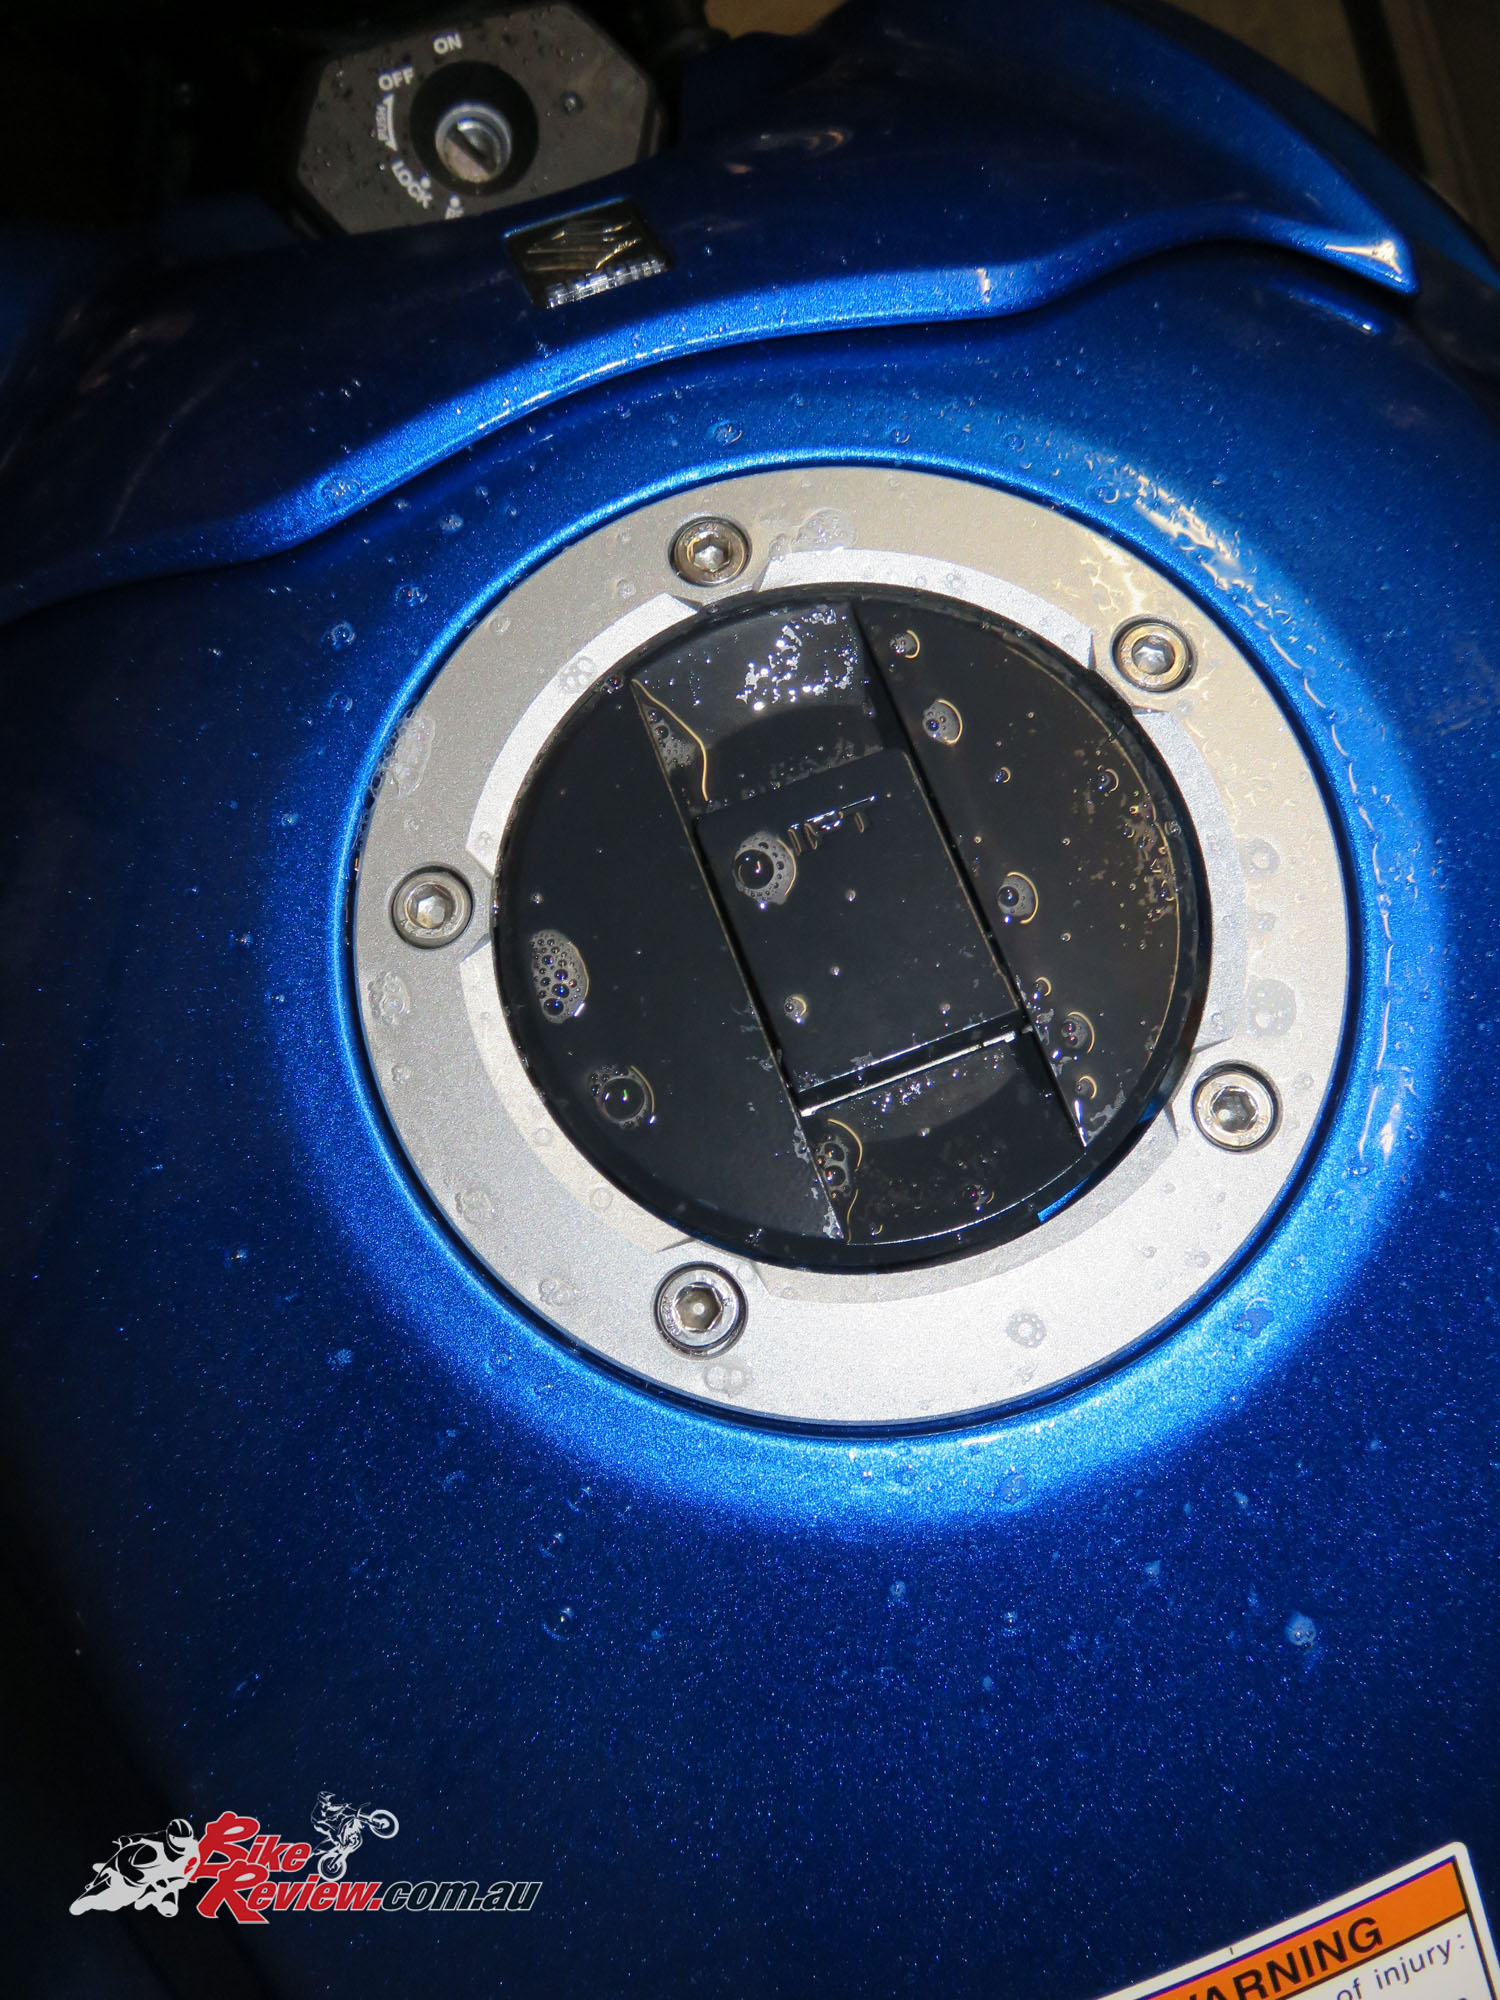
Here’s the fuel cap protector, which will help reduce wear and tear on this area, and also looks pretty neat.

Clean it all back really thoroughly. Including using the provided cleaning cloth.
Use your water and detergent mixture.
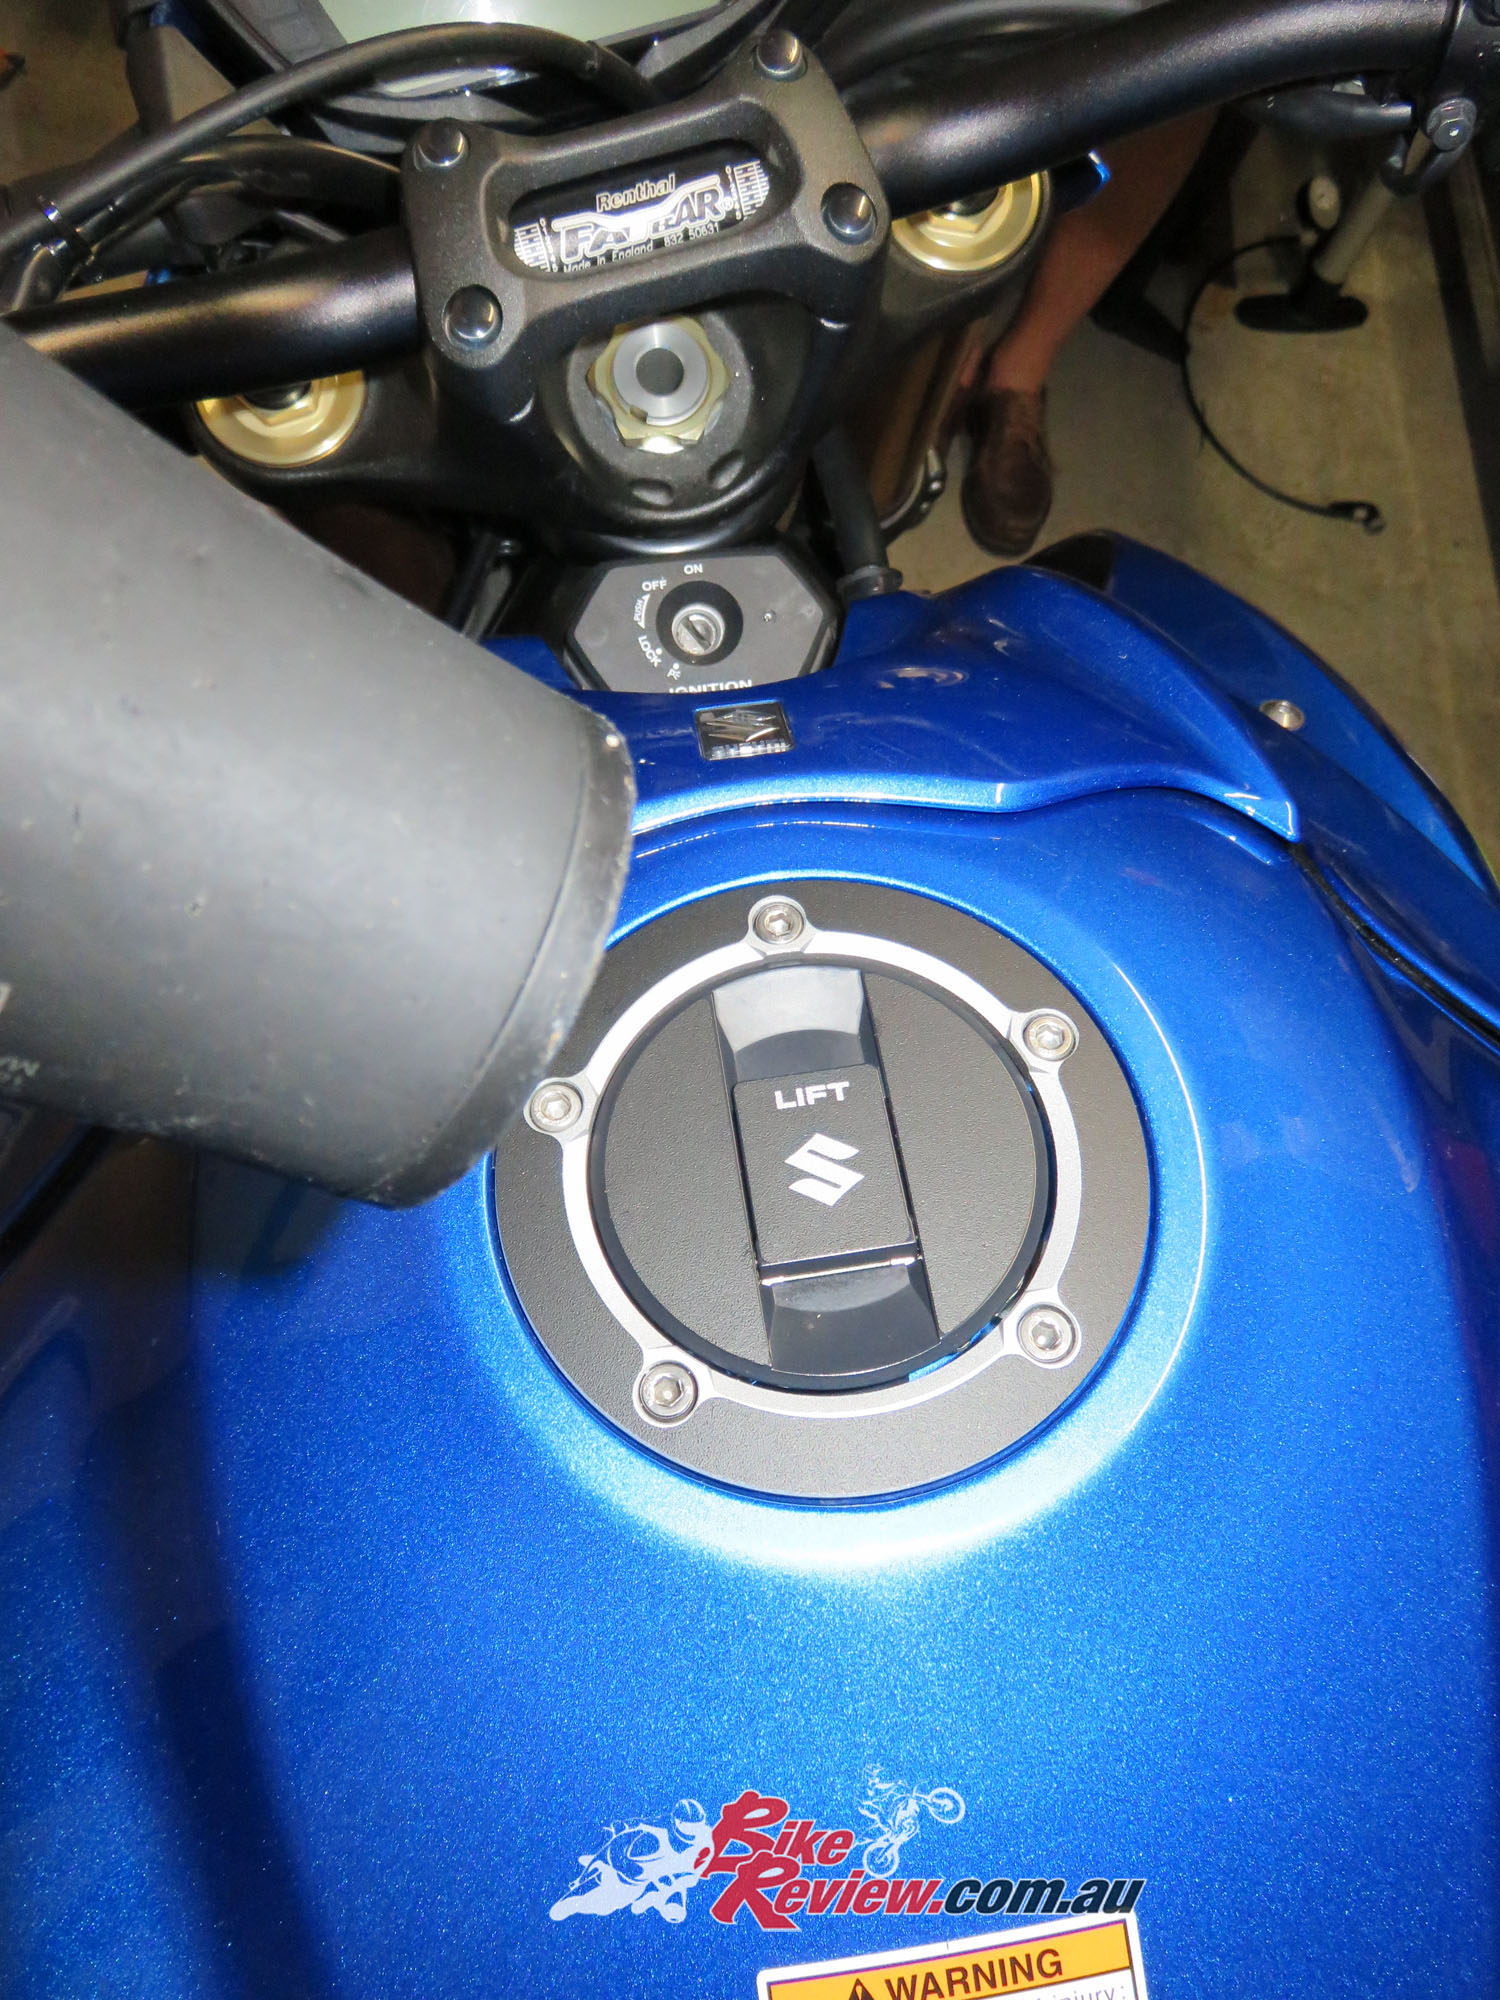
Apply and dry off with the hair dryer. In the instructions it notes which was is up or towards the front of the bike. Basically make sure the holes match the bolts.
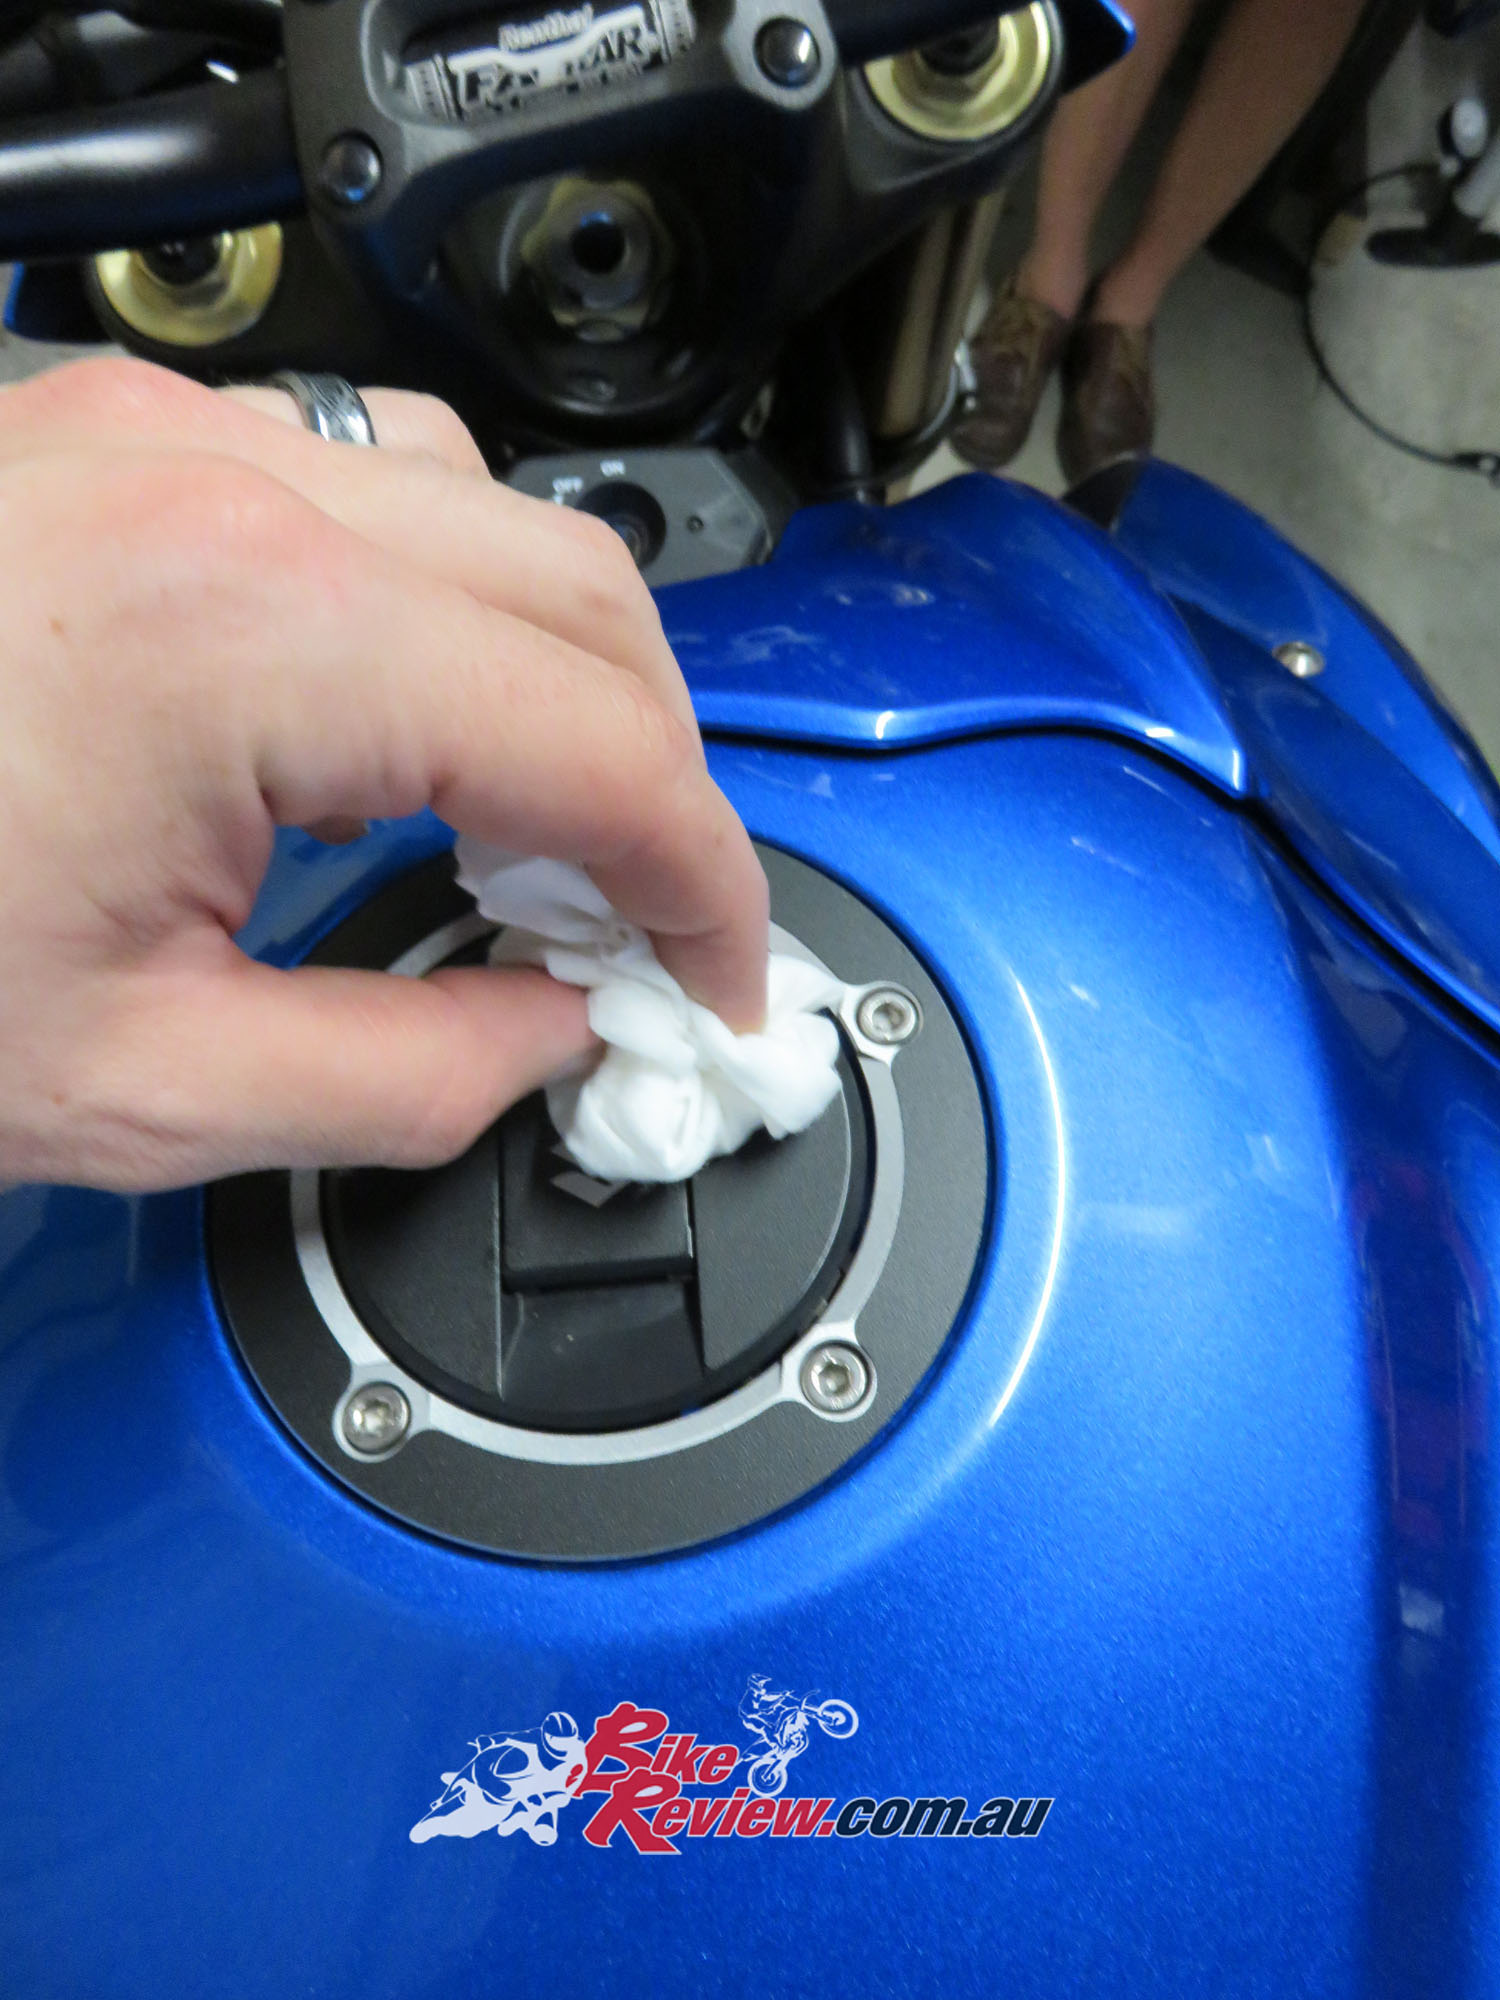
Give it all a good wipe down.

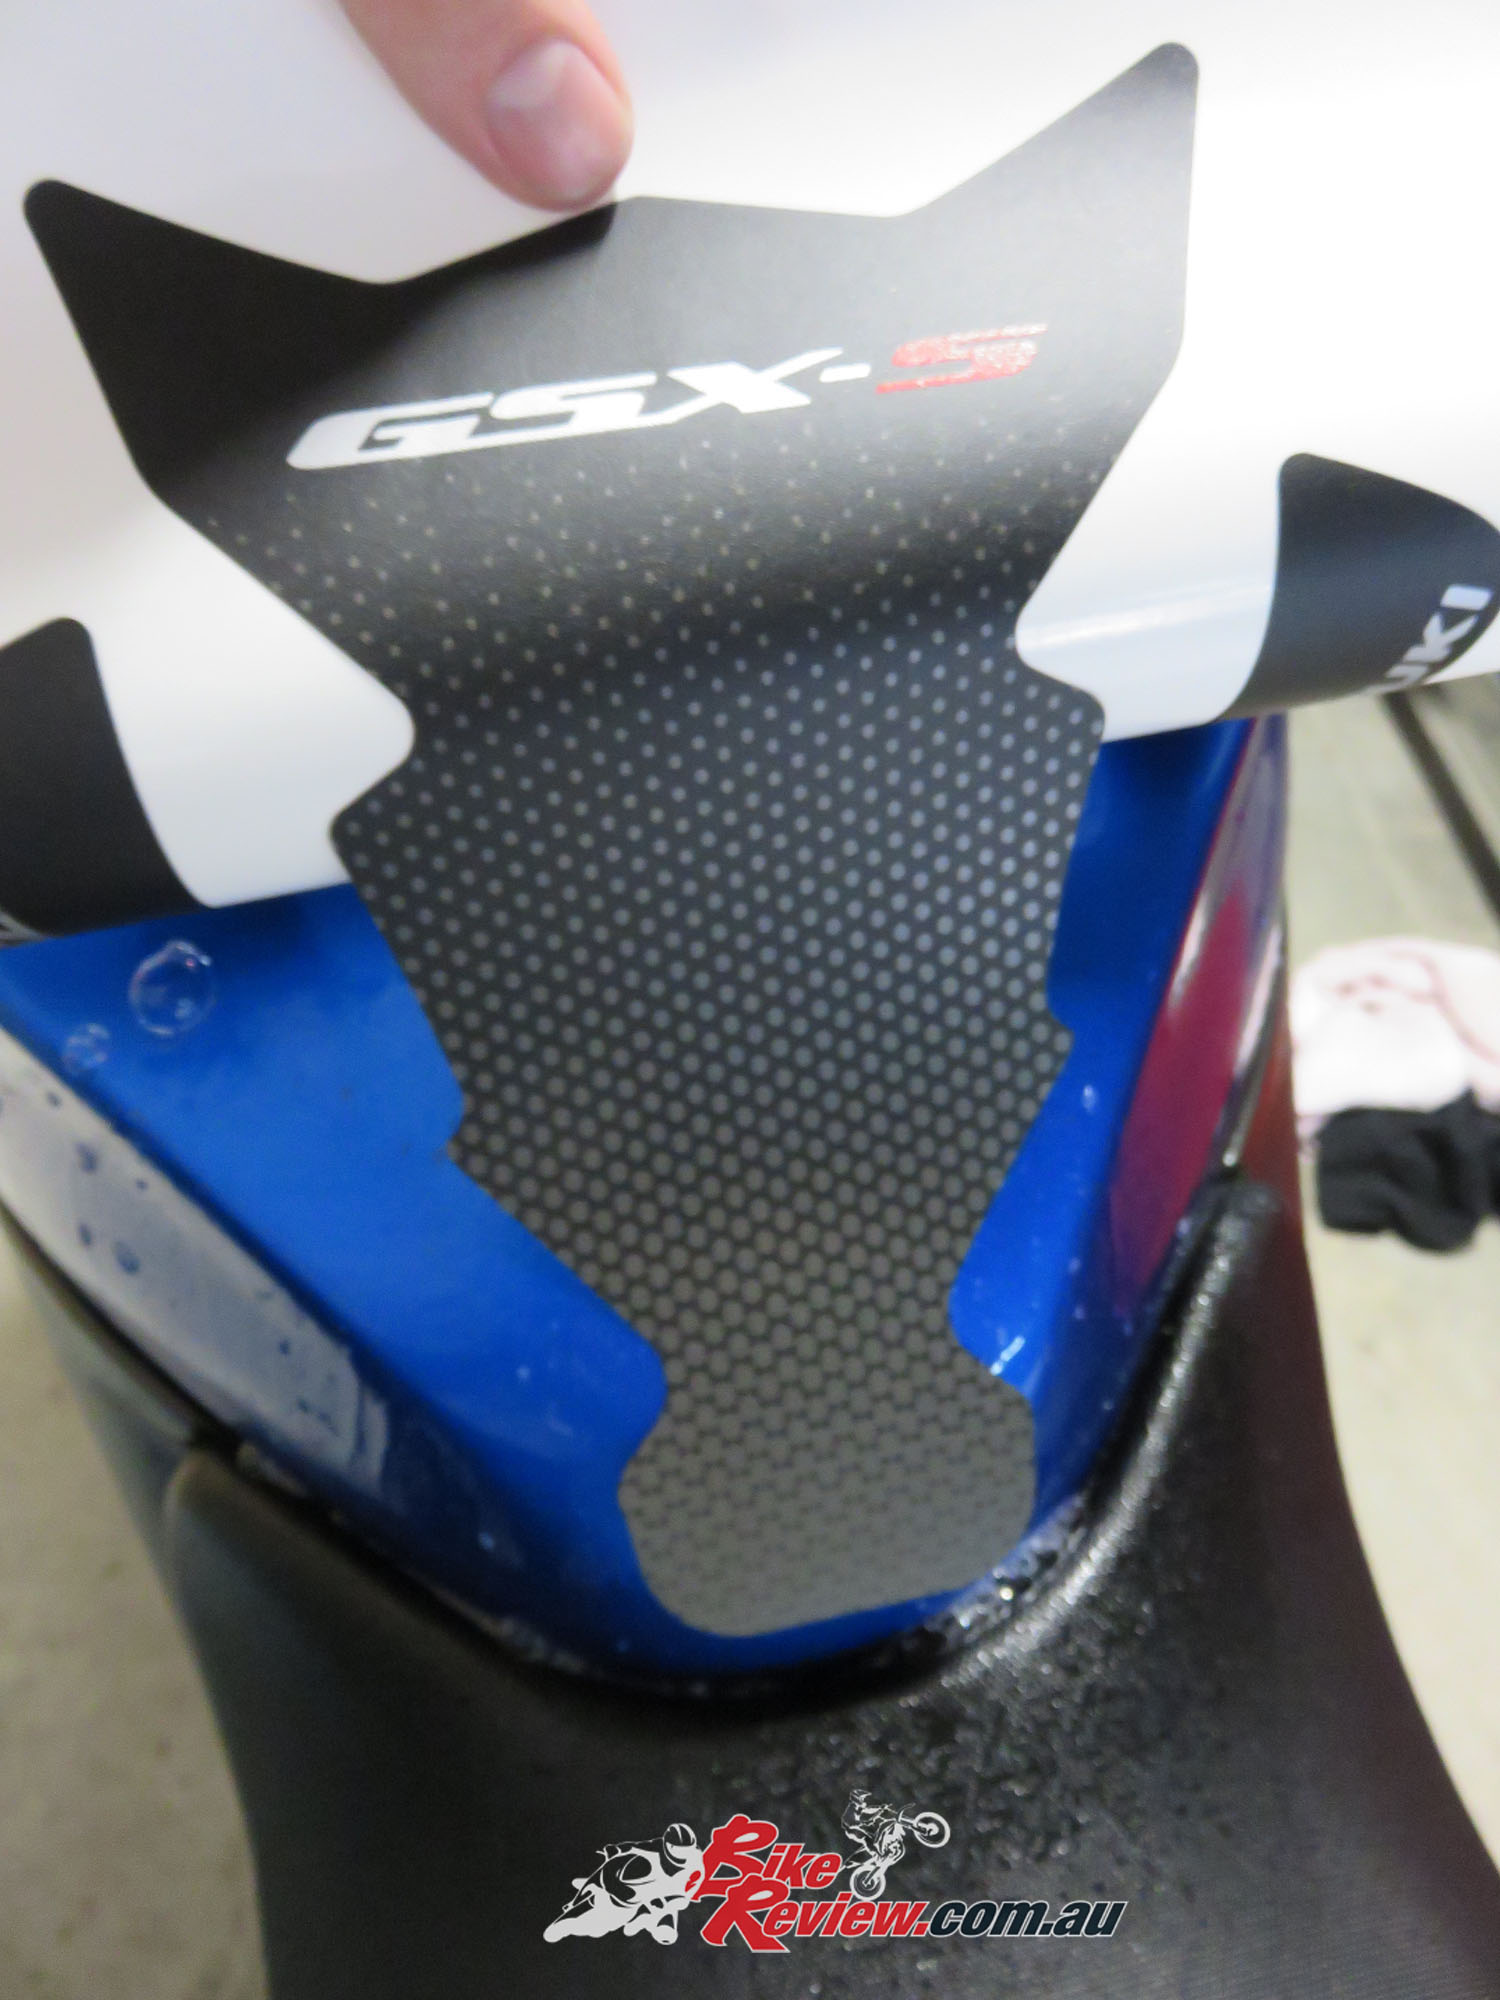
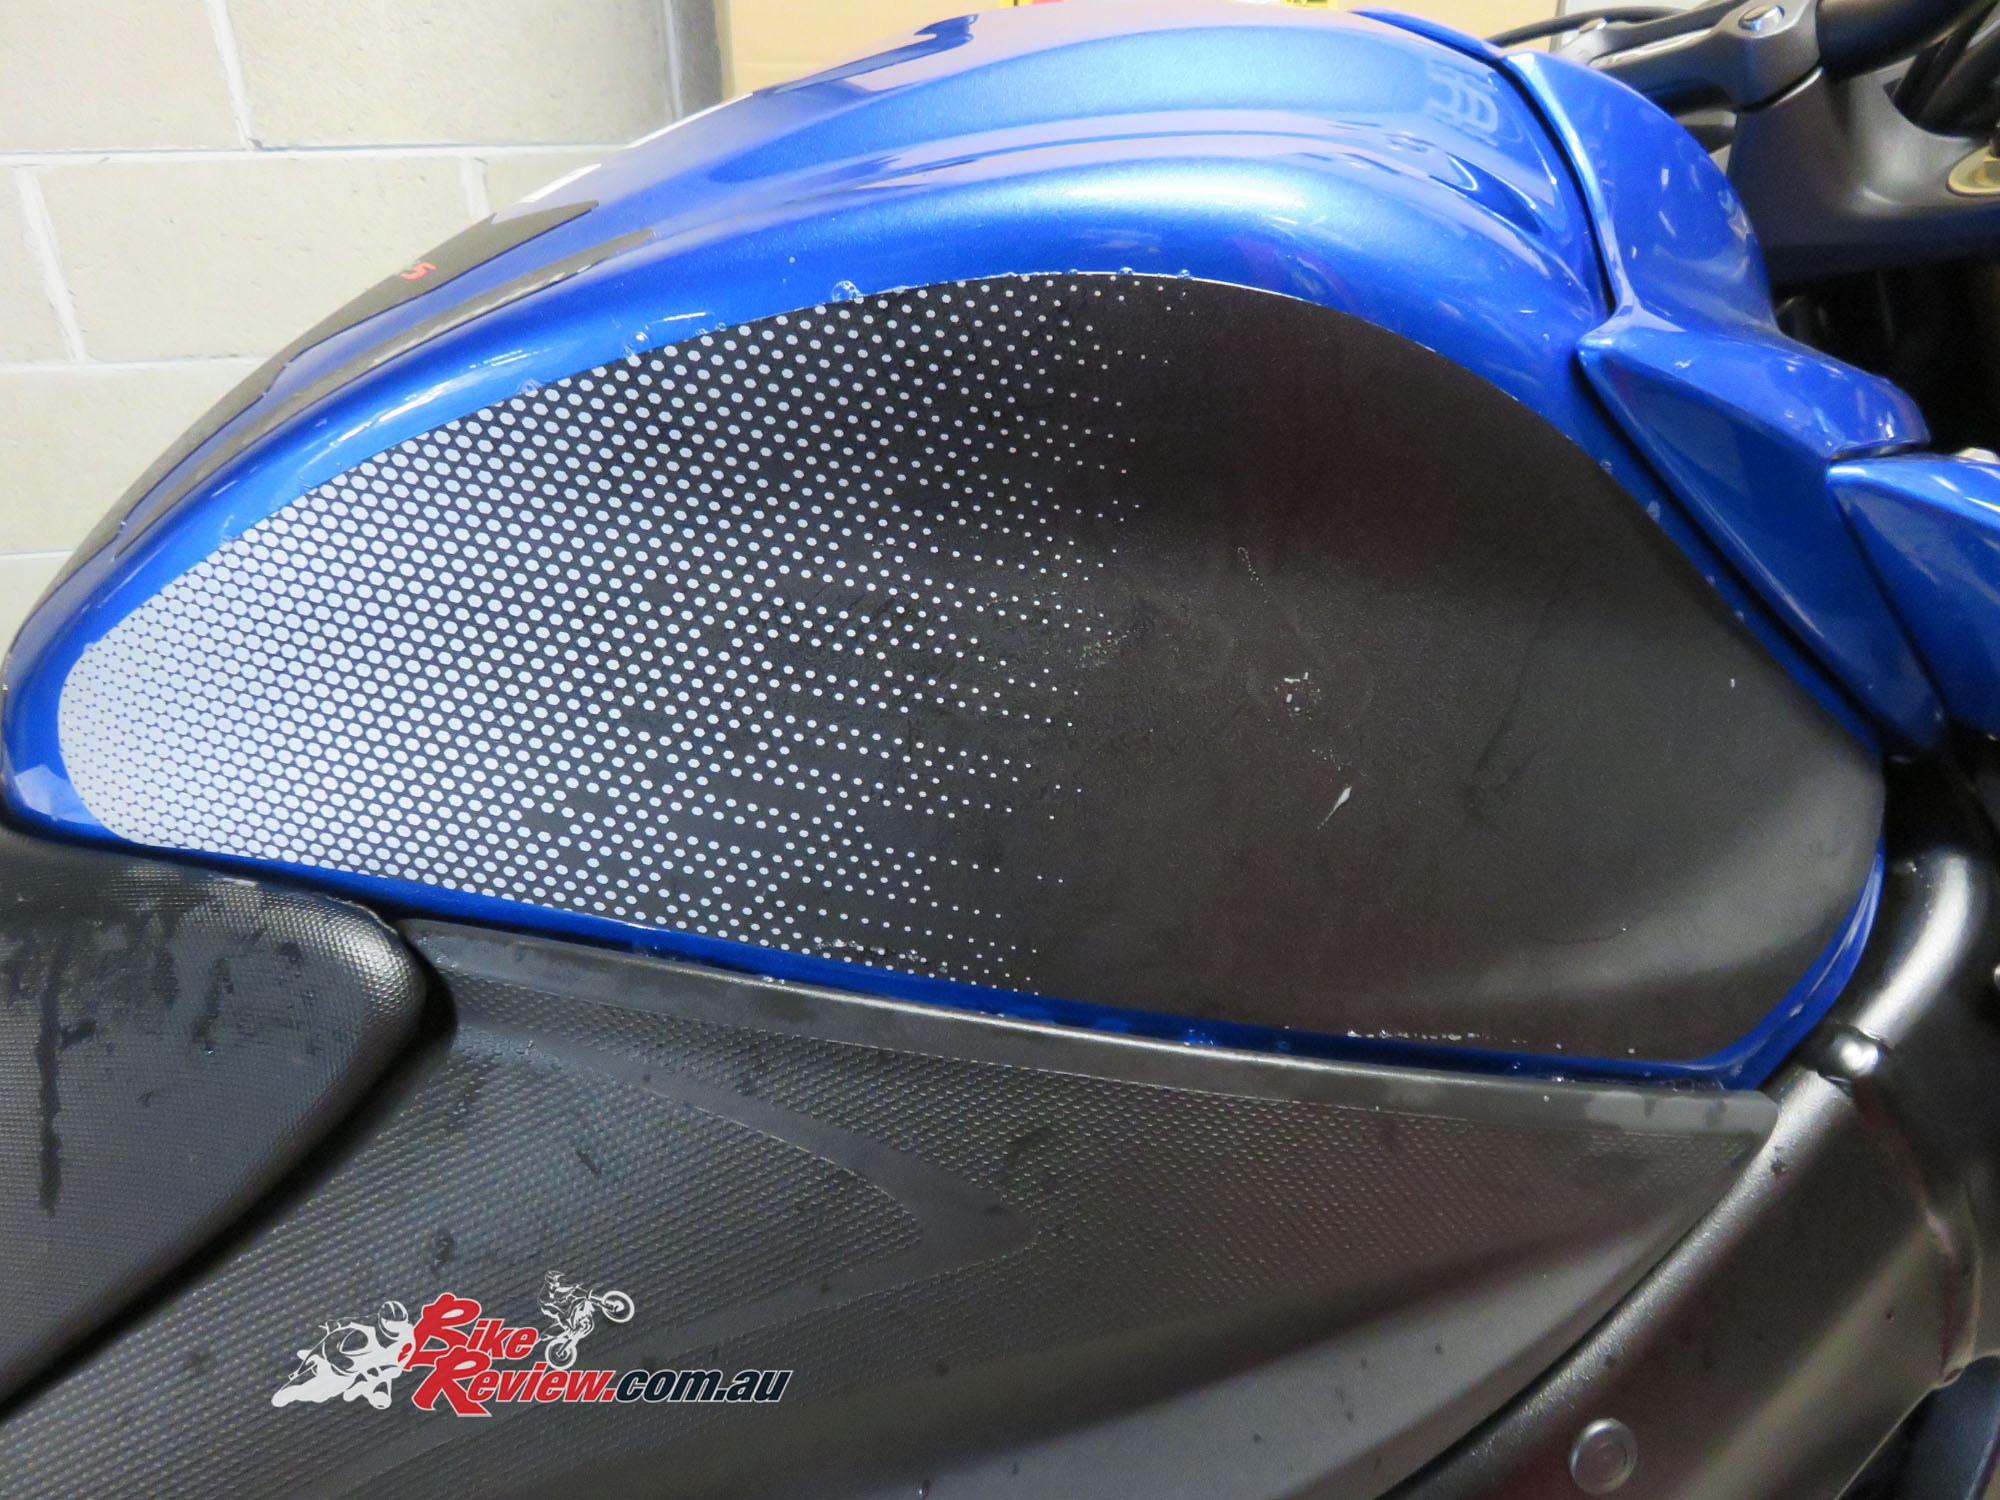
The Fuel Tank Protectors require a little more care with the application as they are really large, so even with the water and detergent mixture it can be quite hard to position them.
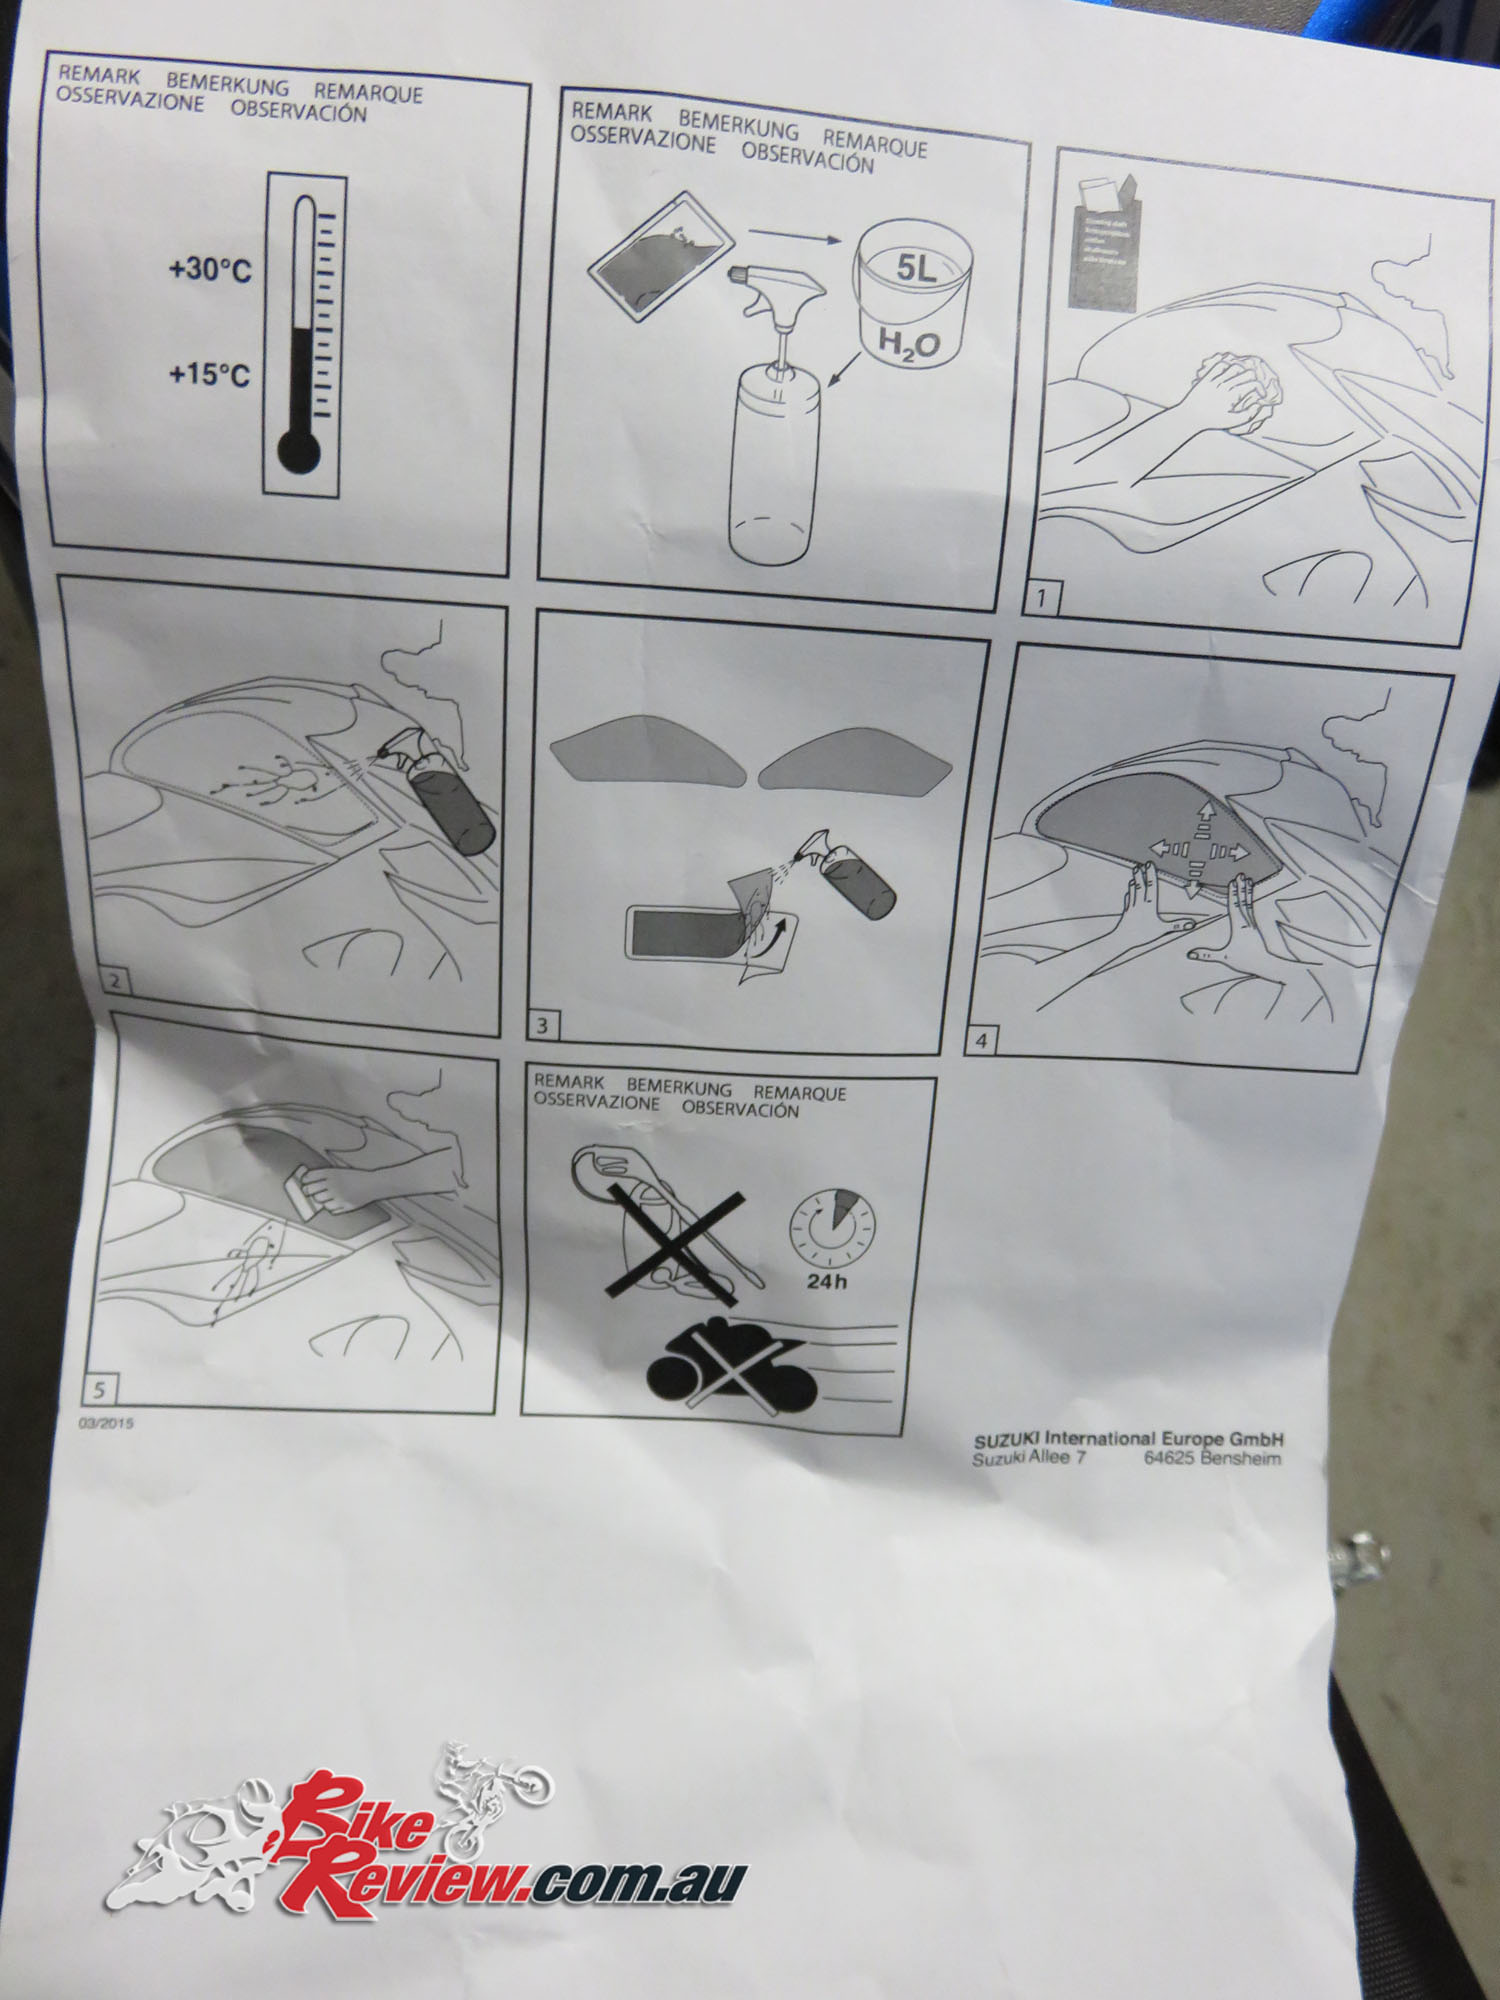
All the instructions, like not riding or using a high pressure washer within 24 hours!
Take all the steps listed above, from washing the area, to wiping it off with the provided cloths and applying the detergent mixture.
Apply the decal carefully, it’s larger than the others and it’s easy for it to adhere. If it does carefully lift an edge and add a little more of your detergent mixture.

Once you’ve got the alignment right use the supplied scraper to ensure there’s no air or water bubbles, particularly in the middle section, where the tank’s contours make it easier to miss spots. Go over this really thoroughly. You’ll probably keep finding new areas. Just work from the middle outwards until it is perfect.
A final wipe down with the cleaning cloth with the decal in the correct position, totally flat and with no bubbles.
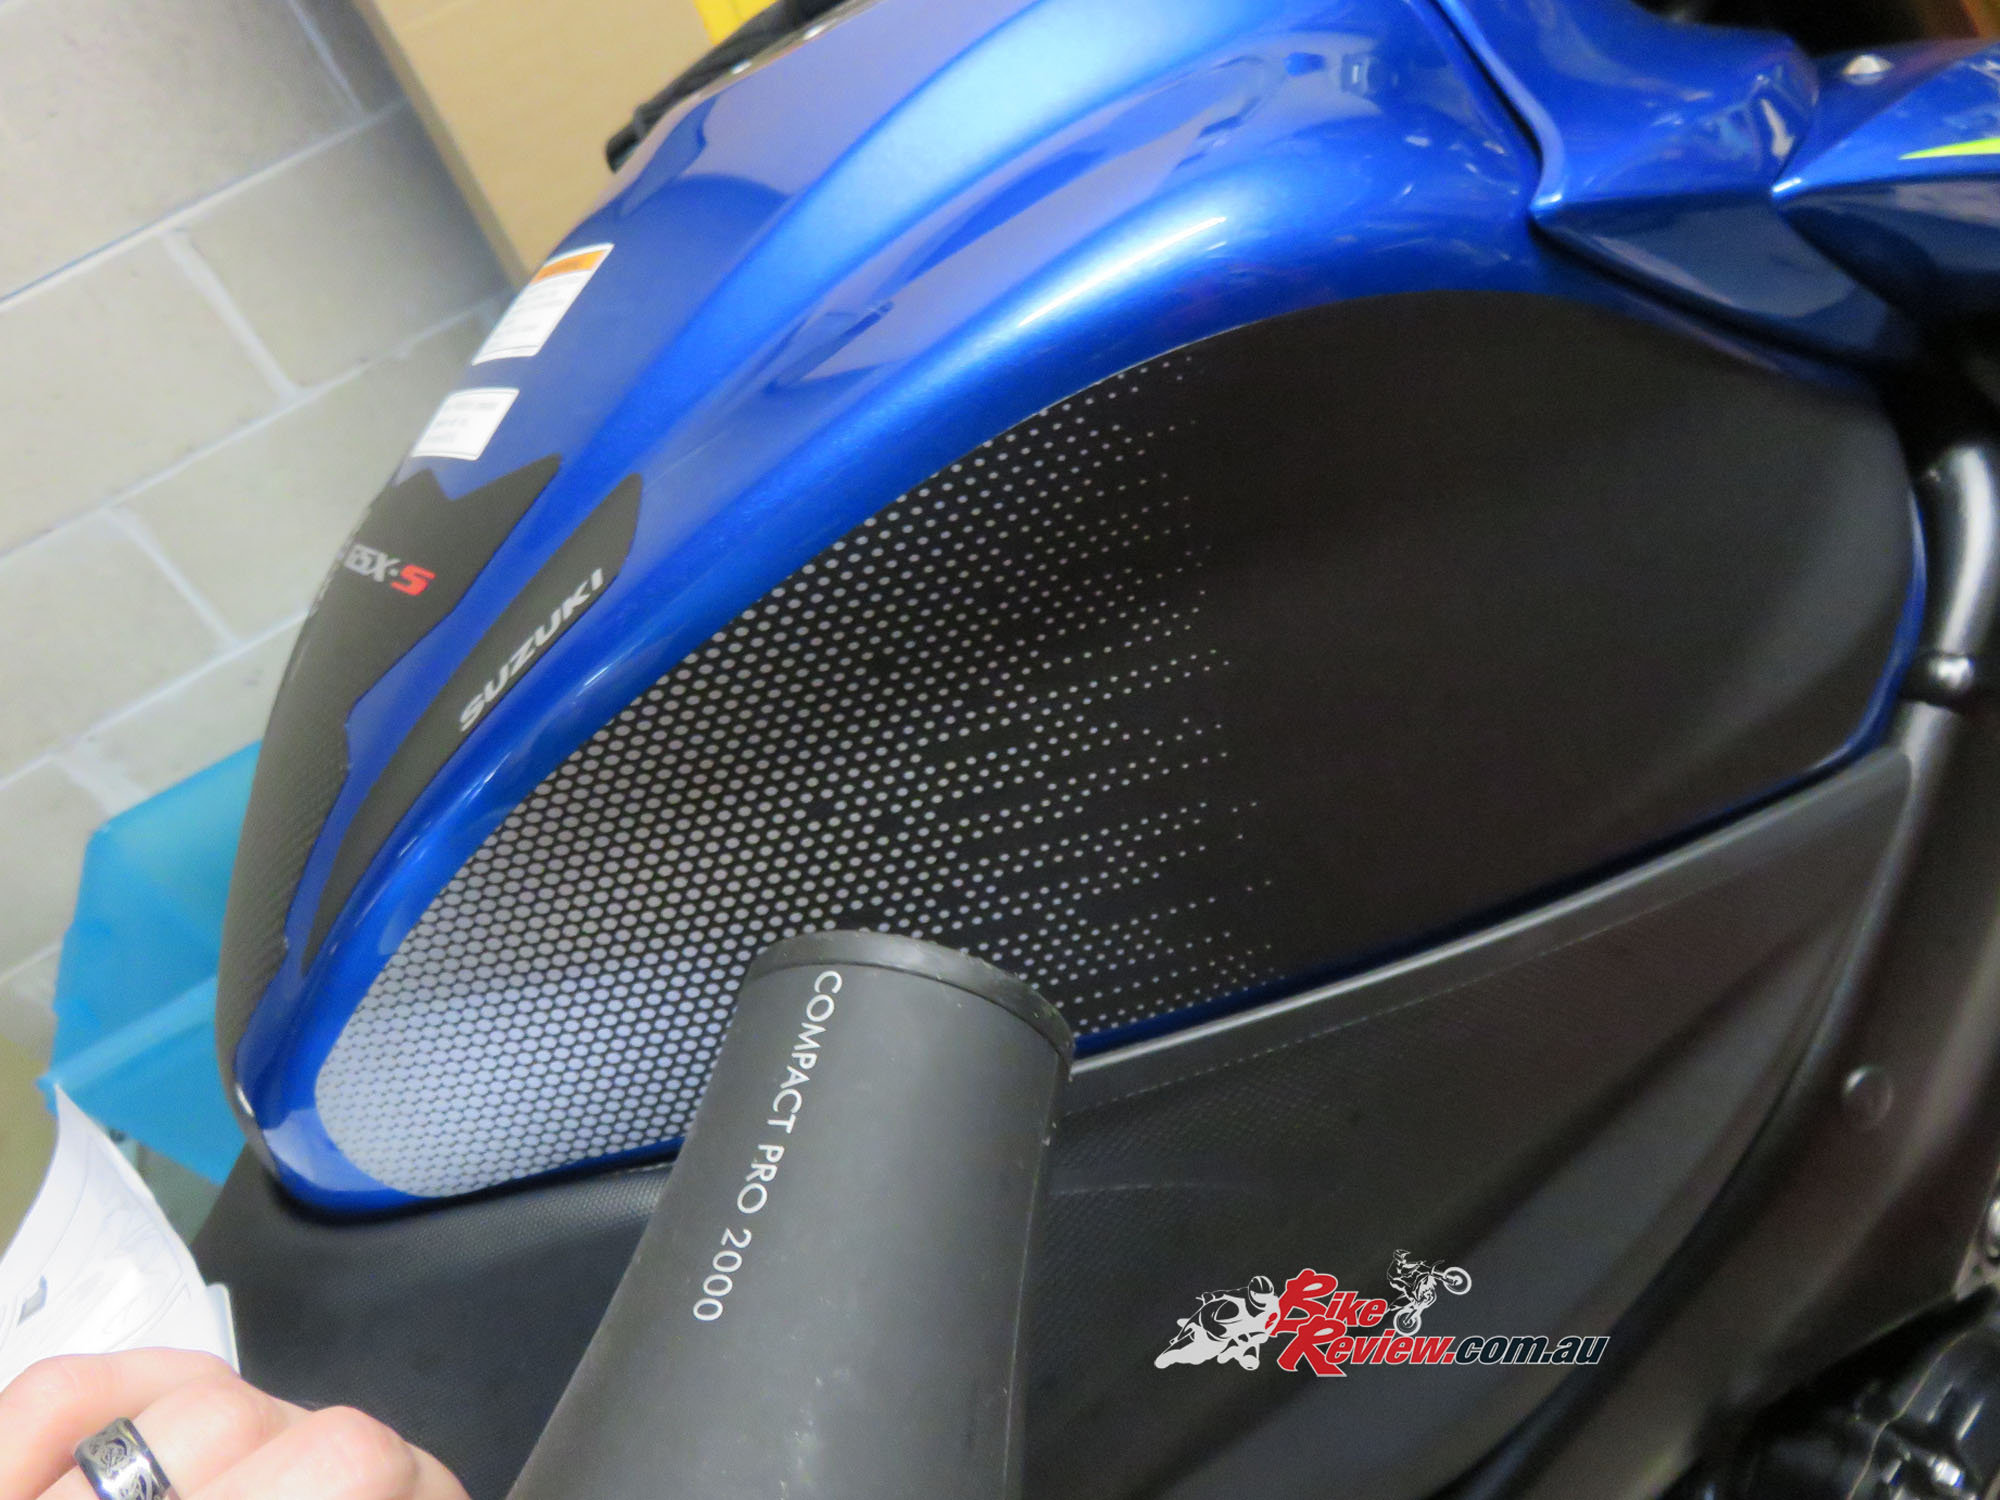
Give it a quick dry with the hair dryer, paying special attention to the edges. Use your scraper to make sure there’s no water right on the edges.
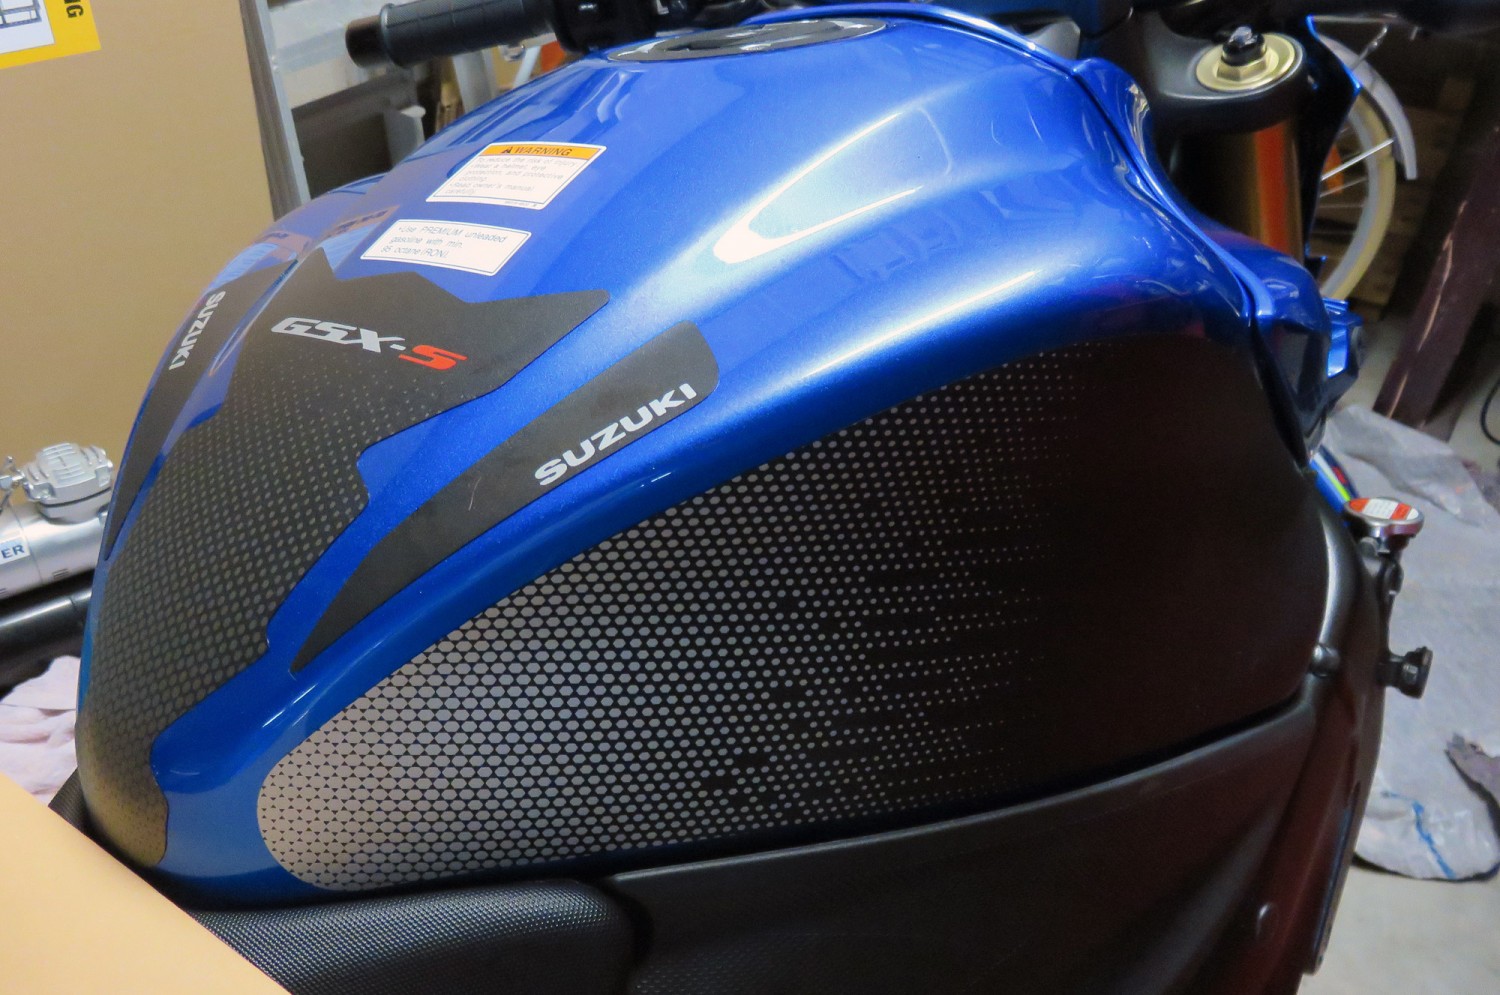
The end result. It just needs 24 hours to dry fully, although the hair dryer should have accelerated that process.
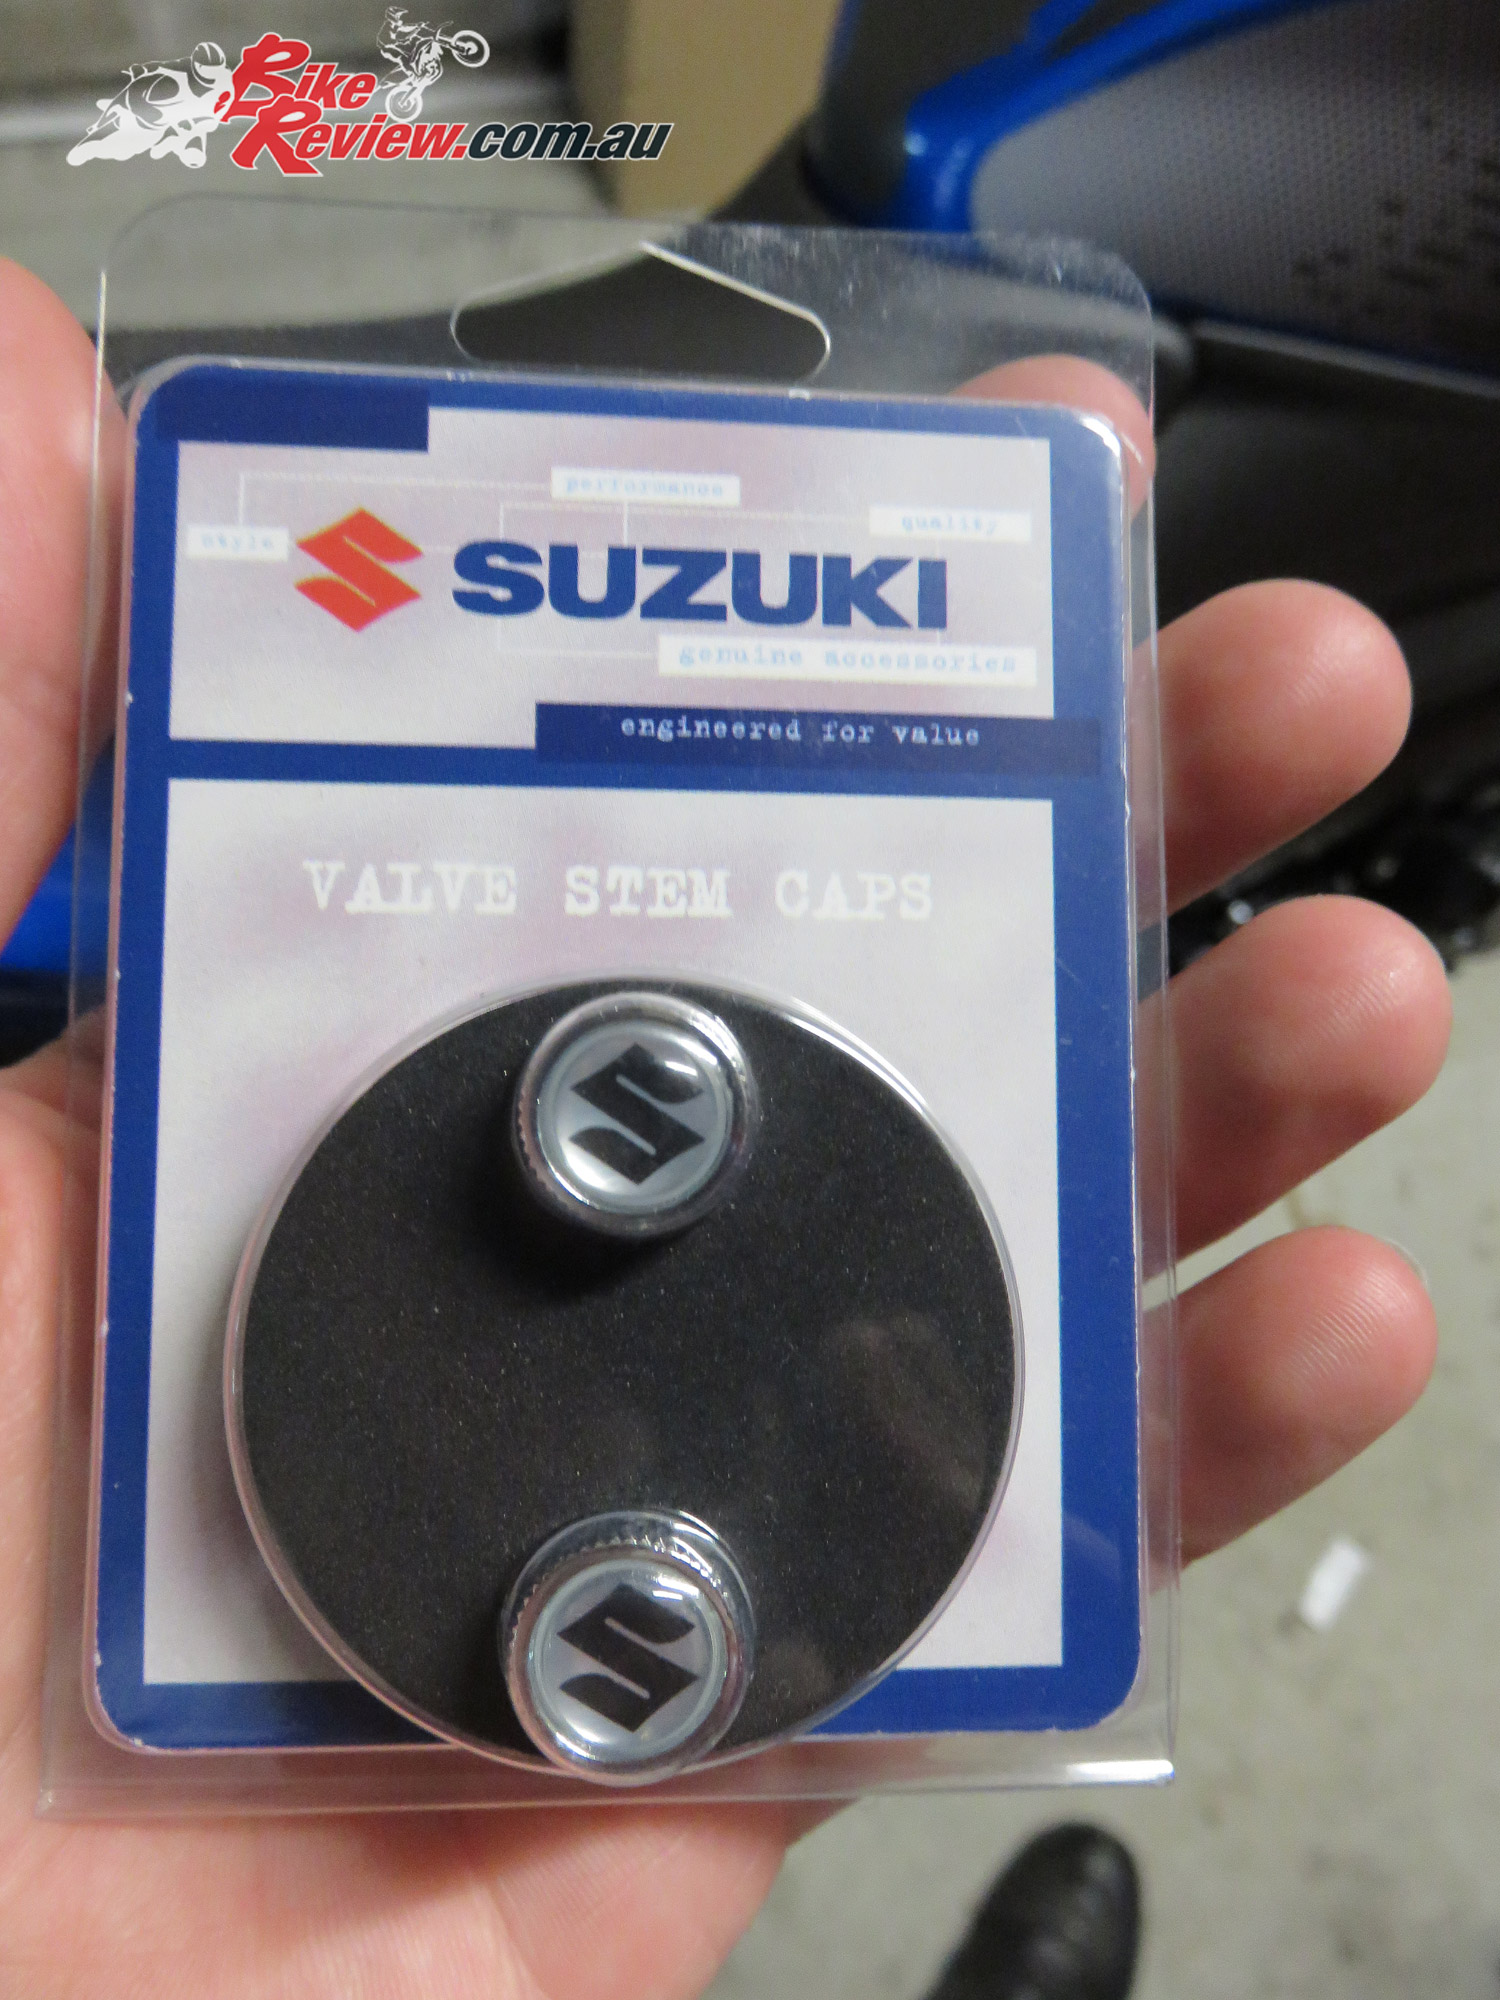
Here are the Suzuki valve stem caps. They’ve got a heavy duty gel-type sticker with the Suzuki S on the end.
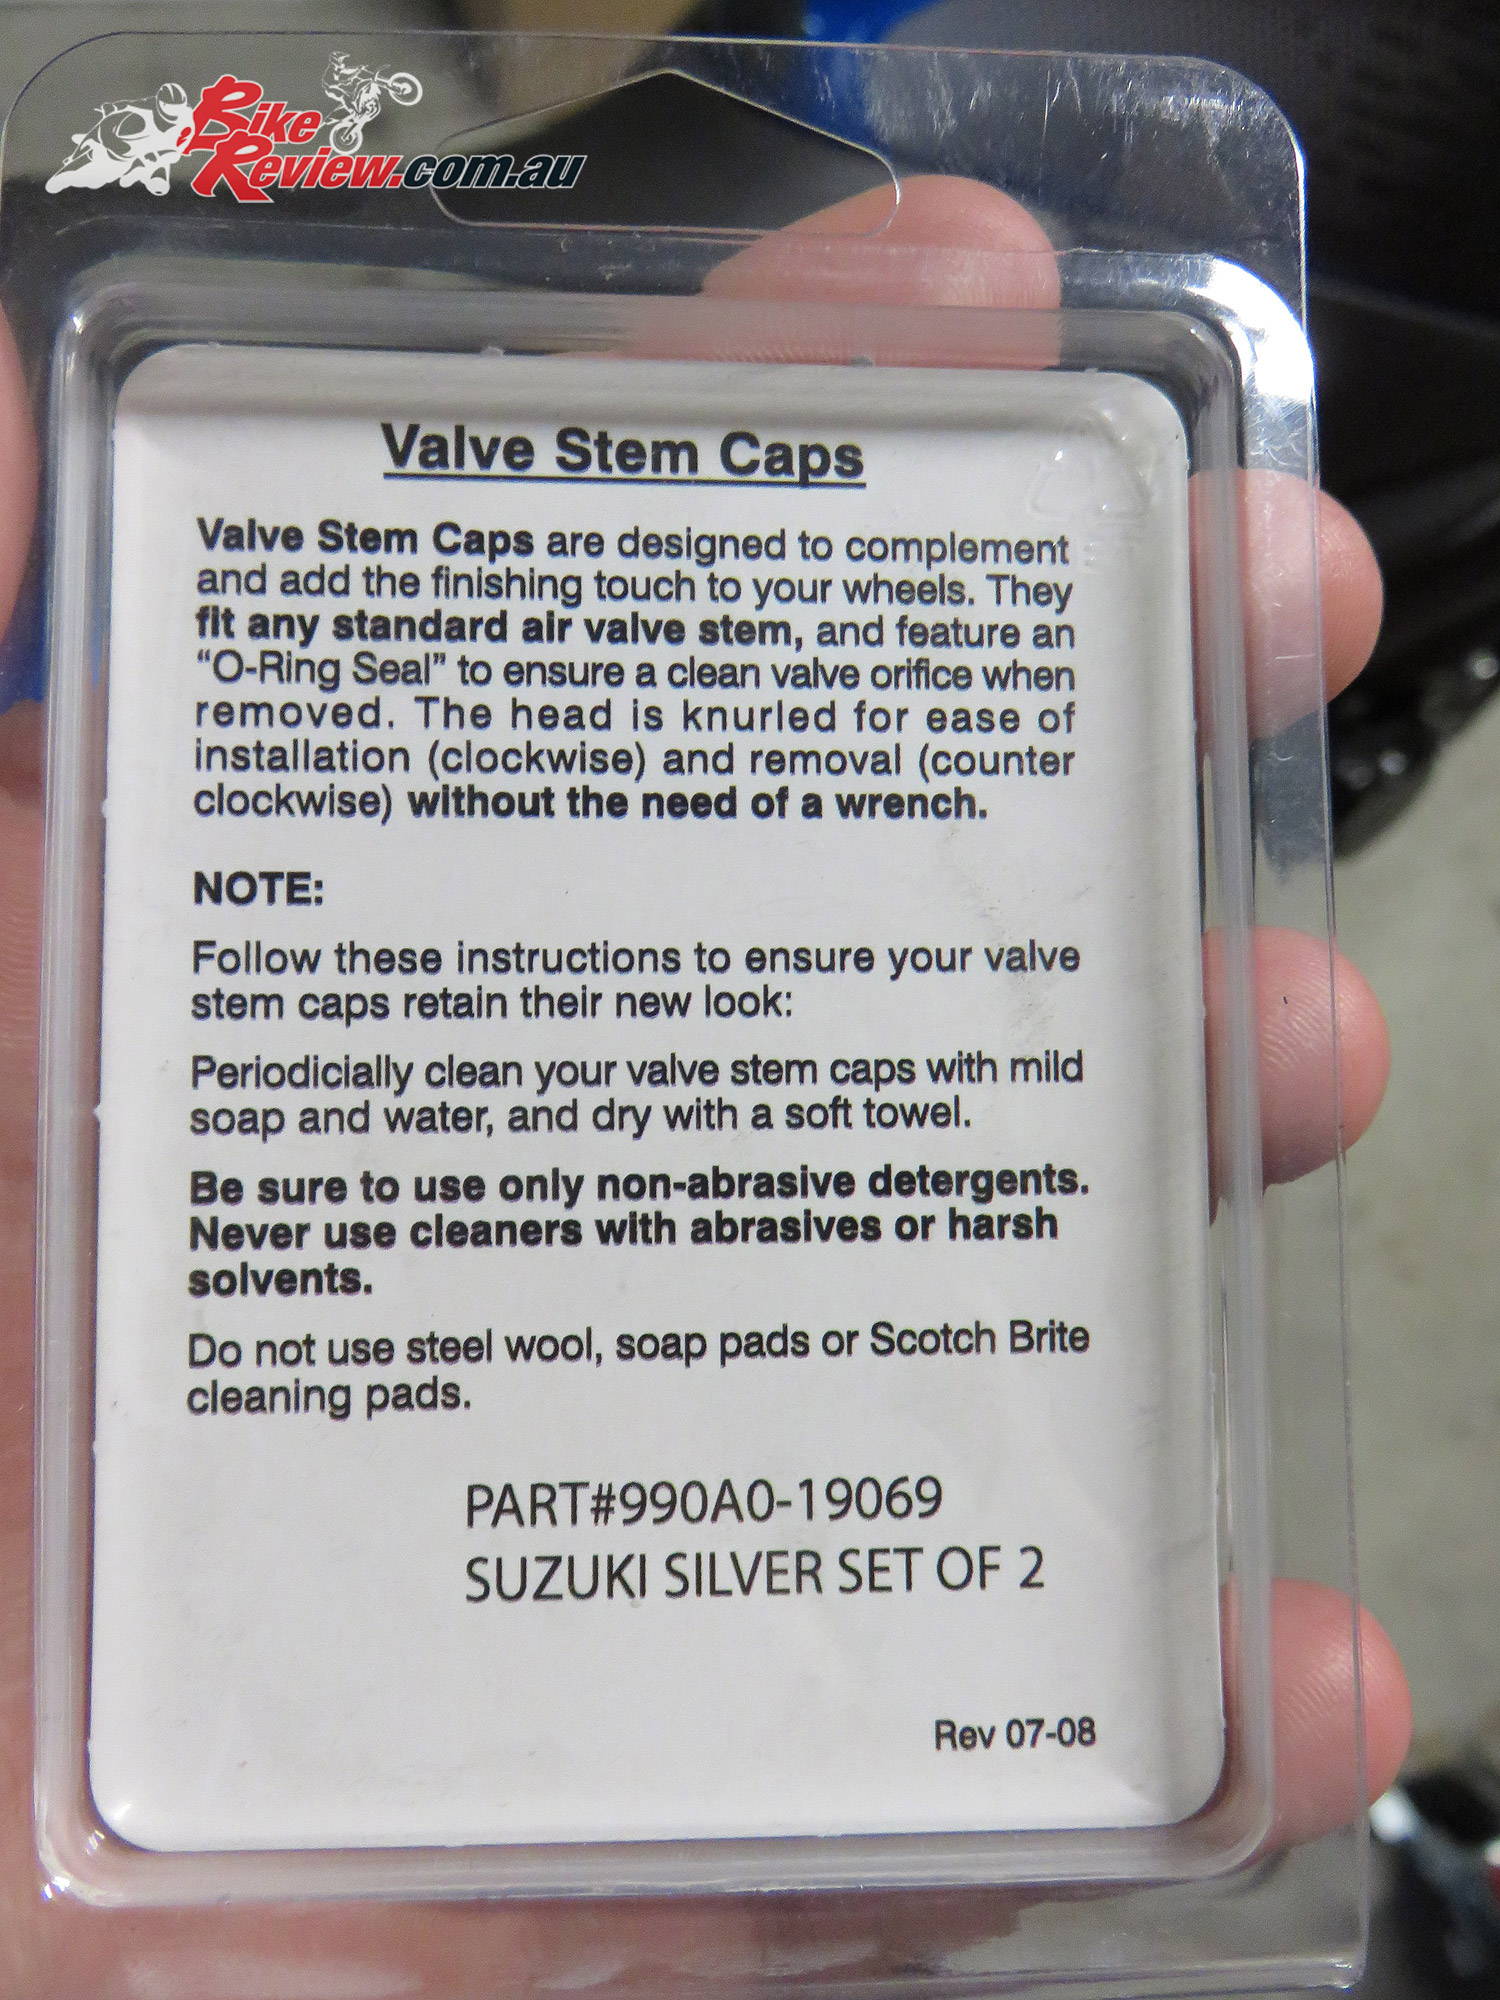
All the basic instructions.

For the full range of Suzuki Motorcycle accessories, visit their website – suzukimotorcycles.com.au
And stay tuned, we’ve got the Smoked Instrument Cover to fit in the next day or two!