
For new riders having your bike professionally serviced is a must, whether you've got a new machine under warranty, or just aren't very mechanically inclined...
For any new machine it’s important to make the most of your warranty period, which will generally be two years, and that means following the servicing requirements and having everything done by a certified mechanic.
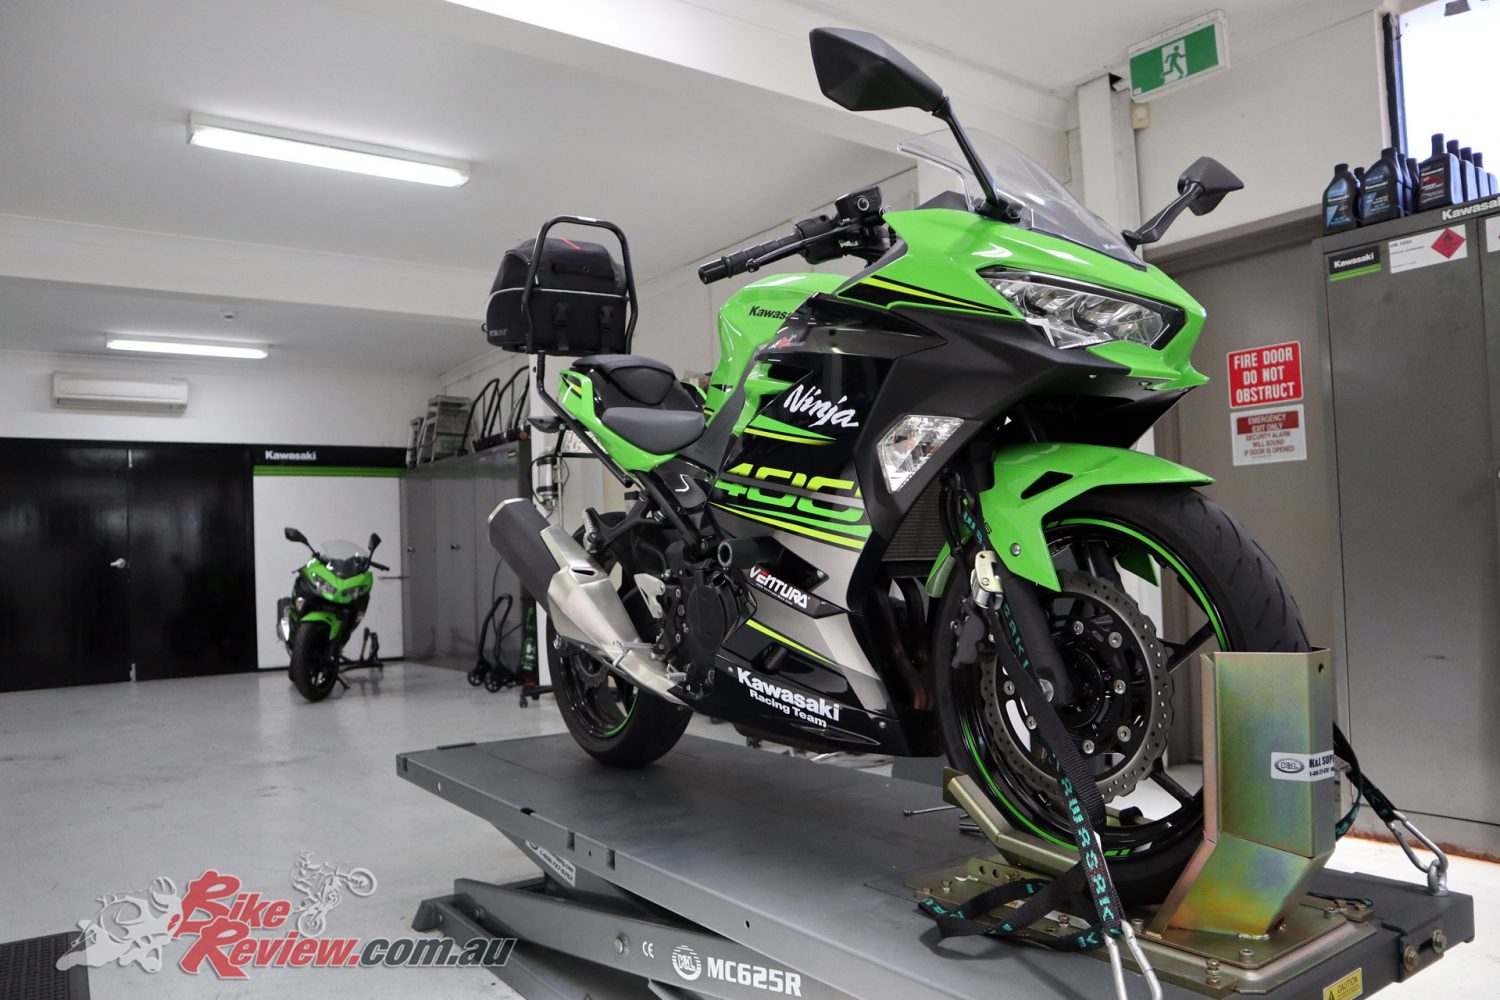
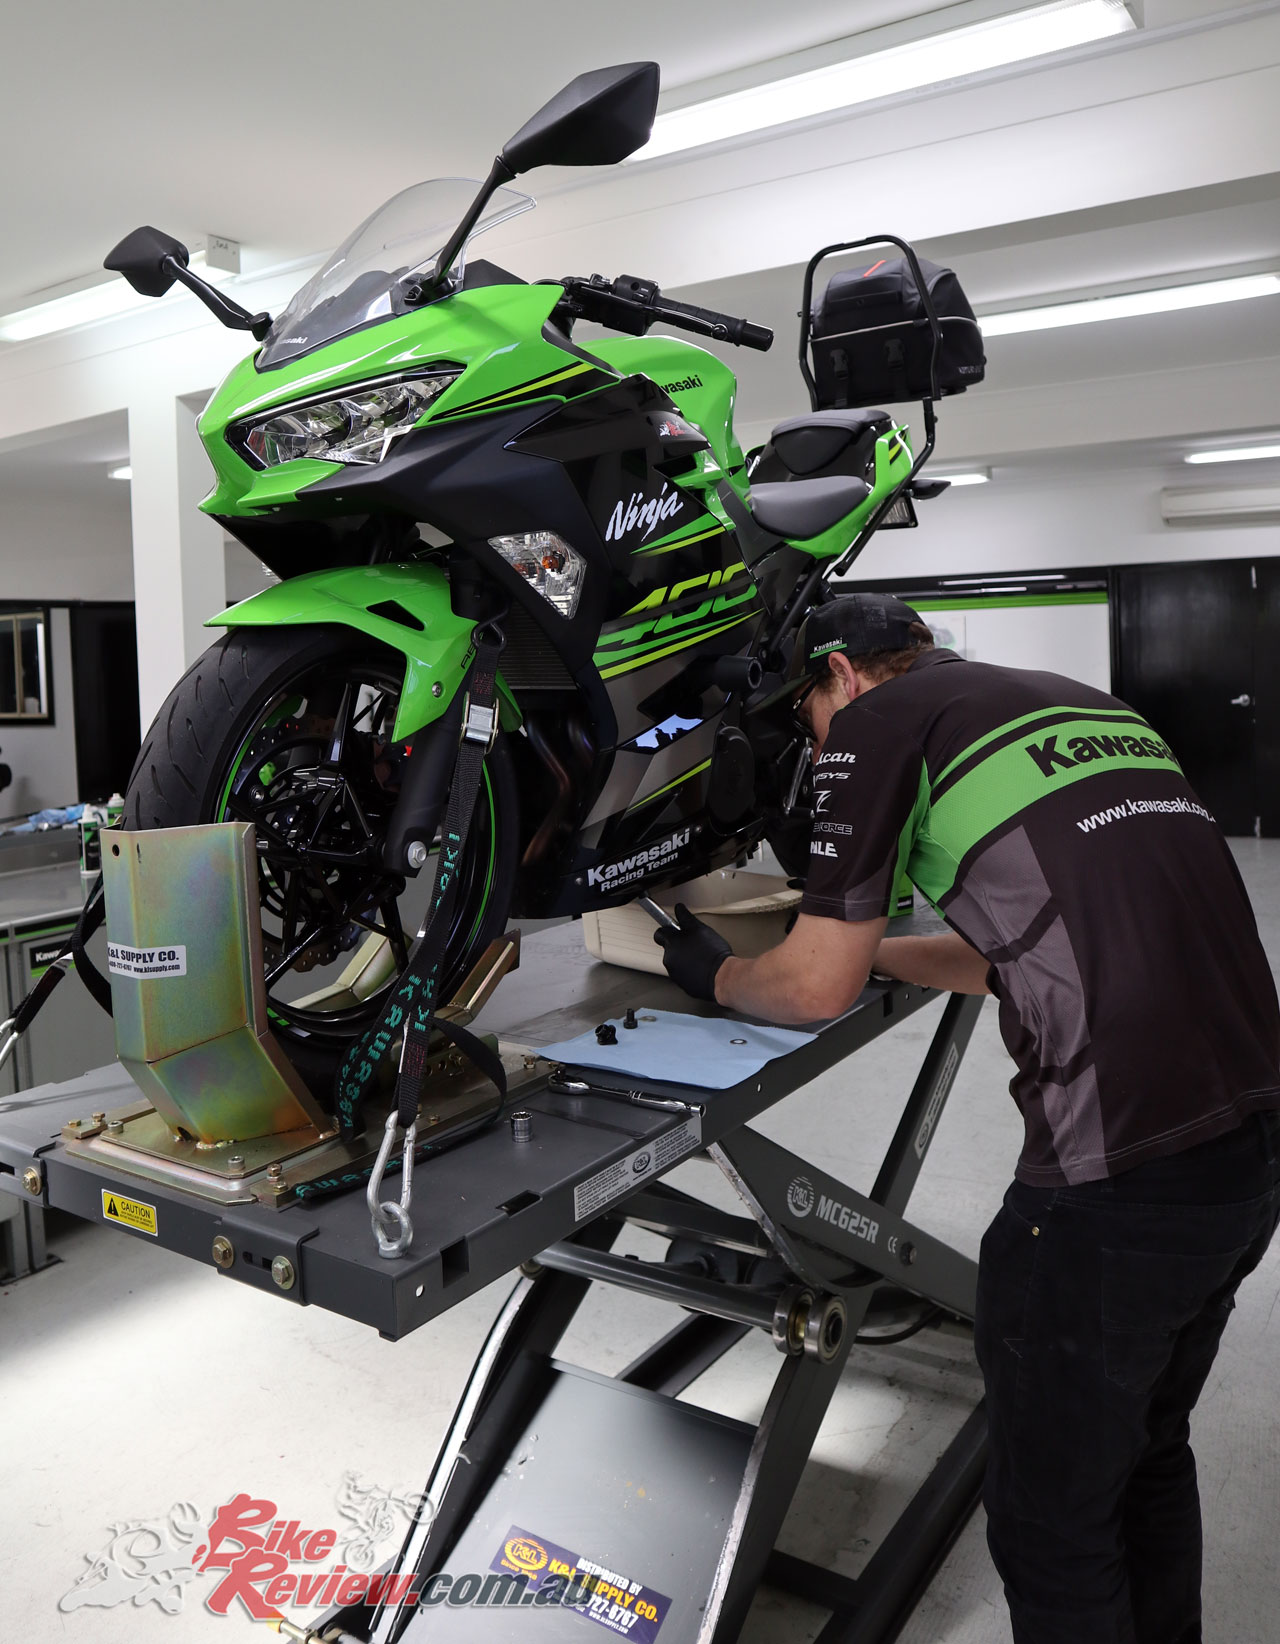
First service for our Long Term Kawasaki Ninja 400!
With our Long Term Ninja 400 we reached the 1000km mark very quickly and while Jeff is a licensed mechanic, we couldn’t pass up the offer by Kawasaki Australia to have the first service done in their workshop, which is used to work on all their factory supported racers.
The 1000km service is a relatively small one, but there’s a number of things which should be being checked, as well as receiving an oil change. This all adds up to time, which as the consumer means money. On the bright side, having a good relationship with a good local workshop is a good idea, especially if you’re not the hands-on mechanical type.
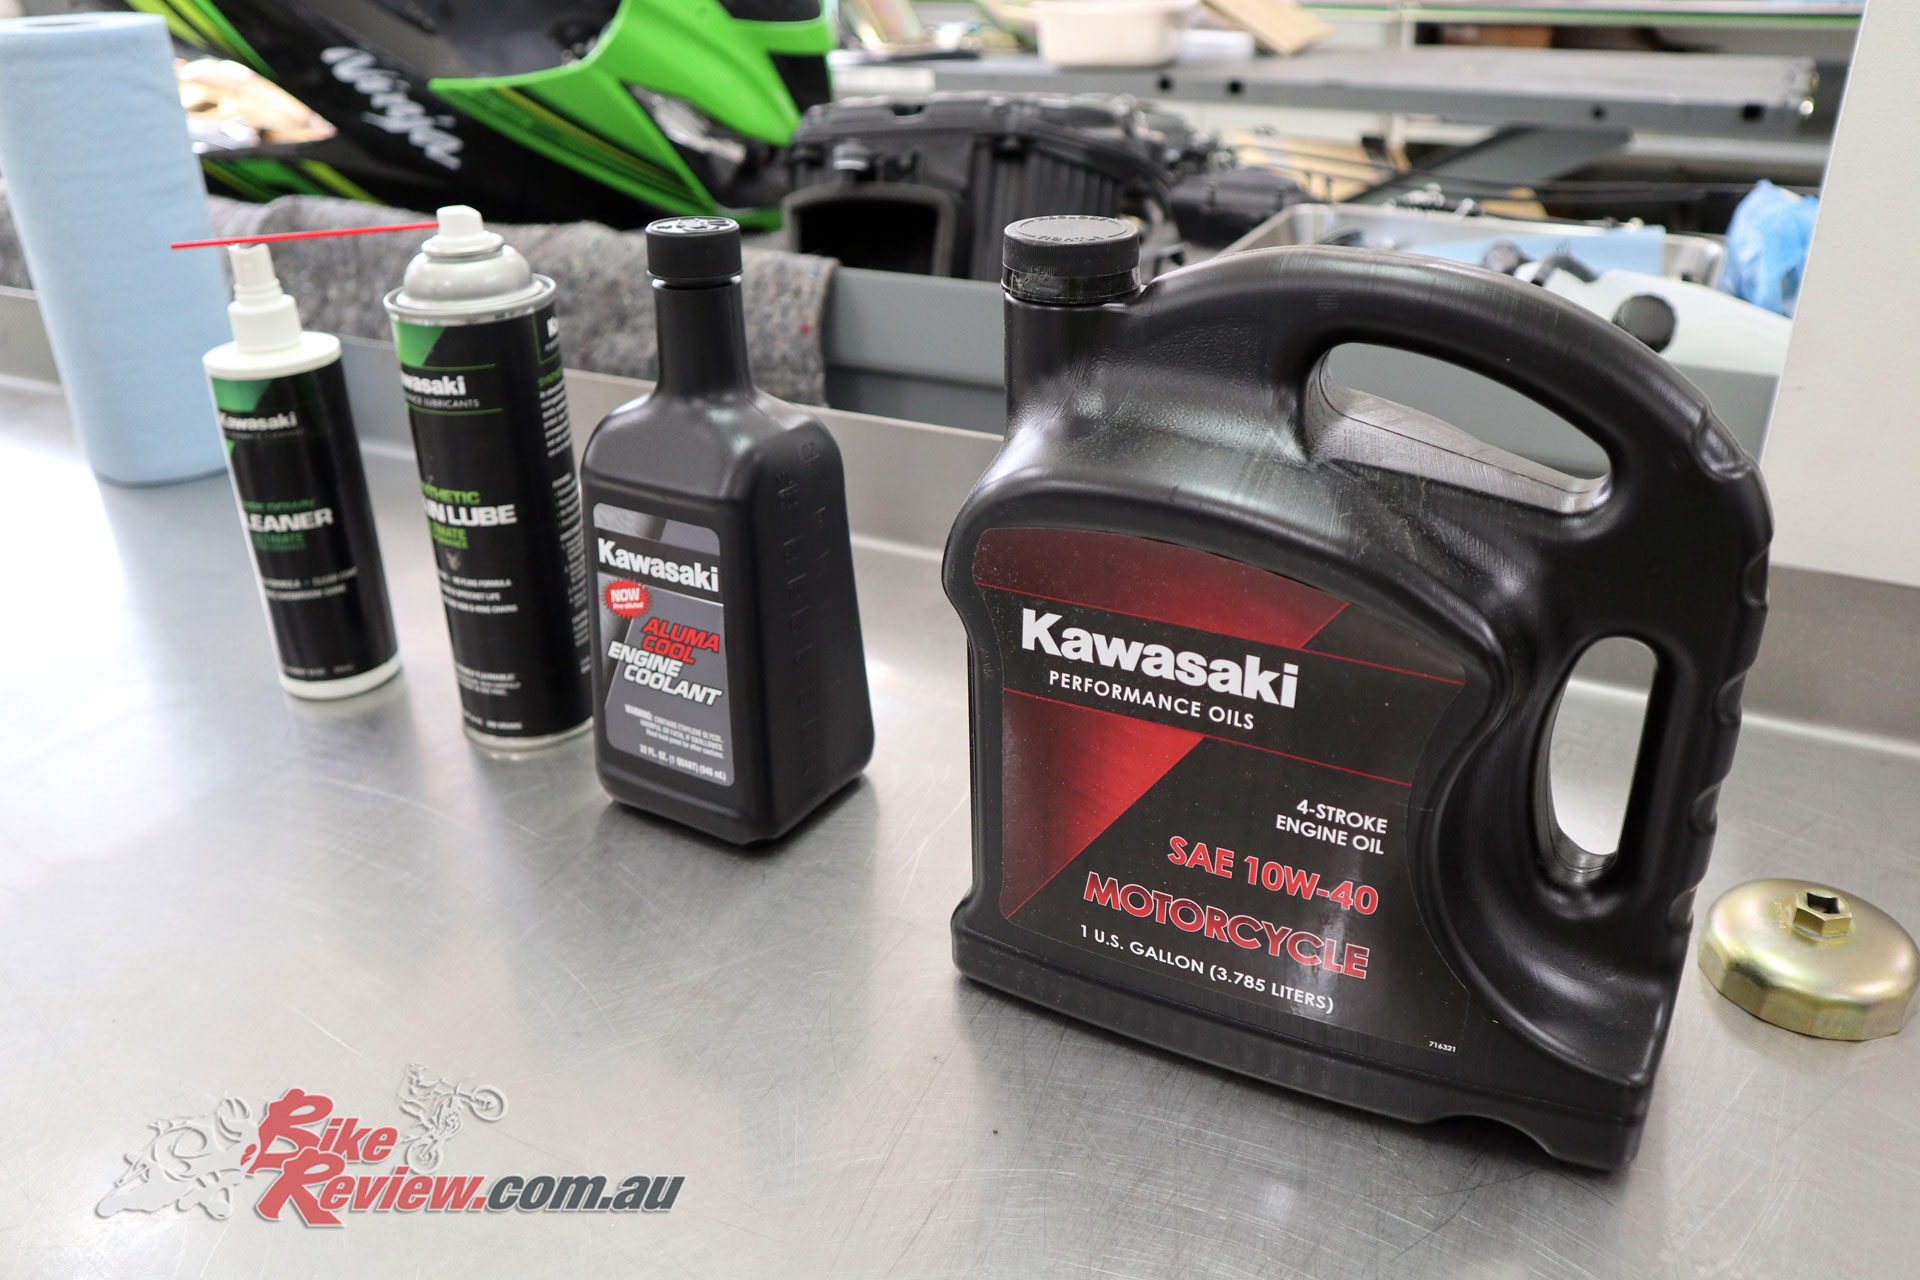
All the Kawasaki servicing consumables ready – Being organised is important!
Especially as a learner there’s plenty of things you can do yourself, but you also want to know everything is done properly. If in doubt get an expert involved! We had Jonny Rowe, the Technical Specialist at Kawasaki Motors working on our Ninja 400, and giving a bit of insight into what’s involved at a dealer when they do this work.
We were also lucky enough to have a couple of accessories fitted, while we were at it, with a Kawasaki Tank Bag and Seat Cowl being added, with both easy DIY jobs if you’re thinking about these accessories.
Here’s a run down of the first service to our Long Term Ninja 400.
Long Term Ninja 400 First Service (1000km)
The first thing Jonny did was get together what is needed, meaning all the tools, plus any consumables. This being a first service we didn’t need a fair few of the items on hand, but if you’ve got them you’ll never get caught out. This should also give you an idea why it’s a few hours work at your local dealer!
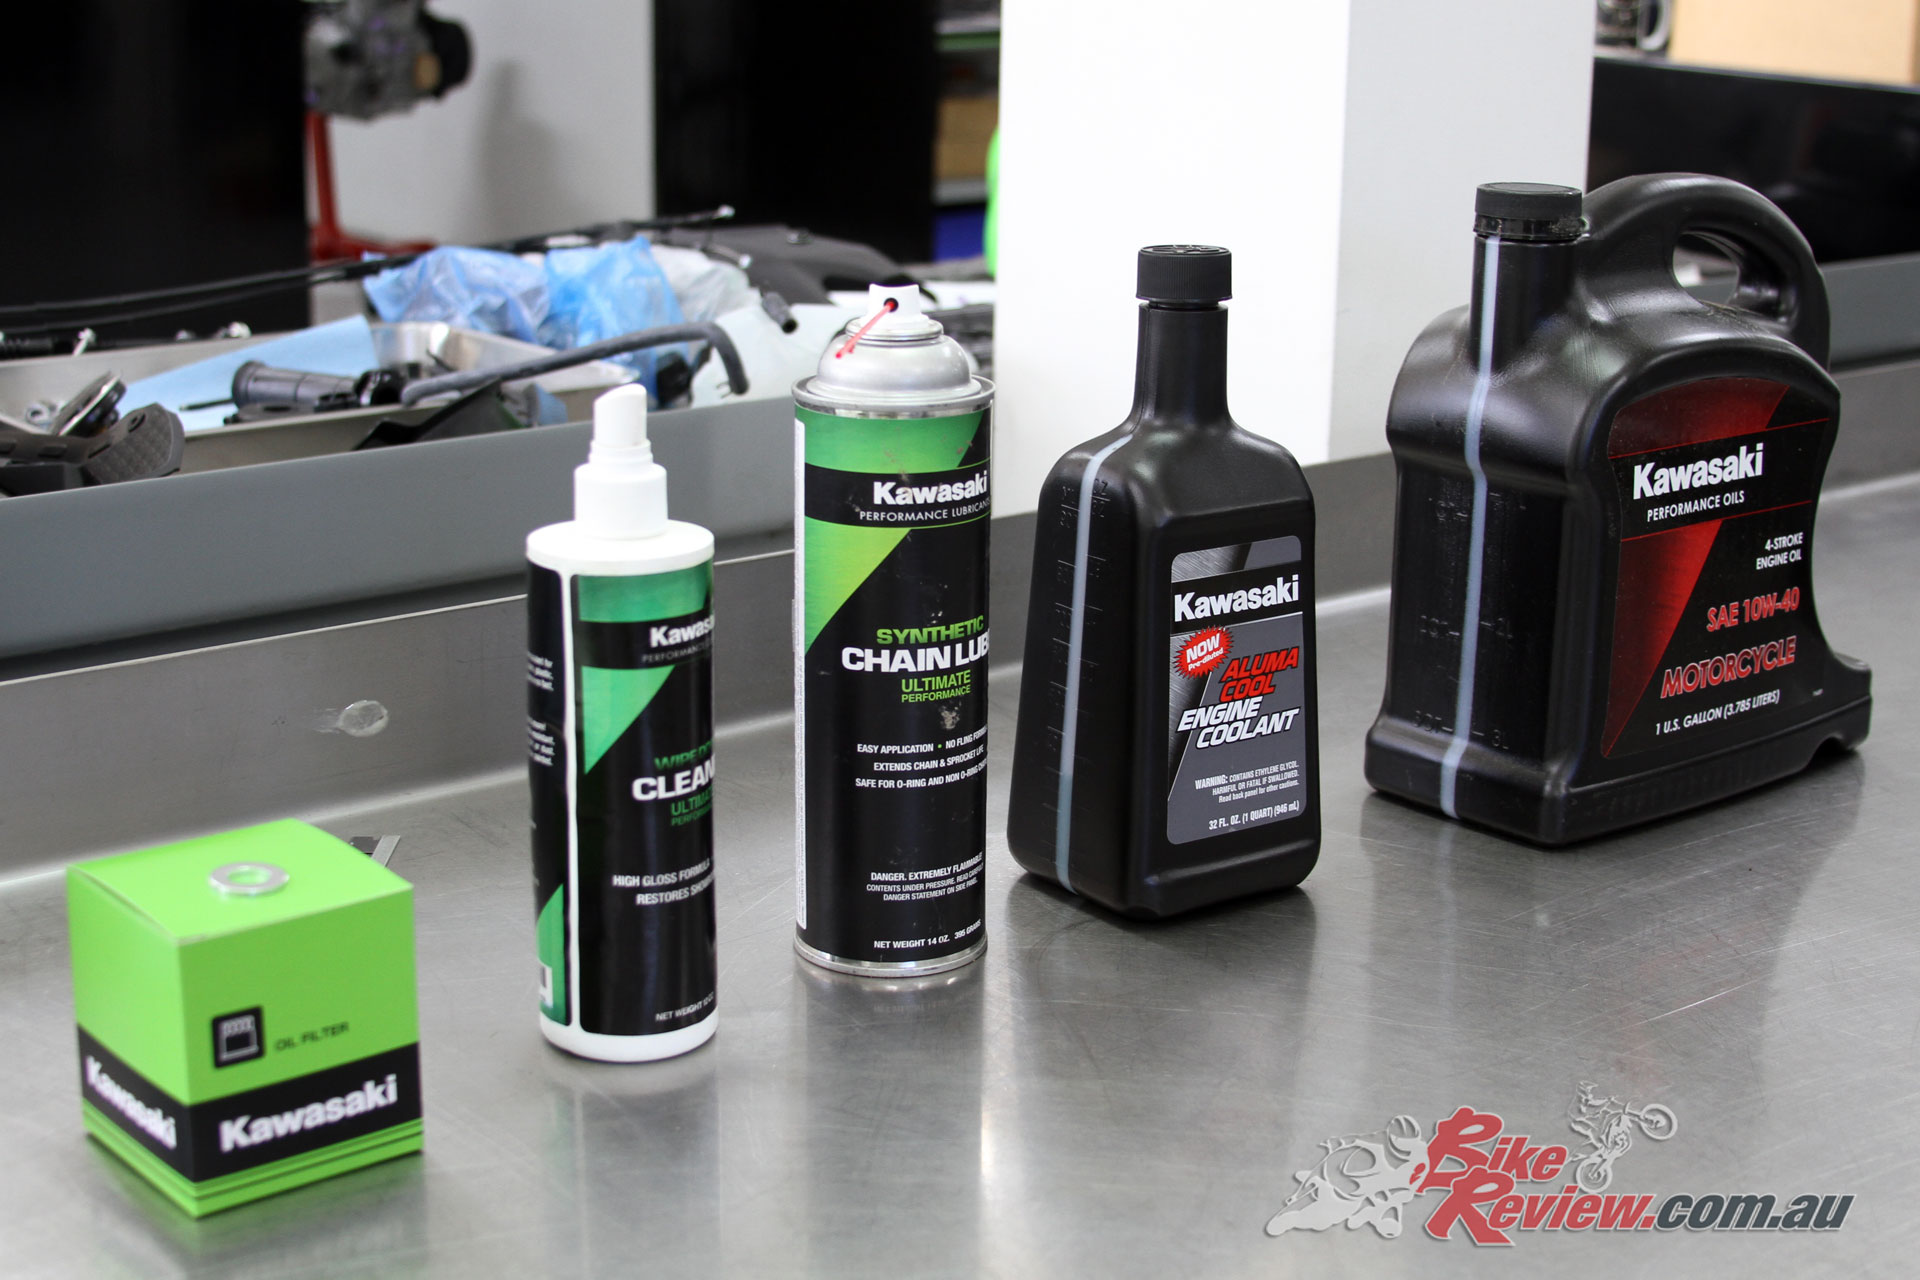
For this service a new oil filter, sump bolt washer, oil, and chain cleaner and lube were required. Coolant and brake fluid levels were all within spec.
What he needed was the replacement oil, a replacement sump bolt washer, and a new oil filter. Also necessary was grease for all the pivot points checked, as well as chain lube (or wax) and chain cleaner. Not used this time was the coolant and brake fluid, which may sometimes need topping up, or fully replacing.
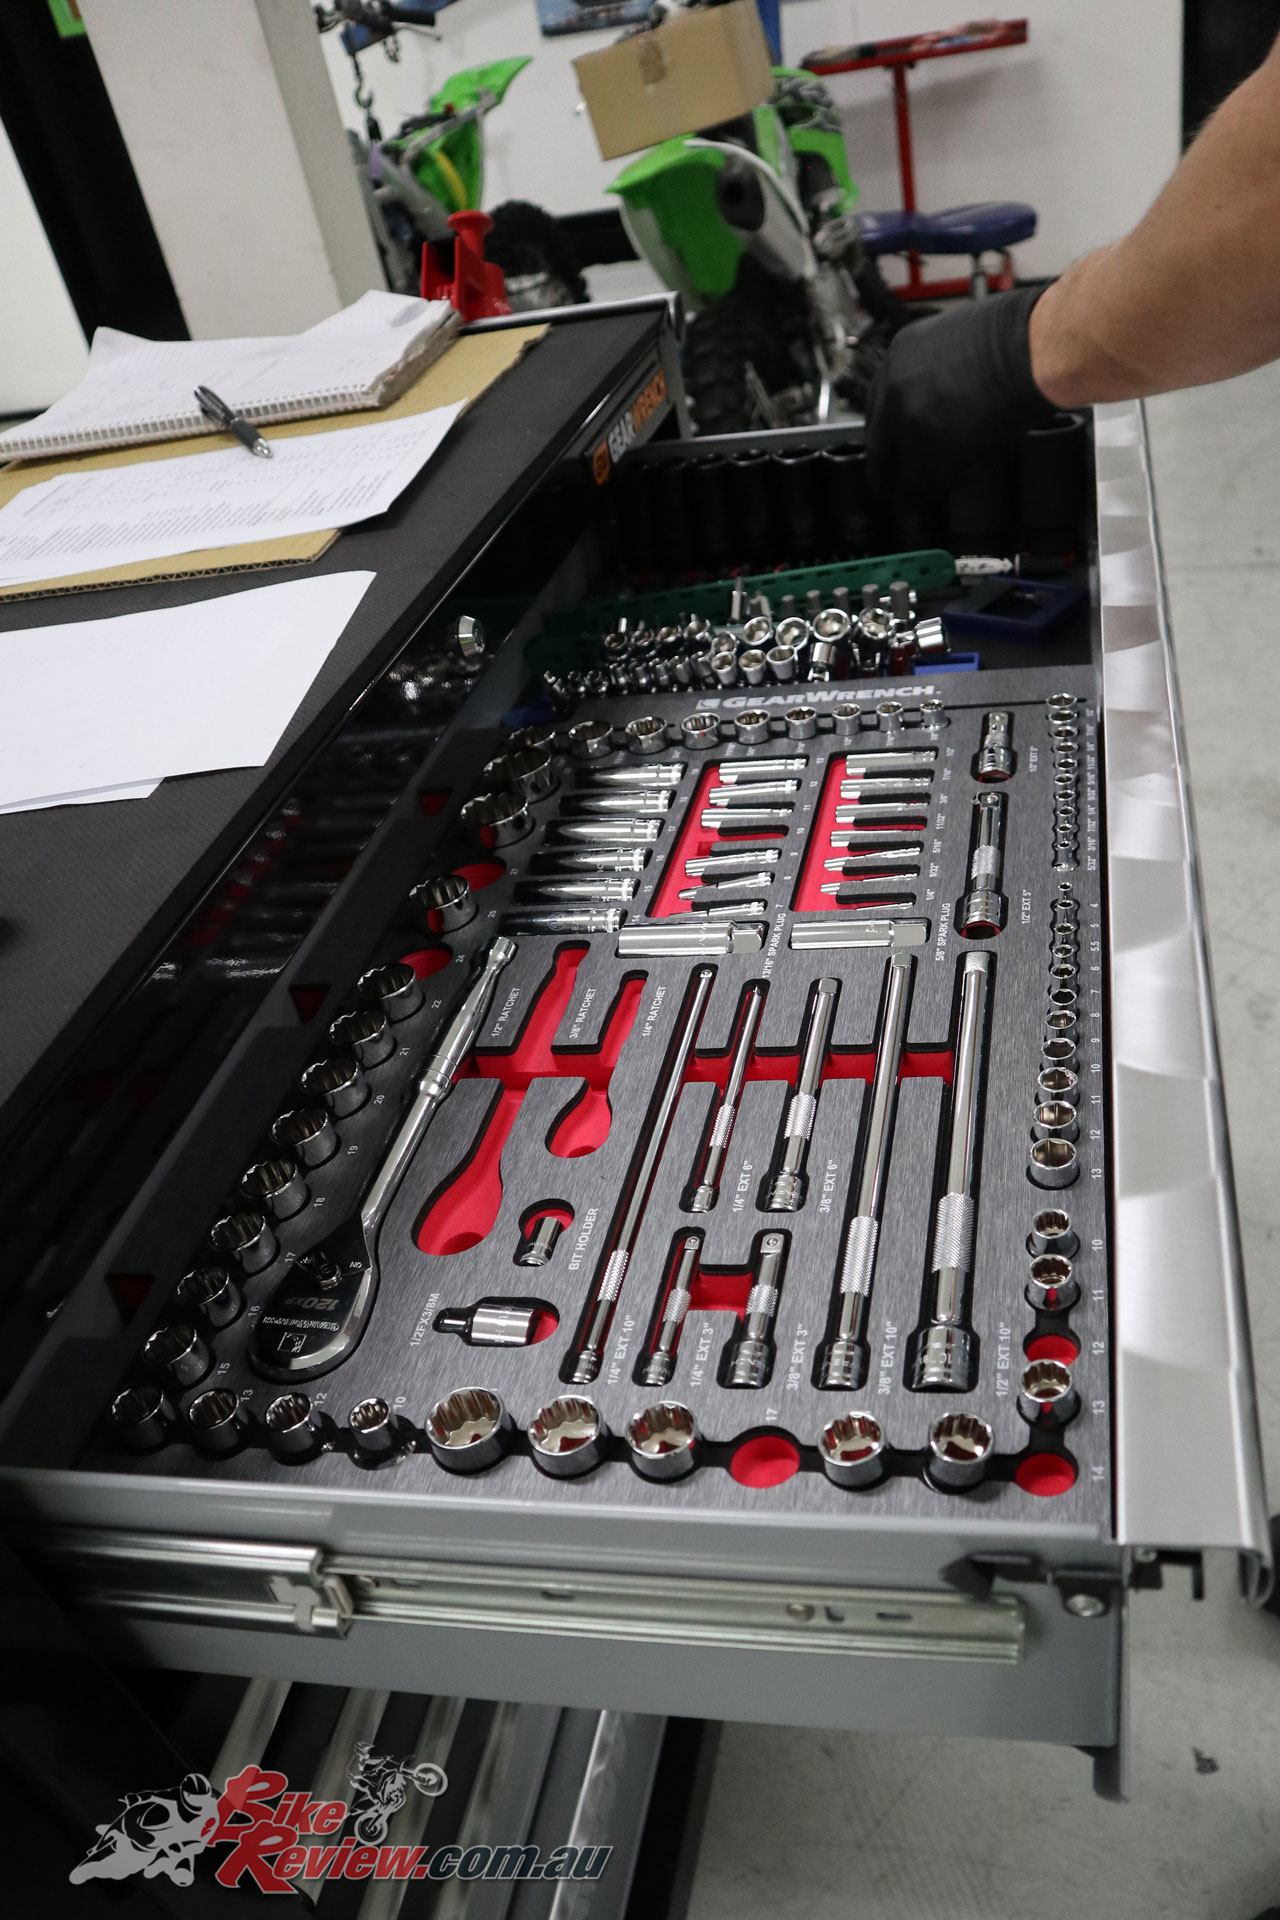
Kawasaki HQ have a pretty sweet setup of new tools from GearWrench.
Tools used included a socket set, an oil filter cup-type wrench (for ease of removal), an oil pan (and a 4L bottle for the old oil, to be disposed of properly), Allen/Hex keys/sockets, a torque wrench, replacement split pin for the rear axle bolt, metric spanners, ruler (for chain tension measurement), bike bench and tie downs (or rear race stand and bobbins), air pressure gauge and tyre pump. Also handy are rags and a set of gloves.
Good tools are always a must, and a workshop will have anything they could need.
First up, the 400 was warmed up to help the oil drain, then placed on a bike bench for easy access. On a bench make sure you tie the bike down to ensure it stays in place, as you’ll see here, with the professional Kawasaki setup.
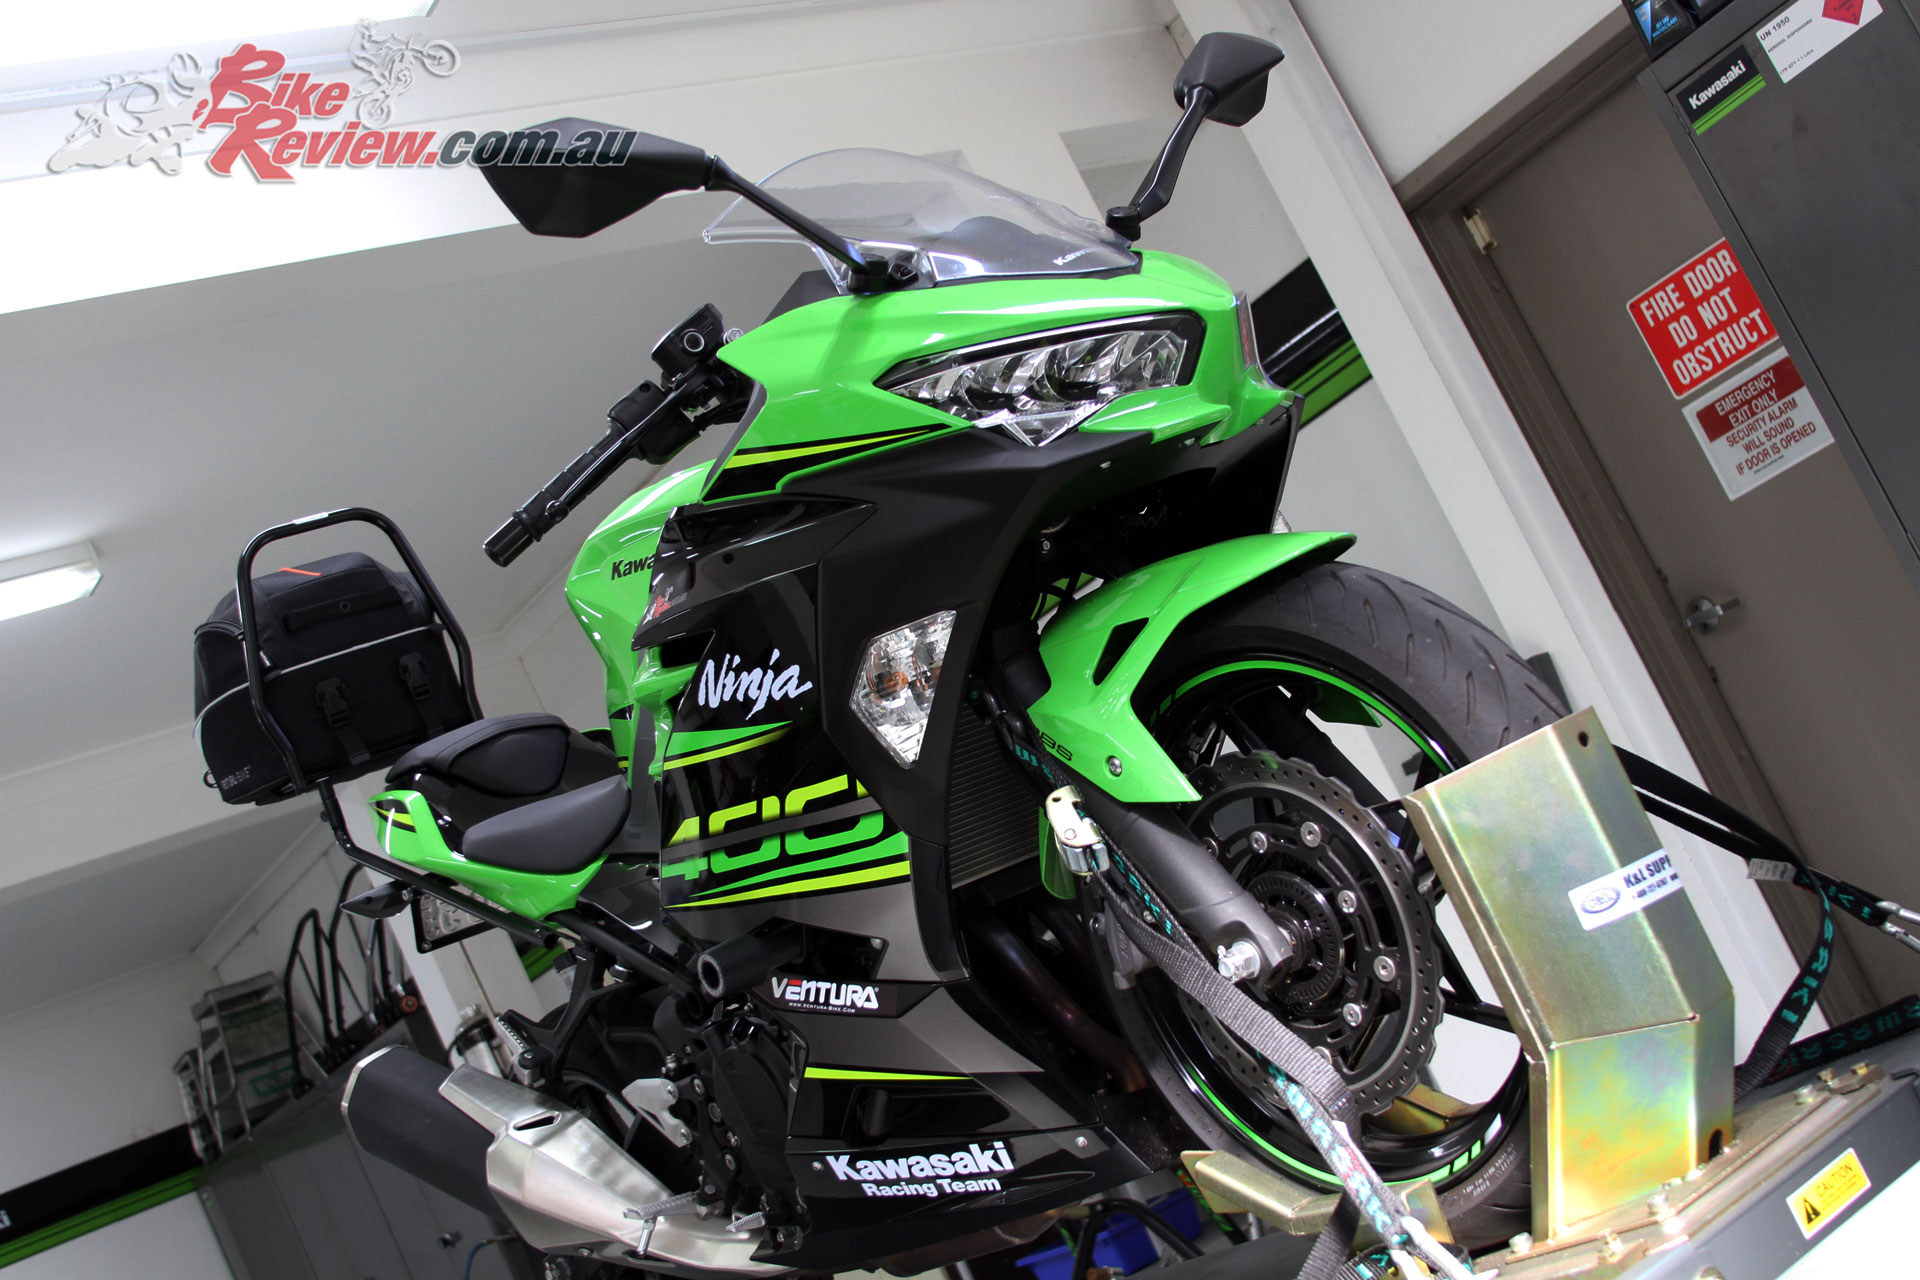
Make sure the bike is secure when you’re working on it.
With the Ninja 400 there’s direct access to the sump bolt and the oil filter, without removing the fairings, with Jonny placing an oil pan into place under the sump, then removing the sump bolt and oil cap.
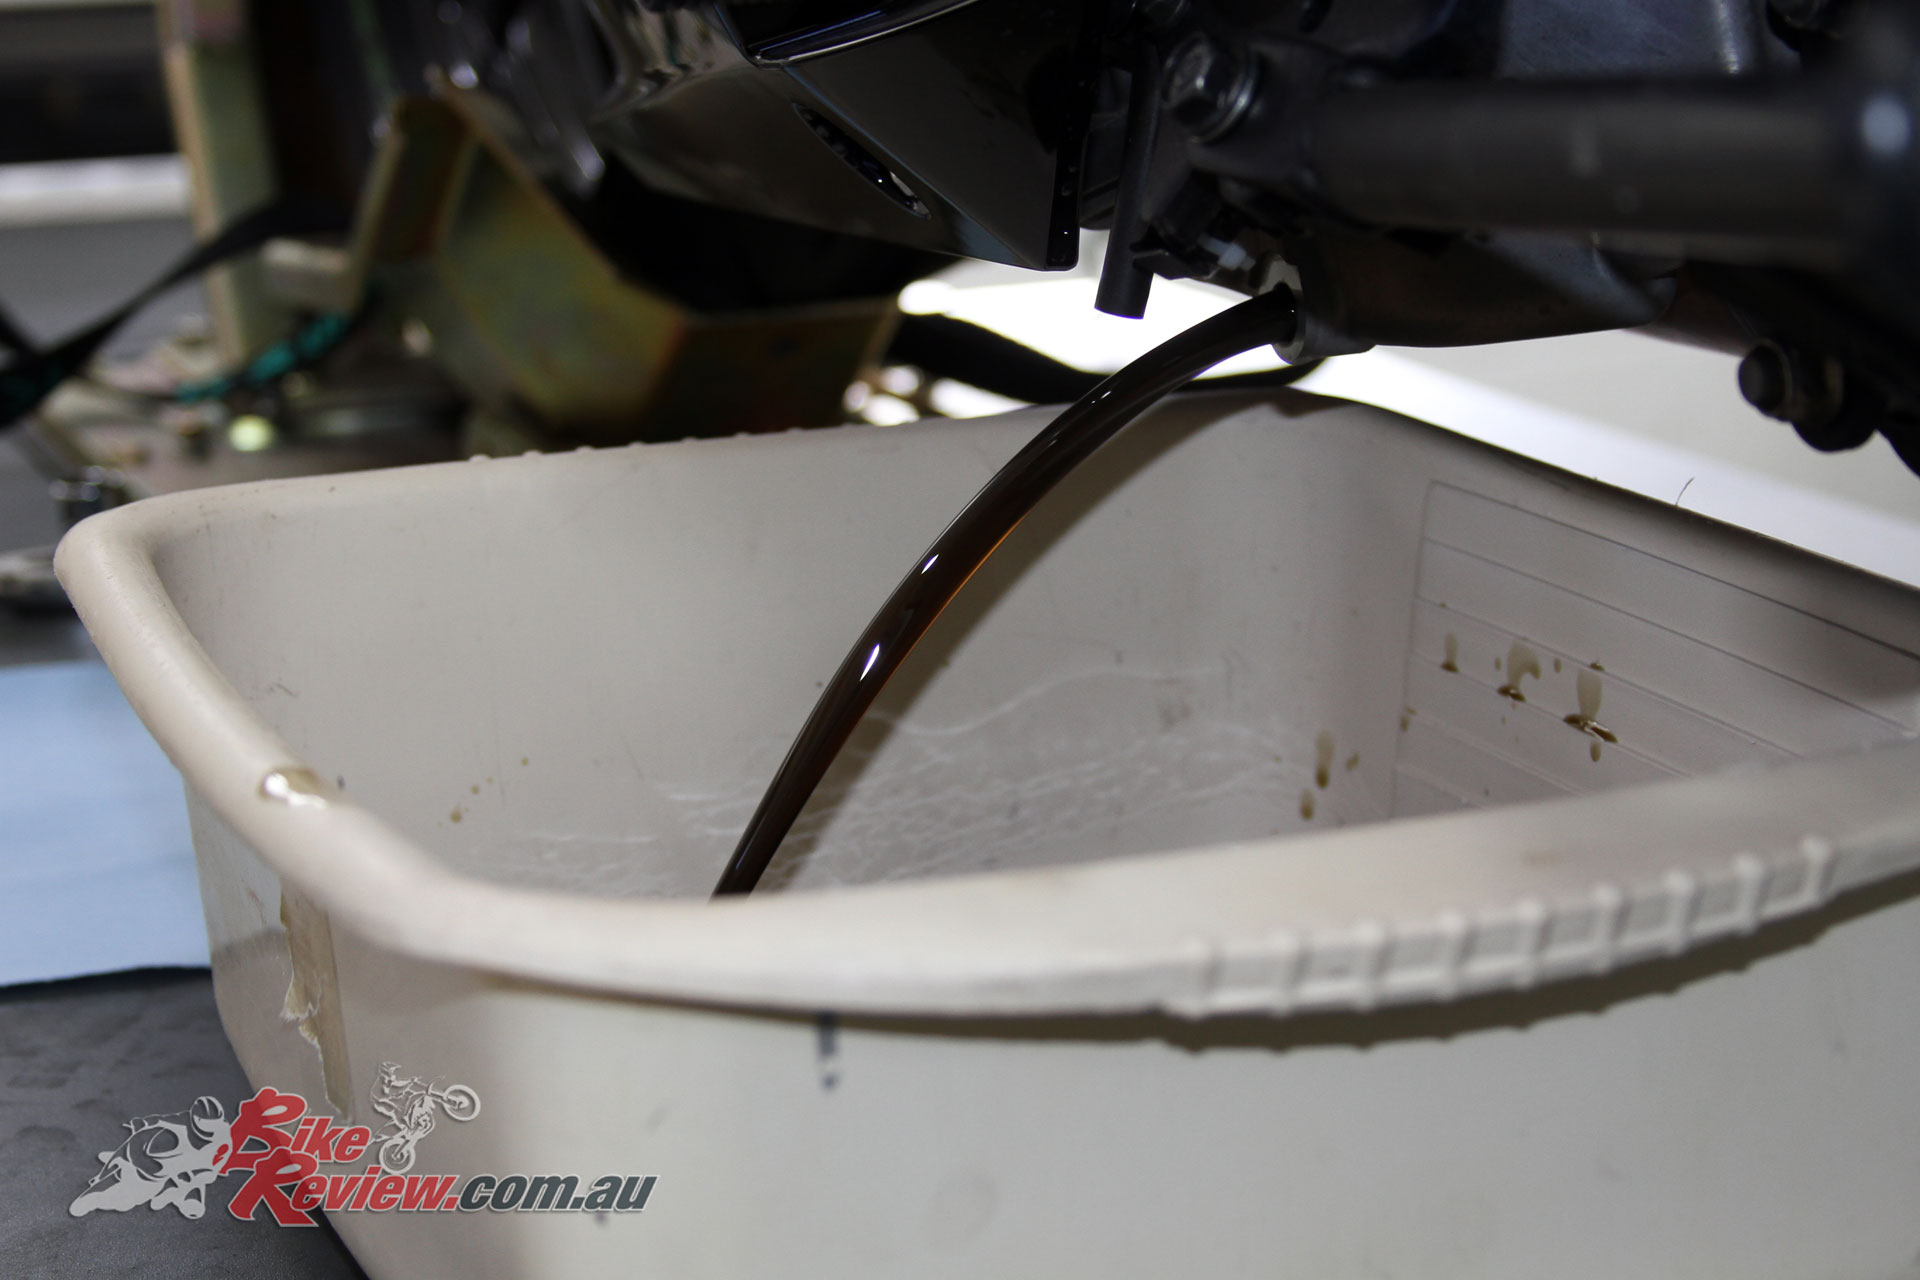
Draining the Ninja 400’s oil into an oil pan.
With the oil draining – this can take a while – Jonny checked chain tension, tyre pressures, coolant level, and brake fluid levels. Once the oil stopped flowing, he also removed the oil filter, making sure the oil pan would also catch any oil here.
Remove the old oil filter.
Once the bike was fully drained a new oil filter was fitted, with oil applied to the seal, and the original sump bolt with a new washer were refitted and tightened to spec.
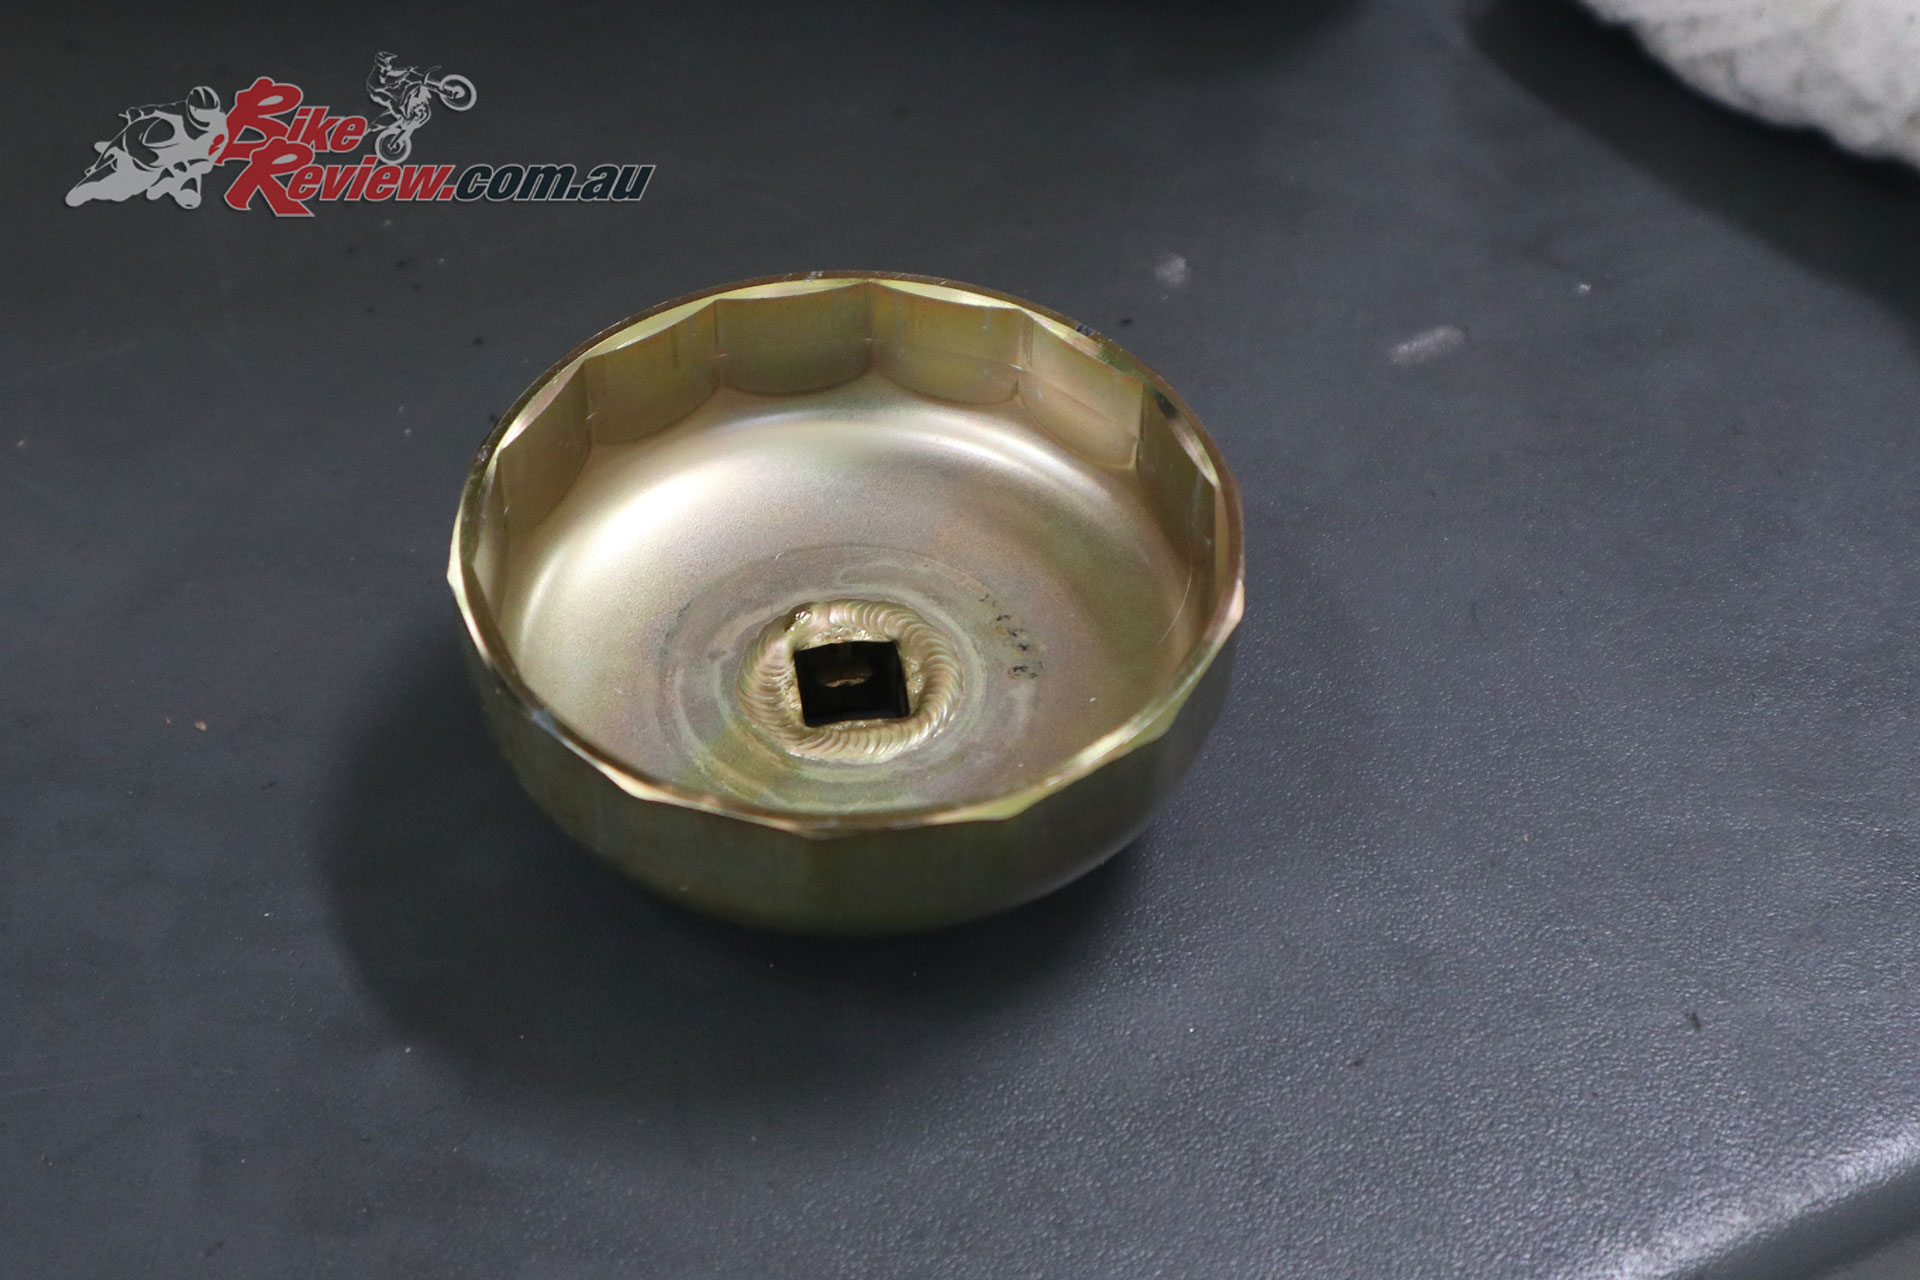
This is a great tool for removing support oil filters that Jonny had in the toolbox. They never need much torque to fit but can be impossible to remove.
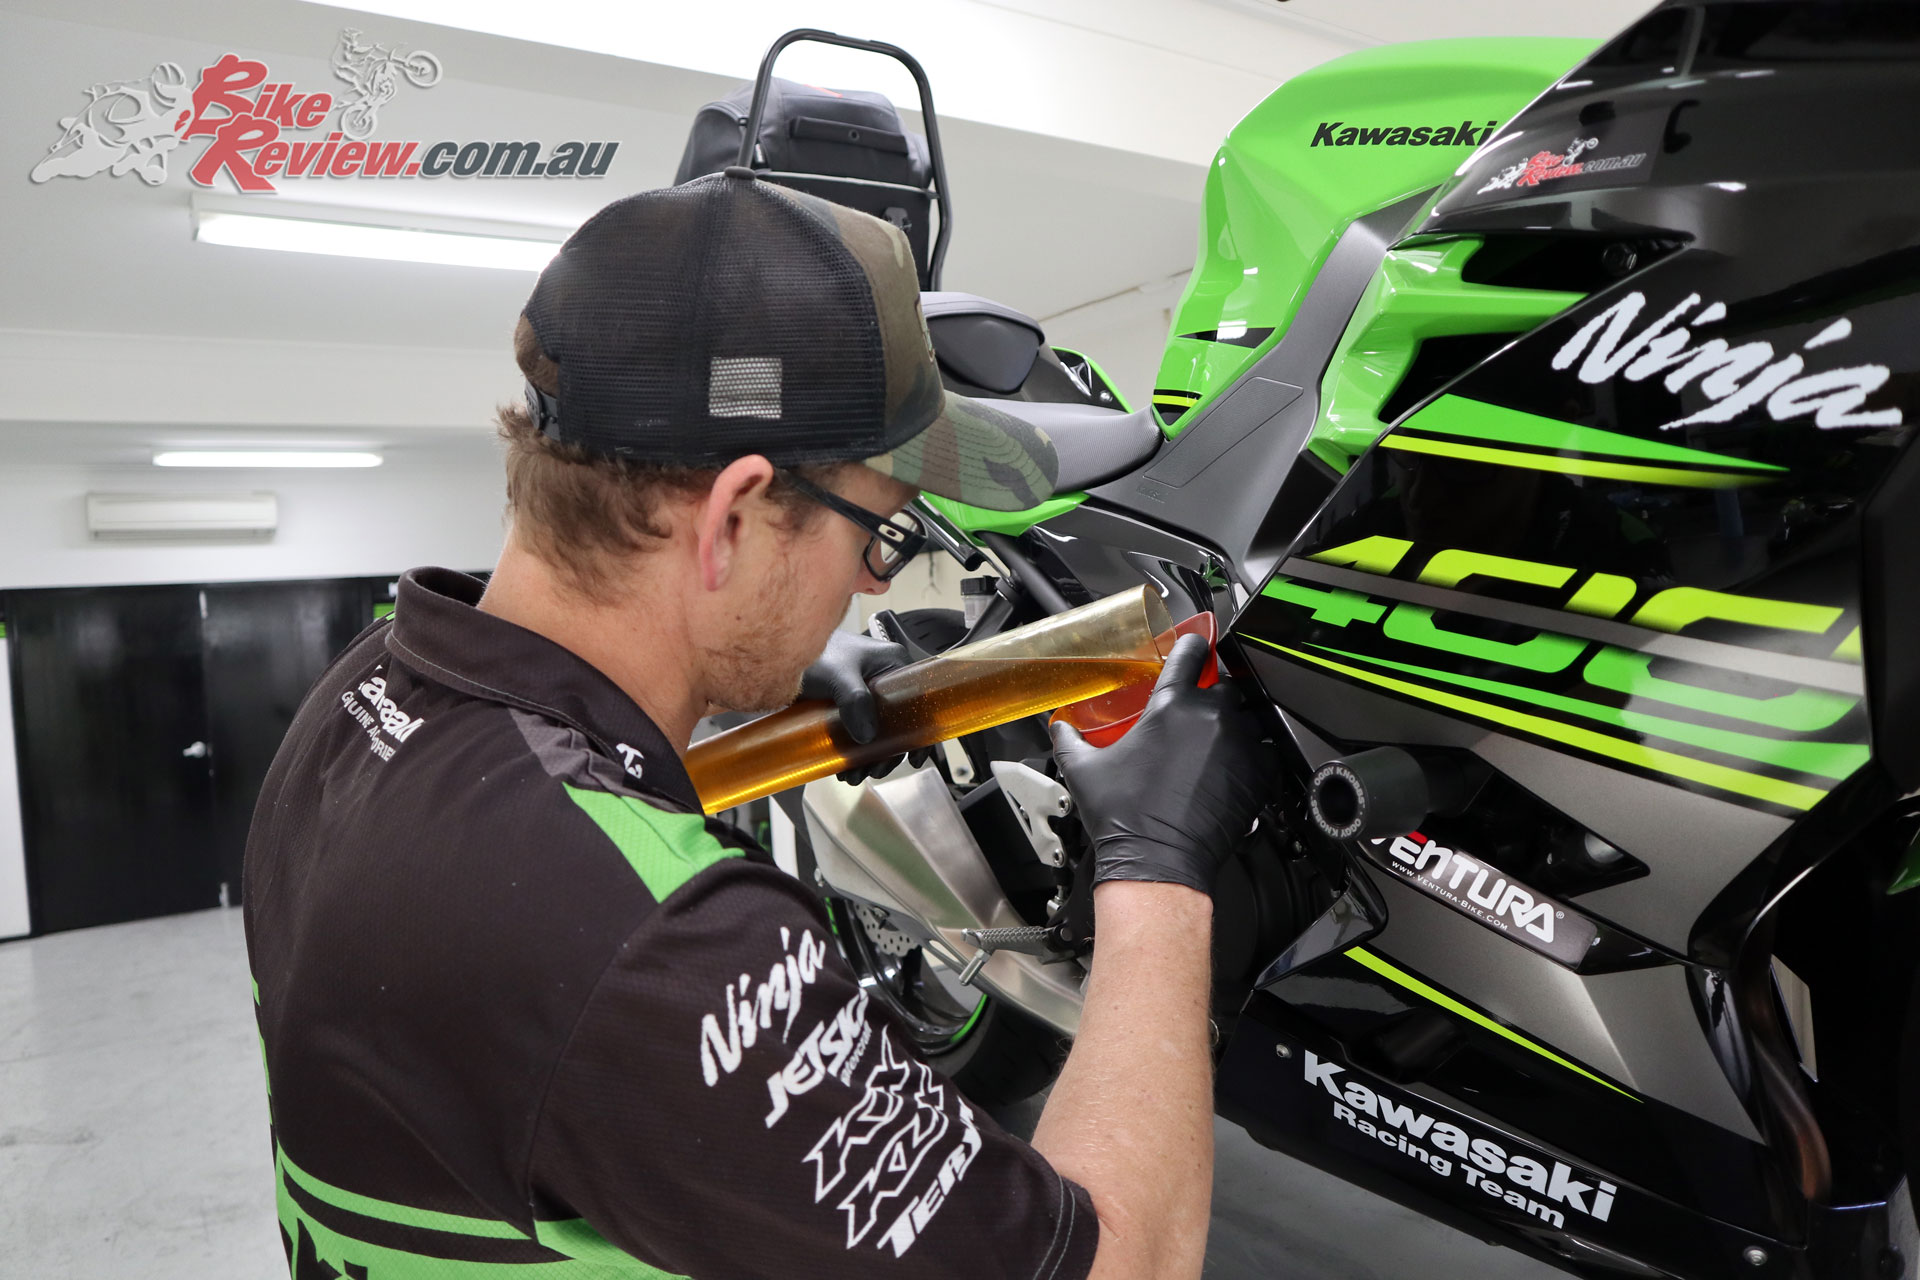
I asked Jonny about filling the oil, and whether to measure the amount required or use the sighting window, and he was quick to say always the oil sighting window, and to remember it’ll take time for the oil to distribute through the engine.
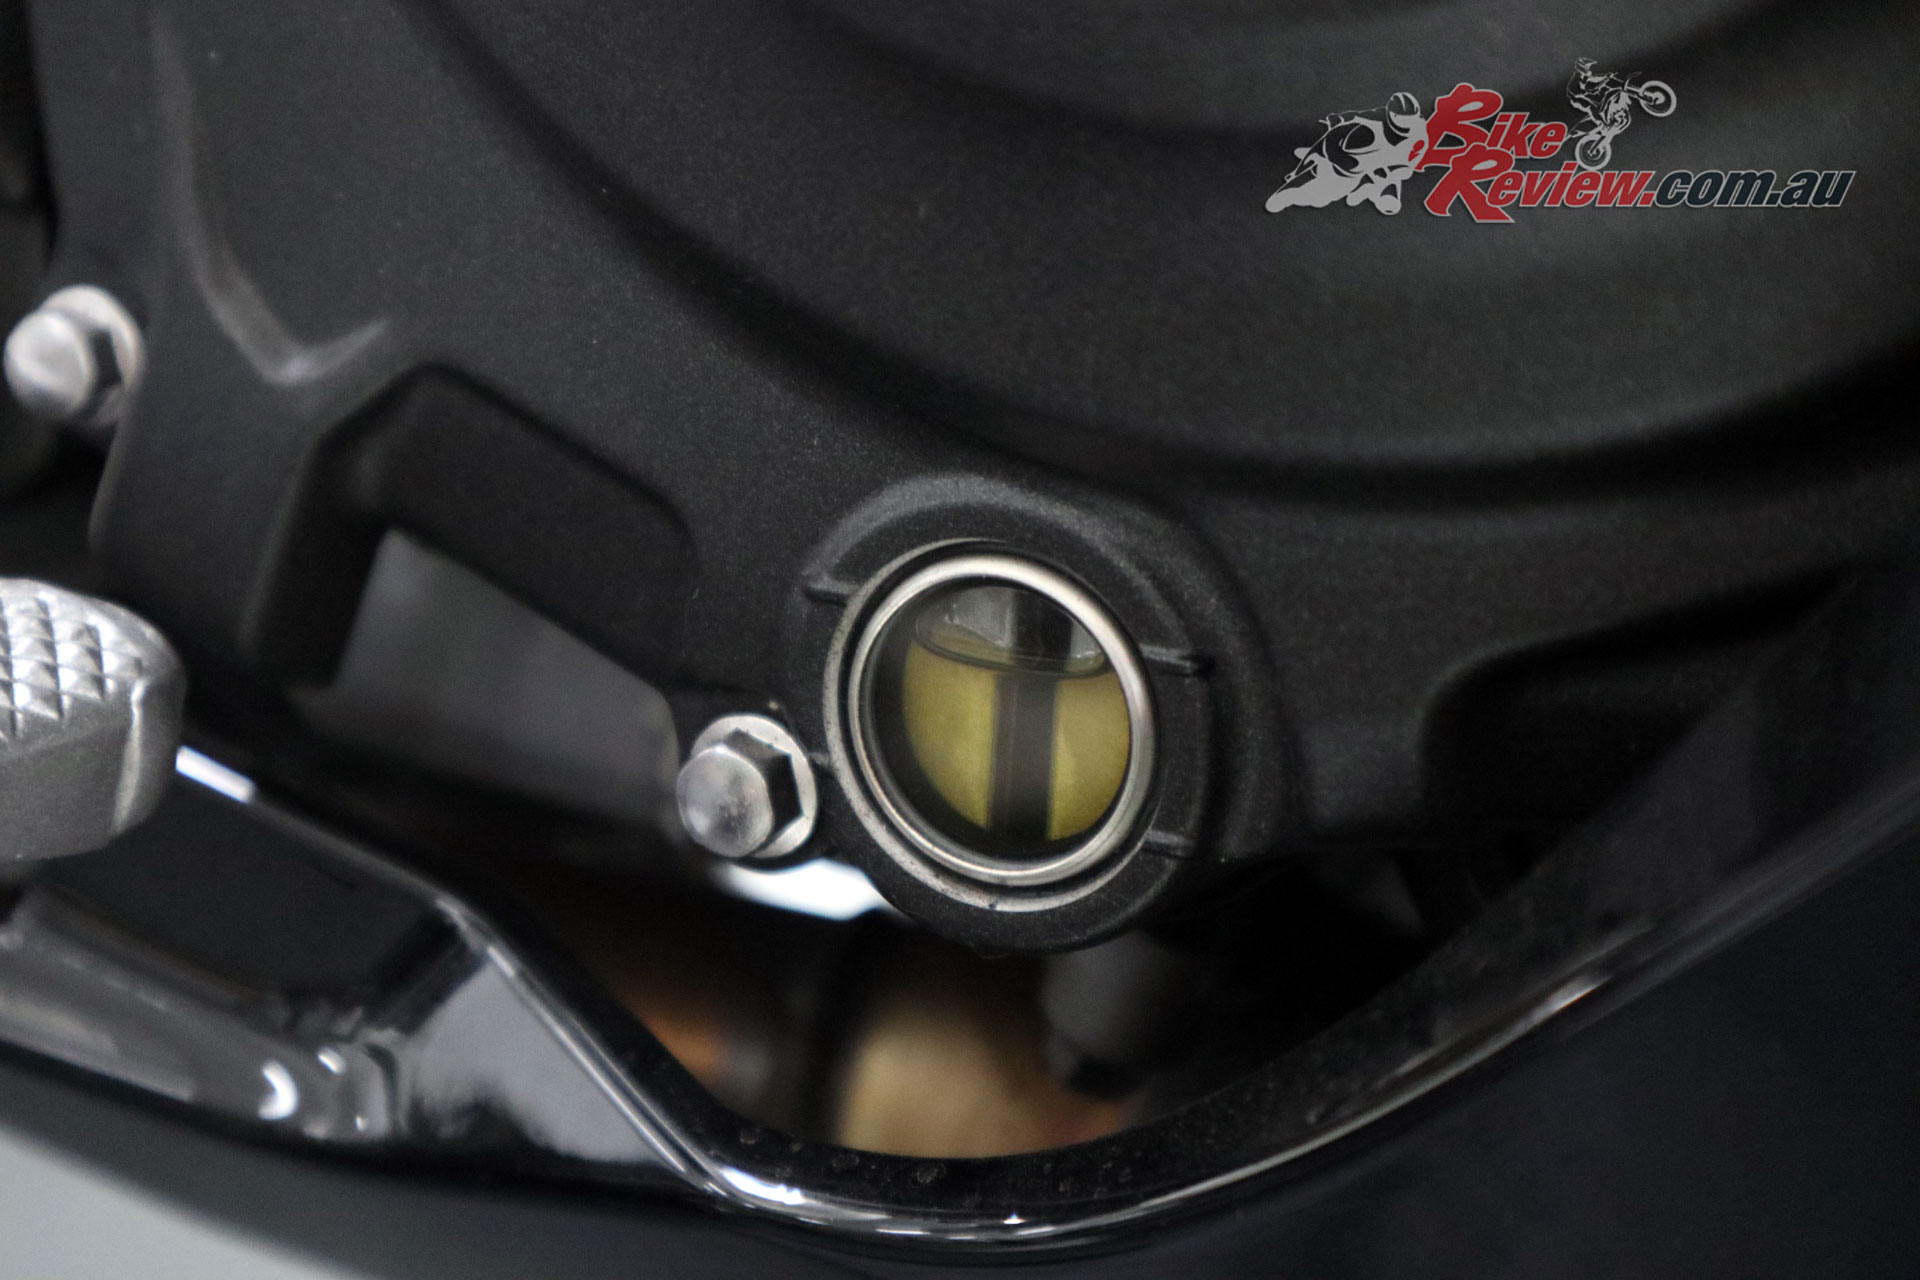
Keep a close eye on the oil level!
Once it was to spec, he started the bike up and let it run for a short while to pump the oil, such as into the new oil filter. Then rechecked and topped off the oil level.
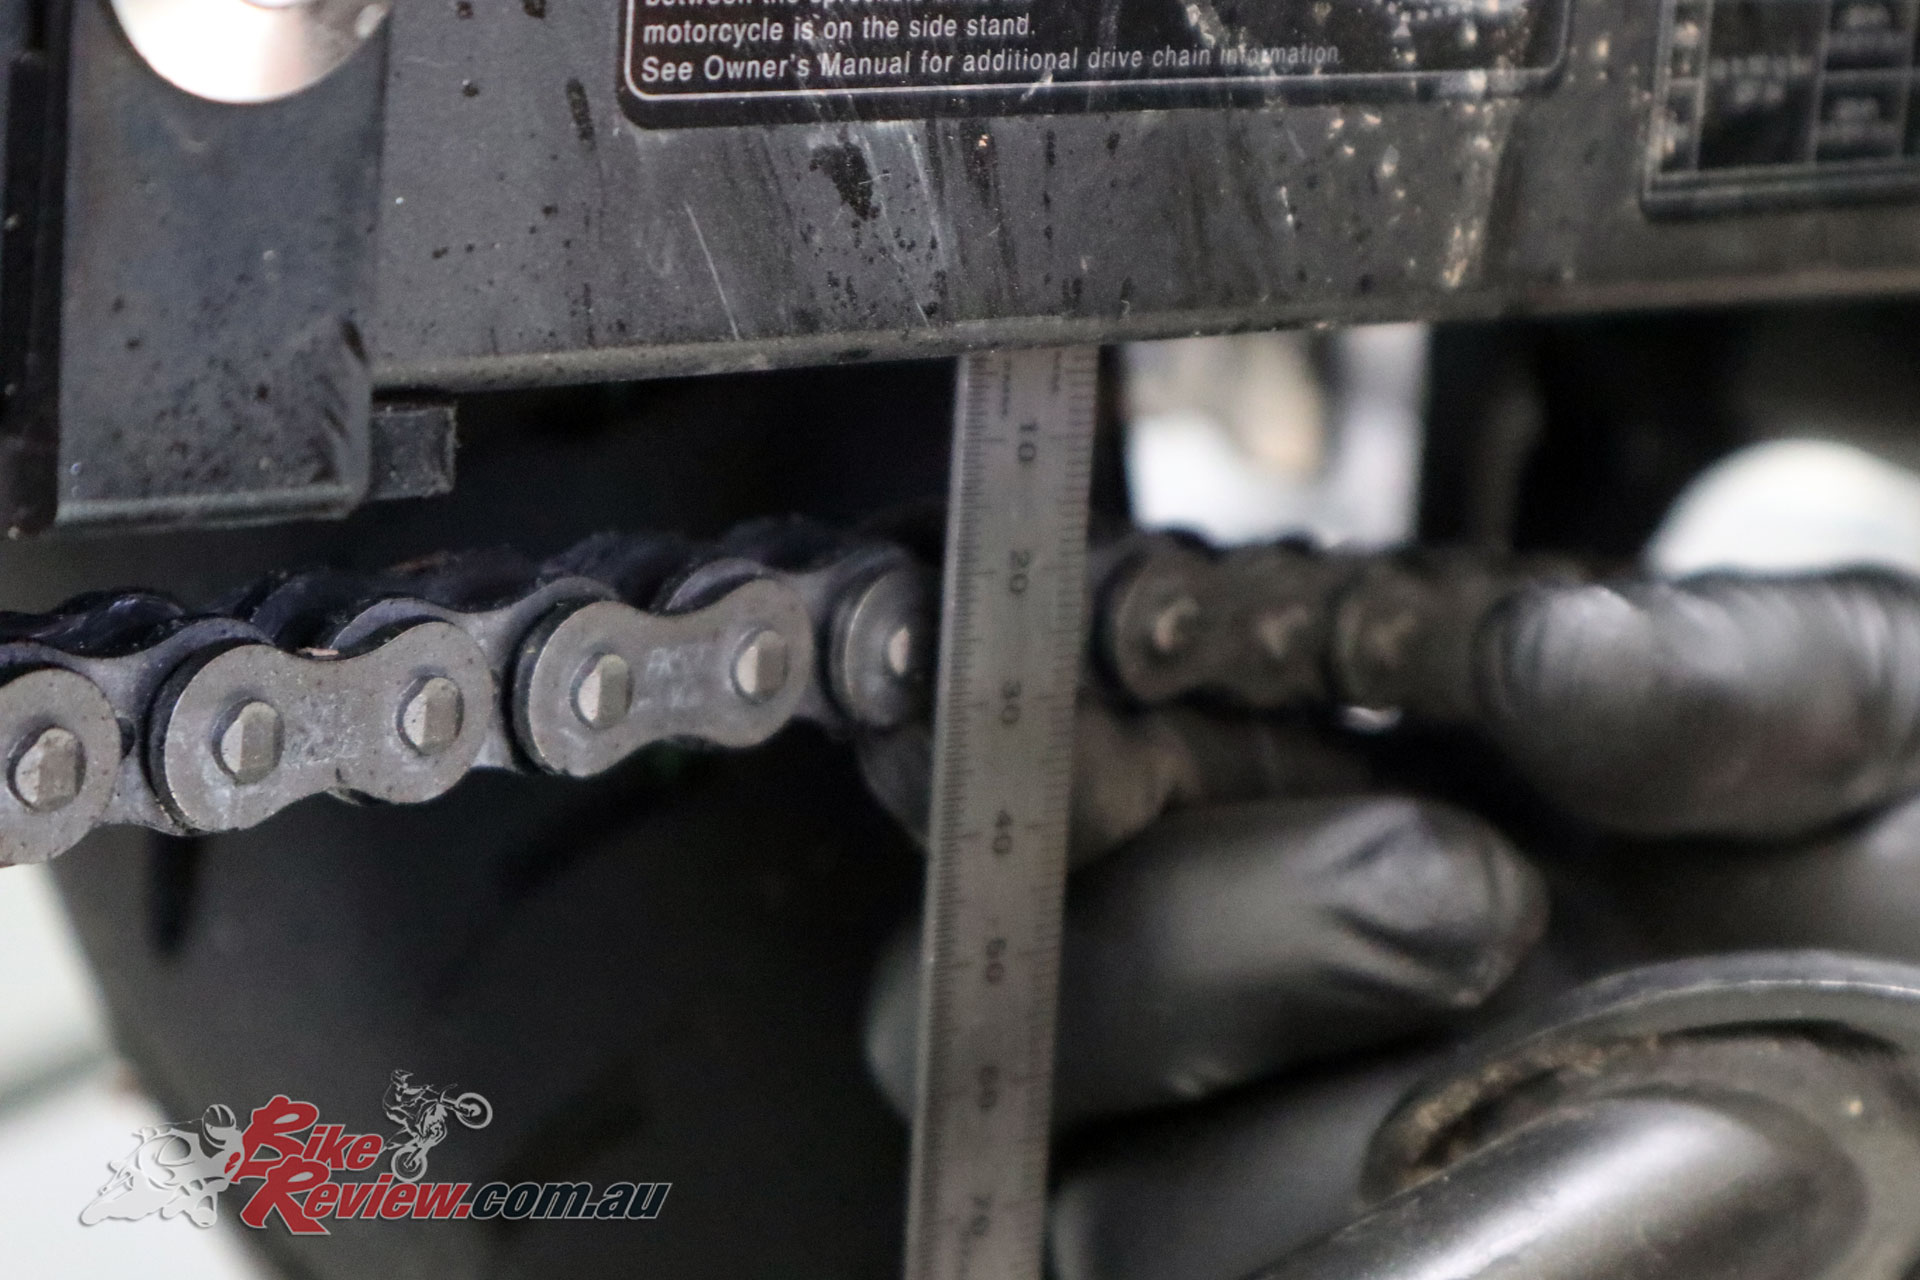
Measure you chain and adjust to spec.
Chain tension was a little out of spec, so Jonny loosened the axle bolt, and adjusters on either side of the swingarm and adjusted accordingly. This means removing the split pin and ideally replacing with a new one.


Making sure the chain was evenly adjusted on either side of the swingarm, Jonny then tightened everything back up to spec. With this done the chain also received a clean down and chain lube when the bike was washed as a final step.
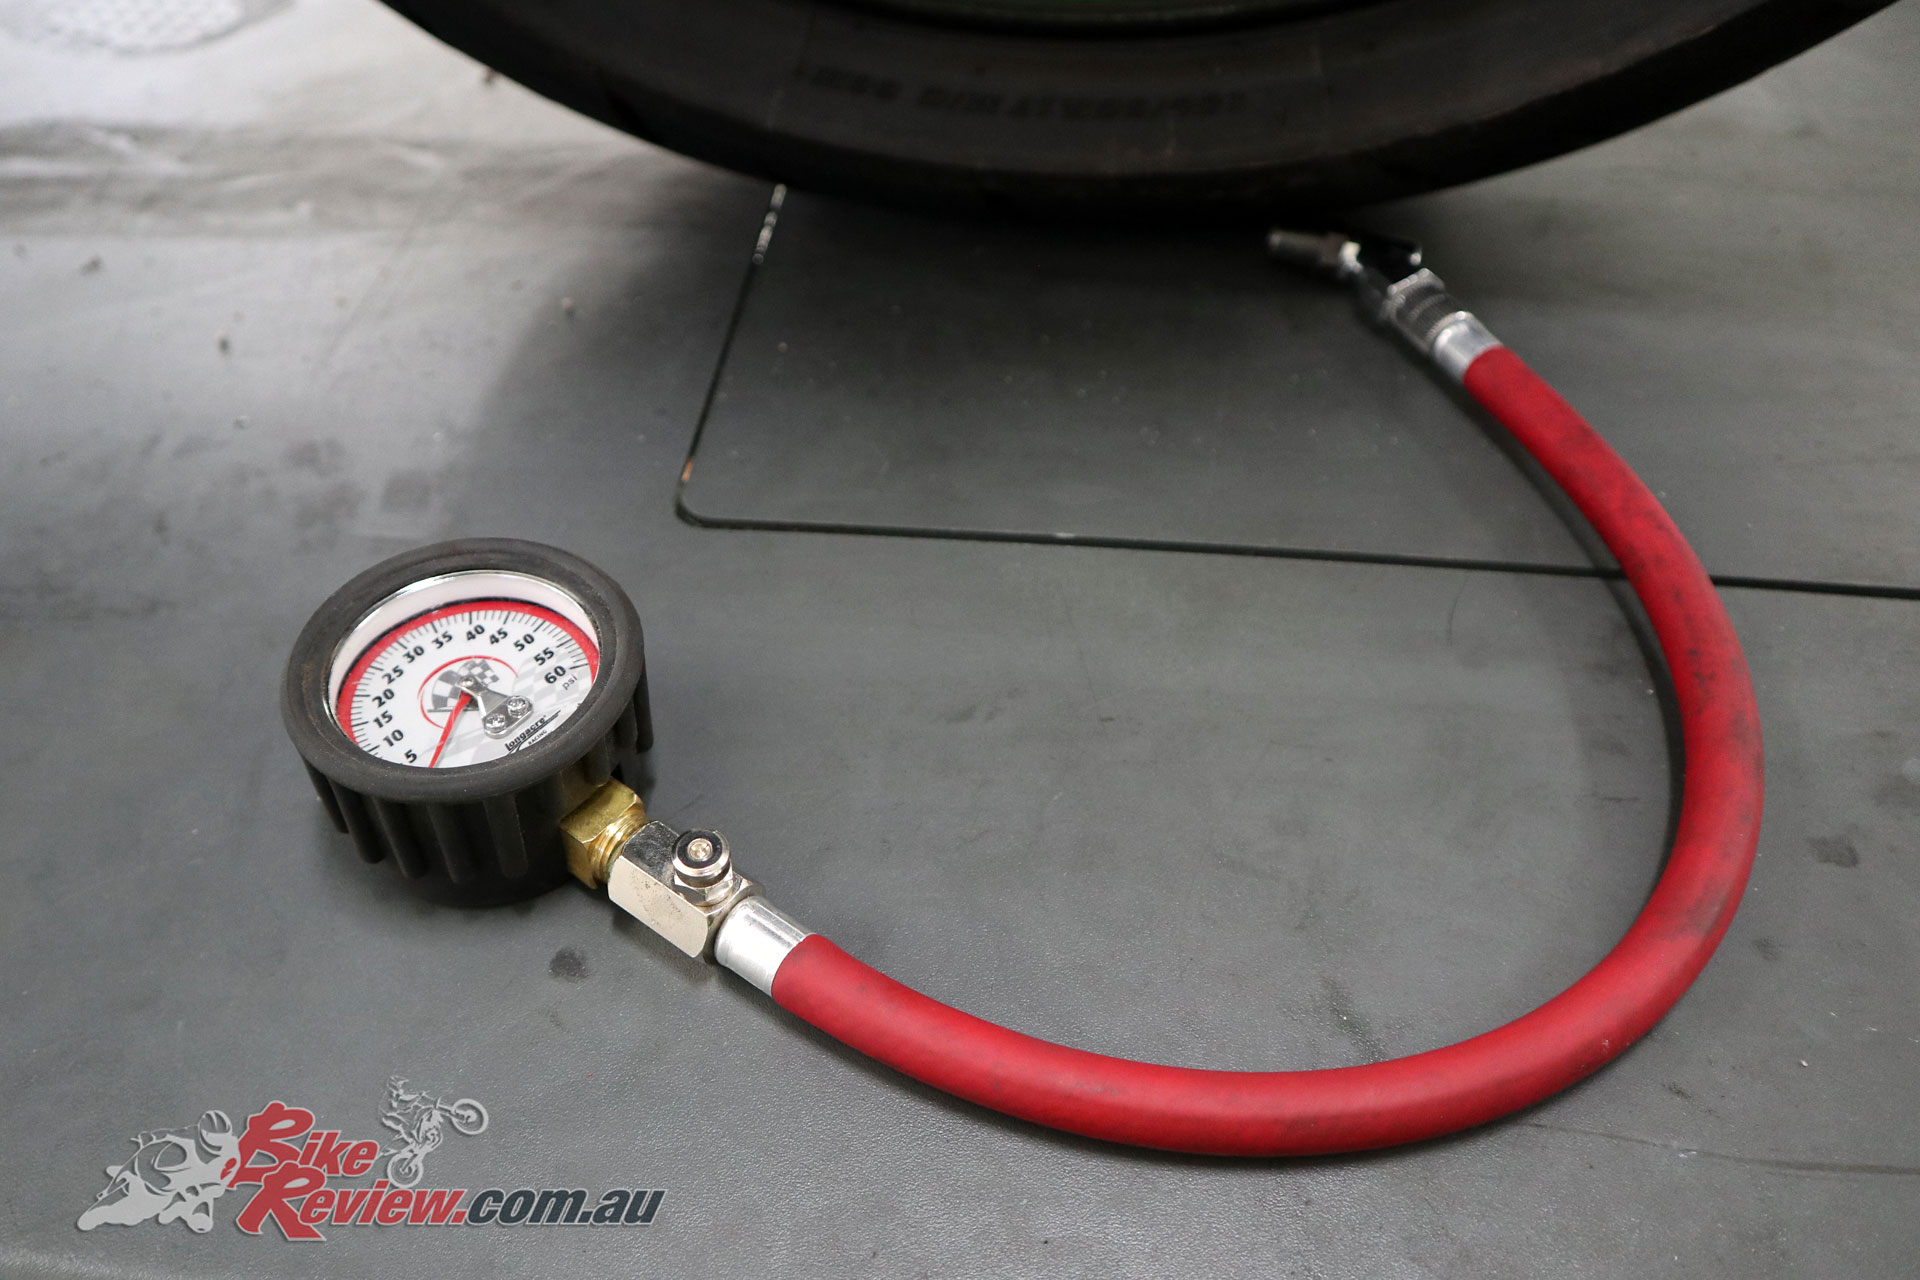
Check tyre pressures with a high quality gauge
Another really important area that Jonny brought up was tyre pressures, and not relying on service station machines to get the pressure right. He recommended a high quality tyre gauge, checked the tyres on our Ninja 400 and added 1psi to each.
Now on top of all this work there’s a number of other checks Jonny did, including idle, throttle and clutch operation, brake operation, brake light switches, lubing both lever pivot points, and checking a fair number of bolts including: rotors, steering head/triple and ‘bar mounts, steering play, and the condition/tightness of bolts, nuts and fasteners in general.
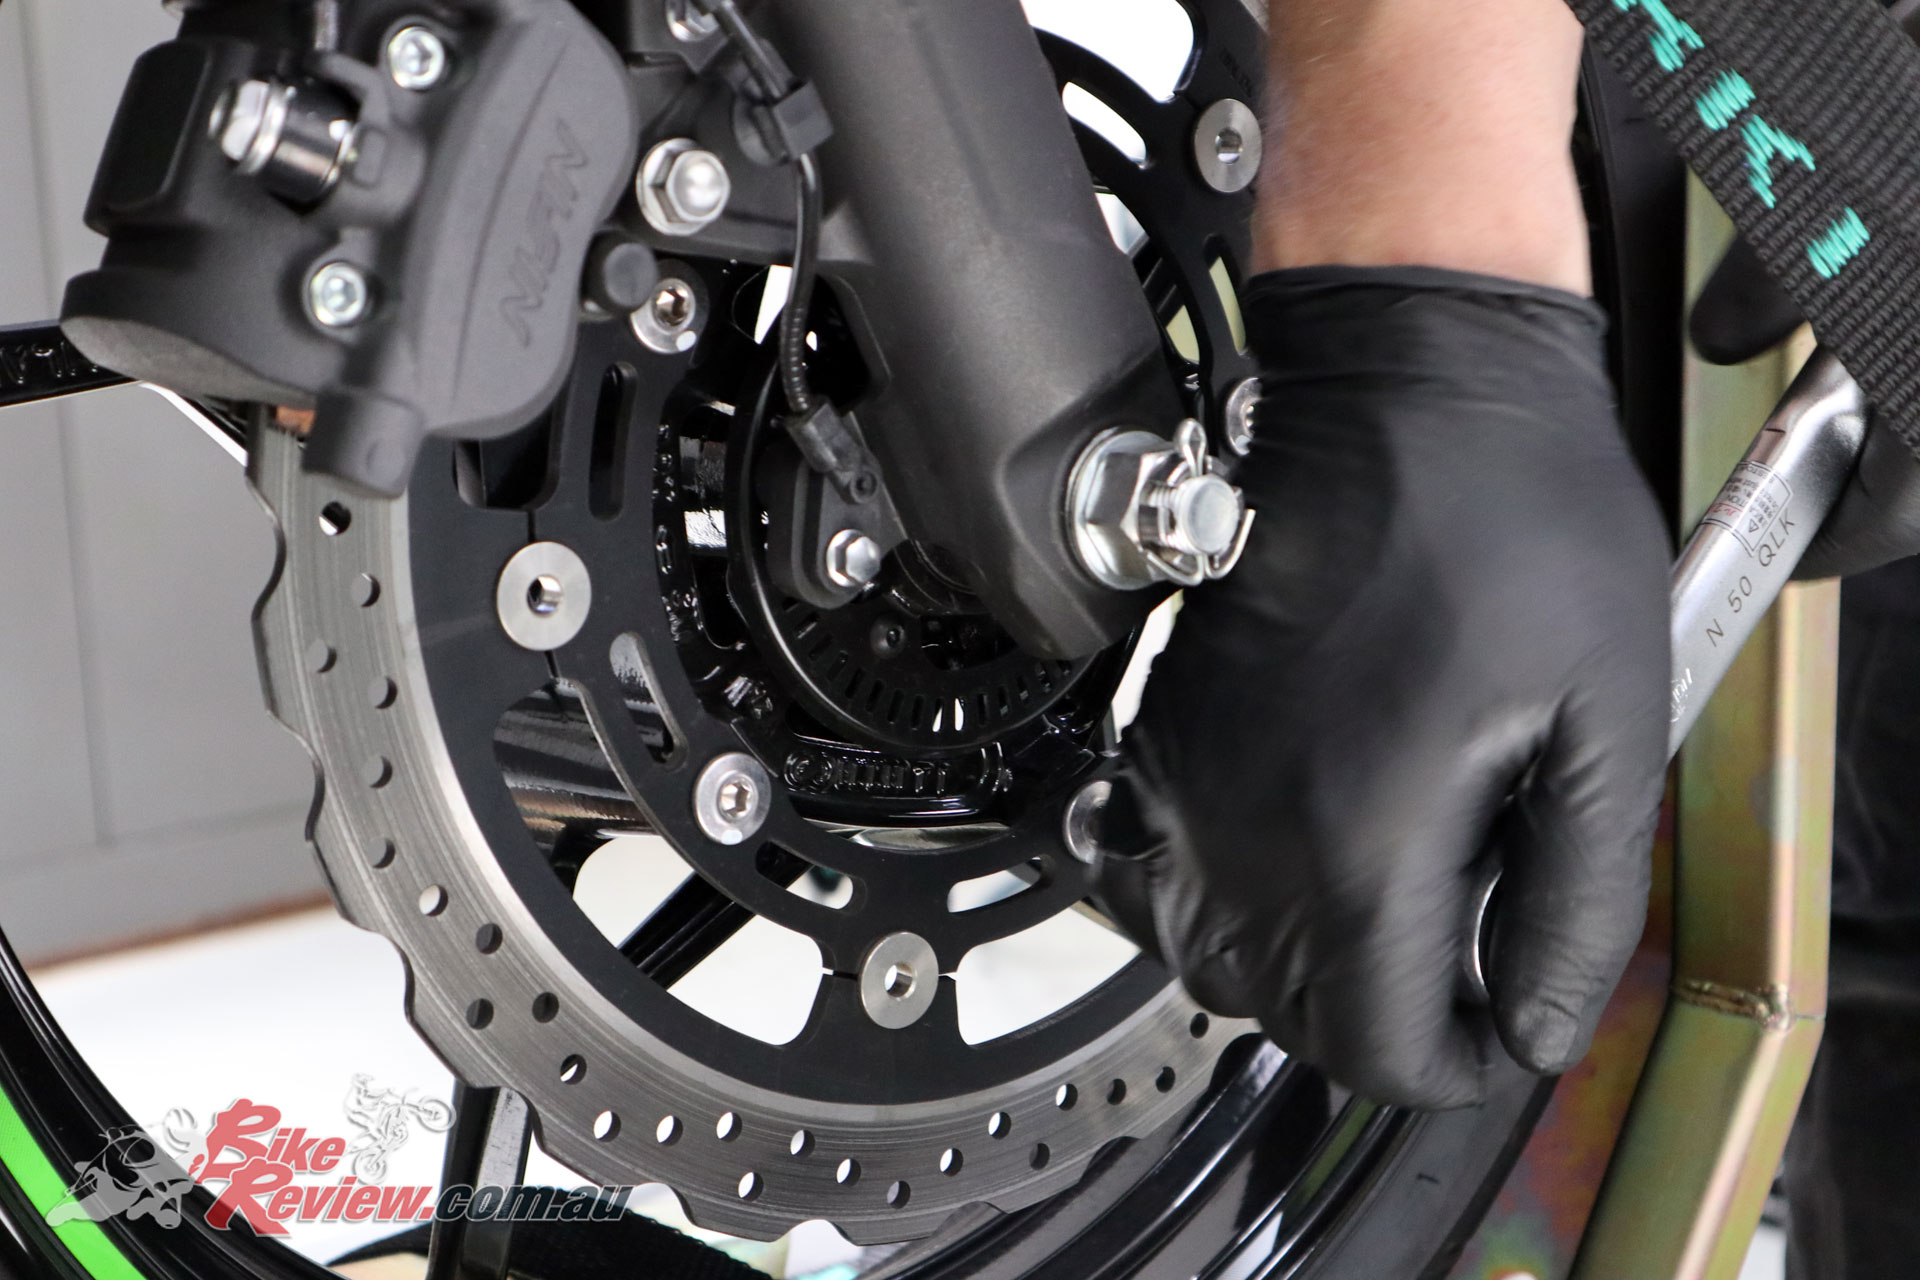
Now to check all those other items on the service list!
The point to remember here, is that the 1000km service is actually fairly broad when done properly and a couple of hours work is probably in the ballpark if the shop are thorough.


Also in your Ninja 400 user manual, you’ll note that Kawasaki really emphasise the importance of this early service, and it is a great time to catch any loose bolts or other minor issues that may have gotten past pre-delivery, or since started to come loose, and nip them in the bud.


The genuine Kawasaki Seat Cowl was an easy install, requiring an extra plate be added on the rear, while the tank bag bolts onto the plate at the base of the tank.
We”ll do a separate review on the Kawasaki Seat Cowl and Tank Bag shortly! A big thanks go to Kawasaki Australia and Jonny for the service!
You Might Also Like


April 6, 2019
Nice detailed work. Where did you buy that sissy bar? I want to put one on my ninja 400 too.
Thanks
April 6, 2019
That’s the Ventura rack system, the taller rack is designed for the Euro-Rally touring pack. Great piece of kit!
May 2, 2021
That seat cowl is a complete pain in the ass to install especially if you follow Kawasaki’s instructions and take all the fairings off.