Heath tests out the Ducati Data Analyser (DDA+ GPS) on his road and track 1299 Panigale. Words: Heath Griffin
Ducati’s factory DDA + GPS data acquisition and analysis system comes standard on the race bred 1199 “R” model, and is available as a $760 optional addition on the 899, 959, 1299 and 1299 S Ducati models, as a Ducati Performance accessory.
This “off the shelf” telemetry system, integrates a GPS signal to record lap times automatically and provide visualisation on the circuit map of the path ridden. It also makes use of the bike’s range of sensors to record: throttle position, speed, rpm, gear engaged, engine temperature, DTC activation, and lean angle.
With a number of manufacturers now offering some sort of data collection system as an option on their sports bikes I was keen to test out the Ducati offering to see what it was capable of.
As this was going on my long term Ducati 1299 model, for which the system is an optional extra, there was some fitting required prior to use.
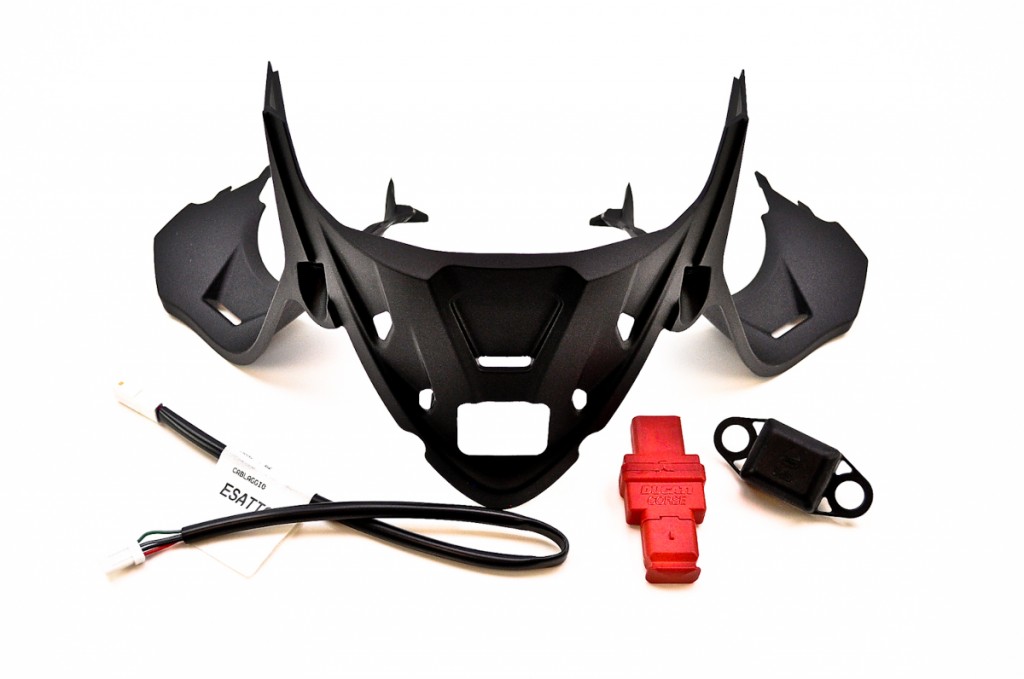
The kit comprises two main components, being the GPS sensor itself, and a special USB collection module. The GPS sensor mounts at the front of the bike under the screen, and requires removal of the side fairing panels, mirrors, nose fairing and screen in order to gain access to the mounting position.
Removal of these components can be a little difficult to work out due to the way in which a number of hidden fasteners hold everything together, so if you are going to attempt fitment yourself a healthy amount of patience is required to ensure you don’t force anything and break a plastic mounting tab.
If you do break anything this could become an expensive exercise, so if you don’t have experience pulling apart late model sports bike bodywork I’d suggest having your local Ducati dealer complete the fitting, as this will be far cheaper than replacing a nose fairing should you miss something and cause a breakage.

Here you can see the GPS unit fitted under the screen. Getting it into position requires a fair bit of fairing removal, with a connection already provided and ready to go, on the standard harness.
Once you gain access to the mounting position fitment is very straight forward, requiring two supplied mounting screws and a simple connection into the corresponding electronic plug on the standard wiring loom.
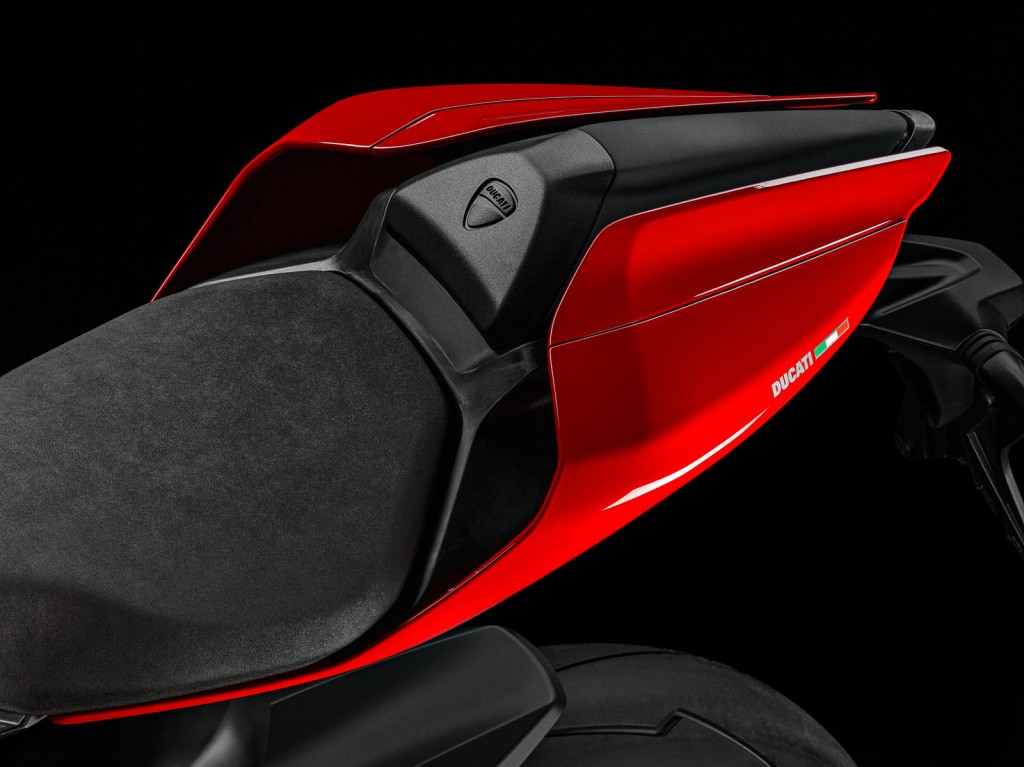
The USB dongle is a simple plug and play device that is fitted under the tail cowl, and needs to be removed when not in use, to prevent it draining the battery.
The USB module is much easier, and simply attaches to the supplied plug under the standard tail piece cover. I’ll just warn you here that it is important to unplug the USB module when not in use, as it does draw a small amount of current even when the bike is switched off, and will leave you with a flat battery if it is left plugged in for several days.
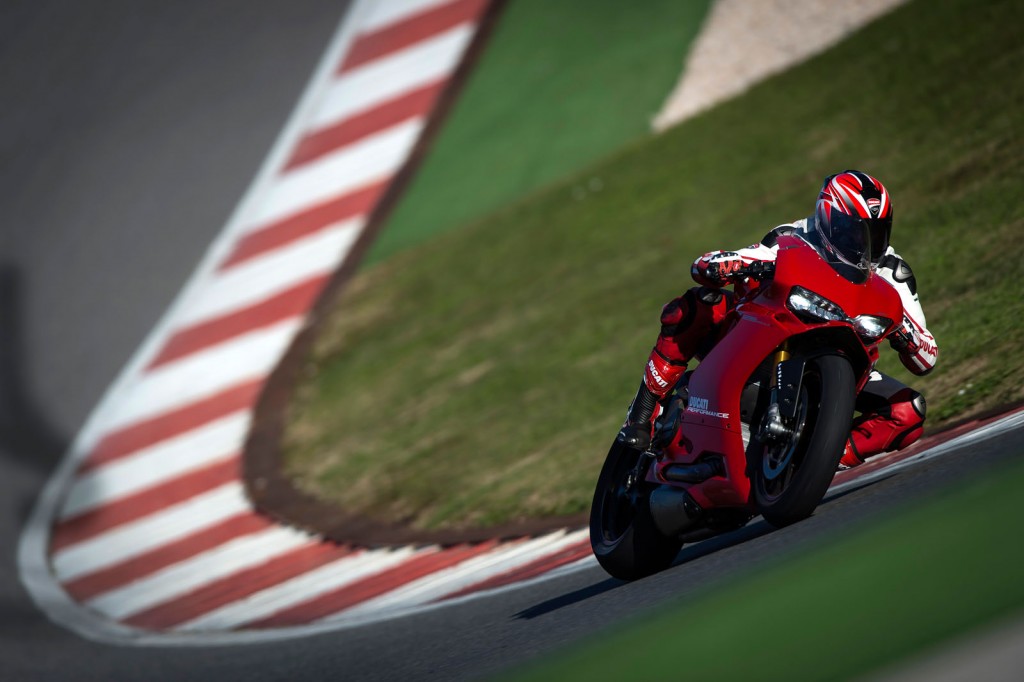
Once I had the DDA+ GPS data analyser fitted I head out to Sydney Motorsport Park to run it through it’s paces. Setting the dash to “Track” mode and activating the system on the dash is all that’s required once it is fitted, then simply trigger the flasher button on the left hand switch block on the first lap of the day as you cross the start/finish line to give the unit it’s reference point from which to record lap times and data.
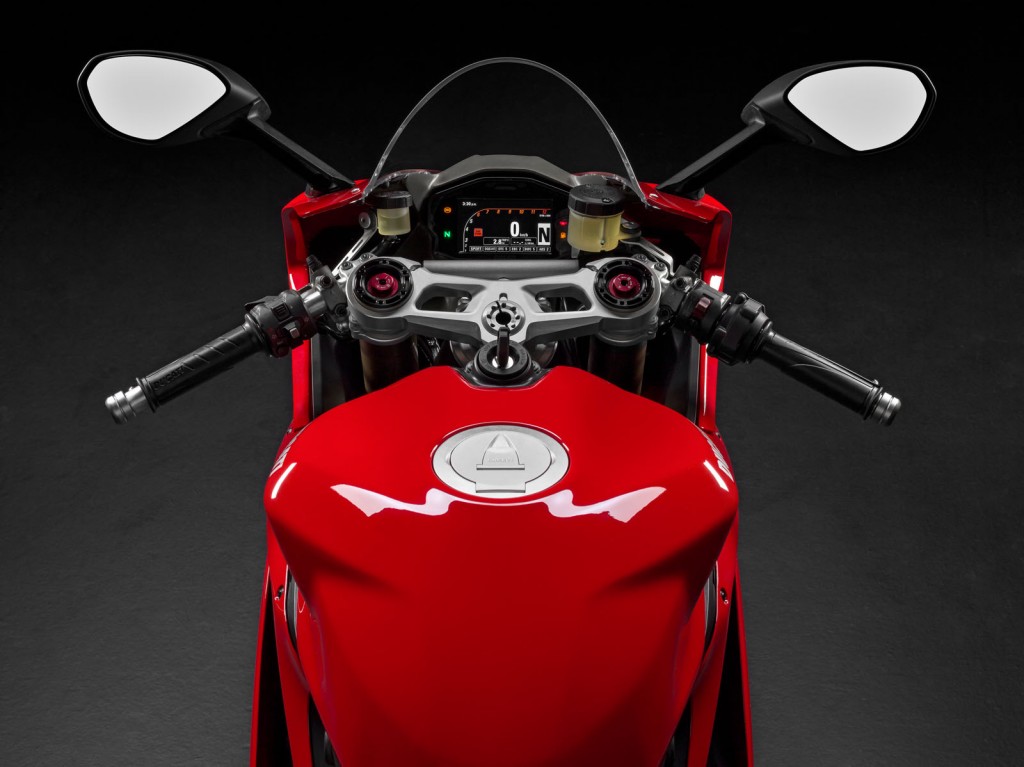
You do need to toggle the DDA+ GPS system back on, after turning the bike off, which is another item to remember at track or race days.
One slightly irritating feature of the system I should mention is that it automatically turns off once you turn the key off, so you do need to go back into the dash and actively turn the system “on” each time you start the bike.
This is not a big issue once you get into the habit, however I did find it easy to forget if you are held up long enough to need to turn the engine off between the time you leave the pit garage and pit lane opening. At a race meet I’d probably have a note taped onto the tank to remind me to activate the system just so I wouldn’t forget in these types of scenarios.
The system only provides a lap time each time you cross the start/finish line, all other data is stored on the dongle and can be retrieved with the software and a computer.
During the session the only information you get from the system is the lap time as you cross the finish line, with the remaining data recorded to be analysed when you return to the pits. Once you have completed the session you can transfer the data onto your laptop from the supplied USB stick, and analyse the supplied graphs and circuit map to review your performance.
The system is quite straight forward to operate and easy interpret, once you send a bit of time familiarising yourself with what each data graph is telling you. It is possible to select one particular lap to look at, overlay two different maps from the same or different sessions, or even import a map from another rider and overlay it with one of your own to compare various areas of performance.
One of the key benefits I took from the test was overlaying the lap data from Ducati supported superbike racer Craig McMartin onto one of my own laps for comparison. This allowed me to see the areas of the track where I was losing the most time, and why that was happening, giving me some focus areas on which to try and improve.
The DDA+ GPS software is not only Mac compatible, but offers the opportunity to put your laps in direct comparison, or alternatively, as Heath did, to compare them to other riders.
For example I could see very quickly that Craig was using third gear through the old turn 10,11,12 complex, where I was changing down to second. Adjusting to using third gear in this section saved me a down shift into turn 11, an upshift while lent over exiting turn 12, and made the whole section of track less frantic as the motor is in more easily controllable part of the rev range.
The other main difference between our data traces was that Craig was opening the throttle earlier and harder and holding it open longer before braking later. This gave me some incentive to push my braking markers deeper, especially into turn one, however more practice, slick tyres and some bigger kahunas might be required before I get near his braking points.
Another area where I found the system very useful was the ability to see how much traction control intervention was happening throughout the lap. Setting the TC setting deliberately high at level six for the first session I could really feel it holding the bike back under acceleration off turns, and this was confirmed by the data trace showing TC activating almost everywhere I had the throttle open.
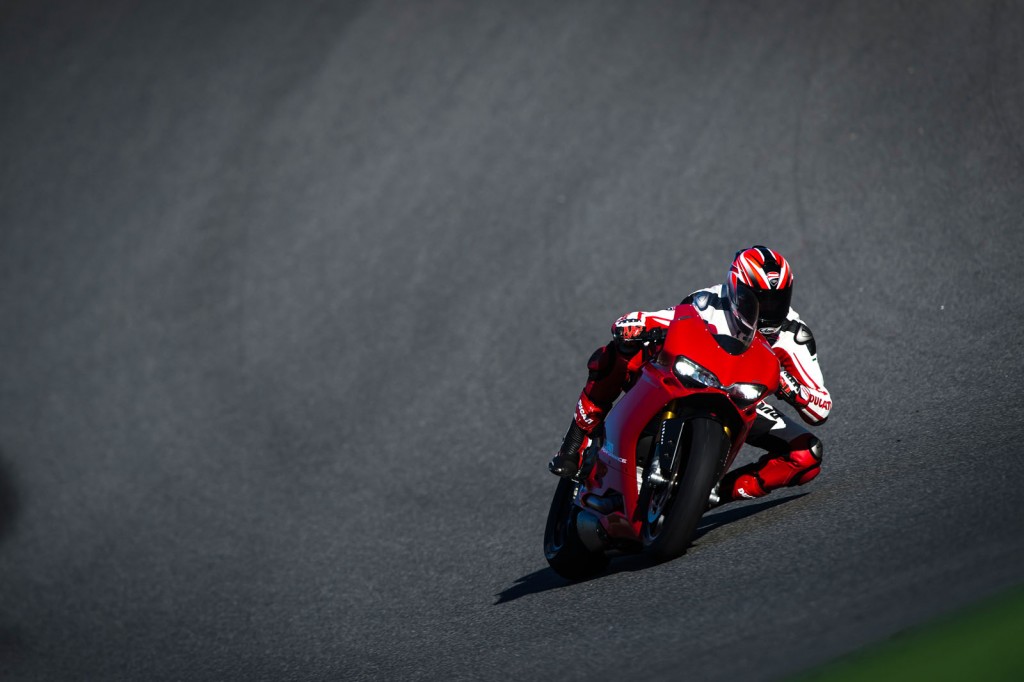
The DDA+ GPS system also keeps track of Traction Control (TC) activation, allowing riders to test what setting will give them optimal performance, or alternatively, a balance between performance and safety.
Reducing the TC setting step by step throughout the day I found that level two or level three gave the best compromise between safety and allowing the bike to accelerate to its full potential, and it was a real confidence booster to be able to see on the data trace that the traction control was in fact kicking in everywhere I thought I could feel it.
Also having the ability to see what my lean angles were at every point of the track provides a wealth of information including whether you are carrying more lean through left corners than right, or if there is a particular corner where you could be carrying more lean, and therefore more speed.
Overall I found the Ducati DDA + GPS system provided a significant amount of useful data, which in turn allowed me to improve my riding and lower my lap times, in a more safe, controlled and targeted manner.
Only a few years ago this type of data acquisition was only available by spending many thousands of dollars and hours of time setting up sensors for an aftermarket system. Now it’s an almost plug and play system which gives most of those advantages at a fraction of the cost.
If you can afford to shell out $30K plus for a Ducati superbike, and attend track days or race on a semi regular basis, then I think the argument for investing in this system is pretty hard to ignore.
Improve your riding, lap faster, and learn to do it in a safer manner, what’s not to like?
Ducati Data Analyser+ GPS (DDA+ GPS)
The Ducati Data Analyser (DDA) includes Mac-compatible software and a USB data recovery device, making it possible to evaluate the performance of the bike and the rider, with graphic presentations for specific areas of data.
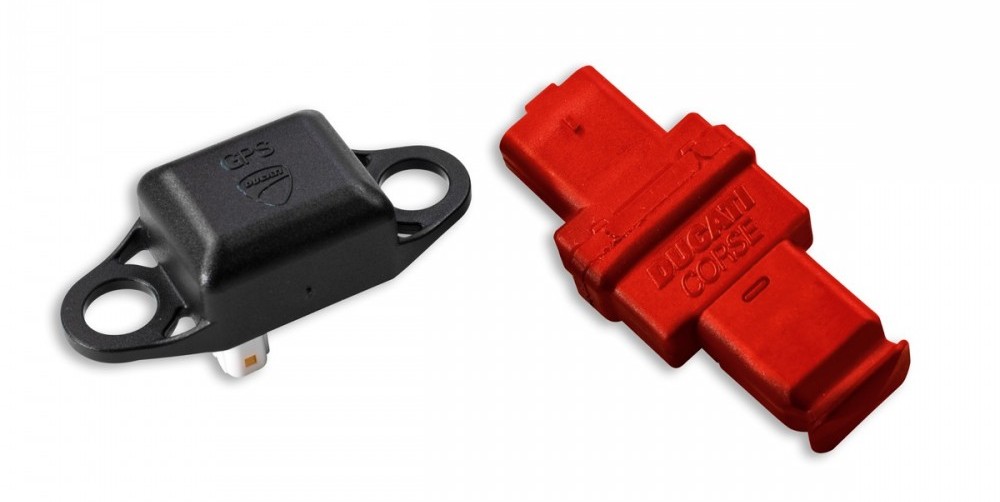
The GPS unit left, that connects under the screen, and the USB dongle that connects in under the bike’s tail cowl. The USB dongle is also disconnected and connected to your computer to check your data.
The DDA+ GPS is the latest generation of the Ducati Data Analyser with GPS functionality and it automatically records the timing of each lap every time the 1299 Panigale crosses the finish line of a track. The rider, crossing the finish line, just needs to press the high-beam flash button on their first lap to set the ‘start/finish’ point. This highly innovative system records the coordinates of the position and then records the timings of each successive lap once it’s been completed.
The DDA+ GPS is available for the 1299 Panigale and the 1299 Panigale S as a Ducati Performance plug-and-play accessory.









January 7, 2019
Thank you,
Given there is little information on this unit when you buy it, I can now fit it after your blog.