
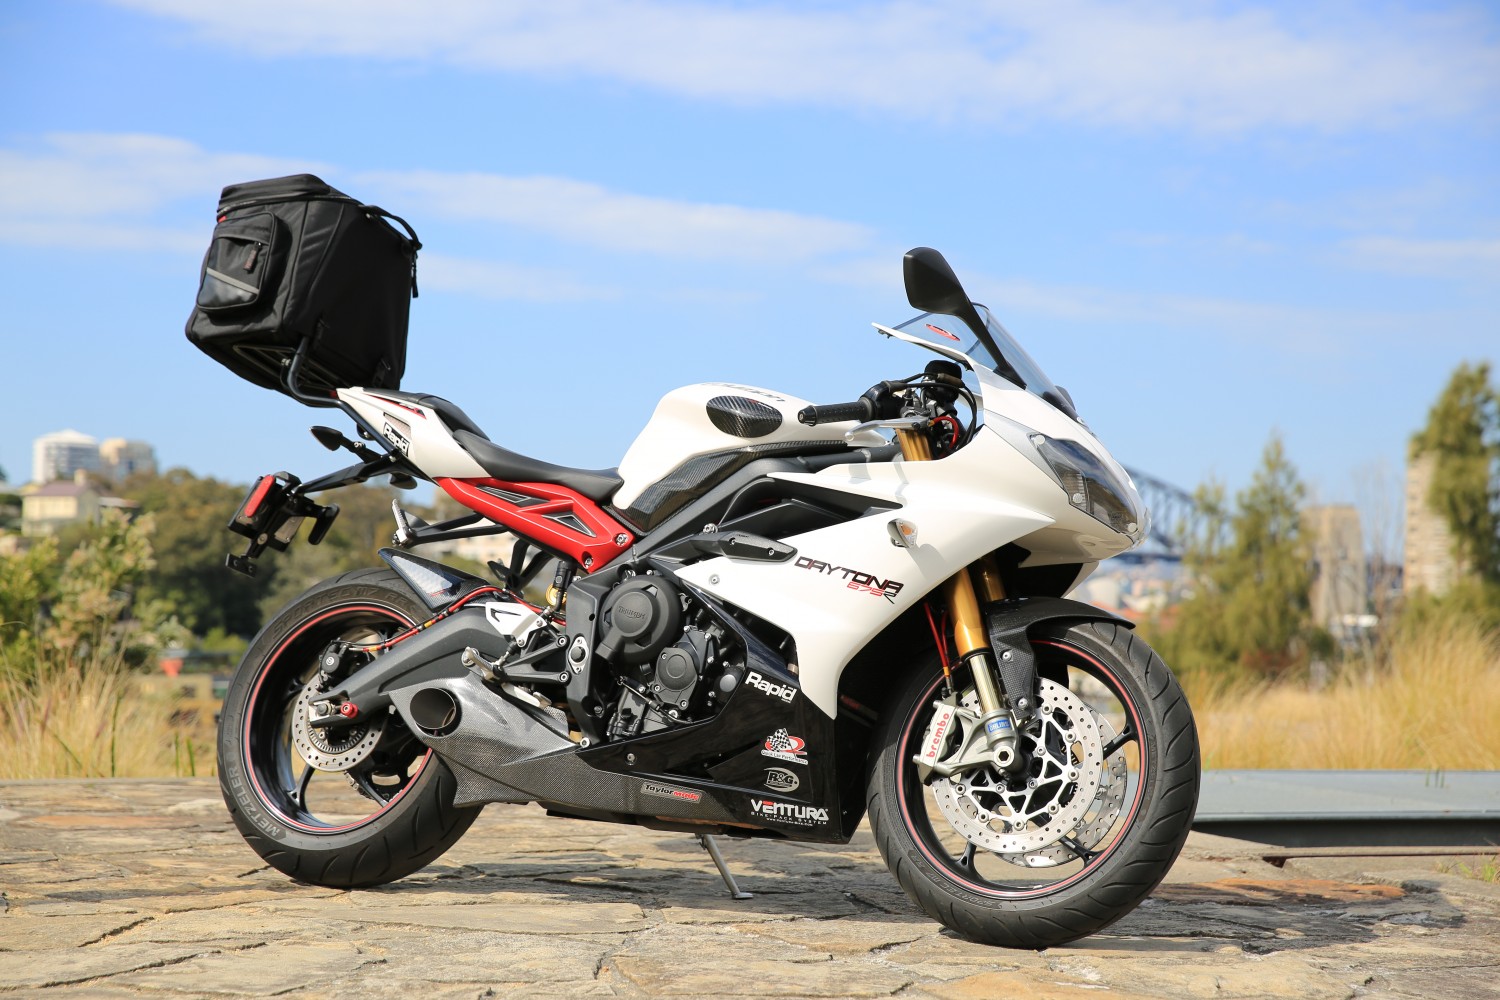
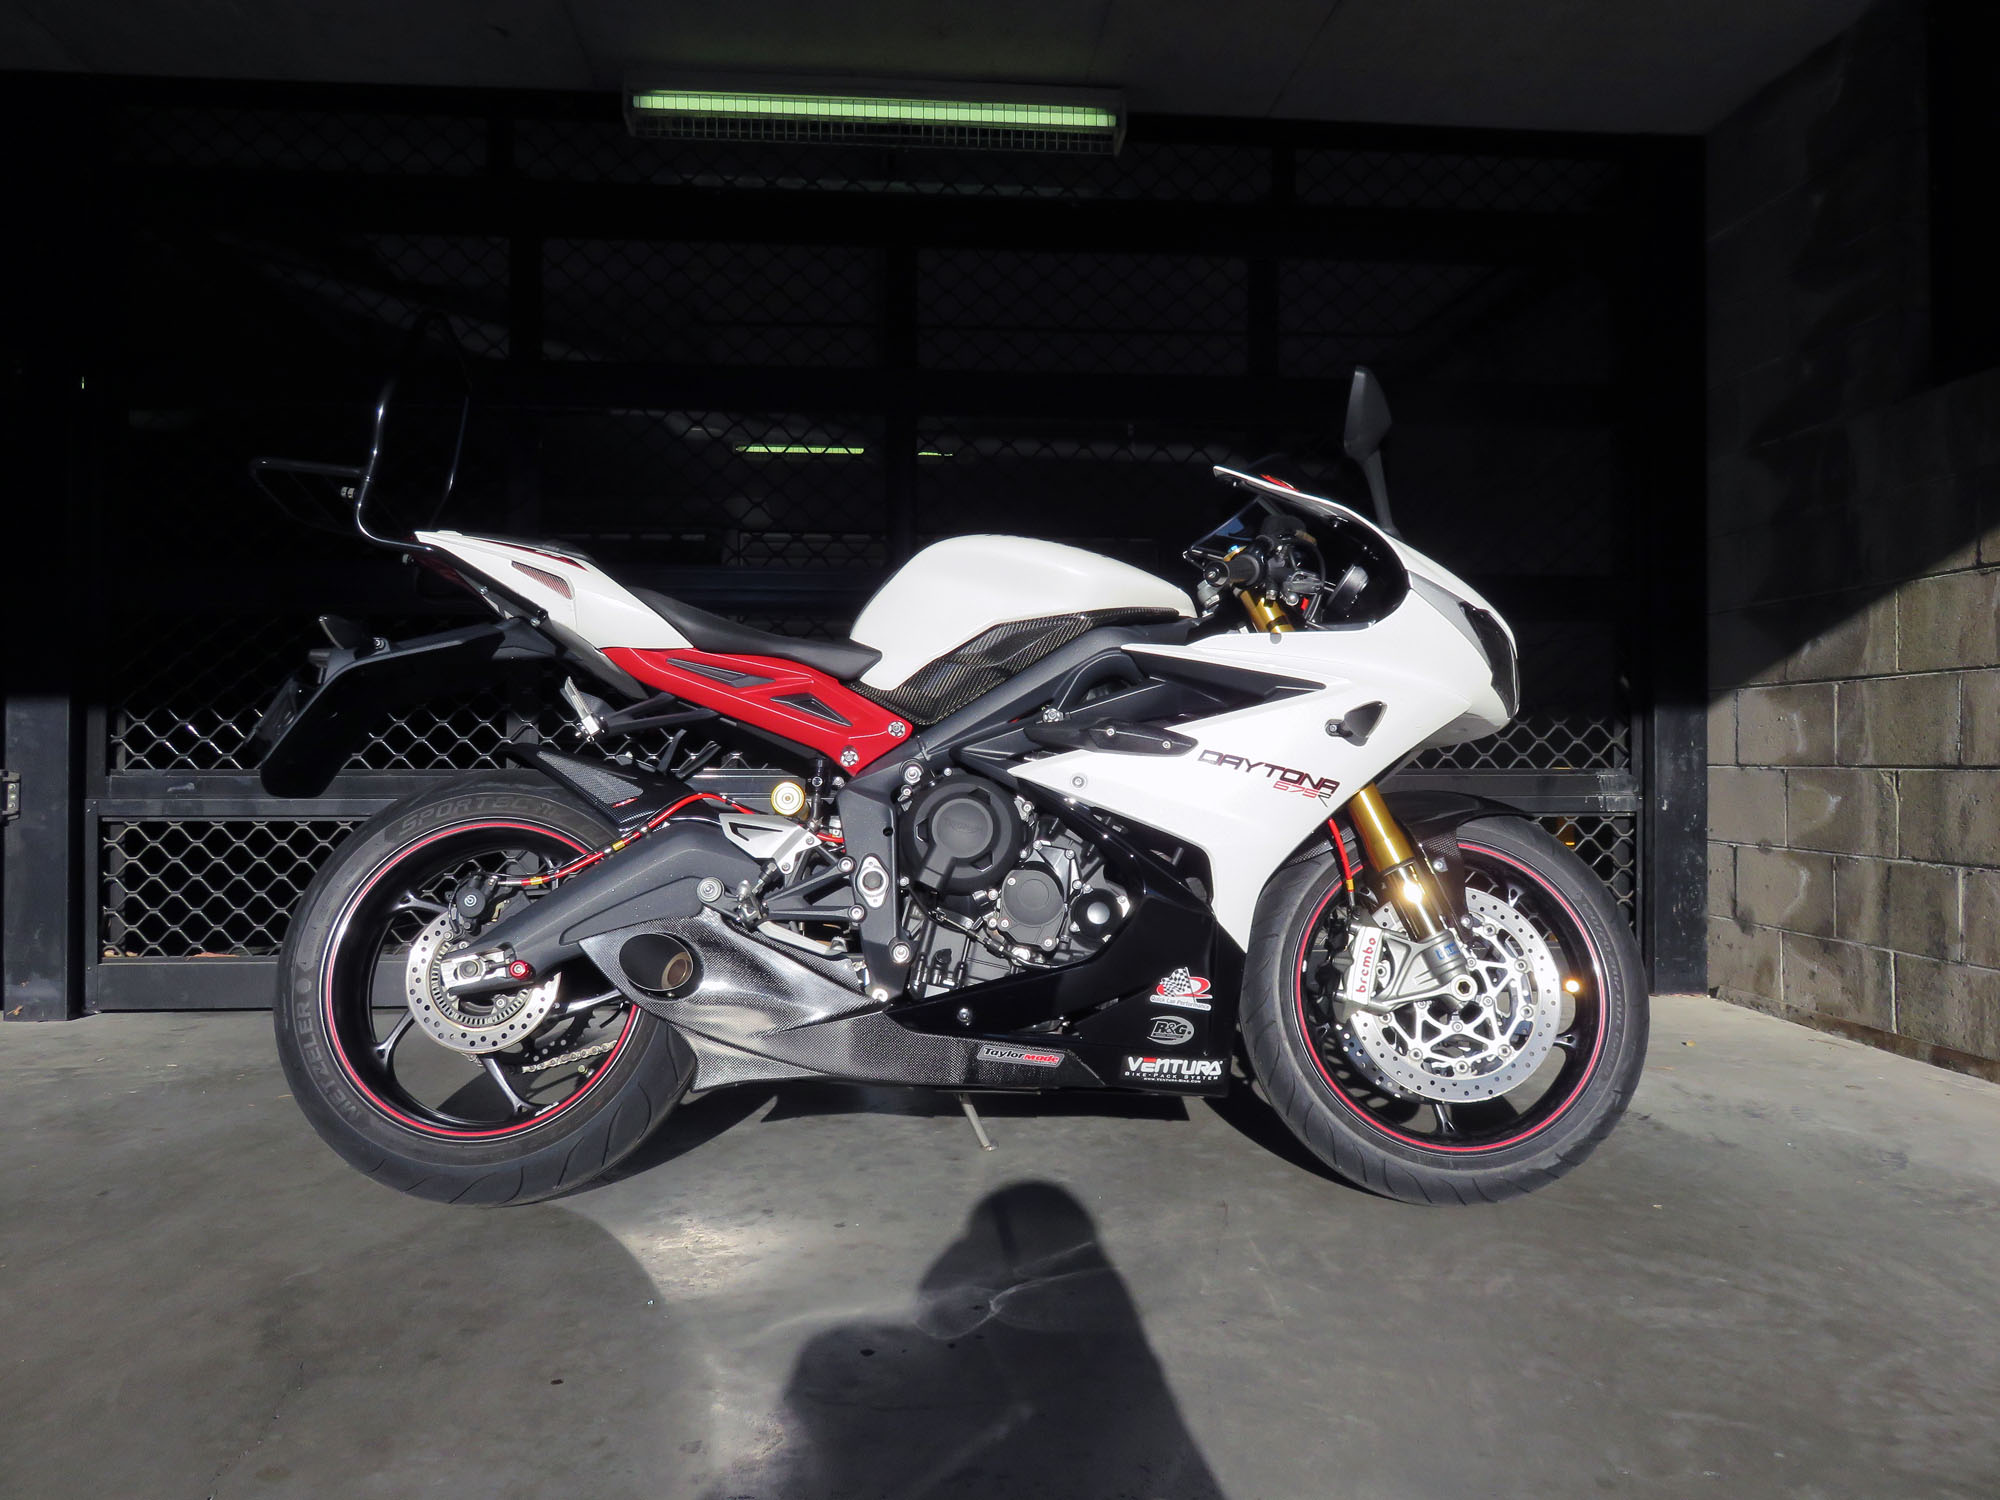
The 2013 Daytona 675R has proven a great everyday ride. Proud owner: Kris Hodgson
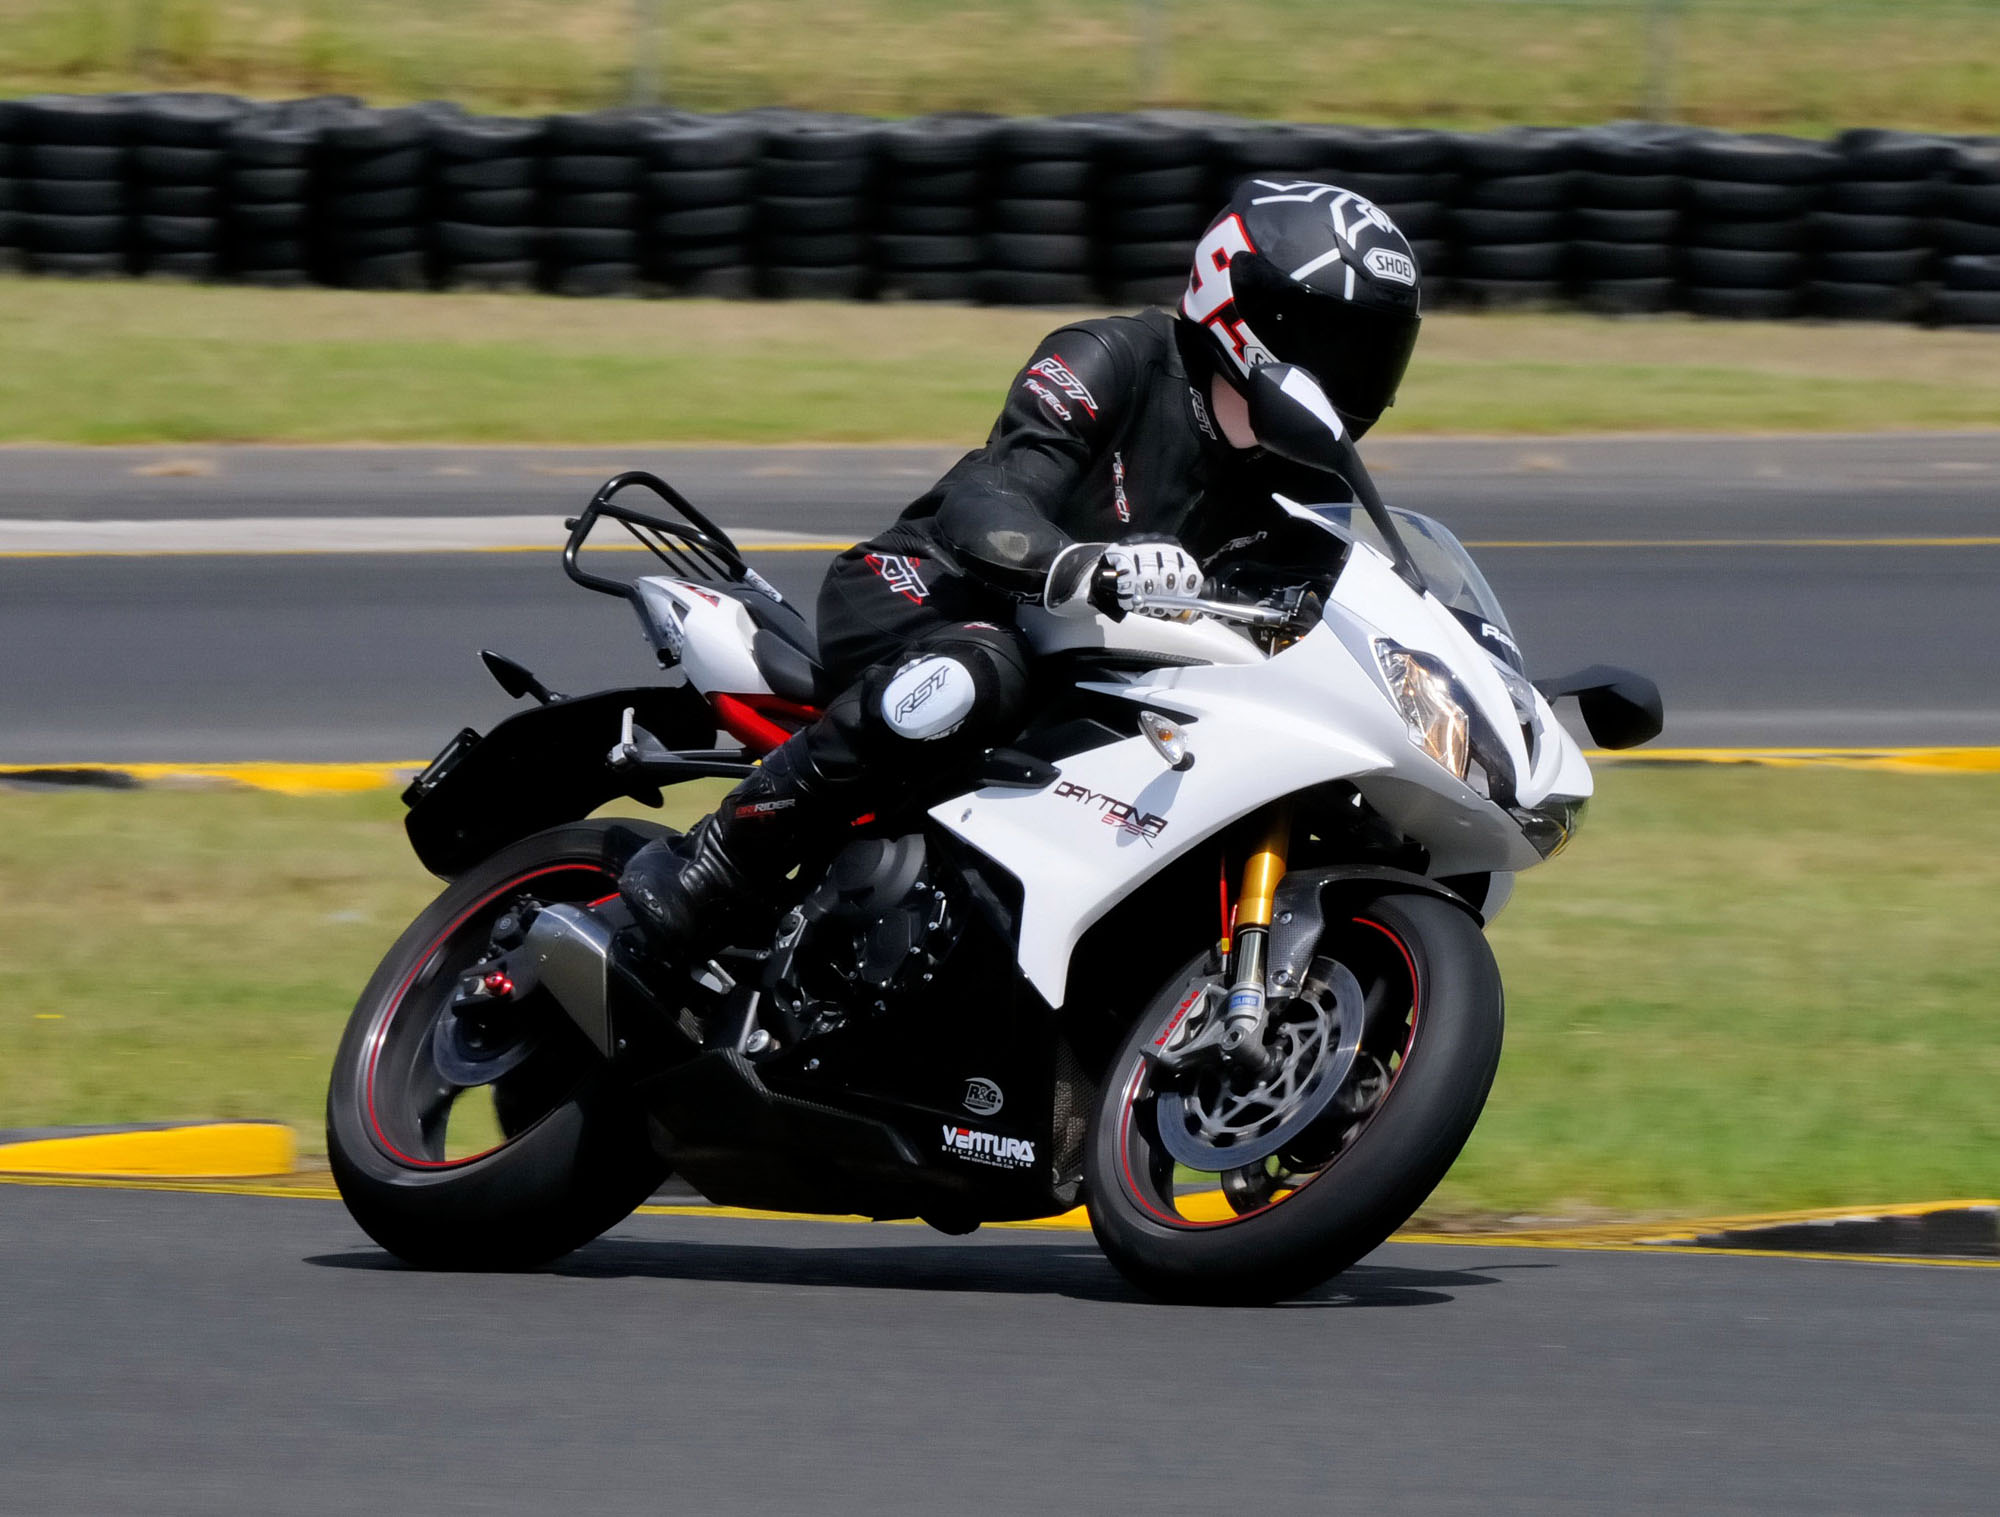
When I first rode the 2013 Triumph Daytona 675R in a supersport comparo back in 2013 I was blown away. There was a heap of great machines but this was the one that really captured my imagination.
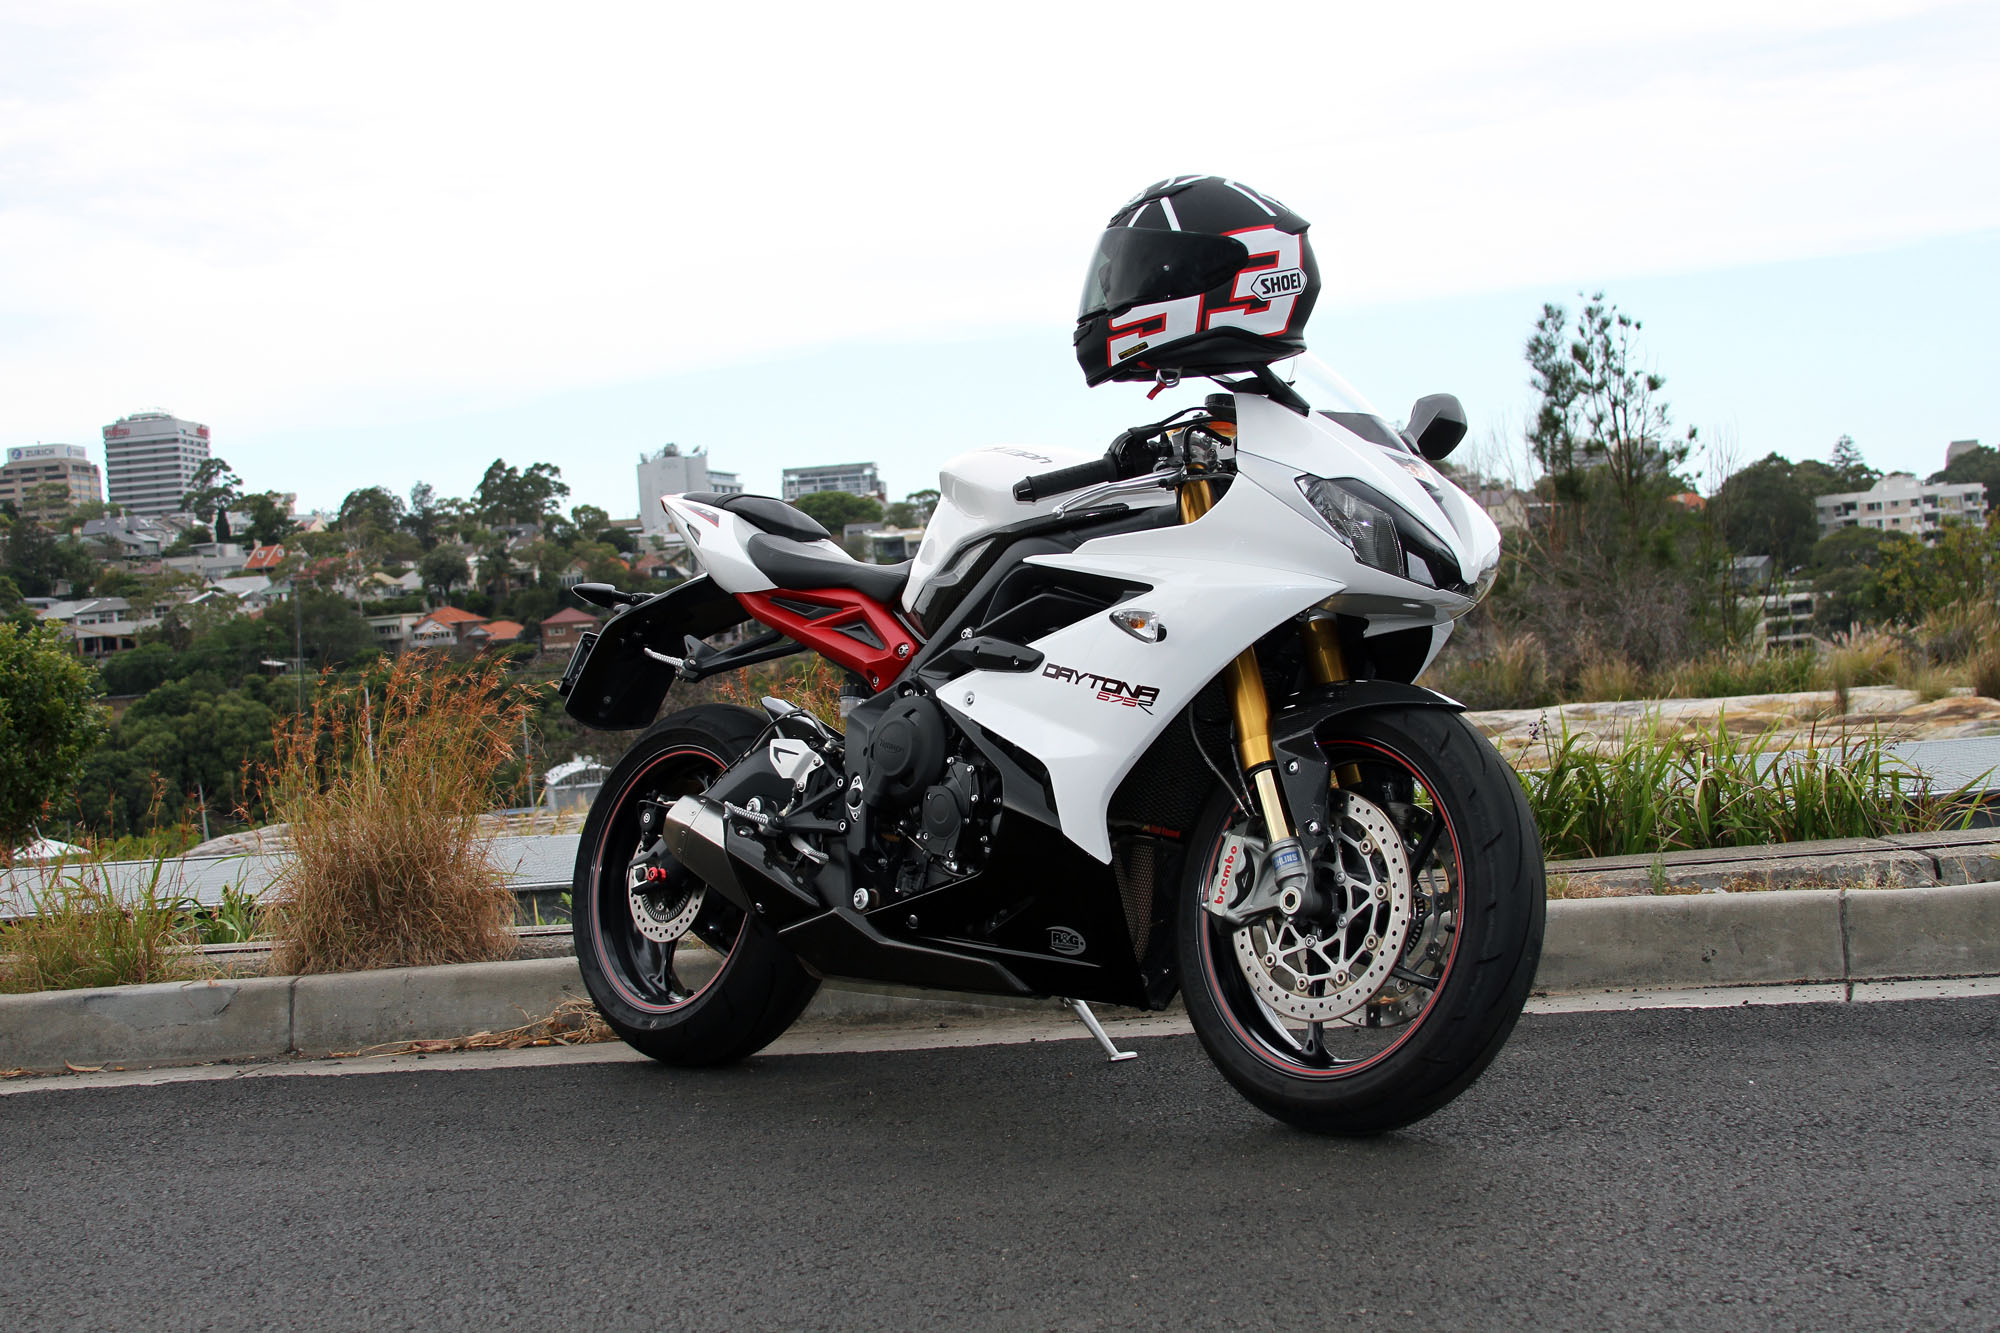
I then got to test the standard model which was just as great, but when it came to replacing my Speed Triple I couldn’t go past the Ohlins suspension, Brembo brakes and carbon-fibre goodies on offer for an absolute steal on the R model.
Since then I’ve had the chance to do a fair bit to the bike, from a Ventura Euro-Rally rack and bag system to ensure I can use the bike for practically anything, through to new rubber (Metzeler M7 RRs), some additional carbon-fibre and lots more.
Some jobs have been done while the bike’s been being serviced, but a lot I’ve done myself, which is great if you’ve got the confidence and patience to work through things yourself. Knowing how to do all the basics on your bike will help prevent problems, save you money and increase your pride in your machine.
Here’s a look at what’s been done.
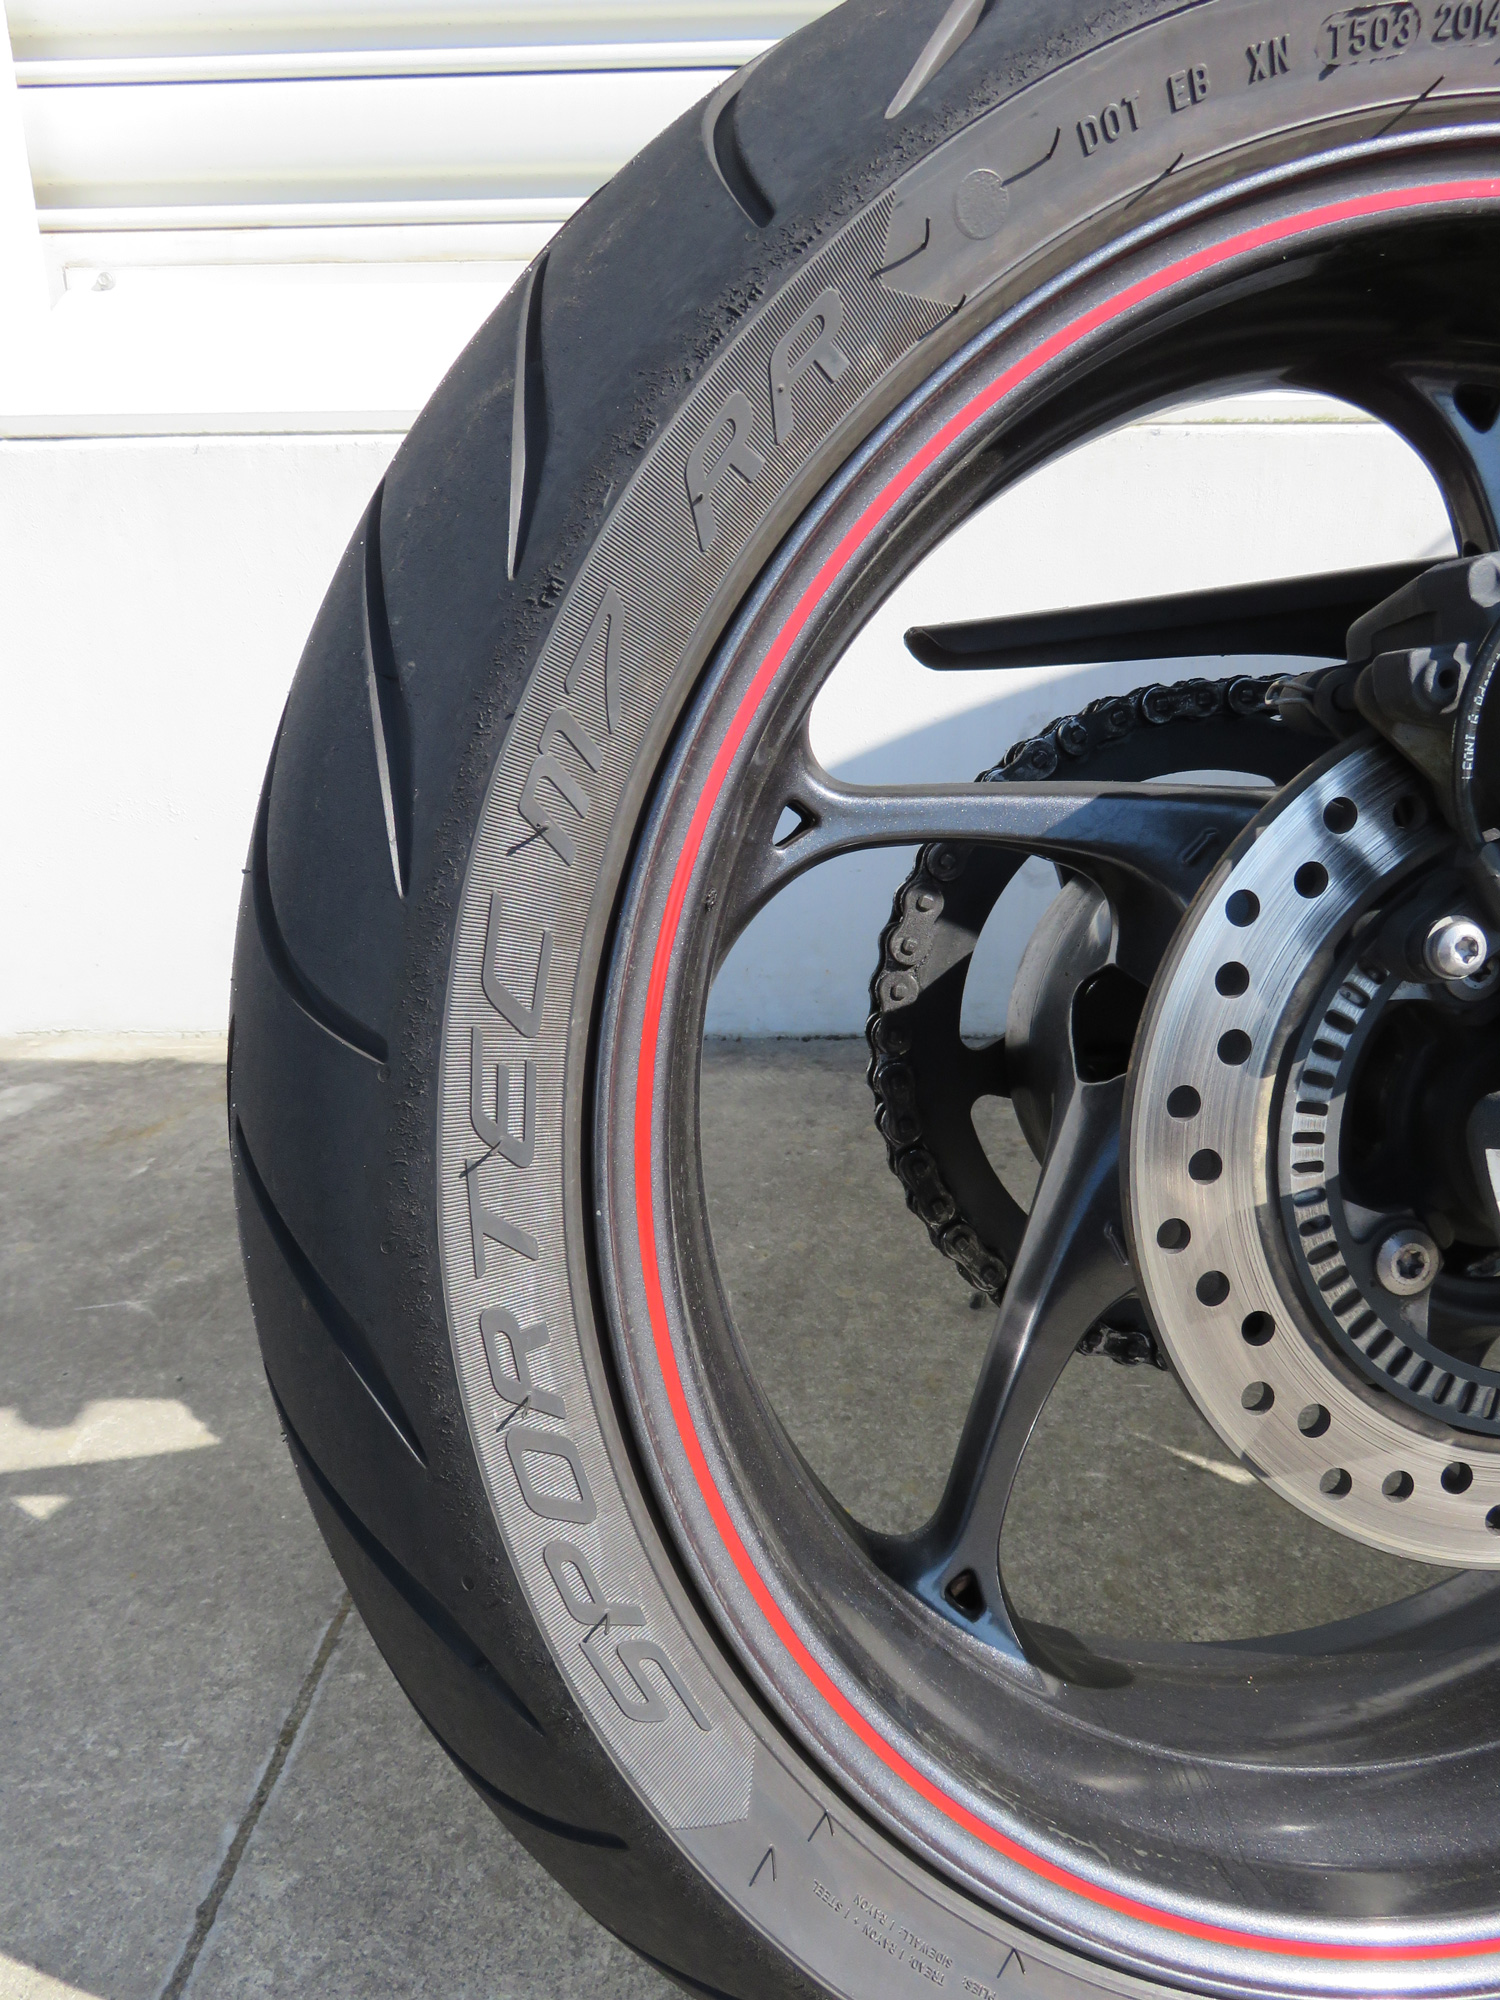
A set of Metzeler Sportec M7 RR tyres from GMoto Imports is honestly my favourite mod on the bike. It’s an easy one to forget but good tyres keep you safe, let you have fun with confidence and ensure wet weather isn’t a drag. The M7 RRs are amazing in the wet, warm up super fast and are just an amazing all rounder, especially for an everyday rider such as myself. They’ve done track days, training days, plenty of long distance commuting with very little wear and continue to impress. Wear after 10,000km is light with grip remaining great.
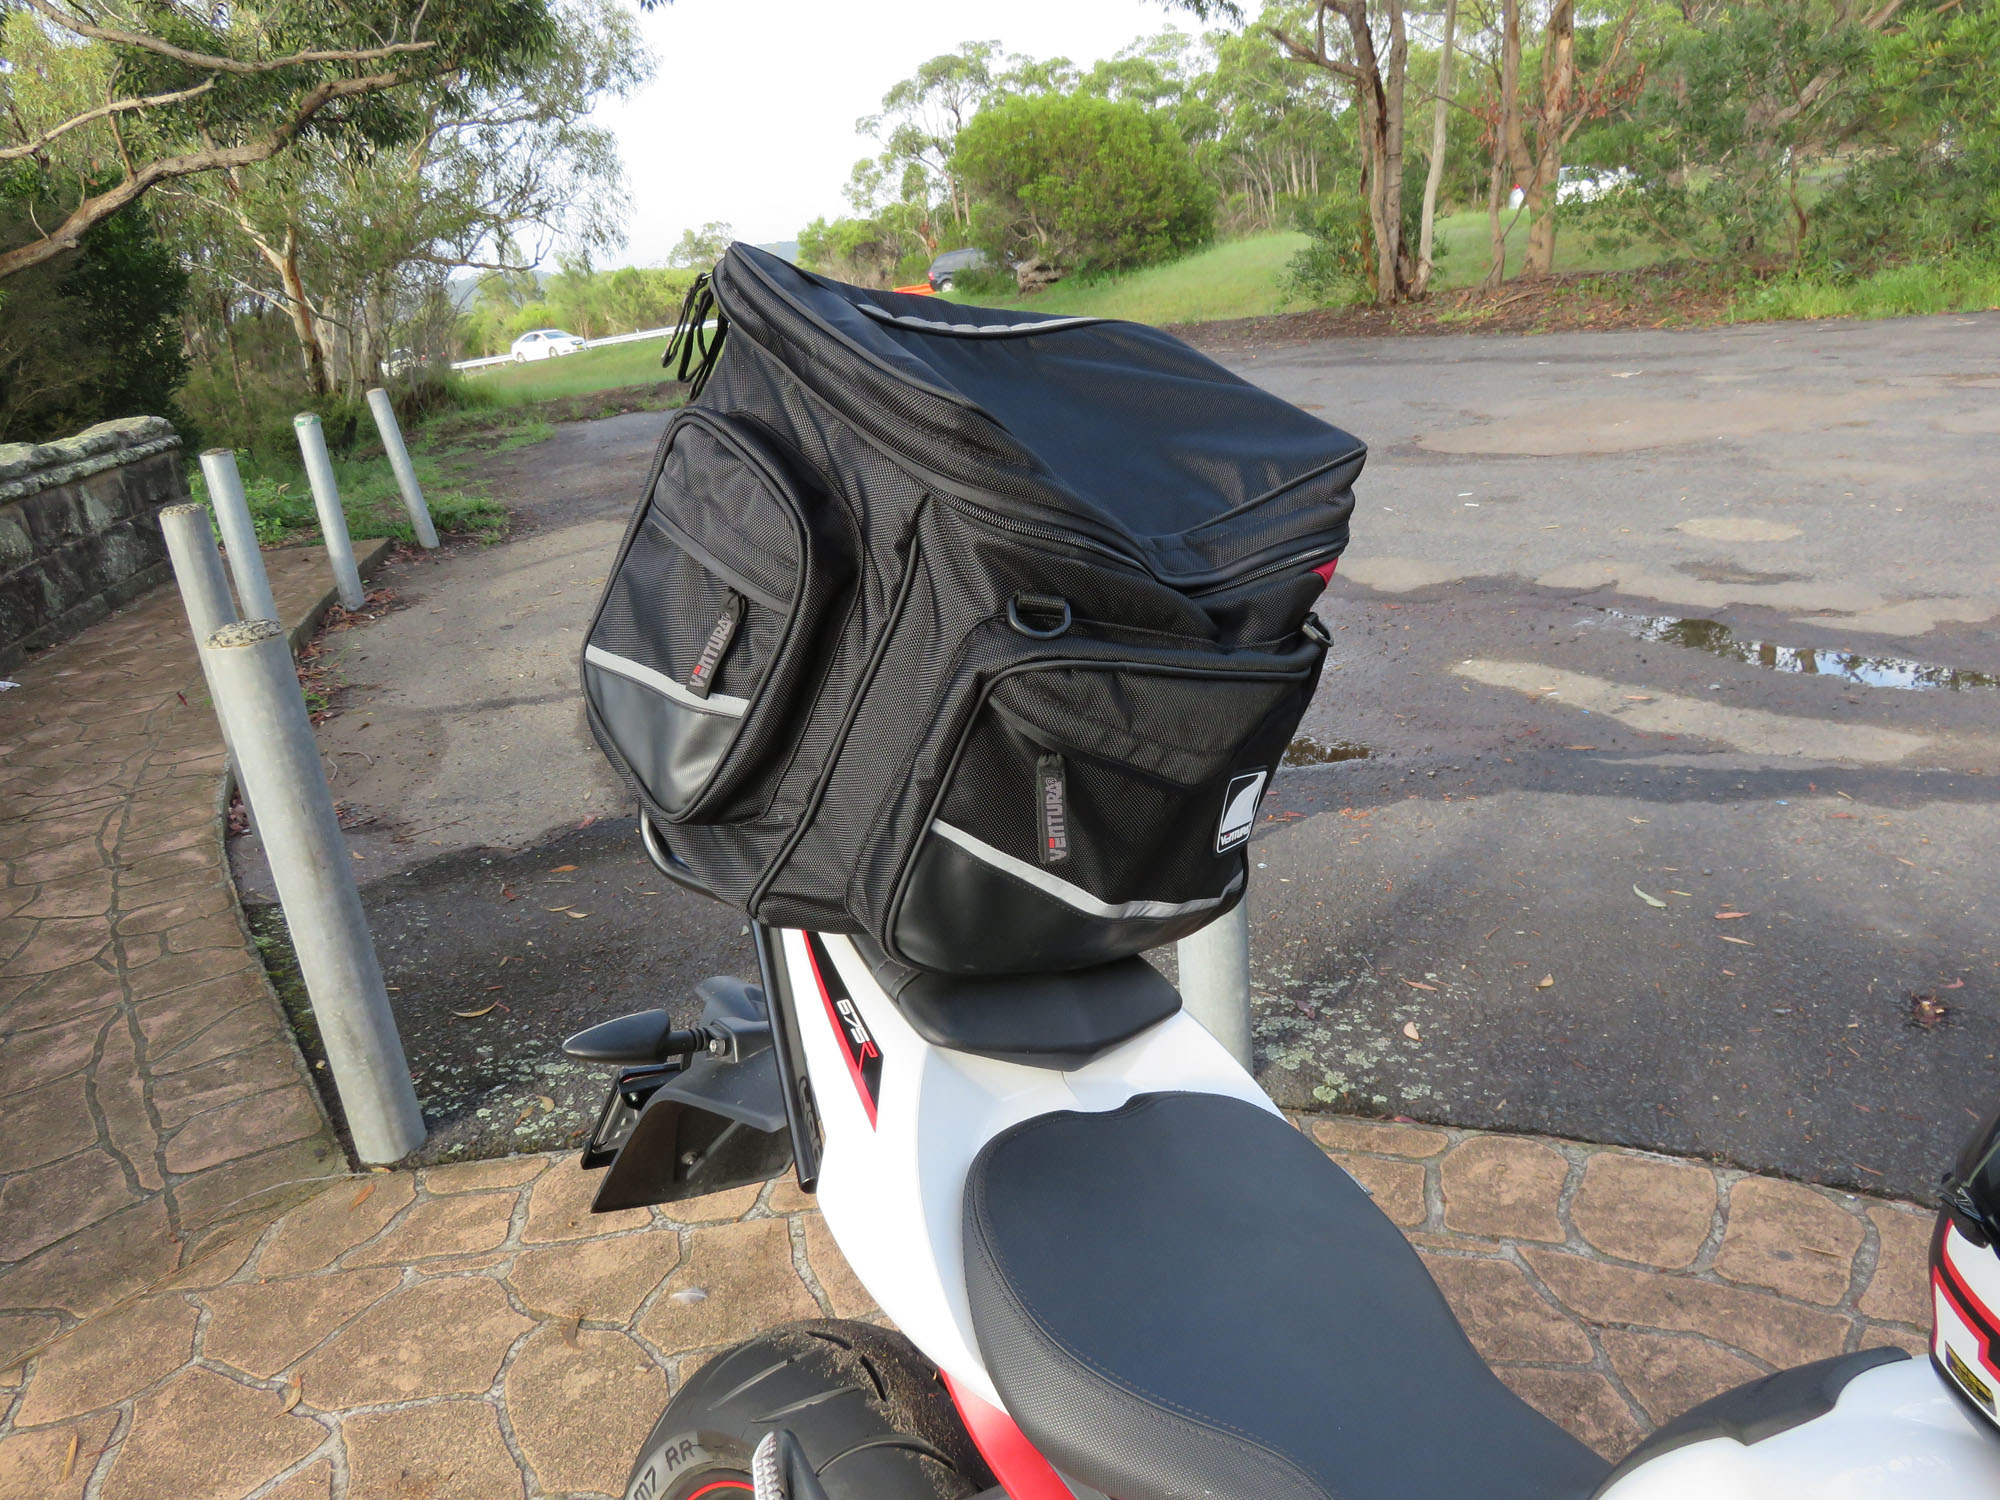
A Ventura rack and bag combo from Kenma Australia, like this Euro-Rally setup is something I can’t recommend highly enough. Storage is great, although there are more stylish and aerodynamic bags also available as well as top boxes, smaller racks, grab rails and even some much smaller bags. For the Daytona 675R you’ll need to drill through the undertail plastics for installation. For other bikes they’ll mount straight to the pillion peg mounts. Installation was easy and I use the rack and bag daily.
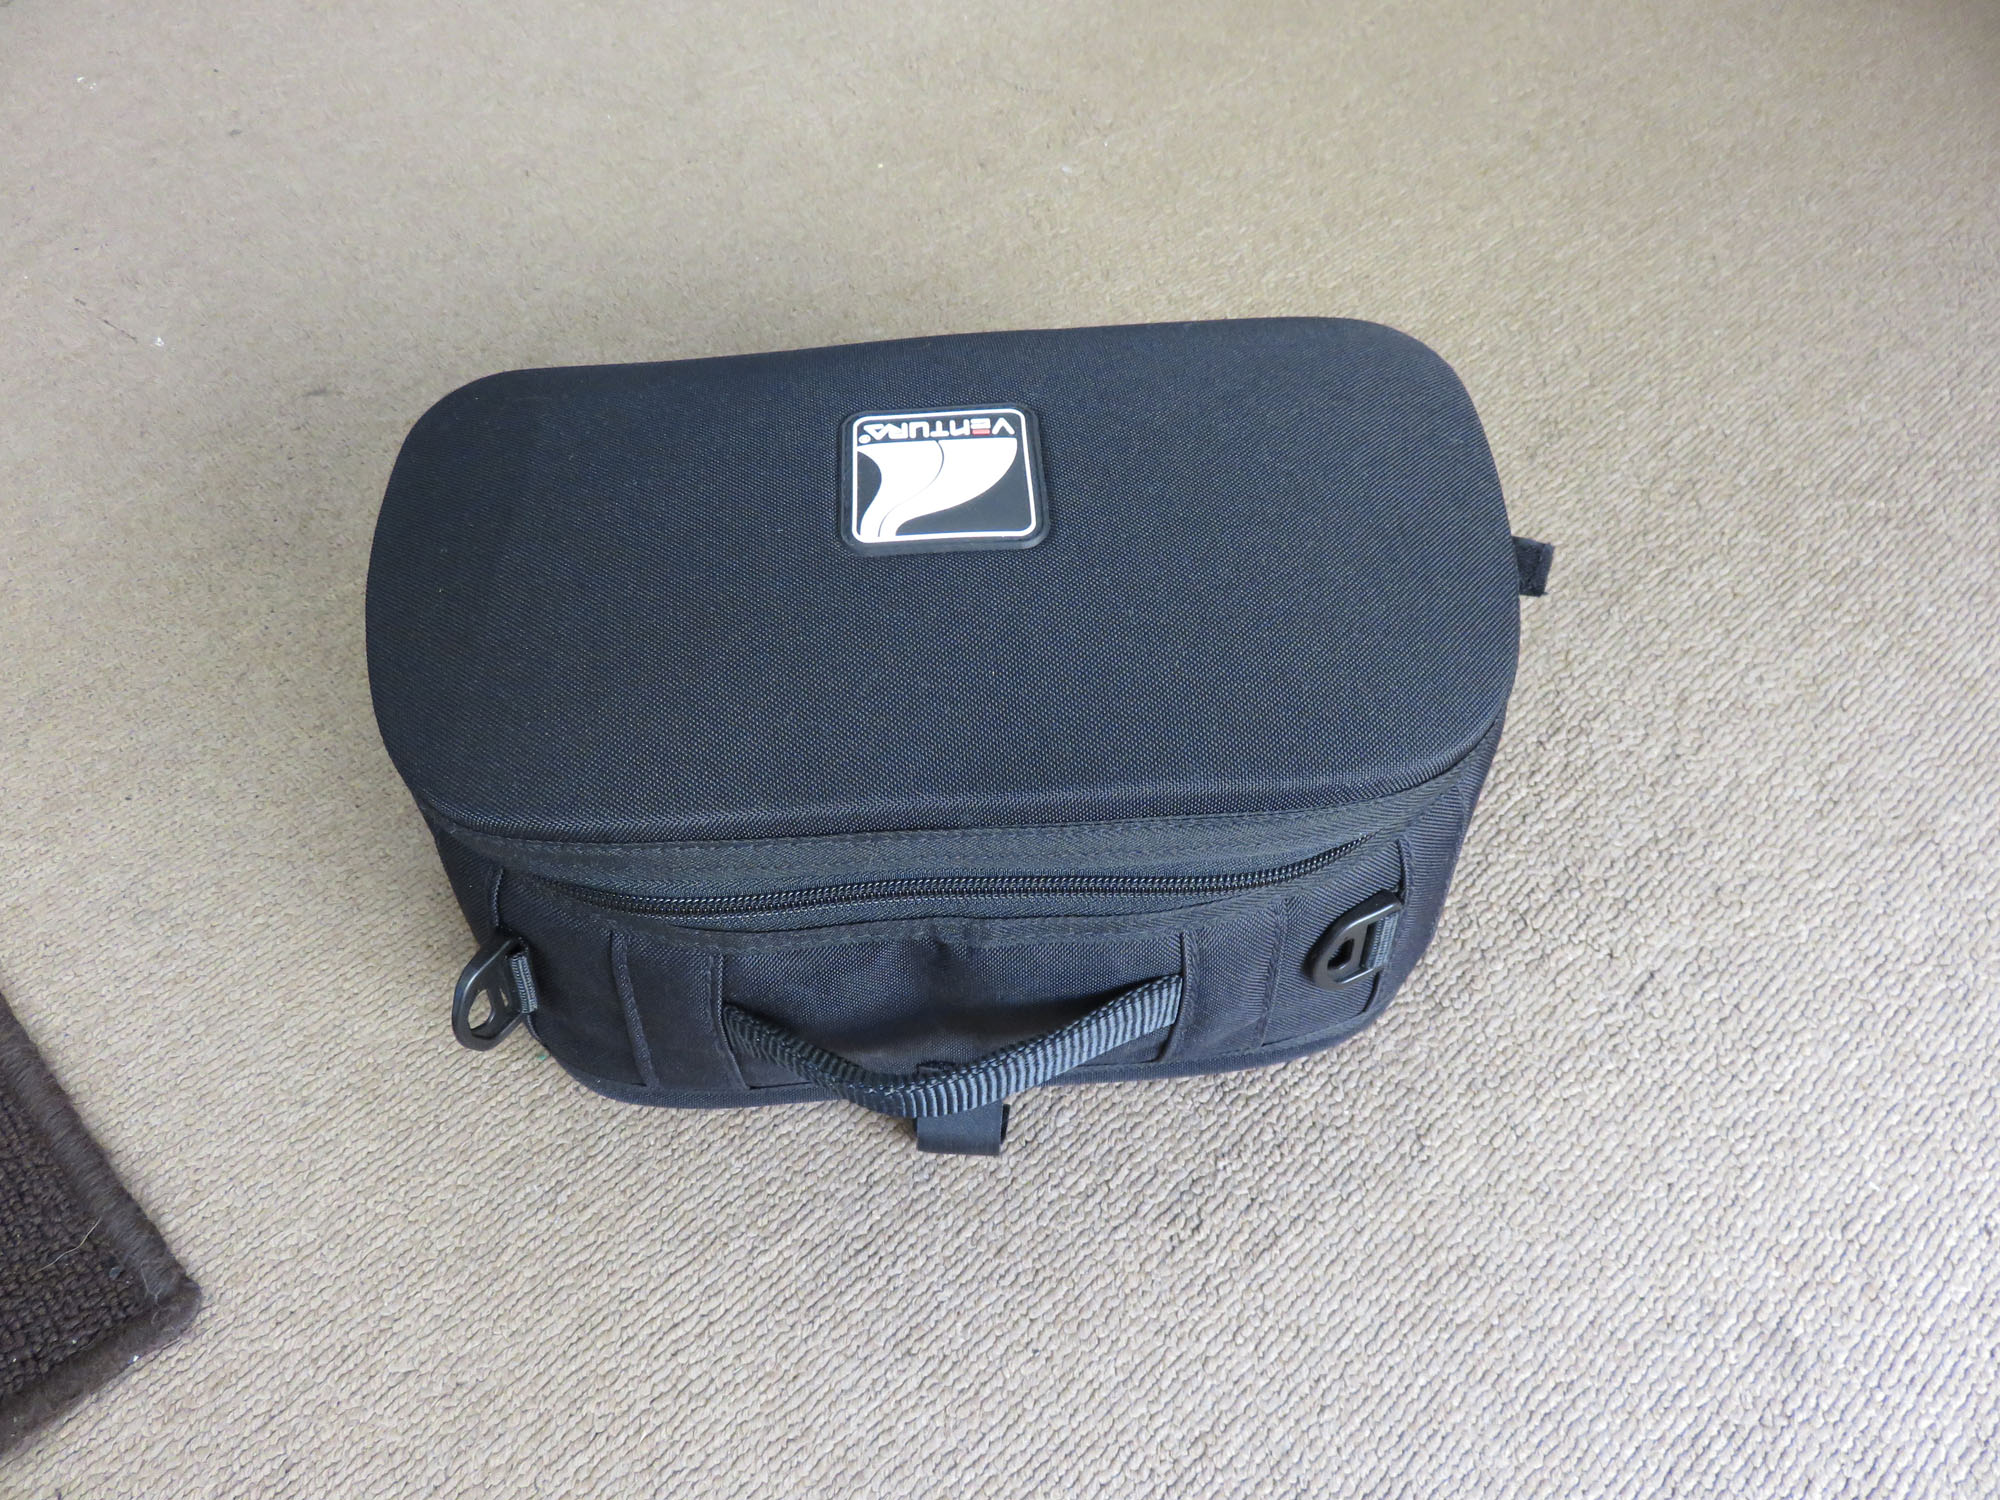
The Ventura Sports Pack has a 10L capacity and is great for day rides where you aren’t lugging heaps around. It’ll hold a bottle of water, your wet weather liner and a few other pieces easily. It fits onto the Sports-Rack, which is the entry level kit, including L brackets for mounting and is a low profile rack unlike the larger touring rack. If you don’t want to spend a lot, grab the Sports-Rack and Sports Pack to start with.
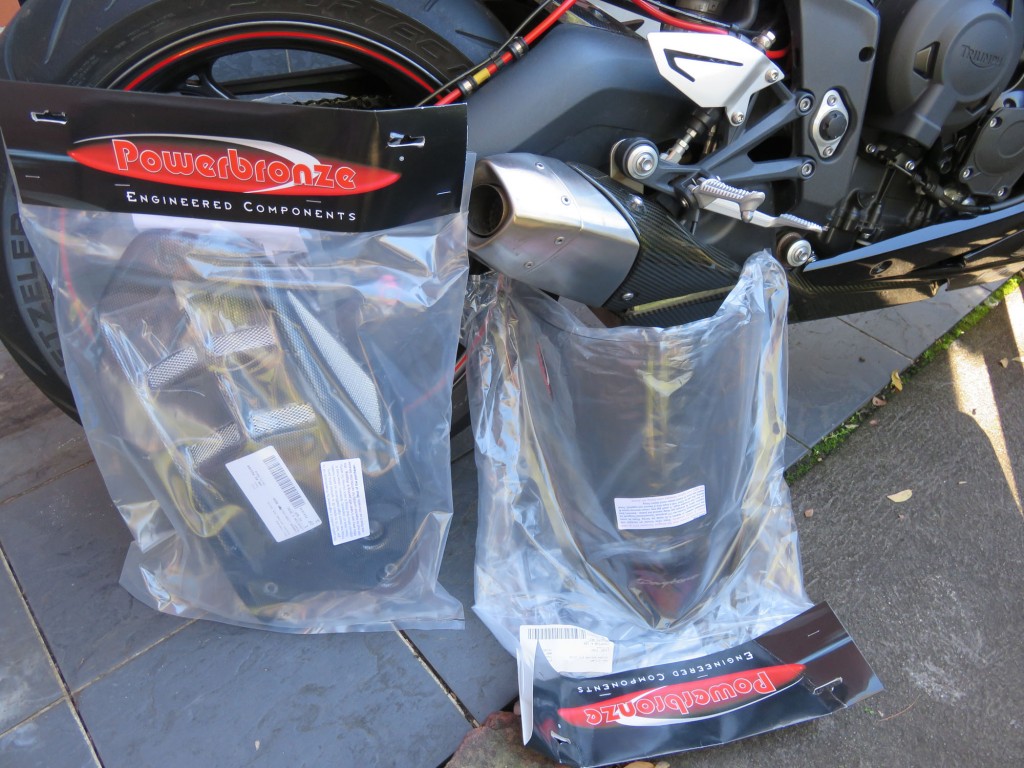
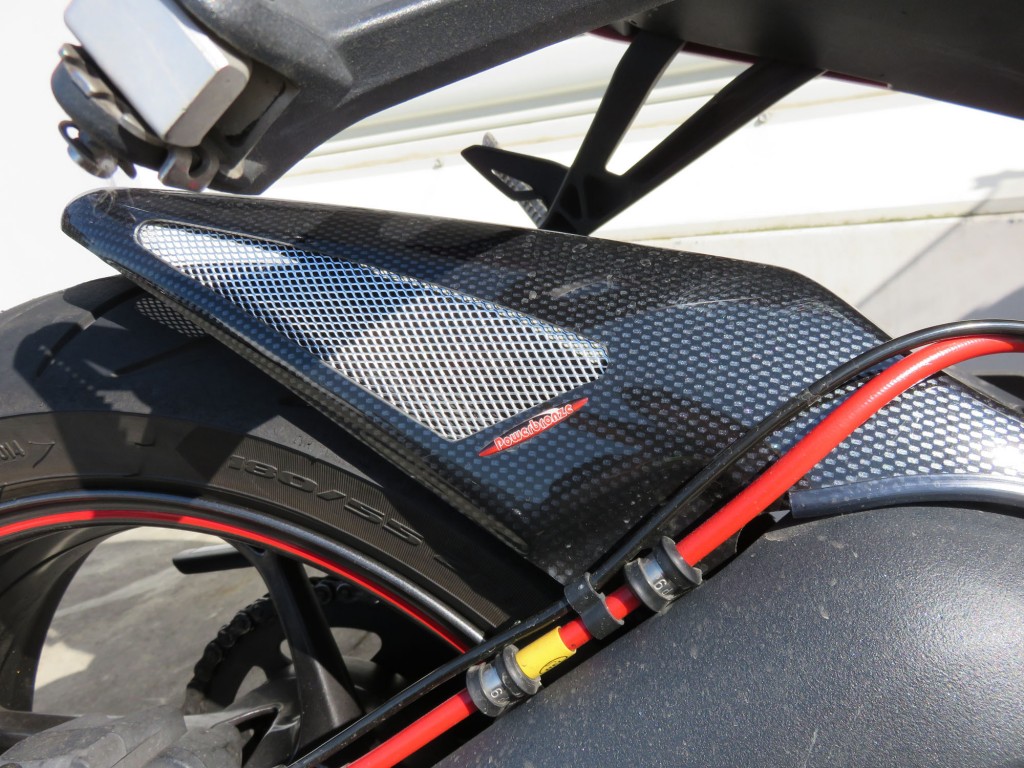
Powerbronze (powerbronzeaustralia.com) goodies are top quality and look great. The screen offers additional wind protection, with the rear guard doing a much better job than the original at keeping muck off the back of the bike and the rear shock. It also looks nifty with the carbon-look and mesh vents. Installation was also easy. You can search via bike model on the Powerbronze Australia website which makes checking what’s available nice and easy.
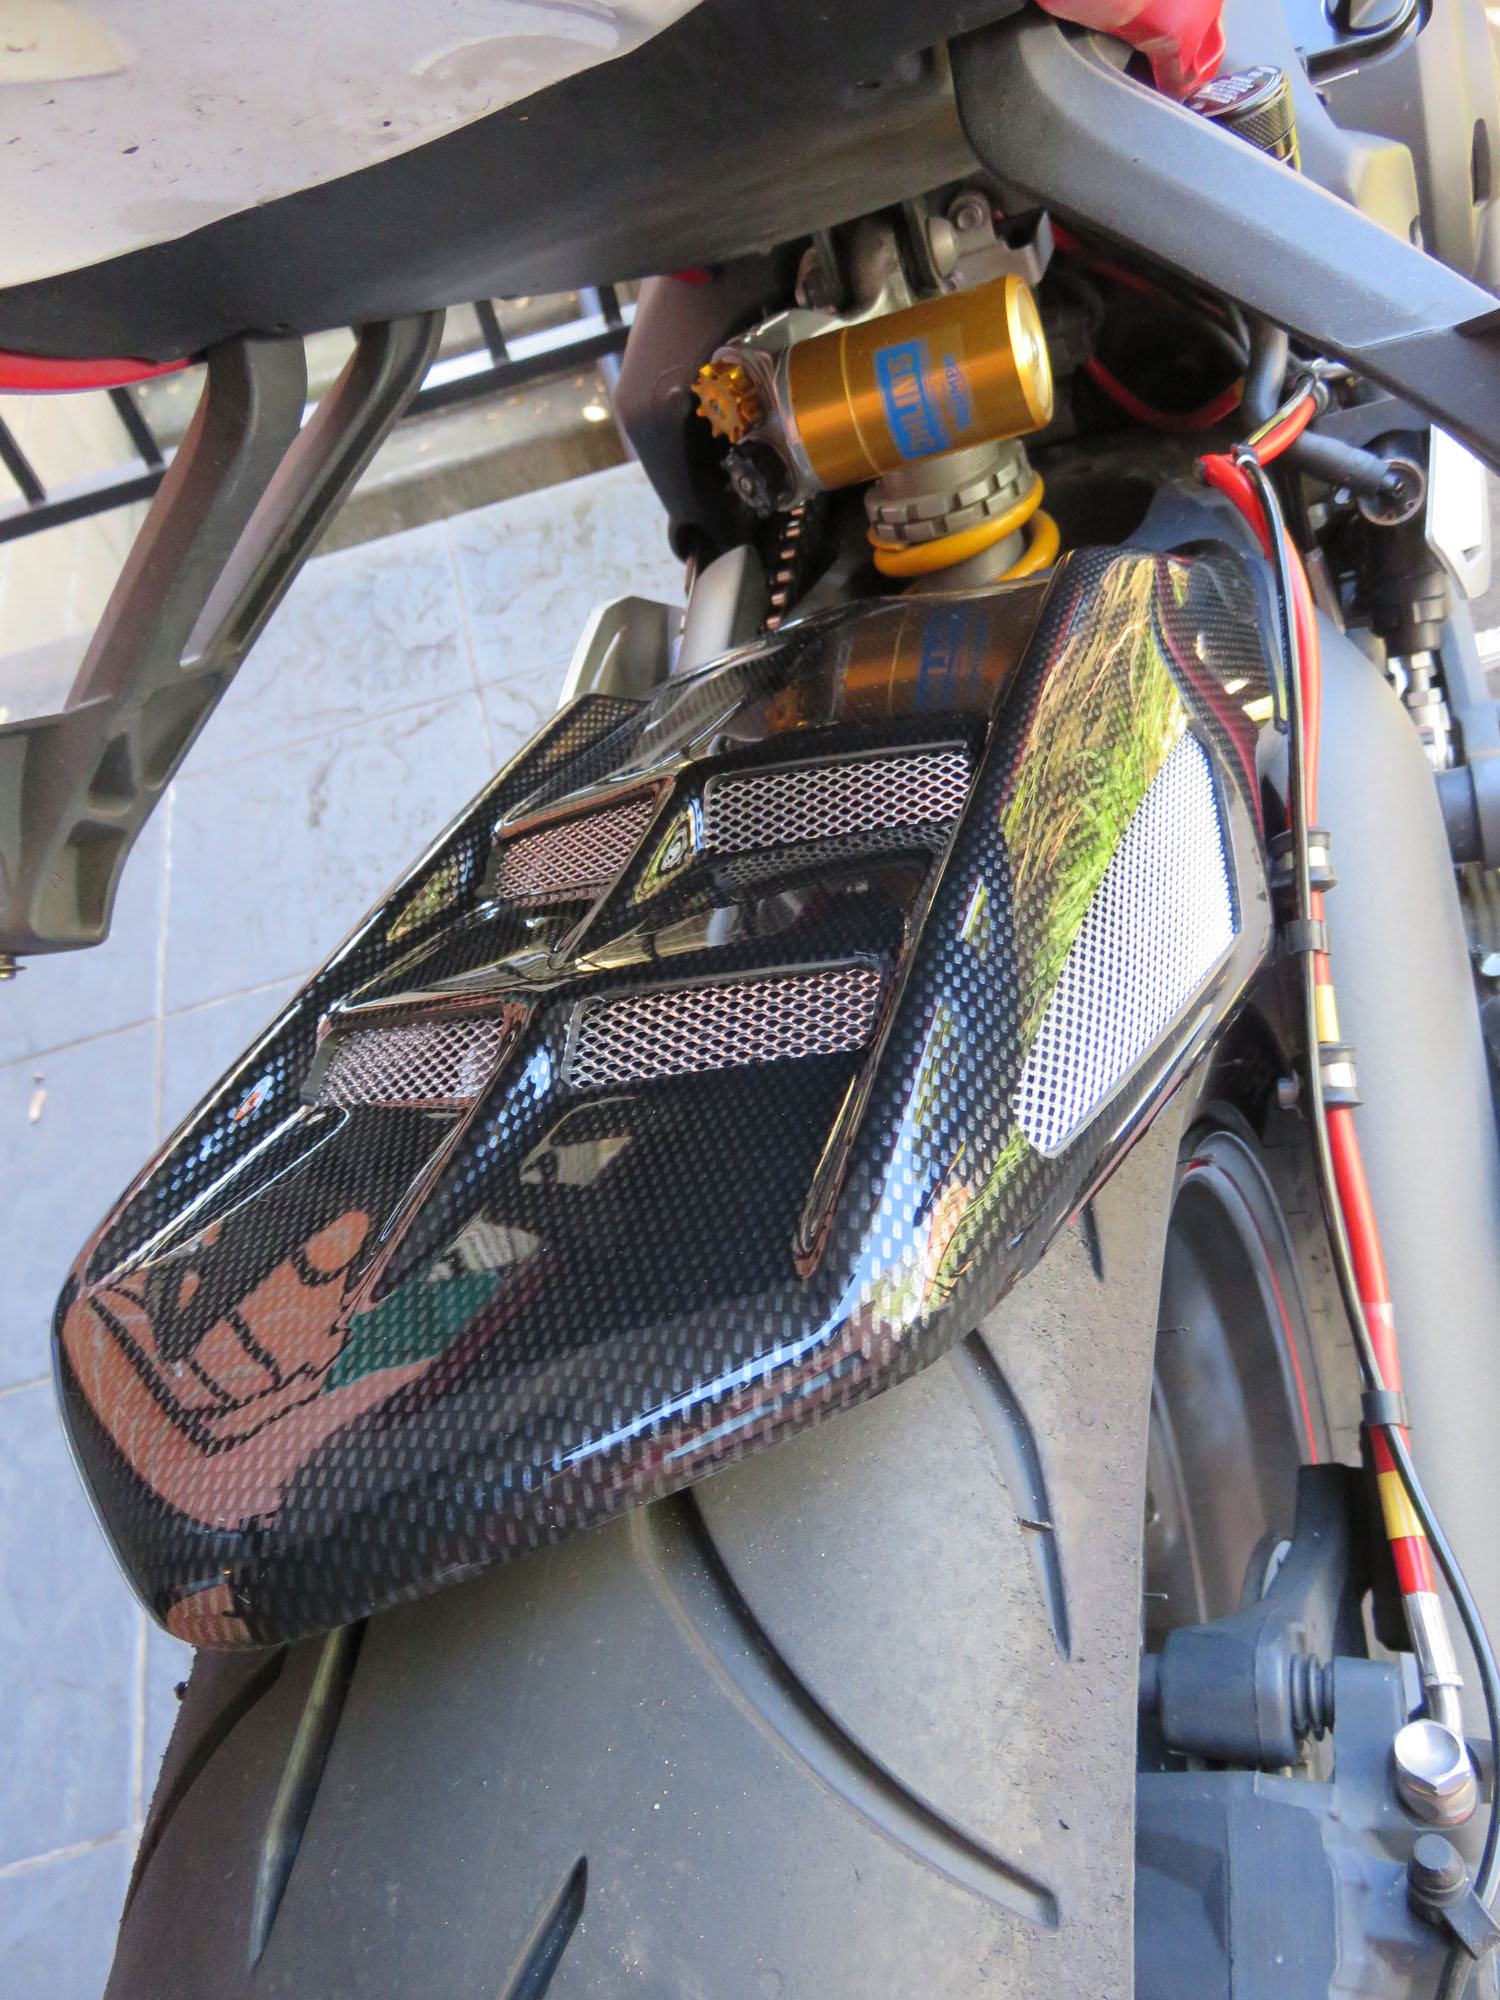
The rear guard looks great in the carbon-fibre look and with the silver mesh, offering much better protection from road grime and wet weather fling. The included spacers make installation easy as long as you line everything up and get all the bolts into position before tightening.
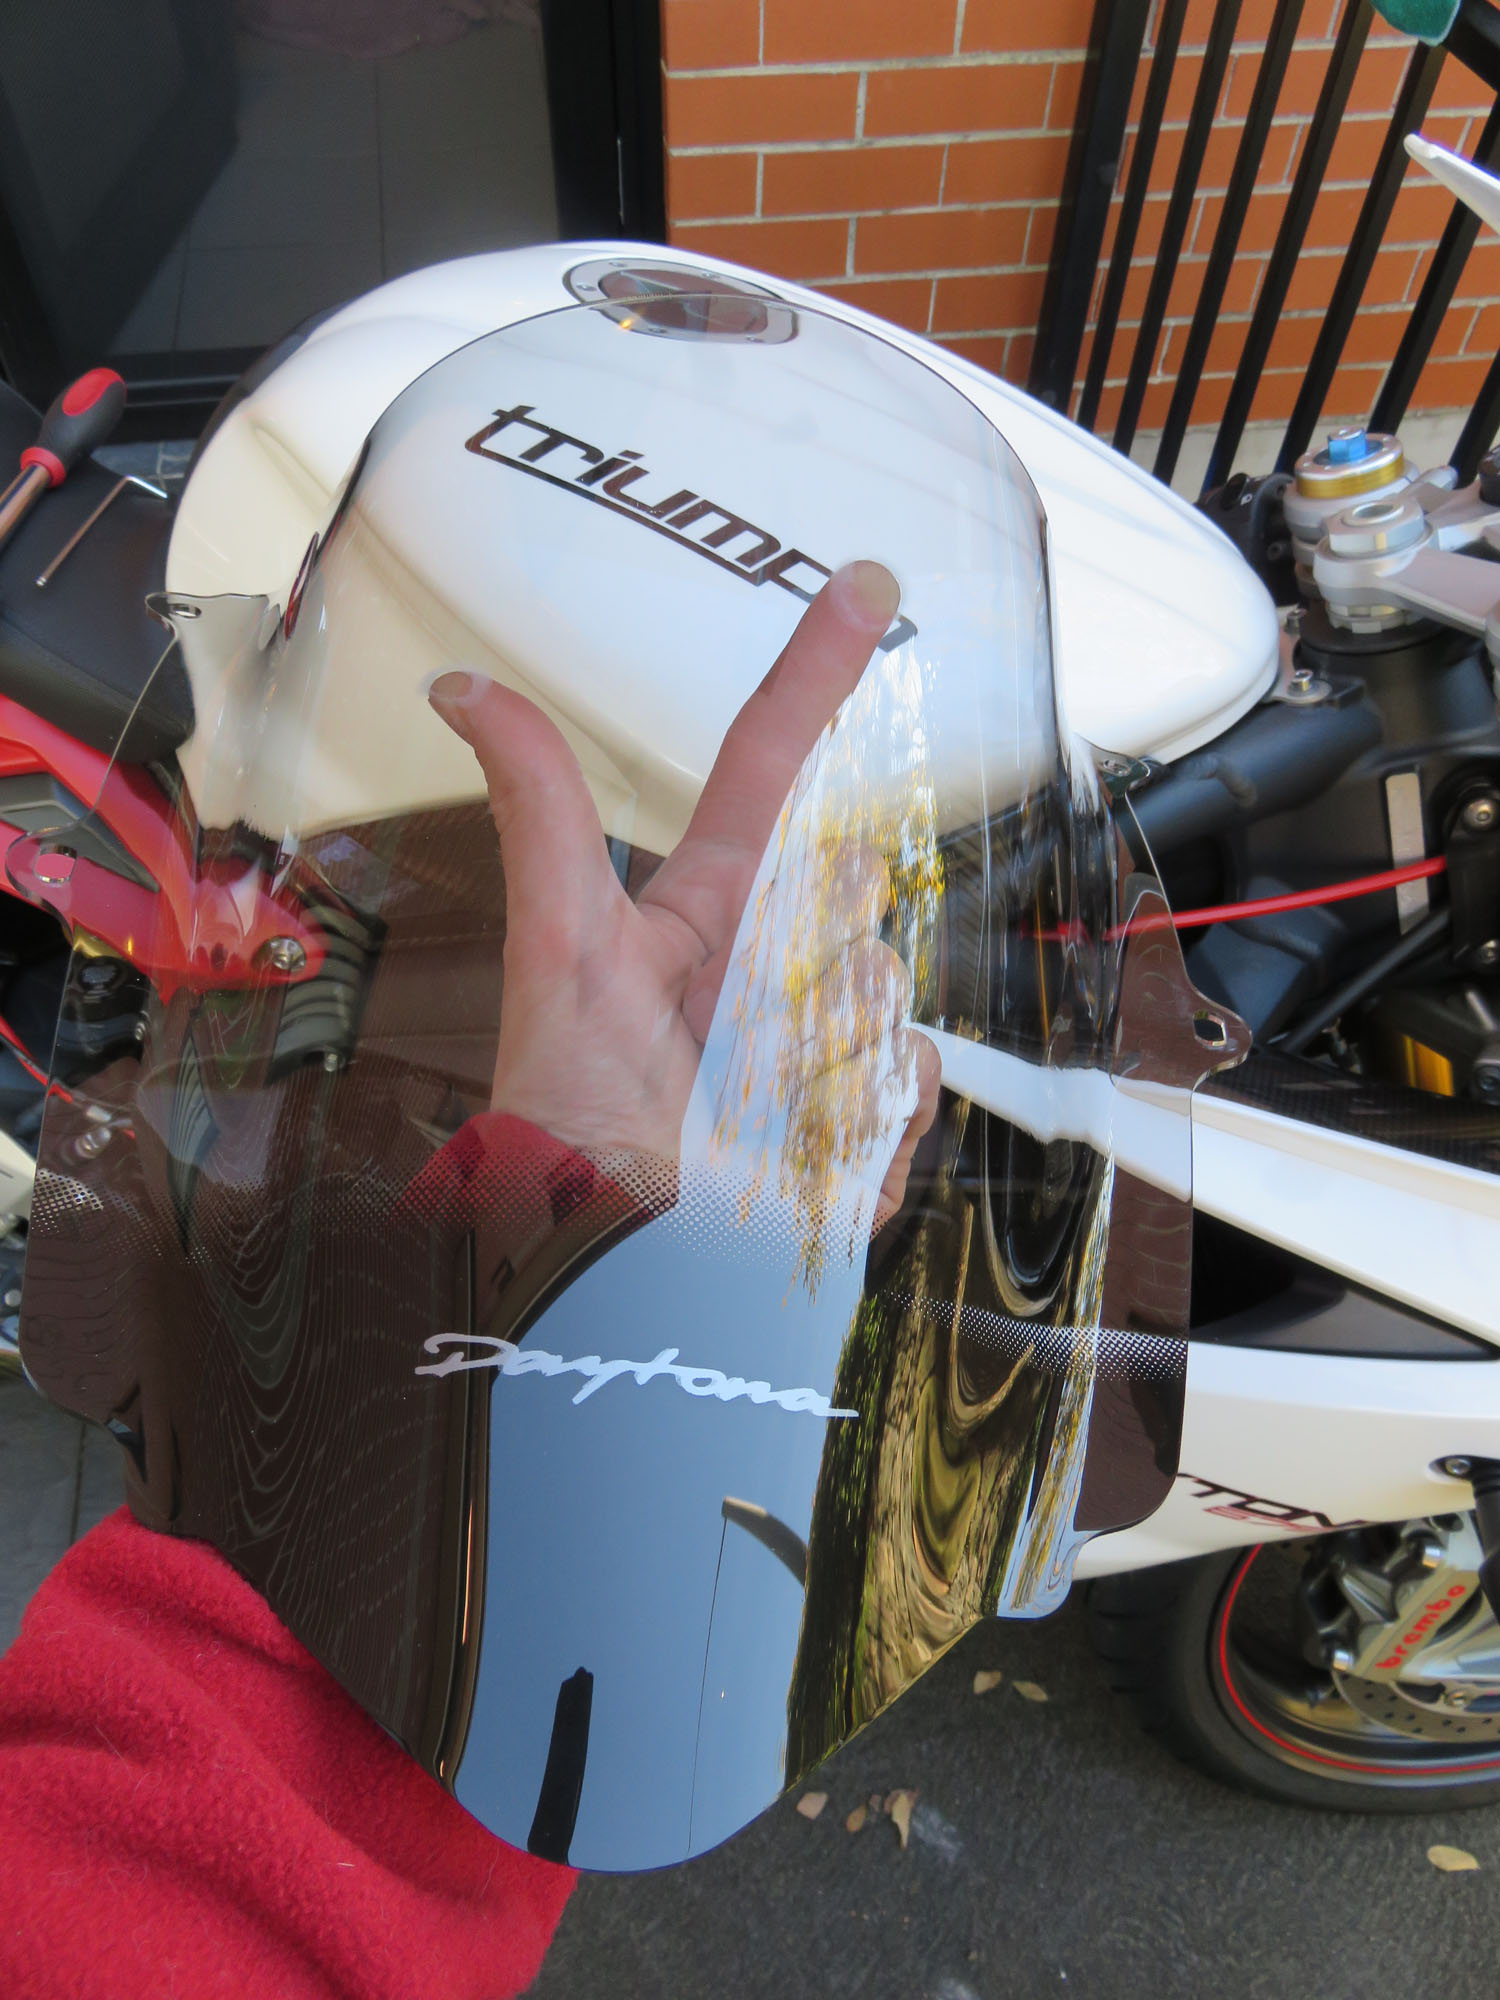
The screen is really well made and sturdier than the original. I removed the mirrors to help fitting it as the screen is more rigid than the original and removing the mirrors made sliding it into place easier. The Daytona across the lower section of the screen is also very cool, and wind protection is much greater than the standard item.
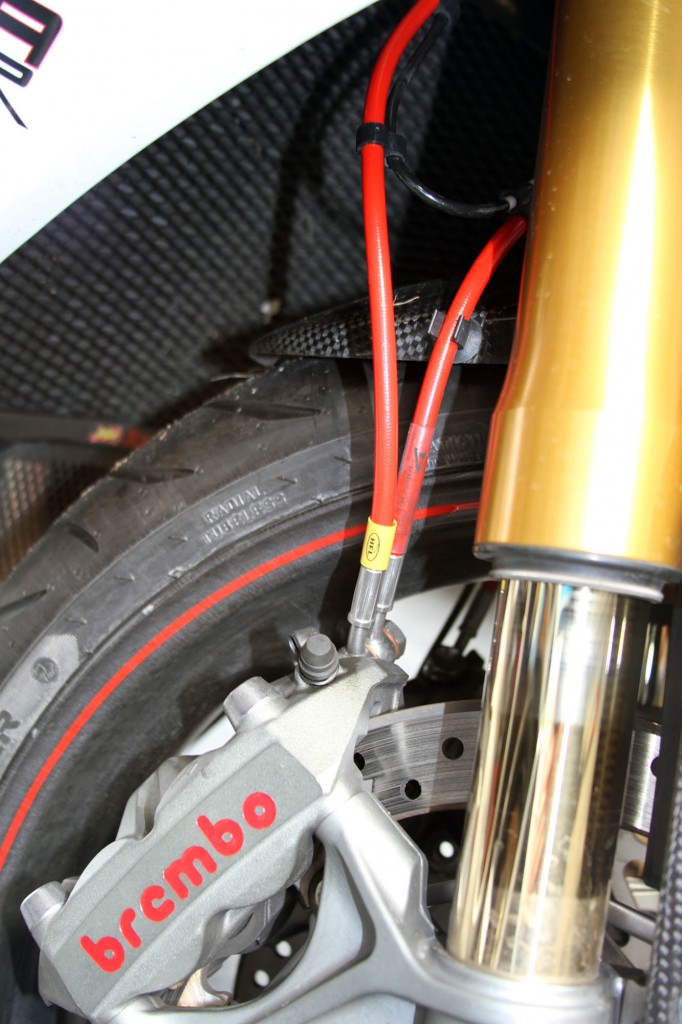
Hel Performance braided stainless steel lines aren’t as big an upgrade on a bike which comes standard with braided lines, like the Daytona 675R does, but in red they are eye catching and with Hel Performance you know you’re getting the best available.
These lines were custom made to fit the Triumph Daytona 675R (ABS). Installation isn’t as easy as on a non-ABS bike as you’ll need to run the lines through to the ABS module, so if you’re not confident of your mechanical skills this might be one to leave to the professionals. Hel Performance Australia have a huge variety of brake line kits available for many models and can make you up anything you need as well, including if you need longer custom lines to suit modifications or other similar uses.
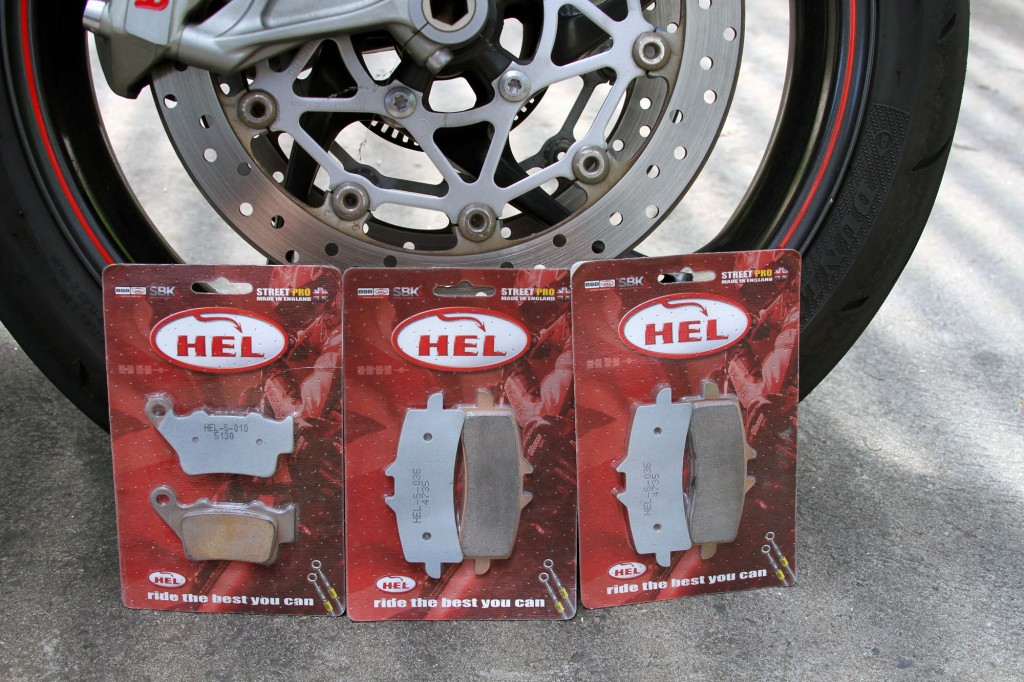
Another item from Hel Performance are their brake pads, with Street Pro and Track Pro spec pads available. On the Daytona 675R we’ve got the Street Pro pads fitted, which offer strong bite and controllable modulation, and are designed for fast road users, featuring the SDP Sport HH+ compound. They’ve been fitted for over 15,000km with good wear and represent a great value option.
A Rapid Bike EVO fuel module is another addition to the Daytona 675R, which offers an auto-adaptivity feature and multi-map tuning, although you’ll need a dyno and tuner to get the best results. It connects directly to each of up to eight injectors (six on the Daytona) with a bike specific wiring loom and very user friendly instructions. Installation is easy but will take time and patience, as getting to some of the plugs is in tight areas. The Rapid Bike modules are available from Quick Lap Performance in a basic ‘EASY’ module, the ‘EVO’ with auto-adaptivity, and the professional ‘RACE’ version.
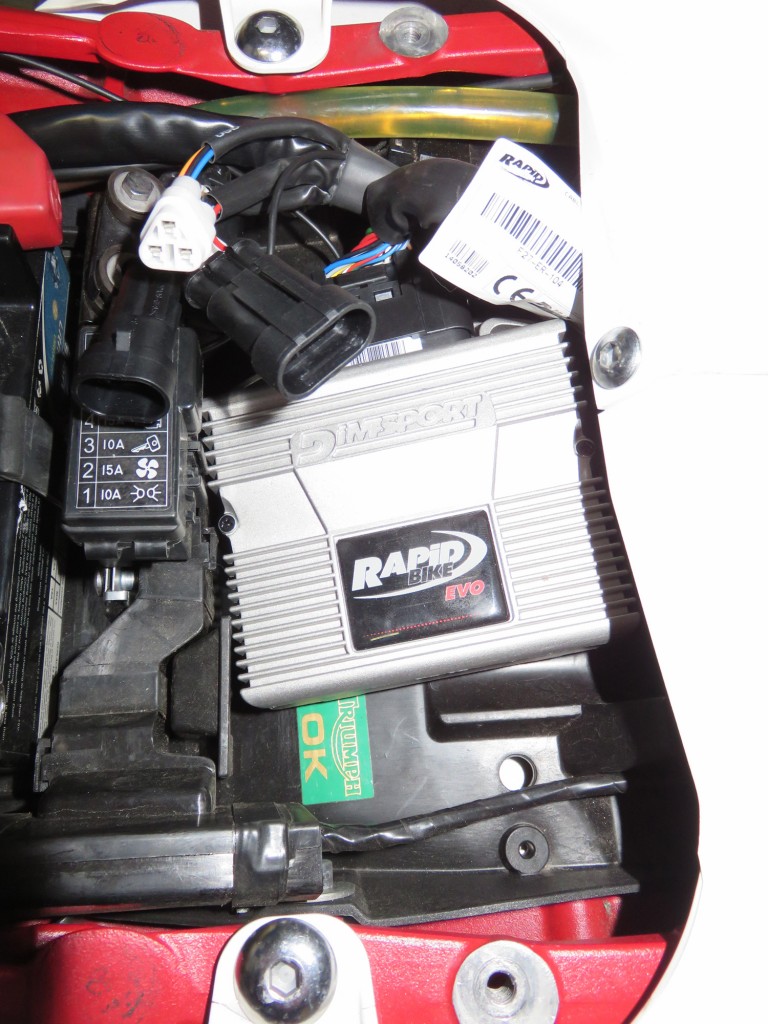
The Rapid Bike EVO module is relatively easy to install with good instructions and a clearly marked wiring loom that connects into your original plugs easily. You’ll need to lift the tank but it’s a painless job. It comes with velcro and remember to grab your module’s serial number off the back before sticking it down, so you can register for the software you’ll need to access the module. Caps are also provided for the spare (accessory/USB connection) plugs to ensure water isn’t a problem.
A Taylor Made Racing exhaust also made a short appearance on the Daytona 675R, and looks the absolute business but with an undiagnosed drama seeing the bike run poorly both the Taylor Made Racing exhaust and Rapid Bike EVO module were removed to track down the problem.
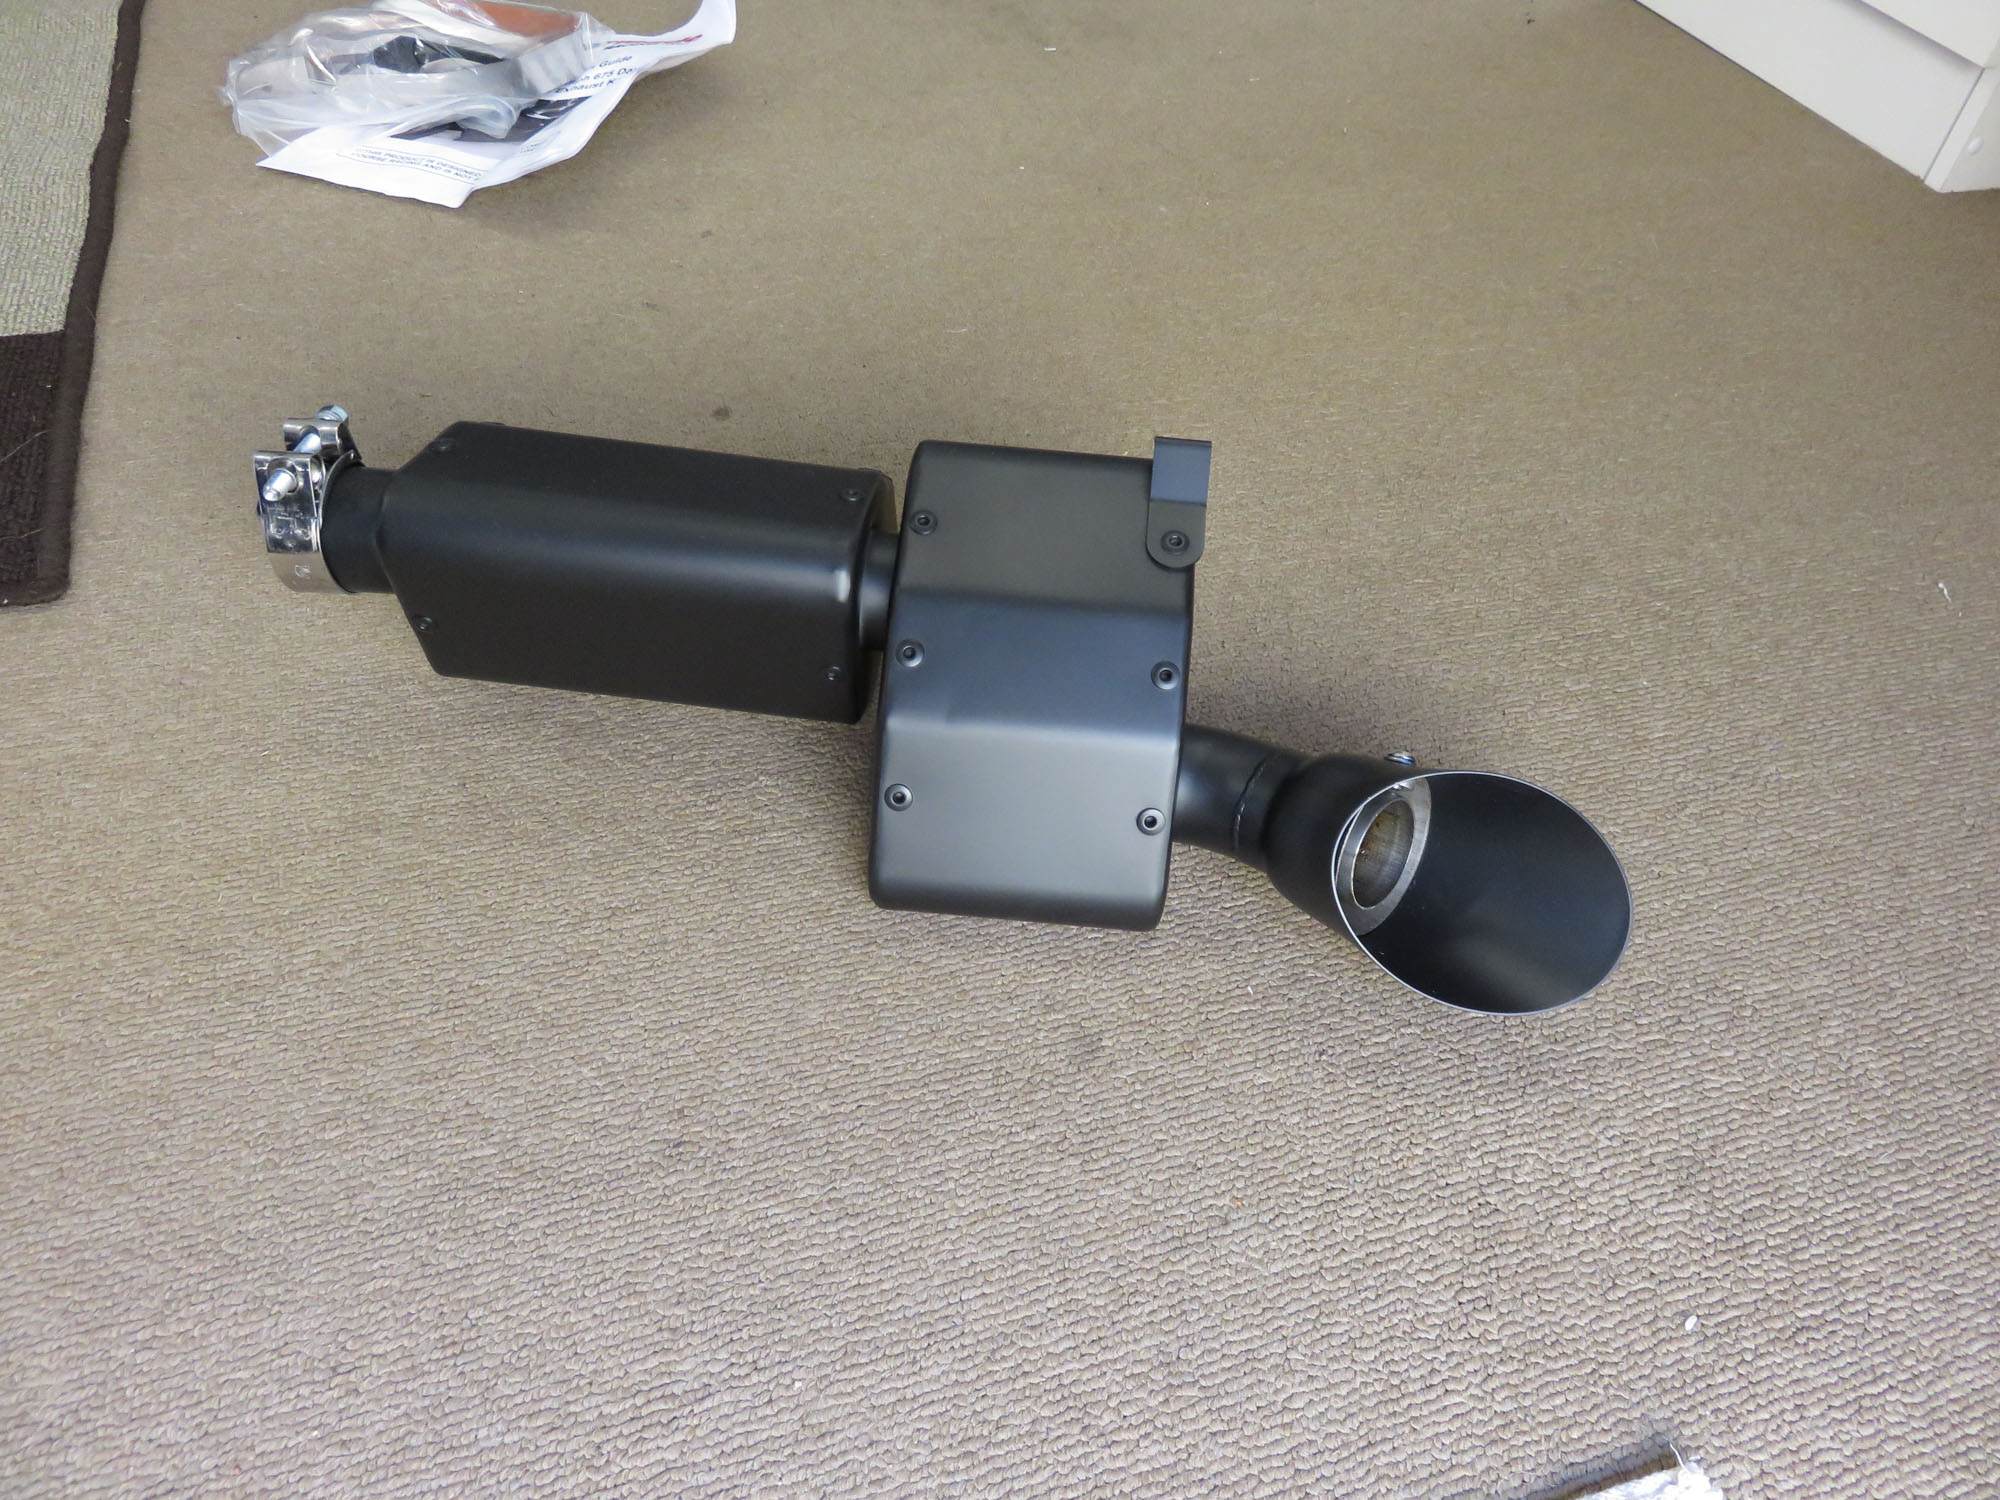
Neither have been fitted back onto the bike at this point. The Taylor Made exhaust is loud (with the baffle fitted), but it also looks incredible. Fitment was easy but it needed a bit of force to get the exhaust into the right position for the carbon-fibre.
The carbon-fibre is very light but also good quality, with no issues running the bike with the system fitted for a few thousand kilometres. The overall quality of the system was extremely good, but there’s not much room during installation and you’ll need to take your time.

Lending a family member my bike battery to get their bike to their local workshop also gave me a great excuse to upgrade the battery to an SSB Powersport Lithium Ion Phosphate battery, which is not only extremely light – saving several kg of weight, but can also be charged with your regular 12V battery charger. They also claim to last up to 10 years, or 2000 ‘cycles’, with regular lead acid batteries lasting 200-300 cycles in comparison. It’s been fitted for a year without dramas and was a great investment. I picked it up at Sydney City Motorcycle Wreckers, who are now located in Hornsby (Sydney, NSW).
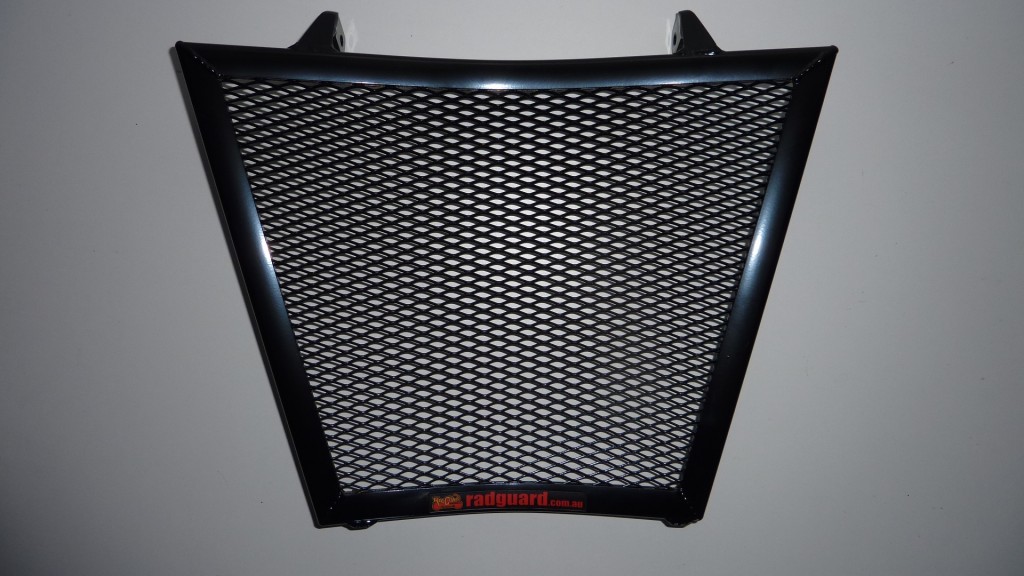
The first actual mod I did to this bike was actually fitting a RadGuard radiator guard, as it helps keep an expensive component in one piece and is a great Australian business who make absolute top notch products, with great service. You really get what you pay for with radiator guards and having bought a header guard to go below the RadGuard radiator guard the difference in quality is absolutely monumental. RadGuard’s robust alloy frame system with expanded mesh is top notch and after two years can be wiped down and looks new. It was a tight but good fit.
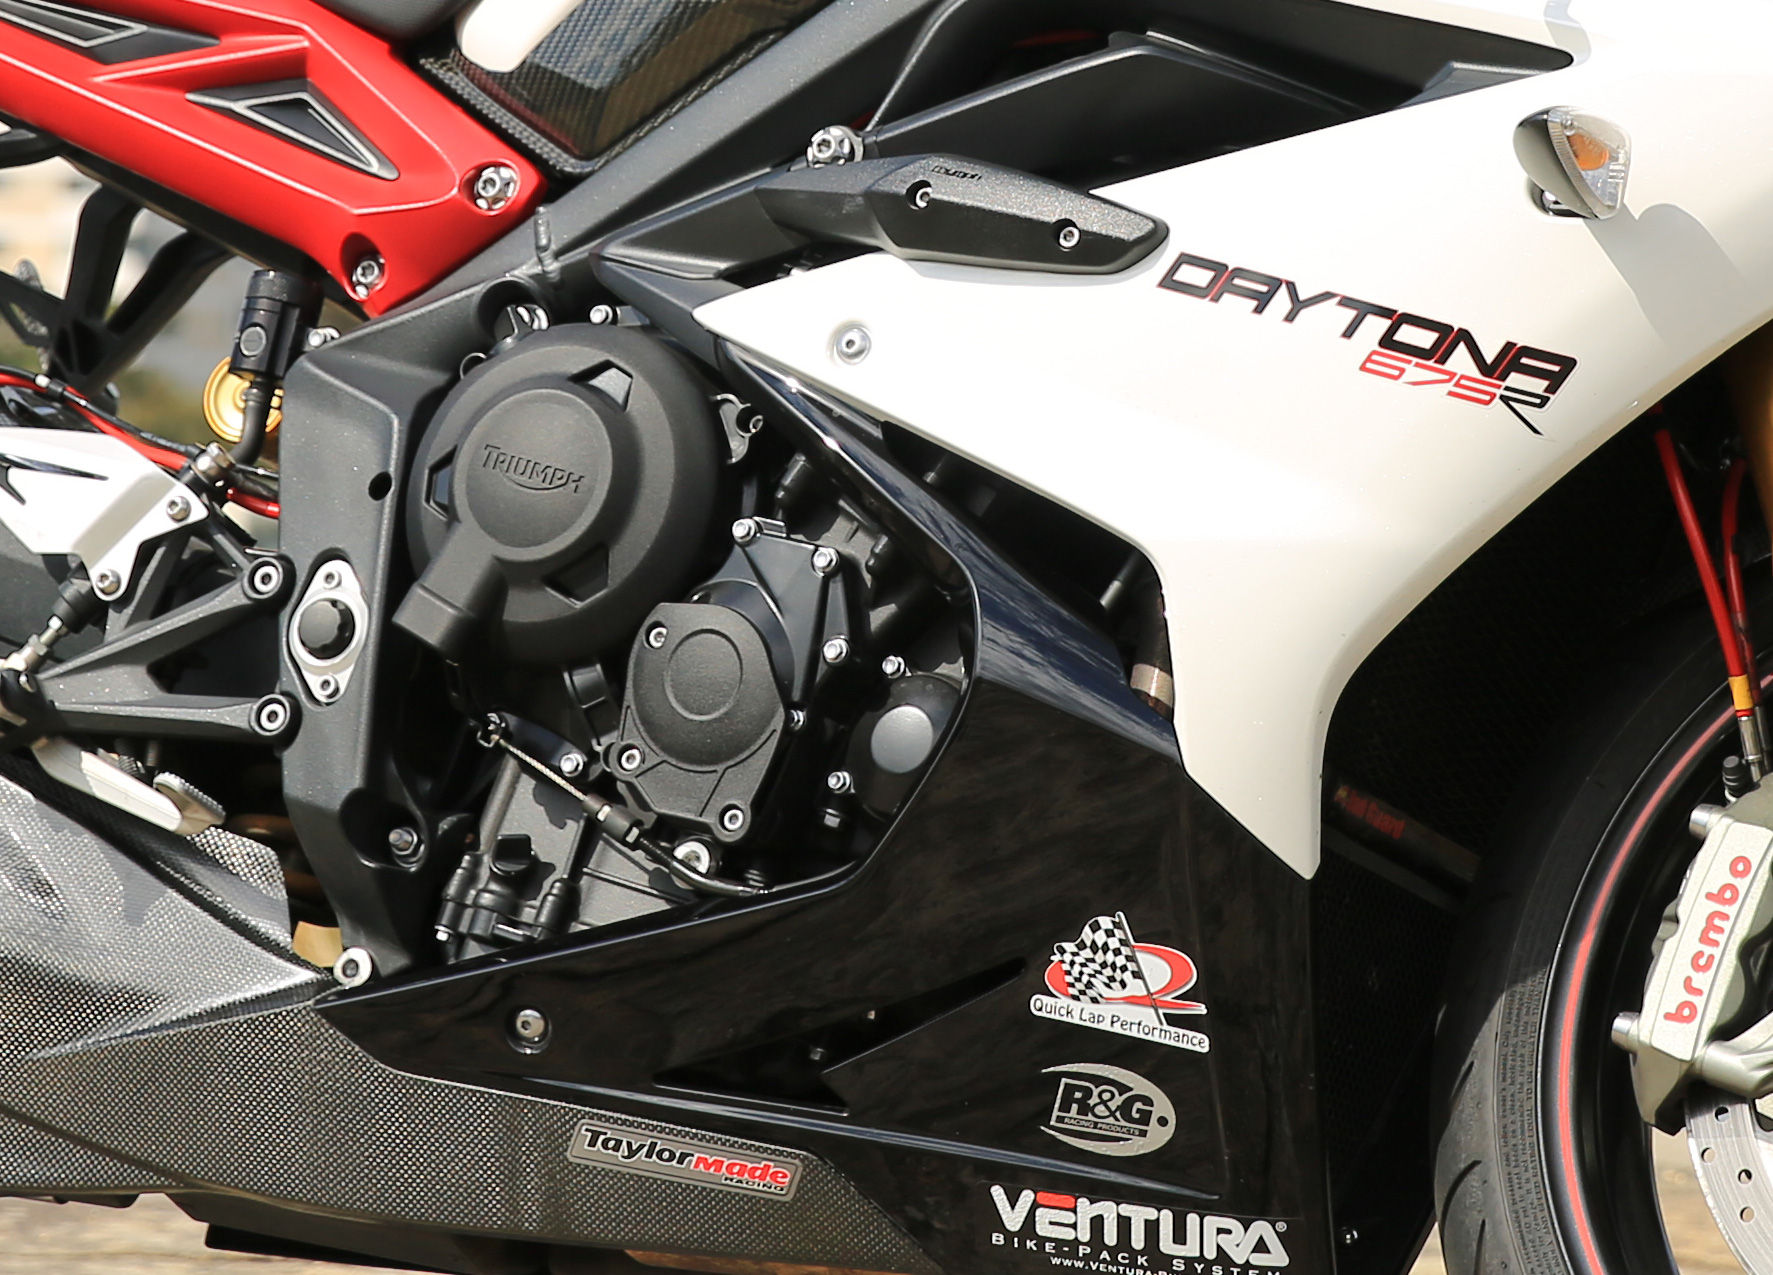
Getting the Daytona 675R there was also some Triumph genuine accessories I couldn’t go past, including their engine case and frame protector kits. The frame protector kits in particular are exceptional quality and blend right into the bike. Both did a great job when I had a cager pull out without warning and hit the side of the bike, protecting the fairings, frame and cases. I didn’t go down but the protectors were scratched and damaged by the impact and the little extra width helped keep my foot un-crushed. Money well spent! The Triumph pickup spools were also added and ensure getting the bike onto a generic stand is quick and easy.
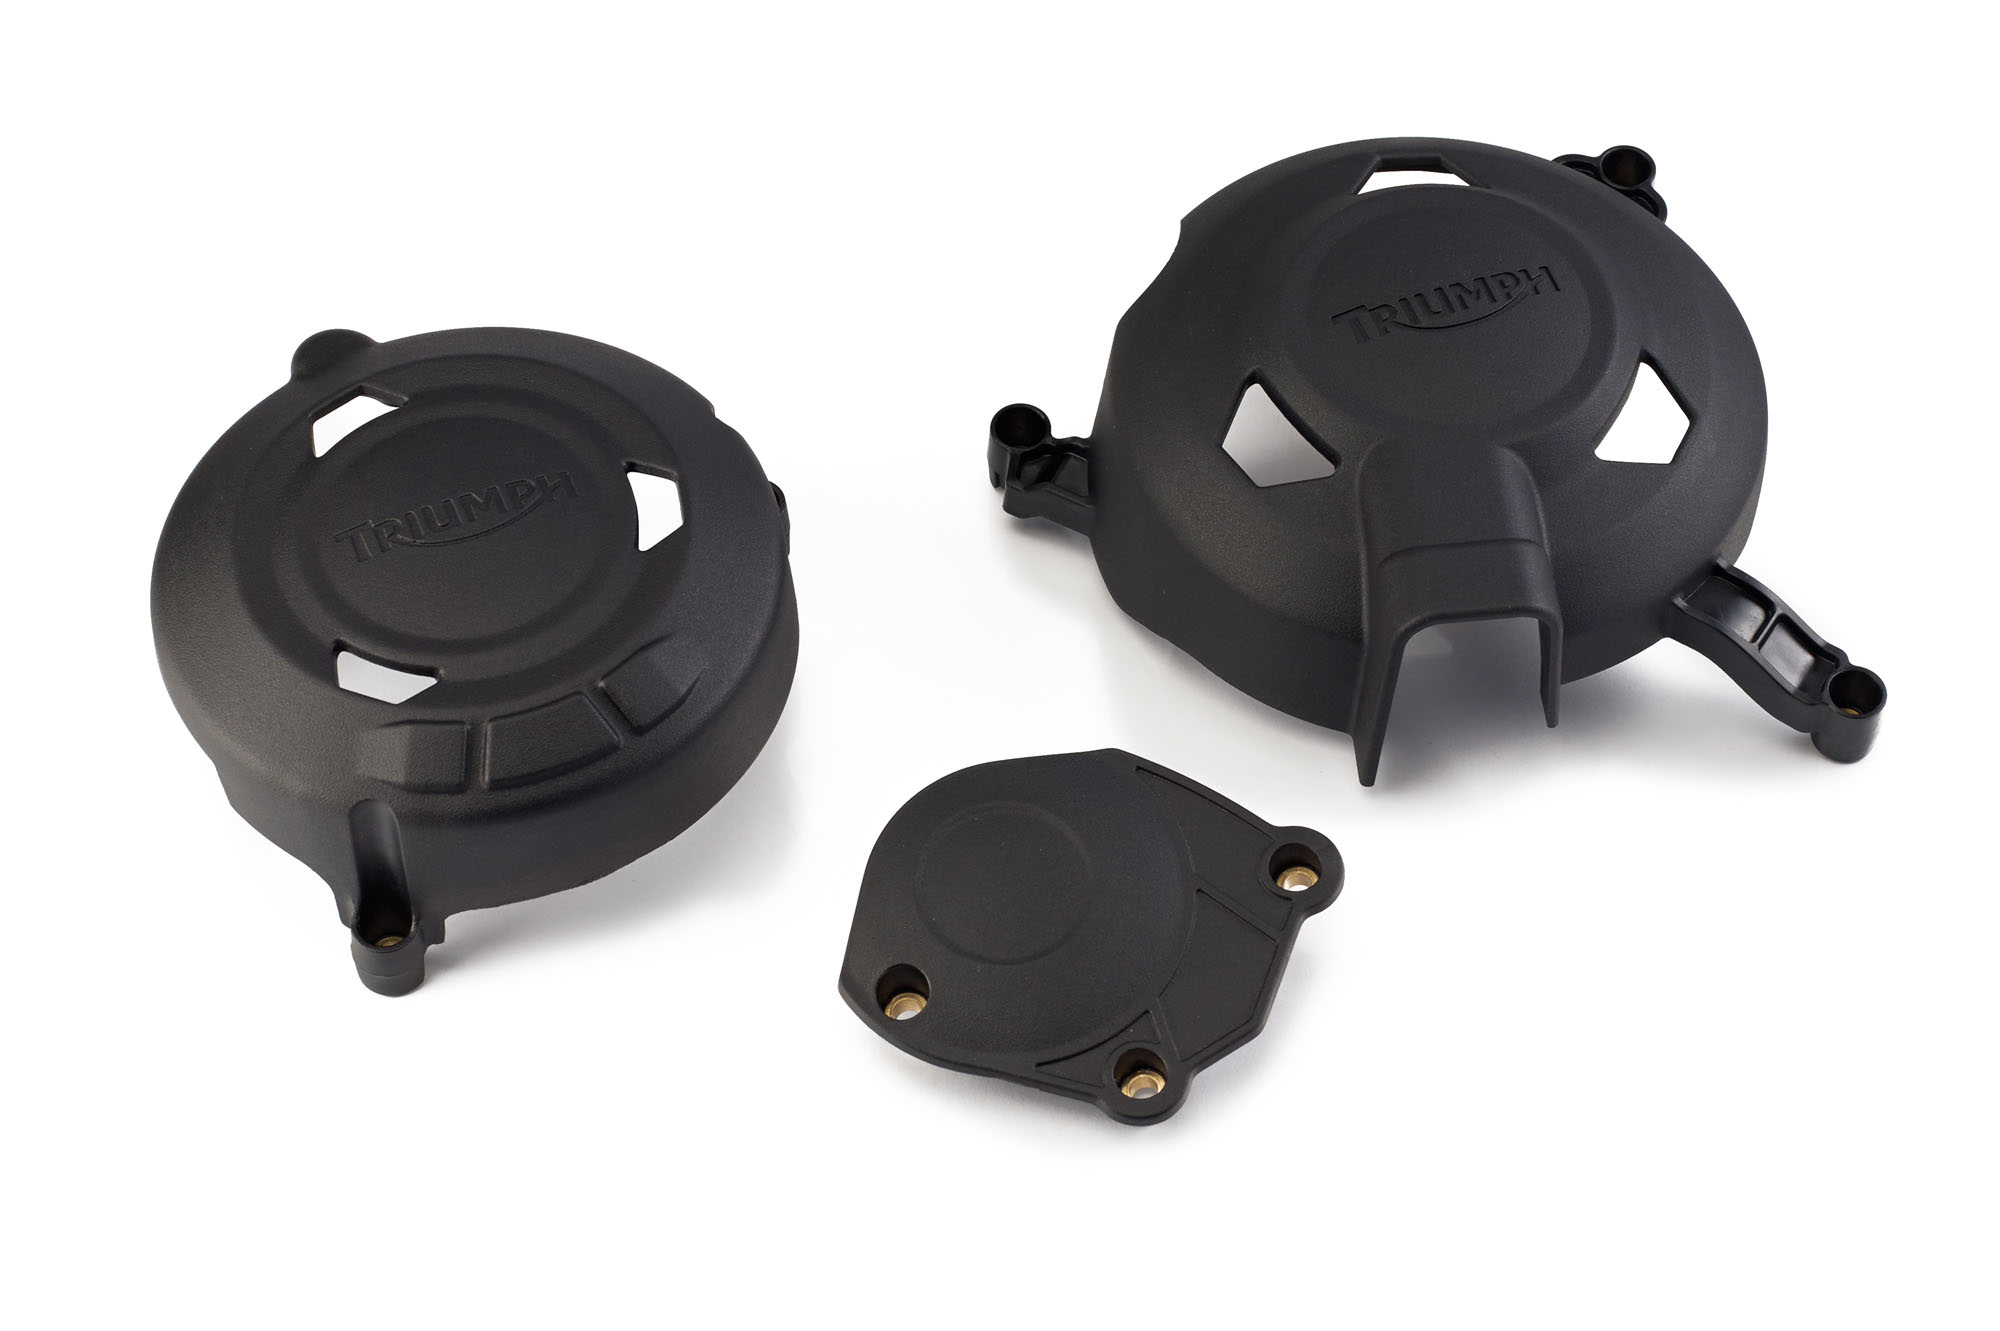
The engine case protectors are a little more visible but are well made and look slick for case protection.
I’ve had people who’ve seen the bike many many times suddenly ask when I added the frame protectors.

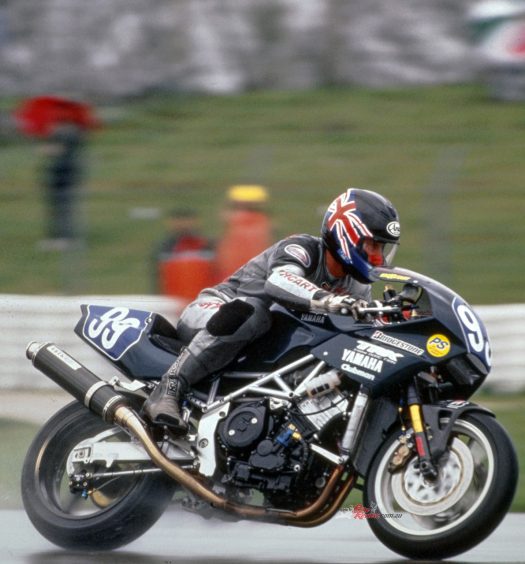
The Triumph Comfort Rider seat was also another good investment with two hours a day commuting on the bike nearly every day. It helps overall comfort, especially over rough surfaces. Don’t expect miracles, you still need to jump off every hour or two and stretch, but the seat can keep you comfortable for much longer rides were you would otherwise be in real pain. This picture is of the regular Daytona 675 tested in 2013. The difference between the bikes with the standard seat and that fitted with the comfort for a long ride was immense.
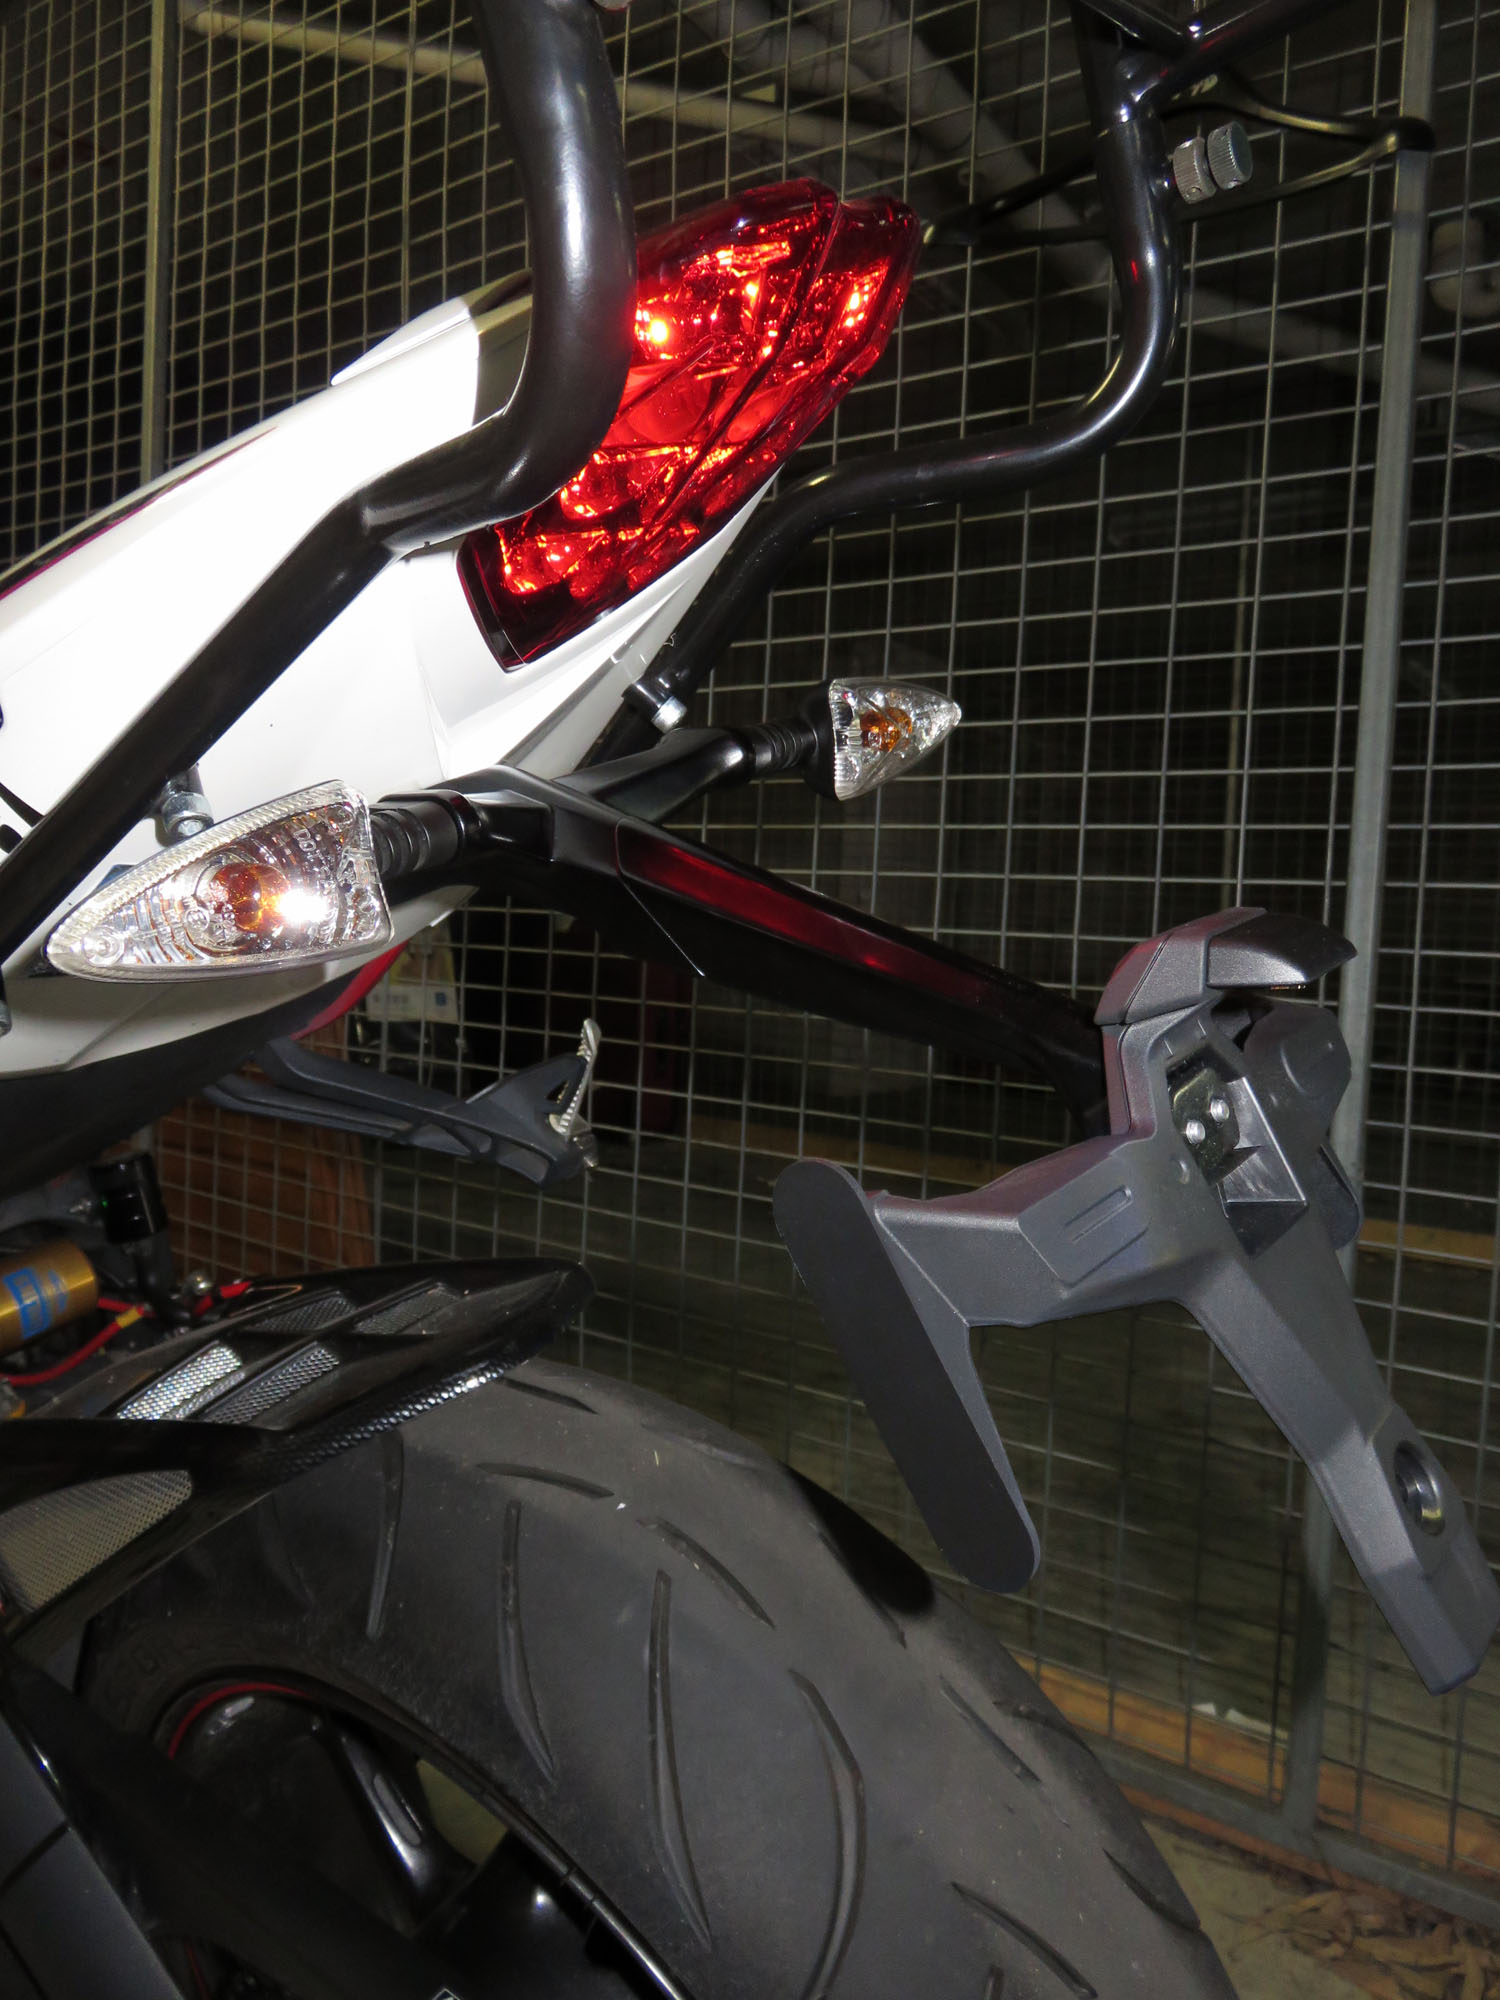
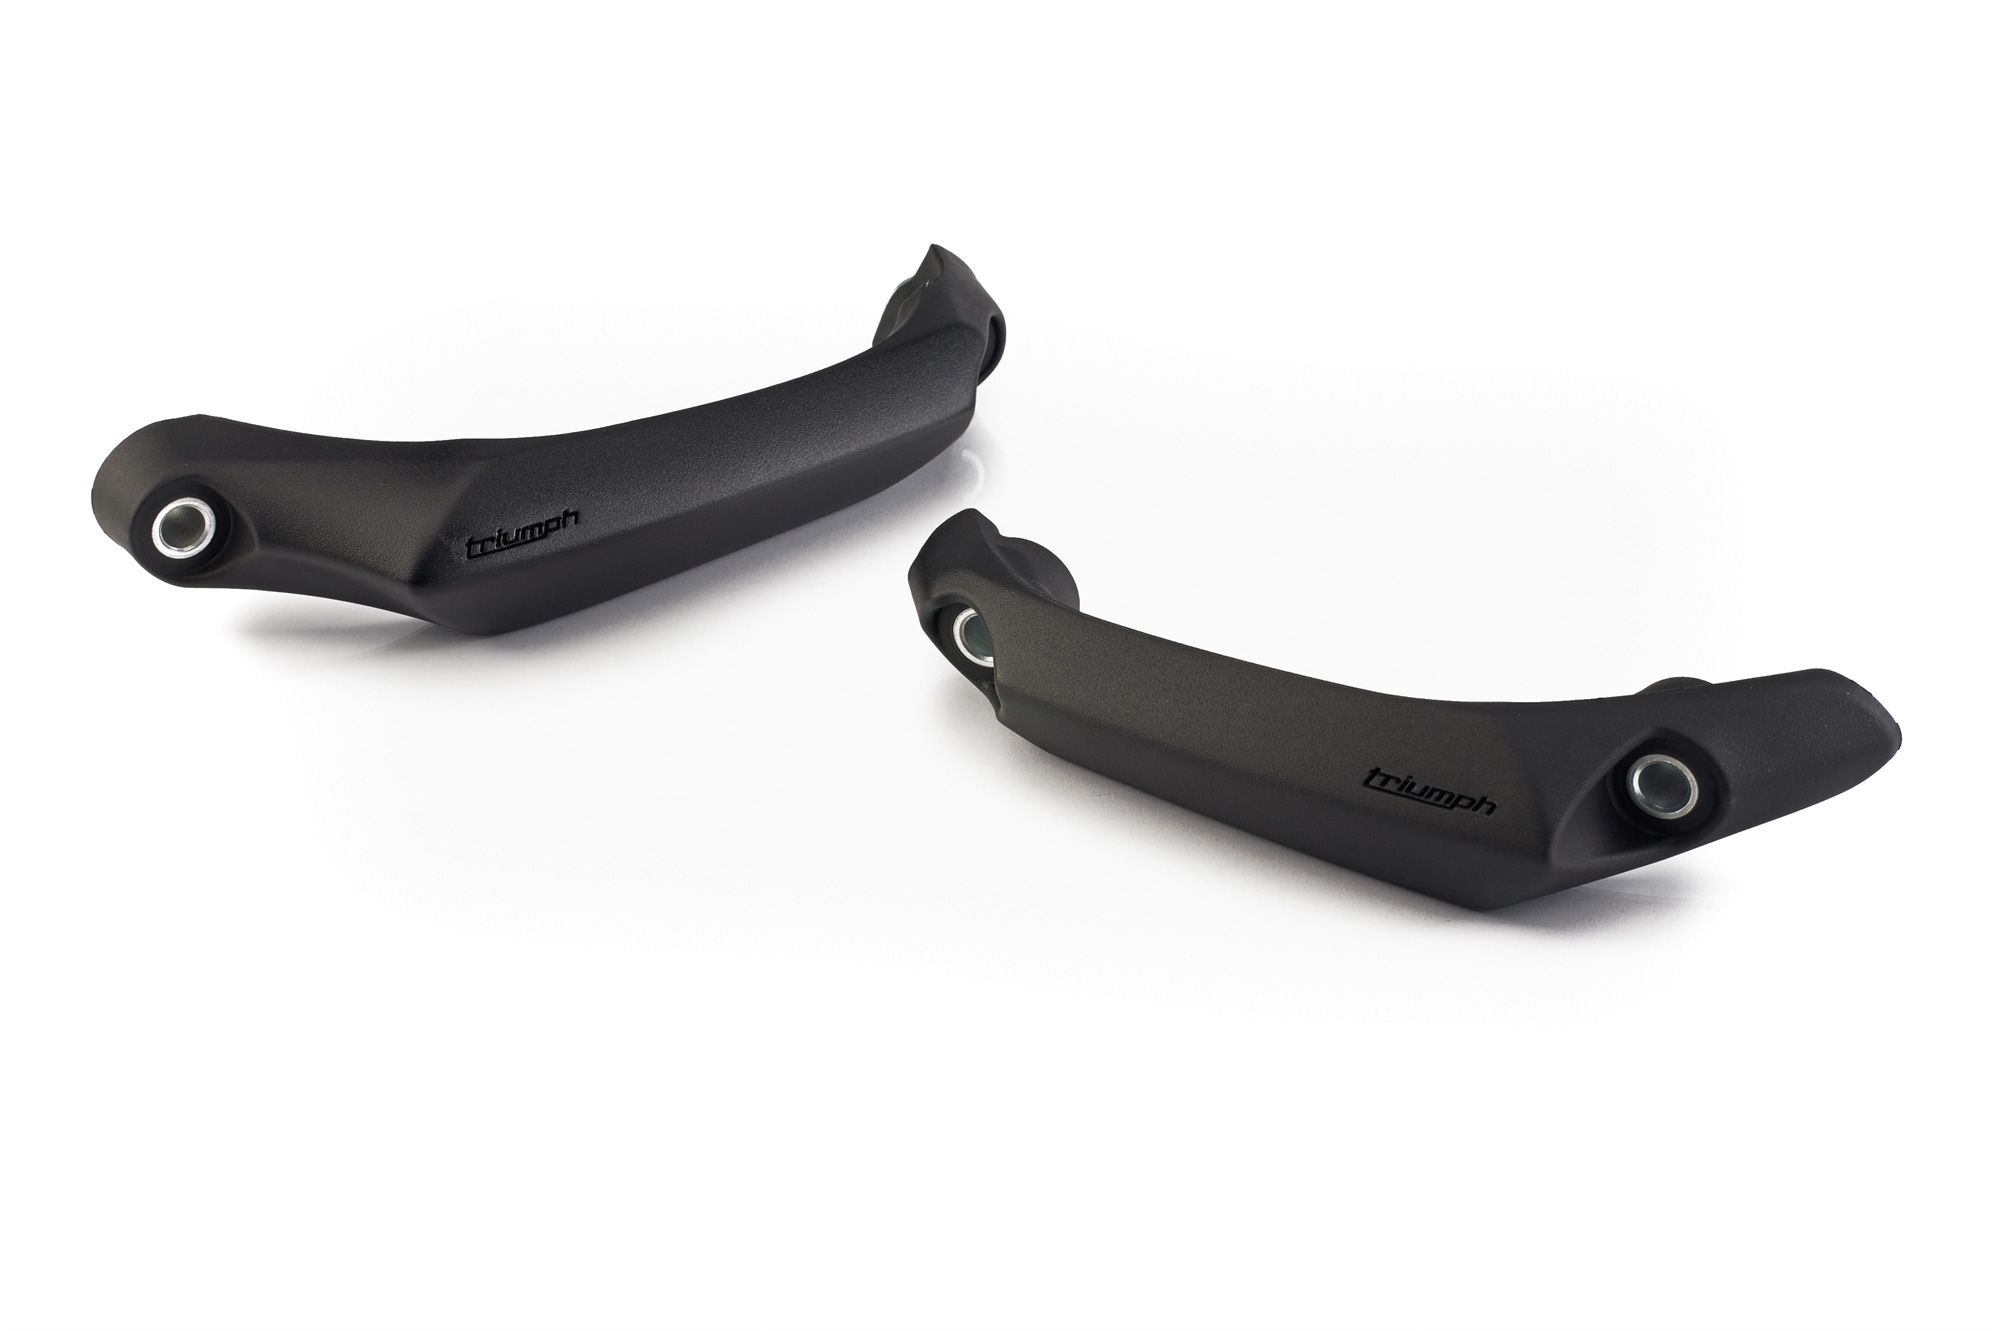
Later Triumph genuine accessory additions include the Tail Tidy and CNC Machined Rear Brake Reservoir. The tail tidy is currently fitted in the longer configuration, while I wait to get some of the genuine Triumph LED indicators, at which point I’ll change it to the shorter configuration removing the central piece, for a nice slim look. It’s a piece of machined aluminium and while not a light item is a high quality accessory
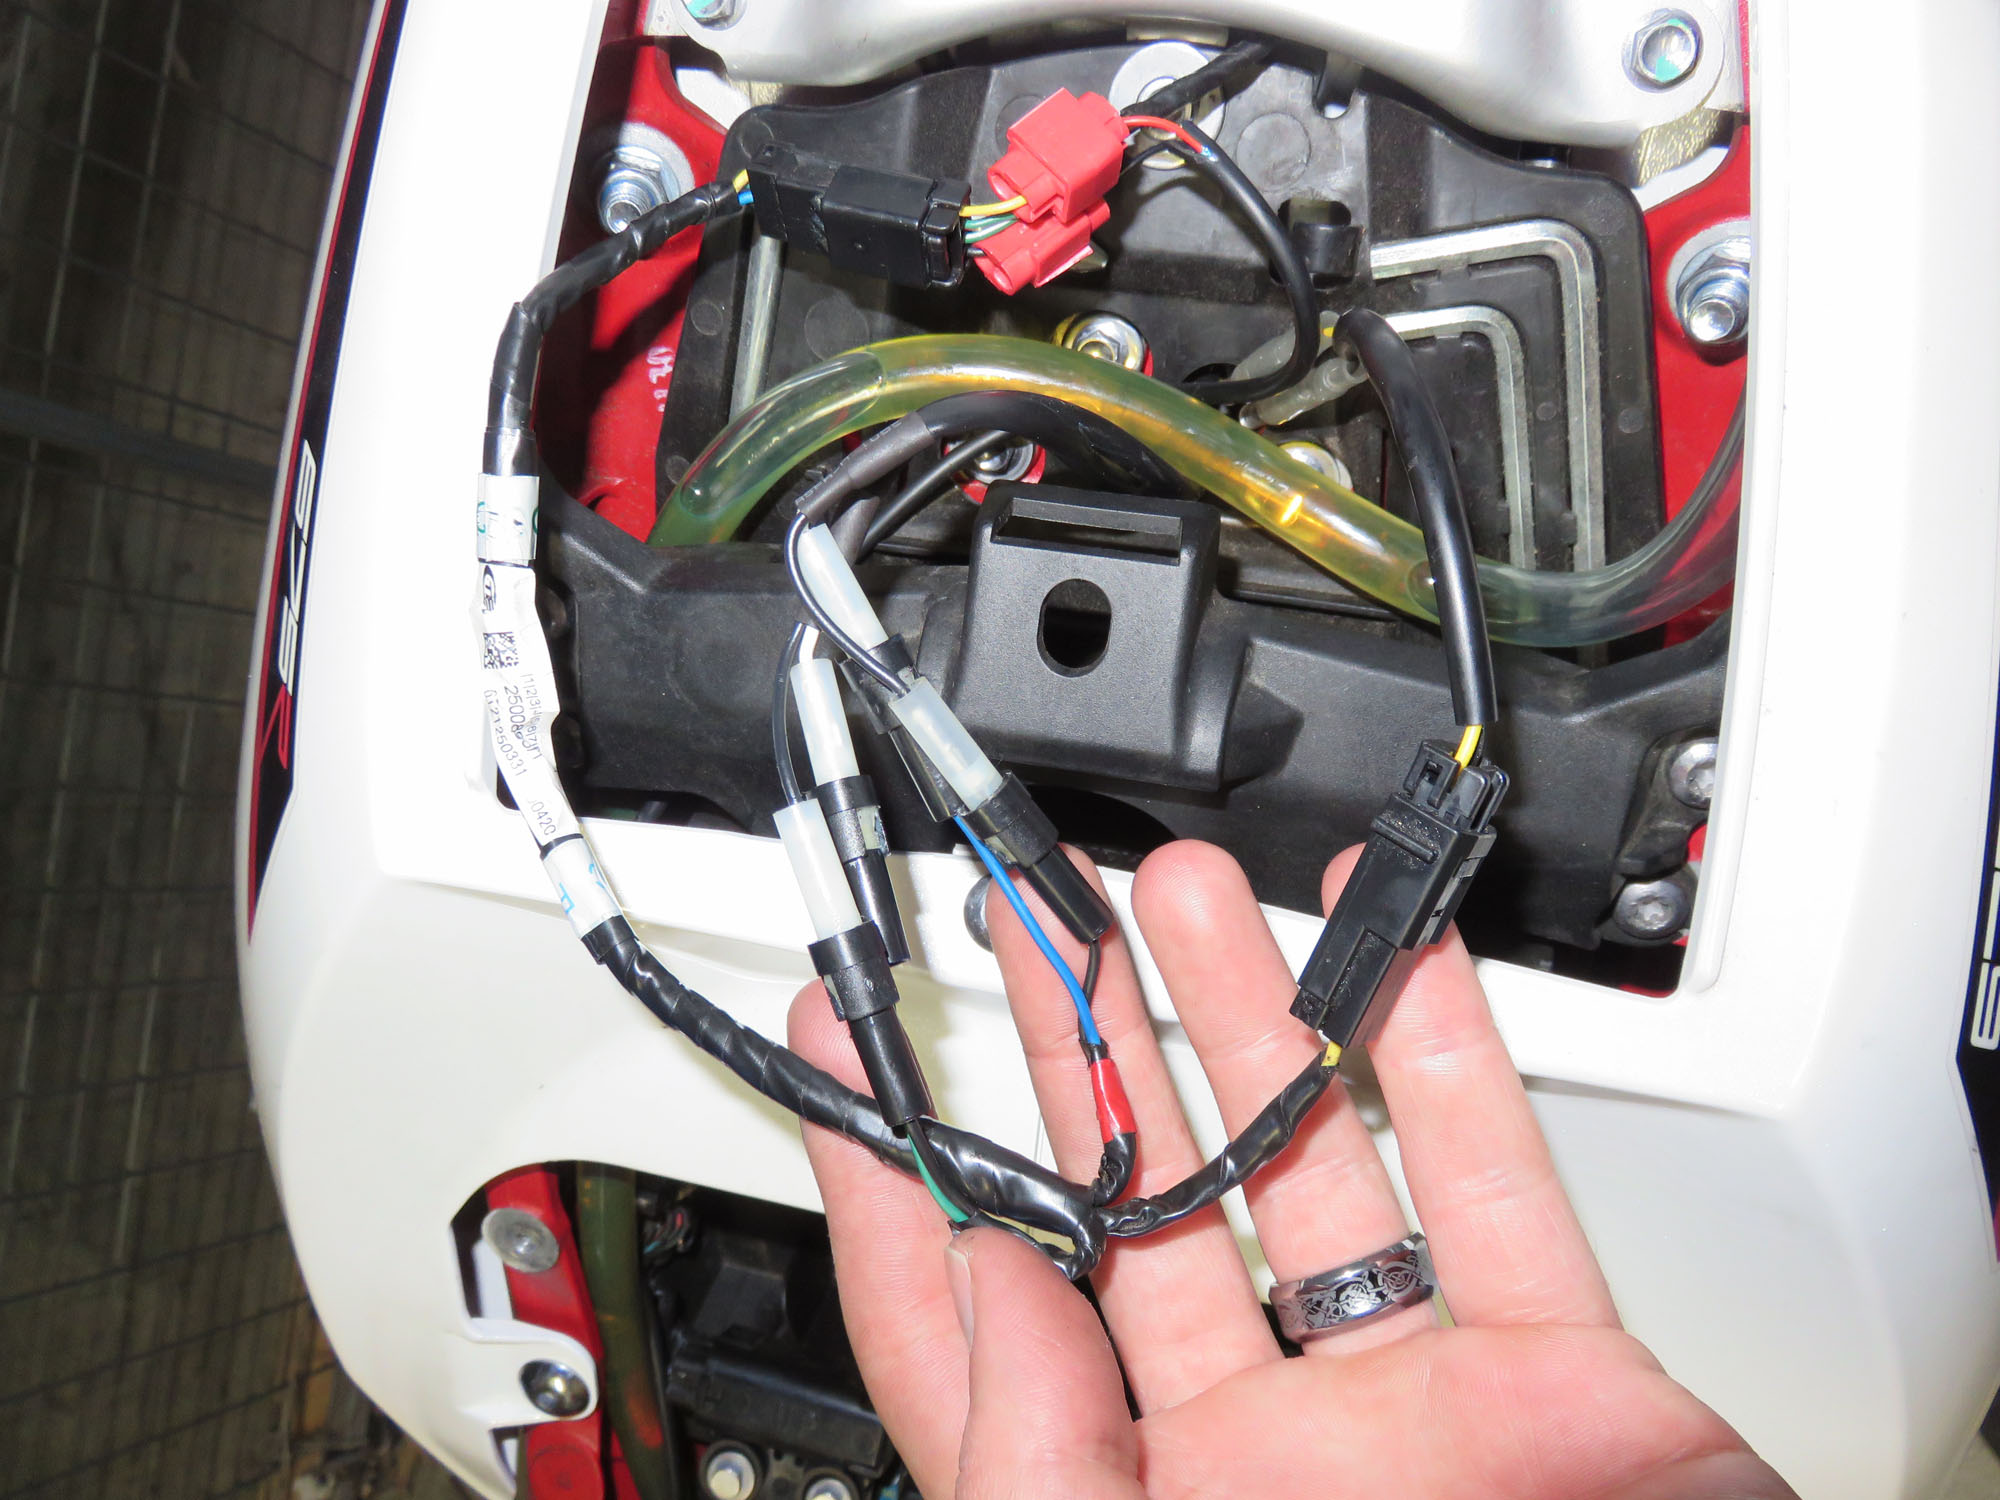
The necessary wiring is provided with the Triumph Tail Tidy and is run through the tail tidy which is hollow, for a clean look. It connects directly to the old connectors too, although I would recommend getting the LED indicators from Triumph at the same time.
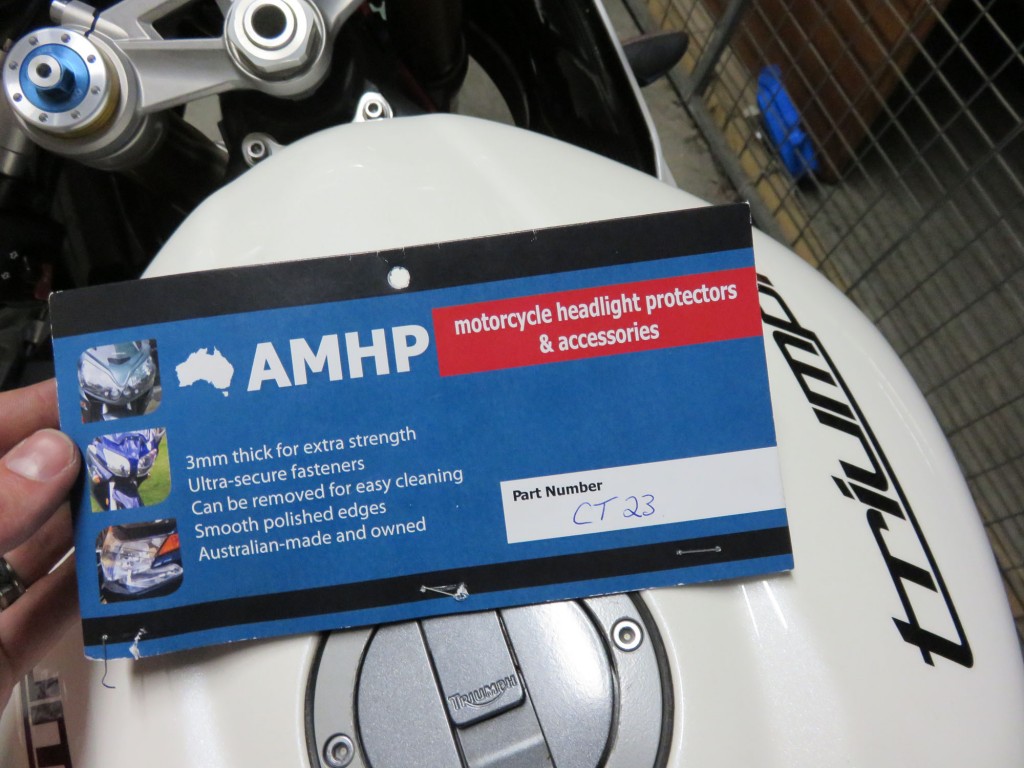
The AMHP (Australian Motorcycle Headlight Protectors) headlight protectors are a great bit of kit for ensuring you don’t get chipped or broken headlights, especially if you’re doing highway miles with trucks and similar throwing up rocks. They are available for a huge variety of bikes, just check out their website. (Click the image to be directed to AMHP.com.au)
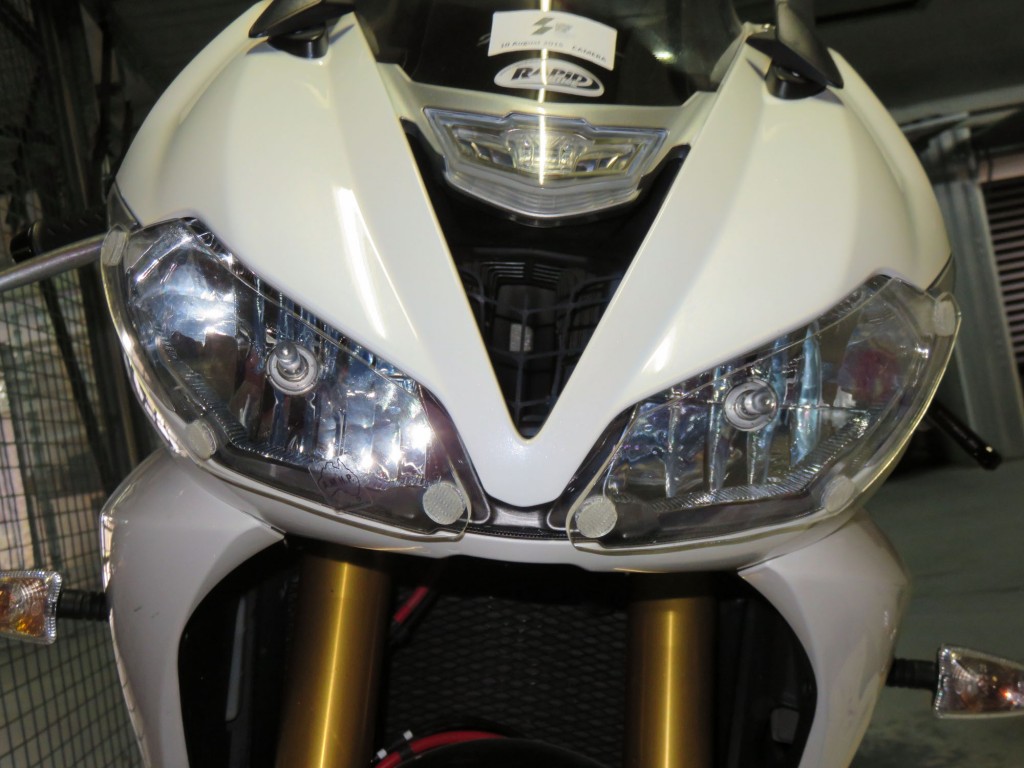
Here’s the headlight protectors fitted, apart from the small 3M Dual Locks it’s a very neat look. Make sure you clean the headlights thoroughly prior to fitting the Dual Locks for a good bond. You’ll be able to remove the protector with one side of the Dual Locks attached for cleaning underneath the protectors too.
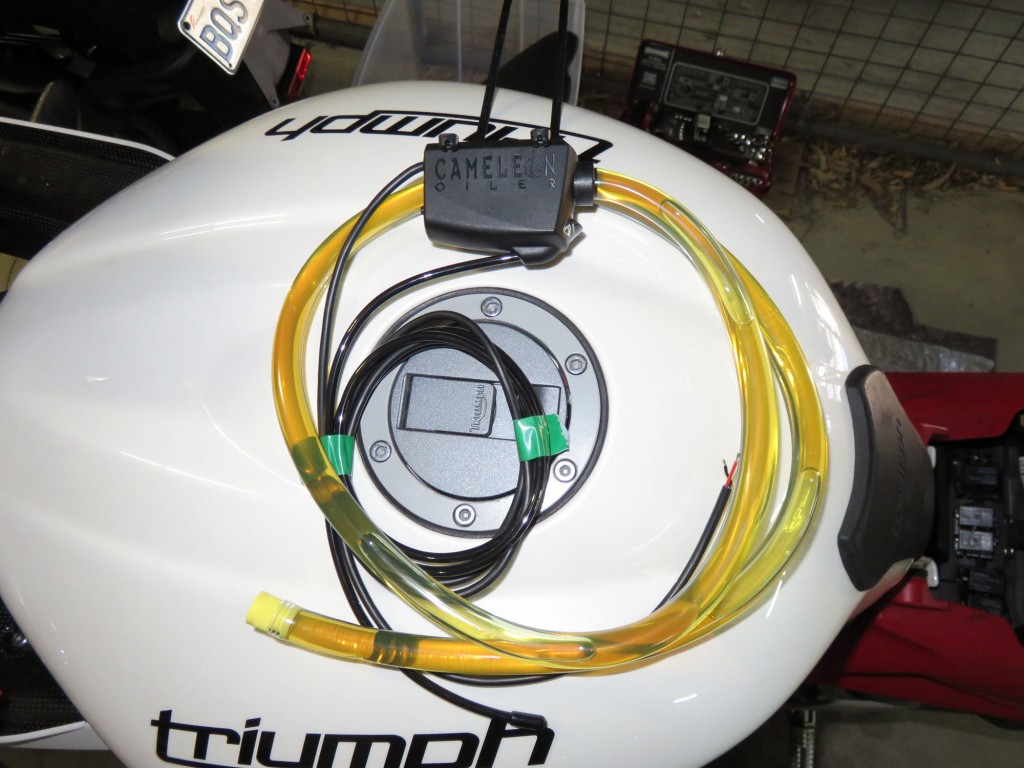
A Cameleon Chain Oiler from AMHP.com.au was another good addition for ensuring the chain is kept lubricated, with the oiler set for your riding type (with the instructions provided) and automatically oiling your chain. Finding a good place to mount the Cameleon unit is probably the biggest challenge depending on your bike.
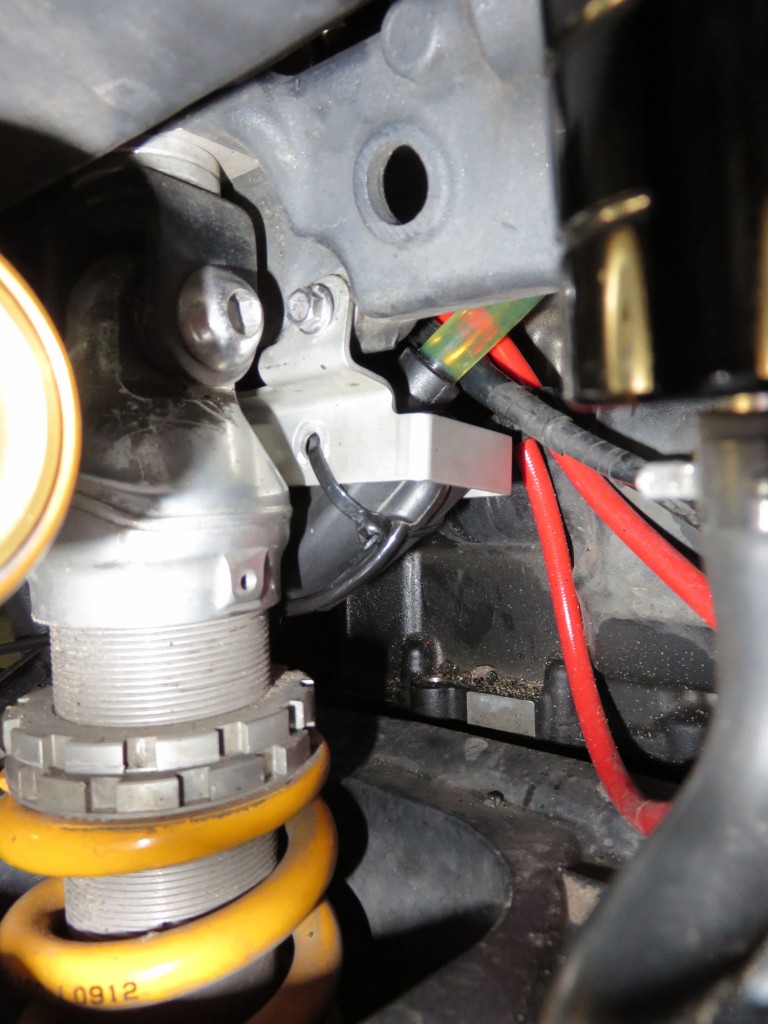
Here’s the Cameleon Chain Oiler mounted to the bracket that used to hold the EXUP valve. I had removed the bracket but ended up connecting the oiler to it and refitting it. You’ll need access to the Cameleon unit to be able to set the frequency it releases oil, as well as in a position where you can run the lubricant reservoir vertically up from the Cameleon unit, as well as run the wiring to connect to the rear running light or similar. You also have a semi-rigid tube that runs along the swingarm to deposit lubricant on the chain, with a fully flexible joining piece from the Cameleon unit. A little bit of planning for the install goes a long way!

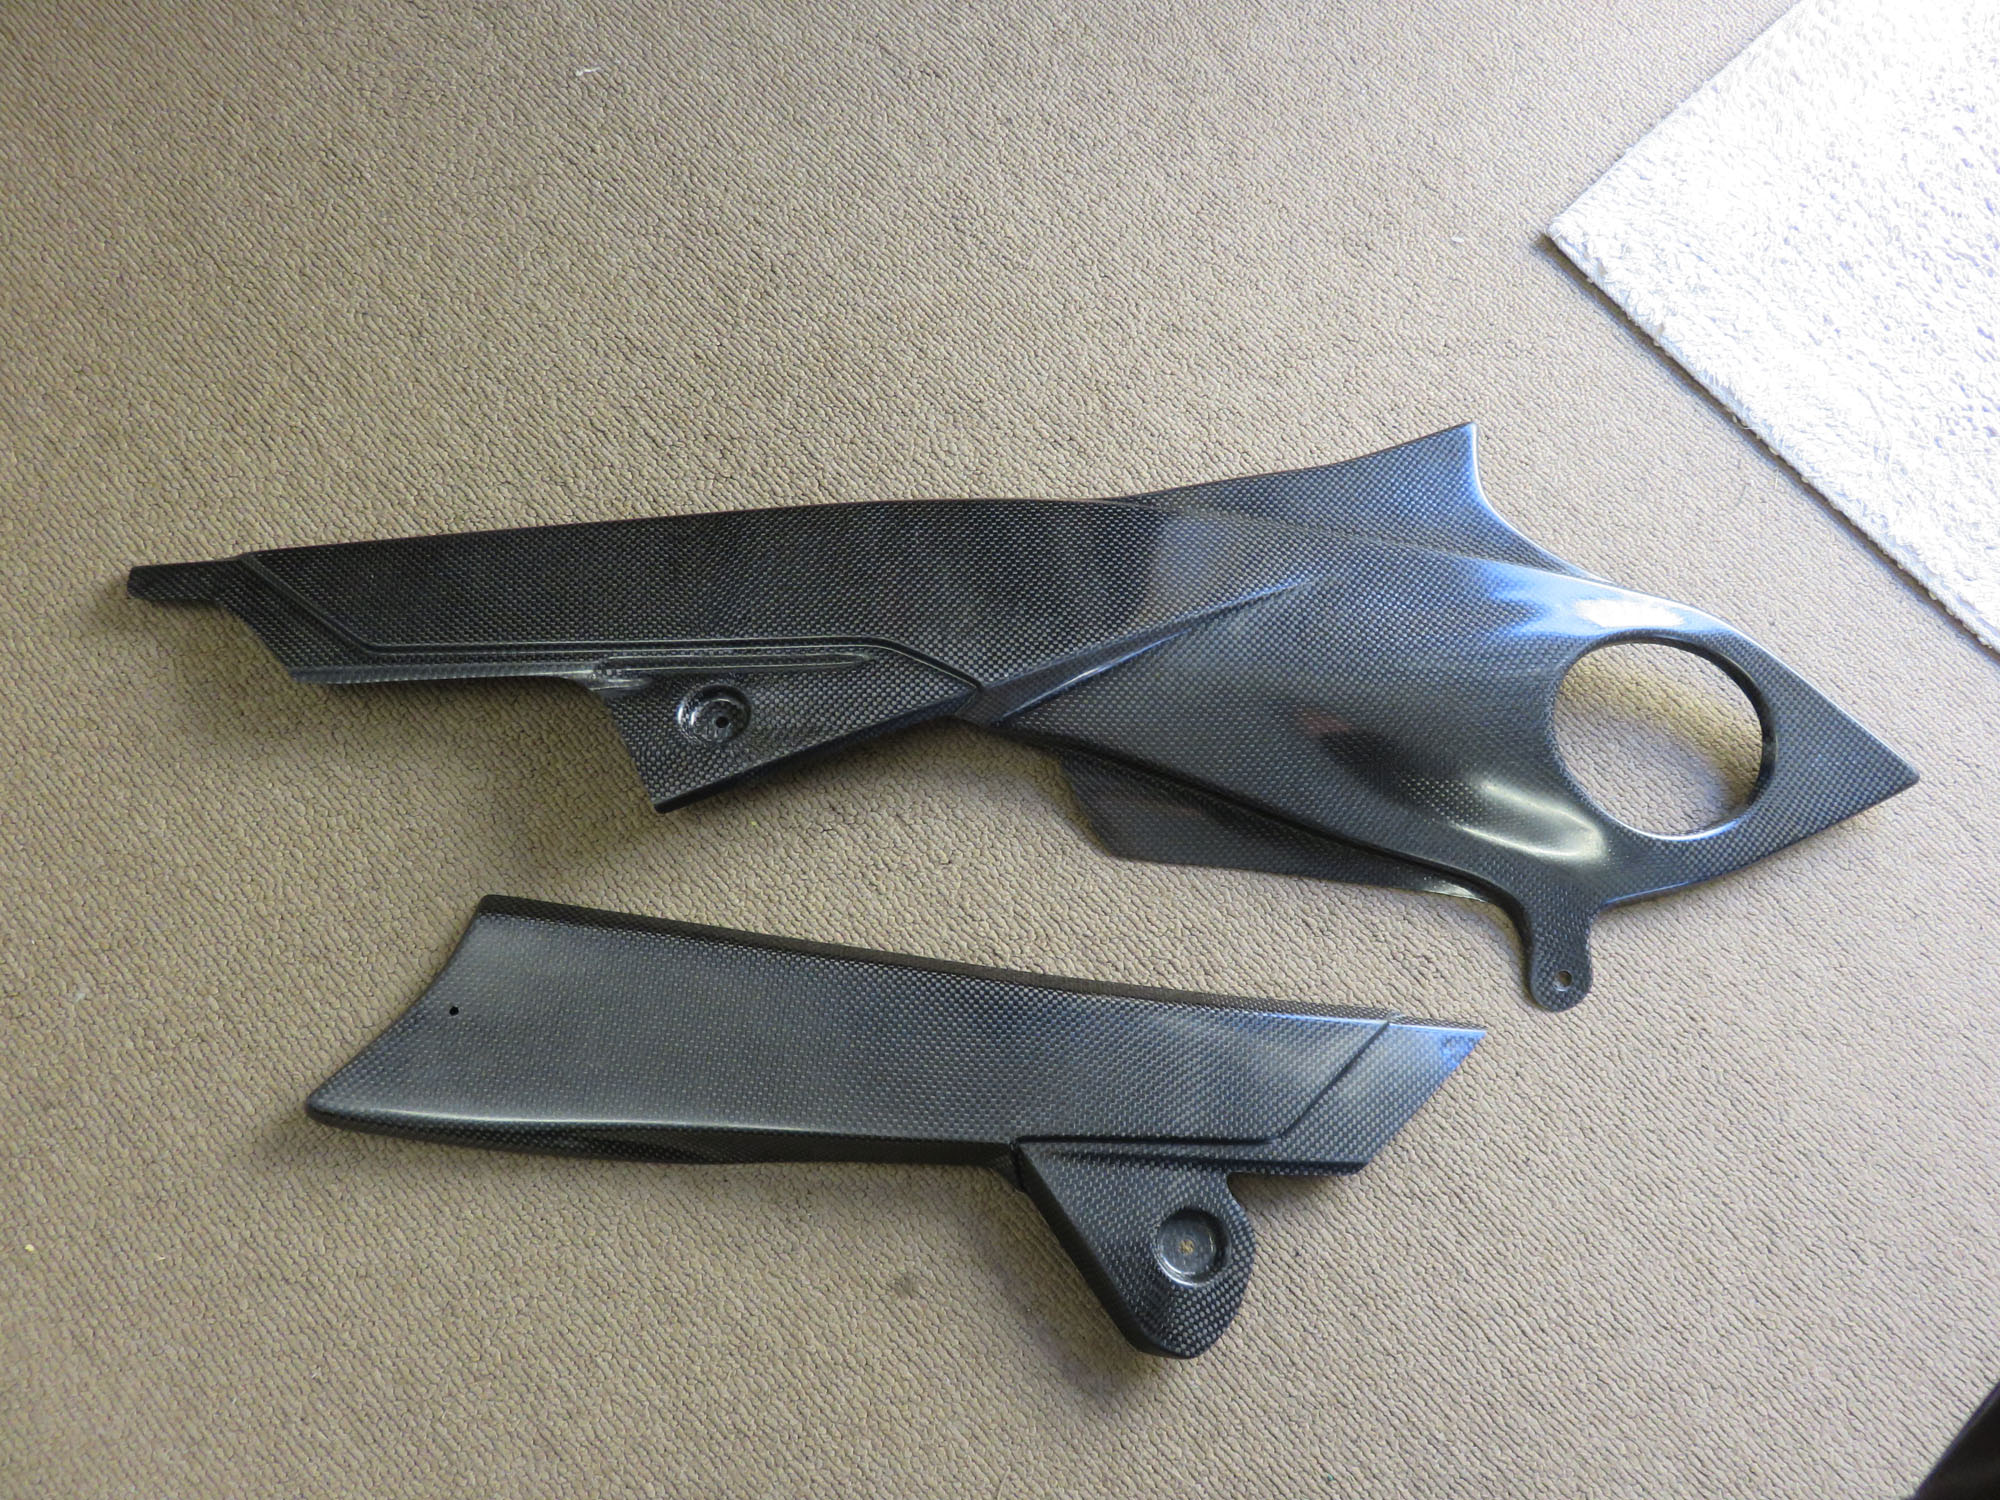
These carbon-fibre parts were sourced from eBay and were reasonably cheap and of reasonable quality. The fit on the exhaust pieces isn’t amazing, and even with the heat shielding they’ve bubbles from exhaust heat in a few places. The undertank panels I would buy again, the rest – having seen the quality of the Taylor Made exhaust – I probably wouldn’t, unless I never planned on upgrading the stock exhaust.
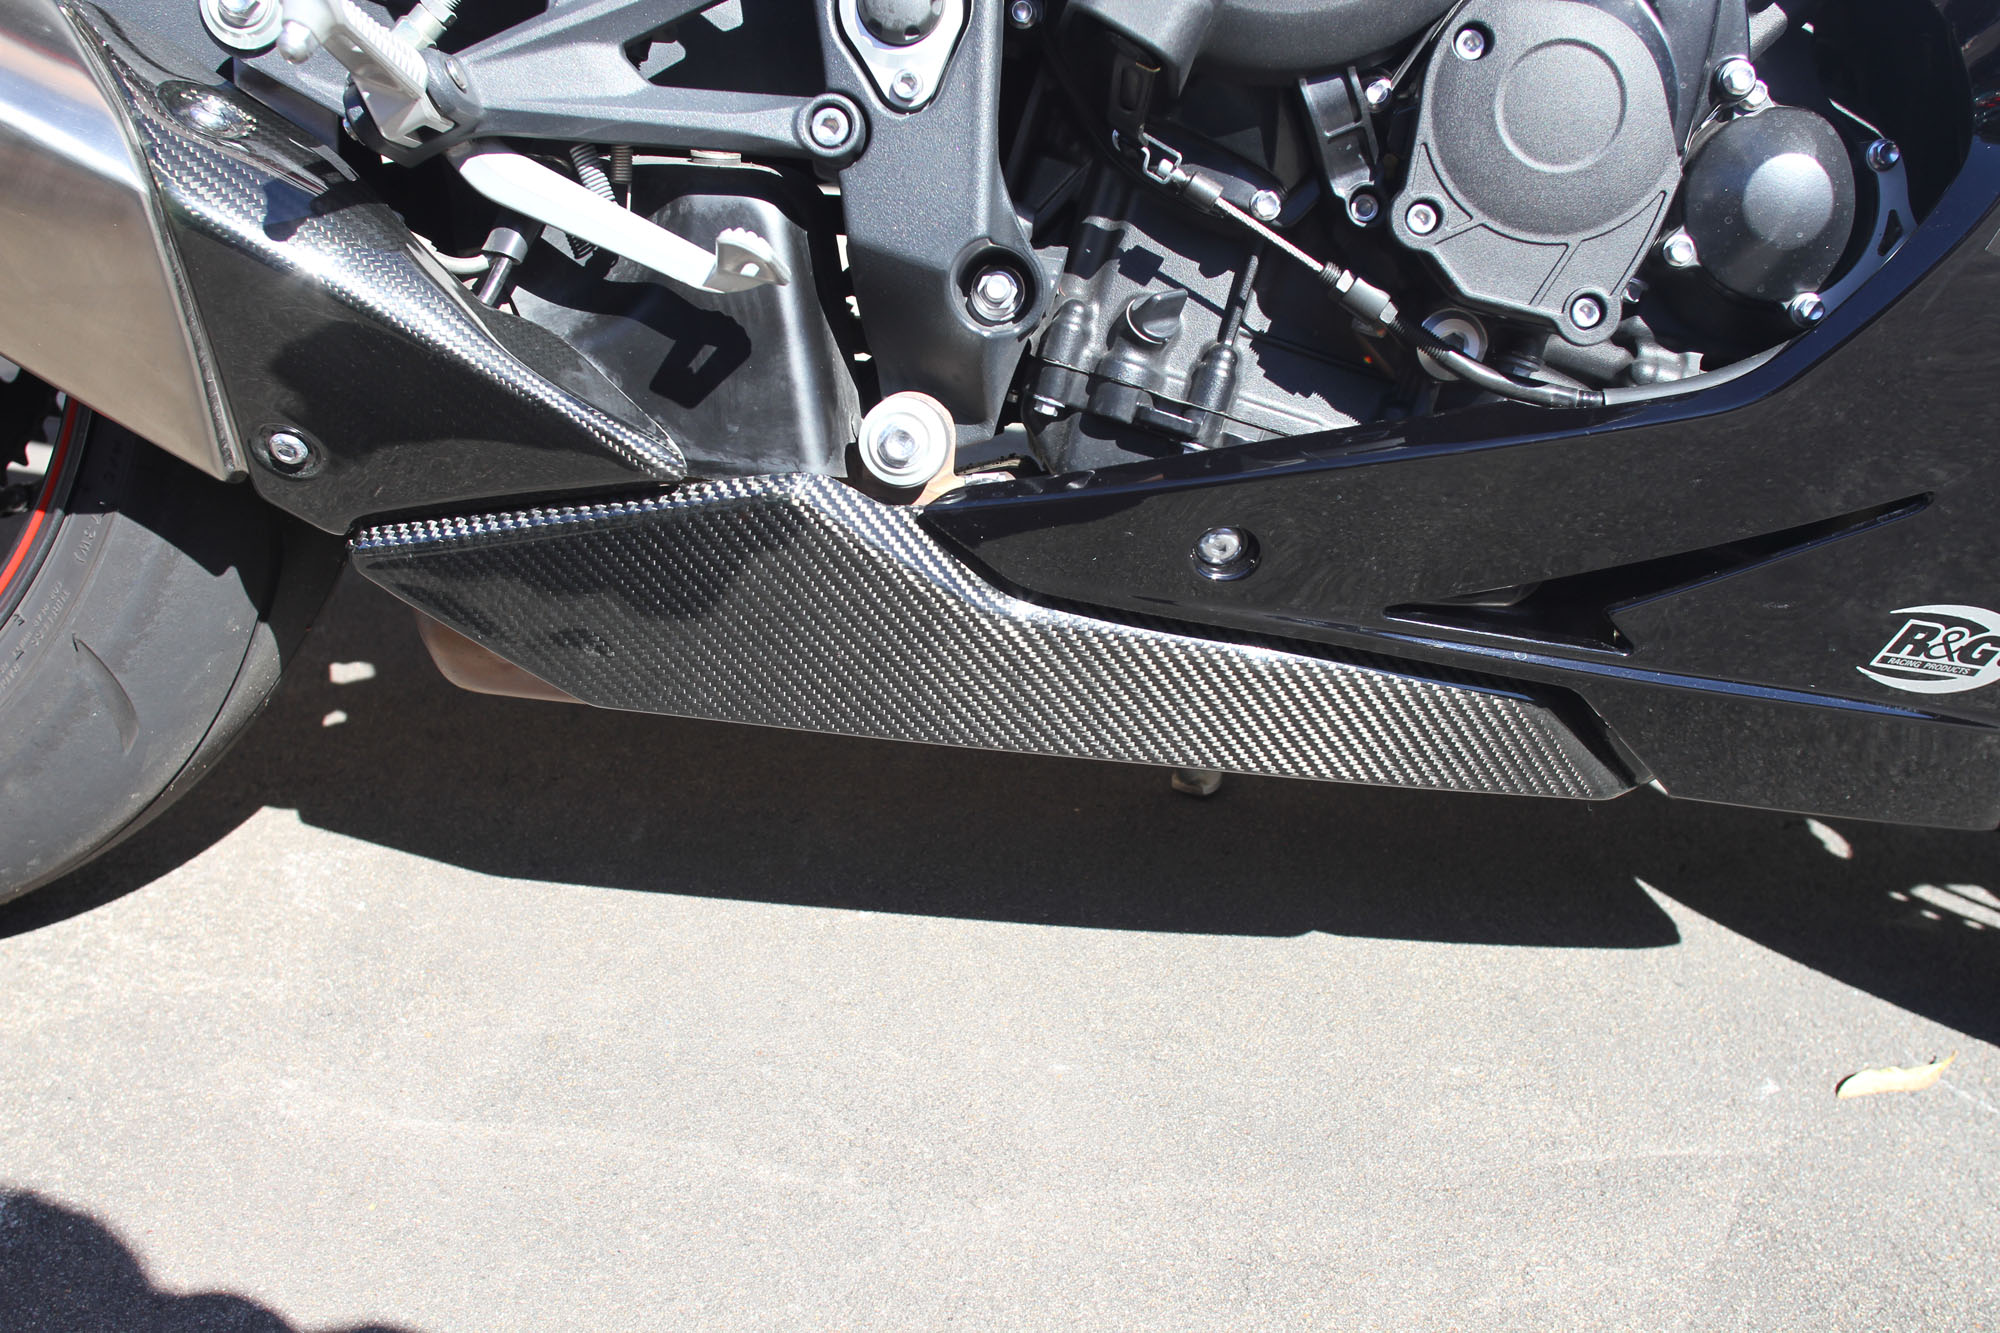
Here’s the exhaust pieces fitted. The fit is good but not great, installation was easy though, directly replacing the stock items and saving a bit of weight over the original stainless items.
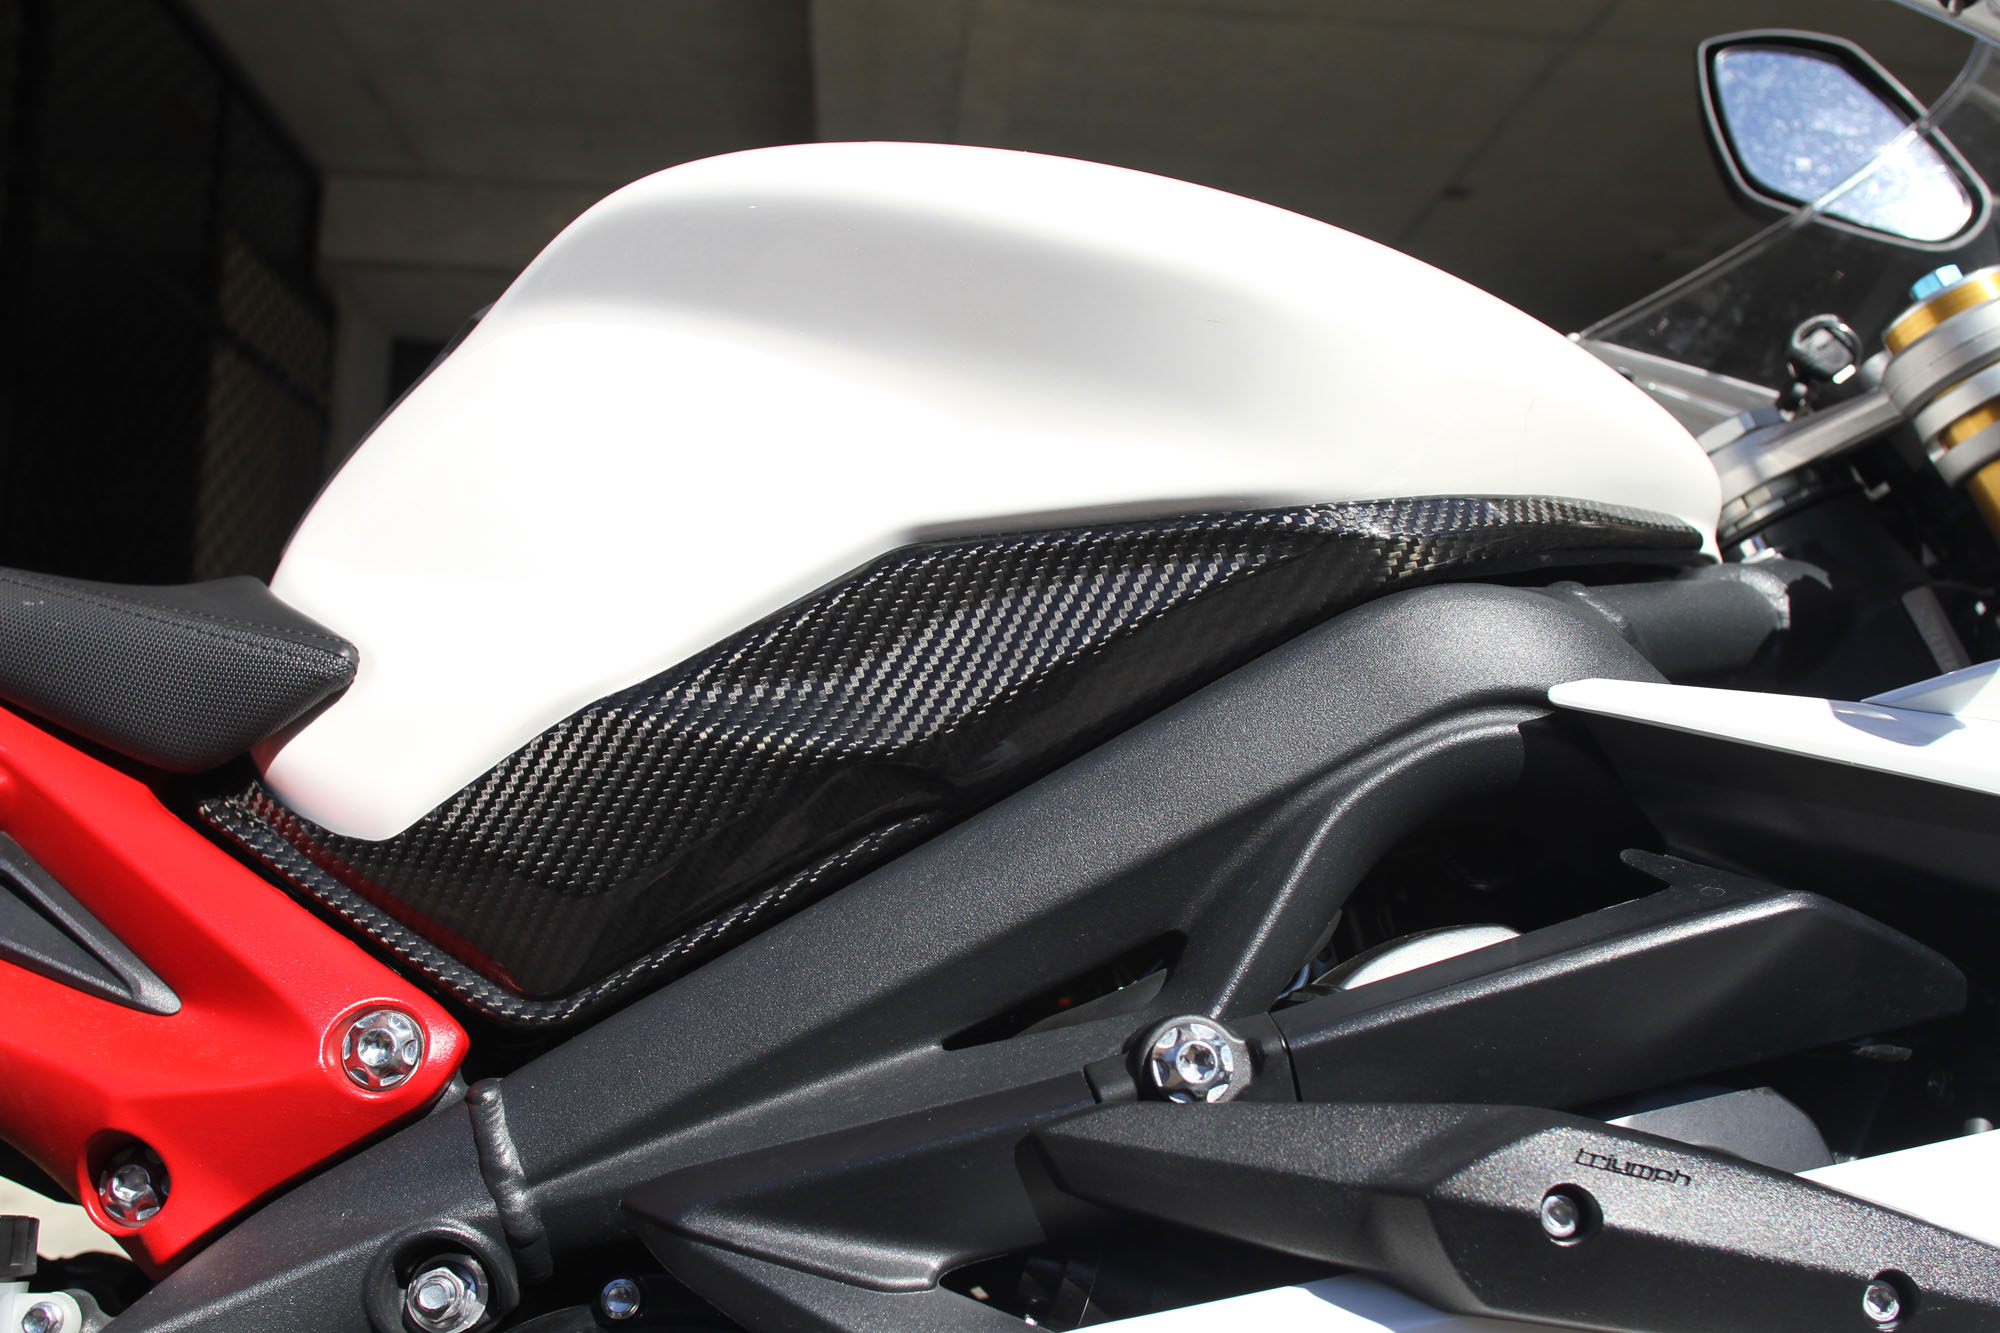
The undertank panels were the best buy – they look good and are a reasonable fit, but not perfect, despite plenty of heat cycles.
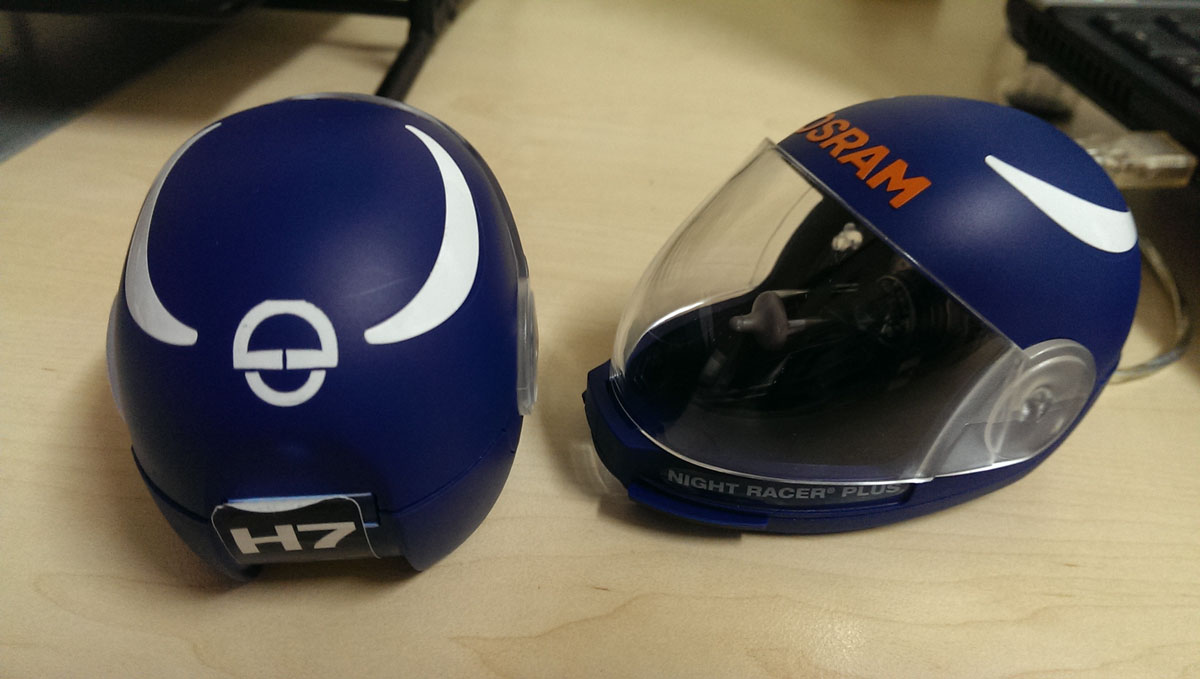
When one of the headlight bulbs (the low beam) failed after two years I replaced both with Osram Night Racer Plus bulbs. They should be available through most motorcycle dealers and workshops and are distributed by Kenma. You can even grab one of these neat little helmet bulb cases depending which you buy.
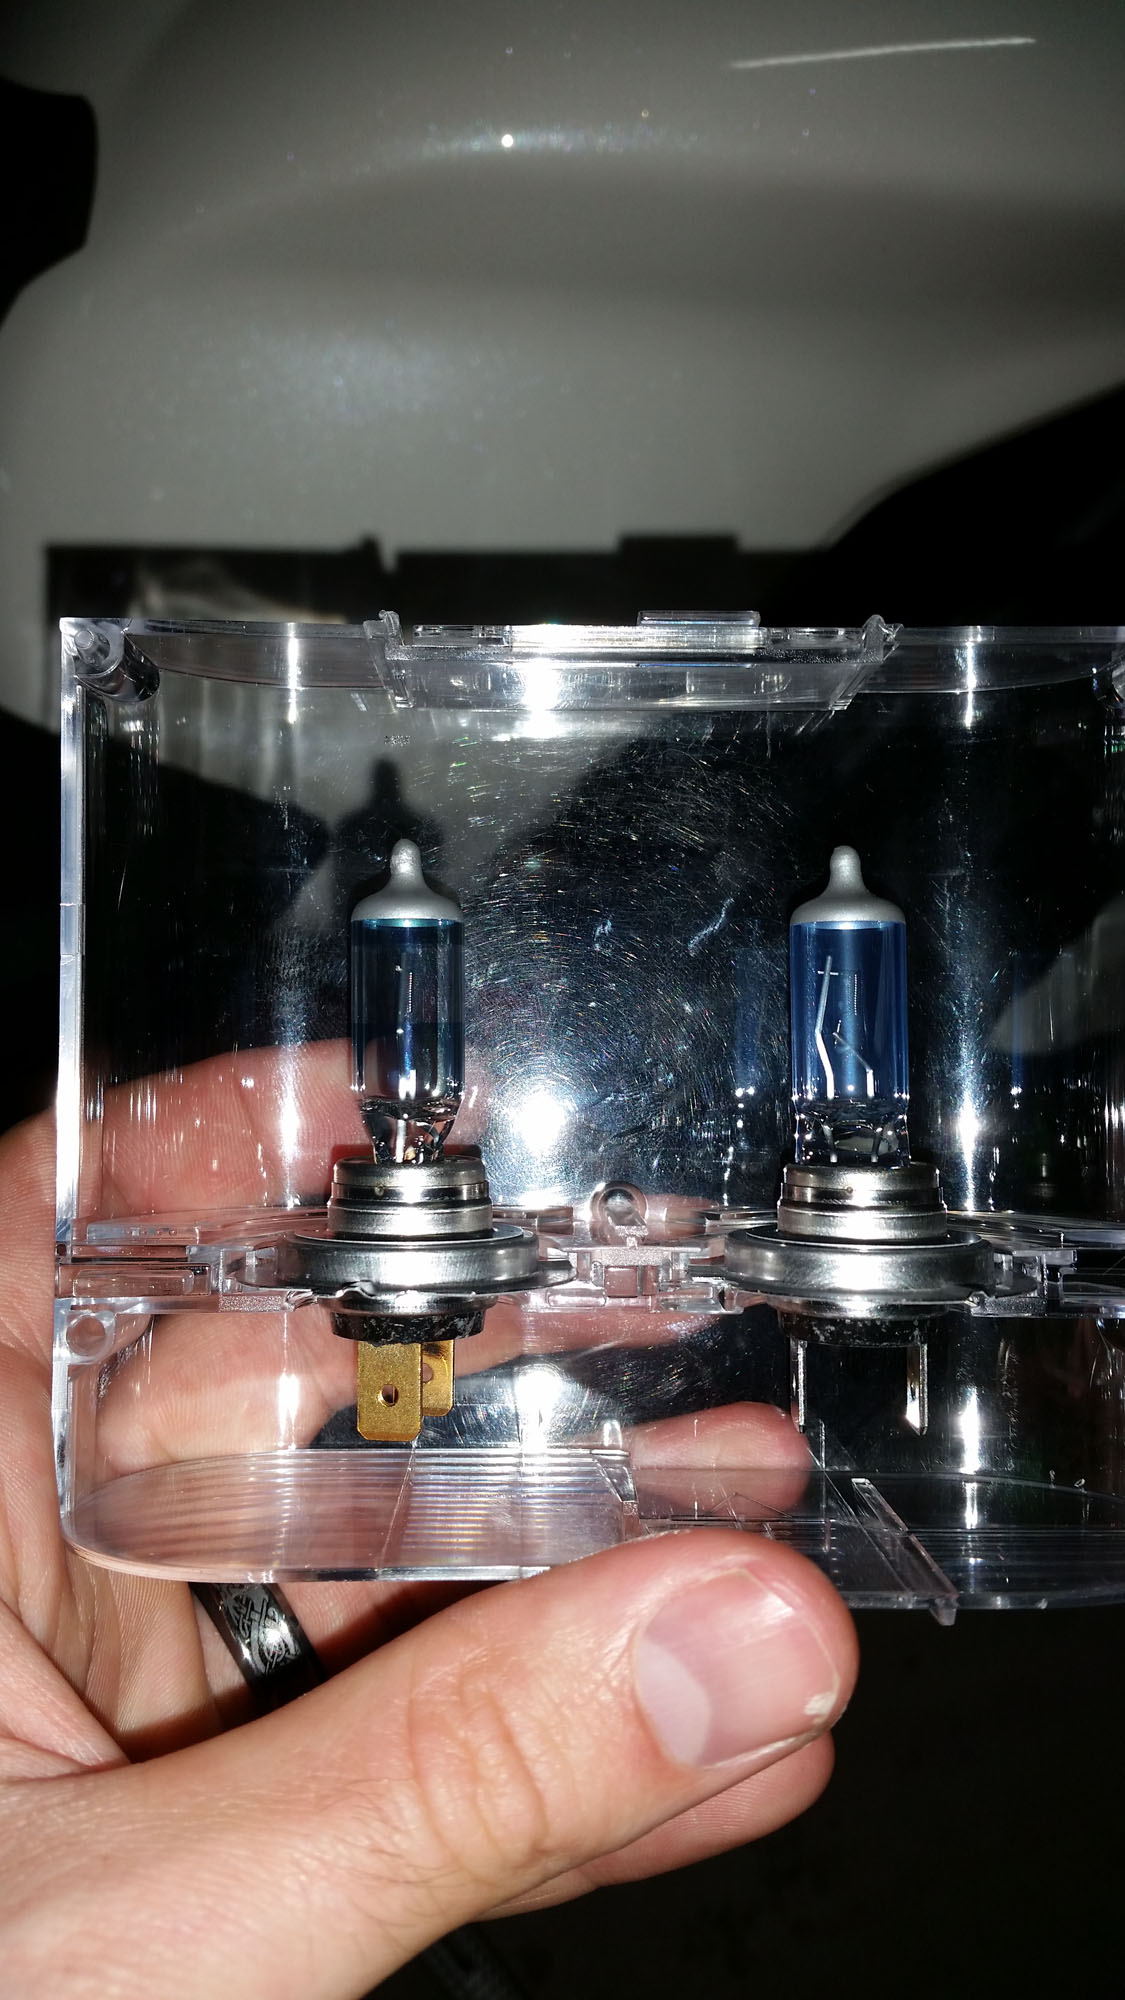
Here’s the two bulbs, a Night Racer Plus and a Cool Blue which replaced the standard bulbs. Buying Osram you know you’re getting top quality. Installation was as easy as removing the fairing infill panels, unscrewing the headlight rear caps and using a screw driver to loosen the metal retaining clip. Just avoid touching the bulbs with your hands while installing them, as the oils in your skin can shorten their life. Before you’ve put the headlight caps and infill panels back just turn the bike on to make sure it’s all working.

A set of R&G Racing tank protectors add a little bit of carbon-fibre to the tank and help protect the corners in the event of a drop or crash. They are actually fitted with aquarium sealant on the rear side, and are a snug fit.
The Verdict | Staff Bike: Kris’s 2013 Triumph Daytona 675 R
Awesome!
You Might Also Like


January 6, 2016
Great bike and a great story, thanks for sharing!
January 25, 2016
Purchased a new 676 R and love it
What tyres are people using for a mix of commuting and track days?
There should b more of these on the road
January 25, 2016
Hey Richard,
As mentioned I’ve run the Metzeler M7 RRs for that kind of use, and we’re looking to test some different options in this year. We’ve also run Pirelli Diablo Supercorsas or Avon 3D Ultra Sports on similar machines for that kind of use (commuting with some track) in the past.
February 10, 2016
Looking great! How does it go for a pillion?
February 12, 2016
It’s a typical sportsbike, with a small pillion seat, so it’s not great for huge distances. It’s OK for shorter trips and the Ohlins suspension ensures a very smooth ride for rider and pillion. It’s also a lot more prone to picking up the front wheel with someone on the back, if you take off in a hurry.
March 2, 2016
Hey Kris,
Happy to have supplied some quality parts to bung on this baby! Looks awesome! So it you want to be original take a look on our website for your bike.
August 17, 2018
Is it possible to buy/fit handlebars that are more akin to sports touring like vfr bars or some sort of riser system?
August 18, 2018
Aftermarket companies offer clip-ons with risers, and some are even adjustable, so you could go with a set of those for a taller and more relaxed reach to the ‘bars. That’s what I’d look at doing if I was going to do a Daytona to Street Triple conversion, or wanted to make the ergonomics a little less sporty!
Just from a quick Google search, something like the Apex Riser Clip-on Set would probably do the trick, you’d just need to check for clearance to the screen.
September 3, 2020
Did you ever reinstall the Taylor Made exhaust? Still have it? I just bought a 2017 675R and would love to have that exhaust on my bike if you want to sell it. I checked the Taylor Made web site and apparently the guy retired and is no longer making any new products. Let me know.
September 25, 2020
Hi Nick, you can contact Kris through his website motojournokris.com he may still have it.