Zane flew out to Japan for an ultra-rare tour of the Arai helmet factories in Saitama and Shinto. Check out the process that goes into constructing these lids. Images: Arai Helmets Japan.
Arai gave international journalists a once-in-a-lifetime experience to check out how their helmets are made at the Tour-X5 world launch. I headed to Saitama and Shinto, Japan, to tour all four factories these spectacular lids come out of! Check out the process.
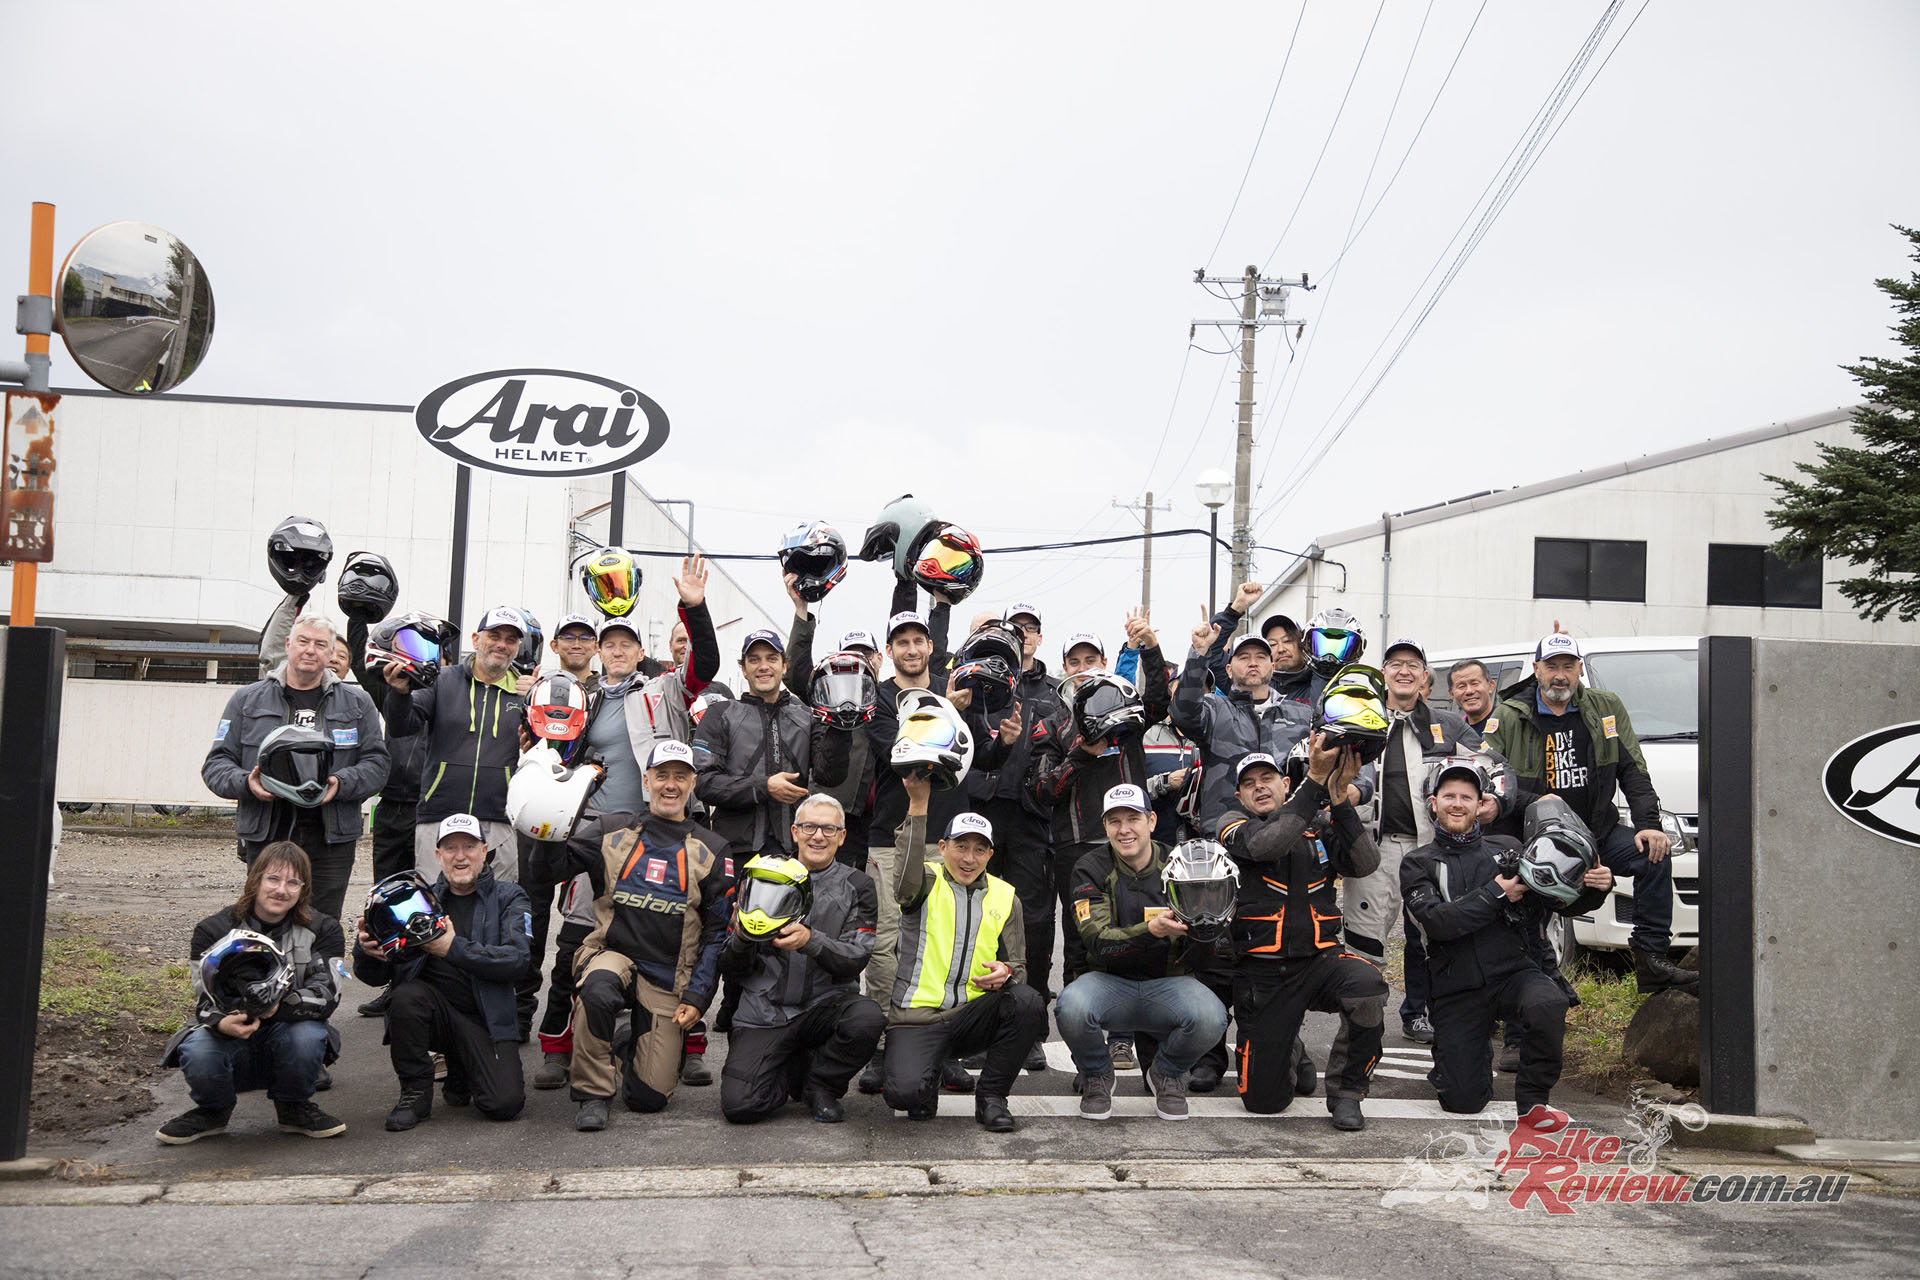
We headed out to the Arai factories in Japan for a full tour of how these lids are designed and produced!
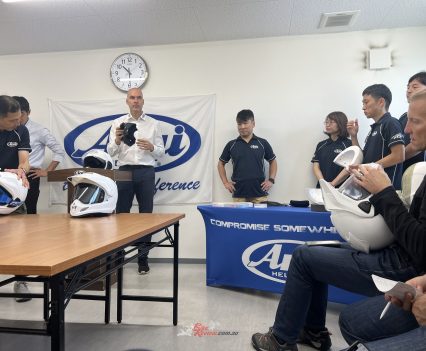
If you haven’t checked it out yet, you can read my review of the new Arai Tour-X5 adventure lid that Arai sent us out to Japan to test out. We weren’t just sent across the globe to try out a new helmet. The Japanese company wanted to invite us to see how their lids are made and tested.
Check out my Tour-X5 launch review here…
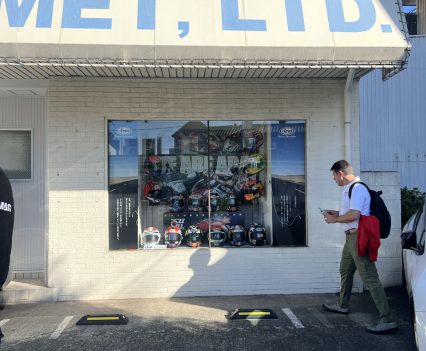
Arai has always kept the inner workings of their lids close to their chest, and it may seem like there are not a whole lot of photos that really show the inner workings of their factories, but the photographers that followed us around had been given specific clearance to ensure no factory secrets are revealed to competitors. We were also not permitted to photograph most stages of our tour.
That secrecy is evident due to the fact that the only other documented recent event the media got a peak into what goes into making an Arai lid was back in 2019. Since then, Arai has made a few technical leaps in their shell and EPS foam construction.
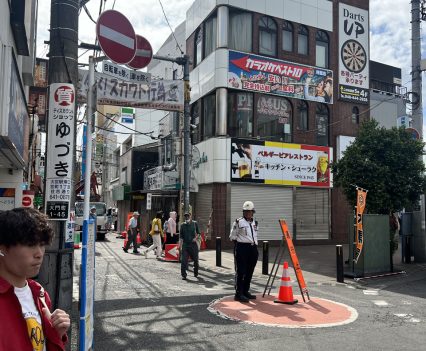
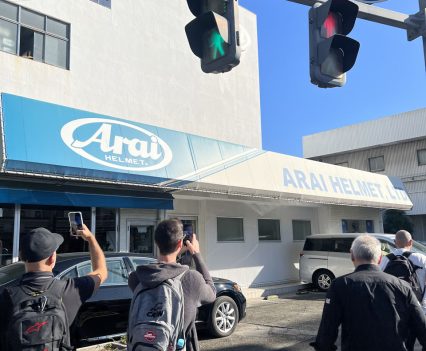
I always enjoy visiting Japan, so I jumped at the opportunity to experience a few parts of the country I’d never been to, like Saitama. I flew into Haneda airport for the first time in six years, absolutely wrecked from an ultra-late, overnight flight. I meet up with the other Aussies who were on a daytime flight, and we head out to our accommodation just around the corner from the Arai HQ.
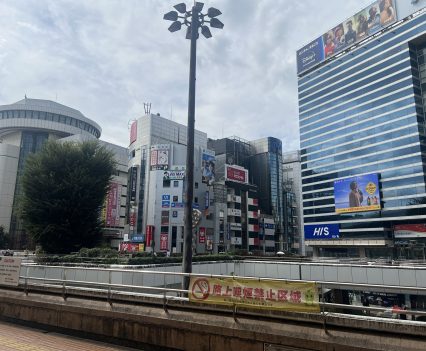
Saitama is a gorgeous prefecture, and I honestly recommend it to anyone who wants the Japanese city experience without the crowded nature of Tokyo or Osaka. Most of the journalists are destroyed by their flight. Finally, the Europeans know how Aussies feel when they’re thrown into work straight away with a 12-hour time difference.
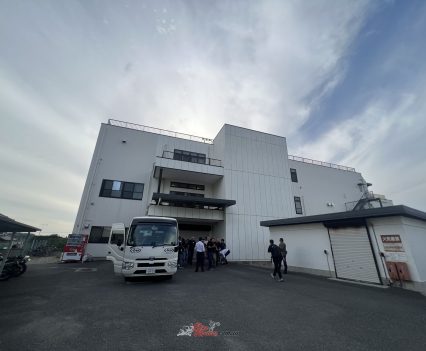
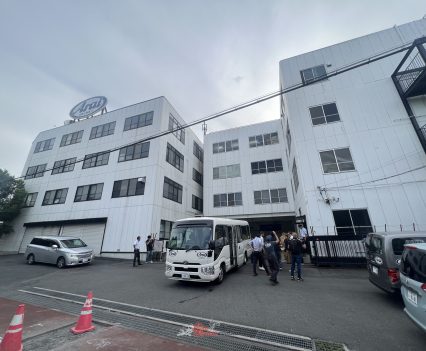
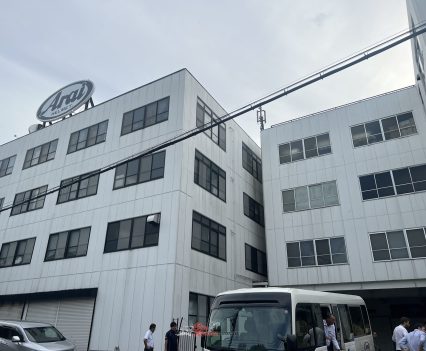
Arai HQ Saitama
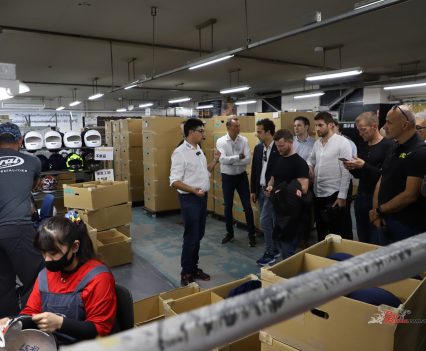
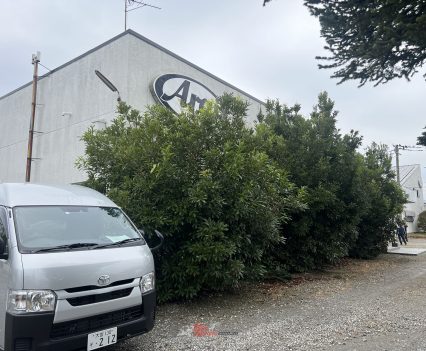
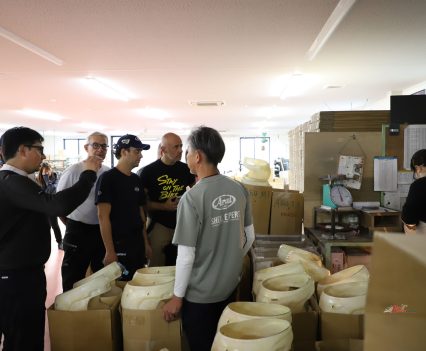
Day one is a packed one for us. We head out to the main factory where a number of important tooling, R & D and media are performed. Keep in mind that this is the original Arai factory, and it’s smack bang in the middle of a bustling town. This is where we first meet the father/son duo: Michio and Akihito Arai.
Michio Arai, son of founder Hirotake Arai, is still heavily involved with the company. He comes in at 7 a.m. and sits at a desk the same size as all the other office employees, then leaves at 7 p.m., five days a week. He is 85 years old. The opportunity to meet him was so special. He speaks English very well (due to studying in the U.S.A. in his youth) and has a massive passion for helmets.
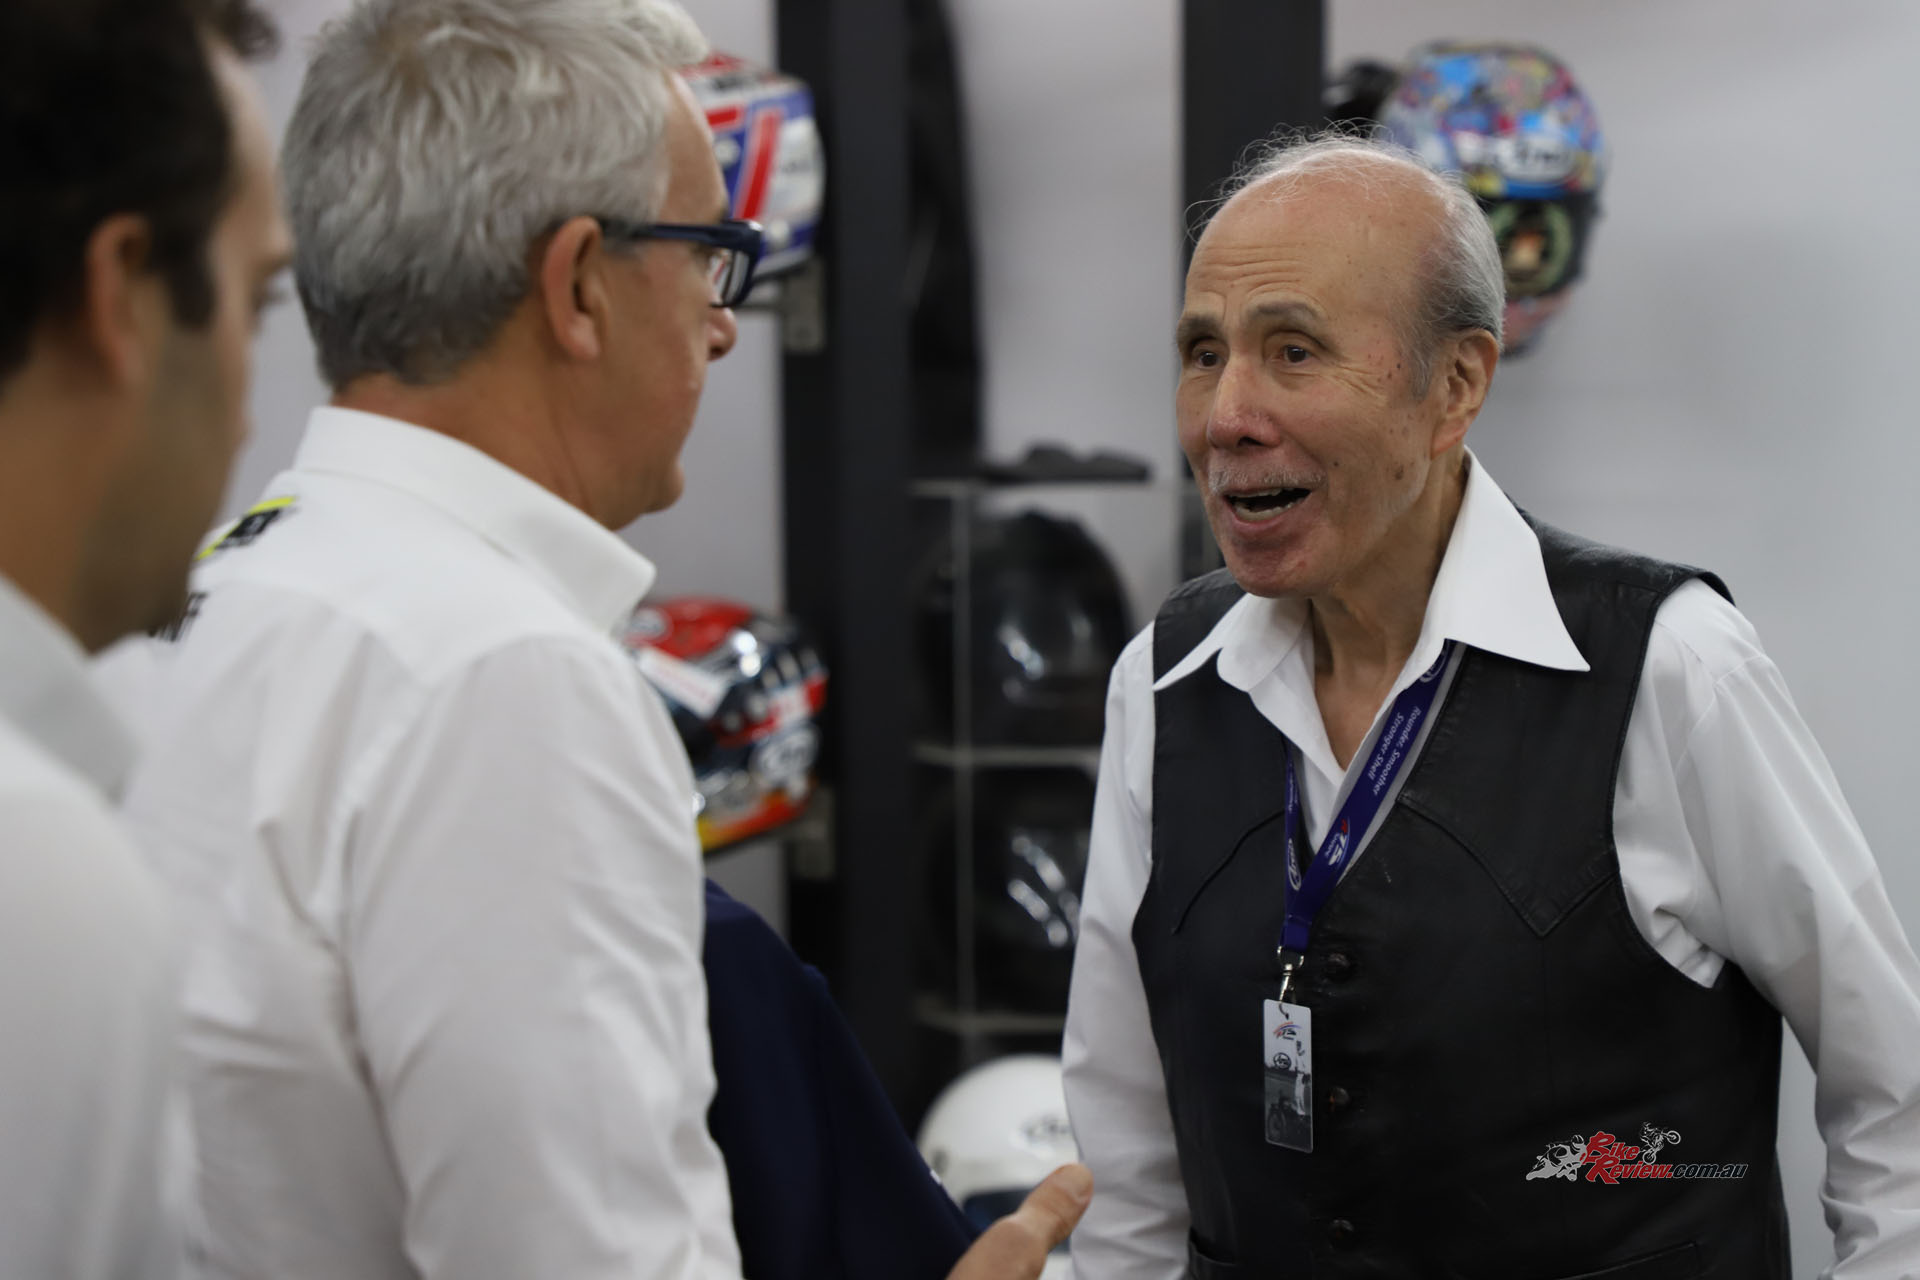
Michio Arai, son of founder Hirotake Arai, is still heavily involved with the company. He comes in at 7 a.m. and sits at a desk the same size as all the other office employees, then leaves at 7 p.m., five days a week.
Akihito Arai is Michio’s son and currently sits as the company’s vice president. Despite being the company’s future, he has an extraordinarily down-to-earth and approachable aura about him, the same as his father. He involved himself heavily in the entire press launch, coming along for the ride and joining us for lunch/dinner each night.
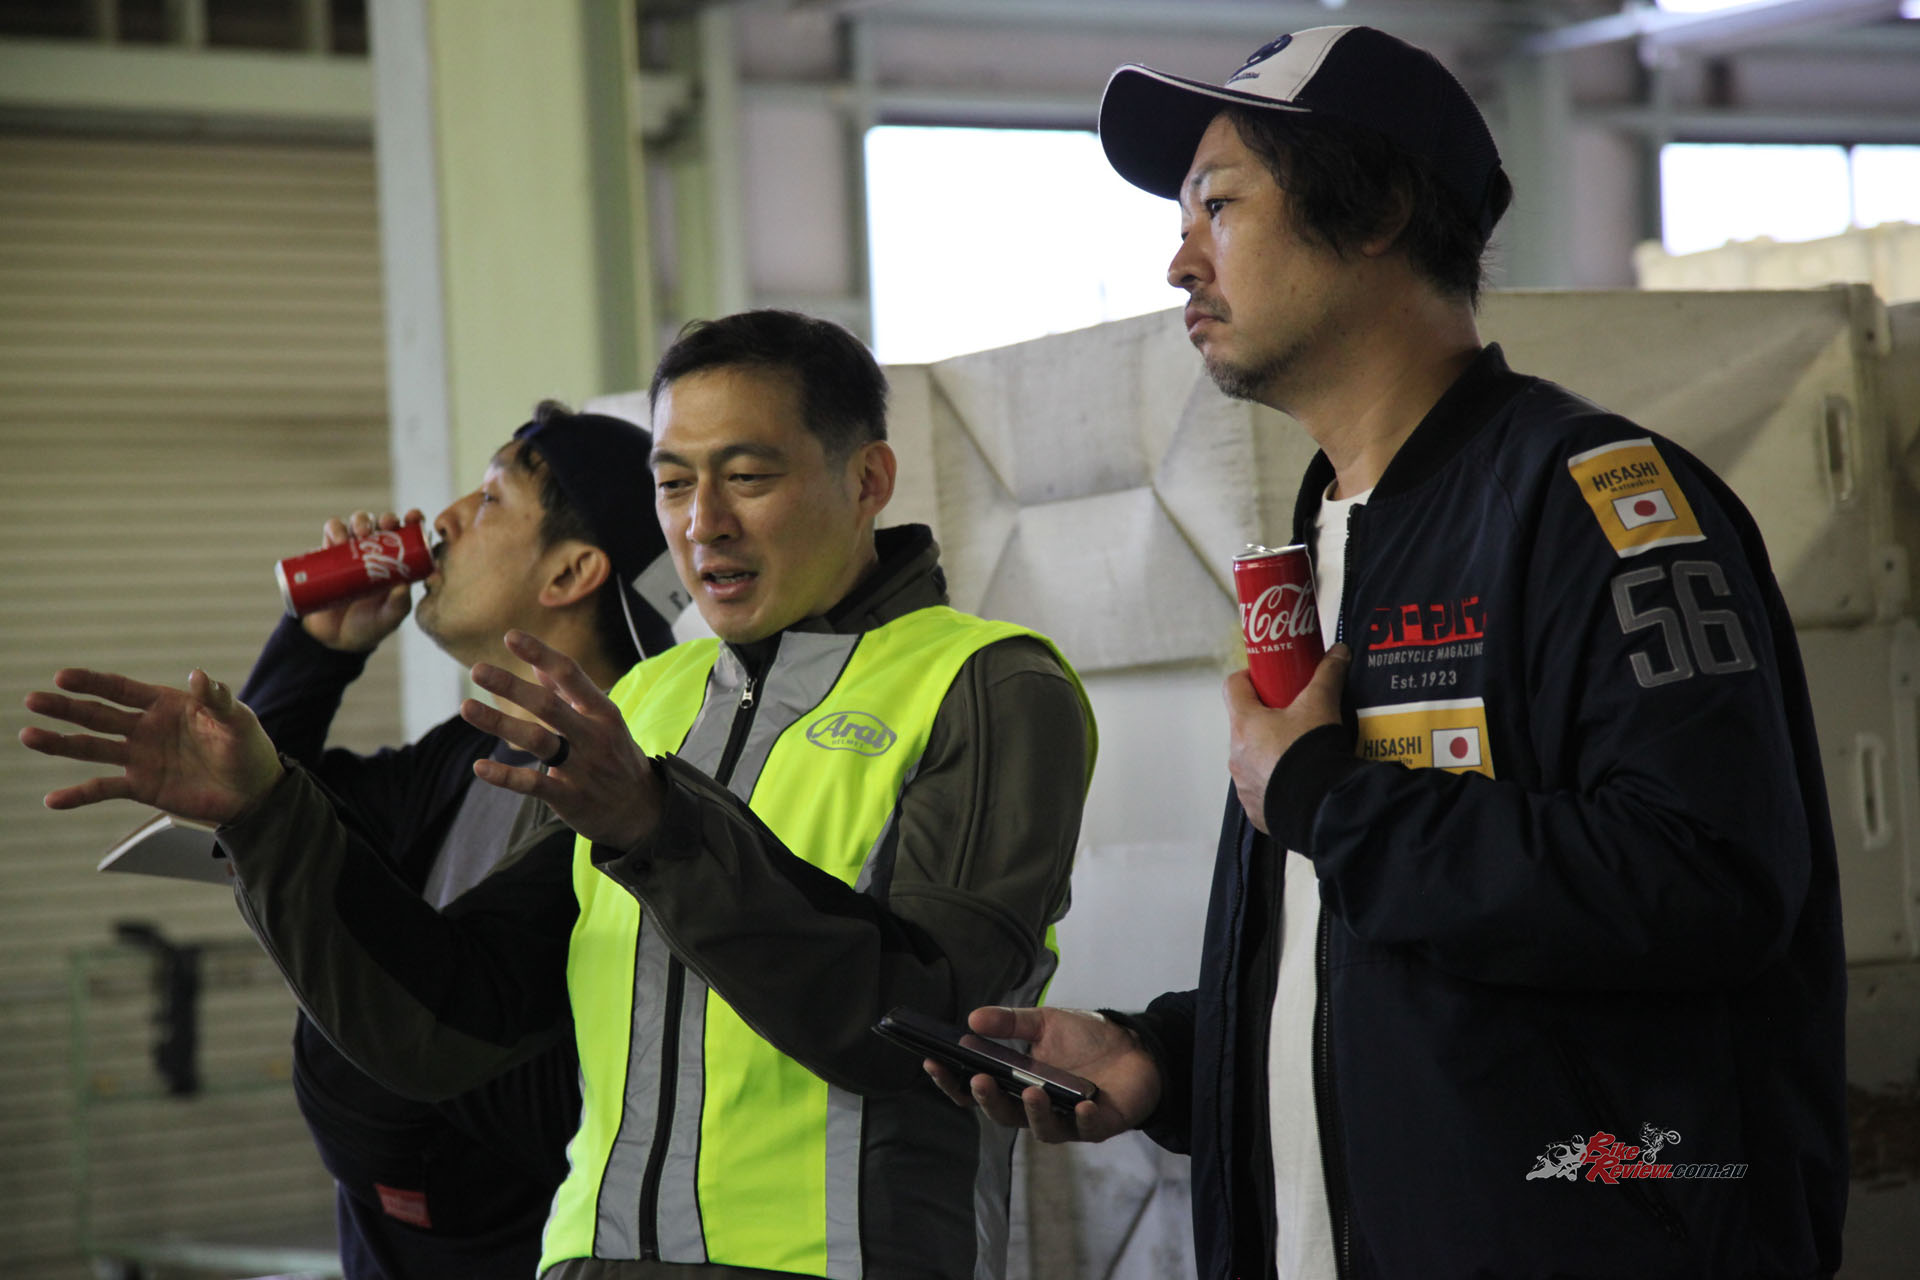
Akihito Arai (yellow jacket) is Michio’s son and currently sits as the company’s vice president. Despite being the company’s future, he has an extraordinarily down-to-earth and approachable aura about him, the same as his father.
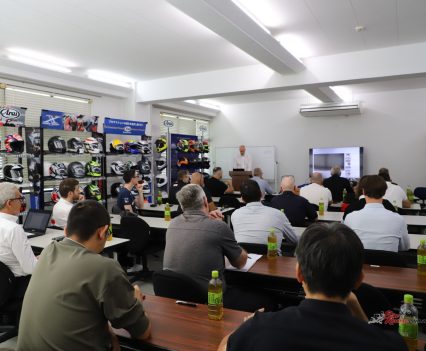
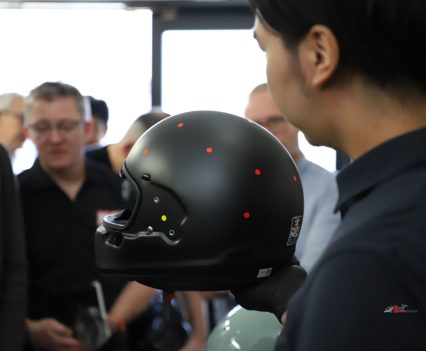
From here, we head to the R&D centre, where we get to speak to the designers of the new Tour-X5 helmet. I discuss this further in my review, but it’s the same with all Arai helmets; they want to make them as small, round, strong and comfortable as possible.
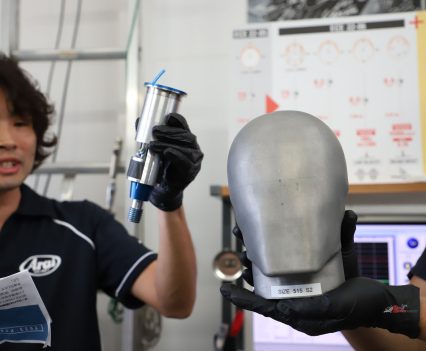
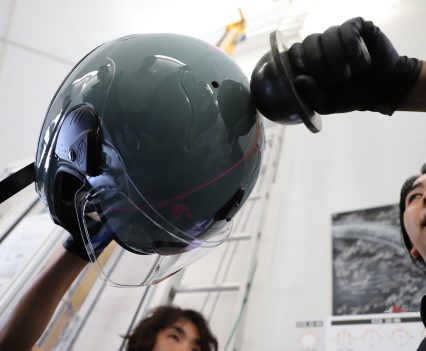
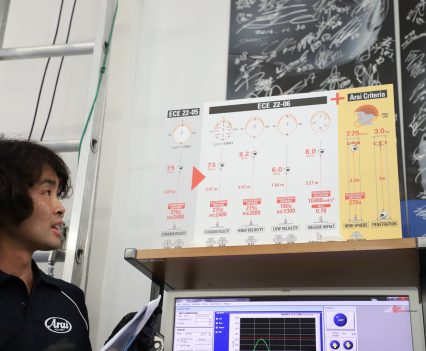
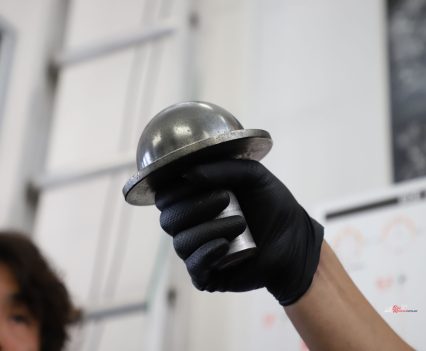
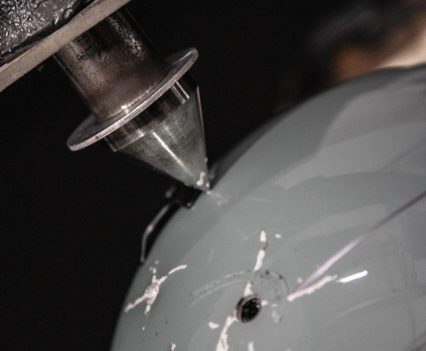
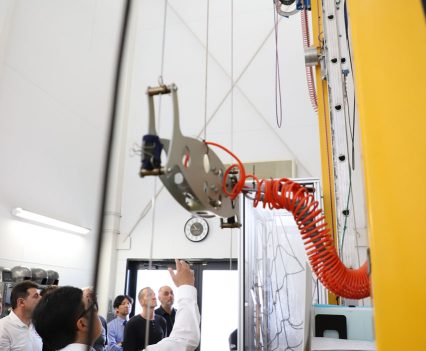
We got to see this in full practice for the next part of our test with the drop testing. New helmets go through a series of tests to exceed E.C.E. R22.06 standards with two extra tests special to Arai development, a piercing test and a hemisphere test.
The lid is put on a magnesium ally mould, and a three-axis accelerometer is placed in the helmet to ensure the helmet remains within the parameters required by the E.C.E. certification. While it is excruciating to see a lid get dropped multiple times, it’s fantastic to see the new Tour-X5 still pass all tests after being dropped four times. (Obviously, you should throw your helmet away after one accident or significant drop).
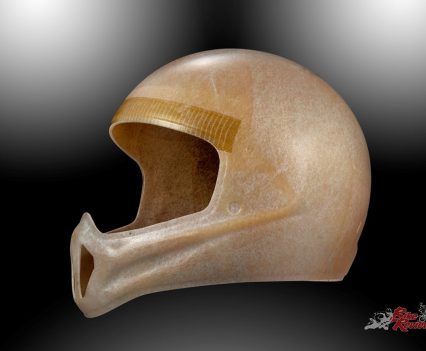
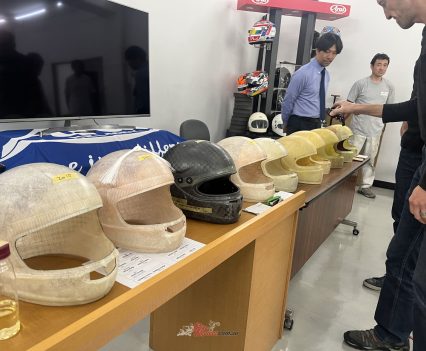
Here, we get to the super secretive room where the moulds for the fibreglass shells are milled out. It is carved out of essentially a big block of alloy metal and then sent off to the shell factory in Shinto, where we will learn about the construction of the shell. An extreme amount of study has gone into the production of the shell, which seemingly puts Arai above your average lid.
Amanuma Warehouse
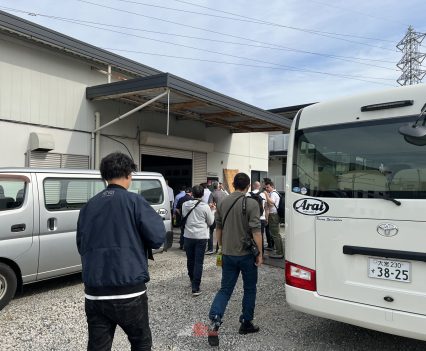
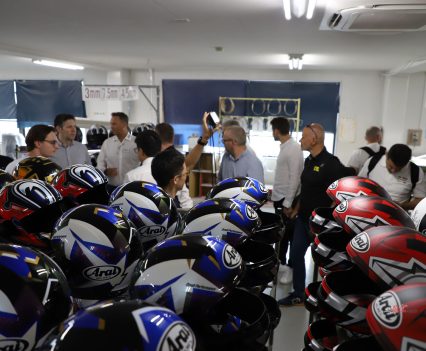
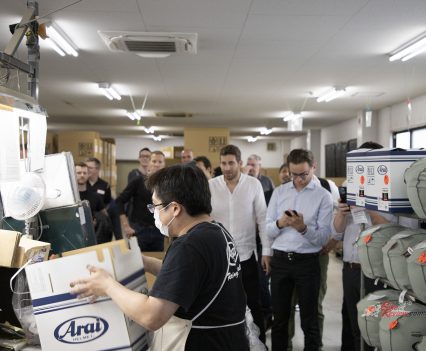
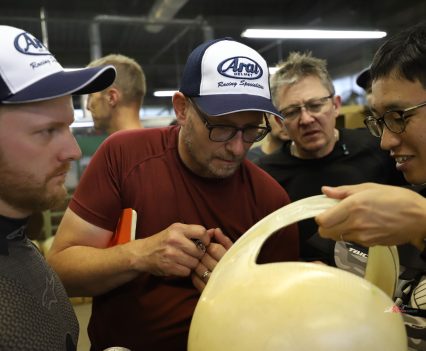
A quick bus ride out to a small warehouse where the shells are parameter checked; this is actually the second test that the shells go through, with the first being at the Shinto factory. Three different shell sizes can be made to fit five different internal sizes, with the option for XXS to XXXL in some shells.
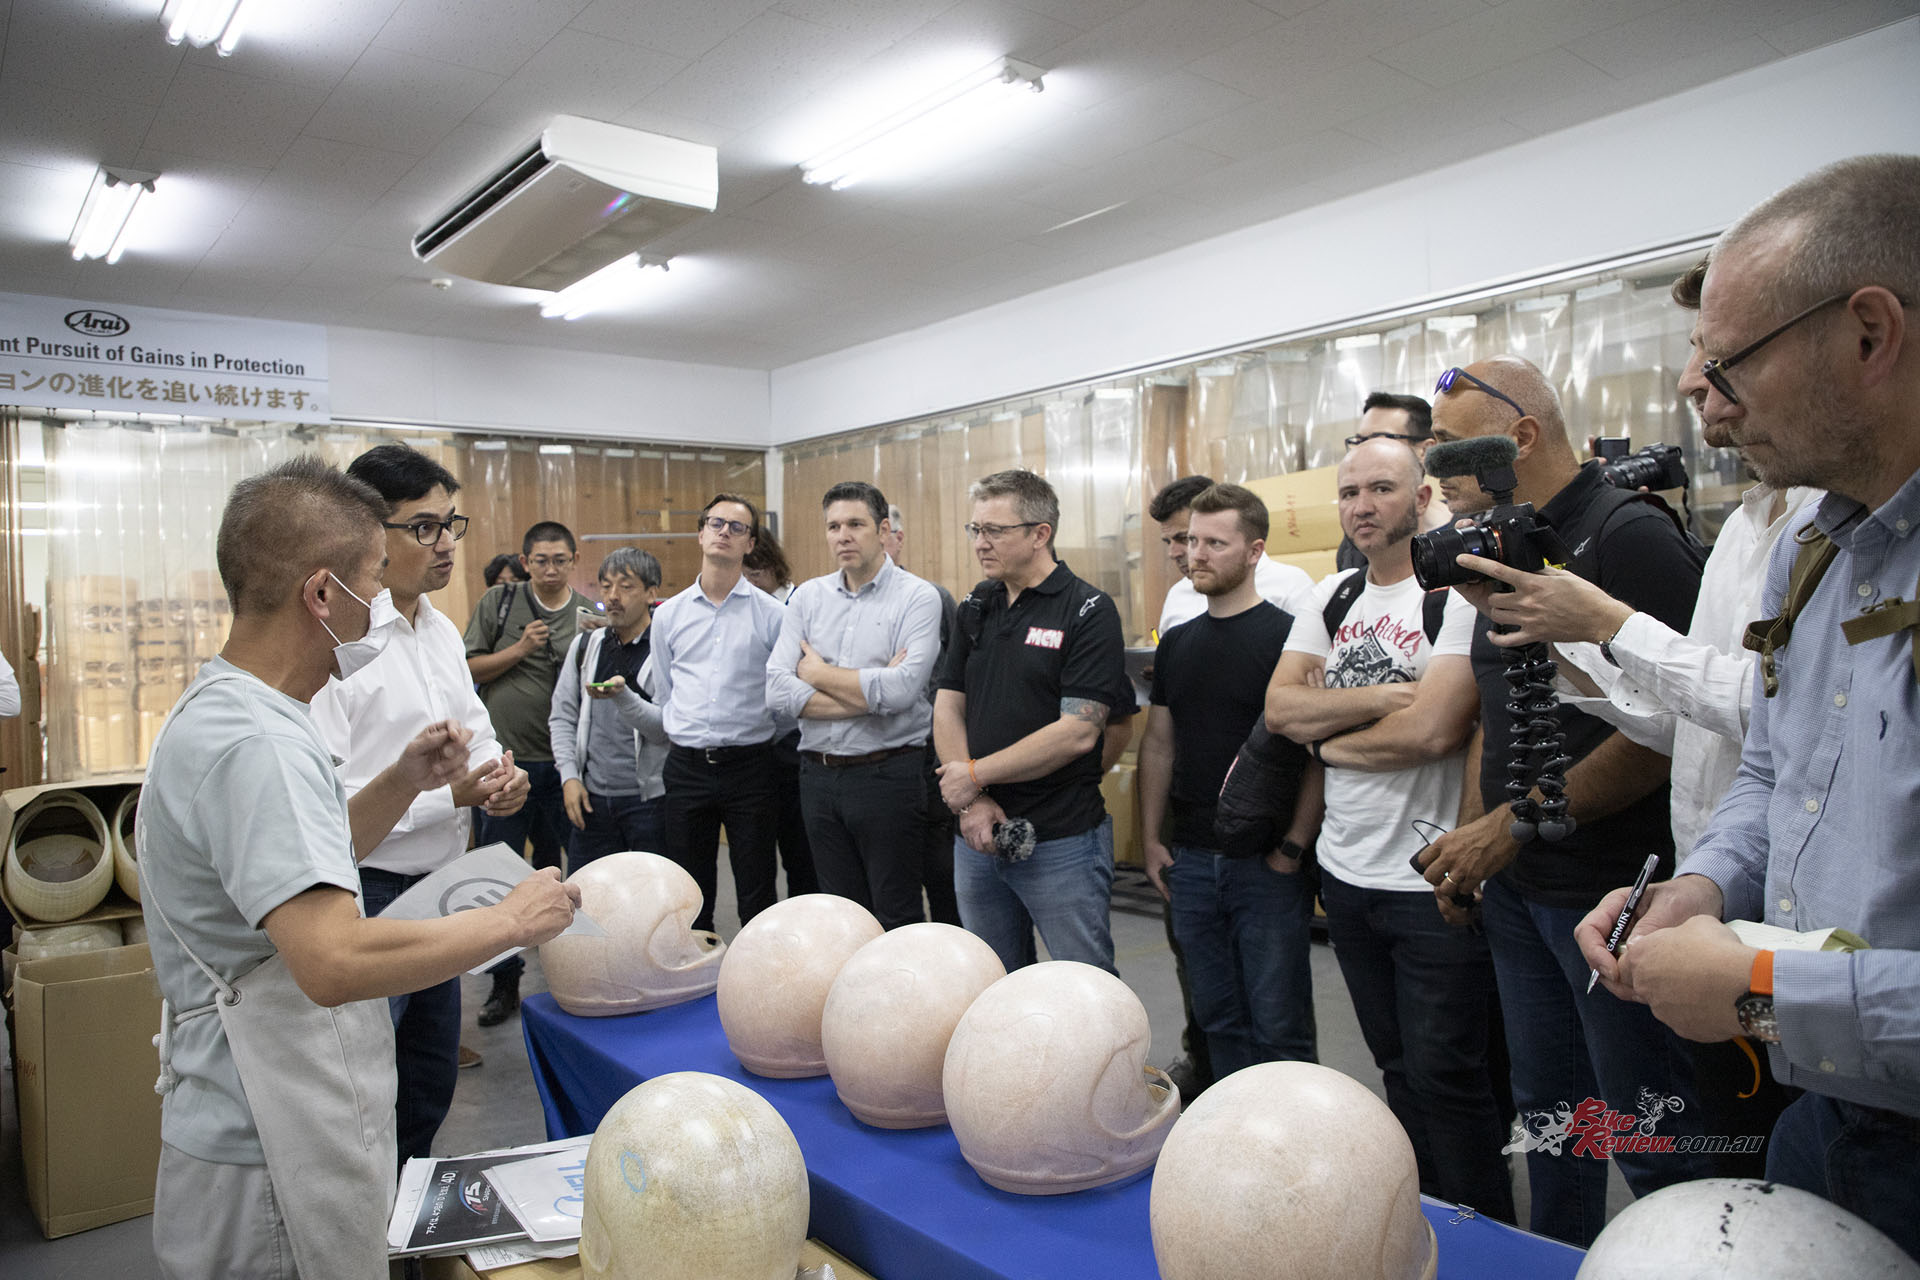
A quick bus ride out to a small warehouse where the shells are parameter checked; this is actually the second test that the shells go through, with the first being at the Shinto factory. The equipment must’ve been ultra secretive!
Arai shells are made according to their R75 principle. “R75 stands for the continuous convex curve with a minimum radius of 75mm (about 2.95 in). With a radius of 75mm (about 2.95 in) or more, a rounder and smoother outer shell can slide more easily over uneven ground and glance-off impact energy to minimize the amount of impact energy going into the helmet. People may question that our helmets are so round, but we believe it is one of the key elements for head protection.”
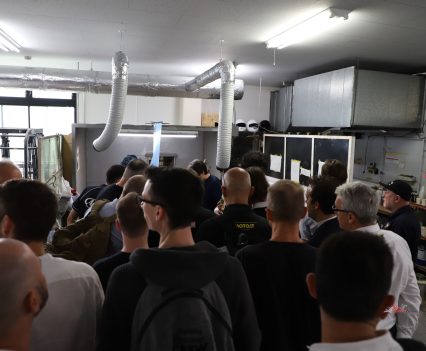
This second inspection warehouse dates back to 1975 to ensure the quality and safety of every single shell that leaves the factory. They check for imperfections and material placement before the shell gets painted. Check the shell thickness using a micrometre that essentially has two balls. You roll the shell all over, and a light will flash depending on the thickness, and then they measure the paint.
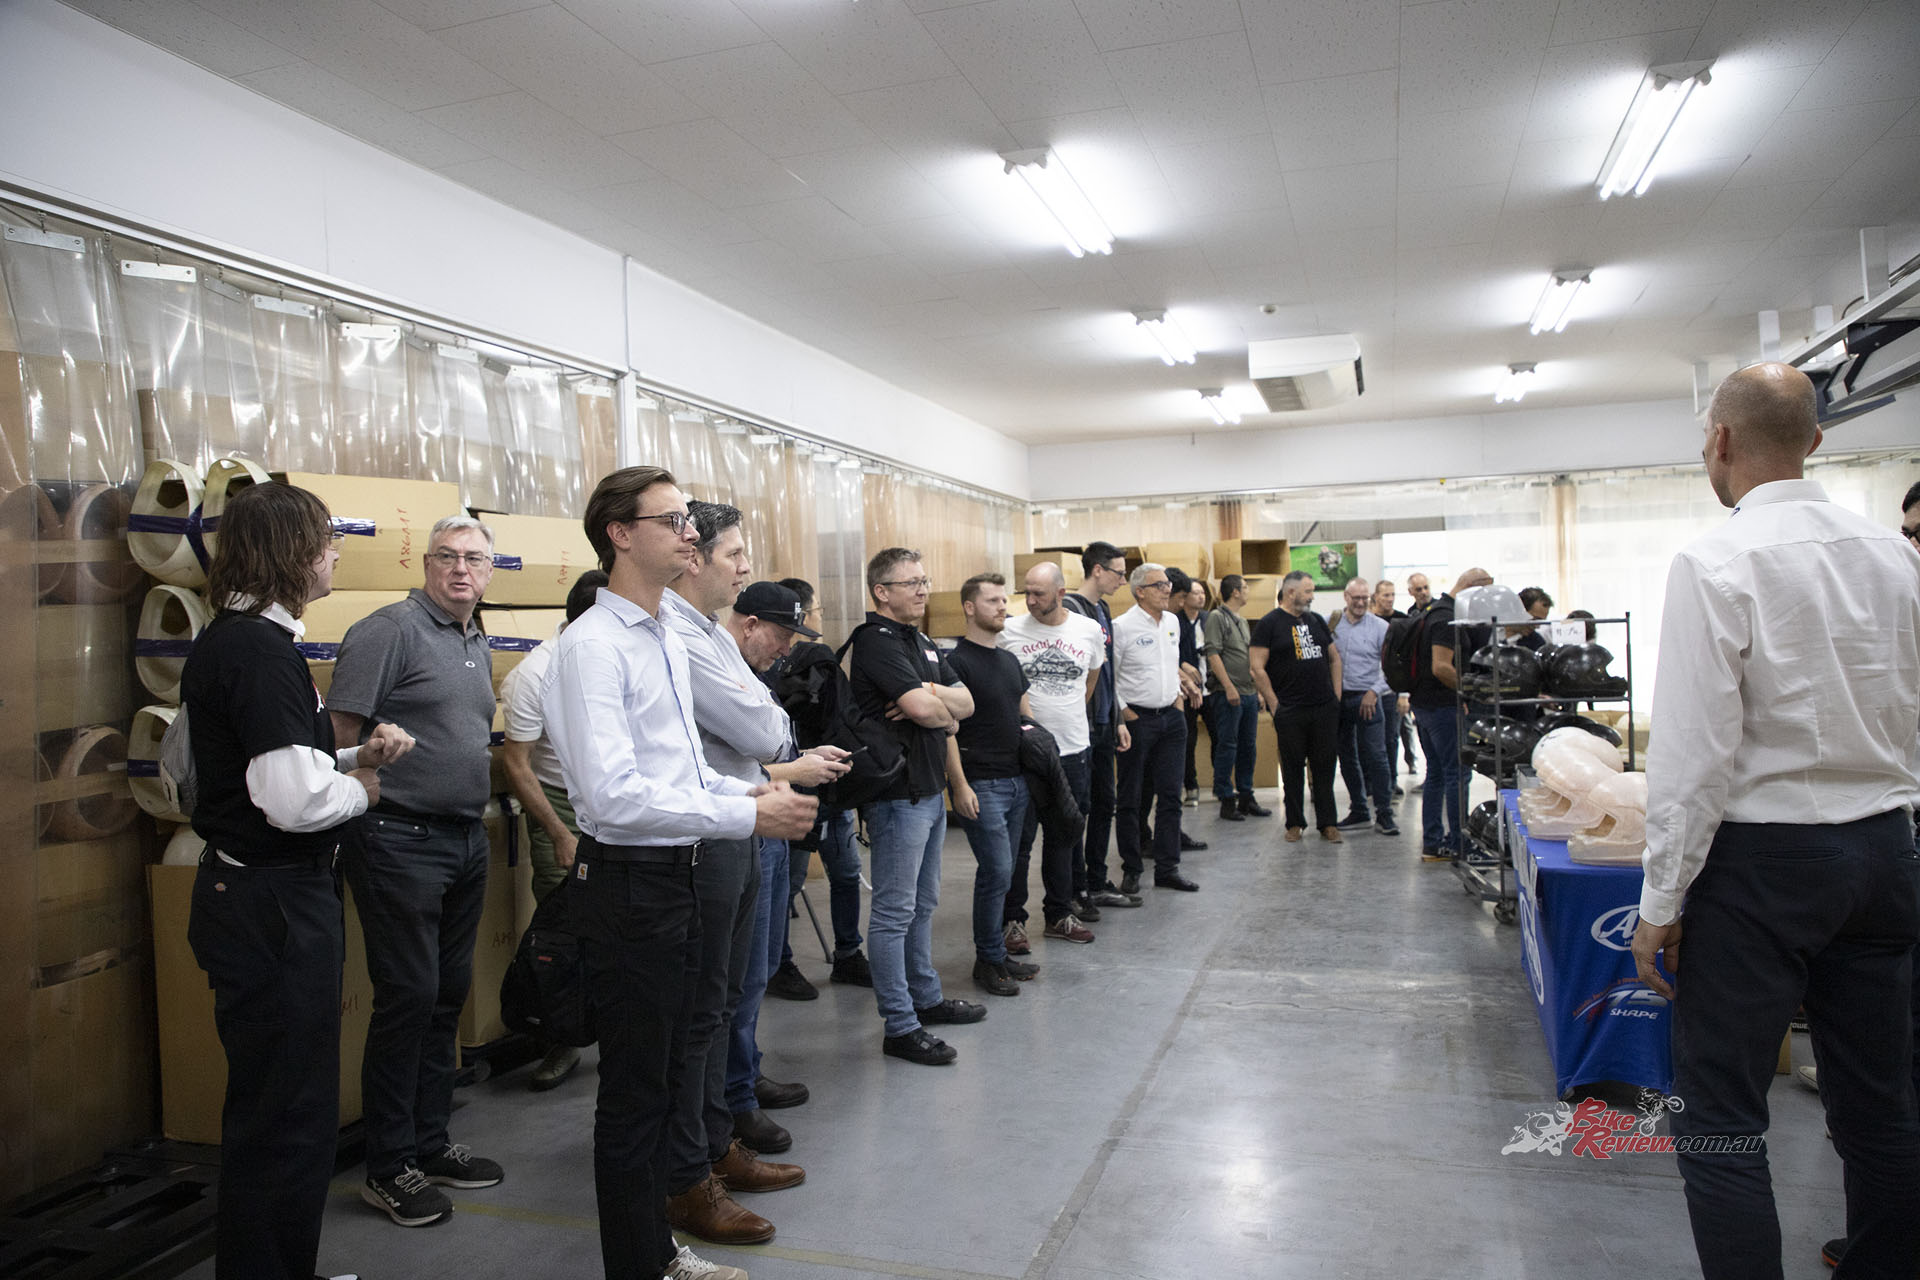
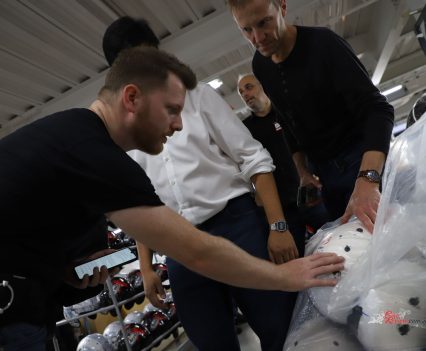
The Amanuma warehouse is filled to the brim with thousandsof helmet shells. Arai made sure to let us know that it isn’t mandatory to test every shell, and a batch test is the standard, but they want to ensure every single helmet is perfect.
After this, the shell is signed by the inspector and then sent to the paint and construction facility. This process is incredibly laborious, and the Amanuma warehouse is filled to the brim with thousands upon thousands of helmet shells. Arai made sure to let us know that it isn’t mandatory to test every shell, and a batch test is the standard, but they want to ensure every single helmet is perfect.
Minamidai Paint Factory
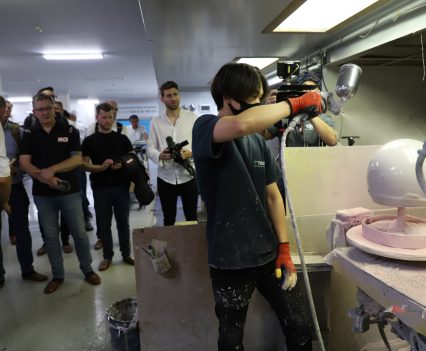
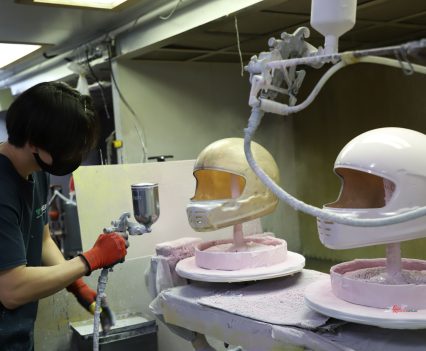
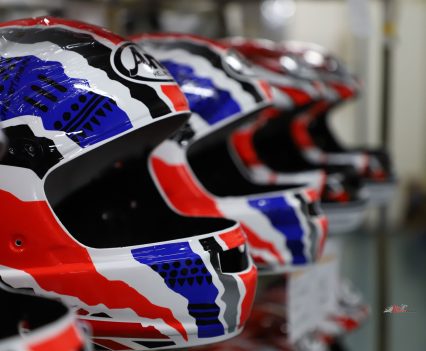
This was the most exciting part of the whole tour for me. Something I never considered was the amount of work that goes through painting these lids and how labour-intensive the process is to ensure a premium paint scheme for a premium-priced helmet.
“For sure, it is possible to apply a lot of paint to make the surface look even, but it would result in a very thick layer increasing the weight of the helmet. This, in turn, negatively affects the helmet’s comfort. Our goal is to apply as little weight as possible, from the first surface treatment until the final coating.”
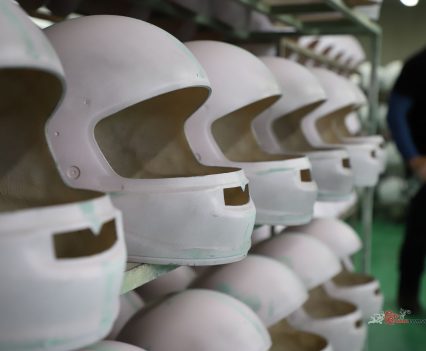
The helmets get a base coat with a rotisserie that essentially lays down an even coat of paint. From here, a thick coat of high-fill primer gets laid down and rubbed in by hand. From here, the shells get meticulously sanded down to ensure a flat surface for the paint. If there are imperfections in the fibreglass, the helmet will not move forward.
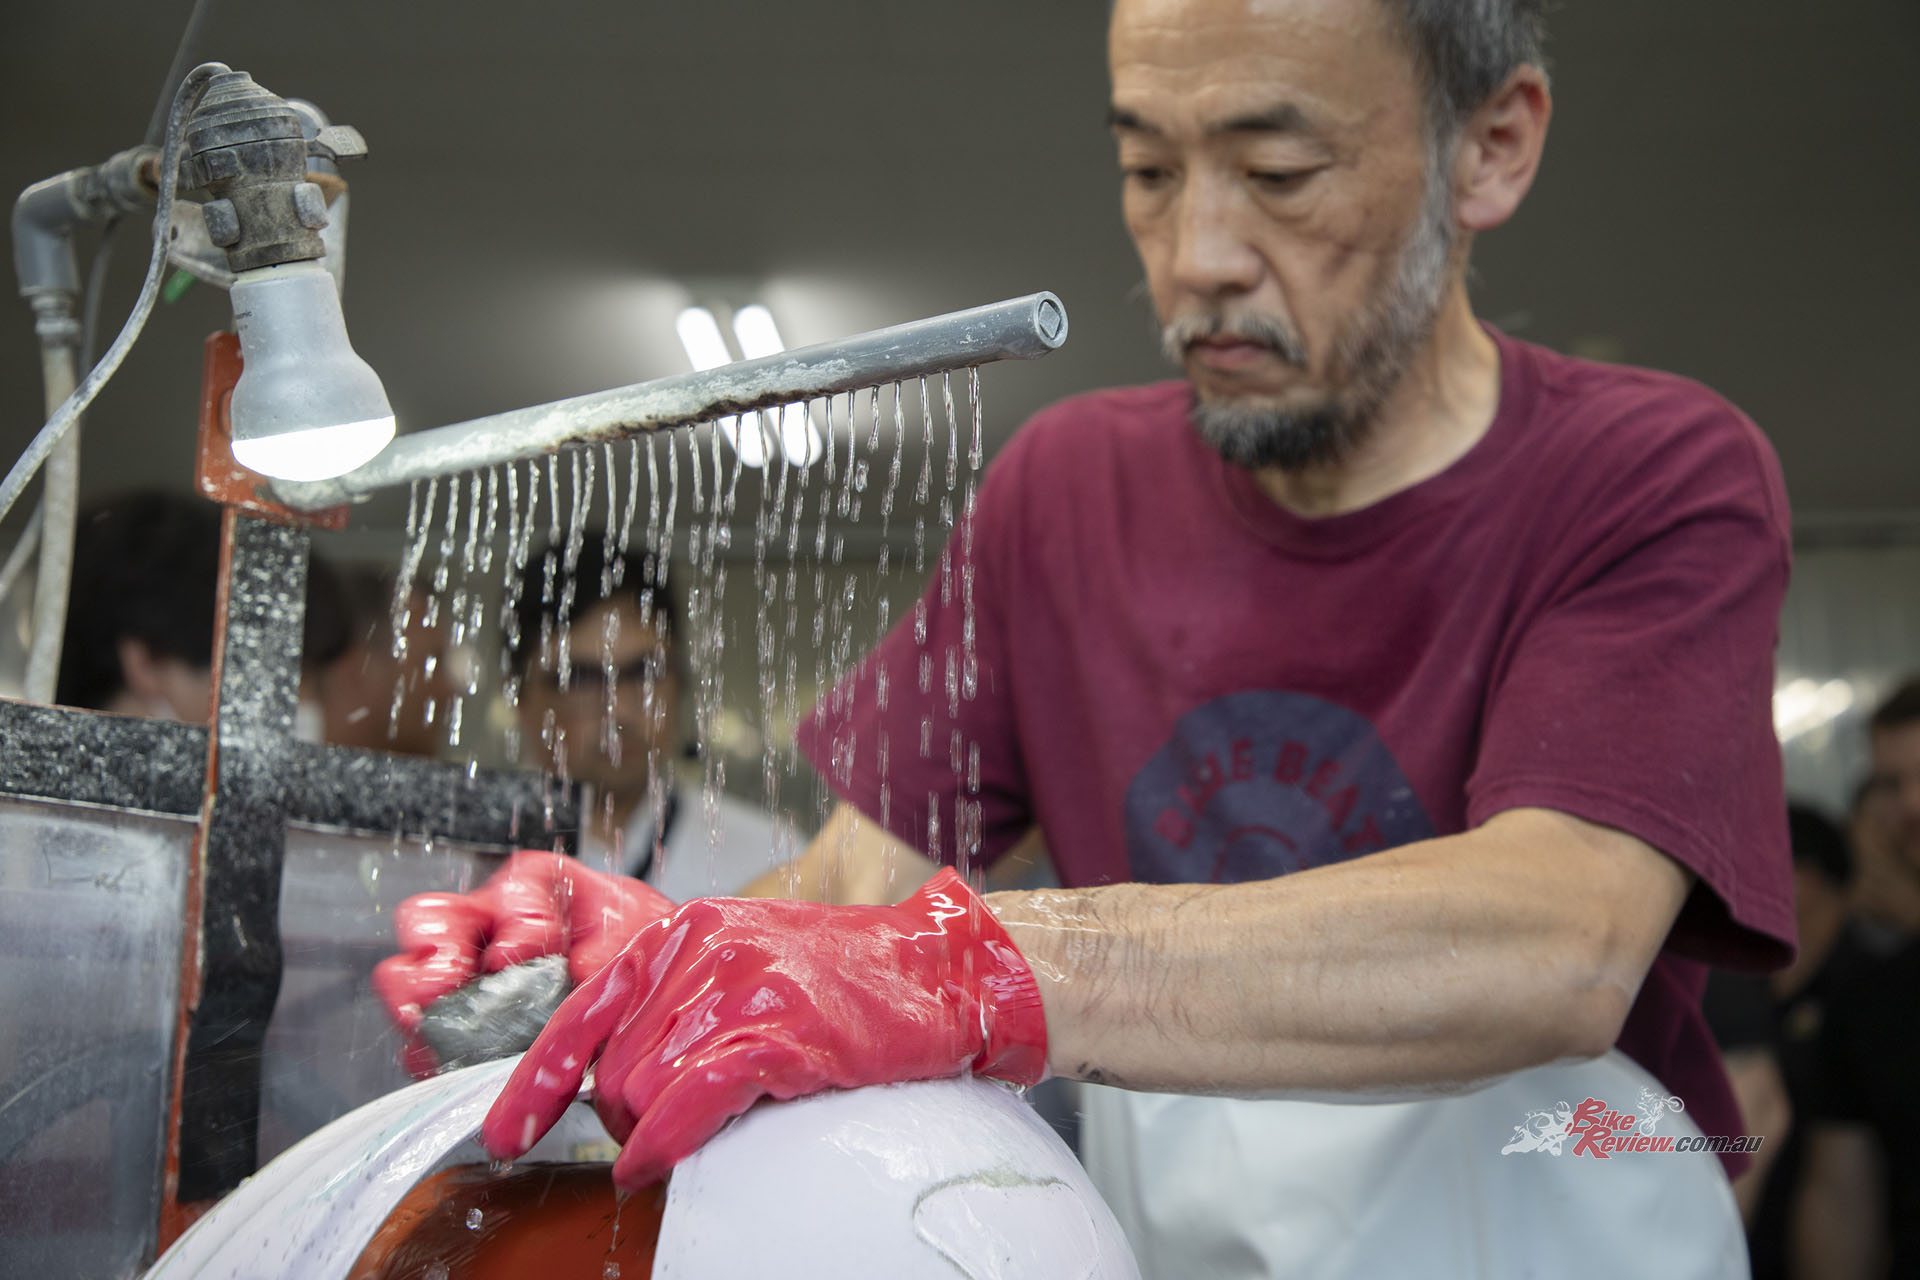
The shells get meticulously sanded down to ensure a flat surface for the paint. If there’s imperfections in the fibreglass, the helmet will not move forward. This is all done by hand, in water. Imagine how pruney your hands would be!
Upstairs is where the actual colour is laid down. You’d expect to see a heap of paint booths and multiple people spraying at the same time, but there are only really two or three people painting the helmets at one given time.
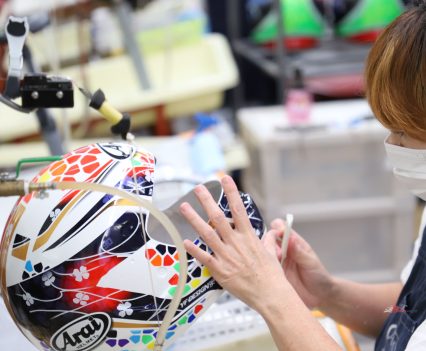
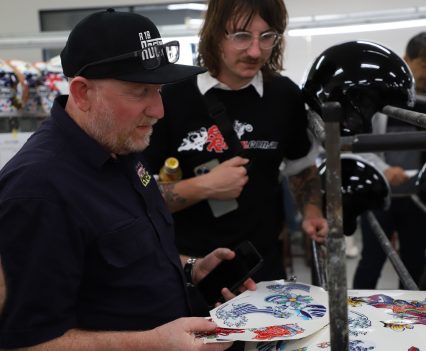
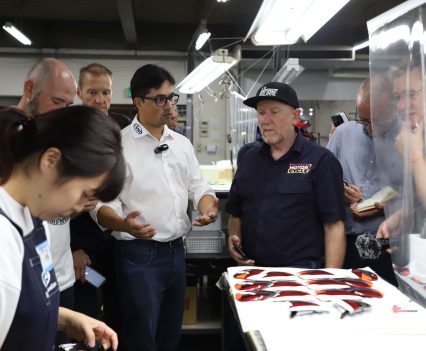
The helmets then get moved up another level where the decals are placed on what are basically those water transfer sheets that you get in a model car kit. The workforce in the decal department is a female-dominated environment, it looks like an incredibly frustrating task to lay everything down evenly.
After the decals are placed, the helmet gets its clear top coat and then heavily inspected. I was told that, not even including dry time, the shells take days of man-hours to finish. Arai says they will rarely get a paint warranty claim with a defect that came from the factory.
Katayanagi Assembly Factory
This isn’t the most labour-intensive part of the Arai helmet construction, but the amount of hand labour that actually goes into fitting all the parts that you wouldn’t even take a second glance at is insane!
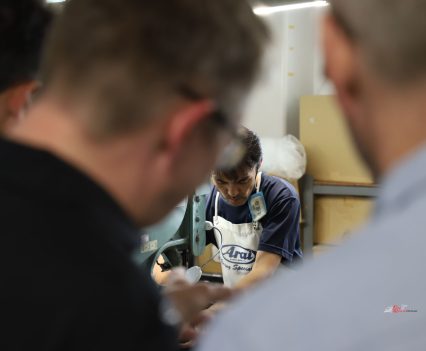
The first course of action when these helmets enter the Assembly line, is to ensure that the paint has well and truly stuck to the shell. They check that it’s not flaking off any of the edges so when they drill the holes for vents and mounting spots, it doesn’t chip off. After this, the inside of the shell gets a coat of black to ensure it’s all looking pretty inside.
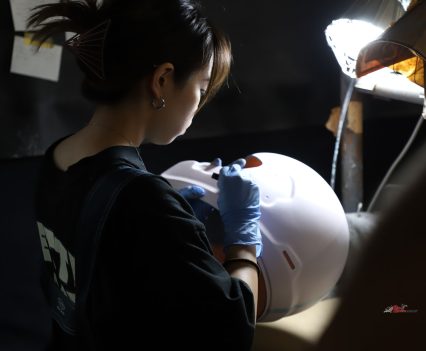
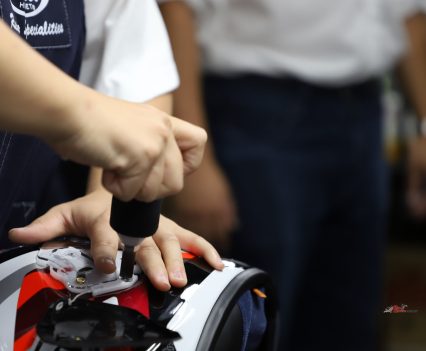
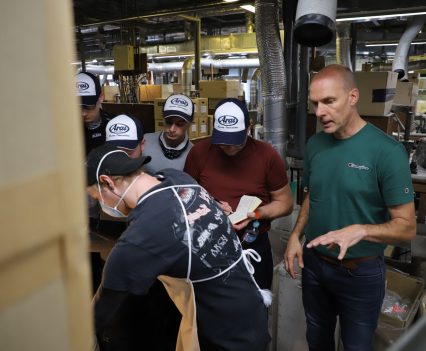
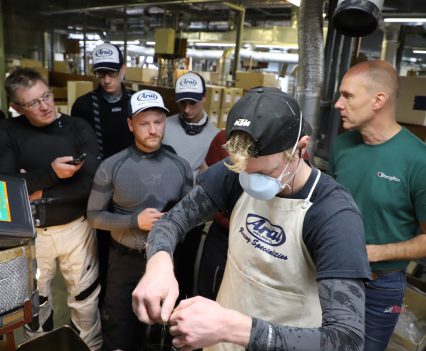
Using a precise template, the holes are drilled for the chinstrap and base plates by hand. I’m sure it would’ve been annoying to have a heap of journalists enter your workspace, but the employees operated with such precision that I could only dream of. After this, the grommets are inserted, and the holes for the vents are made.
Arai’s unique shell construction ensures maximum safety while allowing the holes to be drilled. “Drilling holes in an outer shell will decrease the shell’s strength, so reinforcing Zylon (found in bulletproof garments) and Dyneema (superior tensile strength) are added to the outer shell for support. Applying such reinforcing material is no easy task, nor is drilling holes in an outer shell reinforced by such materials, so we use a special highly accurate drill to ensure holes are drilled to their specific size. The drill is checked and maintained daily.”
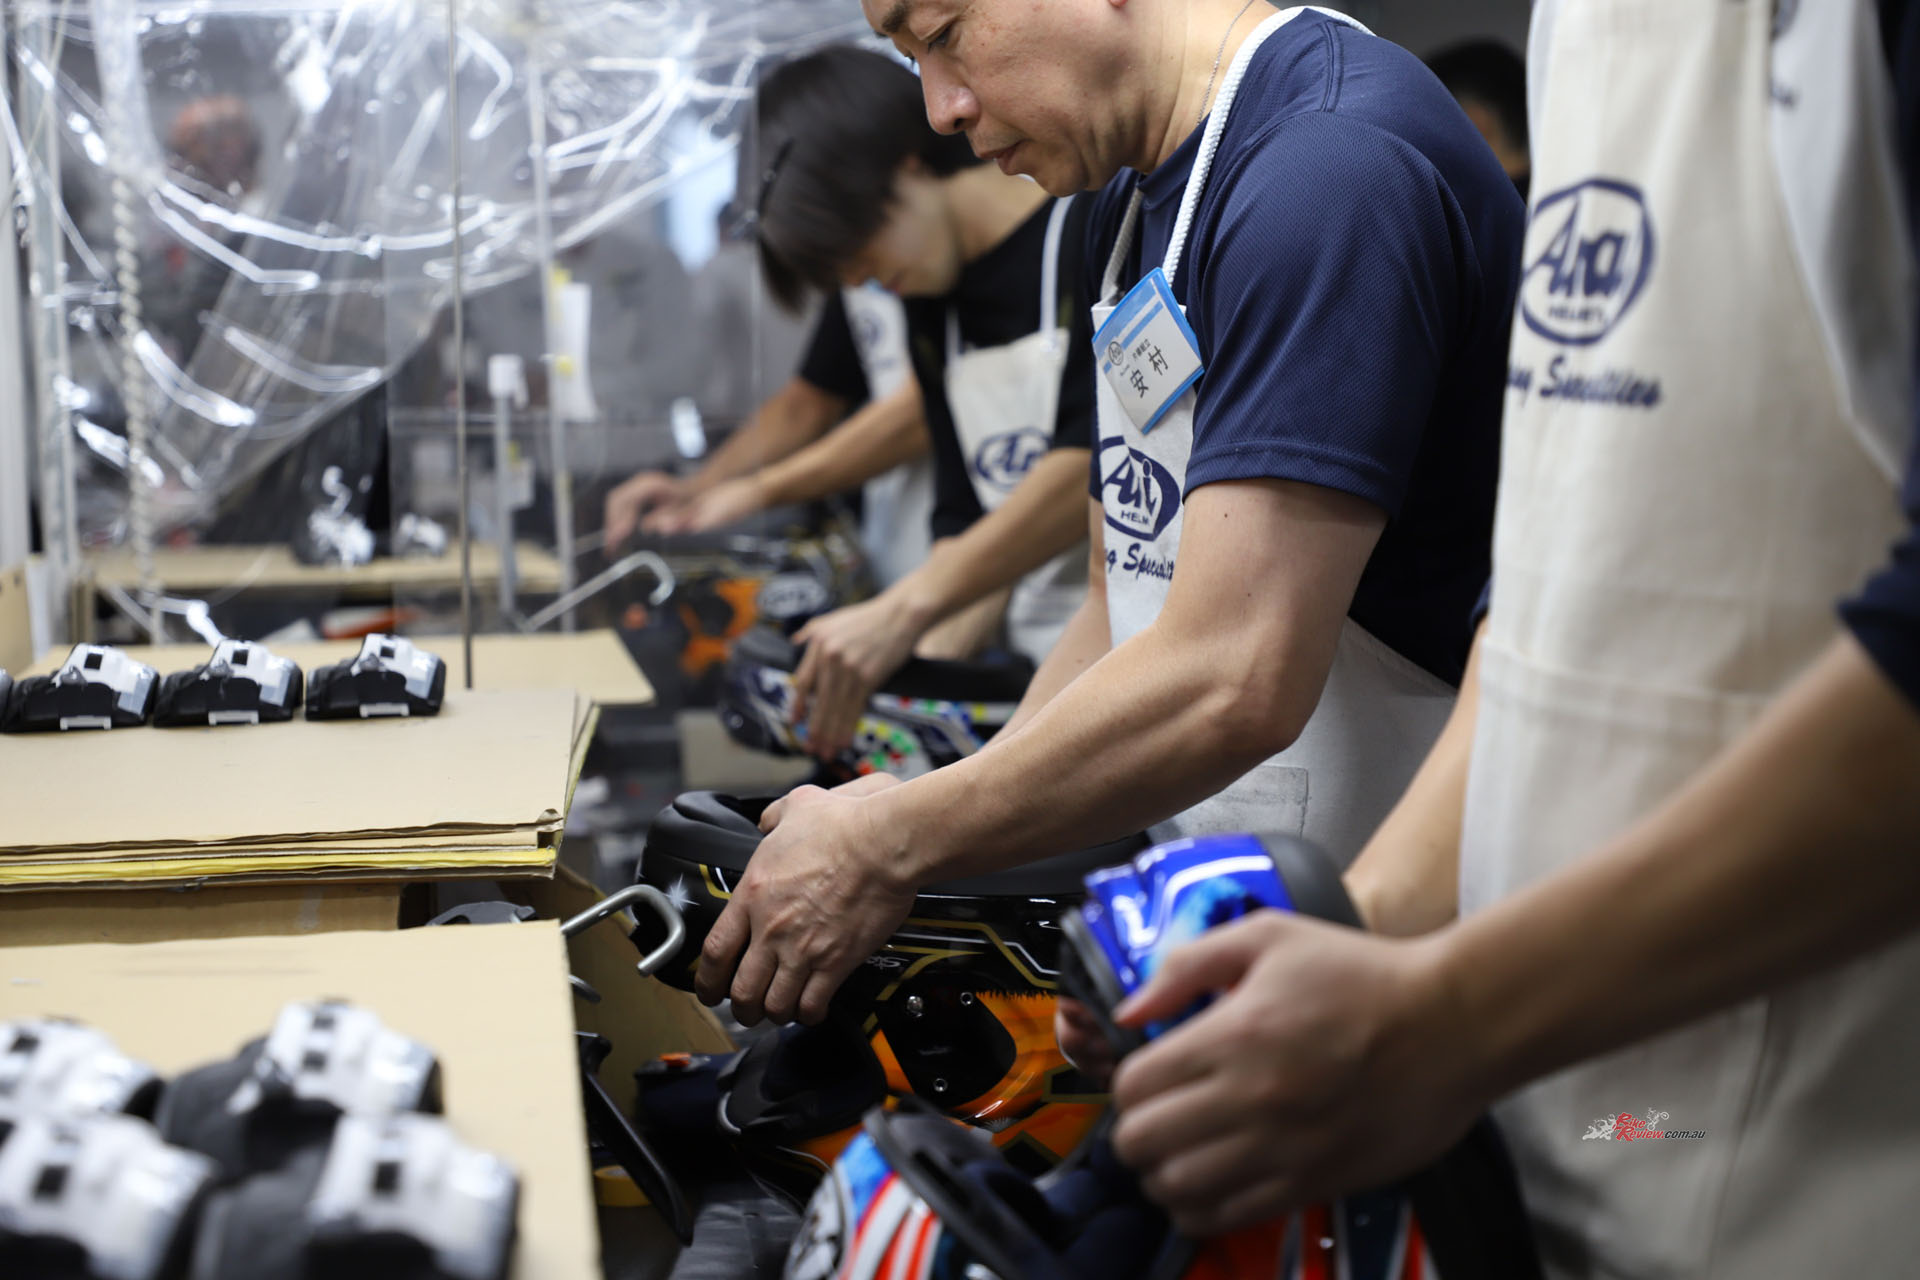
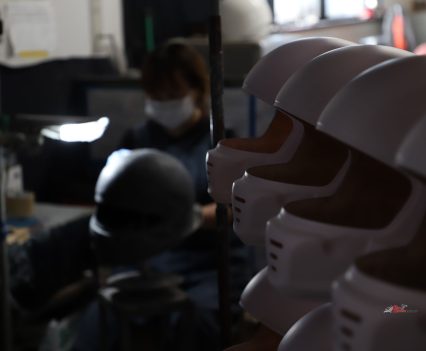
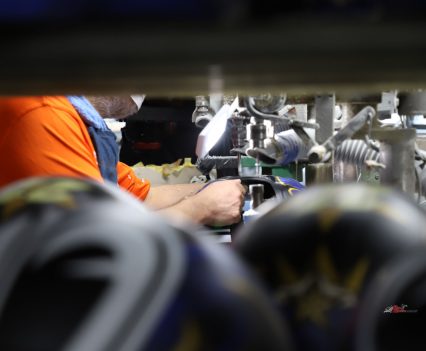
The EPS foam inserting looked to be the most challenging part. Some glue is added to the shell, and the foam then it is basically brute-forced into the shell. The forearm strength and precision needed for this task are off the charts.
The EPS foam inserting looked to be the most challenging part of the entire process. Some glue is added to the shell, and the foam then it is basically brute-forced into the shell. The forearm strength and precision needed for this task are off the charts. You can imagine how tight the foam is in the shell despite using glue, and if the helmet slips off the table, it would be tens of man-hours down the drain.
“The EPS liner and outer shell size vary by model and size, so before inserting the EPS liner the specifications are carefully checked. This is of vital importance because, from the outside, it cannot be checked anymore. There’s a certification system for employees because it’s a job not anyone can do. On top of that, a high degree of skill is required to install an EPS liner correctly. If the EPS liner is off-centre, it will have an adverse effect on the comfort and vision of the customer.”
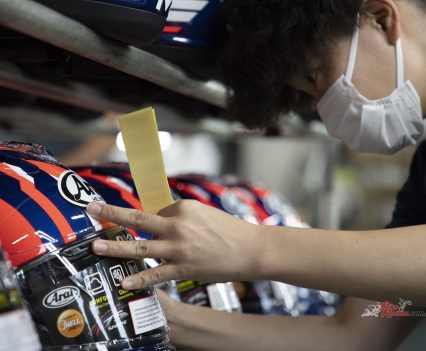
After this is all done, workers will trim down the rubber sections that line the visor and neck area. These are all cut to size and glued down. The chin strap then gets placed, the visor connected, vents popped on, and finally, the E.C.E. and Arai stickers are placed with massive precision. Phew, what a process. It all sounds so simple, but all of these processes are under enormous scrutiny.
Shinto Shell Factory
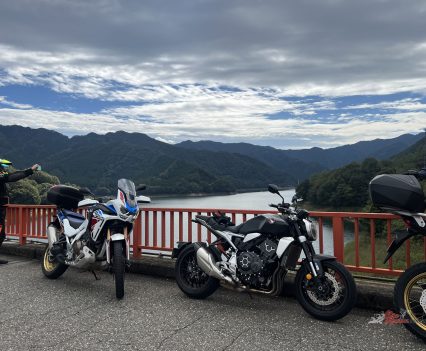
After a day of information overload, we get a night’s sleep in Saitama before we make the trek out on bikes to the Shinto factory in Gunma Prefecture. This is the most significant part of the construction of the Arai lids. The shell forming, quality testing, paint and decal applications/design are also done here. Initially, this was all performed within Saitama, but a growing demand mixed with an increasing population caused the need for an extra factory to open up in Shinto.
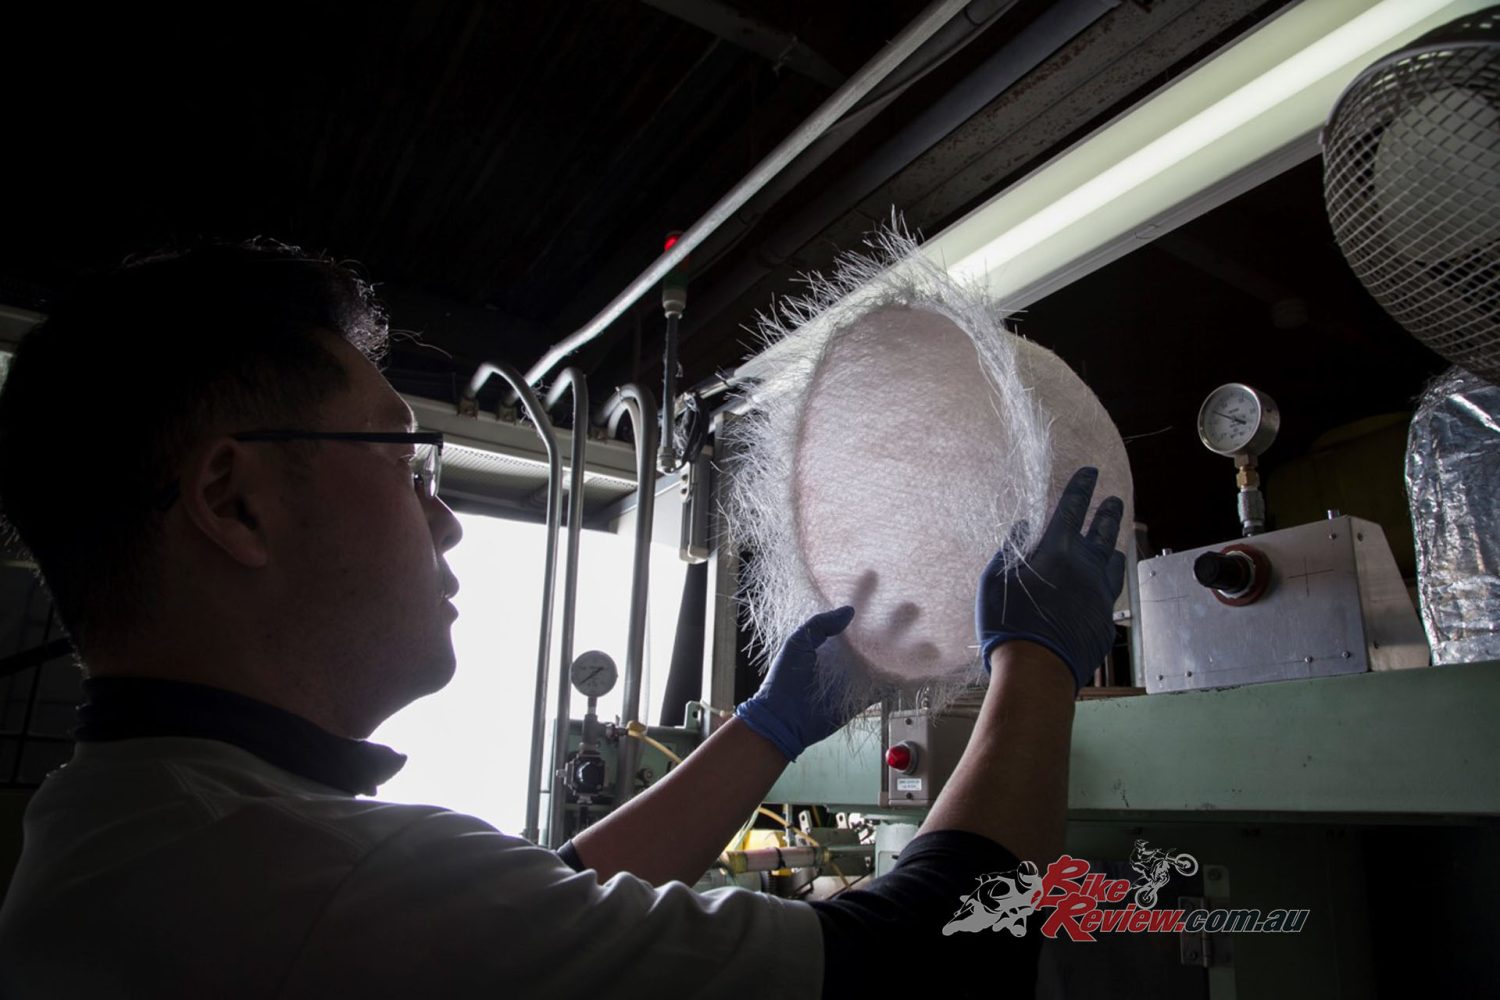
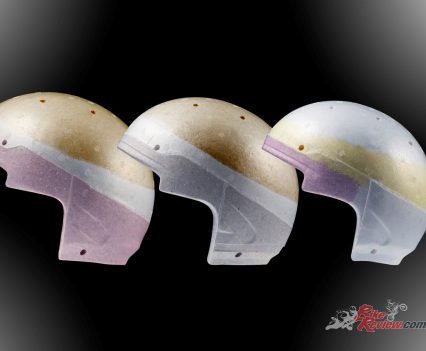
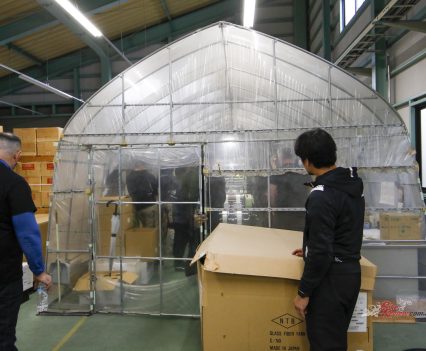
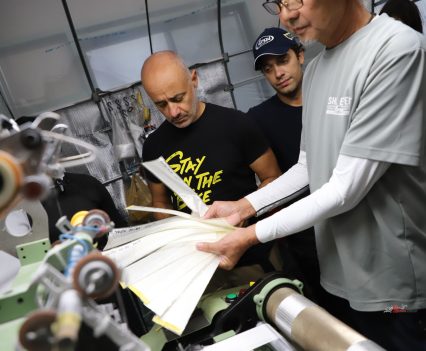
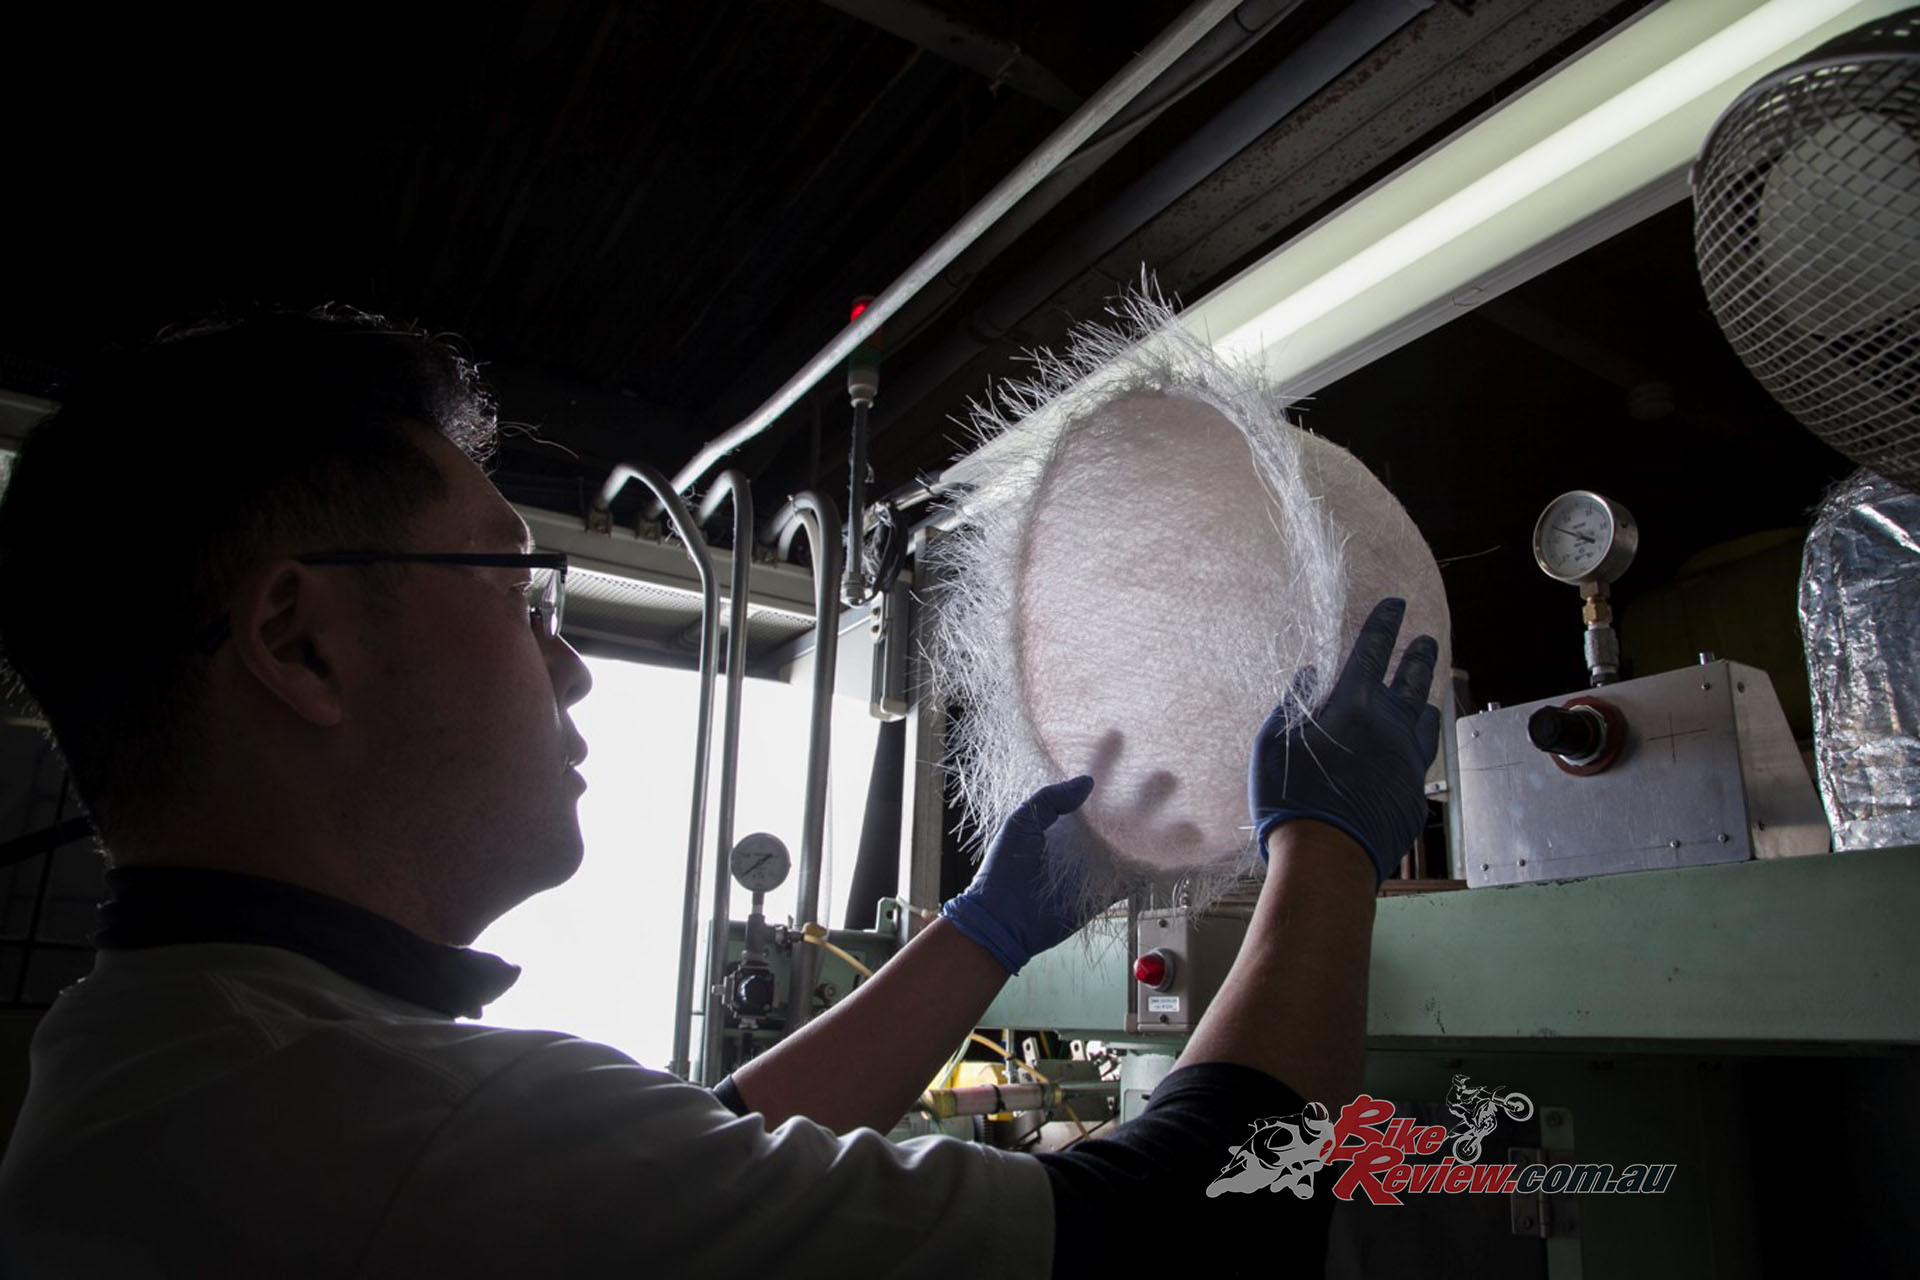
The first part of the tour included the initial construction of the Arai Super Fibre mat that initiates the shell construction. The Super Fibres (normal fibreglass has a thickness of 13 micrometres. However, the Super Fiber Arai use has a thickness of 9 micrometres.) enters a machine that Arai have made for their own purposes that essentially acts like a fairy-floss machine and blows the Super Fibres into a shell shape where glue is applied. It’s still flexible at this point.
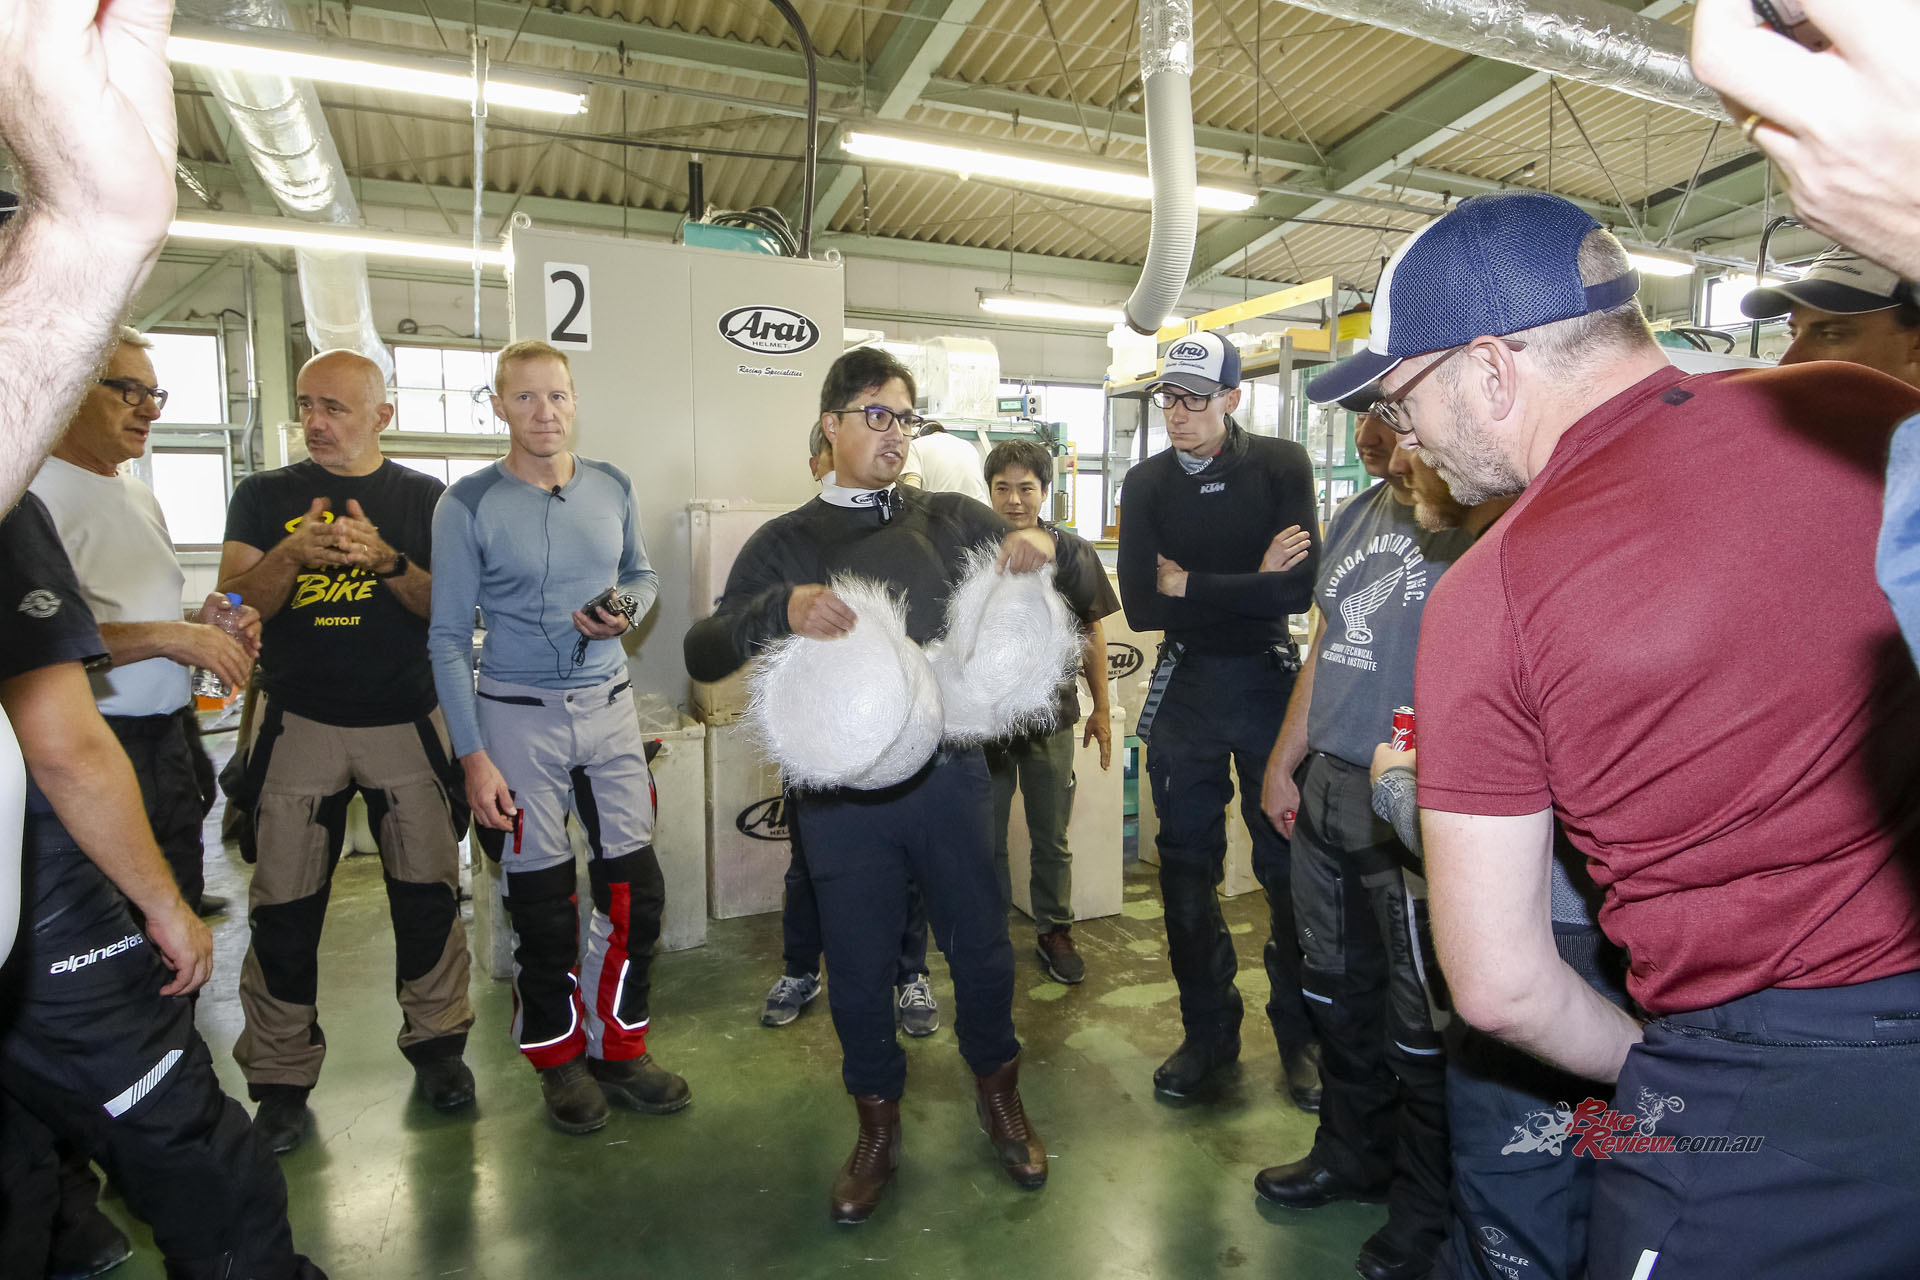
The first part of the tour included the initial construction of the Arai Super Fibre mat that initiates the shell construction.
The new machines that Arai uses for these are actually slower than the previous ones, but Arai says it’s what’s best for the strength of the shell. Usually, they’ll pump through about 1800 of these pre-formers per day which equals to around 900 shells.
“The new machines that Arai uses for the Super Fibre are actually slower than the previous ones, but Arai says it’s what’s best for the strength of the shell.”
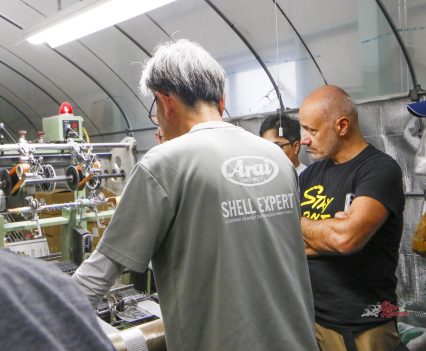
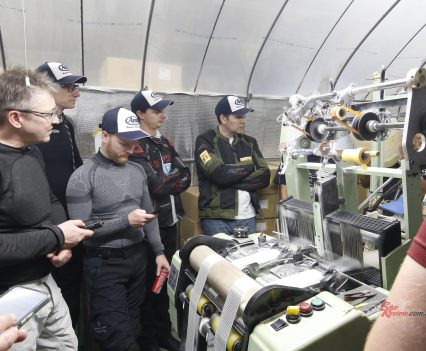
From here, we make our way into a room that essentially works like a giant loom. This is what makes that P.F. belt that adds strength around the brow area on the helmet. Weaving around 60 strands of individual fibreglass, it actually gets stapled into place! That’s something I never considered: the helmet you’re wearing has metal staples in it.
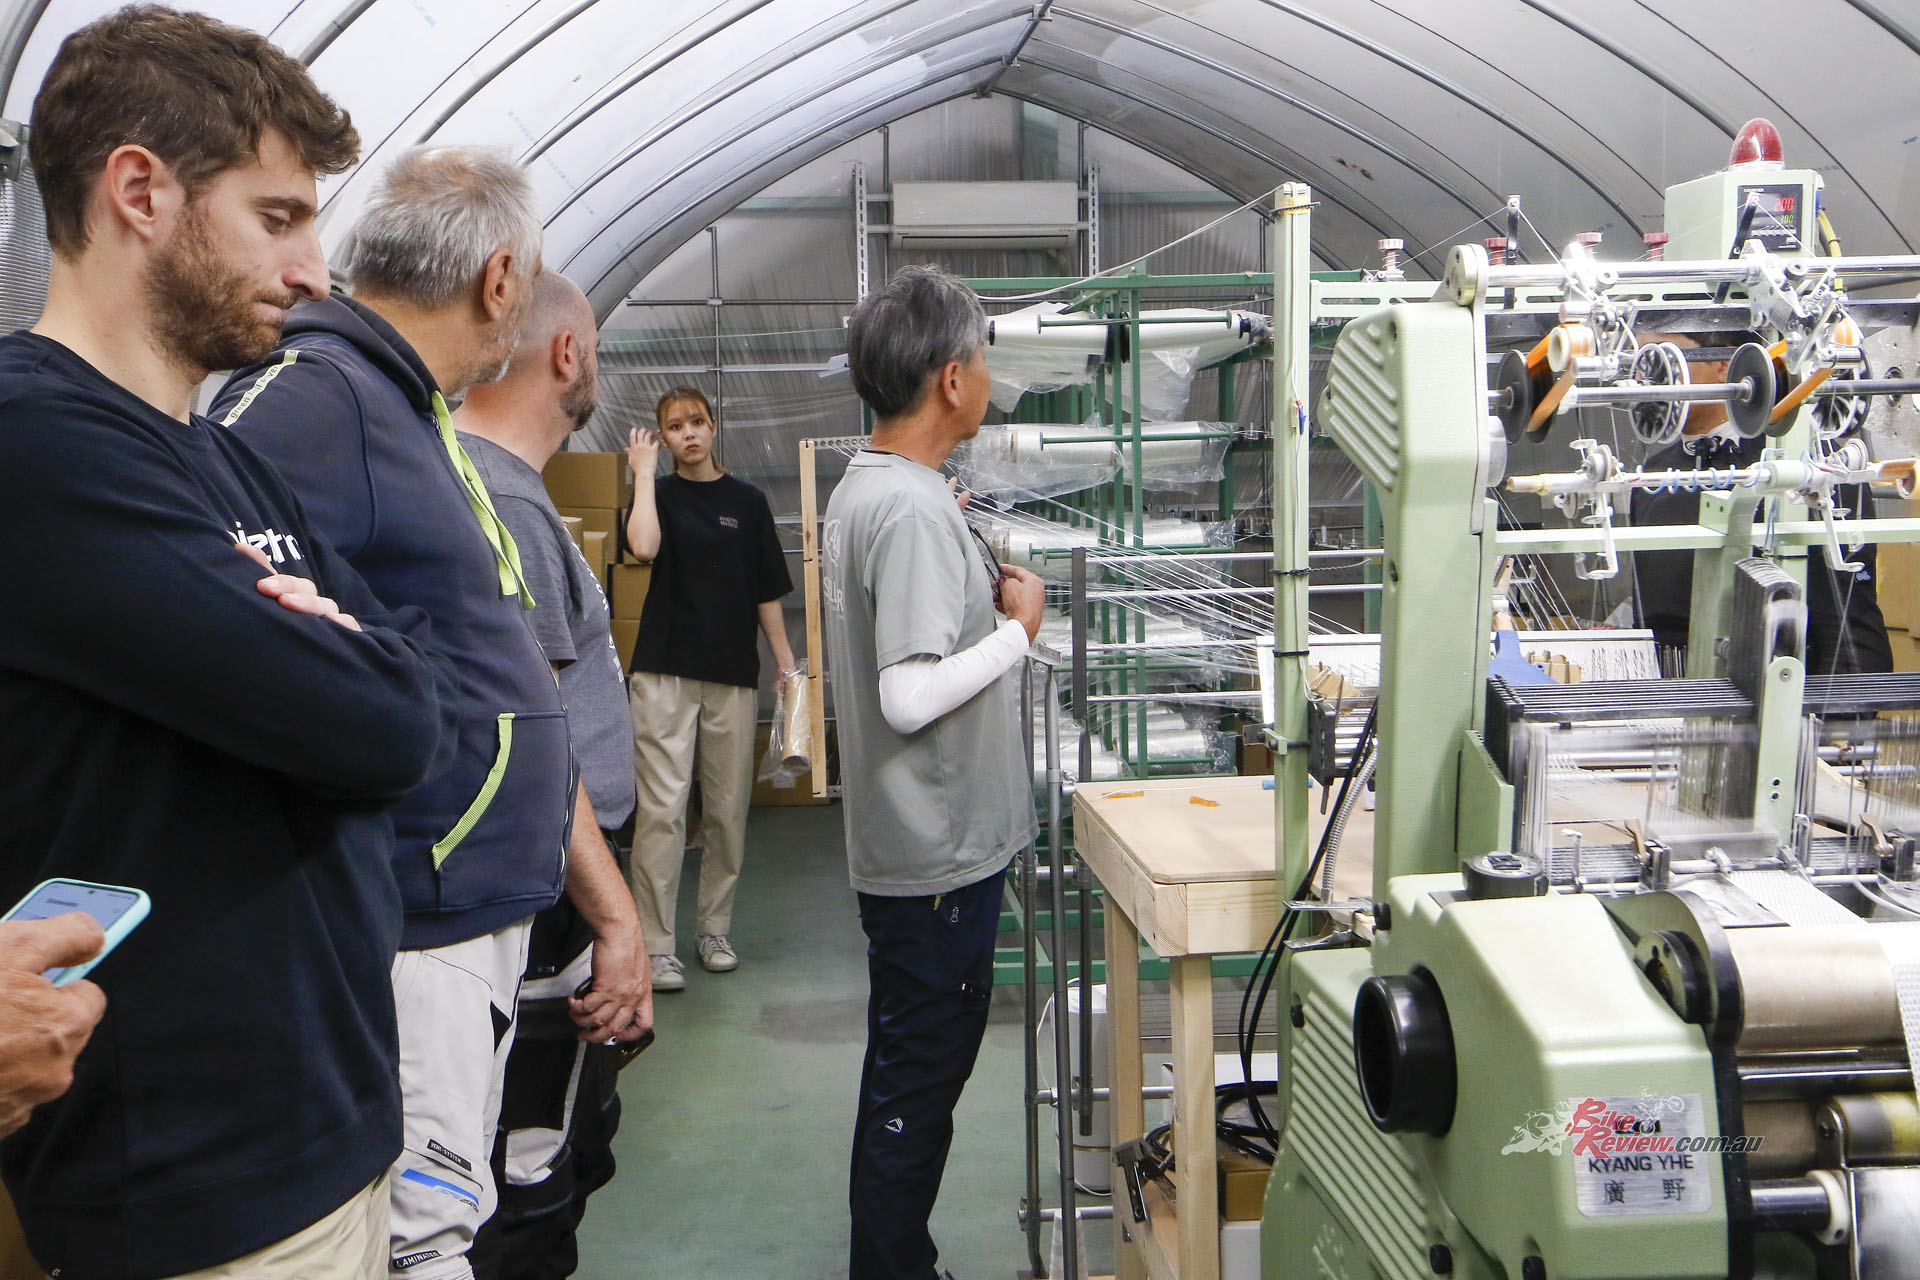
This is what makes that P.F. belt that adds strength around the brow area on the helmet. Weaving around 60 strands of individual fibreglass, it actually gets stapled into place! It basically works like a giant loom for fibreglass…
“At Arai, we don’t use the same materials that are available on the market, but we procure the raw materials used as Super Fiber, and based on our own research (number of threads, thickness, weaving pattern), we weave it in-house in a way that depending on the outer shell it will increase the protective capabilities, even just a little bit.”
After this process, the Super Fibre mat then gets moved to the moulding section. Here, the moulds are heated to 110 degrees, where people lay down the glass by hand! I think I’d last about 30 seconds before burning myself on the outside of it.
The actual process seems to be a company secret but from what I observed, the Super Fibre performer gets placed, the net construction is set, and then some sort of resin and re-enforced fibreglass goes down on top where it forms the hard shell. The Kevlar panel that resists the piercing test Arai do then gets placed. The shell then comes out way hotter than I can hold, yet all of this is down by hand!
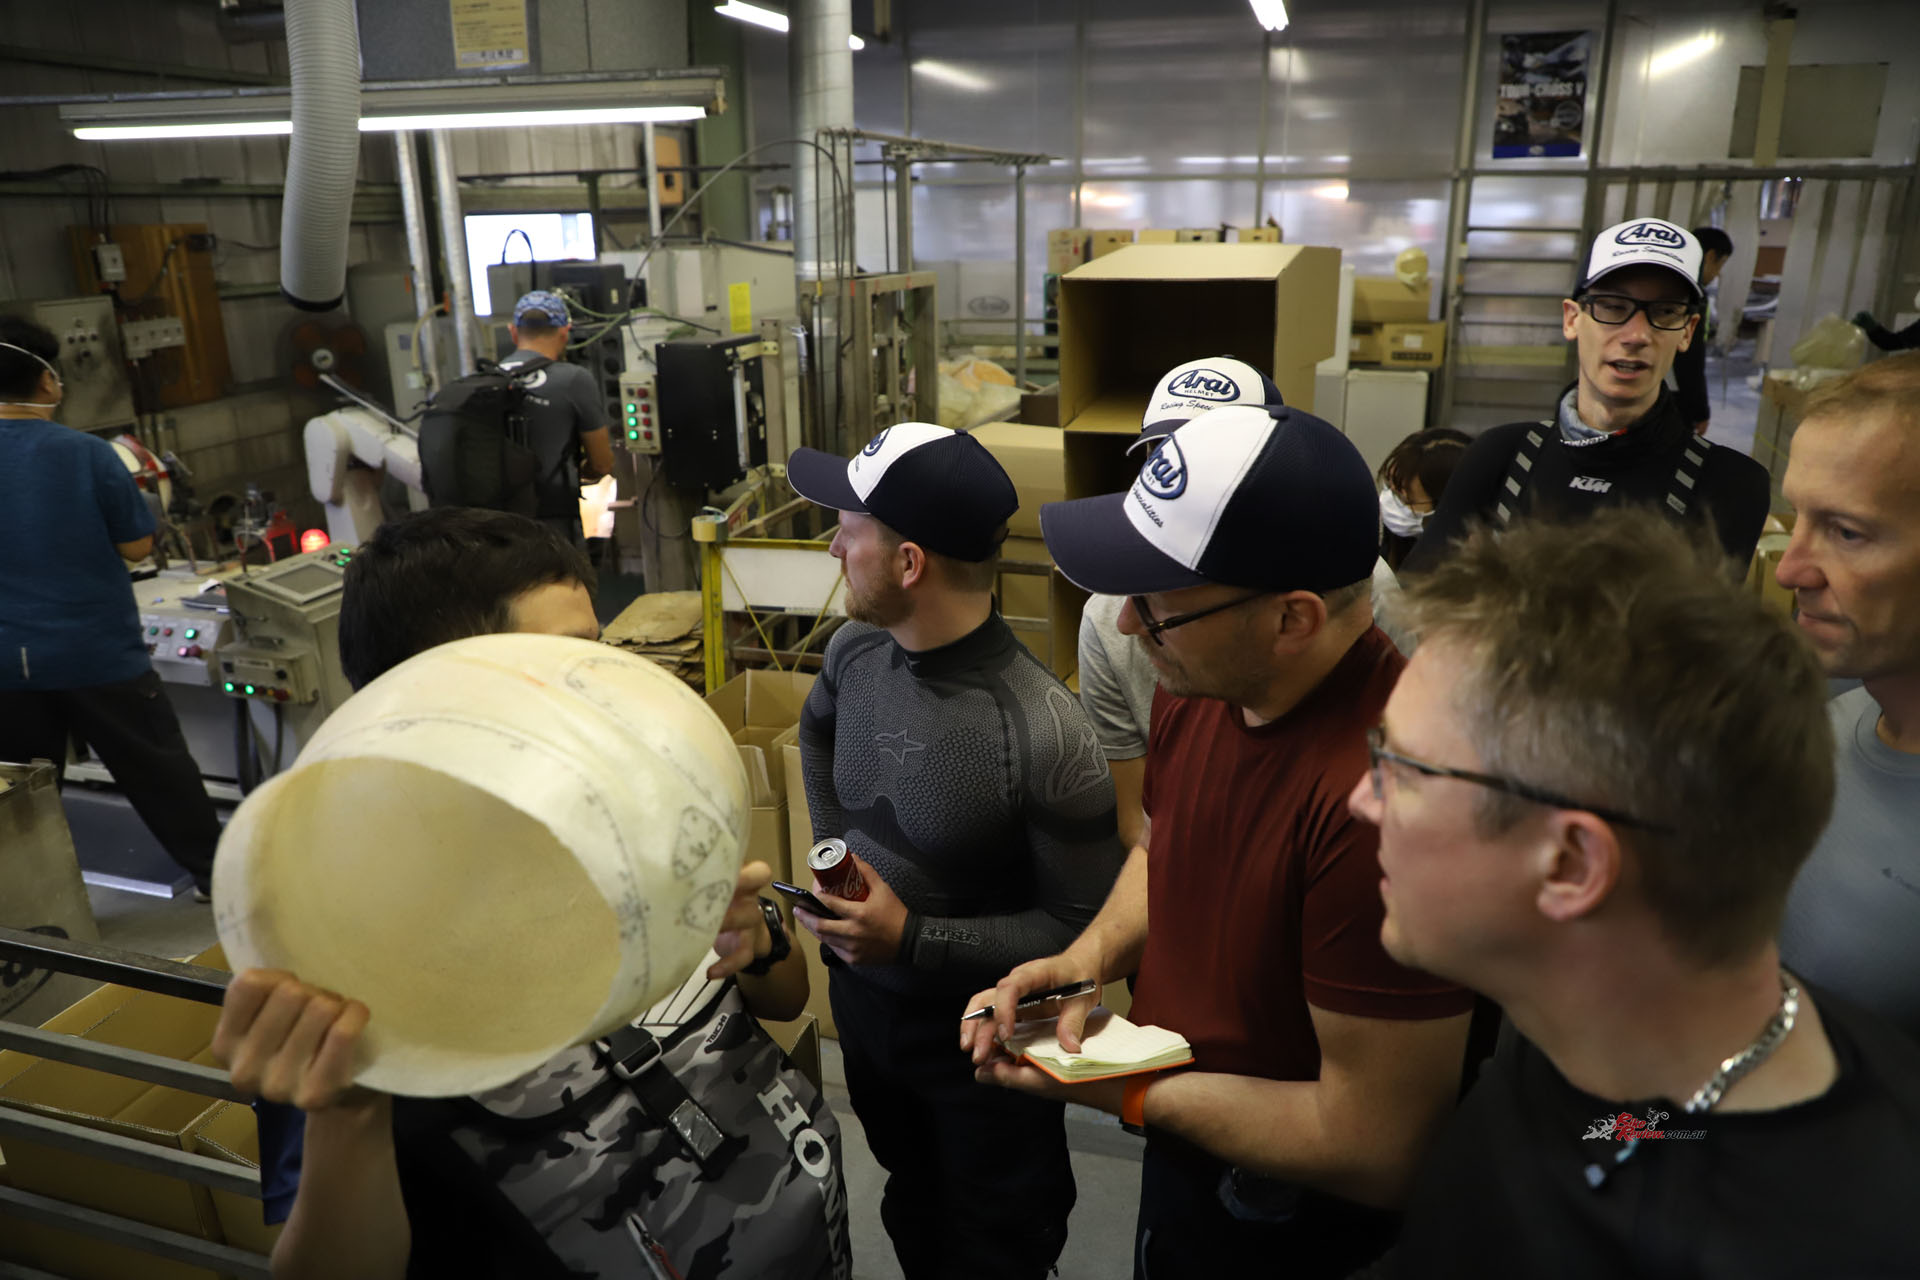
The shells come out scorching hot. Considering the mould is set to 100 degrees you’d be burning your hands constantly.
The finished shells then move to the laser cutting machines that trim away most of the excess and visor opening. This is one of the only processes done by a robot, so it’s cut to a precision that you wouldn’t be able to reach by hand. The shells are then moved to a big oven, where they’re rapidly dried at 100 degrees for three hours.
The shells are then inspected for an excess on the edges before moving to another sanding station, where they are smoothed down by hand. The whole process is mesmerizing, but you can imagine just how itchy you would be in this environment. I’m itchy just thinking about it now!
The only thing that we didn’t see is how the EPS foam is pressed and made. This is an incredibly secretive part of Arai’s production since they are the only ones to press their EPS with multiple densities as one piece, which obviously increases the strength over various pieces glued together.
And so that ends the massive tour of the four production plants that Arai has in Japan. There’s so much work that goes on behind the scenes to ensure these helmets come out perfectly. After seeing the production process, it’s hard to believe that you only pay $1000-2000 for a high-end lid from Arai.
Editor’s Note: If you are reading this article on any website other than BikeReview.com.au, please report it to BikeReview via our contact page, as it has been stolen or re-published without authority.


