
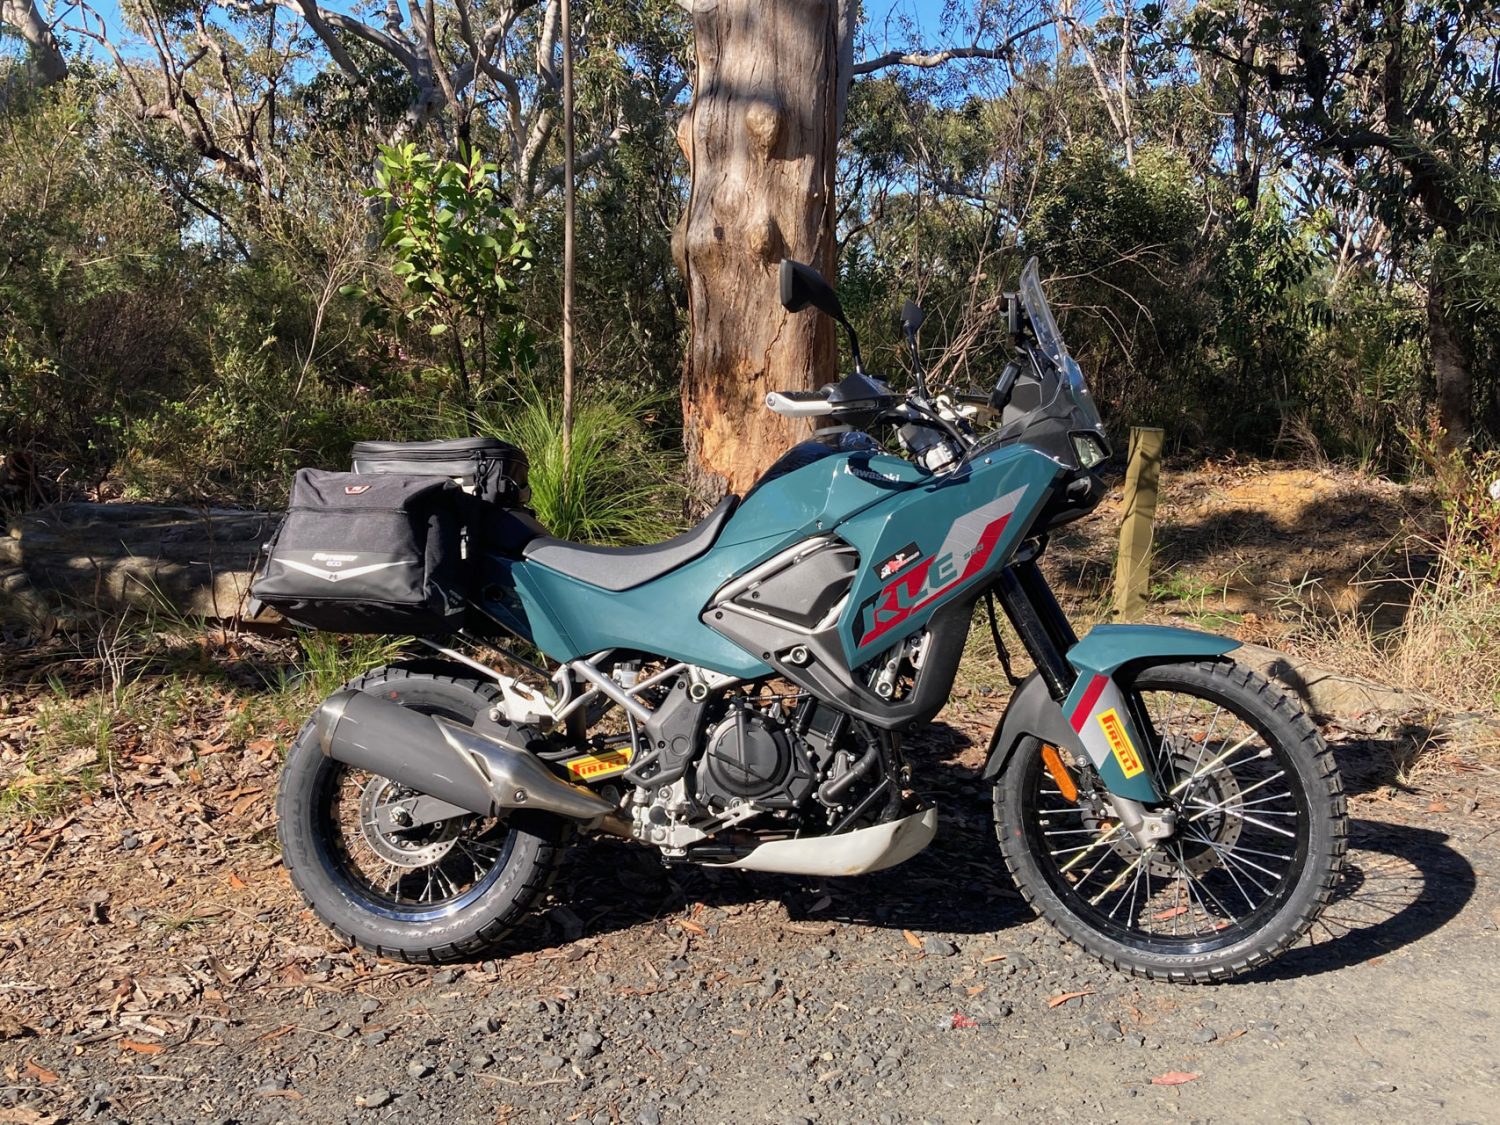

The Kawasaki KLE500 SE gets its first service and some useful updates, with gearing, tyres, suspension tweaks, luggage and technology transforming our long-termer...
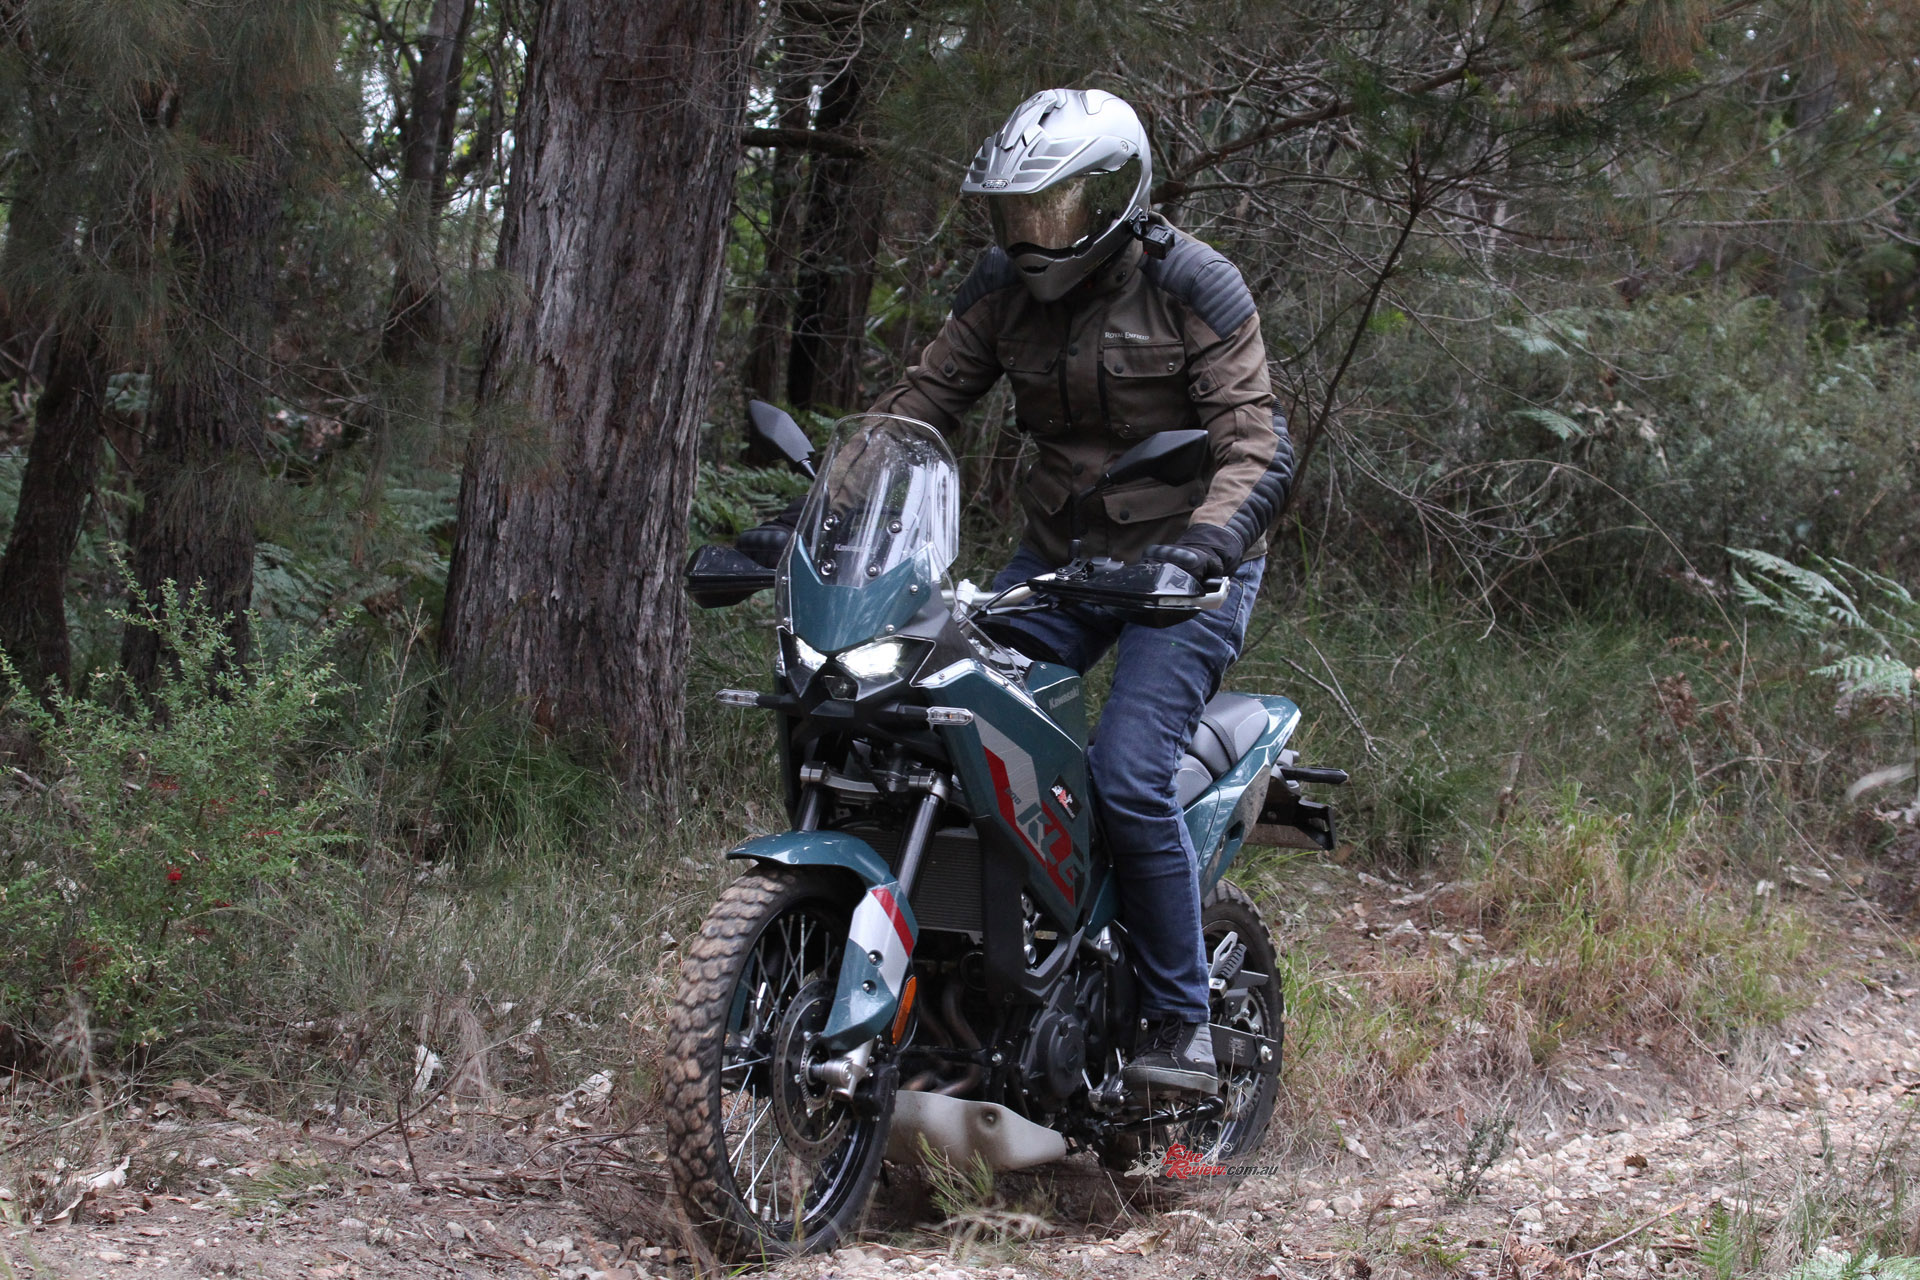
The BikeReview Kawasaki KLE500 SE has, as we suspected it would, proved to be a fantastic all-rounder, almost as if it was designed specifically for Australian conditions. From commuting and touring to adventure riding, the KLE does it all with character and style.
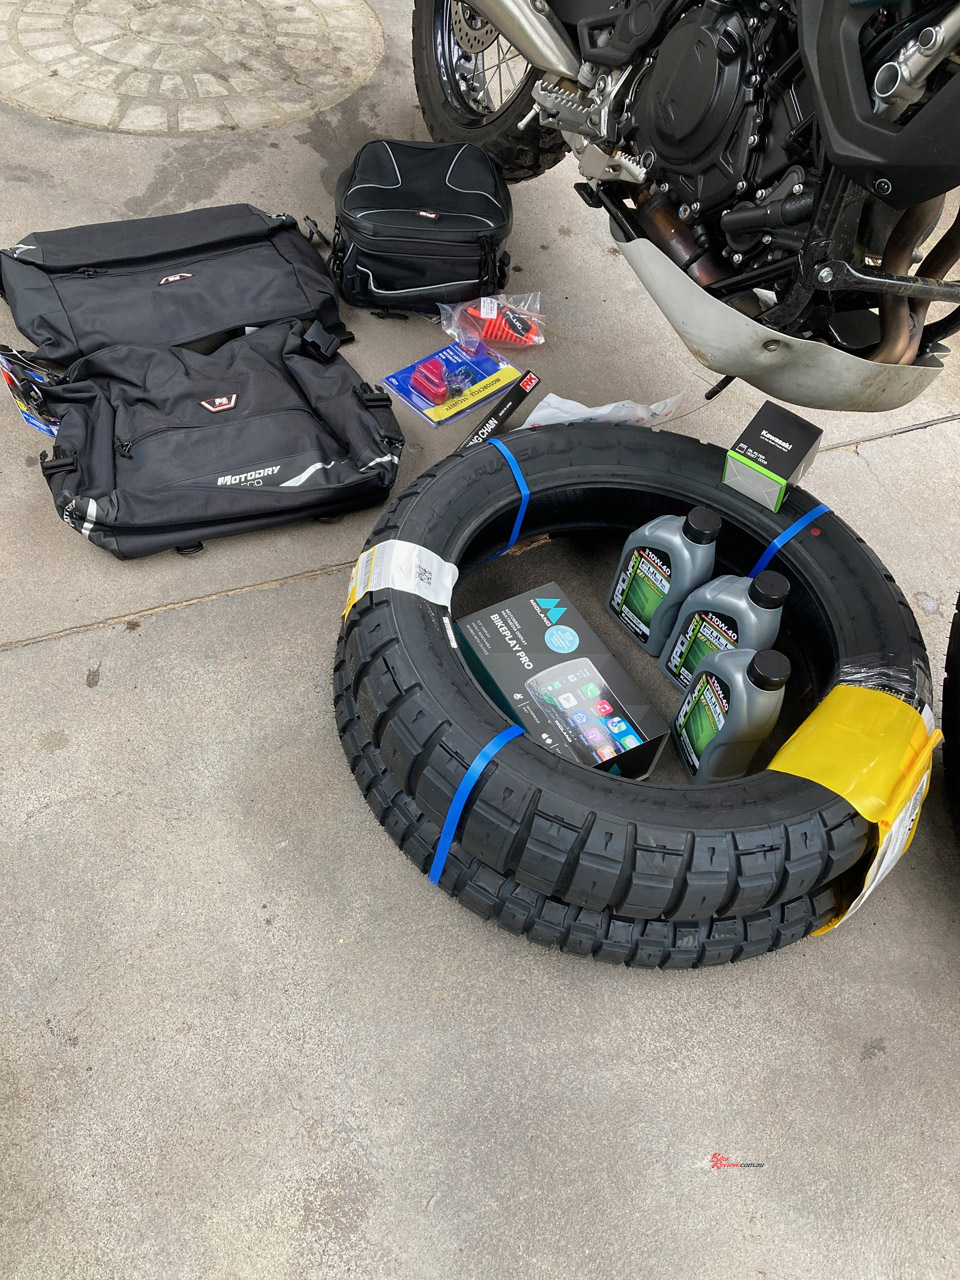
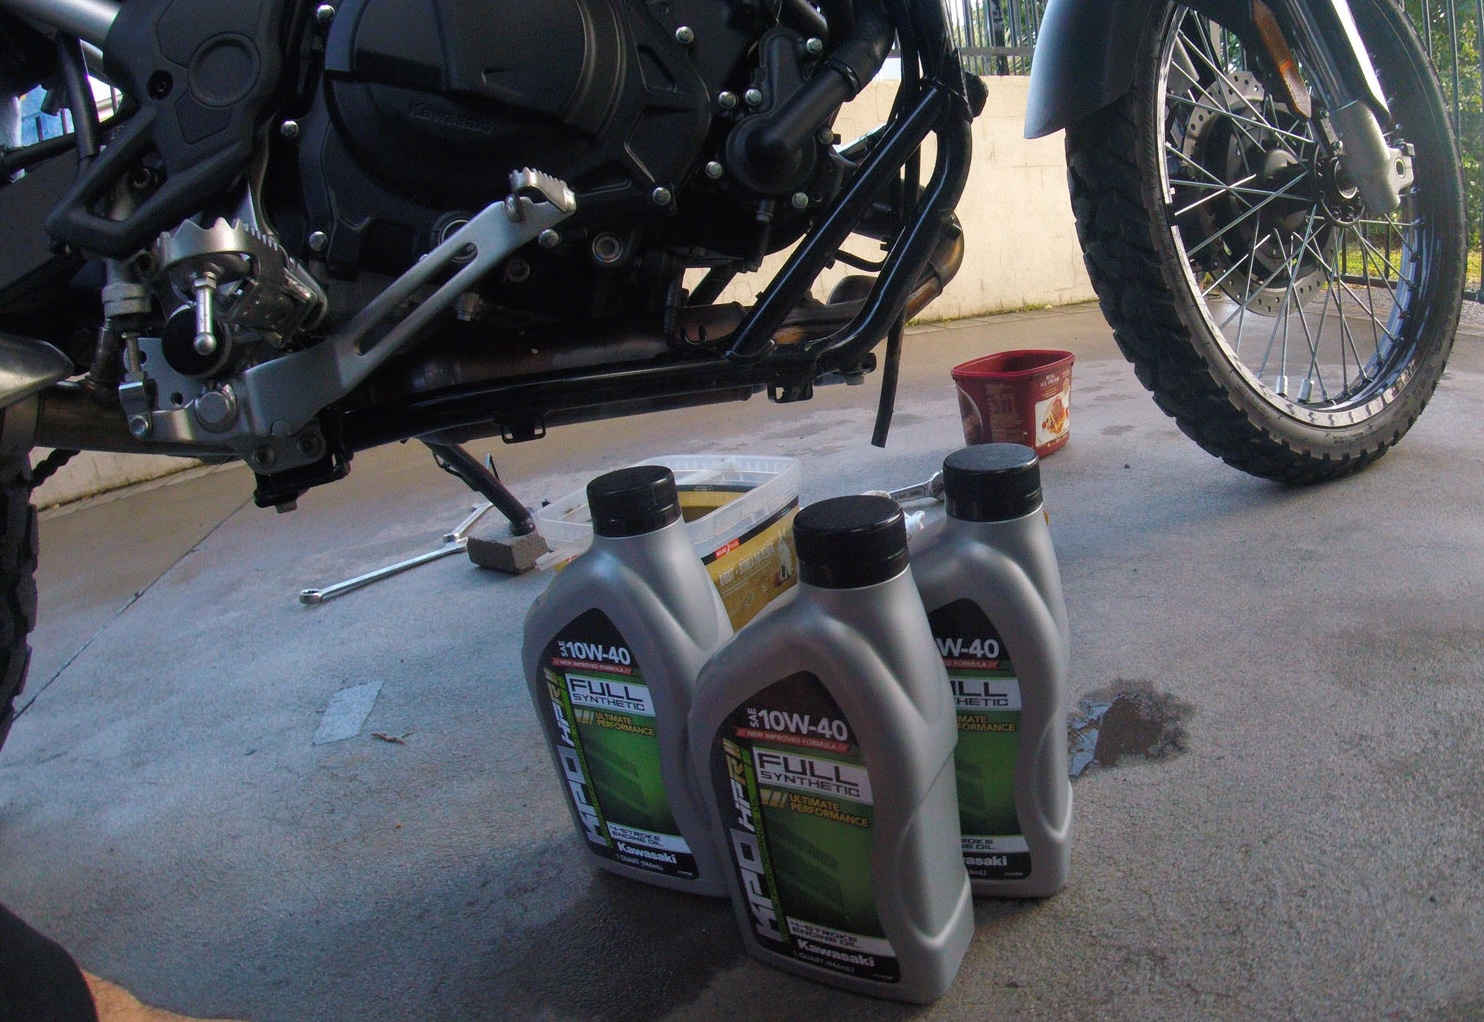
Going back a few months and with the first 1000km completed, it was time to give the KLE its first service before getting stuck into the modifications we had planned. Kawasaki supplied us with a genuine oil change kit, and Jeff, a licensed motorcycle mechanic, got to work.
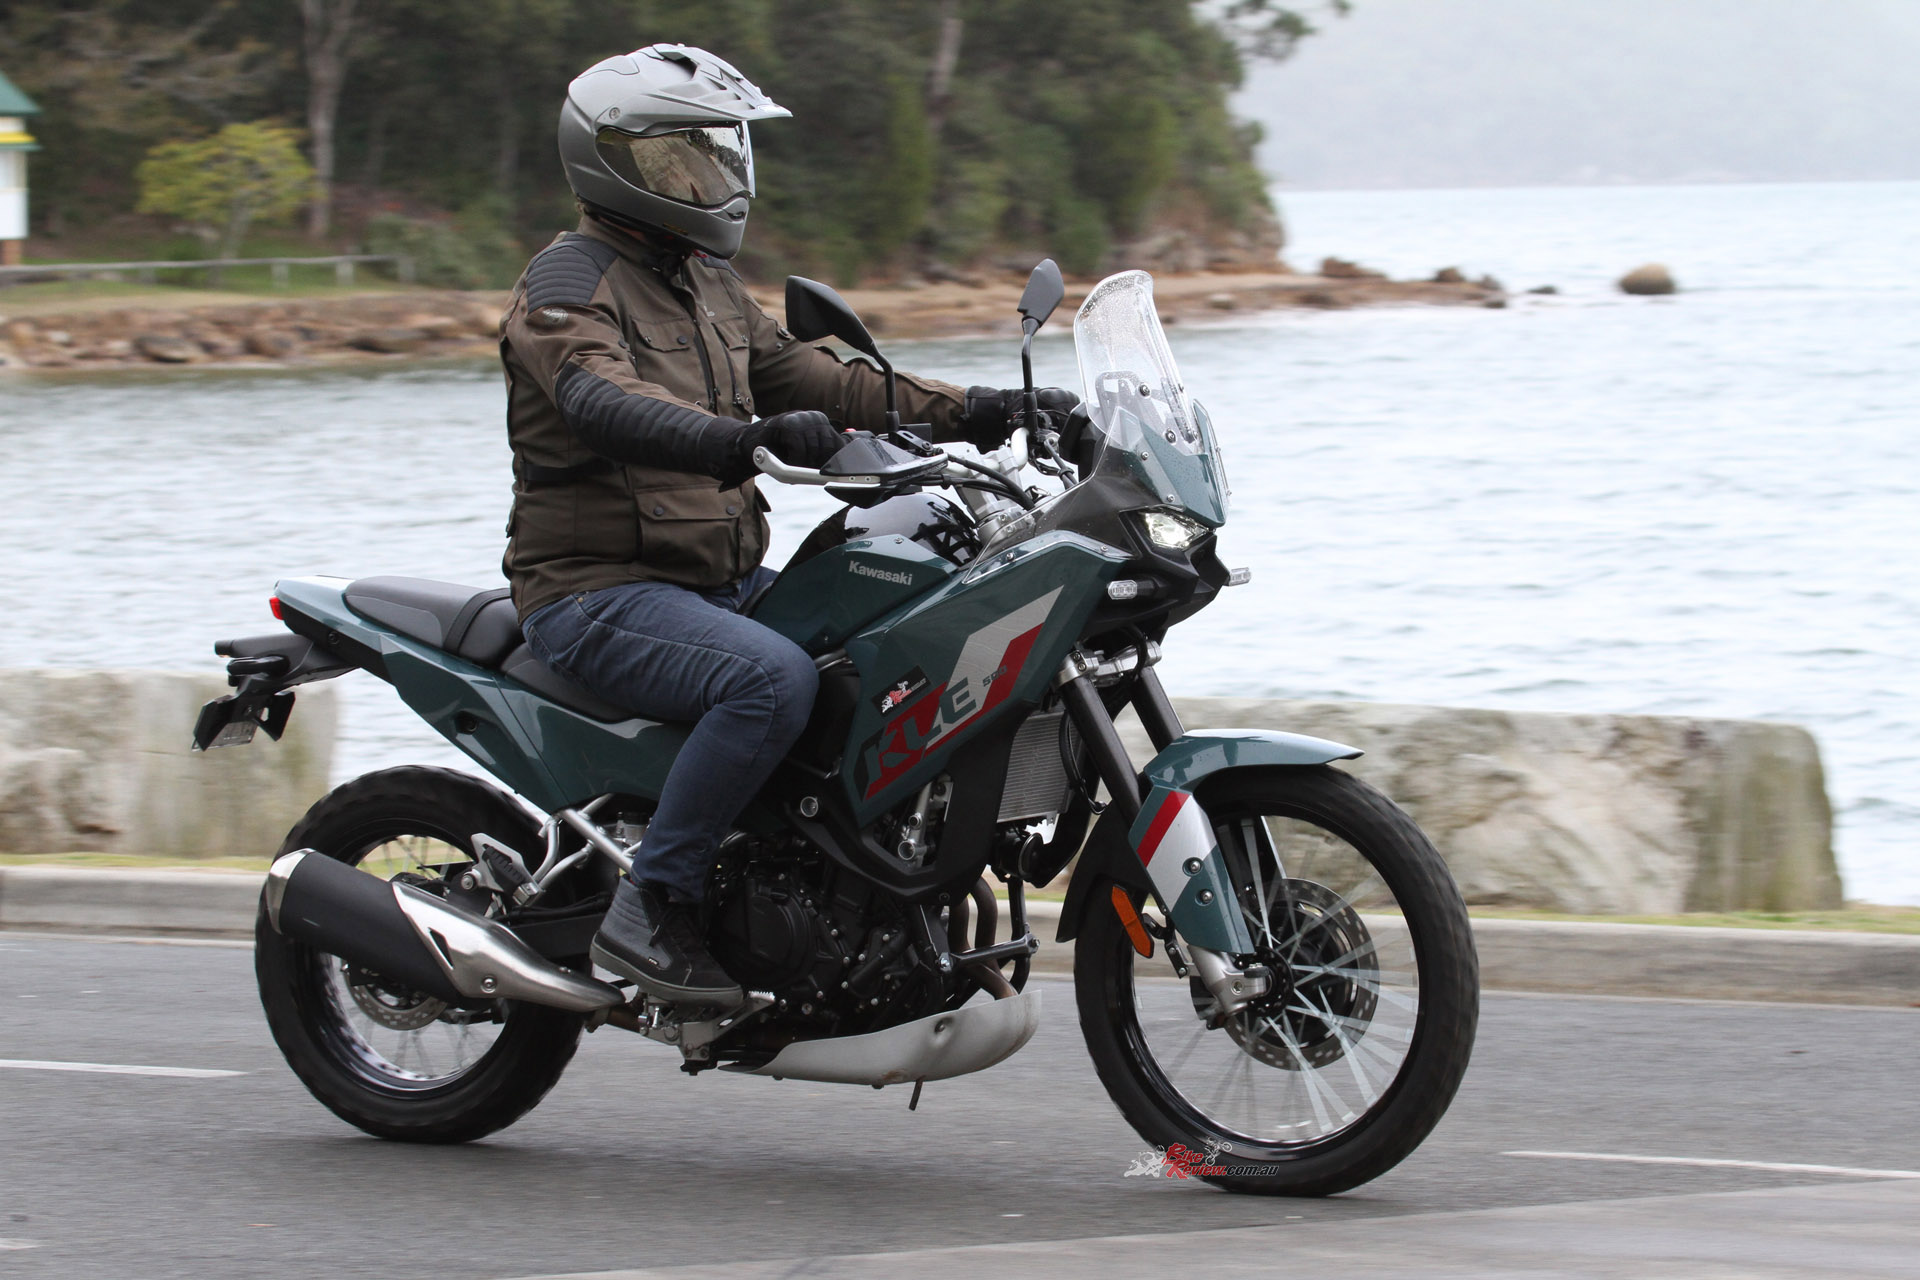
Read our full review on the 2026 Kawasaki KLE500 SE here…
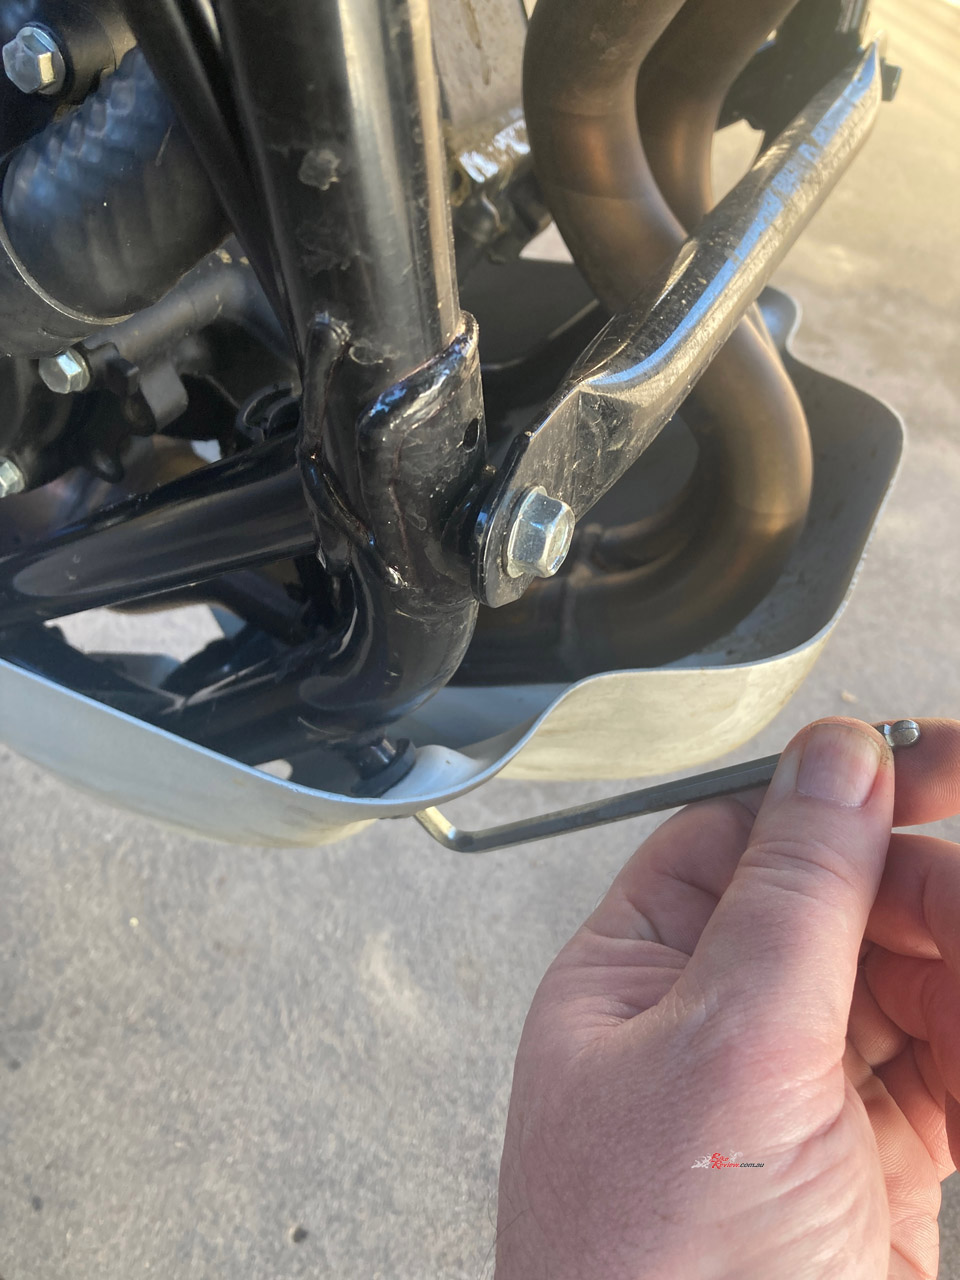
The first job was warming the engine before draining the oil. The oil change required removing the bash plate, which proved a little tricky because some of the original Allen-head bolts had suffered damage from bottoming out.
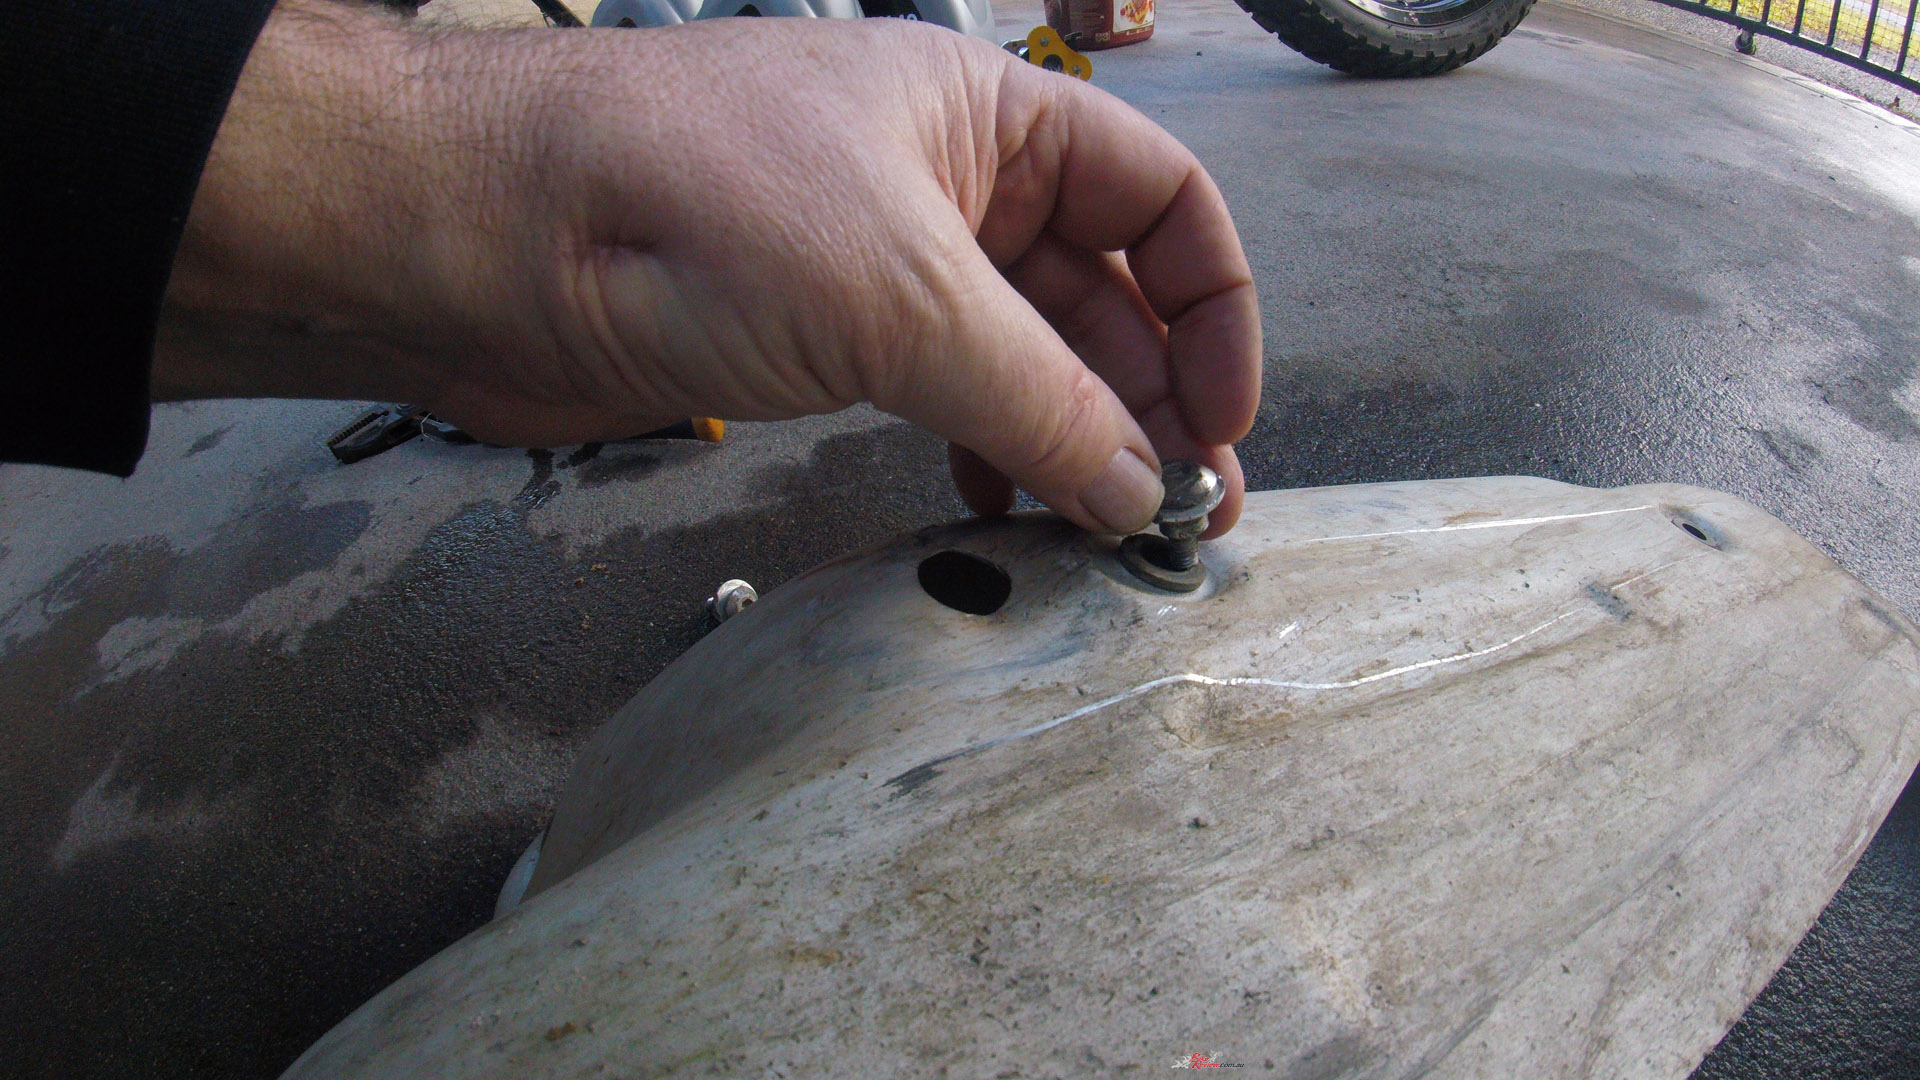
I managed to get them out and replaced the damaged bolts, something worth keeping in mind if you’re planning to remove the plate regularly for servicing. I had to use vice grips in the end. With the new larger back tyre and increased spring preload now, we have about 15mm extra clearance under there.
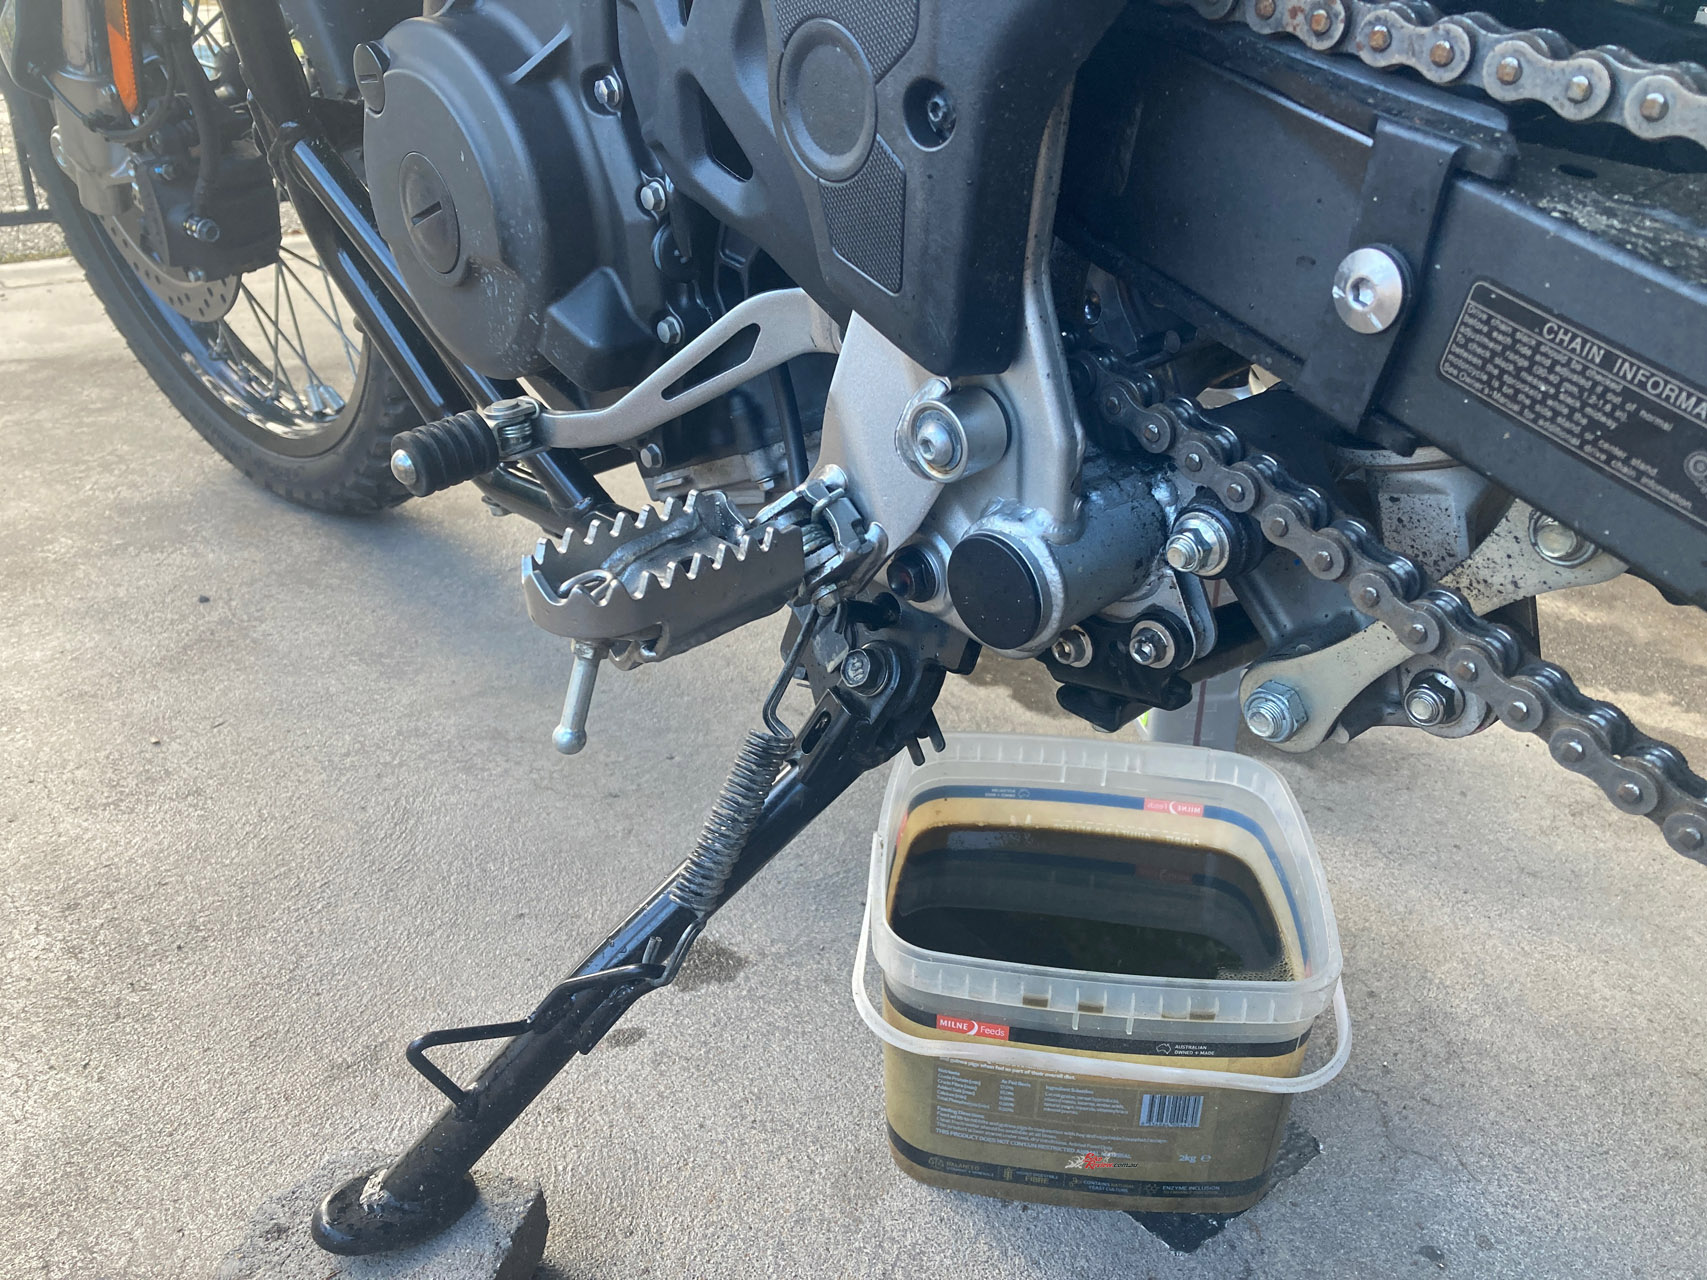
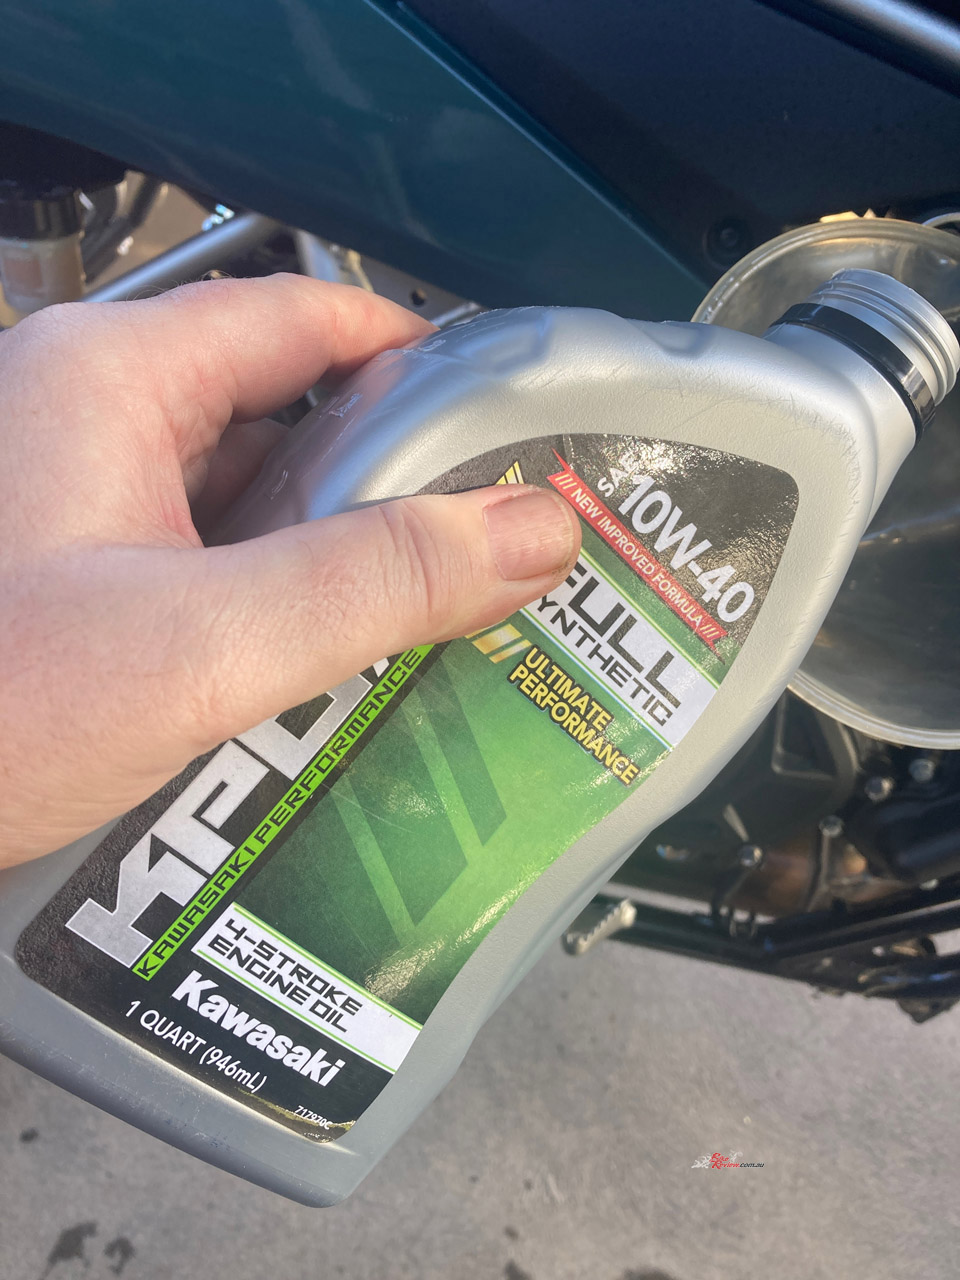
For the oil change, I used Kawasaki HPO HPR 10W40 Fully Synthetic engine oil, retailing at $29.95 per litre, along with a genuine Kawasaki oil filter (16097-0008, $24.50 RRP) and sump washer (92065-097, $2.50 RRP). With the filter changed, the KLE took 2.25 litres of oil to bring the level up to the high mark in the sight glass after starting the engine and allowing the oil to settle.
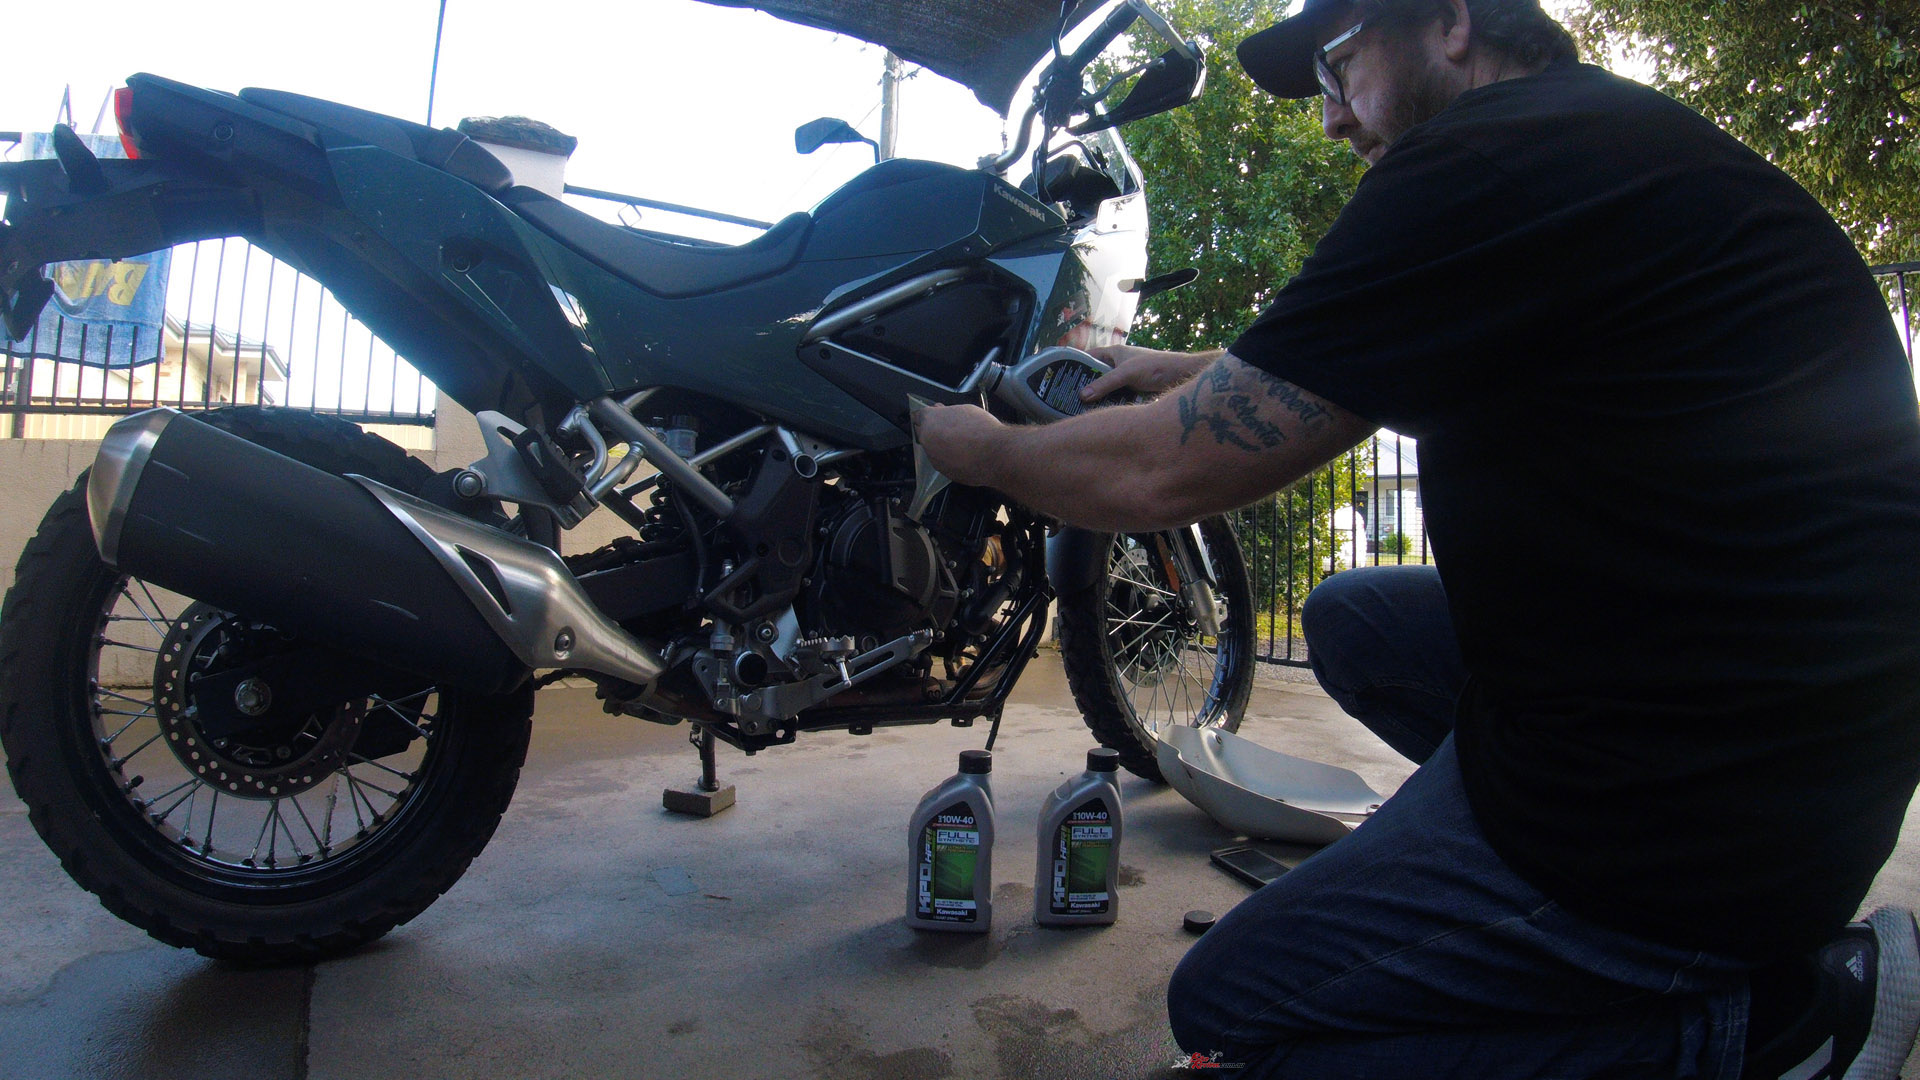
With the filter changed, the KLE took 2.25 litres of oil to bring the level up to the high mark in the sight glass.
That’s a little more than the Kawasaki specification, so always follow the correct model-specific procedure and verify the level rather than simply pouring in a set quantity. The sump plug was torqued to 22ft-lb and the oil filter to 12.9ft-lb, with a 17mm socket required for the sump plug and an oil filter tool for the oil filter. I just have a multi-fit claw type.
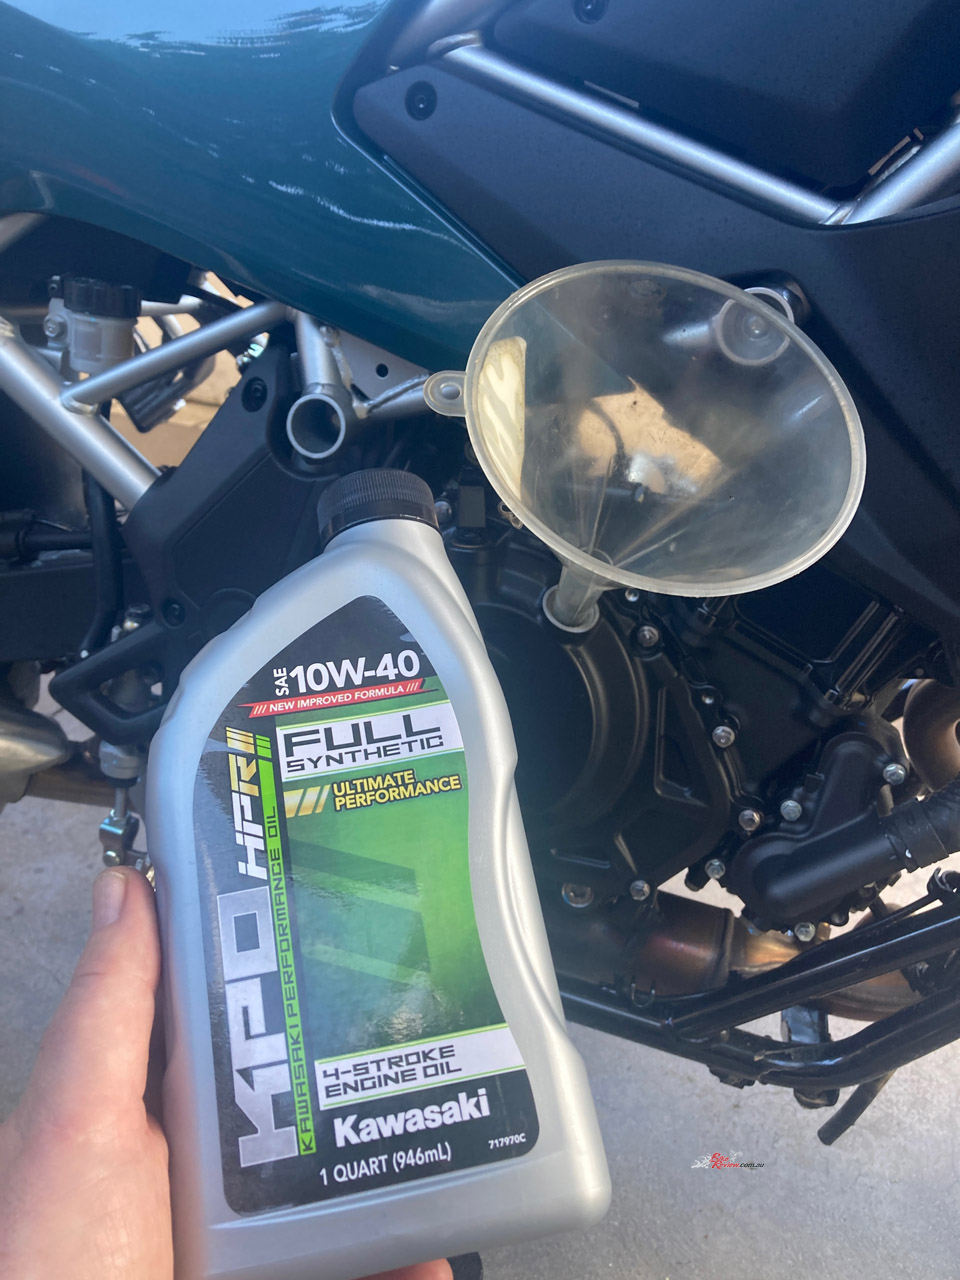
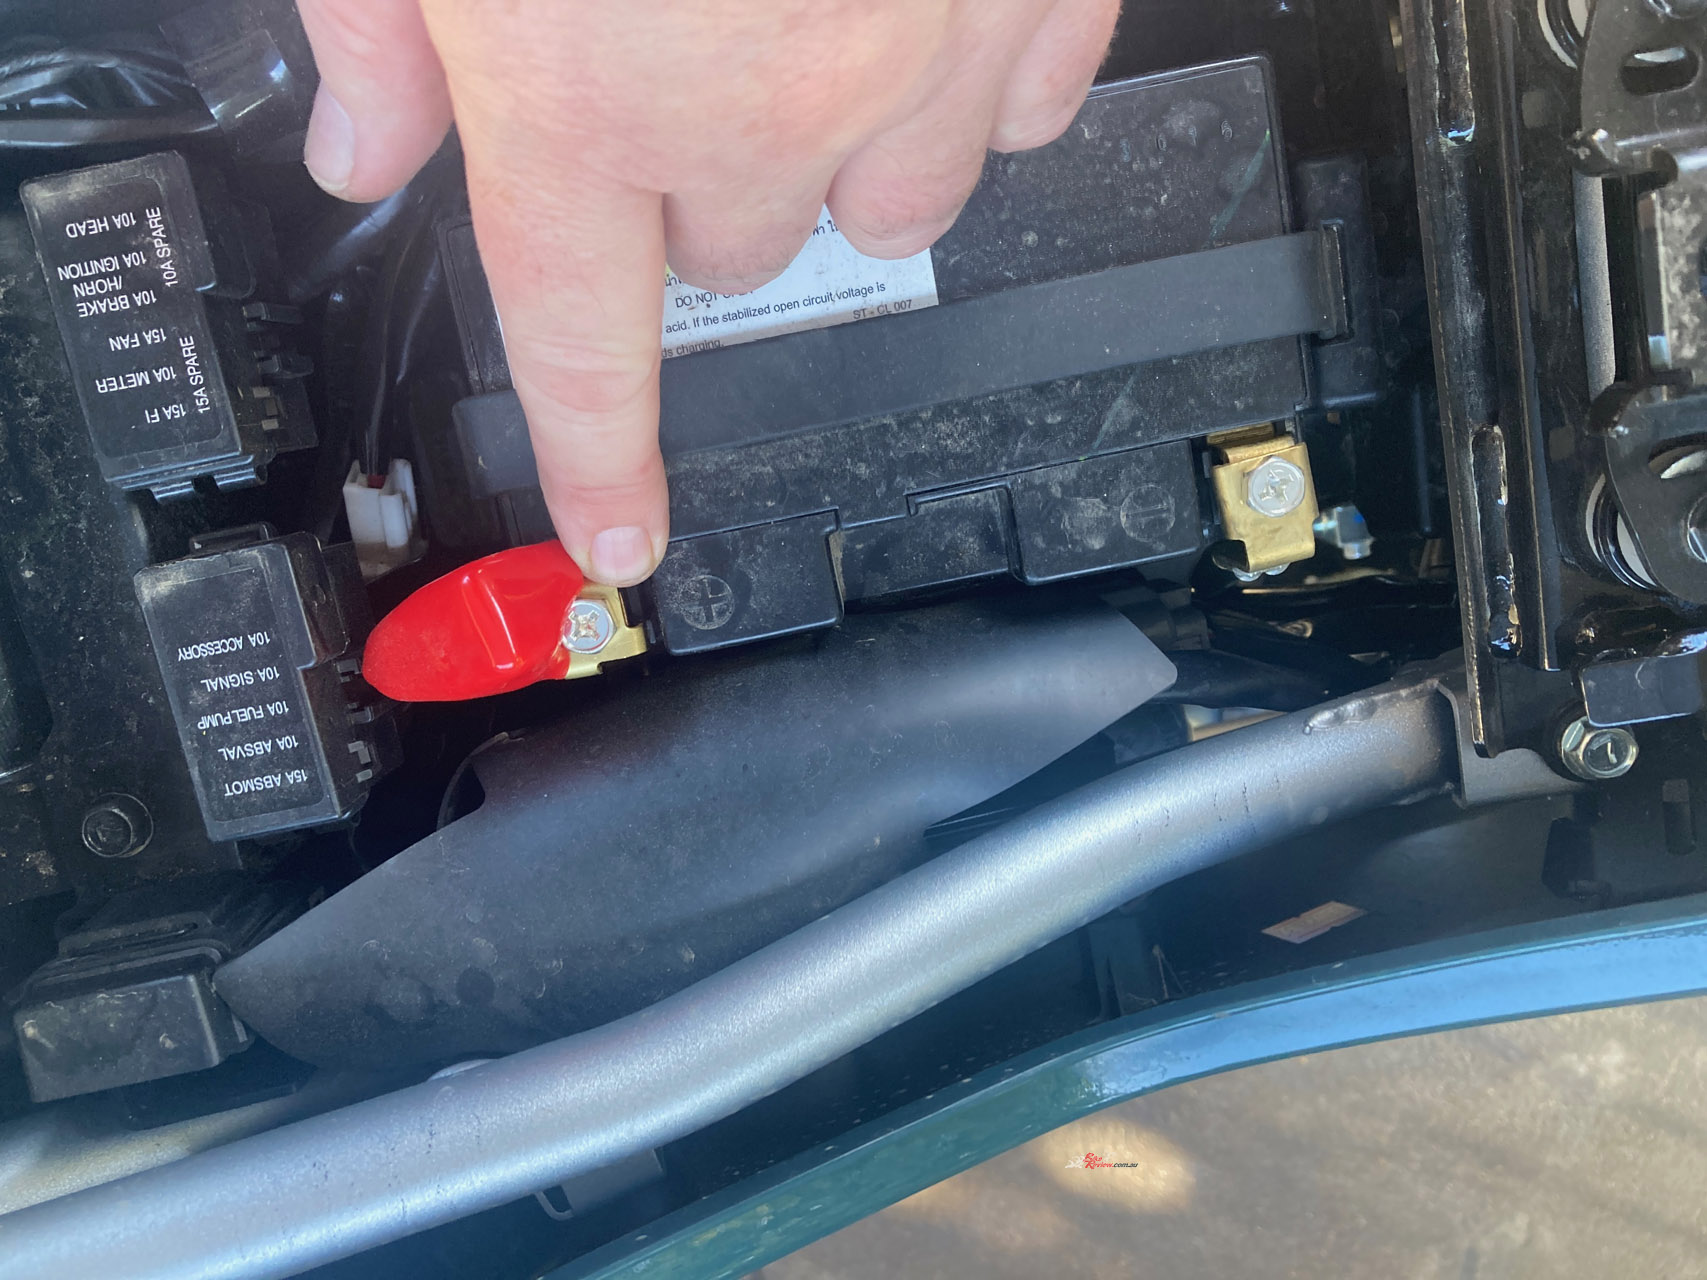
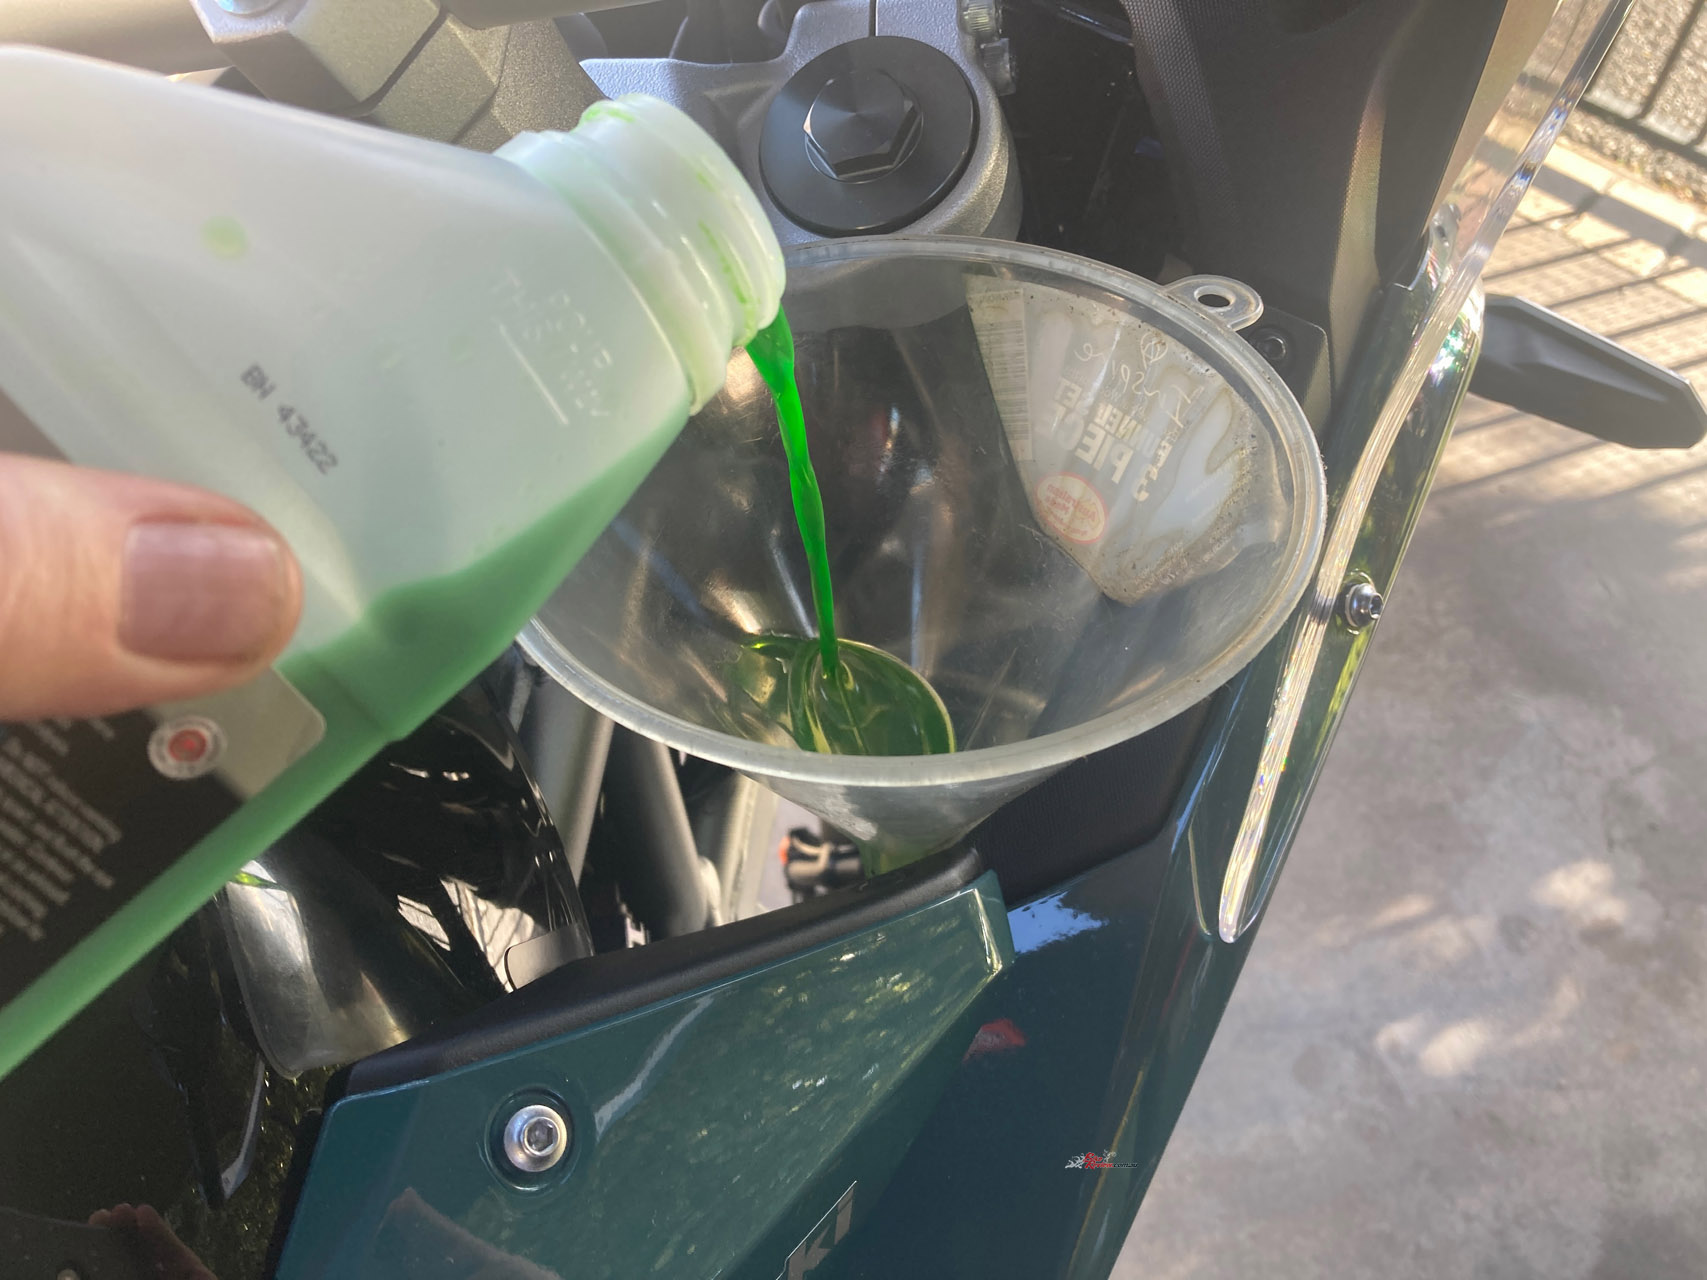
With the engine oil and filter sorted, I checked the coolant level, battery terminals and airfilter. Getting to the airfilter required removing the shrouds and fuel tank, making it a more time-consuming job than you’d ideally want on an adventure bike. I always like to inspect the filter during a first service, even if it isn’t strictly necessary, and the job took around 25 to 30 minutes. Access could definitely be easier.
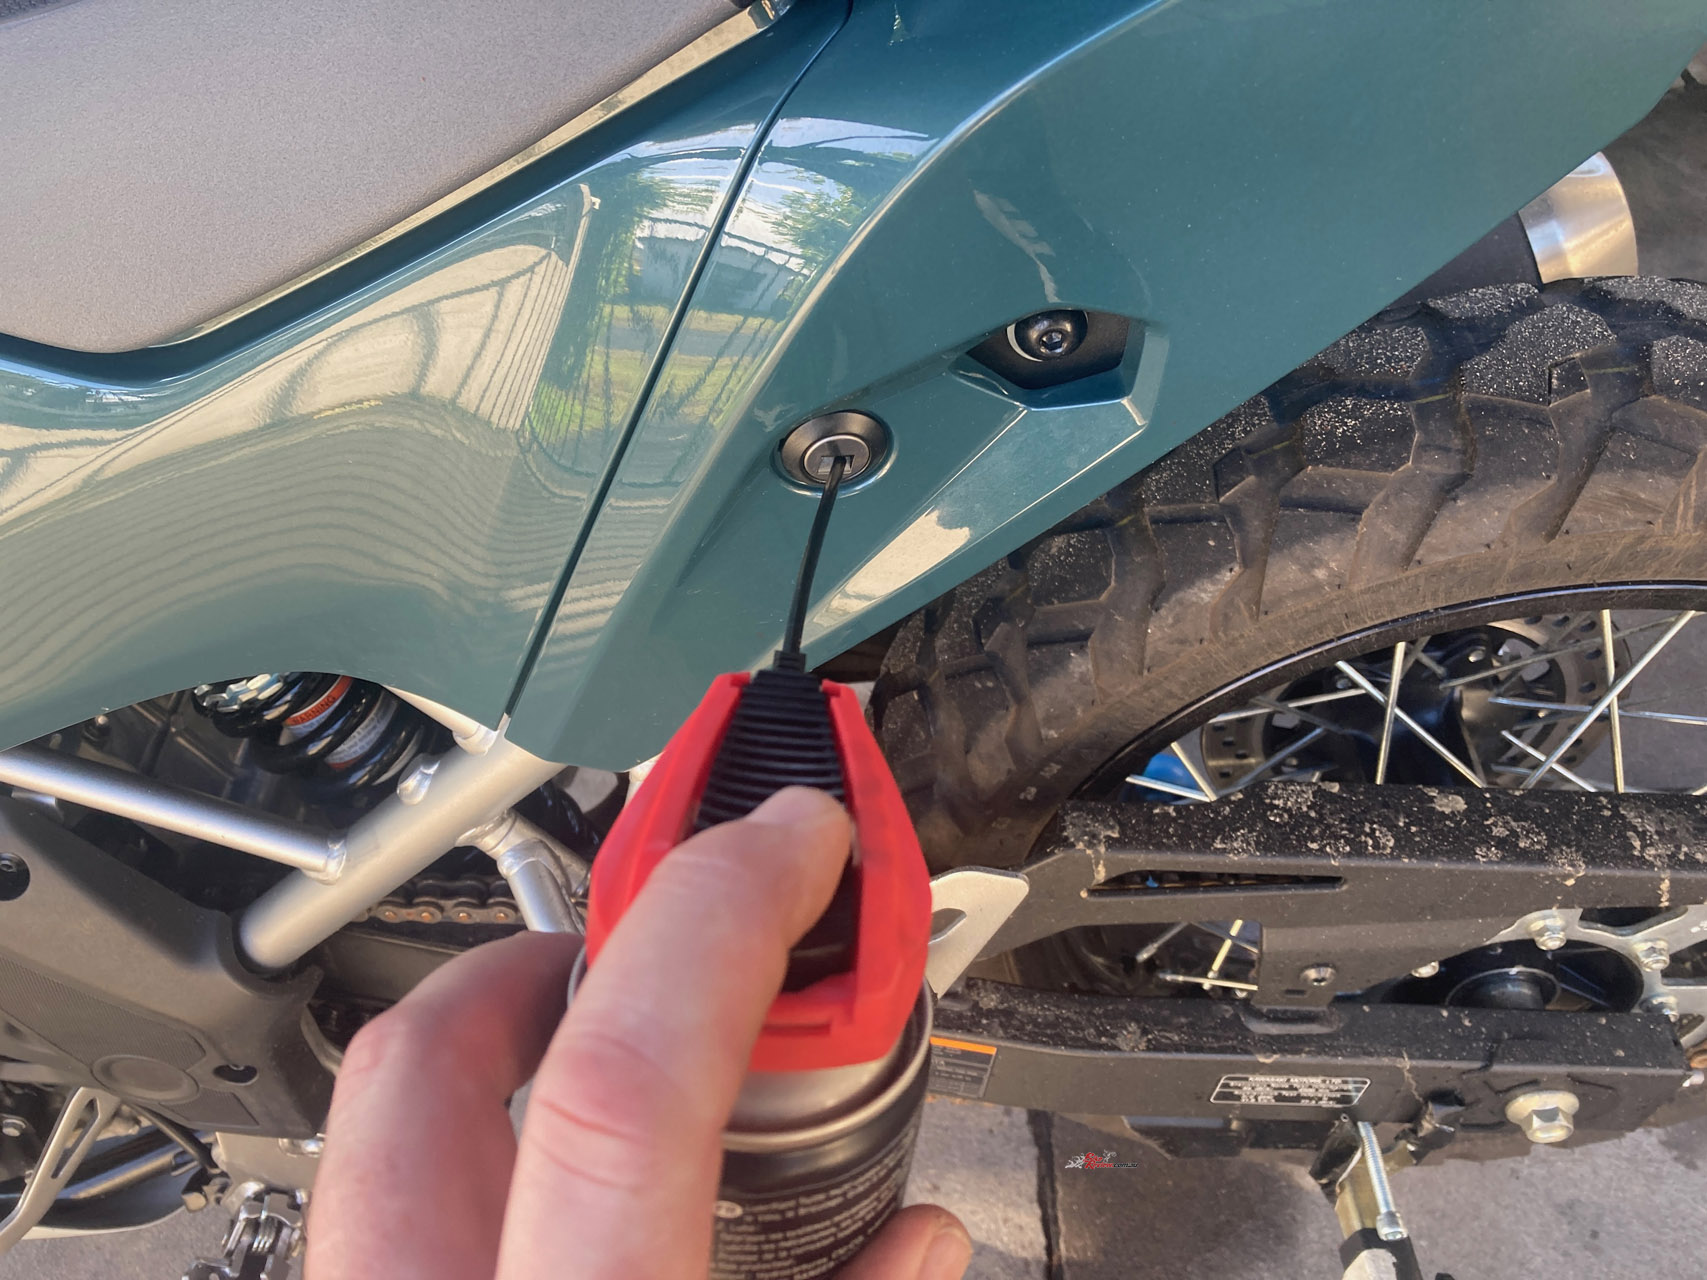
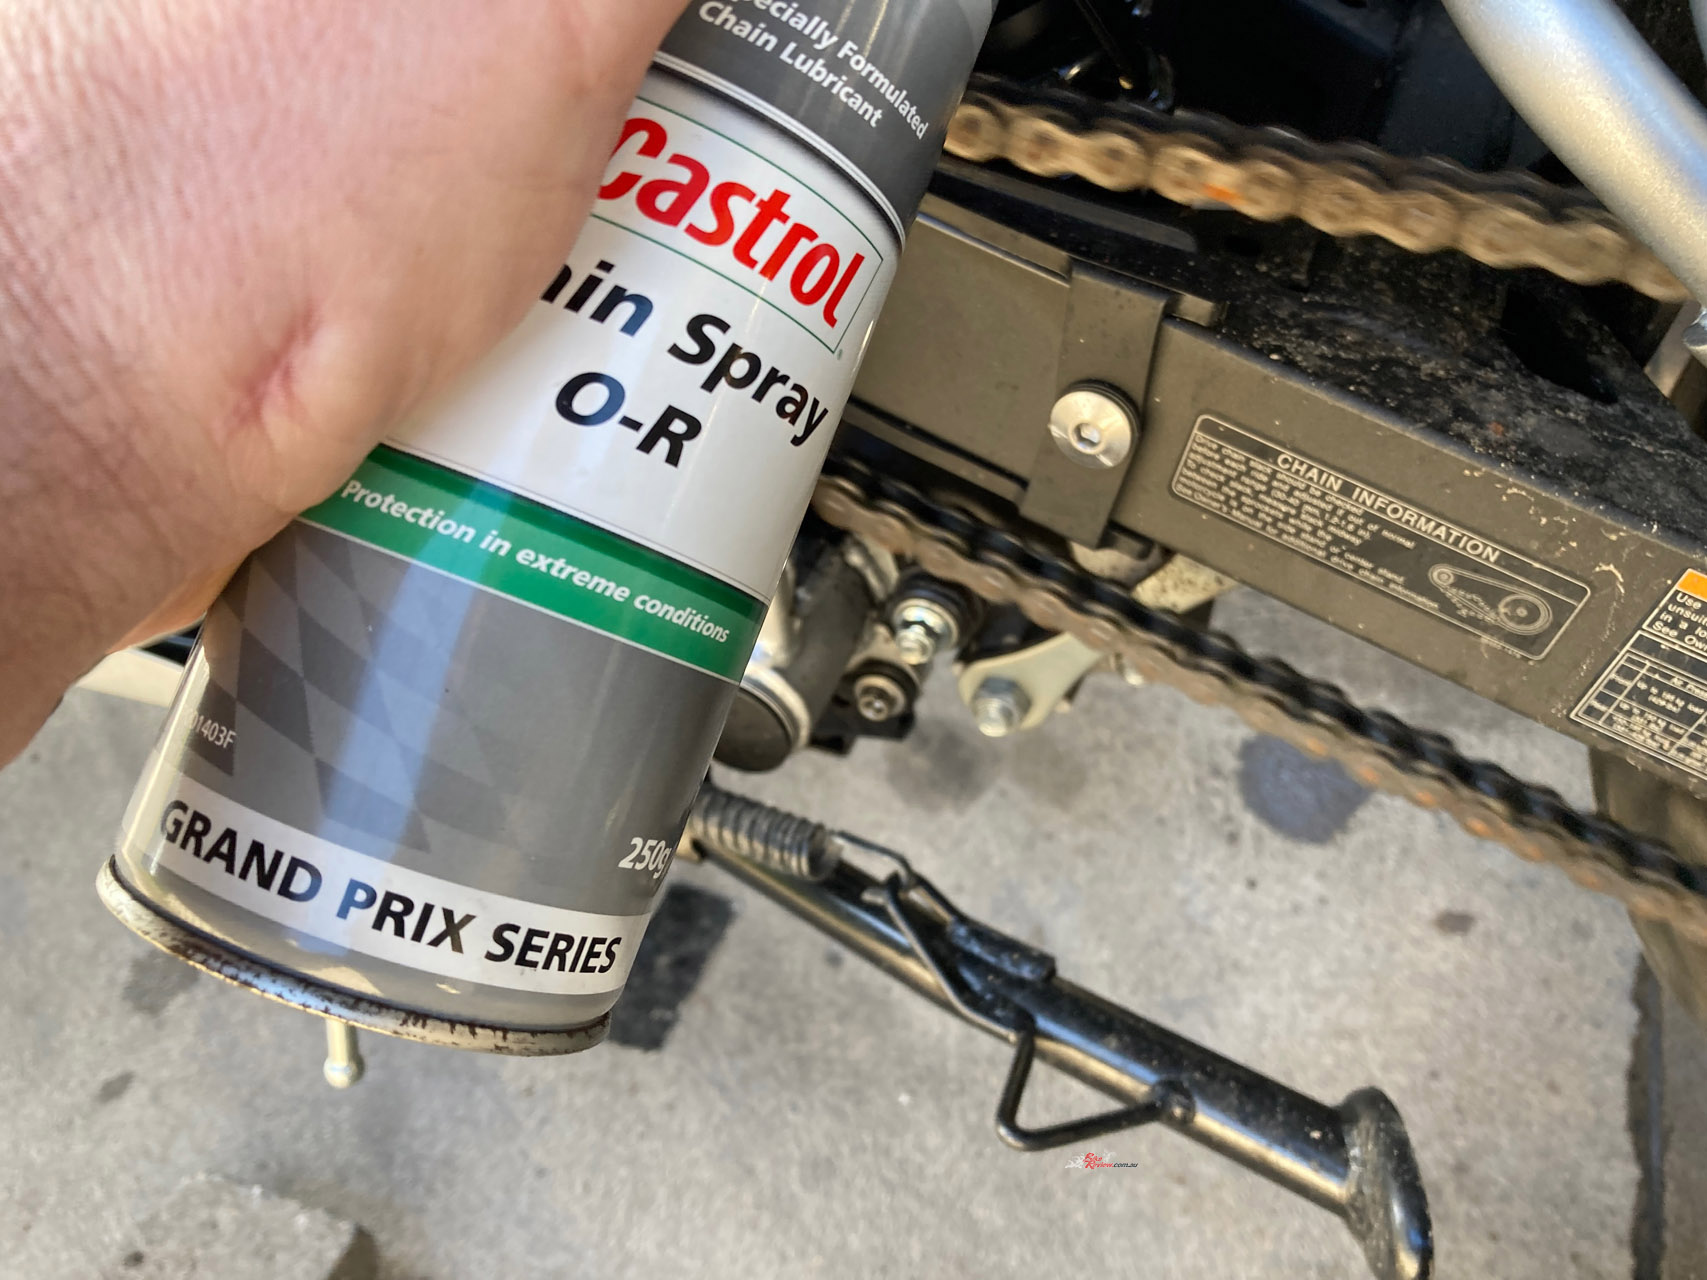
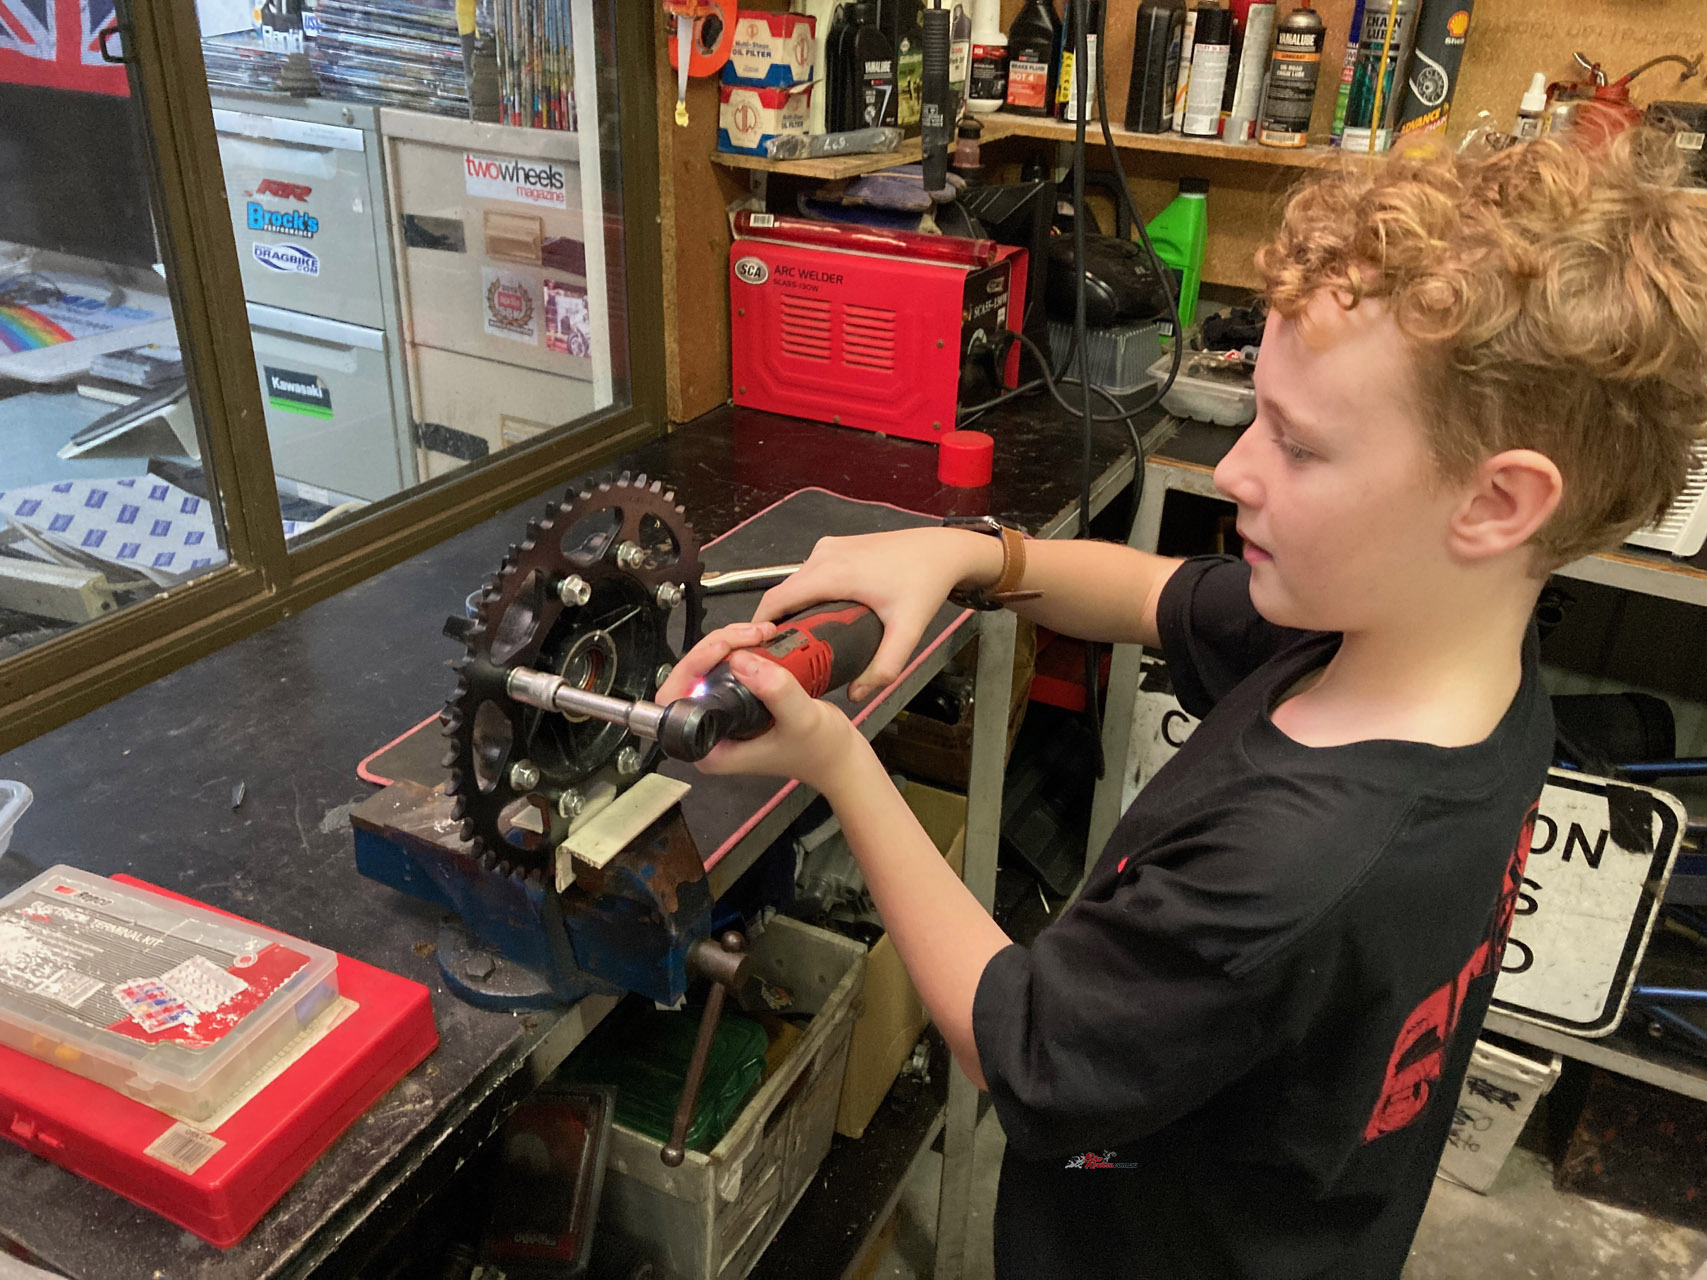
Next came the chassis checks. I set the tyre pressures to 22psi front and 29psi rear, adjusted and lubricated the chain, checked the rear brake fluid and brake operation, inspected the suspension linkages and checked the rear wheel spoke tension.
Moving forward, I checked the clutch cable adjustment, inspected the front wheel spokes and adjusted the steering-head bearings…
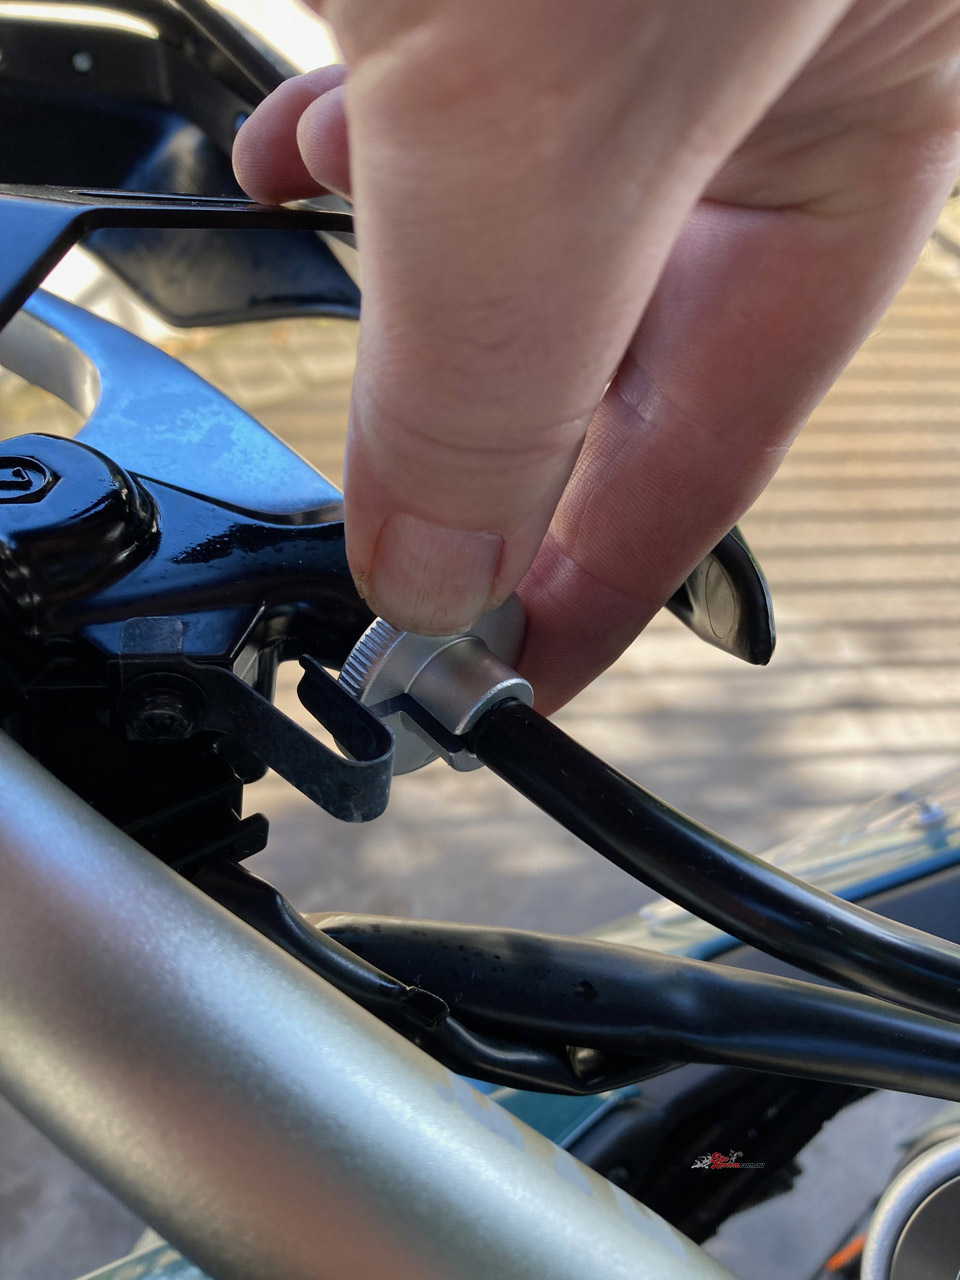
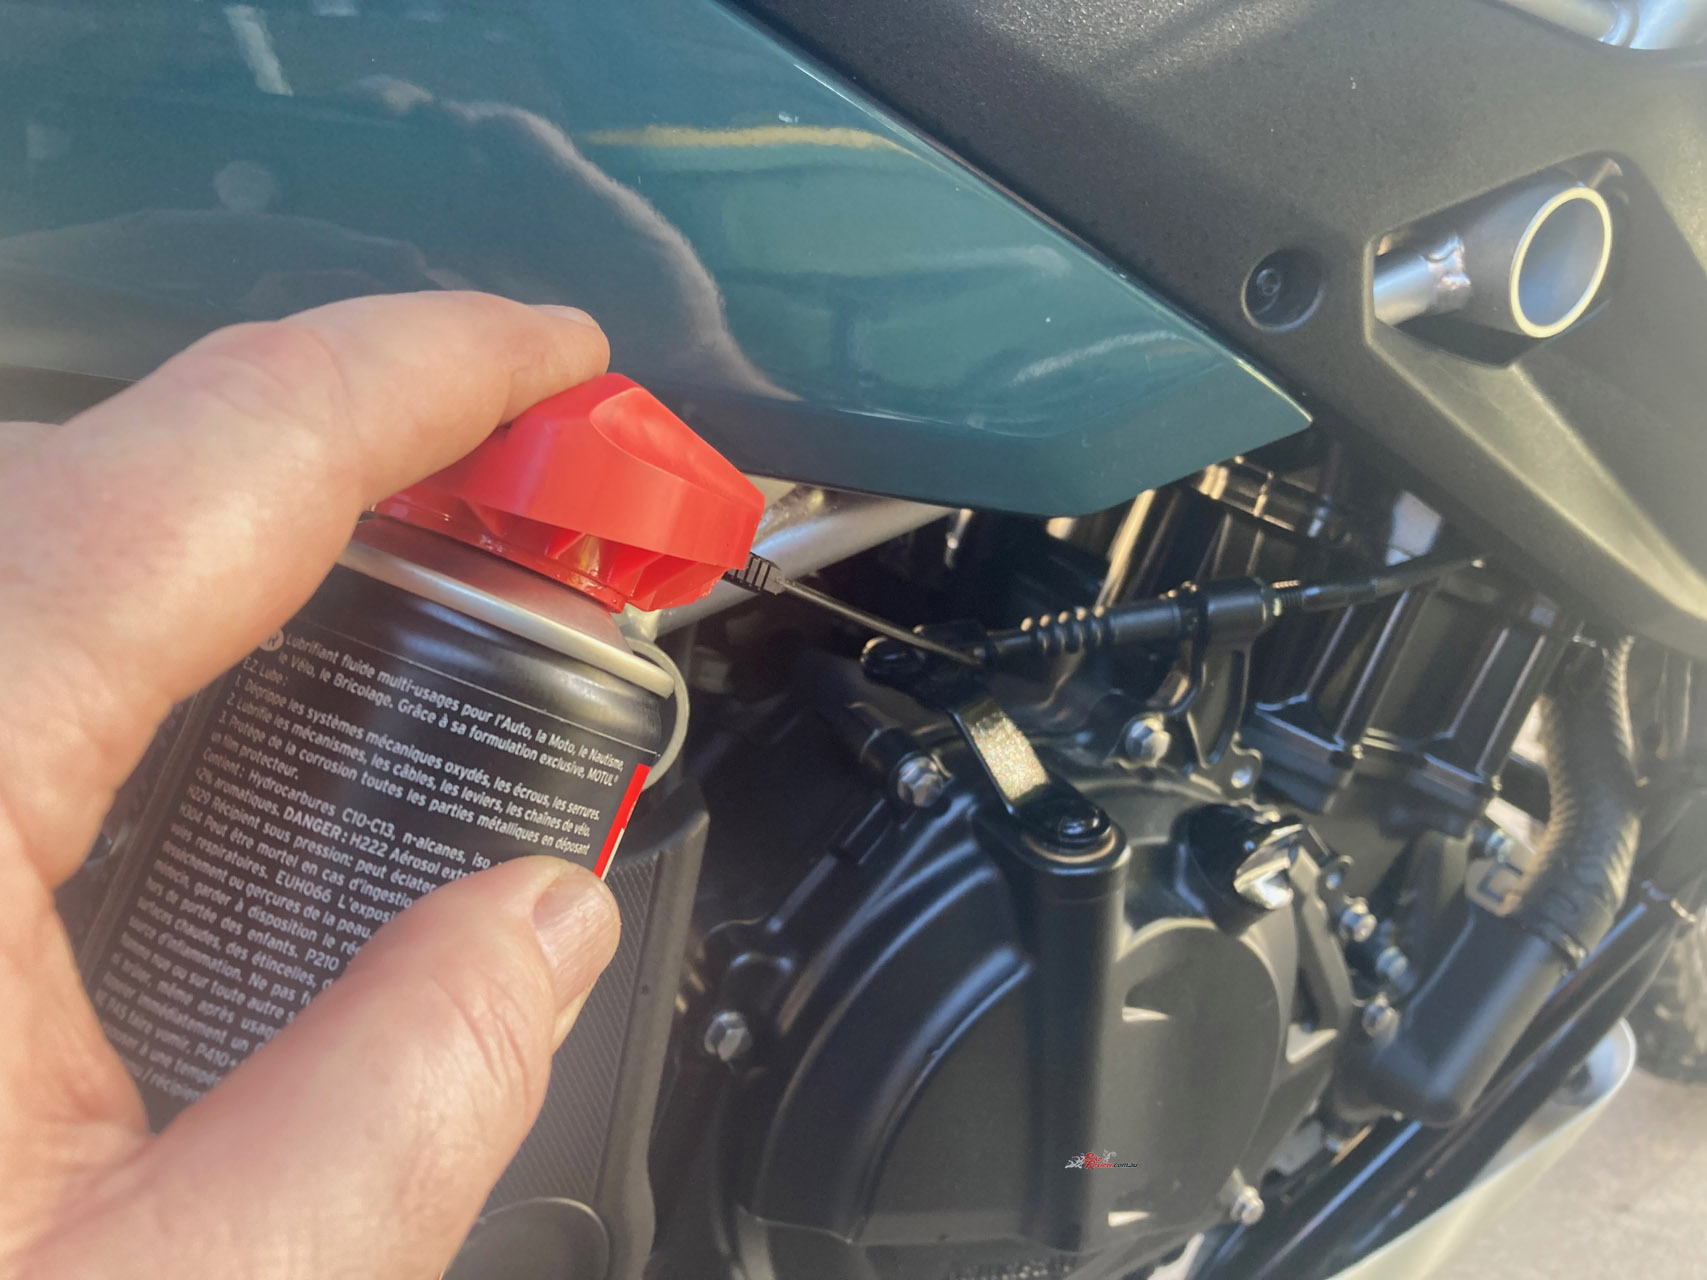
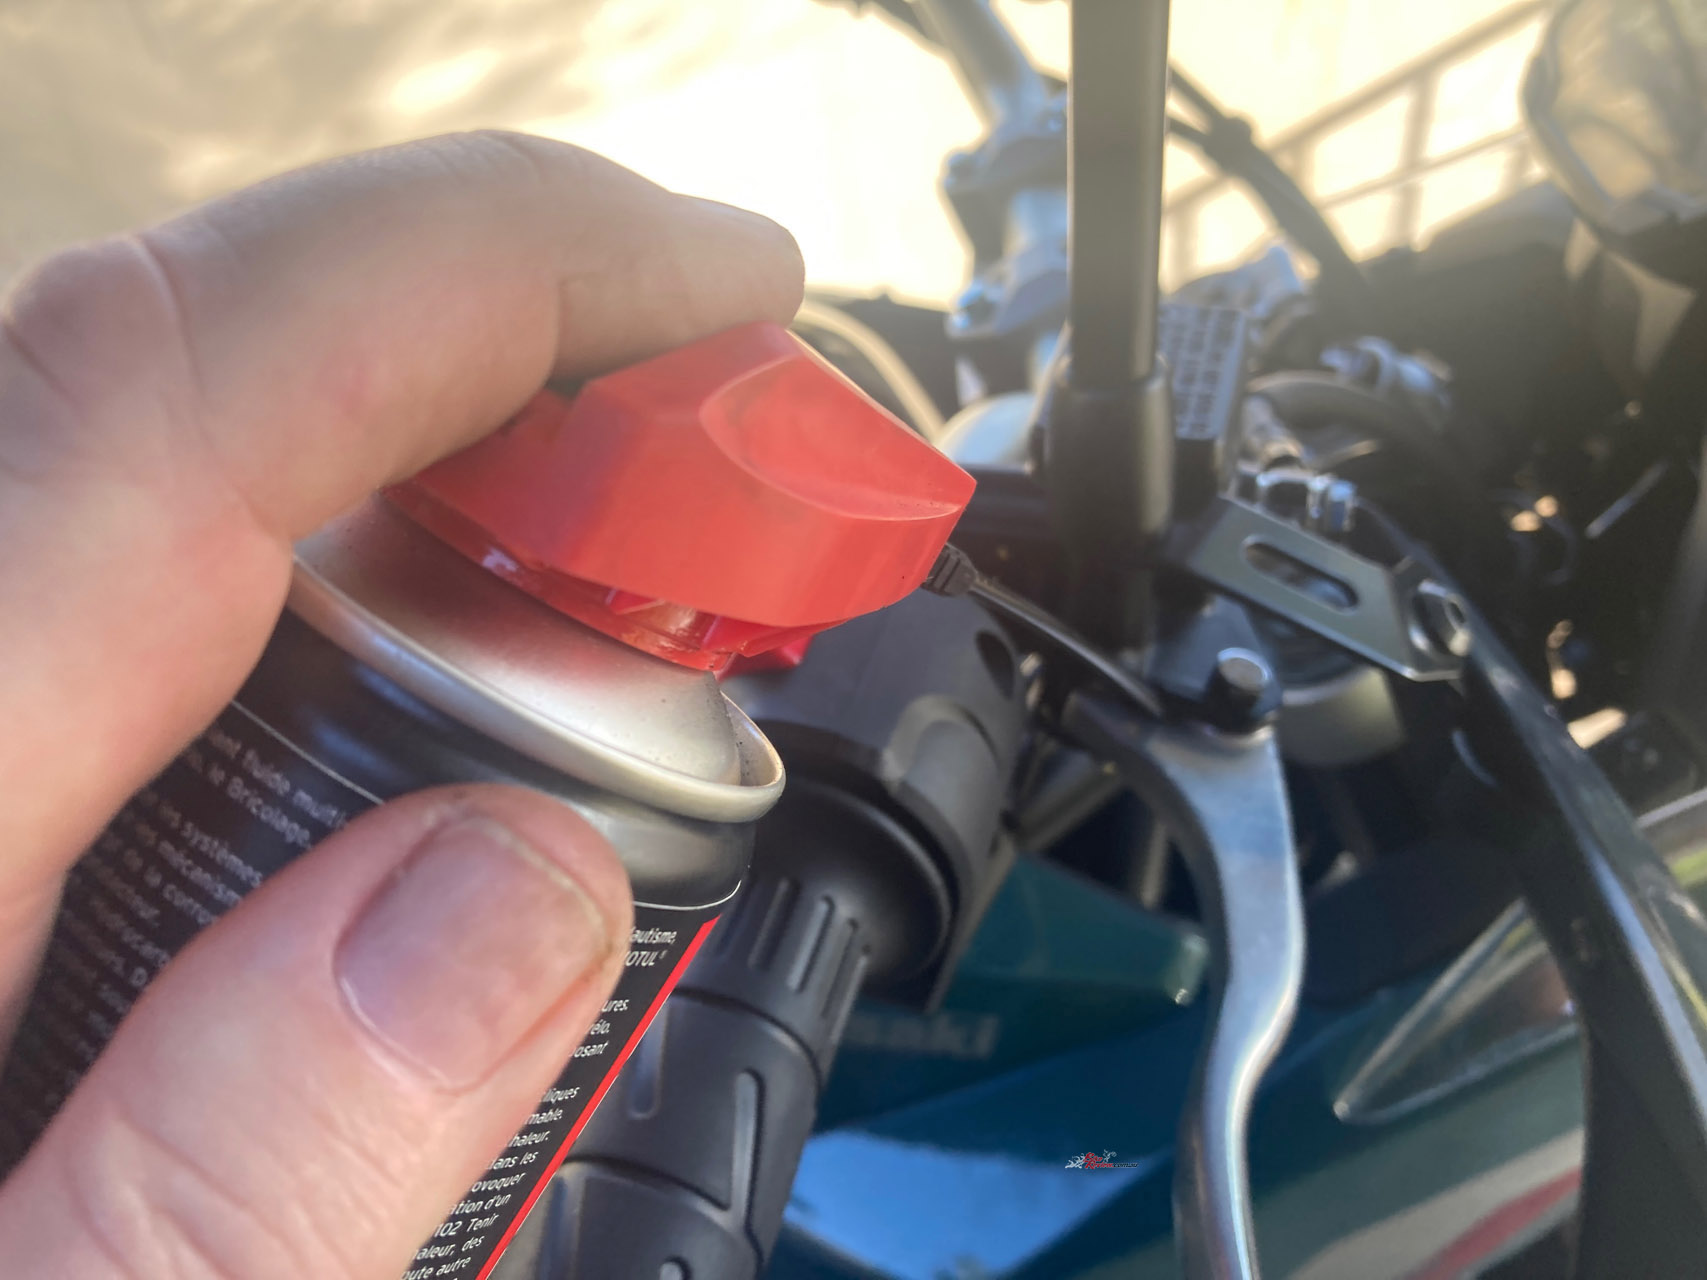
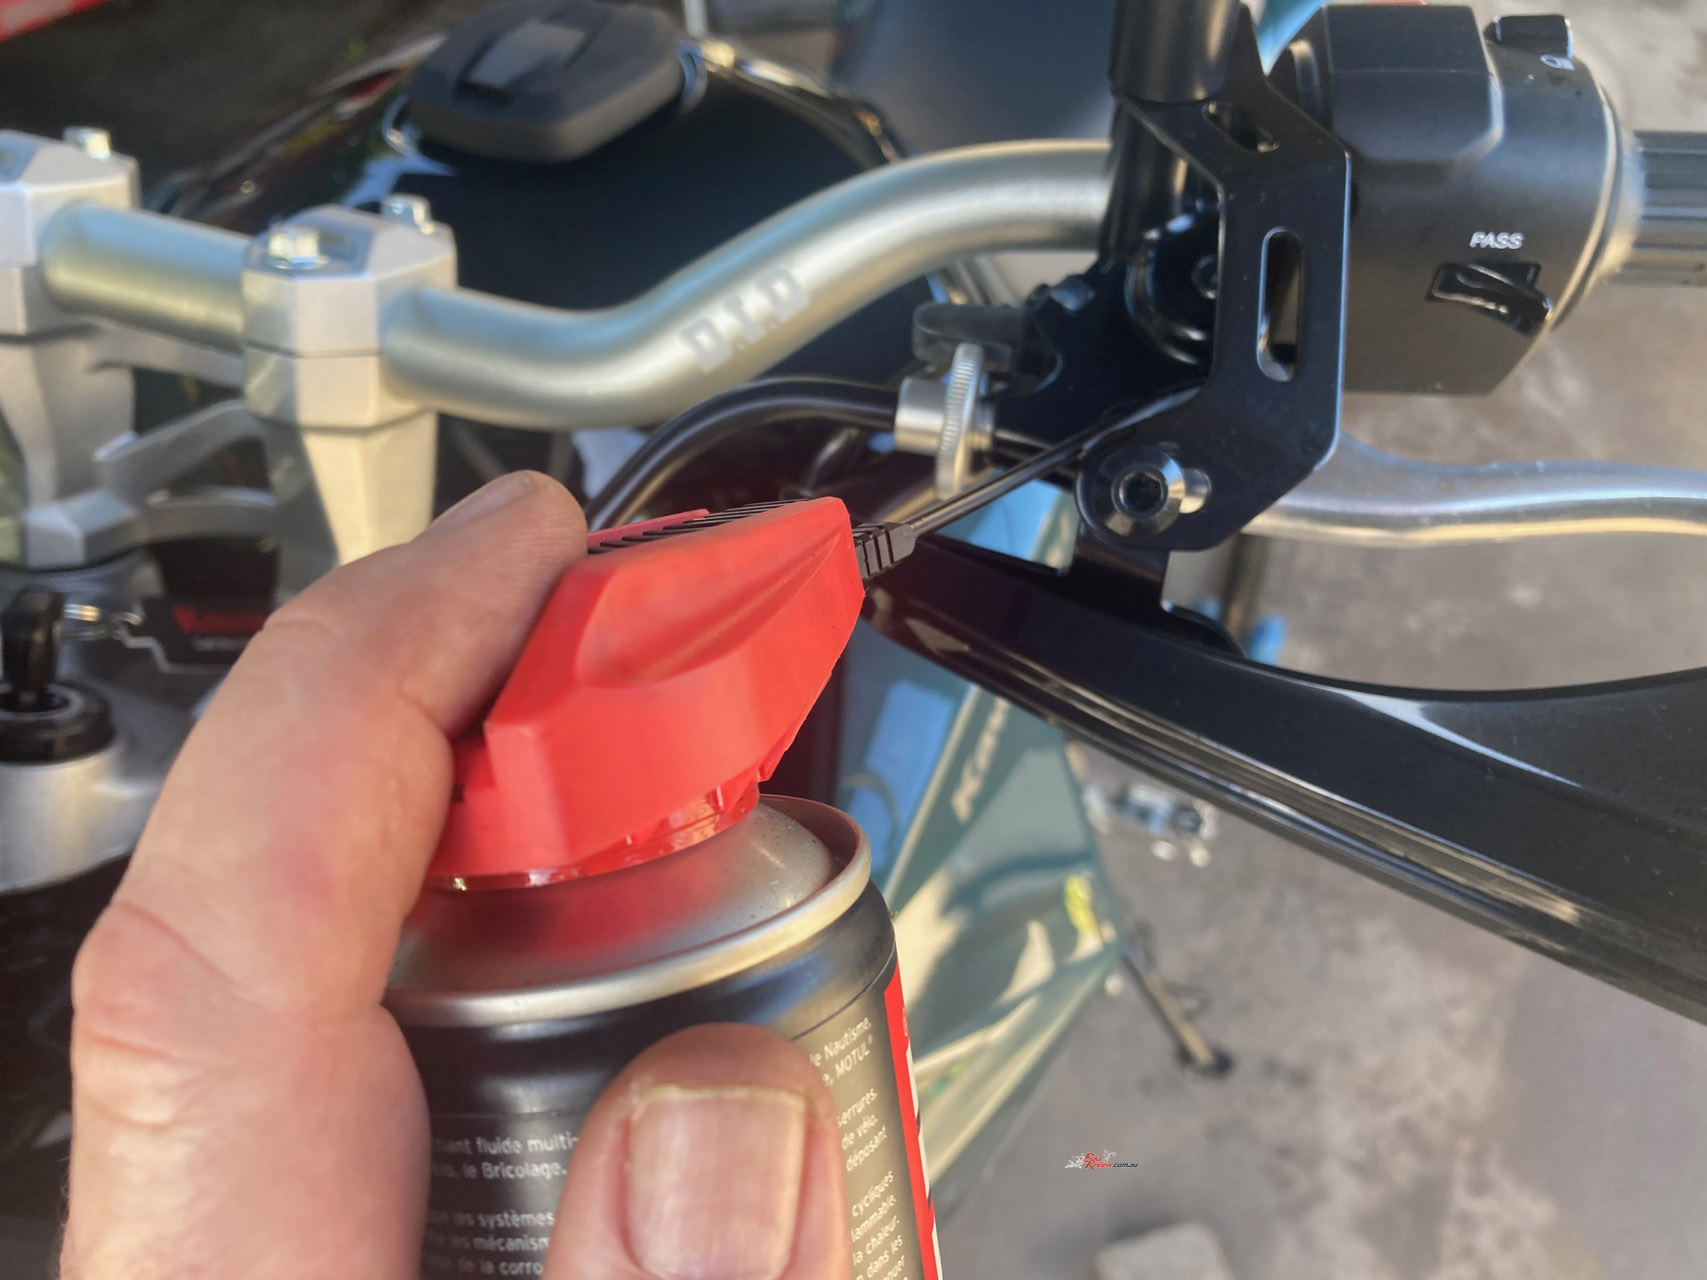
Moving forward, I checked the clutch cable adjustment, inspected the front wheel spokes and adjusted the steering-head bearings, which were slightly loose, as expected. Throttle cable freeplay came next, followed by lubricating the pivot points and cables and checking the front brake fluid level.
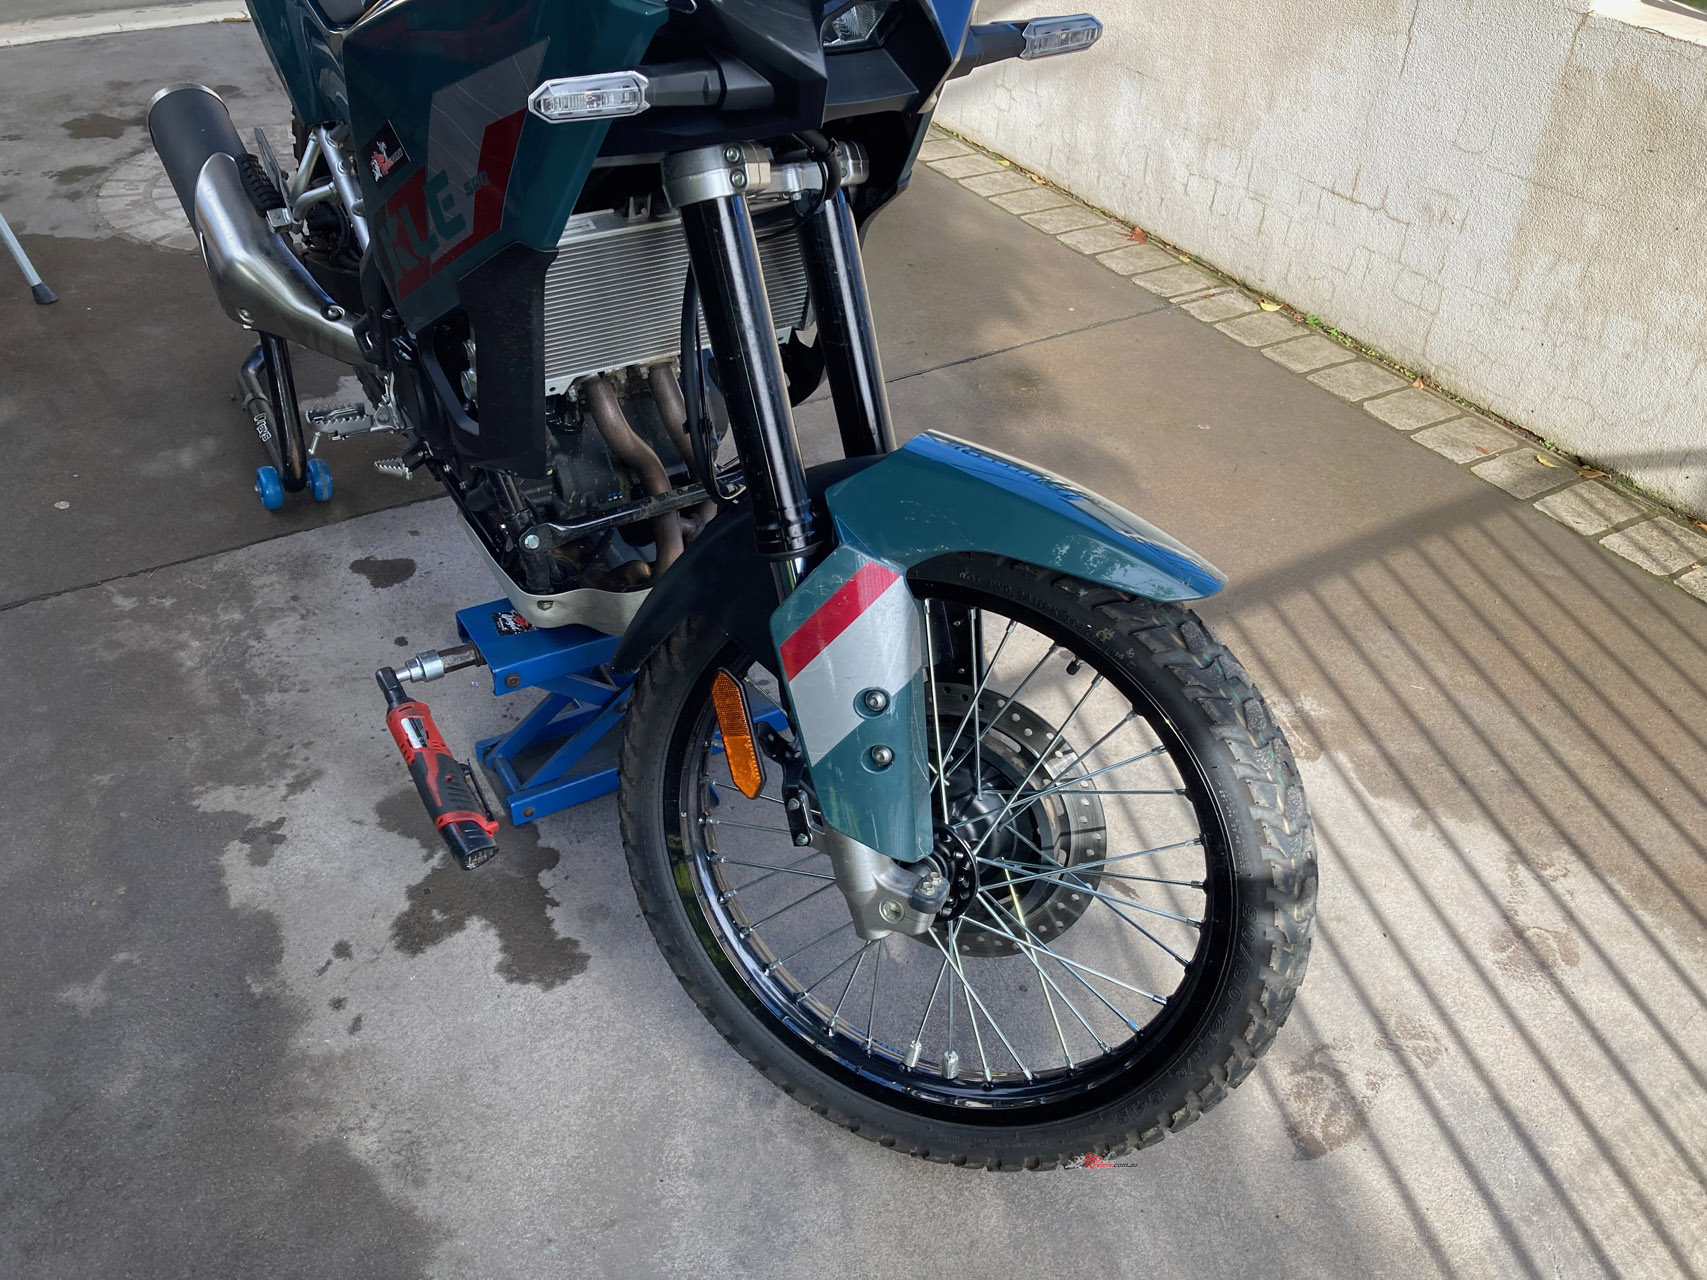
Adjusting the steering-head bearings at first service is crucial. They’ll be loose by the next service if not done, trust me!
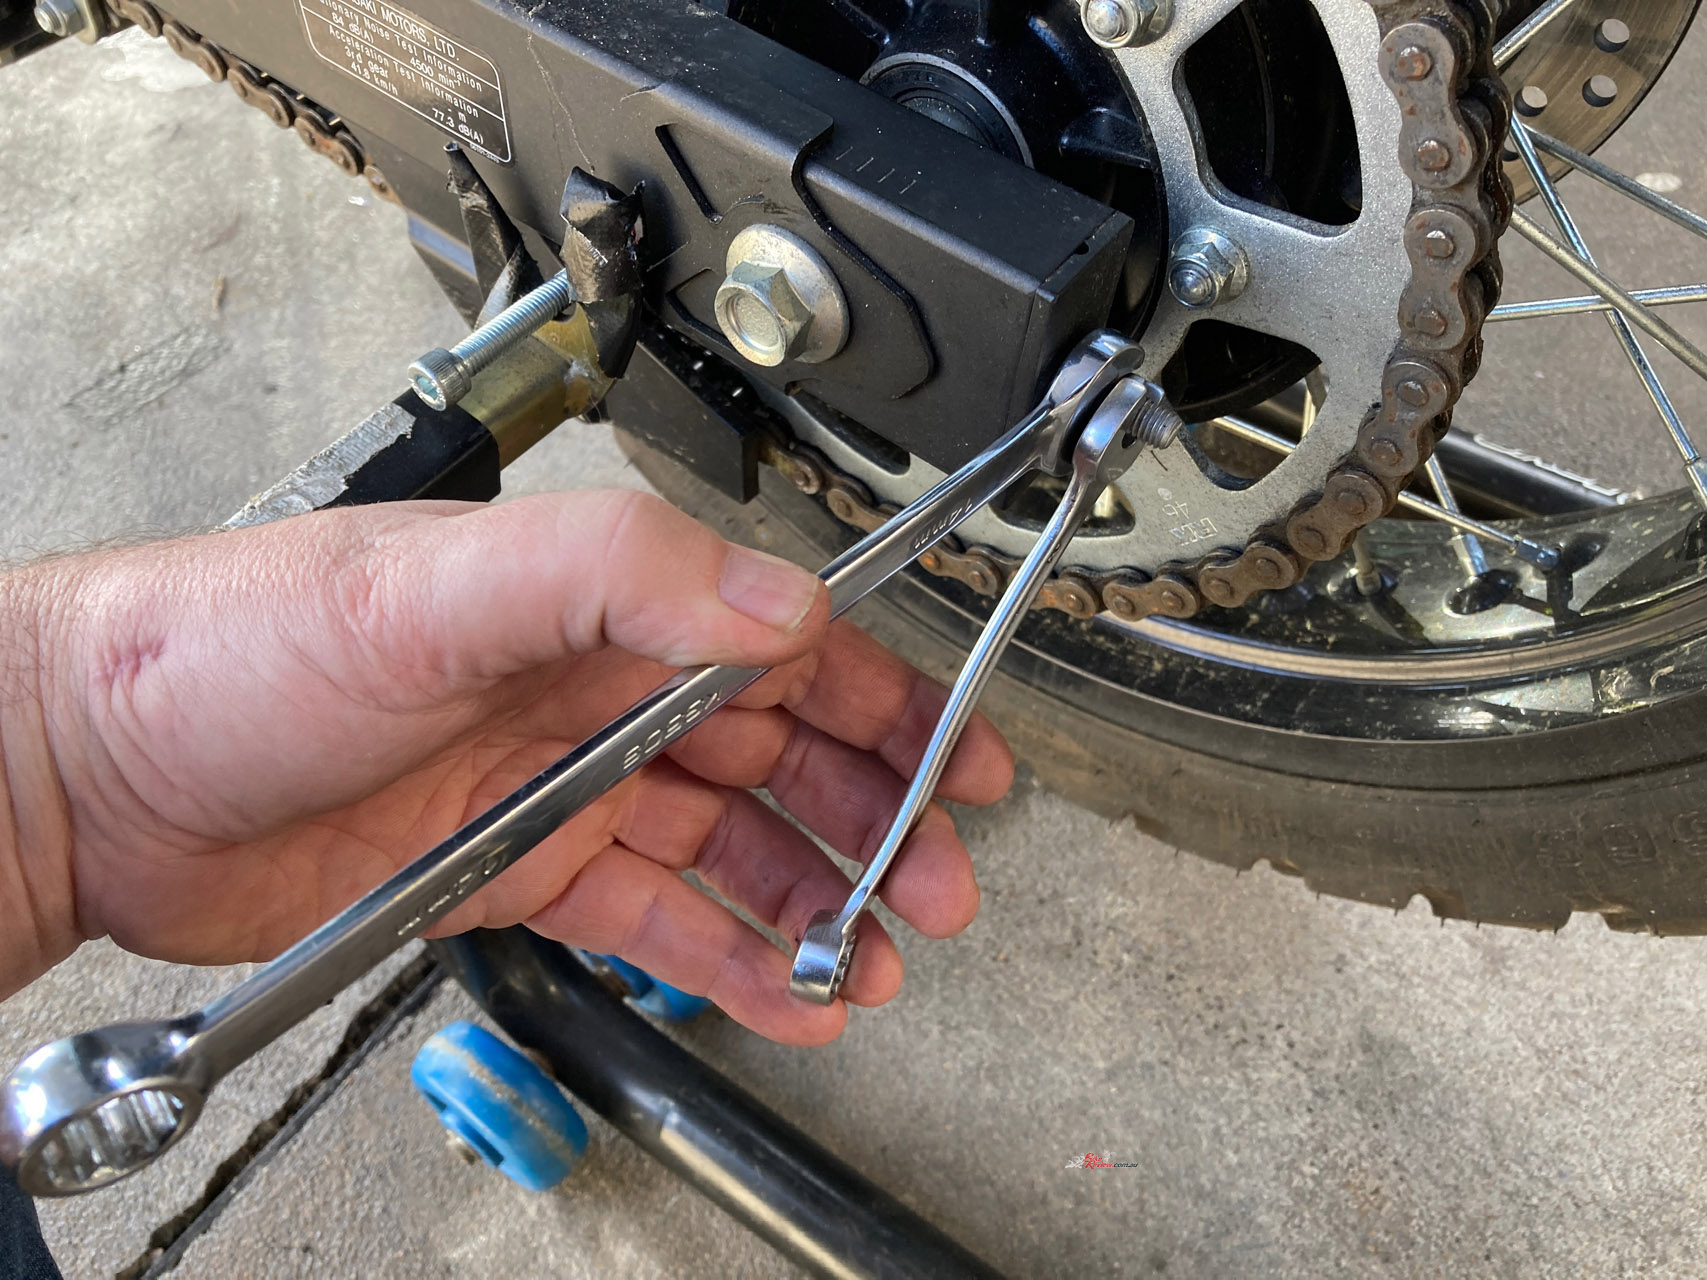
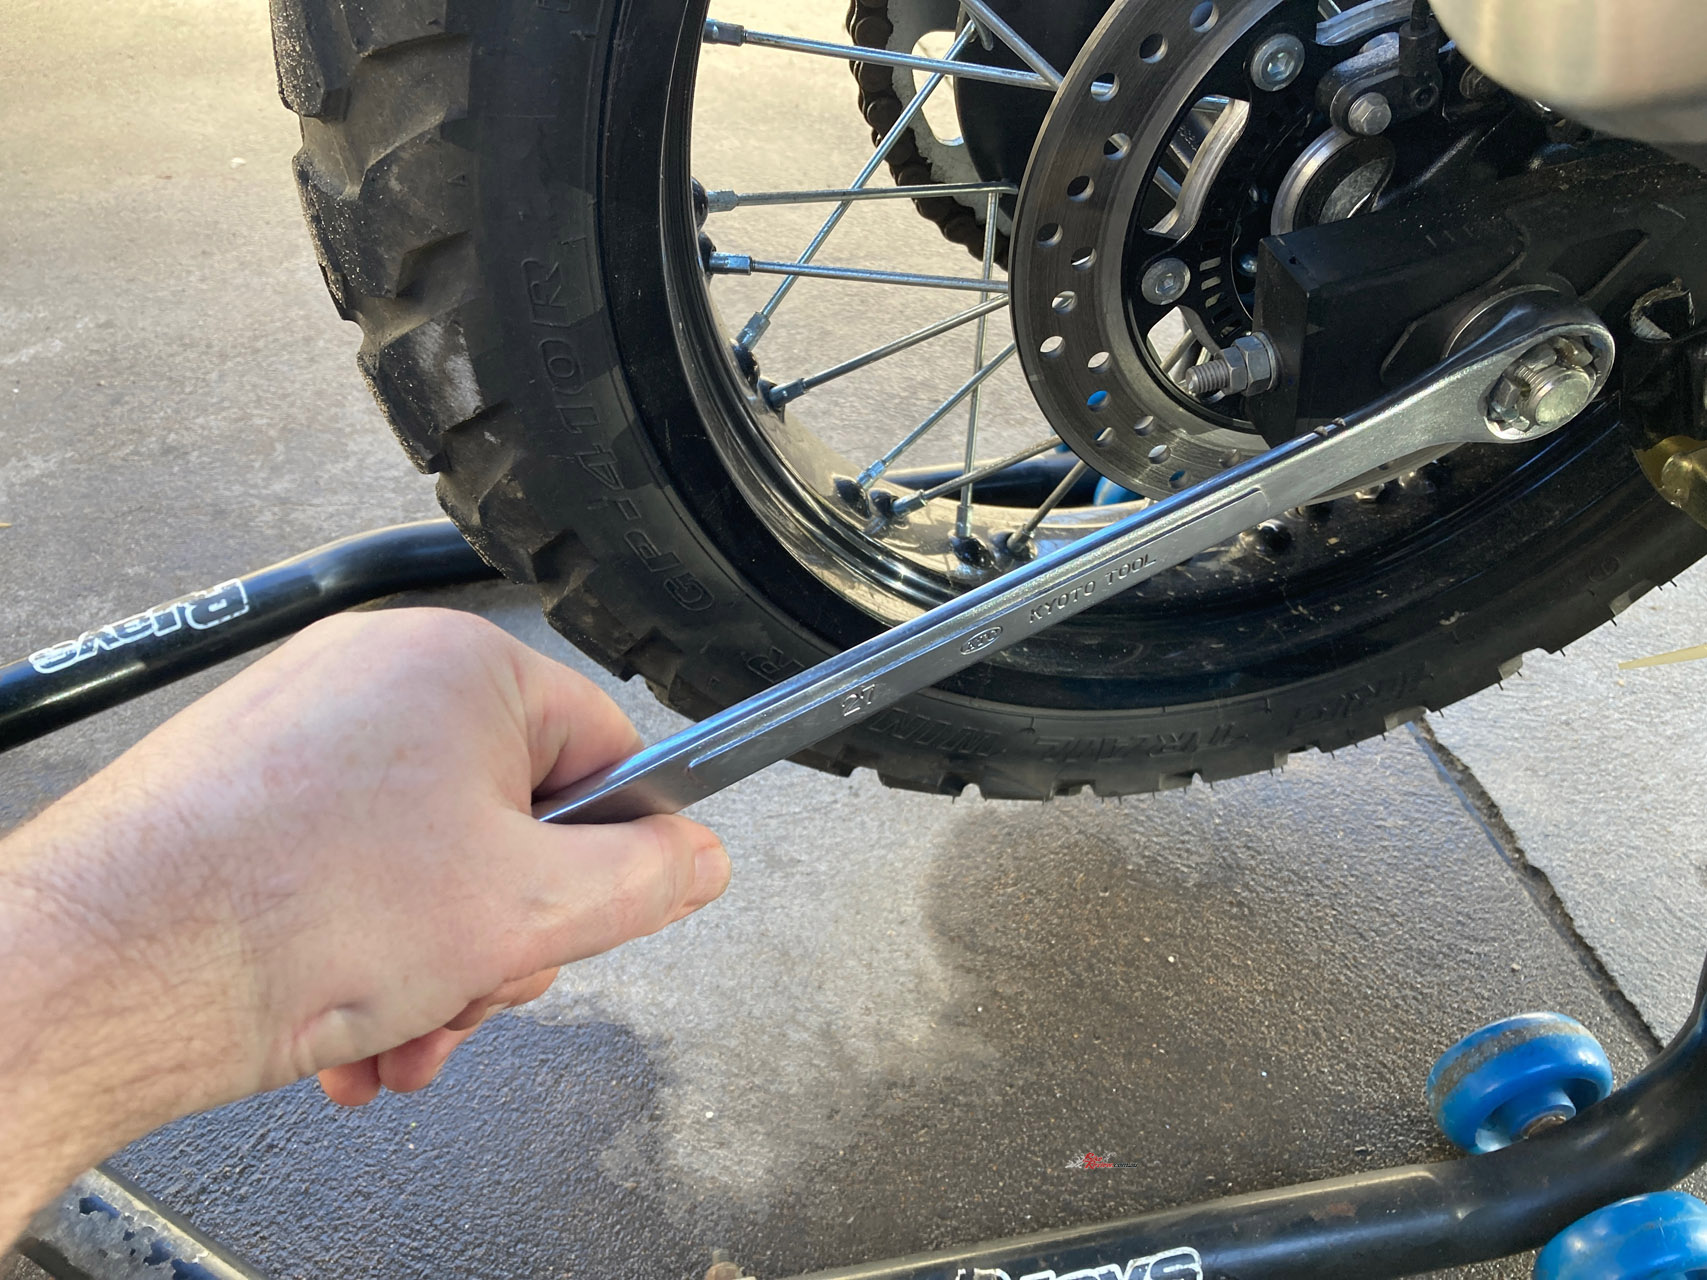
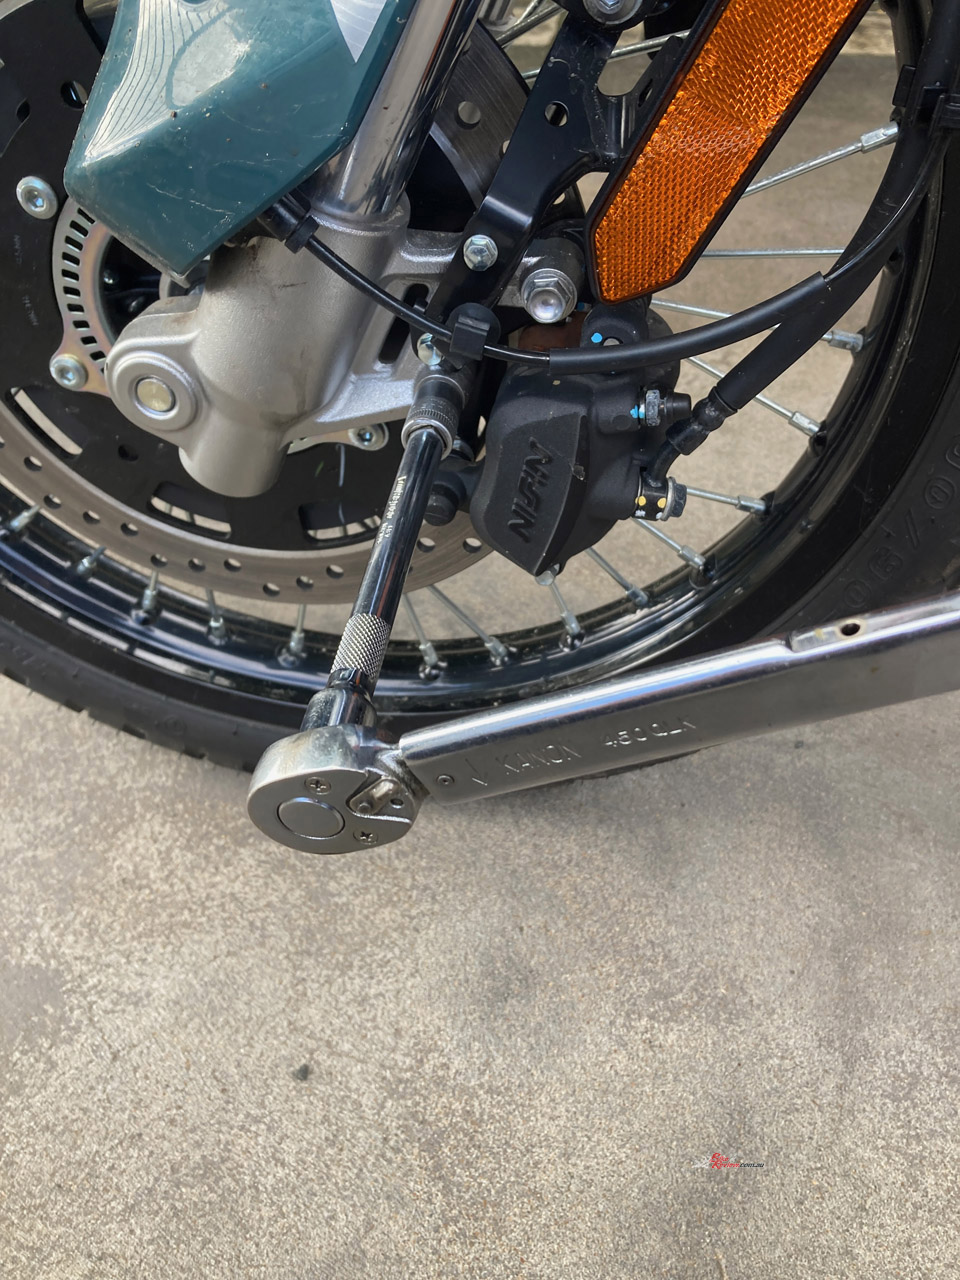
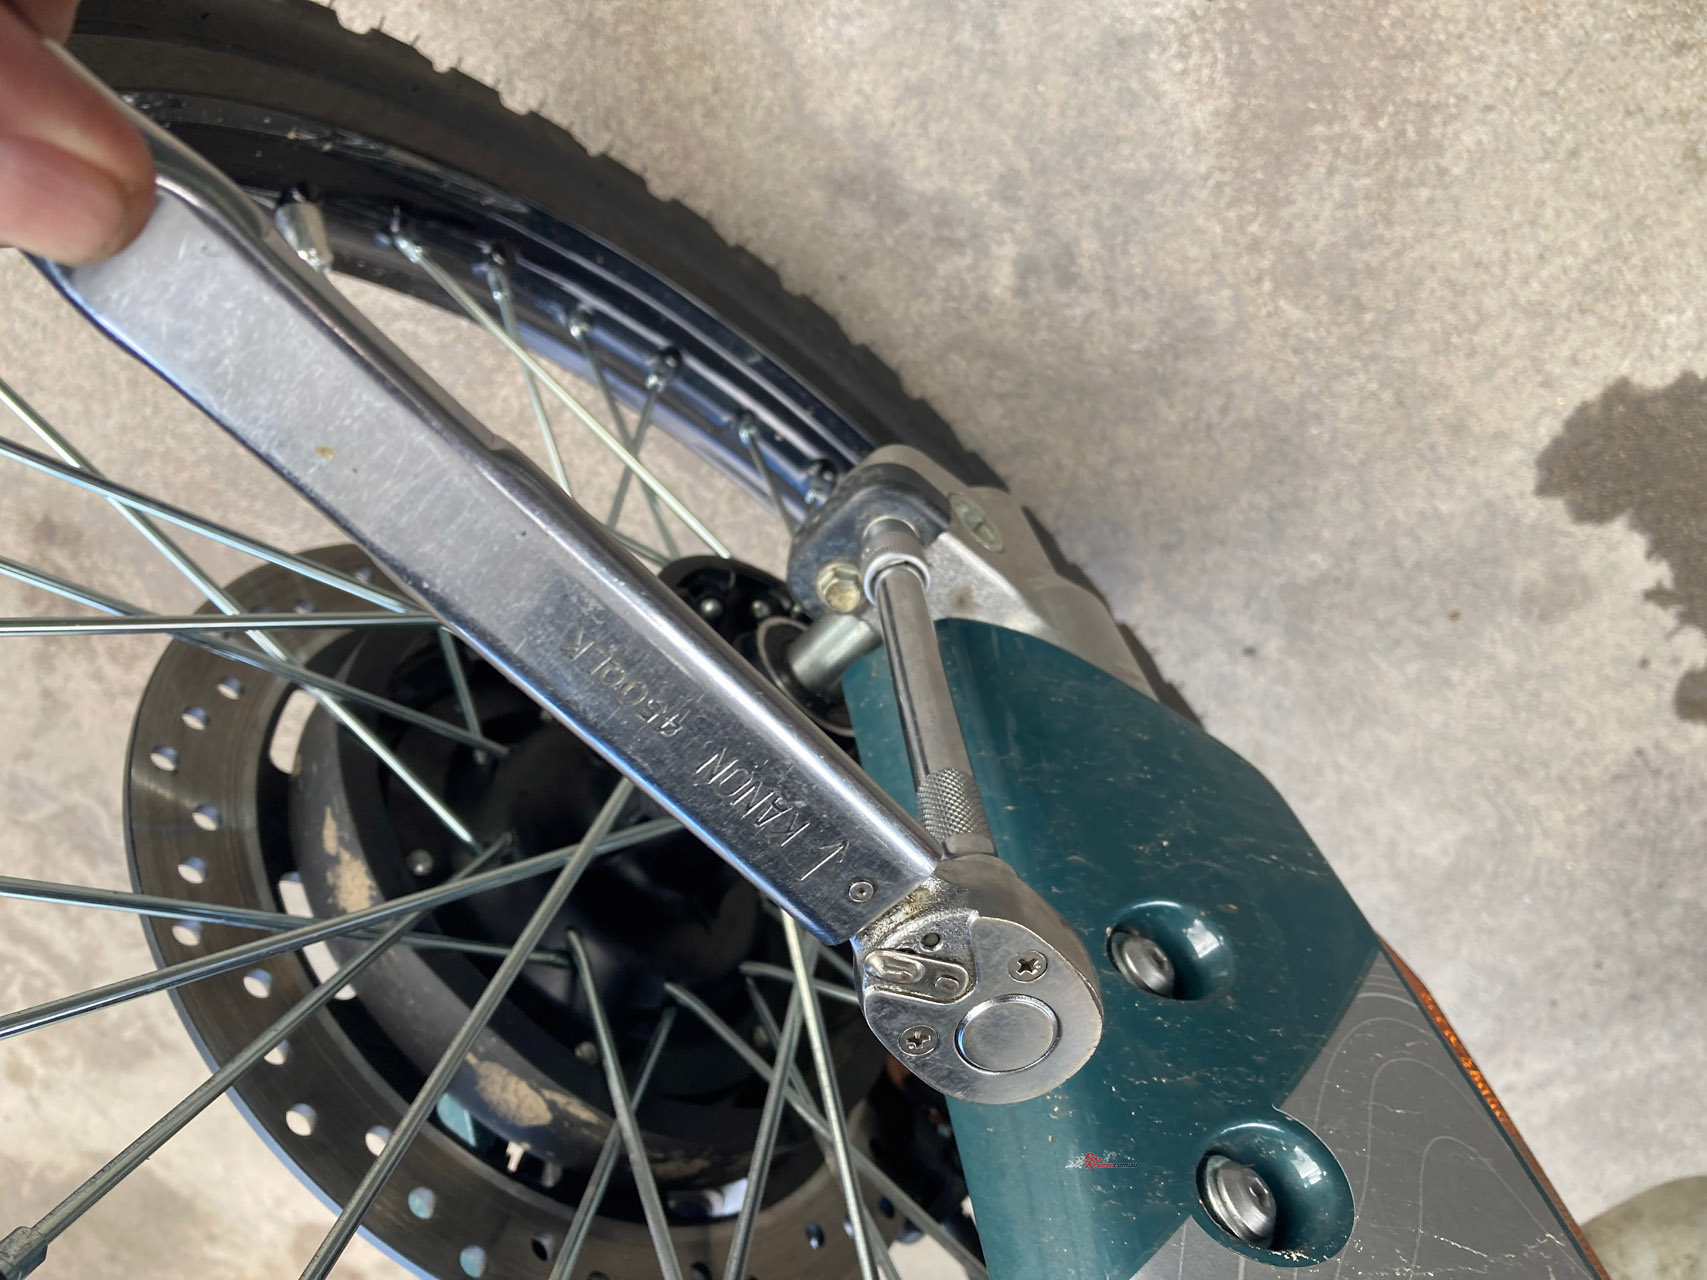
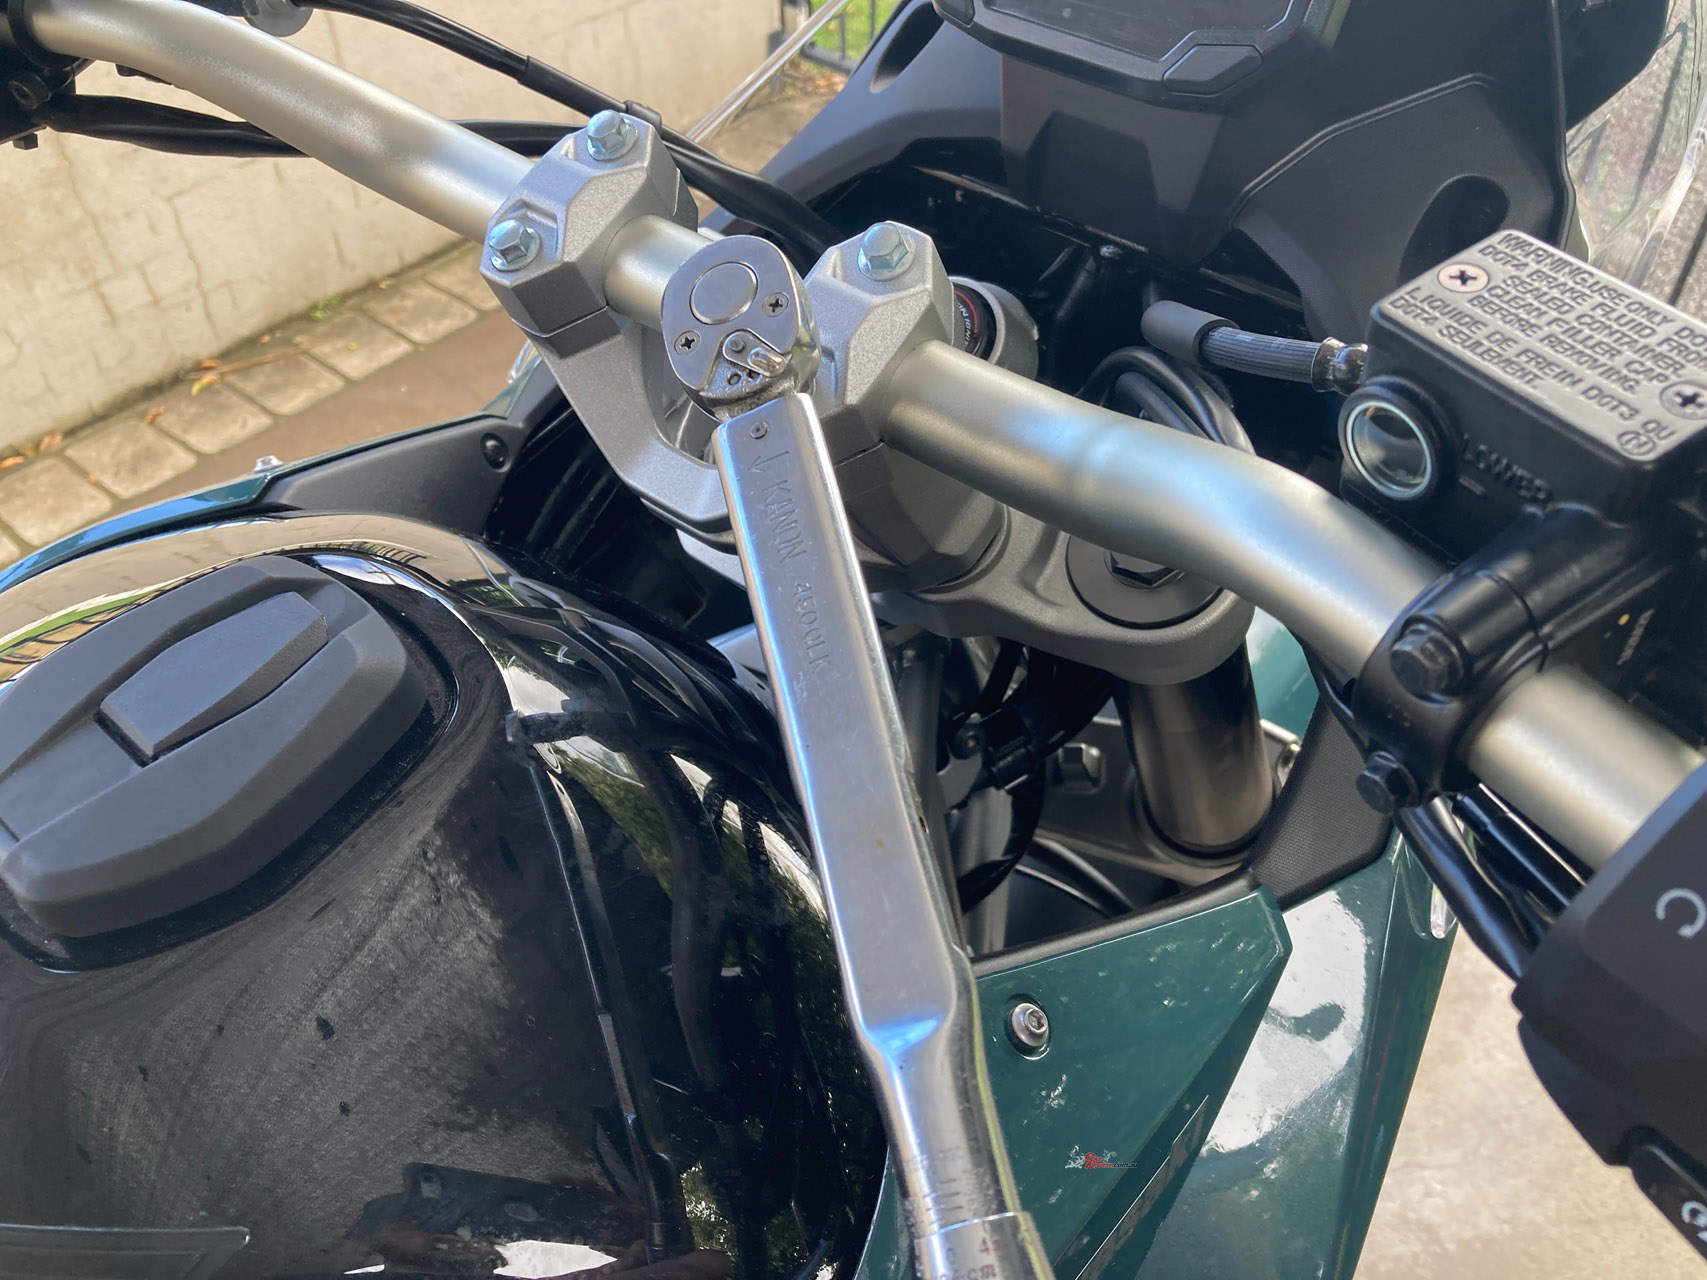
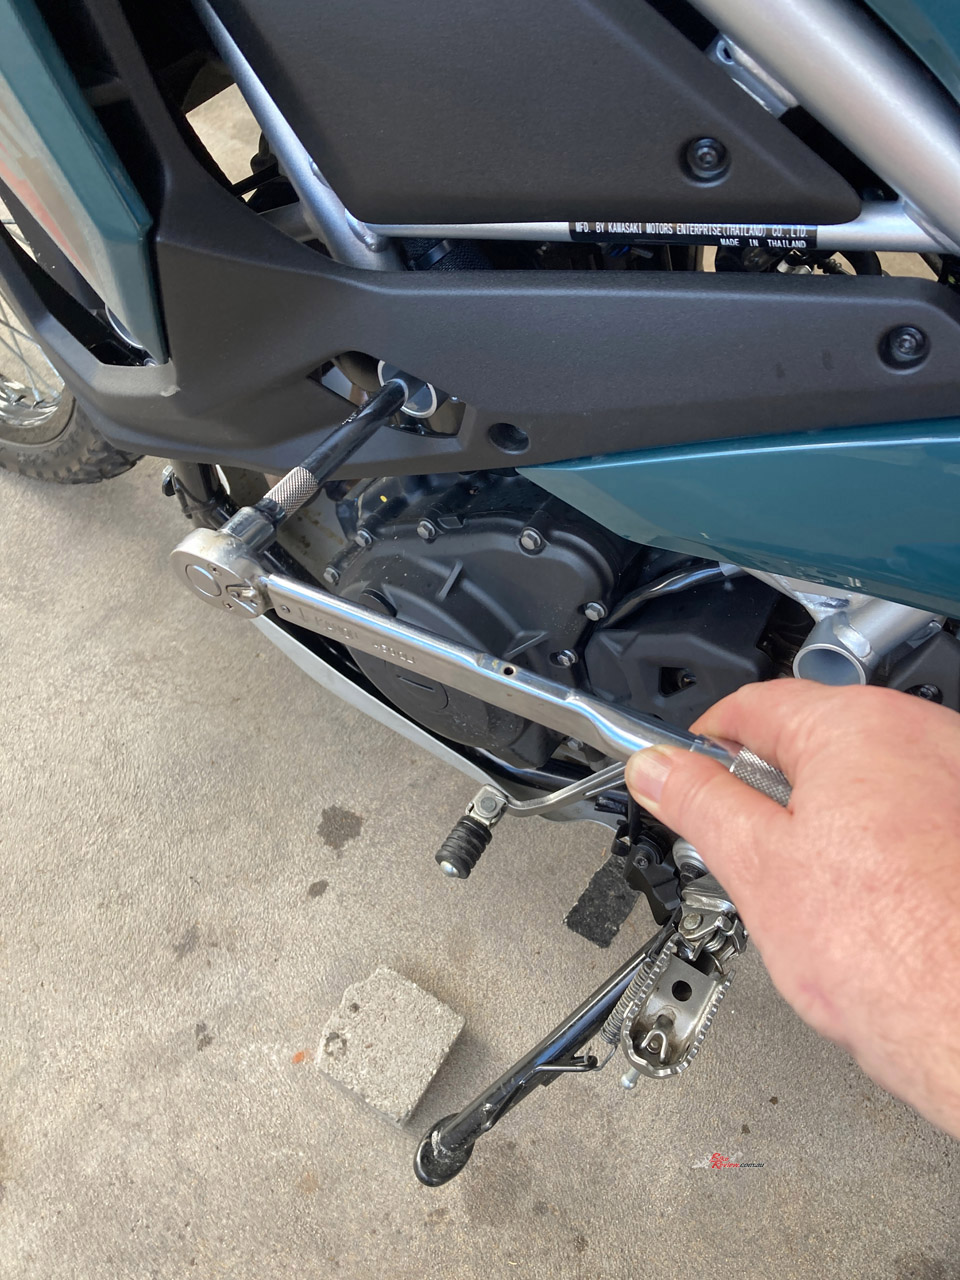
I then check the lights and horn work and finally, I worked my way around the motorcycle with the appropriate spanners, ratchets and torque wrench, checking all the major fasteners, including the brake calipers, axles, pivot points, triple-clamps and engine mounts.
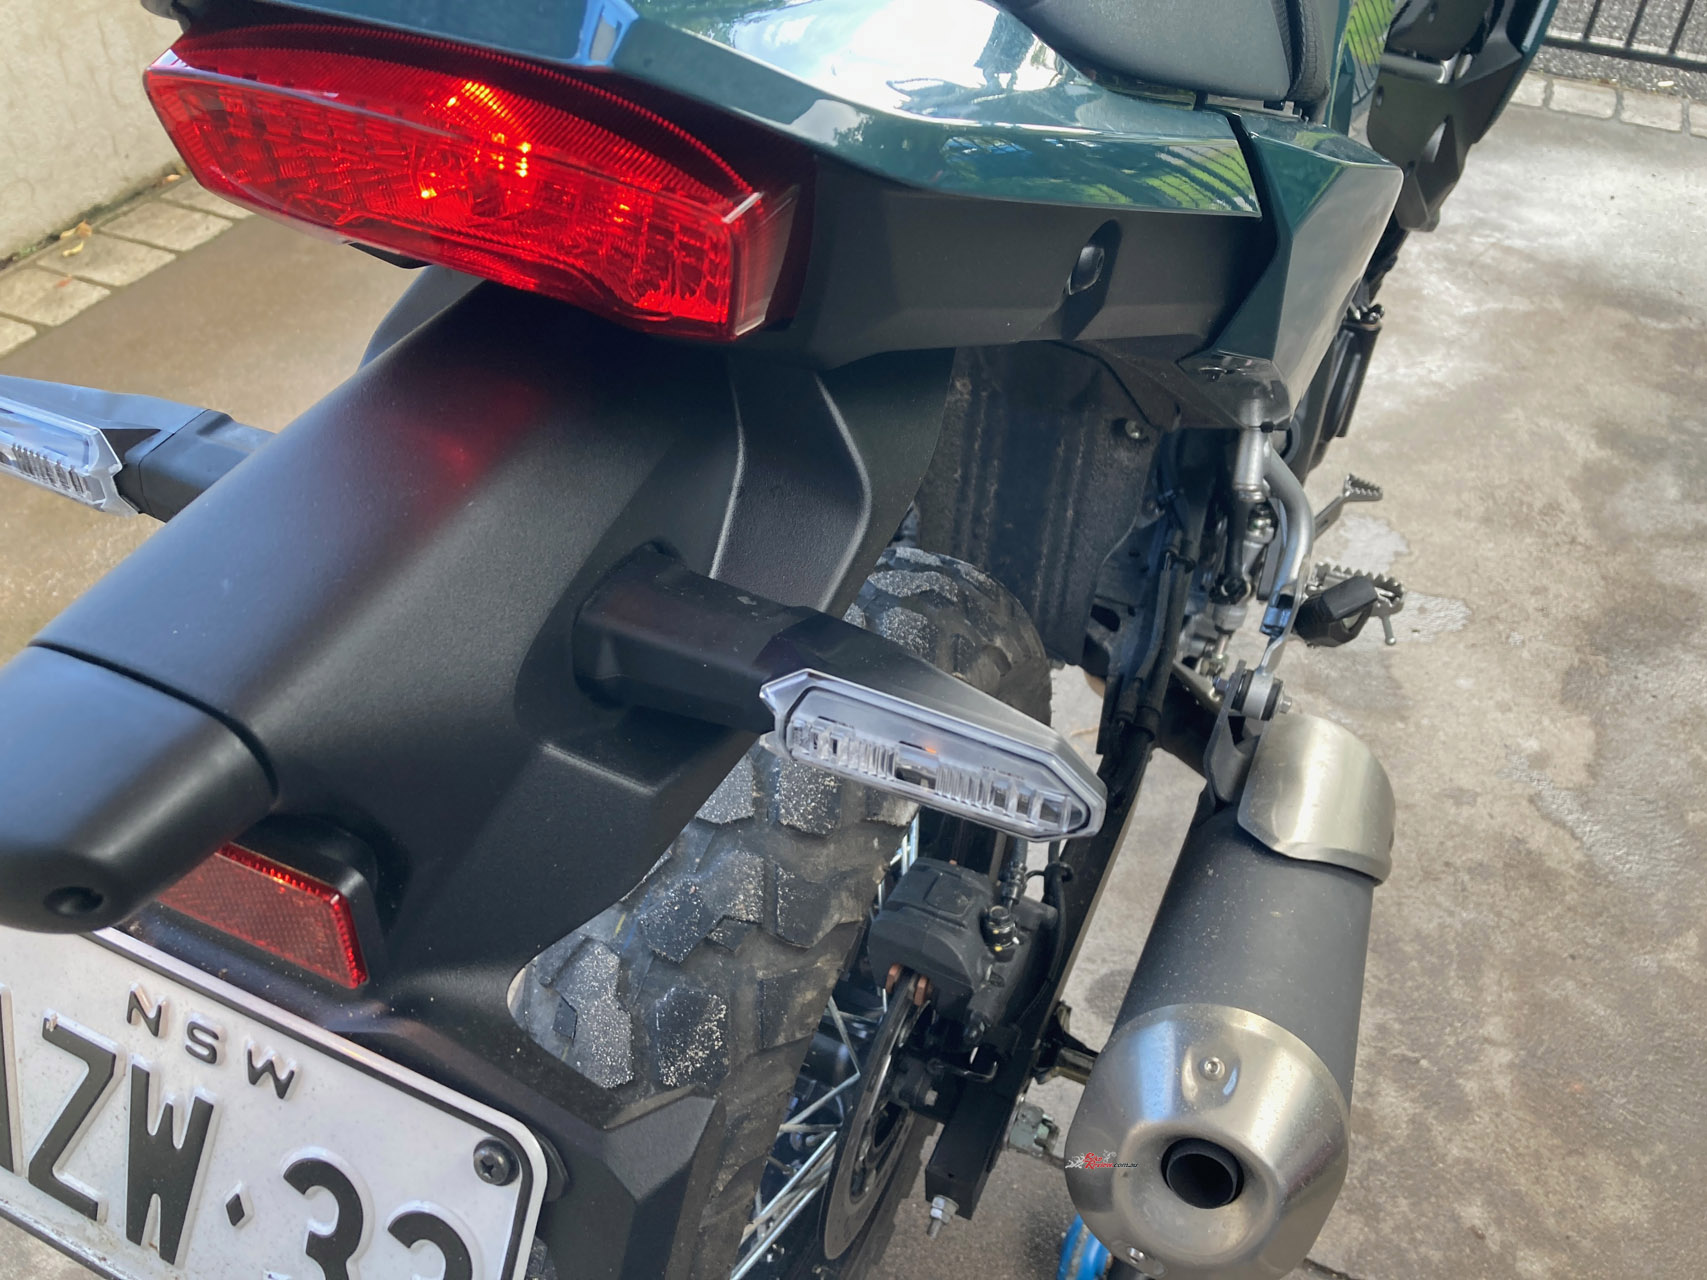
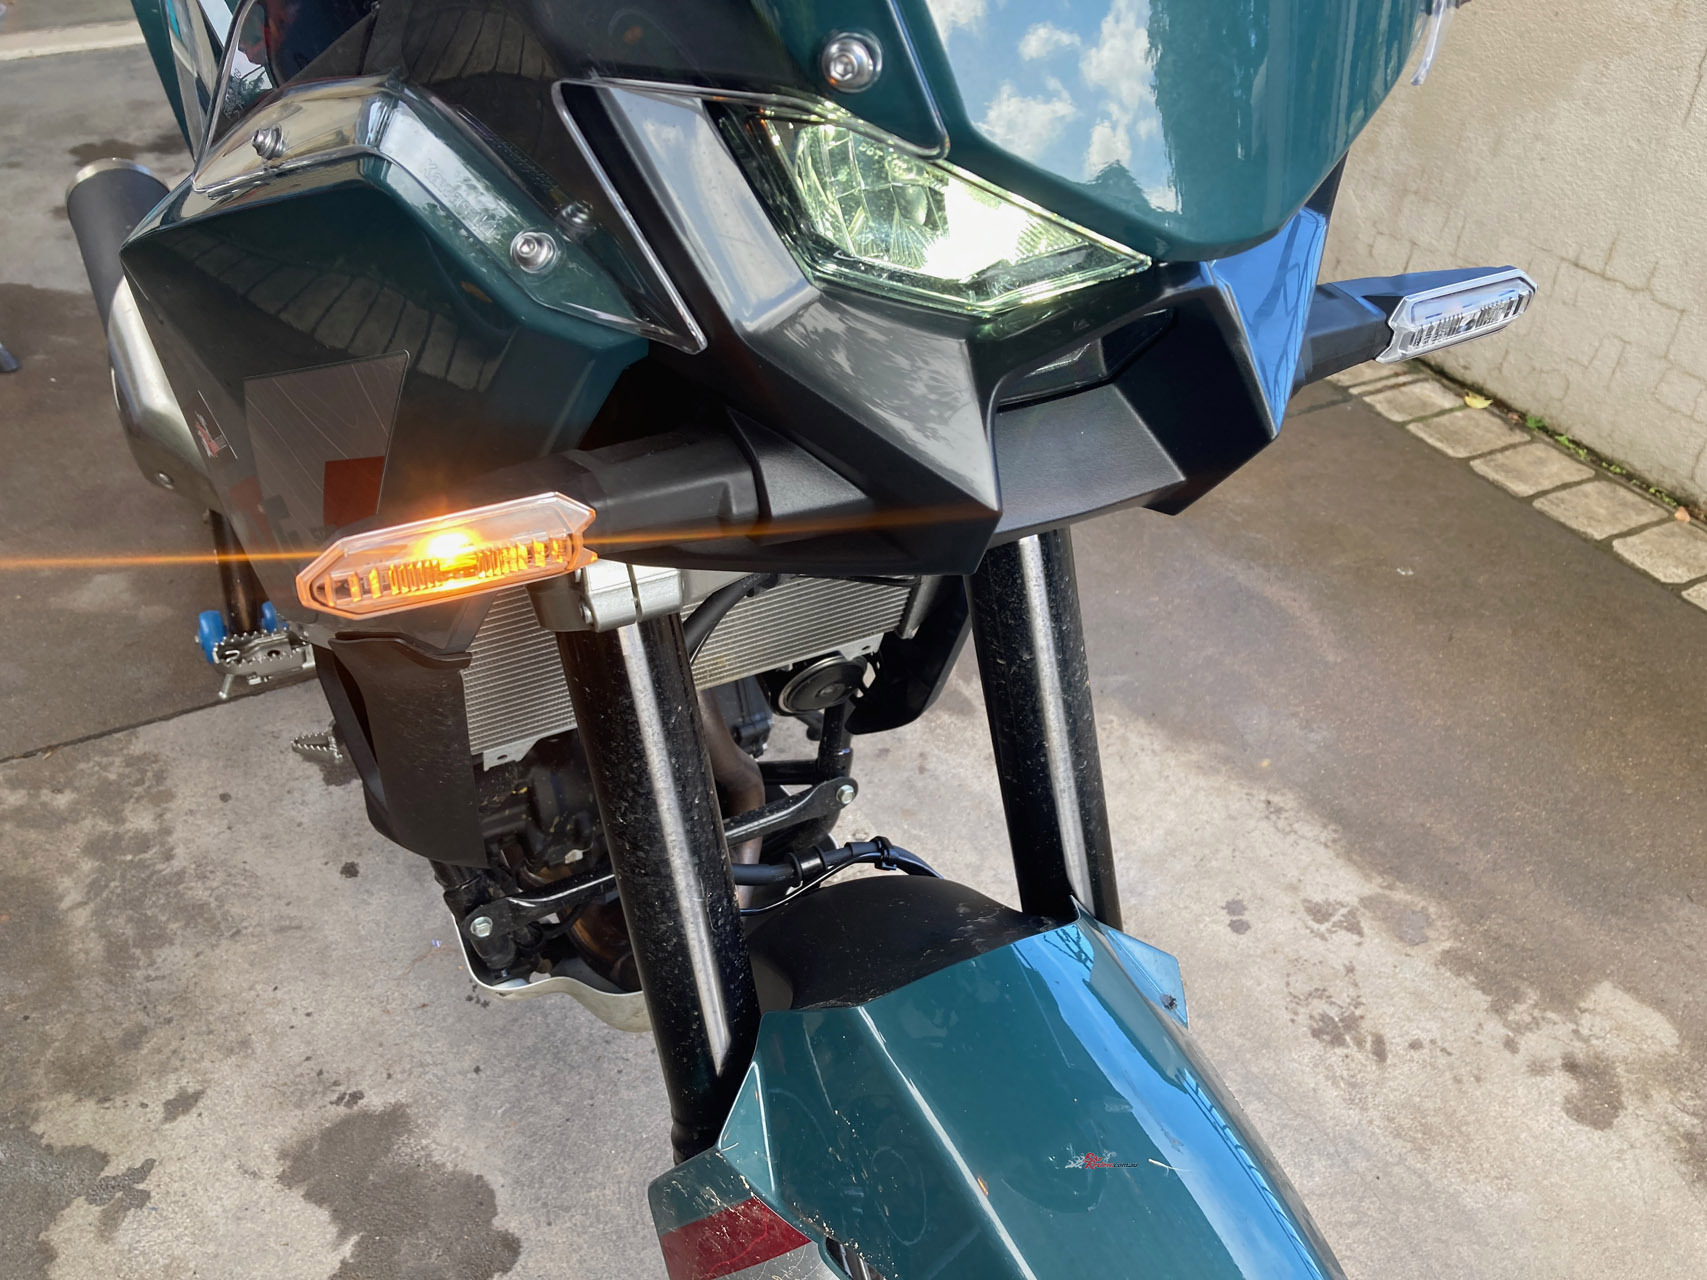
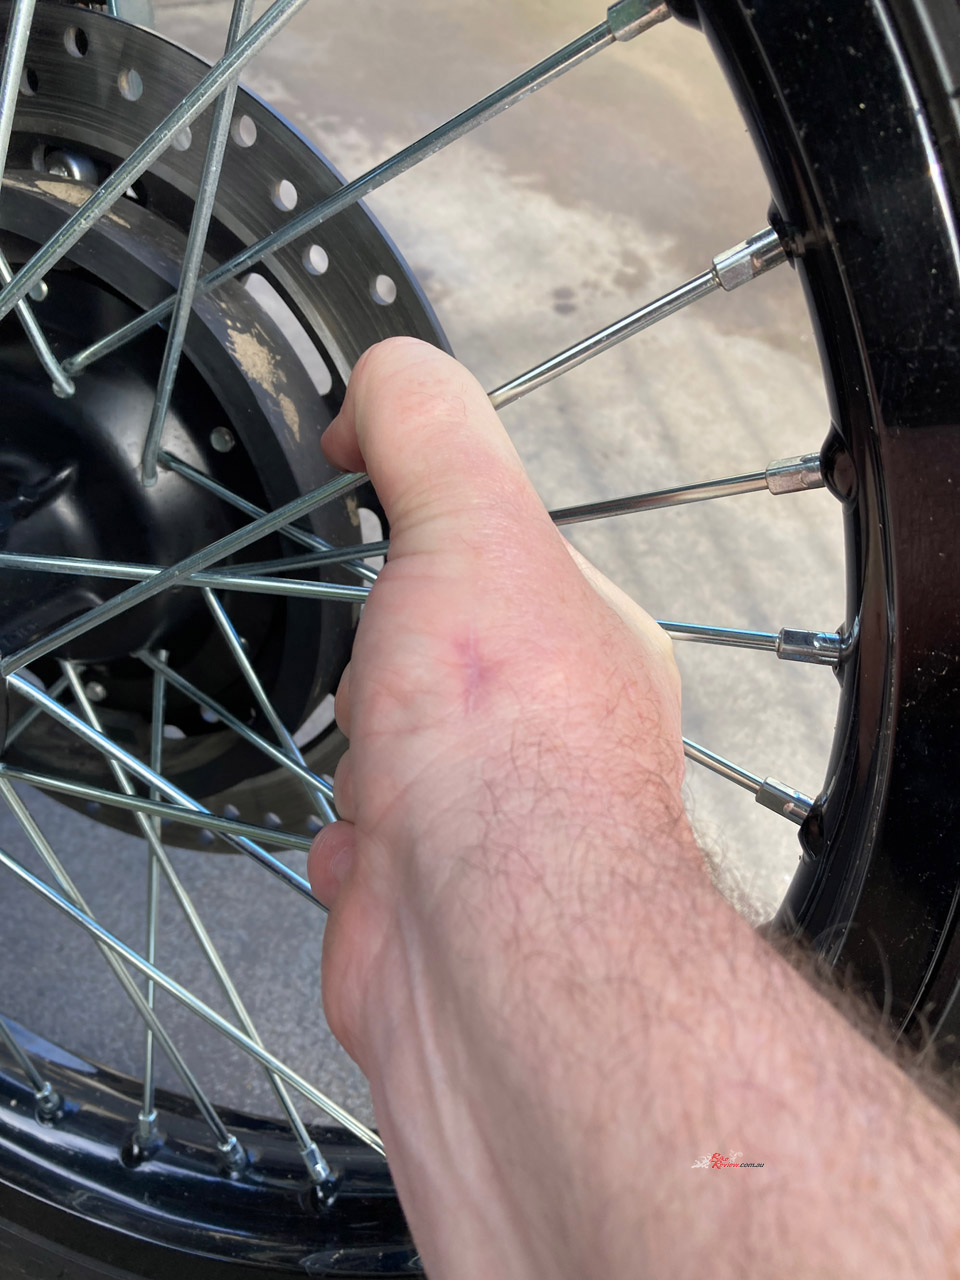
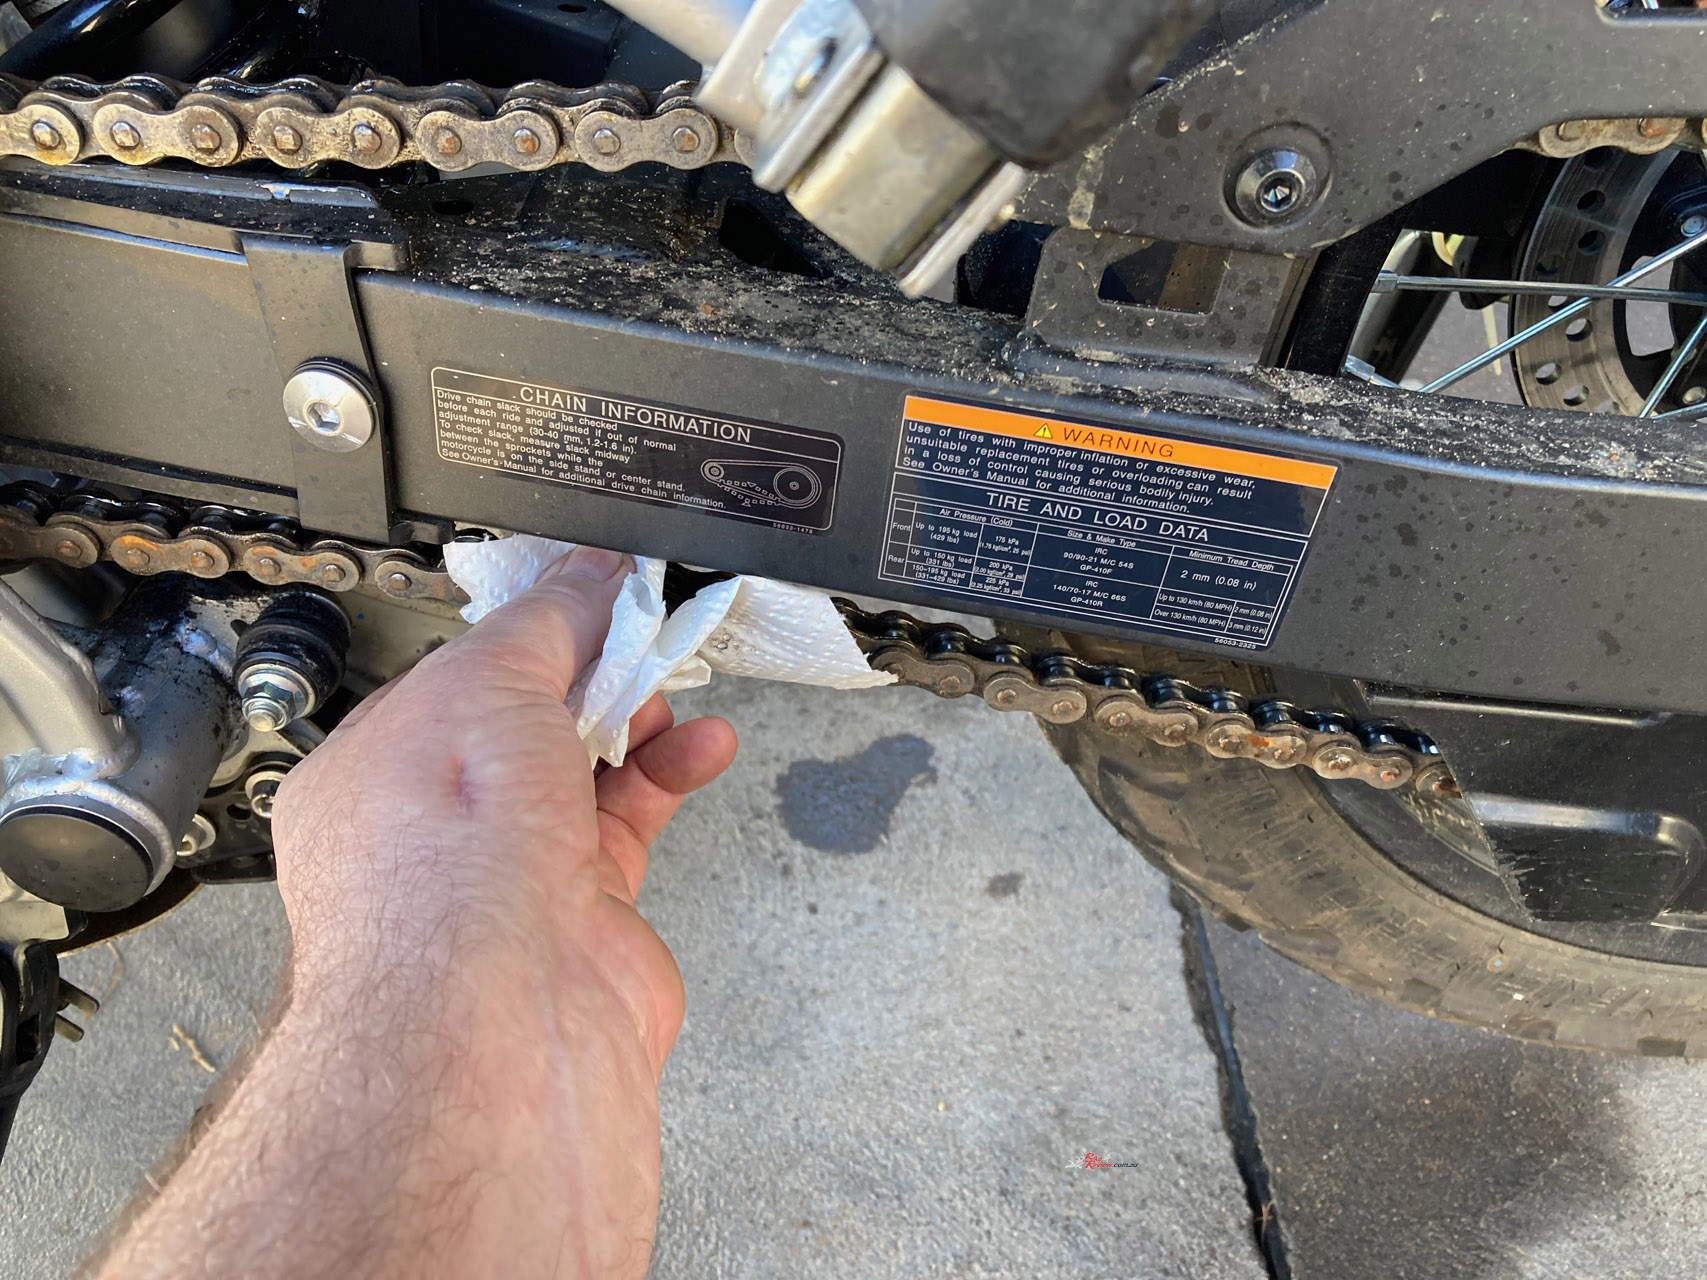
It’s a worthwhile exercise on a new motorcycle, particularly one that’s going to see a mix of sealed roads and rougher terrain. After a wash and a test ride to confirm everything was working as it should, the first service was complete. Now for the fun part!
With the servicing out of the way, it was time to start fitting the goodies. We’ll cover each modification in more detail in Part Four, but the initial changes have already made a significant difference to how the KLE feels out on the open road and on the trails.
First up, we changed the gearing, fitting a black JTR steel 44-tooth rear sprocket for $57.90 RRP, one tooth smaller than standard. We also fitted an RK Chain 520 XRE, with 120 links, costing $129 RRP.
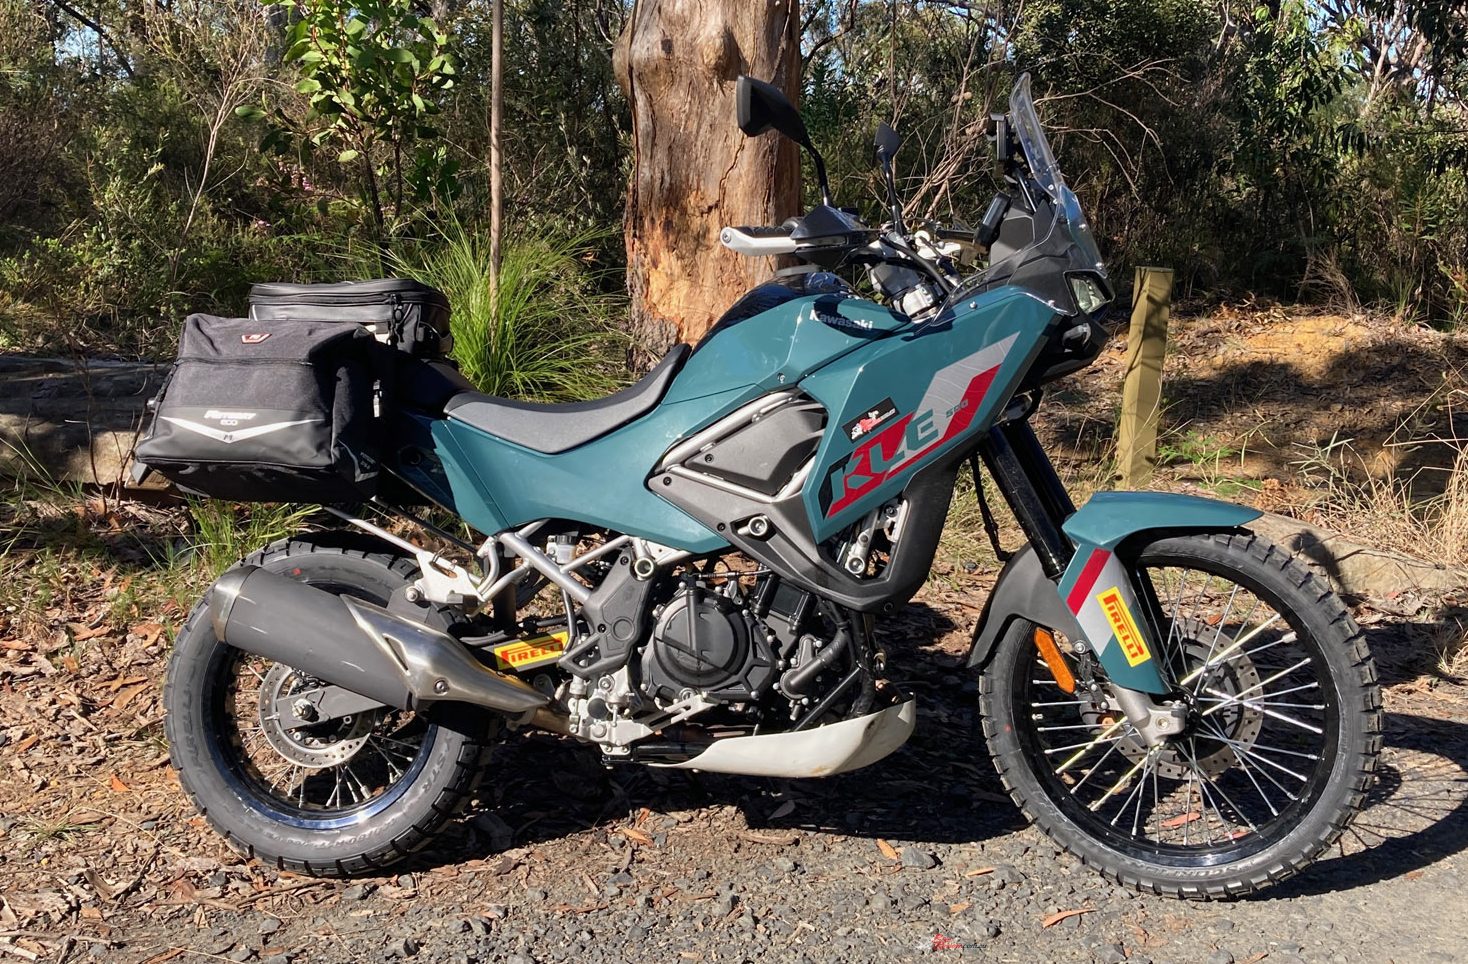 The aim was to make the gearing taller and reduce engine speed on the highway, and the change has dropped the revs by around 500rpm at 110km/h. That has made a substantial difference to cruising comfort, vibration and fuel consumption, all important considerations for our use of the KLE…
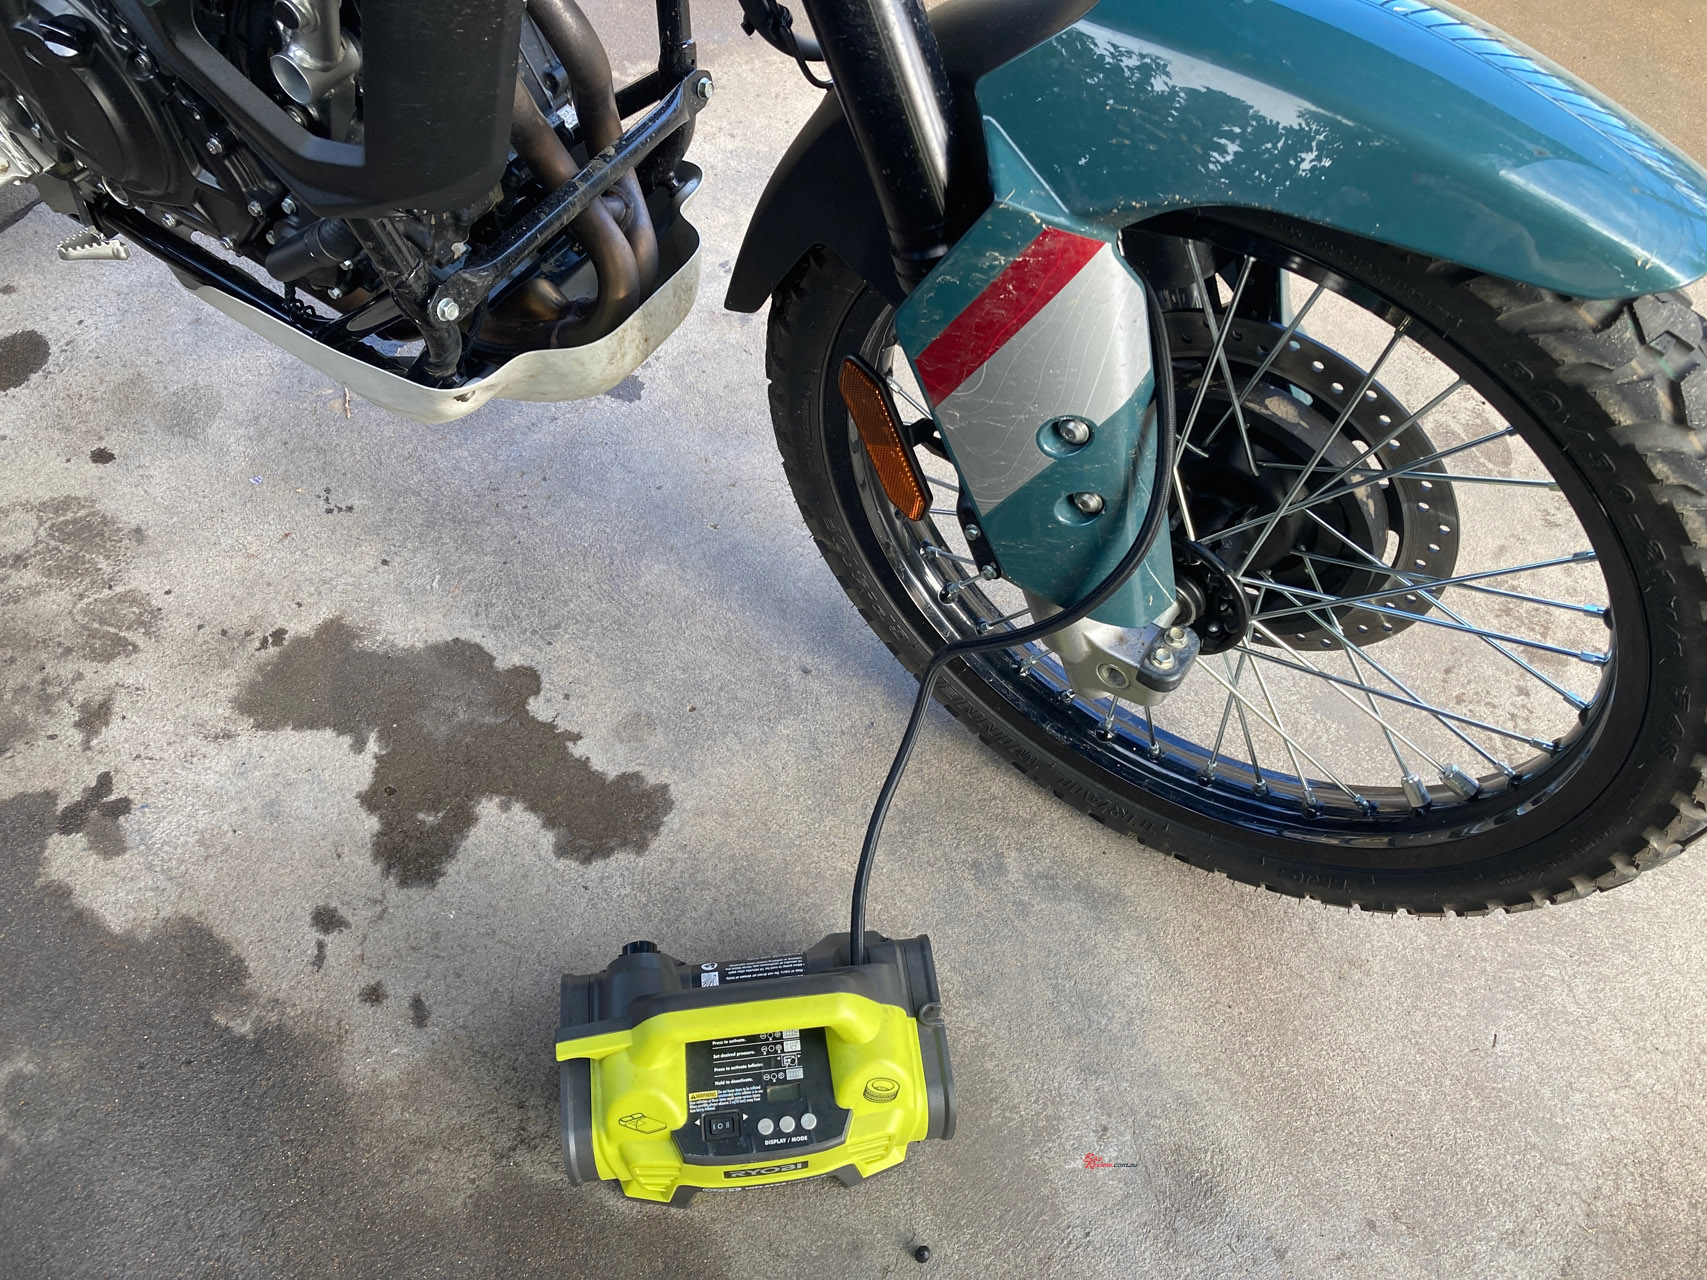
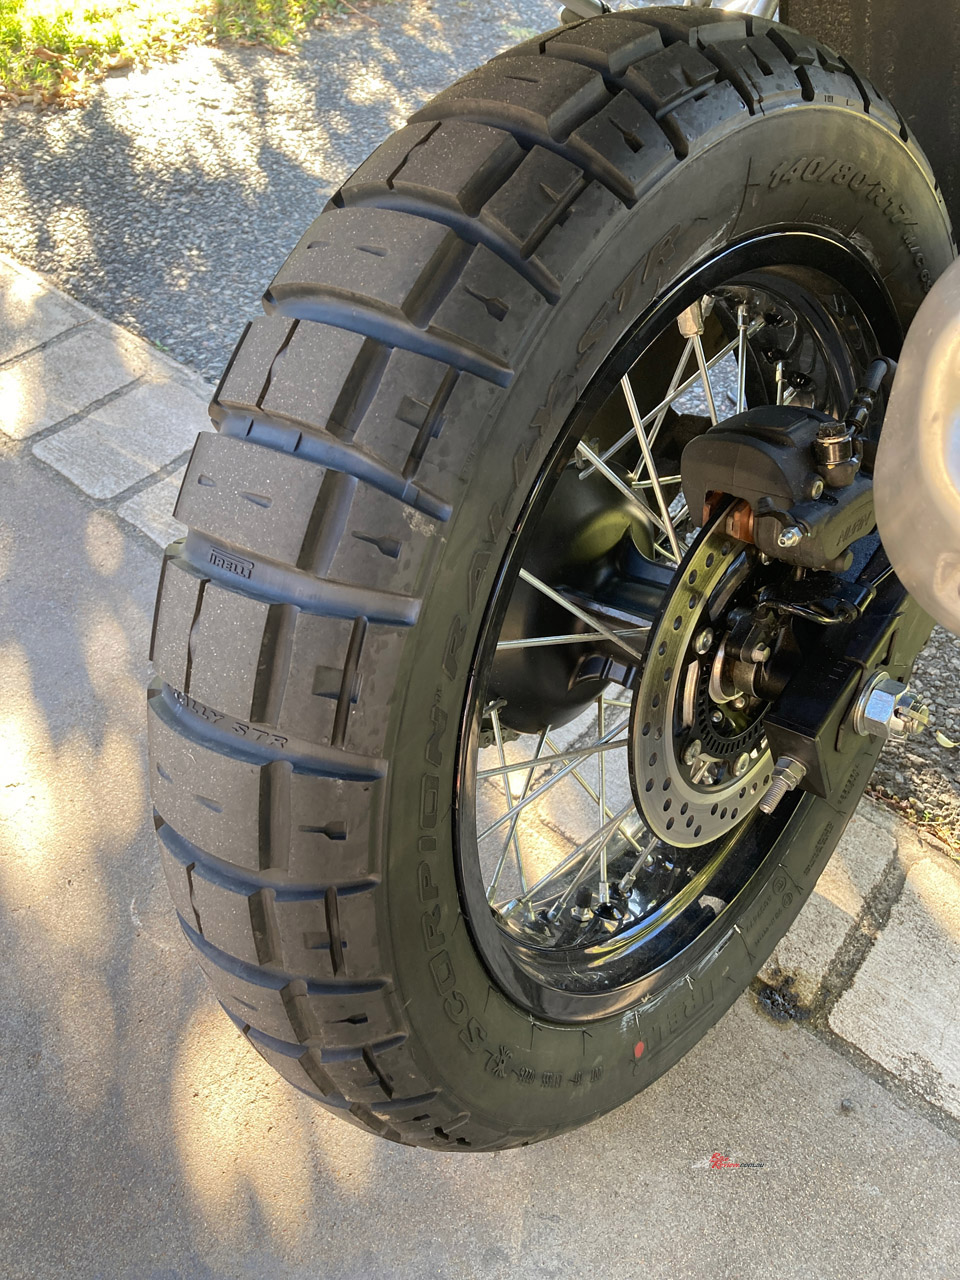
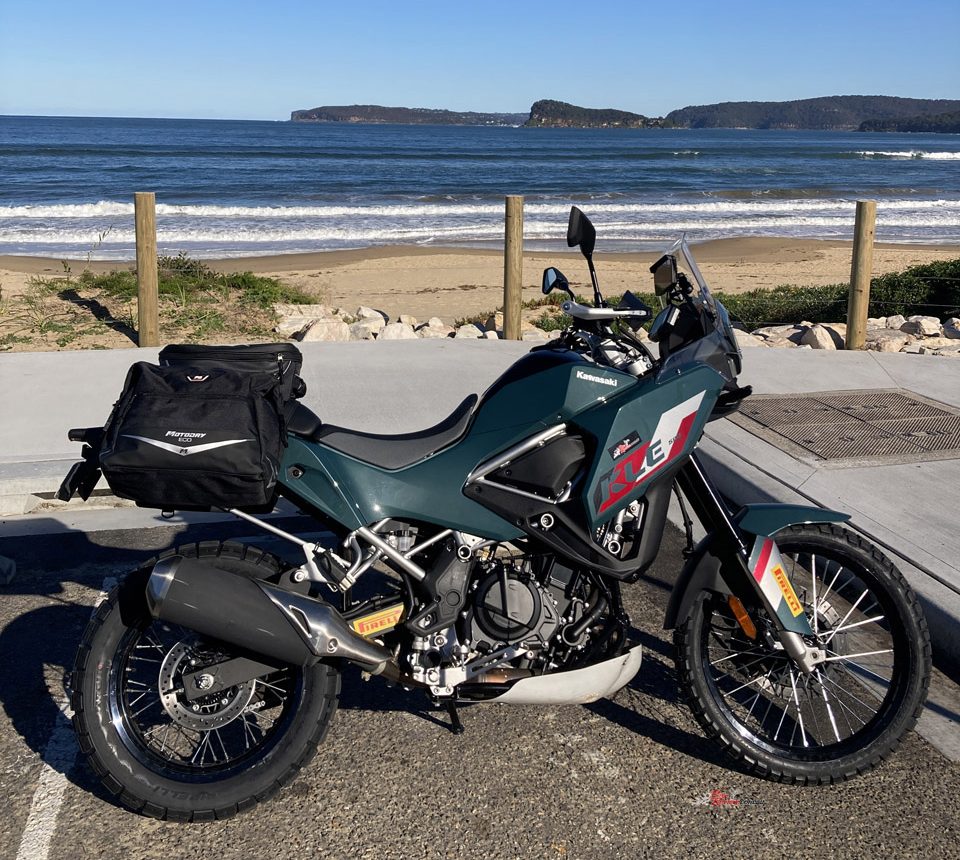
We also went up a size on the rear tyre, fitting a 140/80-17, and replaced the standard hoops with Pirelli Scorpion Rally STR tyres. These retail for $235.95 RRP at the front and $335.95 RRP at the rear. Combined with an additional 10mm of rear shock preload and rolling the handlebars forward slightly, the changes have transformed the KLE’s handling and comfort. We now have more support from the rear suspension, a riding position that better suits our needs and tyres that inspire much more confidence, plus 15mm more ground clearance.
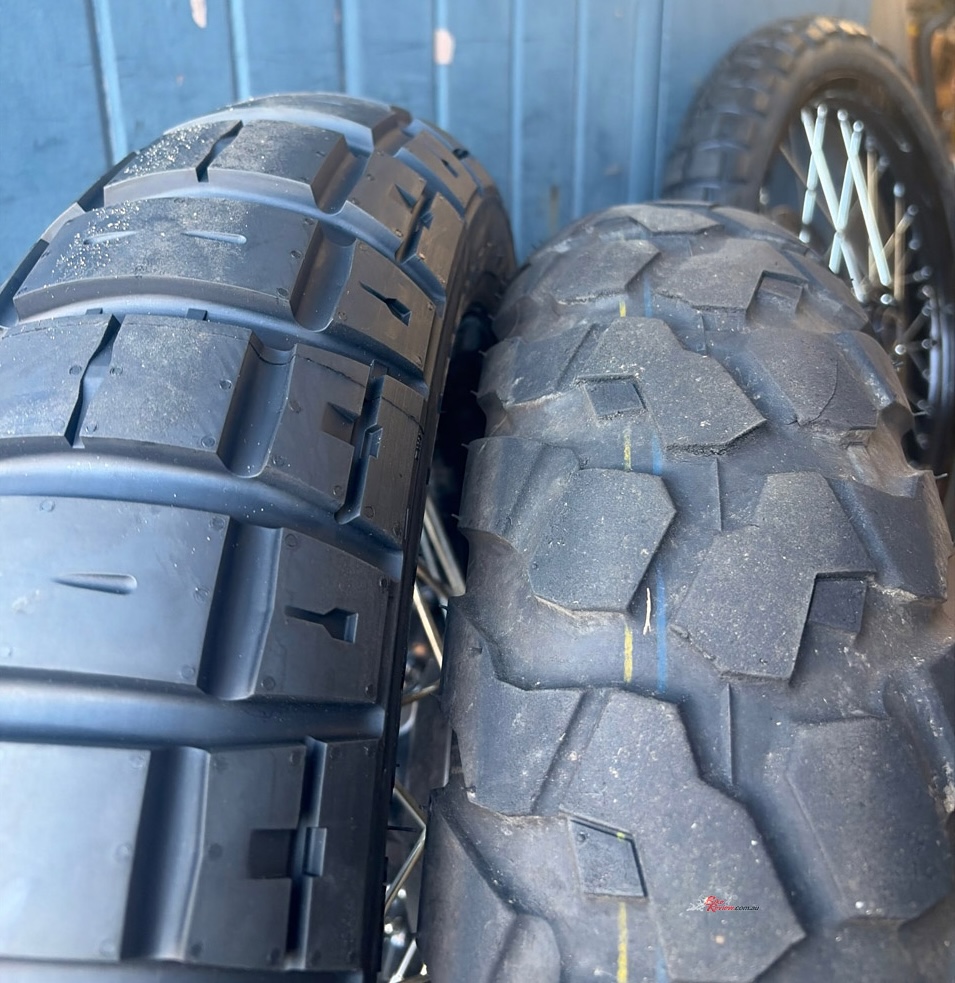
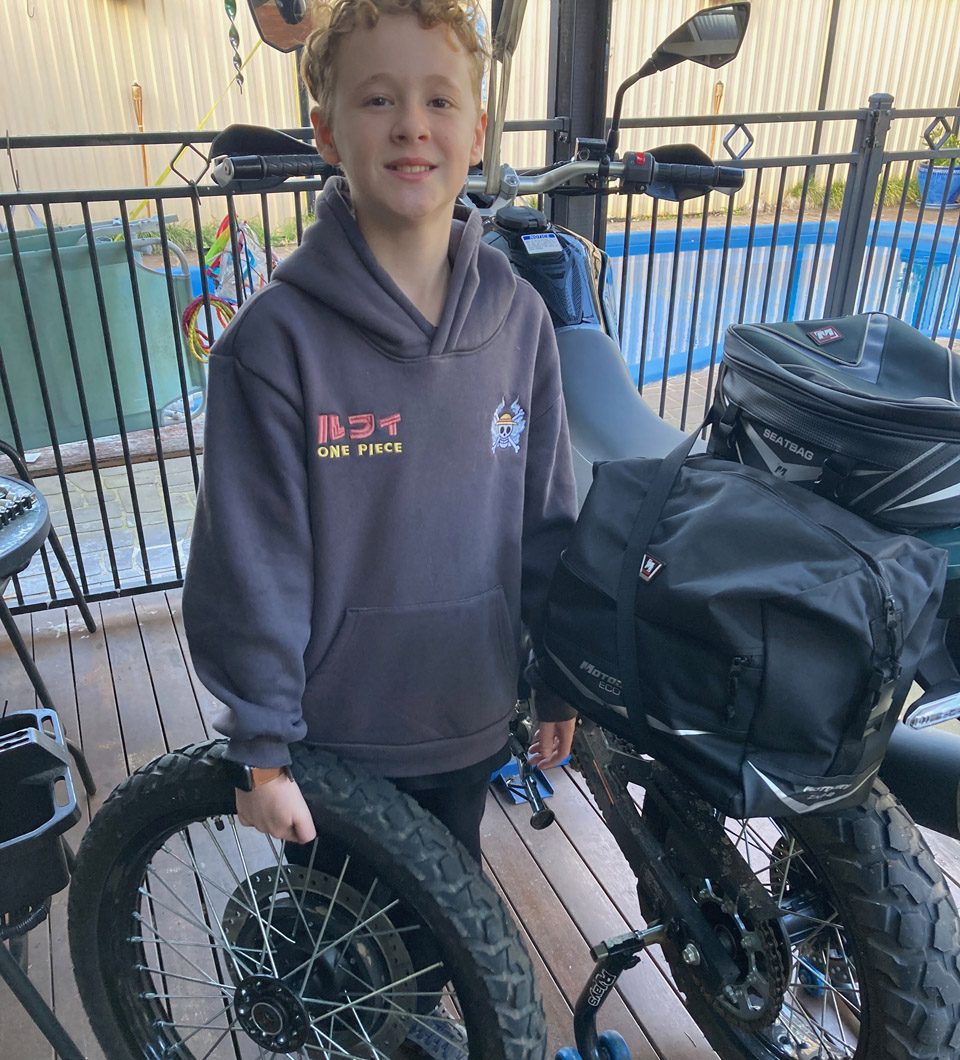
We also wanted practical luggage for touring and adventure riding, so Moto National Accessories supplied a MotoDry Eco Series 42L ZX-S2 Square Line saddlebag set ($119.95RRP) and a 27L expandable MotoDry Platinum seat bag ($119.95RRP). There’s plenty of carrying capacity between them, and the bags come with waterproof covers. We added our own steel bracing to help support the luggage, a simple modification that we’ll explain in detail next time.
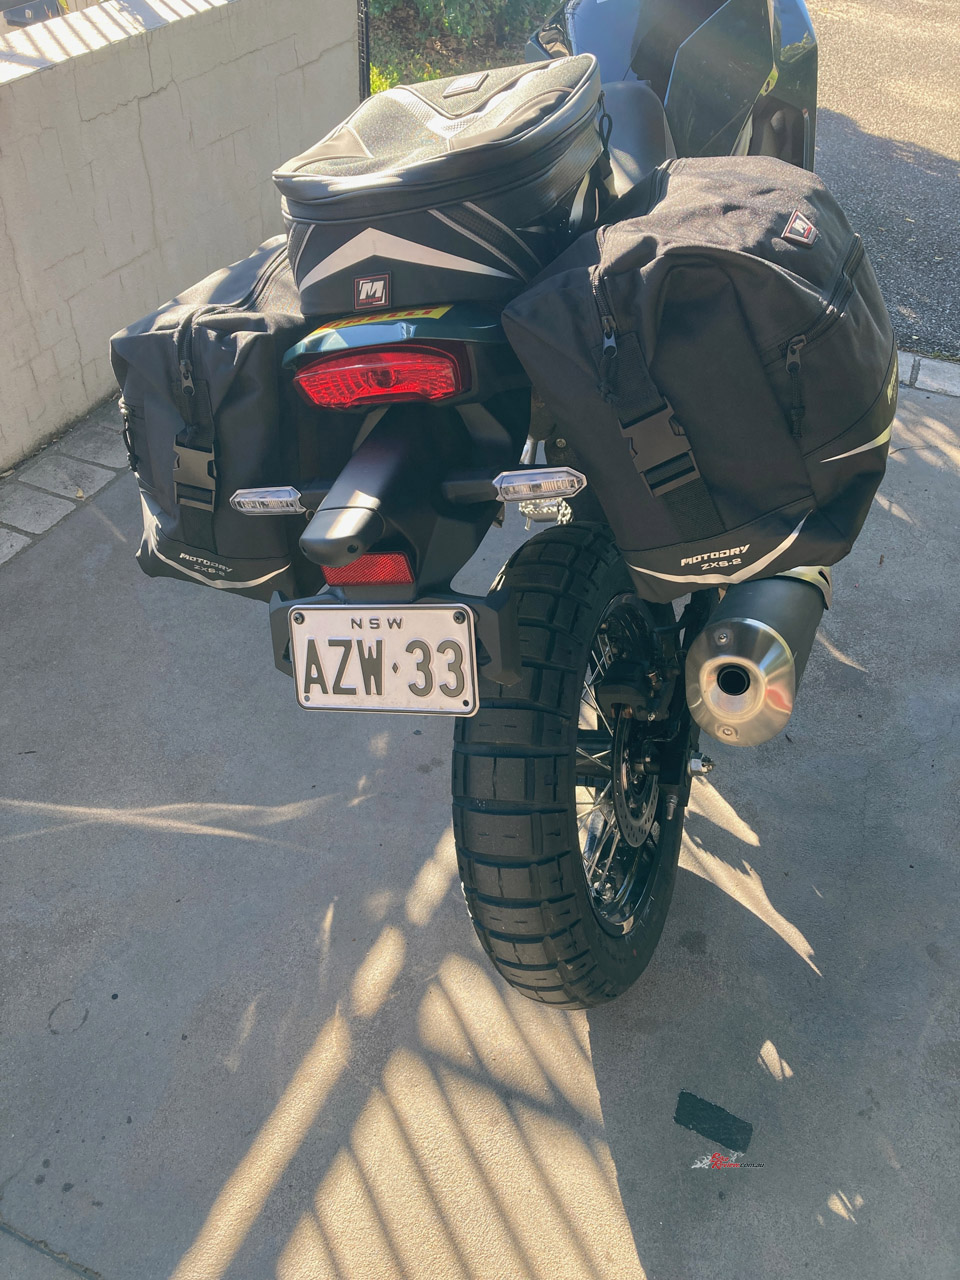
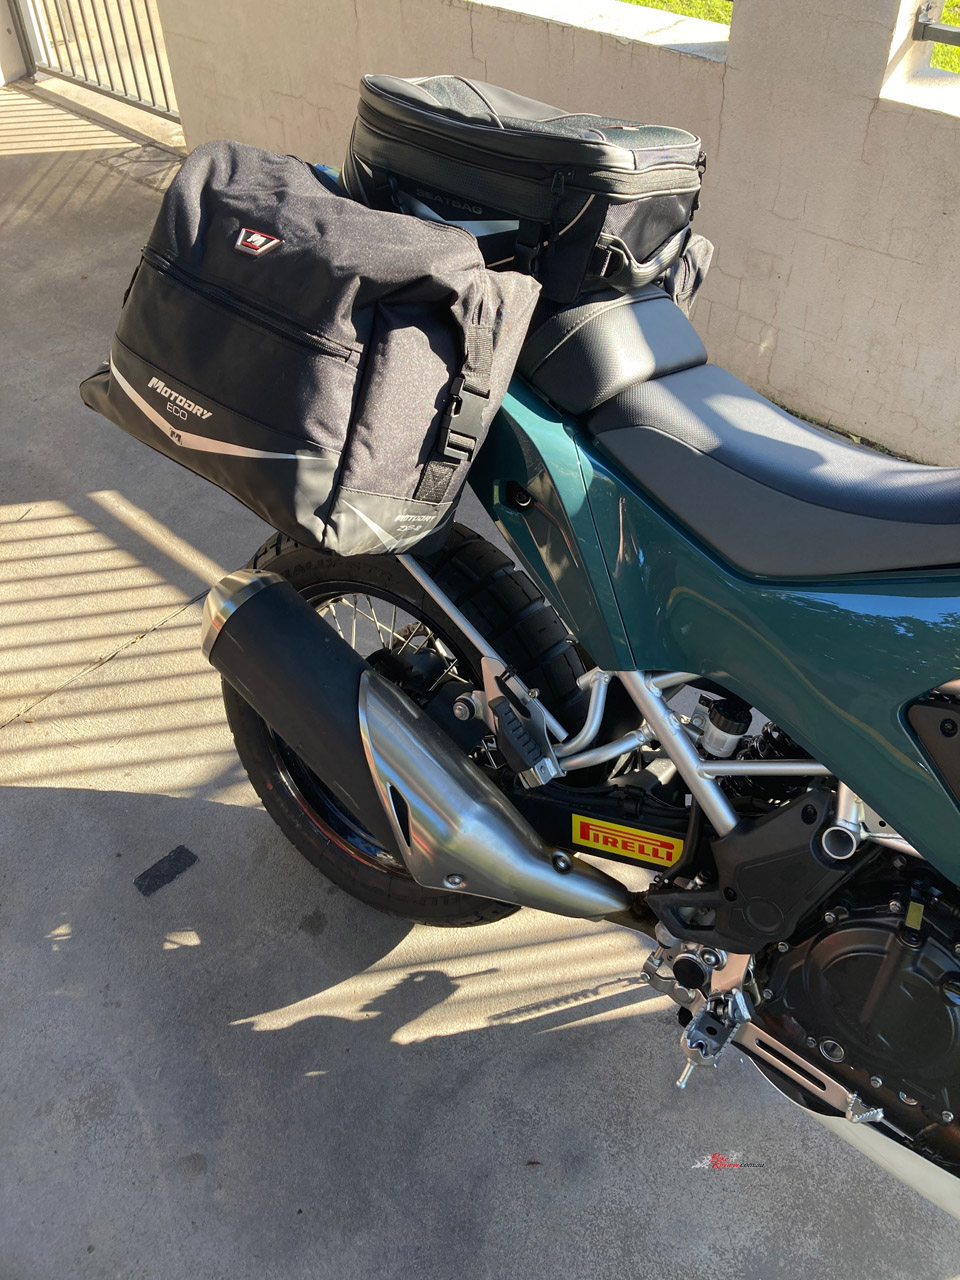
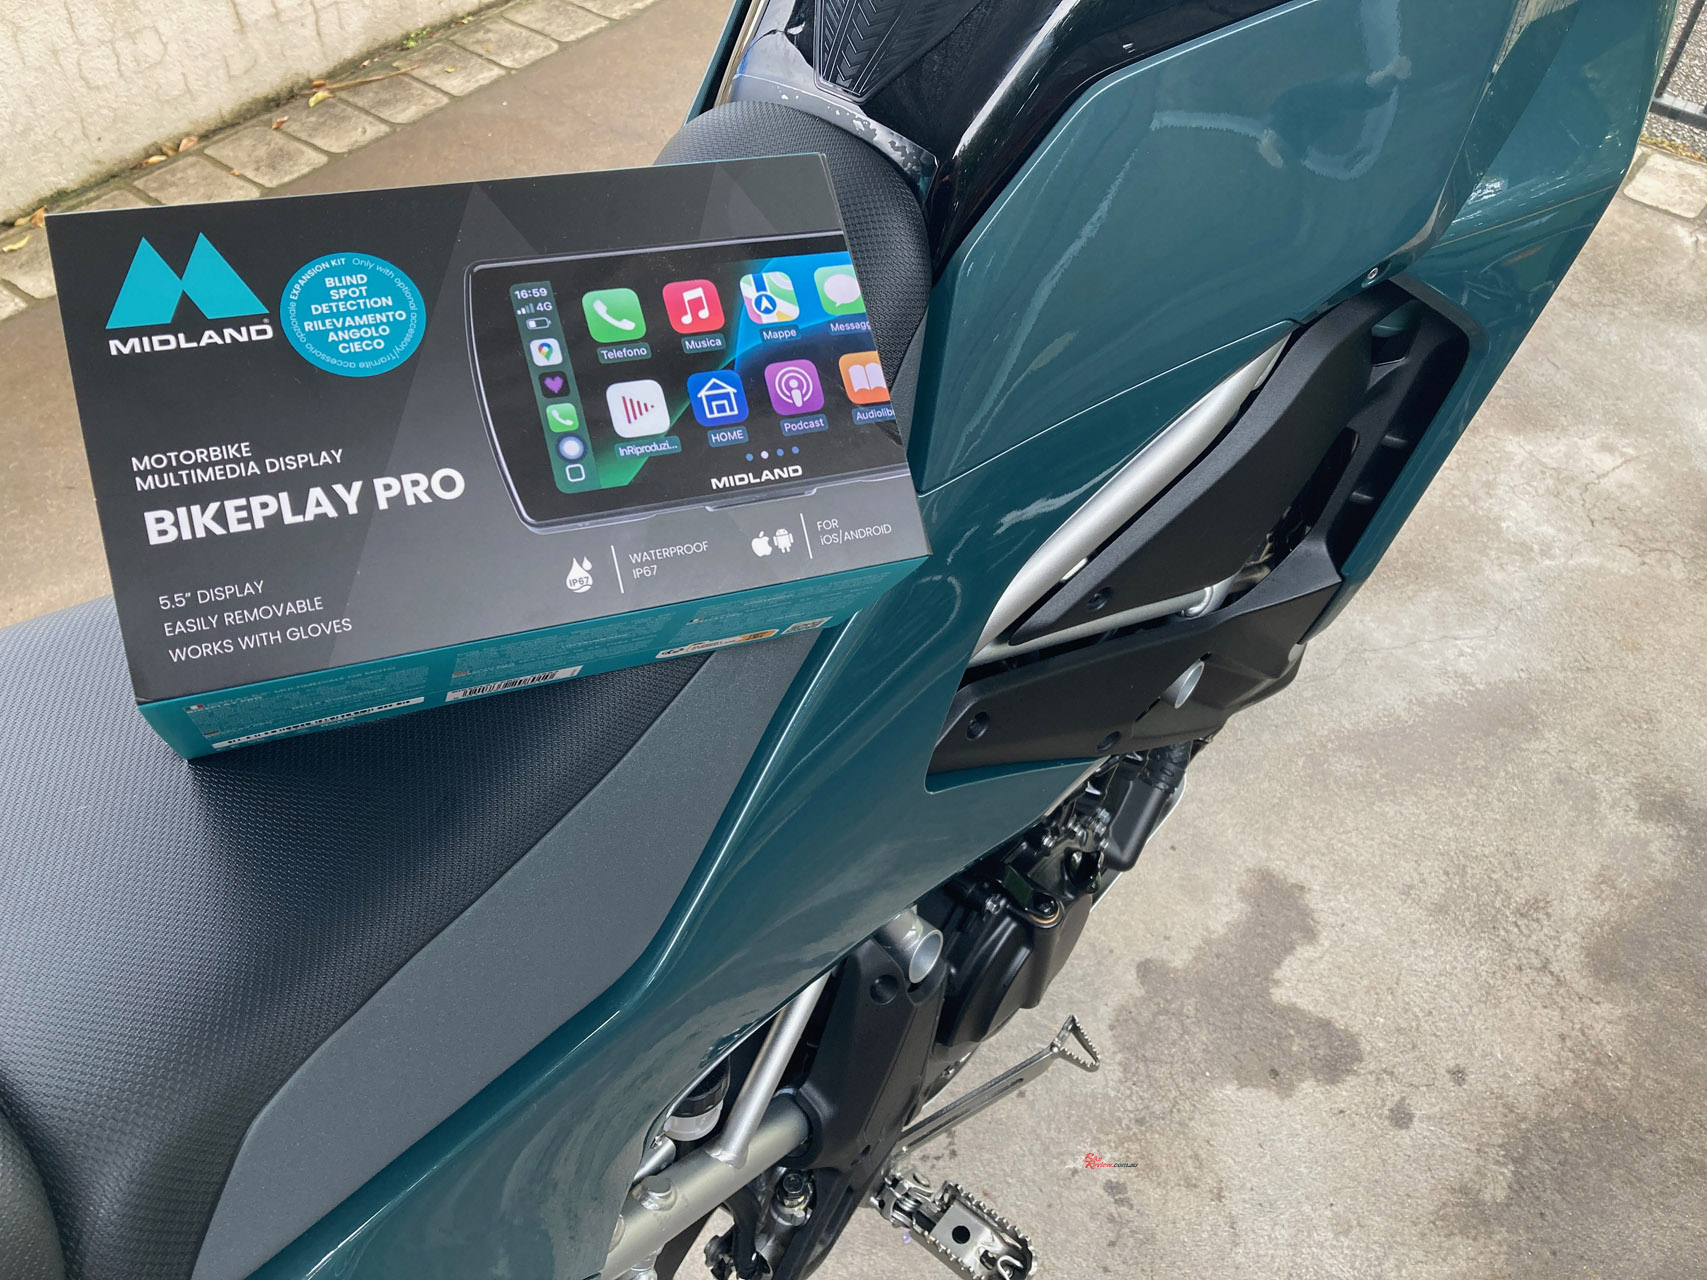
Thanks to Moto National Accessories, we have a Butt Plug exhaust bung for washing time, retailing at $12.95 RRP, and a Lok-It disc lock with a 5.5mm pin, priced at $49.95 RRP. Topping off the package is the MIDLAND BikePlay Pro Moto multimedia display, with its 5.5-inch screen and phone connectivity, priced at $429.99 RRP. It’s already proving brilliant for navigation and keeping our phone connected while riding, and we’ll have a full review and fitment guide coming shortly.
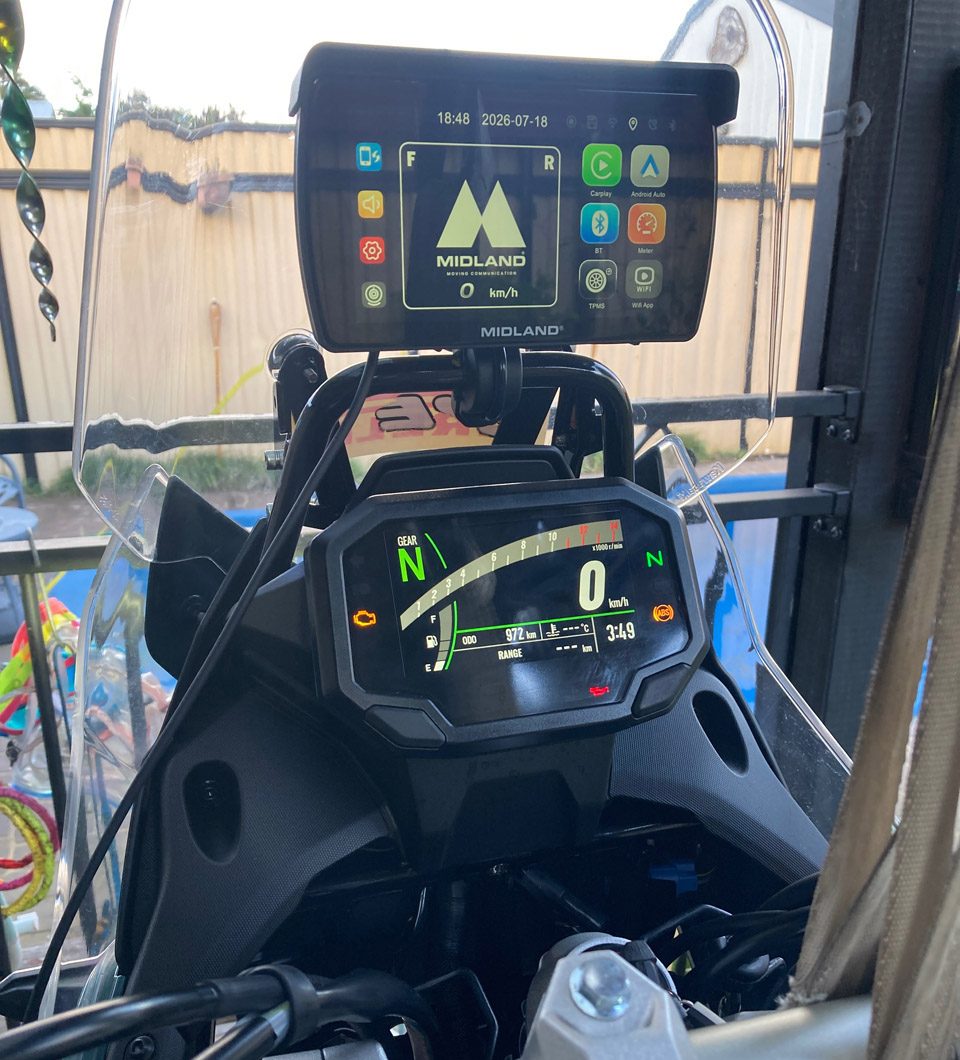
With help from my youngest son, we managed to fit everything in just a few hours, including the MIDLAND display. Meanwhile, Steve Cutting from Steve Cutting Motorcycles (02 4323 3599) in Gosford fitted the new tyres to the rims. By the end of the day, our BikeReview KLE500 SE was back on the road and ready for its next adventure.
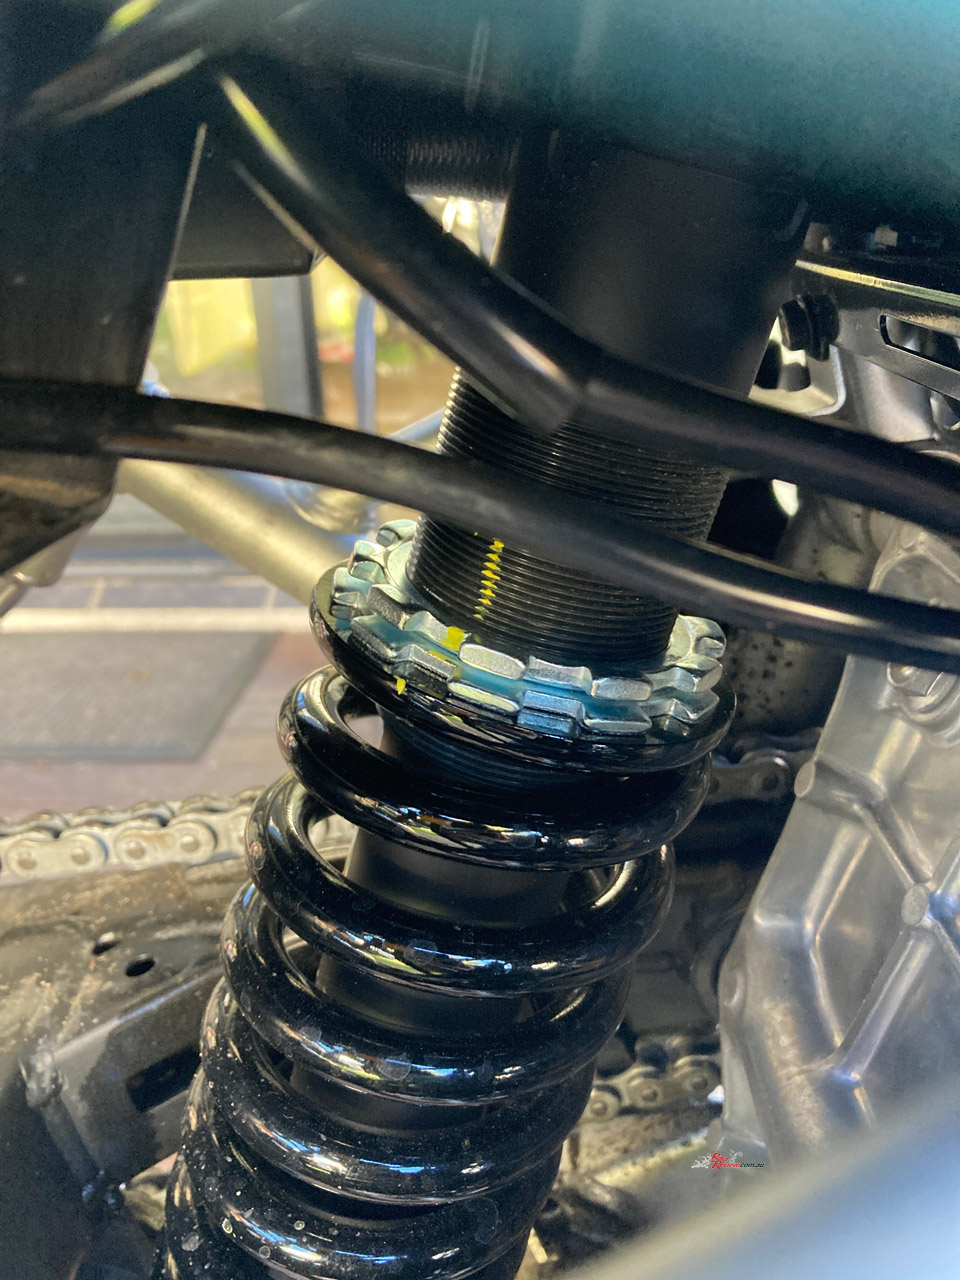
The initial changes have achieved exactly what we wanted: lazier highway gearing, more suspension support, improved comfort, better tyres, practical luggage and useful technology. The KLE was already proving itself as a versatile all-rounder, but these modifications are helping tailor it to our particular mix of commuting, touring and adventure riding.
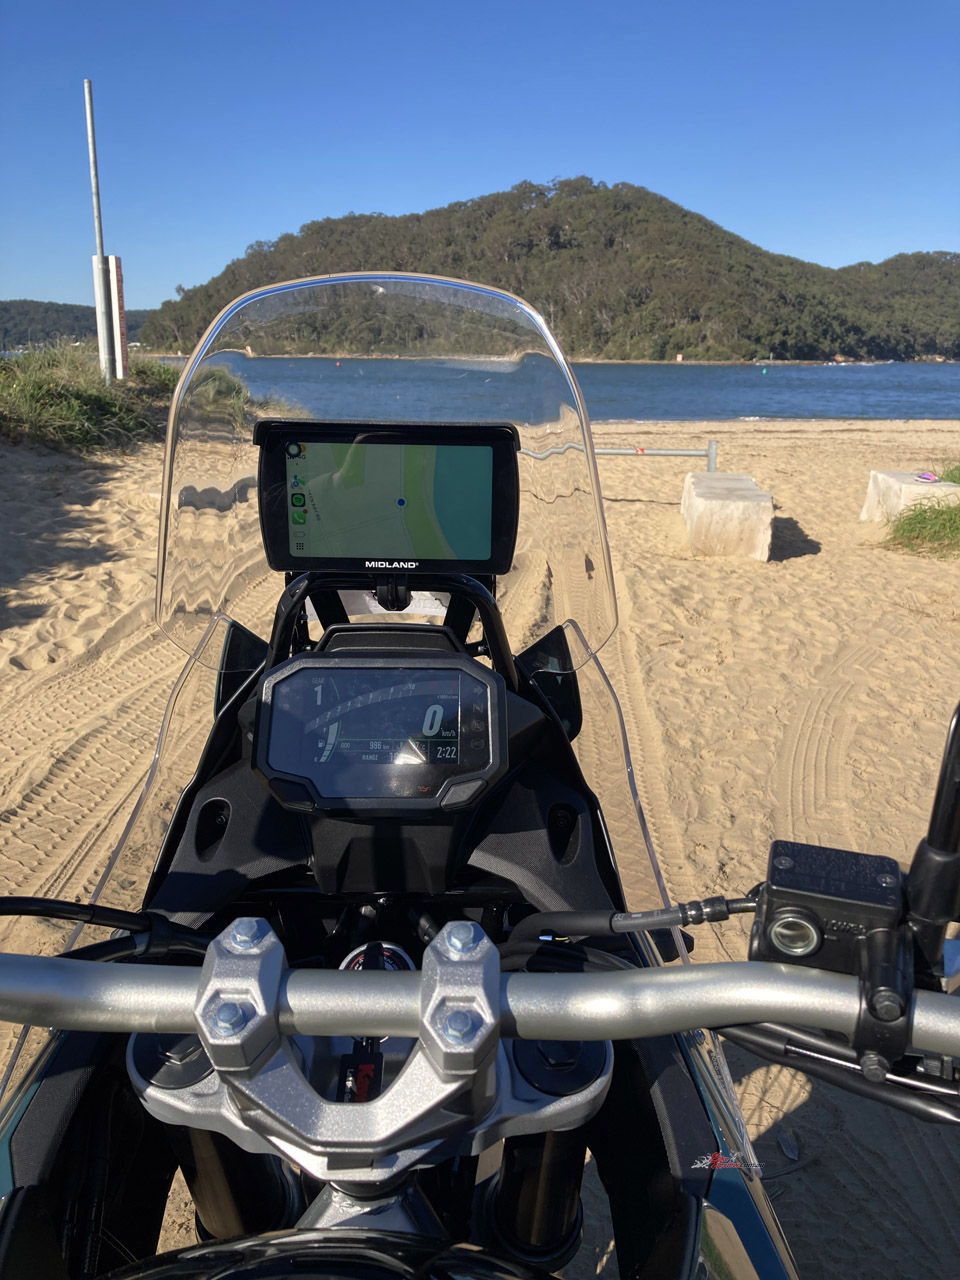
The listed modifications with supplied prices total $1,491.59RRP, excluding the oil, filter and sump washer used for the first service. That puts the KLE at a total cost of $14,203.59 as is. Amazing value. We’ll go through the modifications individually in Part 4, including the fitment details and how each change performs in the real world. For now, we’re extremely happy with the direction the KLE500 SE is taking. It’s becoming exactly the versatile, comfortable and capable lightweight adventure bike we hoped it would be.
2026 BikeReview Kawasaki KLE500 / KLE500 SE Specifications
Price: $12,712 ride away (ex Sydney) for the SE
Our Extras: $1,491.59RRP
Colours: KLE500 – Metallic Carbon Gray / Ebony, SE – Metallic Bluish Green
Claimed Power: 33.4kW@9000rpm
Claimed Torque: 42.6Nm@6000rpm
Wet Weight: TBC
Fuel Capacity: 16L
Fuel Consumption (Claimed): 4L/100km
Fuel Consumption (Tested): 4.8L/100km
Fuel Range (Claimed): 350km+
Engine: Liquid cooled, parallel twin-cylinder, four-stroke, 8-valve, DOHC, 451cc, 11.3:1 compression ratio, 70.0 x 58.6mm bore and stroke, single injector per cylinder, 32mm throttle-bodies, six speed constant mesh gearbox, wet, multi-plate clutch with dual action slipper clutch, cable actuation, chain drive, 44T JTR rear sprocket, RK 520XRE chain.
Chassis: Frame: High-tensile steel trellis frame.
Rake: N/A Trail: N/A
Suspension: 43mm telescopic inverted cartridge fork, 210mm travel, monoshock with preload adjustability, +10mm, 200mm travel.
Brakes: 300mm disc with dual-piston Nissin caliper, selectable Nissin ABS; Rear – 230mm disc with single-piston Nissin caliper, selectable ABS.
Wheels & Tyres: Wire-spoked 21in front / 17in rear aluminium rims; Pirelli Rally STR tyres, 90/90 – 21in (f), 140/80 – 17in (r).
Dimensions:
Wheelbase: TBC
Seat Height: TBC
Ground Clearance: 190mm with modifications
Overall Width/Height/Length: TBC
Instruments & Electronics: MIDLAND BikePlay PRO, LCD digital dash (4.3 in full-colour TFT on SE) with smartphone connectivity via RIDEOLOGY THE APP MOTORCYCLE. Display includes: speedometer, tachometer, gear position, shift lamp, fuel gauge, odometer, dual trips, average/current fuel consumption, range, average speed, total time, coolant temperature, clock, battery voltage, service/oil reminders, and Economical Riding Indicator.
Other Accessories: MotoDry 42L ZX-S2 Square Line saddlebag set and a 27L Platinum tank bag.
The Author
You Might Also Like