Racebike Rundown, Converting a YZF-R3 to a Racer
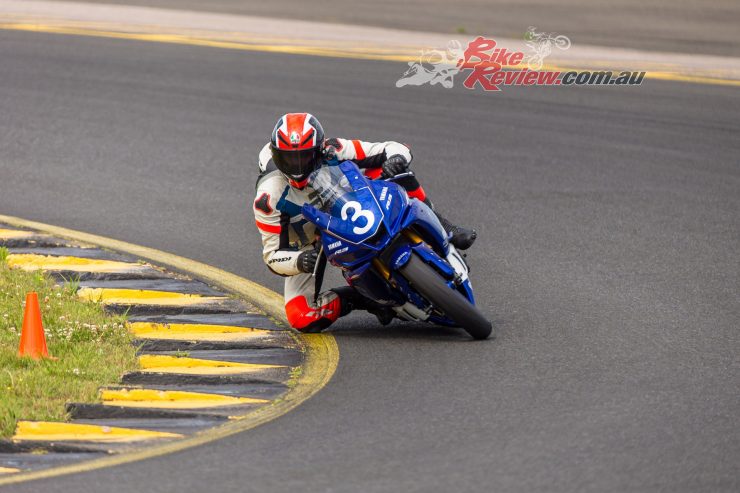
A quick and informative guide from Yamaha Australia on how to turn your agile, little street legal Yamaha YZF-R3 into a championship winning, 300cc Supersport trophy hunting machine. Stay tuned for our full review on the Yamaha Factory R3 racer that Jeff tested recently…
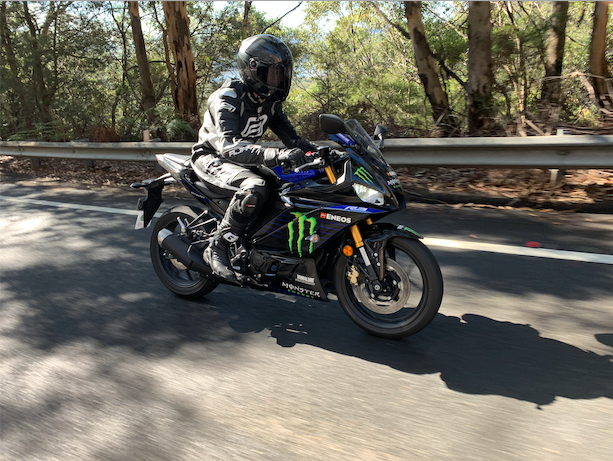
Check out Jack’s review of the 2020 Yamaha YZF-R3 here.
The introduction of the 300cc Supersport and R3 Cup classes into the ASBK, road racing has finally found a fun, competitive, yet relatively cheap form of racing that brings in new riders. The grid of both the 300cc Supersport and the Yamaha R3 Cup have been bursting at the seams in recent years and the flow on effect is massive with more and more people attracted to the bar to bar racing that occurs at every round of the ASBK.
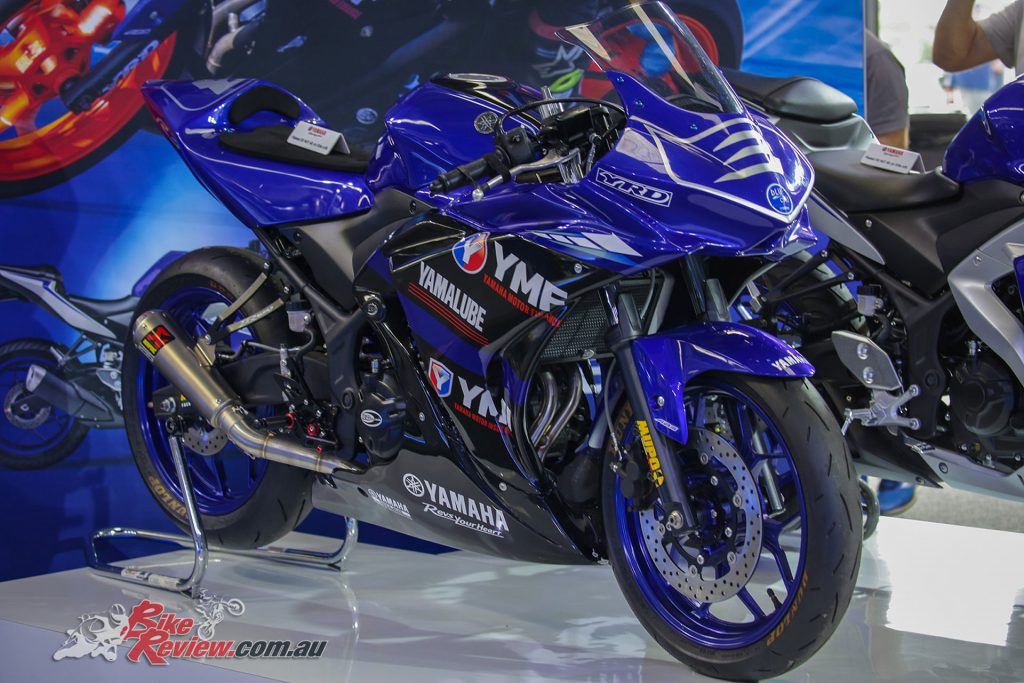
Starting Point
While the Yamaha YZF-R3 has received some updates, the majority of the racing components will retro fit onto almost every model of the R3. So, once you have purchased your Yamaha R3, it’s time to get started and transform it from street legal to racetrack cool.
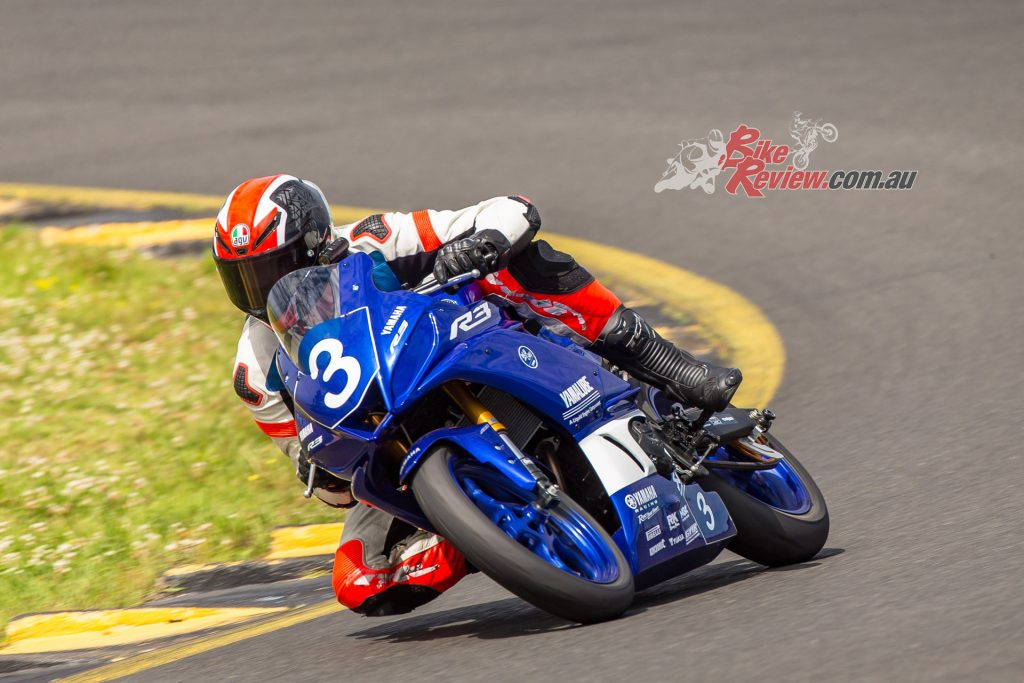
Jeff had fun testing the Yamaha R3 from YRD recently at SMSP. Jeff raced production 250s in ASBK throughout the early 1990s on the two-strokes and also raced a few timed in the FX Ninja Cup on a Ninja 300, finishing second outright at Wakefield Park round ad winning the FOB class. He loves the small bikes.
Stripping the bike for racing can be a very time consuming process, especially if you plan to return the bike to road condition later in its life. If you wish to return it to street legal, then carefully remove, group and package each part so you can replace it when it comes time to sell. In most cases race bikes never return to the road so the stripping of road going parts can be achieved a lot faster.
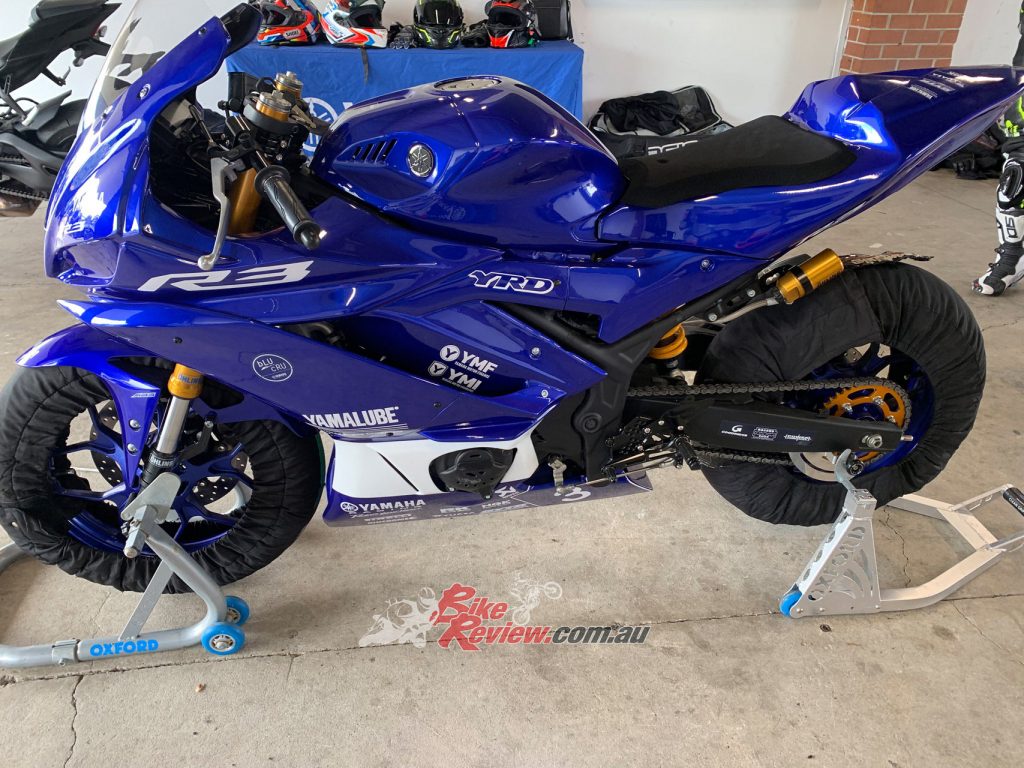
Removing all the lights, cowlings, mirrors, upper chain guard is the beginning of the process, but before removing the side stand, install a set of stand pickups on the lower rear swingarm tabs and sit the bike upon a race stand.
Once the side stand and its cut-out switch is removed, it is necessary to install a loop where the cut-out switch joins the wiring harness – this part is also available (see list), and because the engine bolt that mounts the side stand plate is too long without the plate, a special spacer is also available for that bolt.
During the build it is best to also perform some services to the bike to ensure that when it hits the race track it is filled with quality lubricants and a new oil filter – we recommend using Yamalube Y4-GP 10w-40 full synthetic engine oil and a genuine Yamaha oil filter, and to change these prior to each meeting.
This is also a good time to perform the lock wiring operations on the engine oil drain bolt and filler cap, as required for racing. Also drain the coolant from the radiator and replace with water, then drilling and lock wiring the radiator cap and coolant drain bolt, this is also a racing requirement. A radiator guard is a handy precaution against damage and can be fitted now.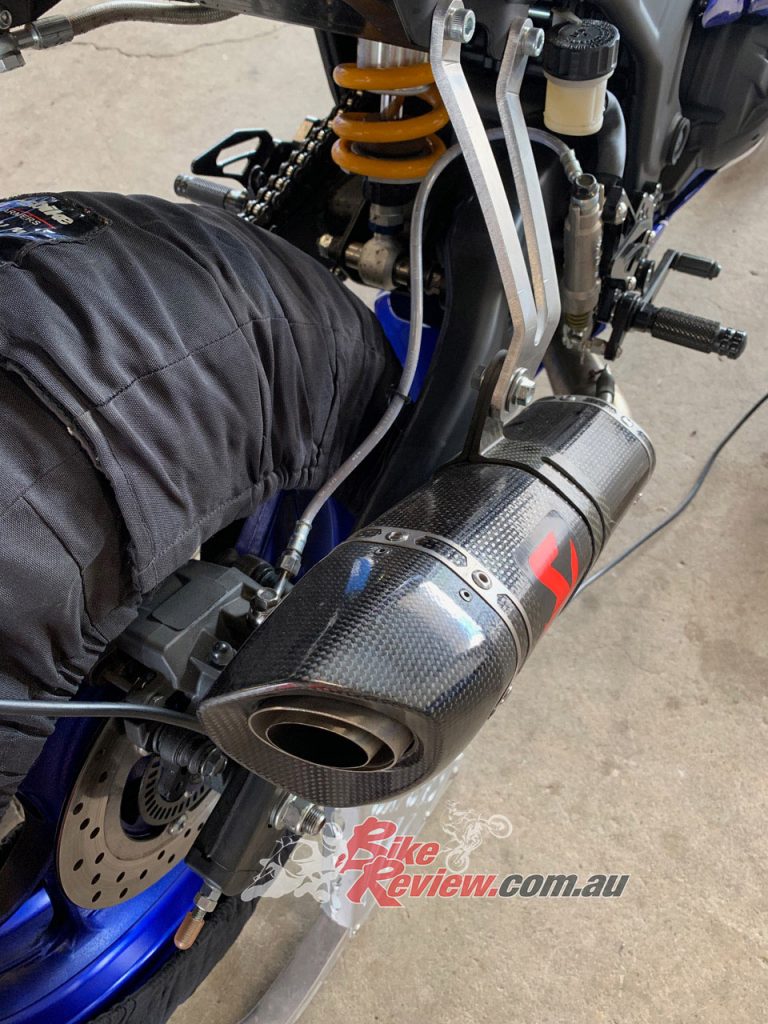
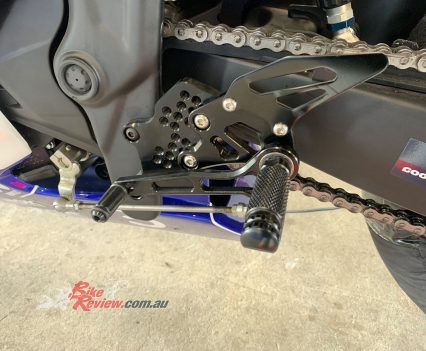
Remove the stock exhaust system and passenger foot pegs, the race exhaust will require a special mounting bracket made for it. Remove the footrest assemblies and install the racing rearsets kit – most kits should give you the option to install either in ‘race’ shift pattern (1 up, 5 down) or the standard street shift pattern.
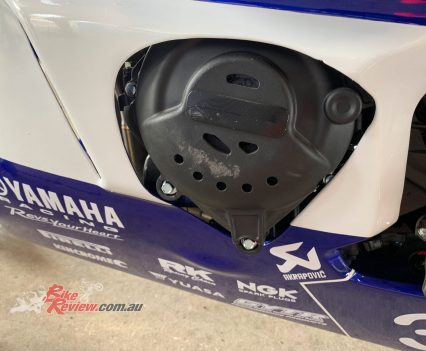
For racing it is a requirement to install engine case covers to prevent oil leakage in case of a crash, once you have selected your choice, install them now.
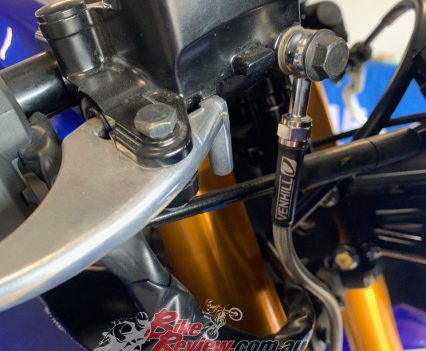
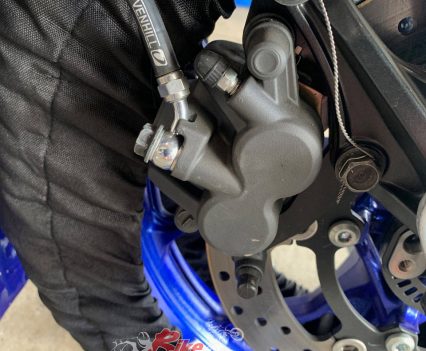
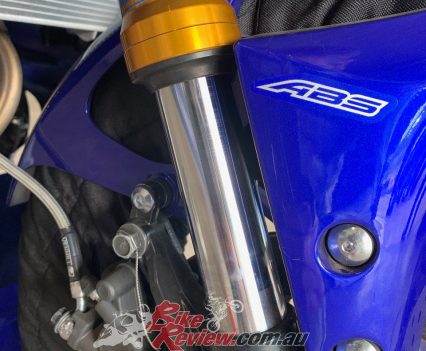
If you have decided to remove the ABS system and you have already purchased your racing brake line set, now is the time to start to strip off the ABS brake lines and pump, this can be quite a time consuming process especially if you intend to refit them at a later stage. The ABS unit itself is quite difficult to remove due to its location.
Note that removing it and unplugging its connector will show an error light on the dashboard – this light will not affect the running of the bike at all. Install the racing brake line set and bleed up using quality racing brake fluid. You will also need to drill and lockwire the front caliper bolts as this is a rule requirement.
Race Track Ready
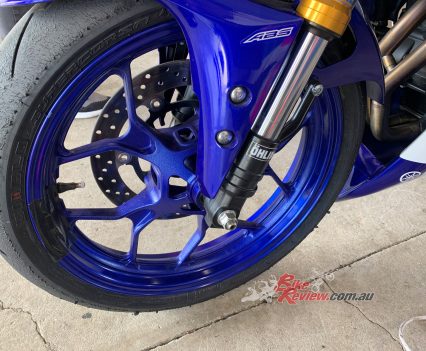
Using a front centre lift race stand – this is a better option than the other type of front stands as it allows you to remove the forks as well as the front wheel. Once the forks have been removed, unless you have the equipment and training, it is best to send them to a suspension specialist to install the cartridge kit you have selected.
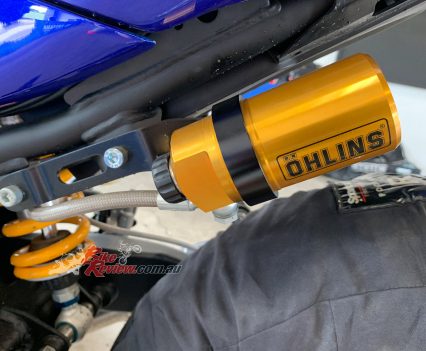
To remove the standard shock absorber and install the racing item you will need a set of footpeg stands, car axle stands work quite well for this task.
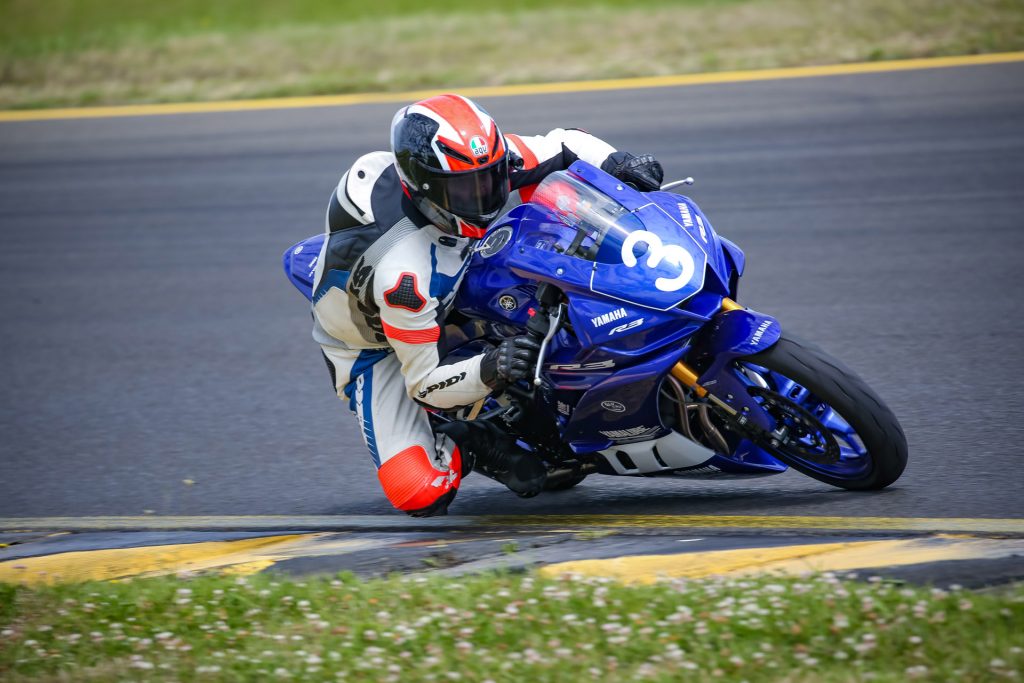
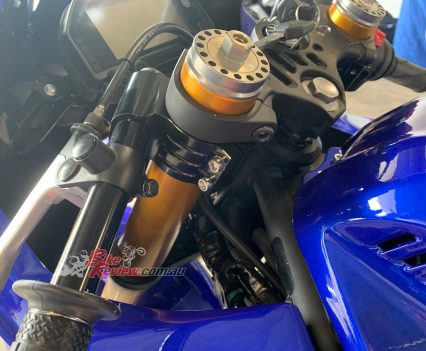
Once you have reinstalled your forks, the racing clip on handlebars can be fitted. These, along with the racing rearsets allow for a much more streamlined riding position when racing, and also allow a lot of adjustment for different rider heights. You may need to cut off the cable guide under the ignition switch as this may now route the cables incorrectly depending on the handlebar location.
When replacing the throttle you will need to drill the locating pin hole for the throttle housing into the clip on bar tube, and now is a good time to install the quick action throttle tube allowed under our rules – the part number is 2CO-26240-00 (it’s from the R6 model).
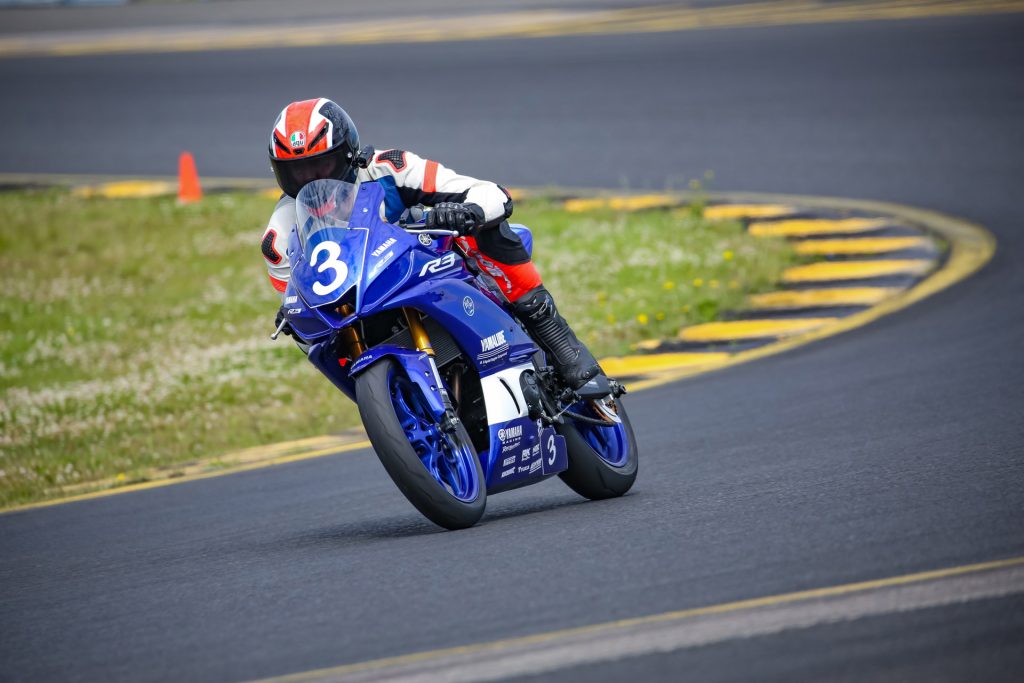
It is possible to remove the LH handlebar switch however as part of this switches wiring affects the clutch switch it means the bike will only start in neutral, so, to enable it to start in gear its necessary to introduce a loop into the vacant switch coupler – this information is available from the R3 Cup service team.
It important to measure your installed fork length (centre of axle to bottom of lower triple clamp) before removing the forks from standard, as the modified forks could be longer (its best to start with standard geometry unless advised by your suspension supplier).
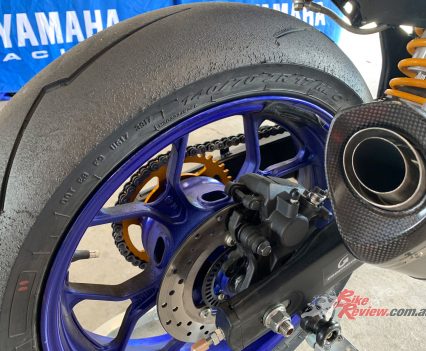
With your wheels out have your race tyres fitted – a list of homologated race tyres can be found within the ASBK competitors section.
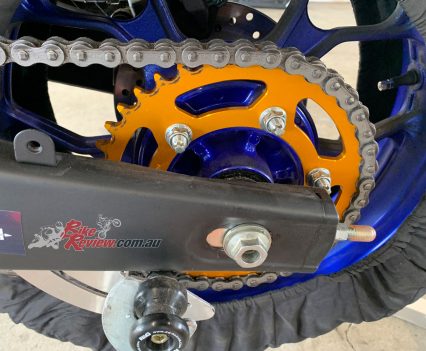
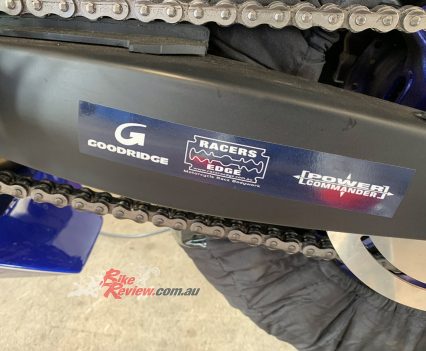
With the rear wheel out you can fit your preferred track gearing (gearing list attached for most Australian national circuits). We suggest not to refit the metal ring that encircles the sprocket bolts as it is not required for racing. It is desirable to purchase a selection of sprockets to allow you to setup for each track you race at. A lower chain guard is mandatory and can be fitted at this time. The front sprocket cover can be left off to make for easier sprocket changes.
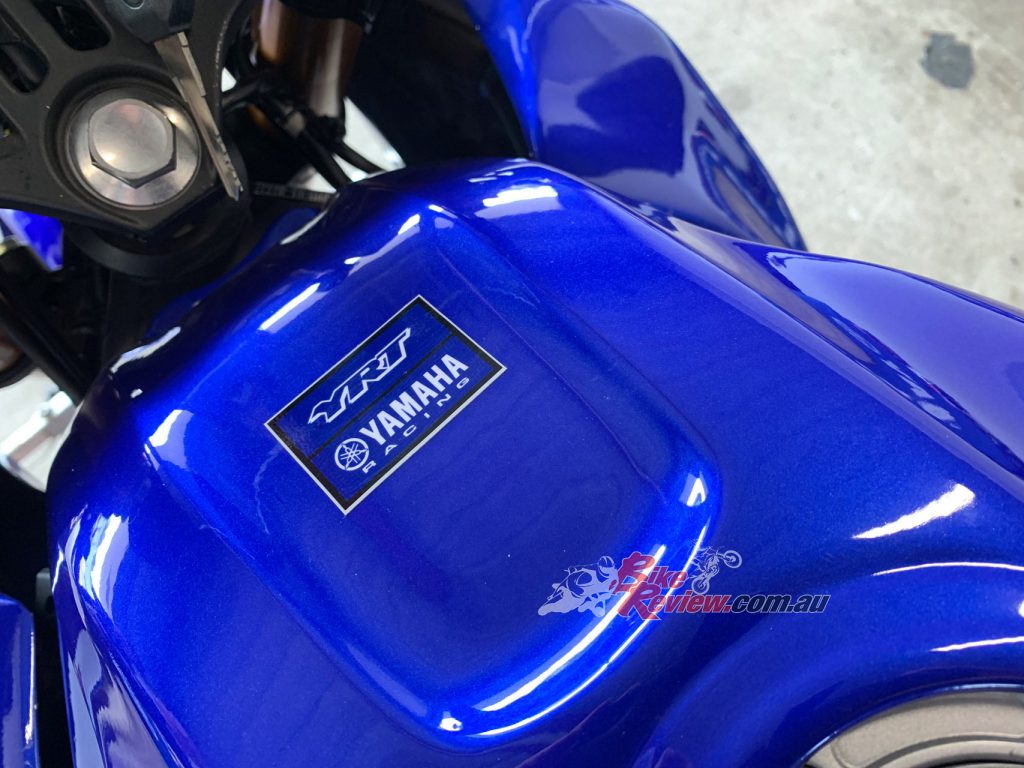
Remove the fuel tank and access the air induction system – this is not required for racing – the plate that blocks it off is a race kit part readily available. Install your chosen racing airfilter, and, as ASBK rules allow you to remove the air intake snorkel from the airbox cap so this can be performed now.
Fuel metering devices such as Power Commanders can be used, as well as premium 98 petrol, but to get the maximum benefit from these it is best to have a knowledgeable engine tuning workshop install and map on a dyno.
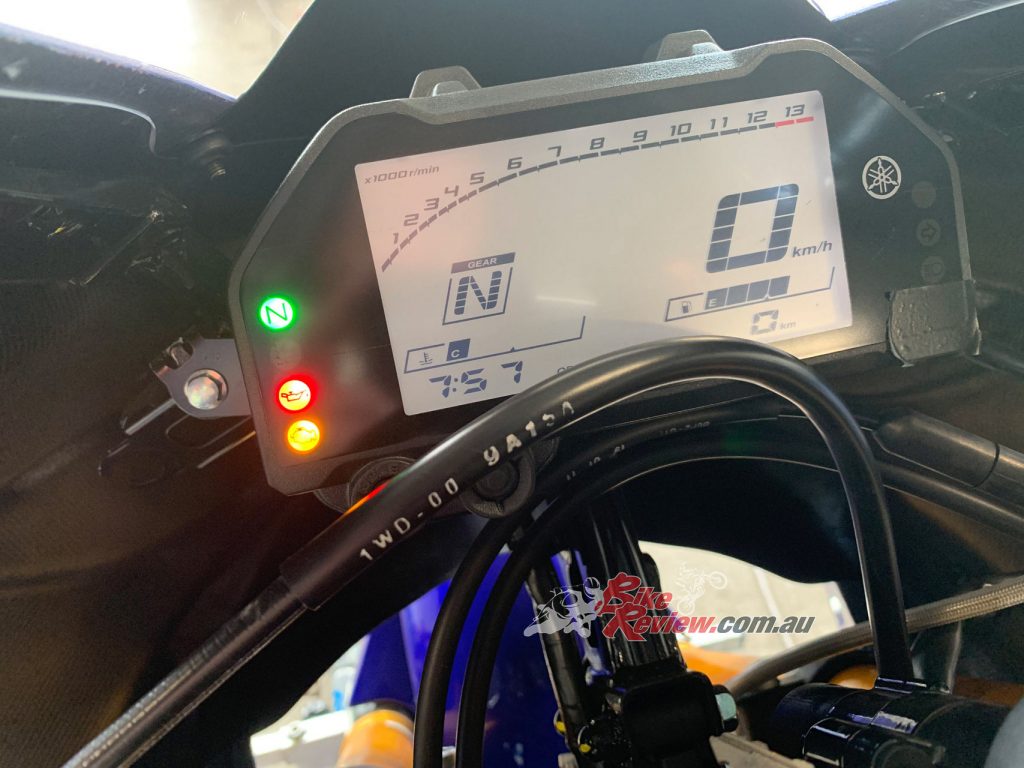
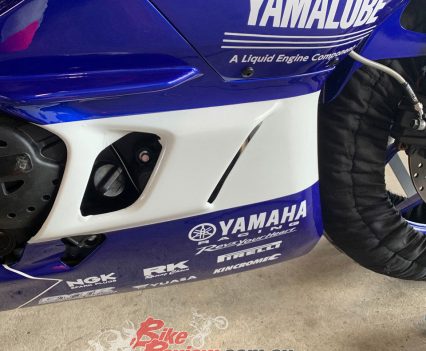
The final task is to fit up the race fairing, seat unit and screen – once again this is quicker done by someone with experience, and easier if you have a spare set of hands to help. Some of the cheaper fairing sets require drilling holes for fittings and fasteners which adds time to the project. Generally, race fairings aren’t pre-painted and either matt black or white gelcoat finish, so paint and graphics is the last investment.
Serious competitors that can afford to will want to purchase a spare set of wheels with discs fitted so that rain tyres can be fitted up already for wet races and having at least one set of tyre warmers is a necessity – racing tyres need to be brought up to temperature prior to leaving the pits every time.
Now the bike is ready.
Road Bike to Road Race
- # Fairing kit
- # Rear sets
- # Exhaust system
- # Fork / shock kit
- # Crash knobs
- # stand Pickups
- # Engine Case savers
- # Chain Guard
- # Fork Protectors
- # Radiator guard
- # Muffler Mount Bracket
- # rear stand
- # gearing sets
Compulsory Modifications – The following items must be removed
- # Head lamp
- # Tail lamp
- # Reflectors
- # Horn
- # Traffic Indicators
- # Mirrors
- # Centre and side stands
- # Rego plate / bracket holder
- # Passenger Footrests


