Last update we fitted a great first timer’s mod, Oggy Knobbs to help protect your motorcycle in the occasion of drop or fall, while this time we’re adding two more accessories, Ventura luggage, and a Promoto Oggy Fender Eliminator.
The reason we’re doing these two together is because the Ventura rear mounting points are shared with the Oggy Fender Eliminator, which saves a heap of time compared to doing them separately, plus the FE looks awesome and is a great choice.
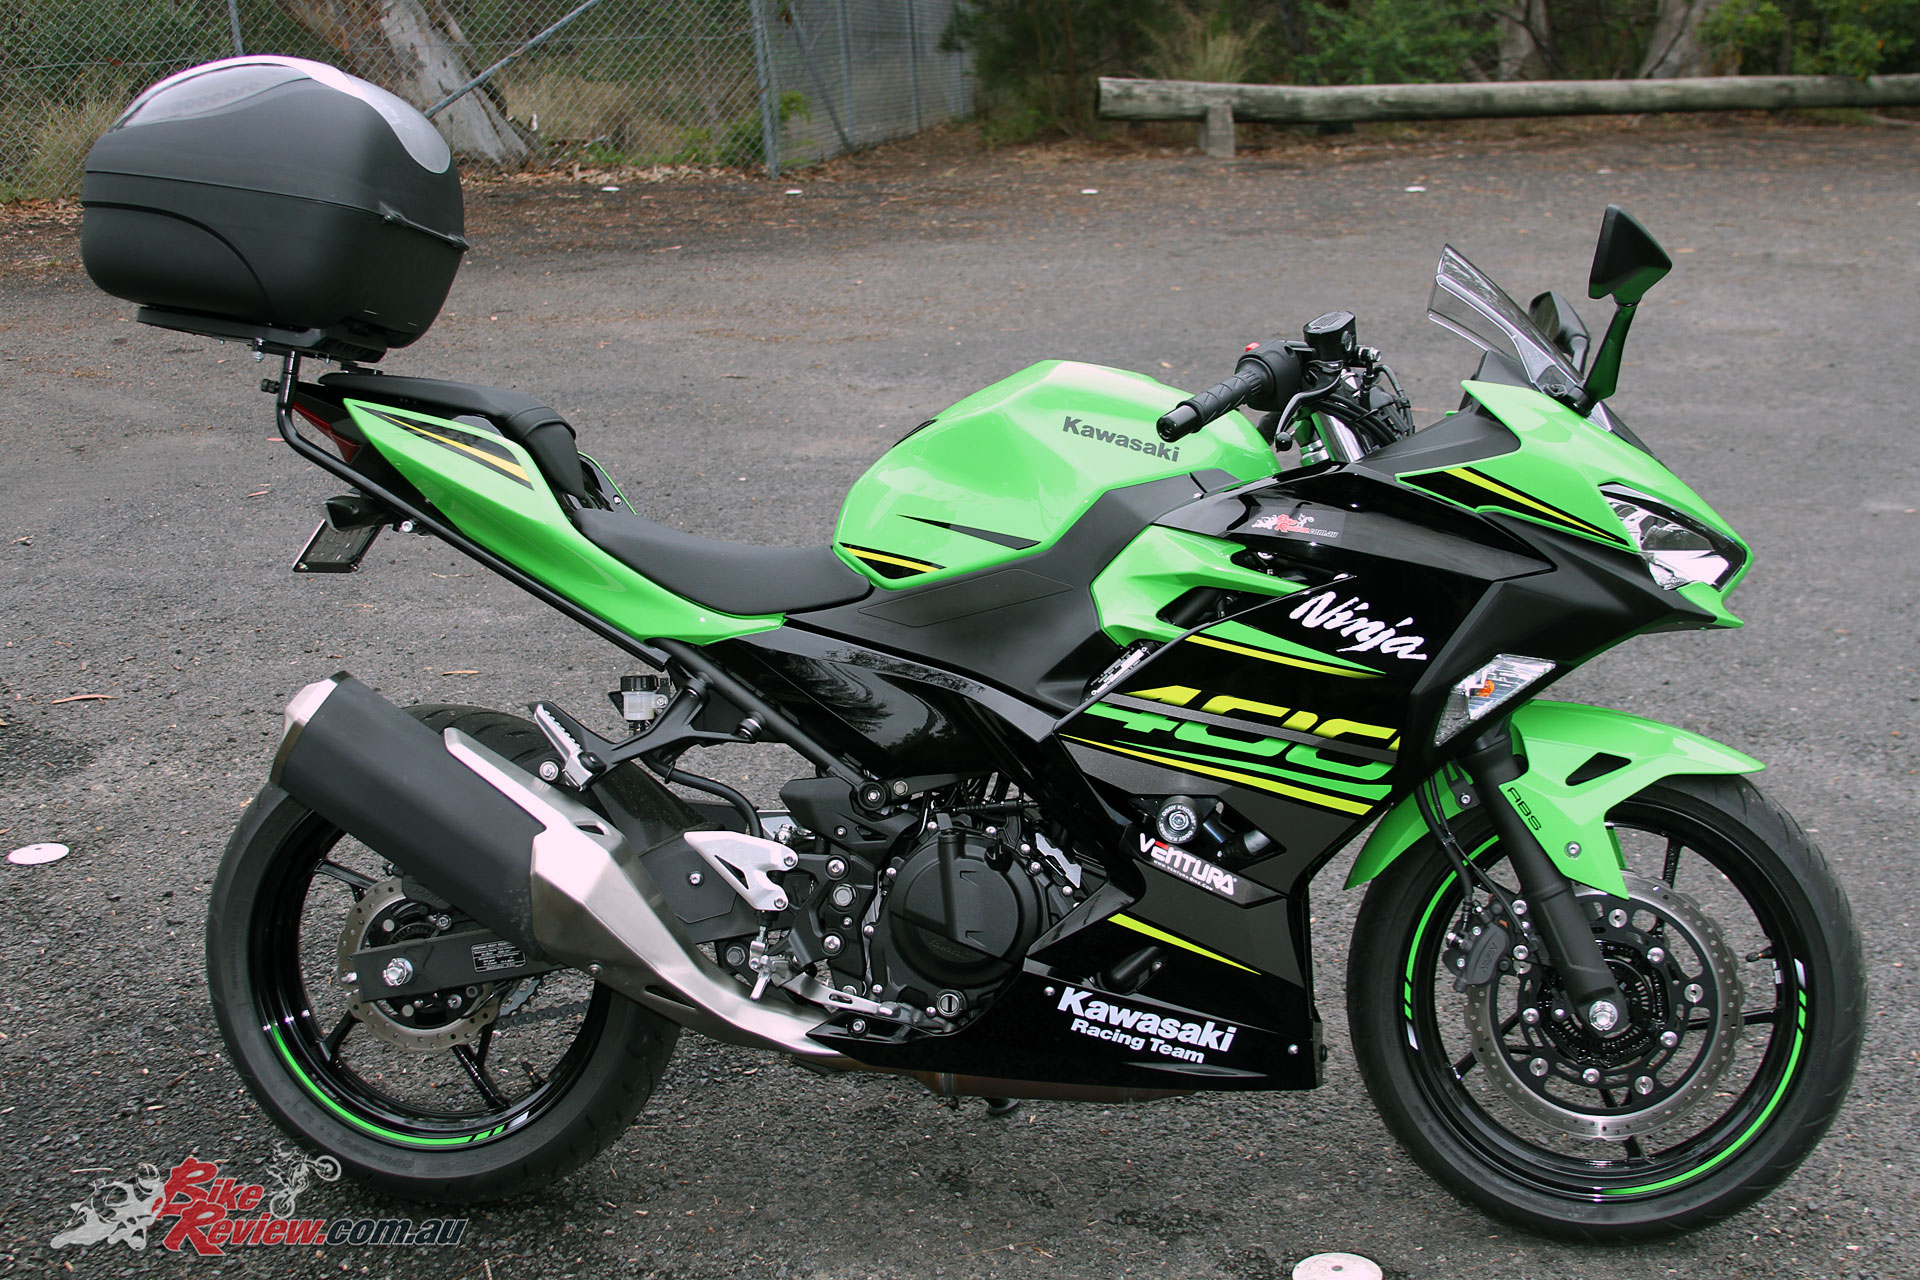
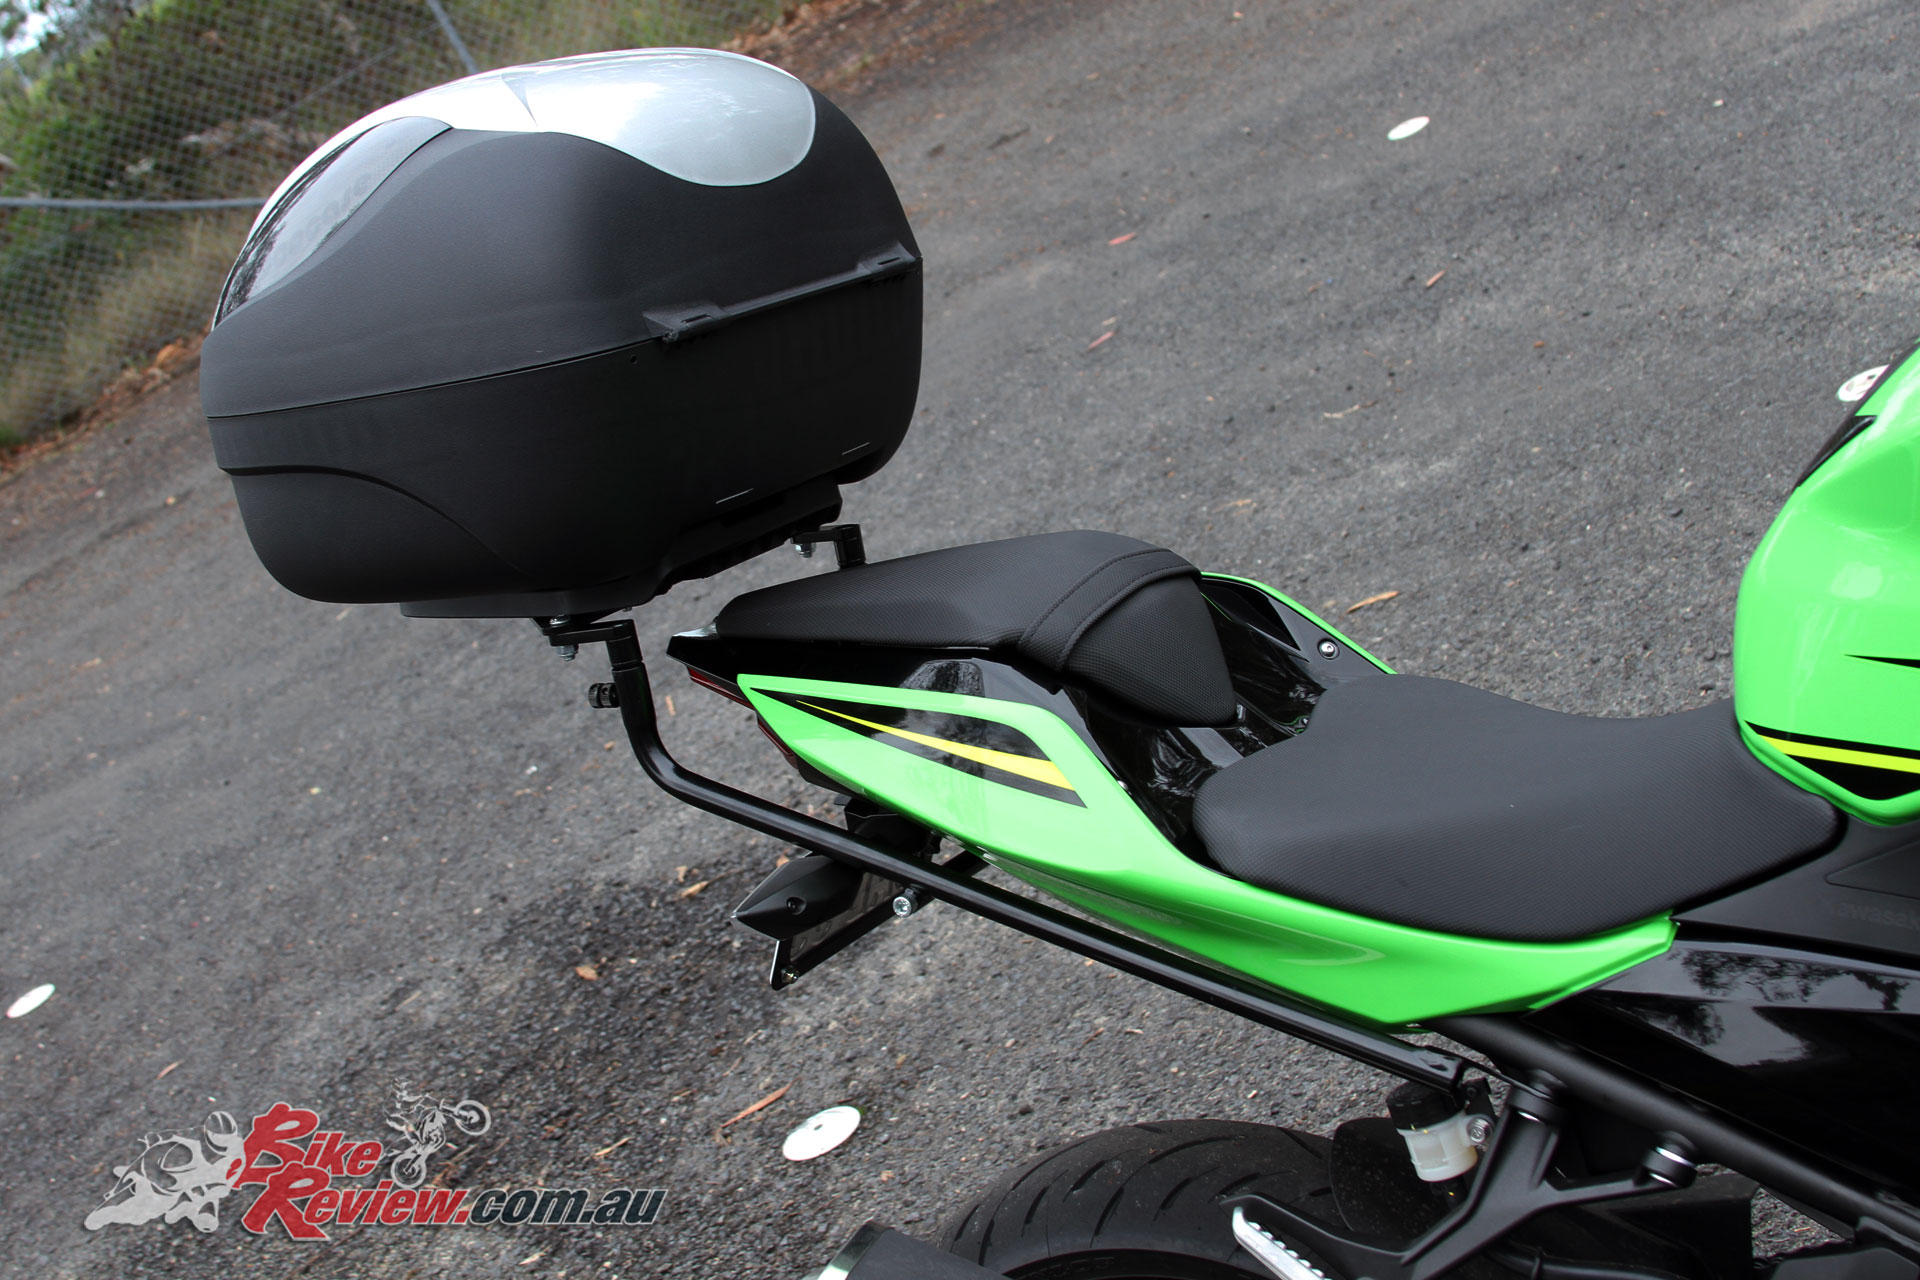
Our Long Term Ninja 400, now kitted out with Ventura rack, Coocase 36L Wizard top box, Oggy Fender Eliminator and in desperate need of an exhaust!
When it comes to Ventura luggage, we went with a 36L Wizard Coocase hard topbox for our Ninja 400, as this size isn’t overwhelming for the bike, is waterproof and can be easily mounted/dismounted with a locking mechanism on both the topbox and for the mount.
The Coocase also comes with a removable internal liner, that will help prevent anything you’re transporting getting smashed around in the top box if it isn’t full and you’re on bumpy roads.
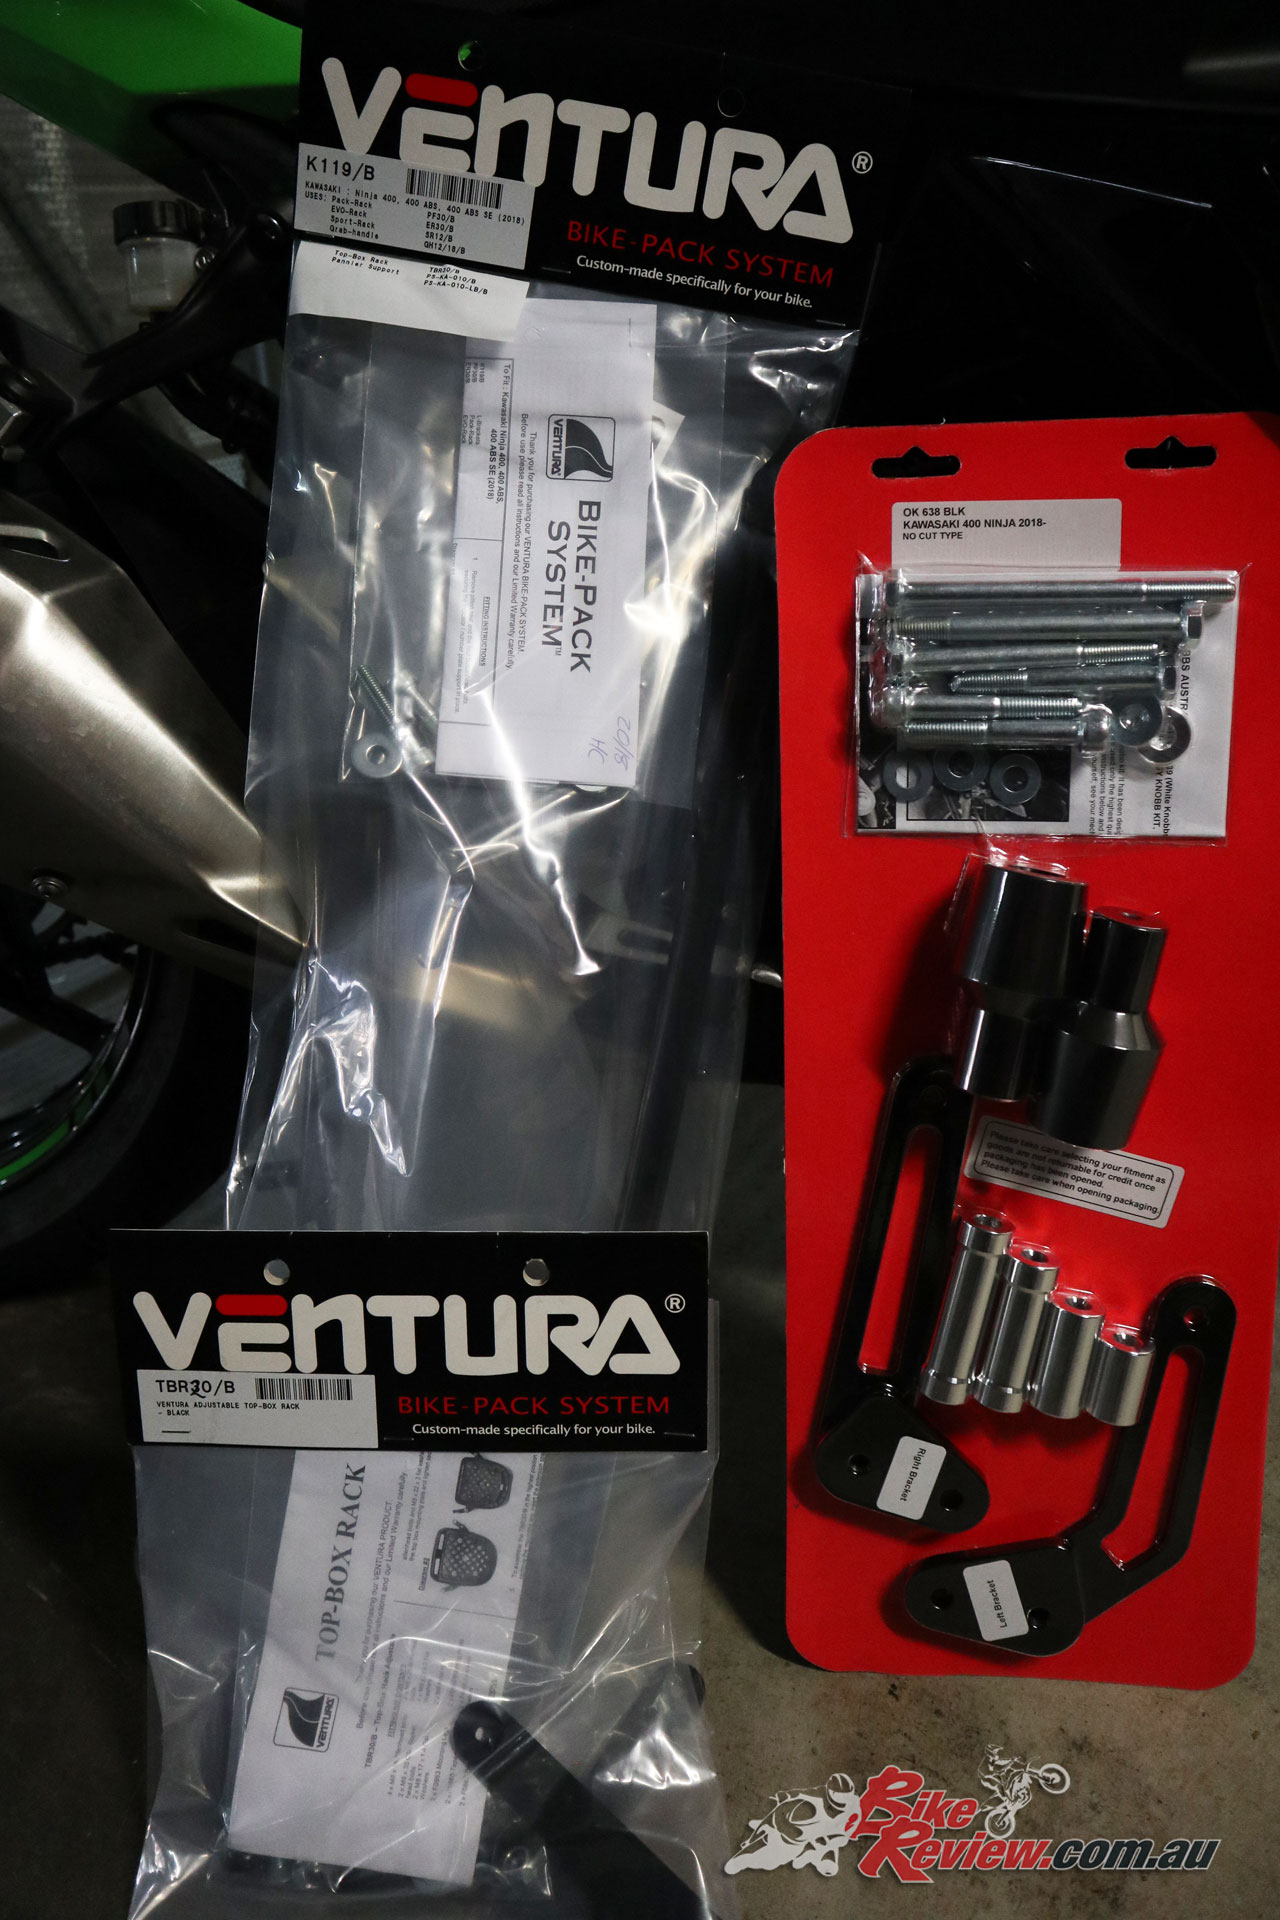
Ventura L-Brackets for the Ninja 400 (make sure you get them for the right model!)
Installation is via Ventura’s L-Bracket system, which is a no-cut/no-drill installation on the Ninja 400, so it couldn’t be easier. The Fender Eliminator mounts via four under tail bolts and is also quite easy. The only issue I had here was removing the stock indicators from the standard fender to fit them to the Oggy FE. Apart from this it’s just a matter of running the wires through and using the supplied connectors so the Oggy FE licence plate light is powered.
Oggy Knobbs Fender Eliminator still in the box!
Unfortunately I’m a little short of images for a few sections but bear with me!
Ninja 400 Ventura, Coocase and Oggy FE Install
First up unpack the Oggy FE box and the Ventura L-Bracket and Coocase packages and make sure you’ve got all the components, I’ve never had a problem but you never know! Also take a look at the instructions and familiarise yourself with what you’ll need.
This job can be completed with a metric socket set and hex heads, metric spanners, a pair of wire clippers and a screw driver for the indicator mounts.
Under the seat unplug the rear indicators and tail light.
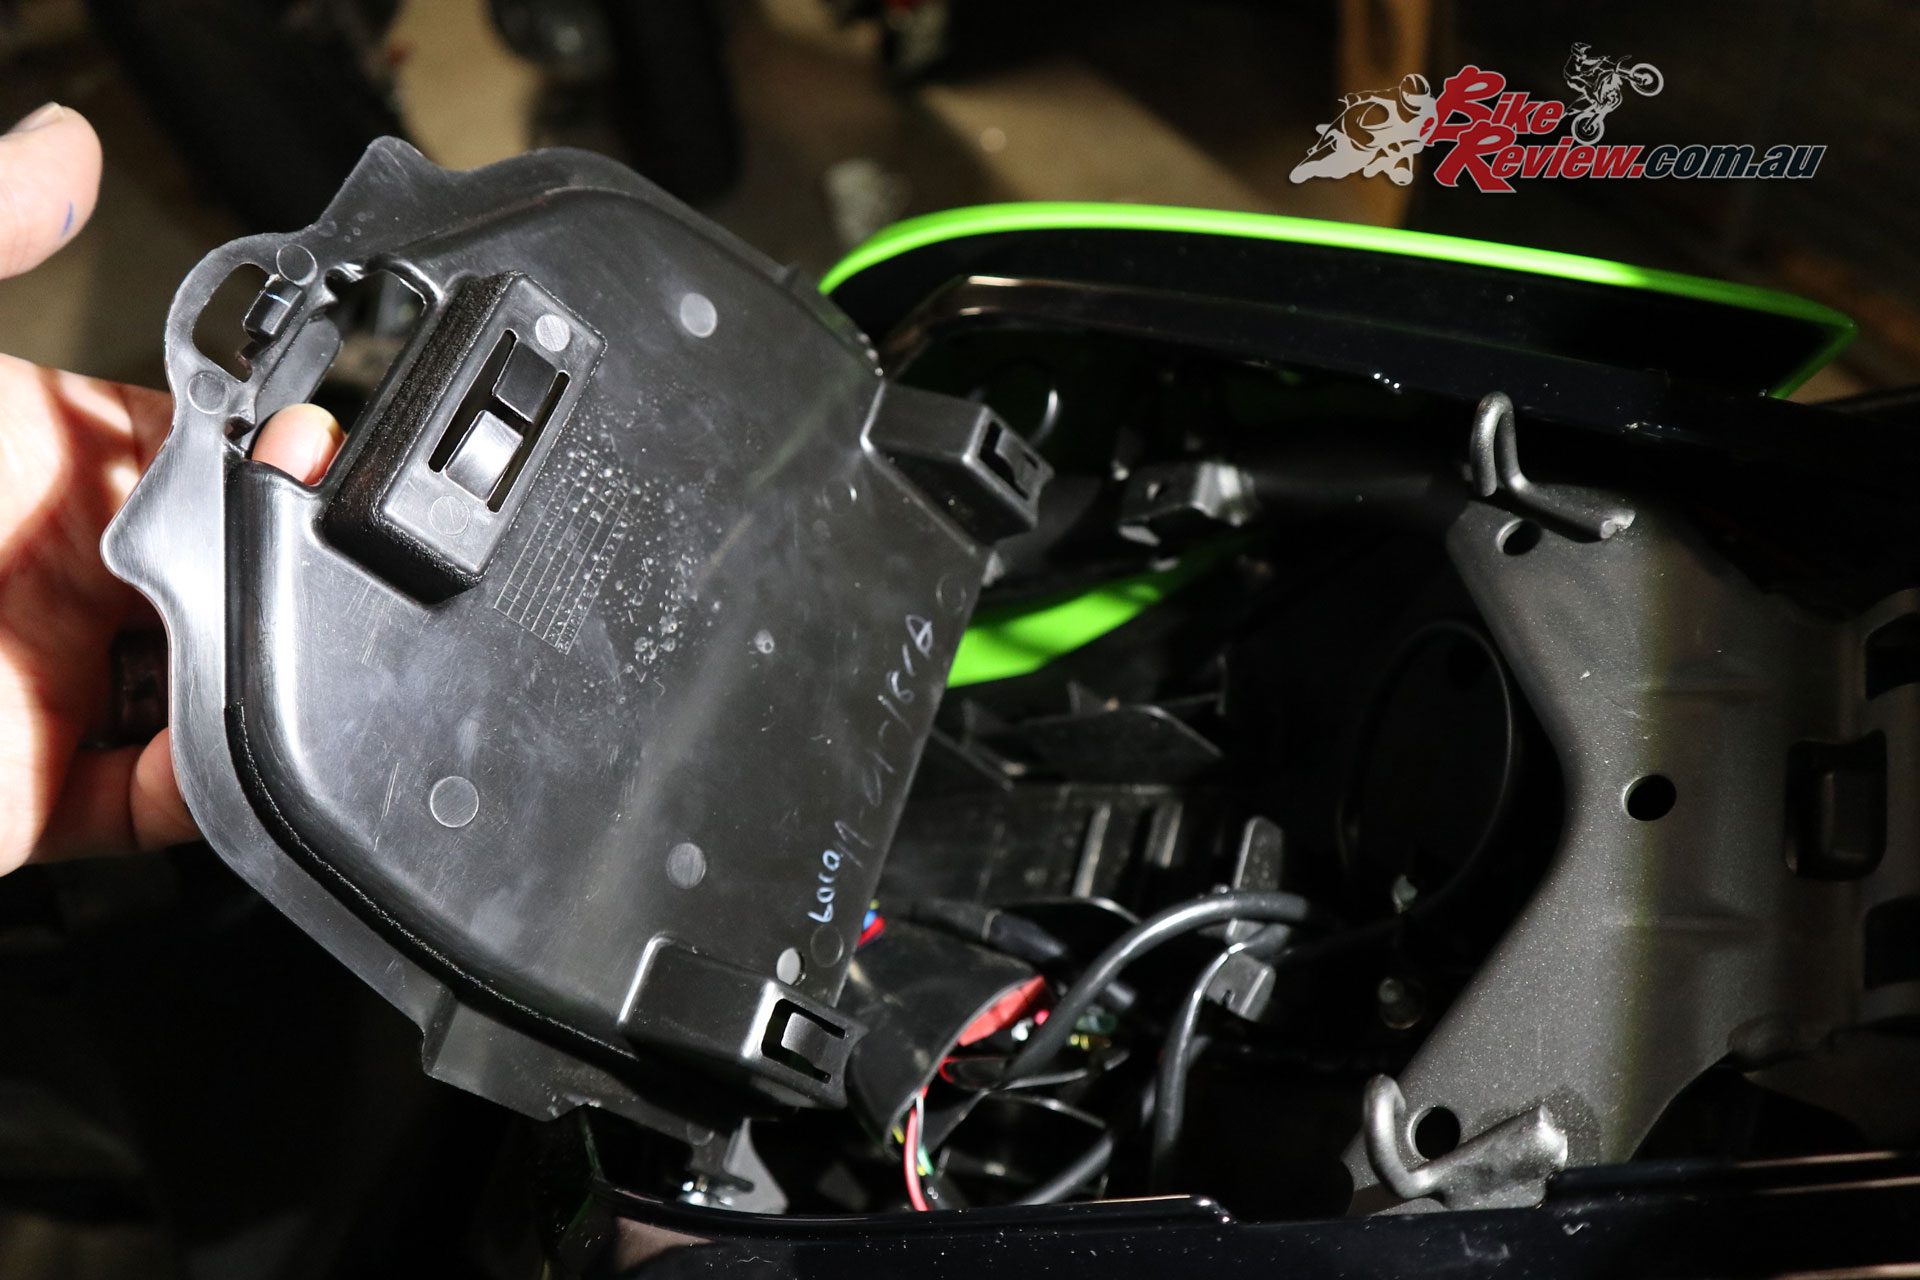
Start by removing the pillion seat to gain access to the wiring hidden beneath, and the fender mounting bolts. There’s a small plastic panel that will hold a phone, that you can lift to access where the wiring is routed, and those mounting bolts.
Disconnect the indicator plugs and rear tail light plugs. These all are routed up out of the fender and are easily recognised from the tail light plug, which you don’t need to touch.
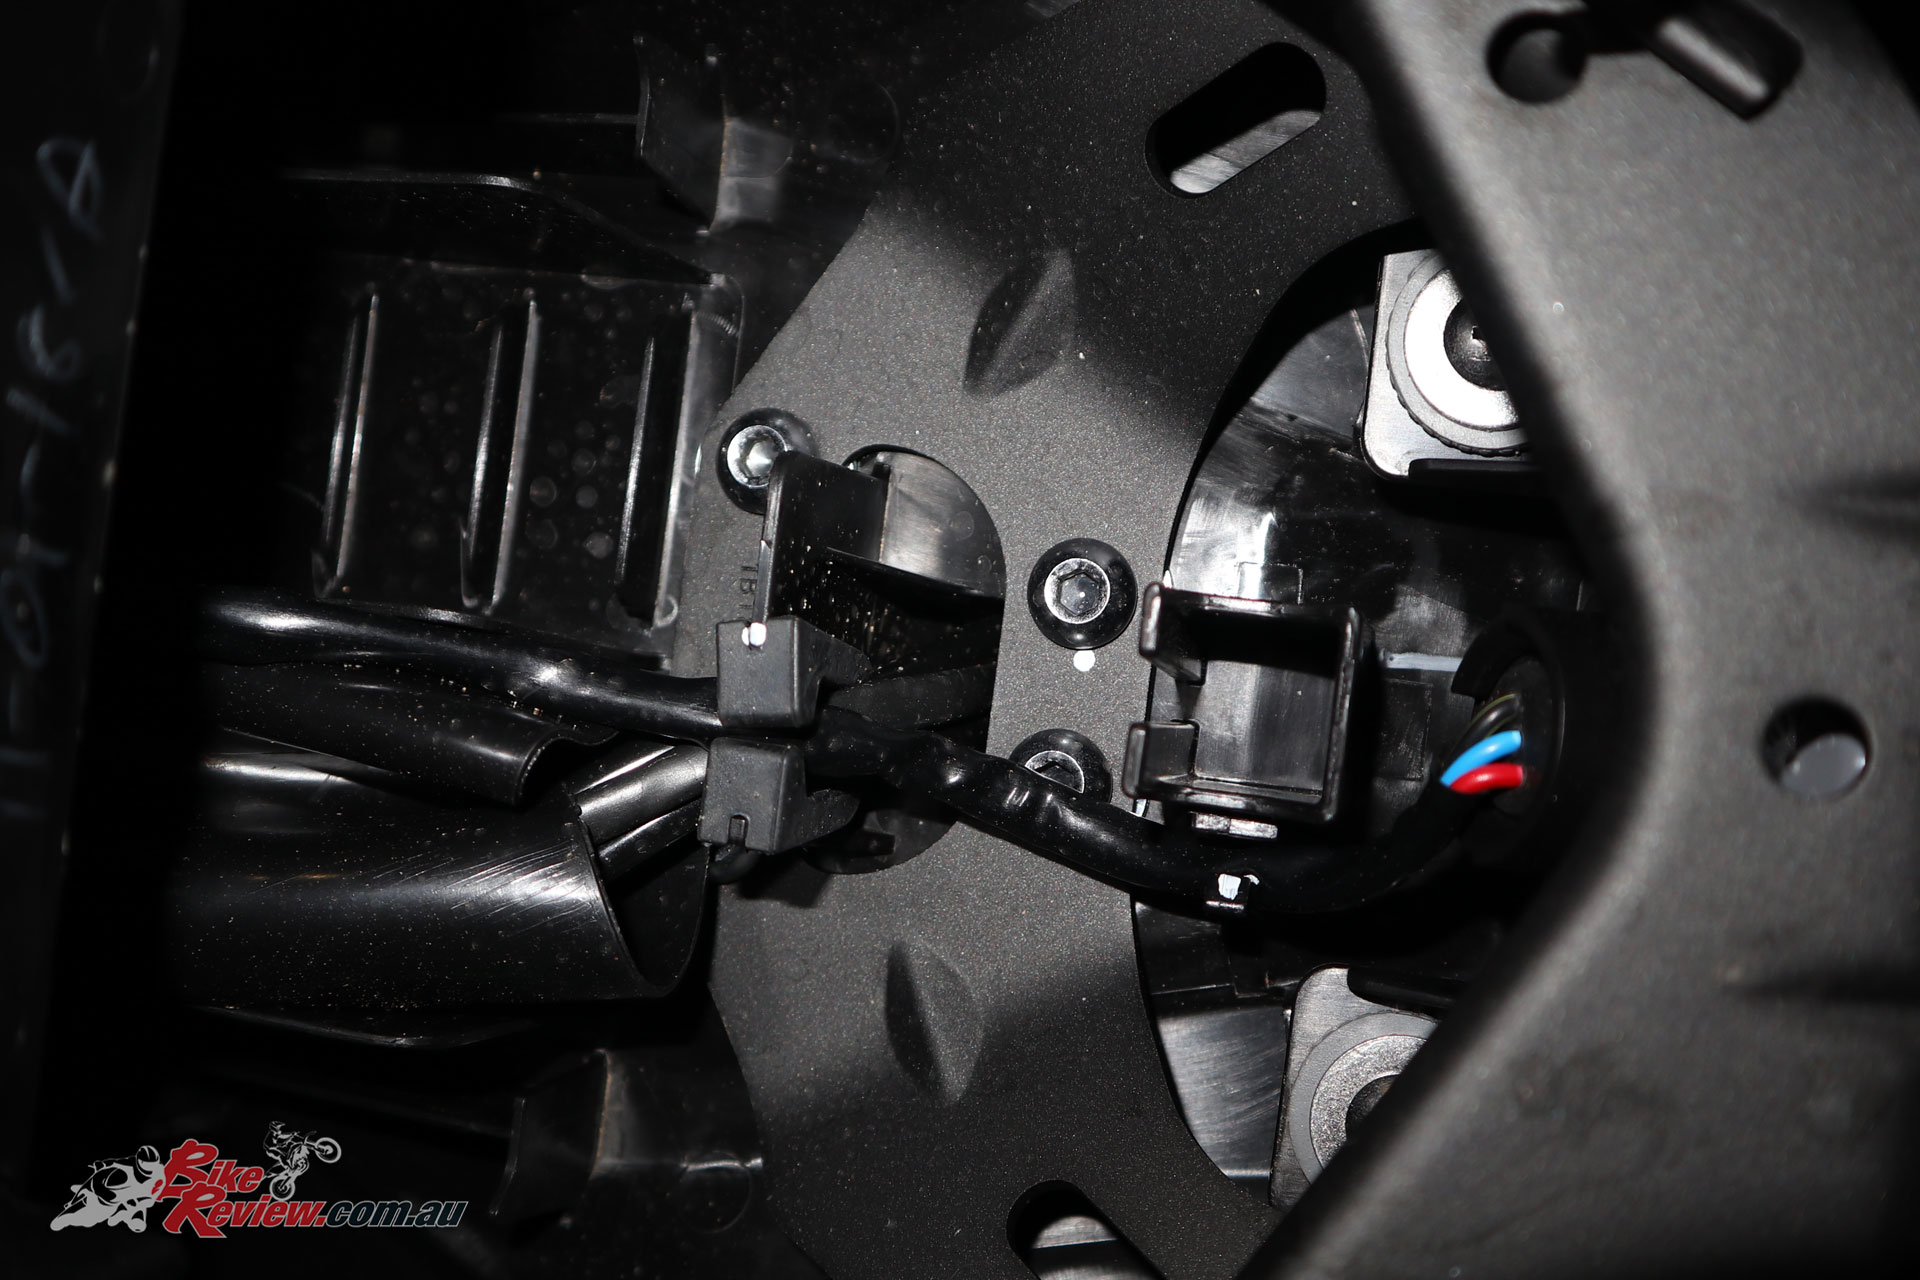
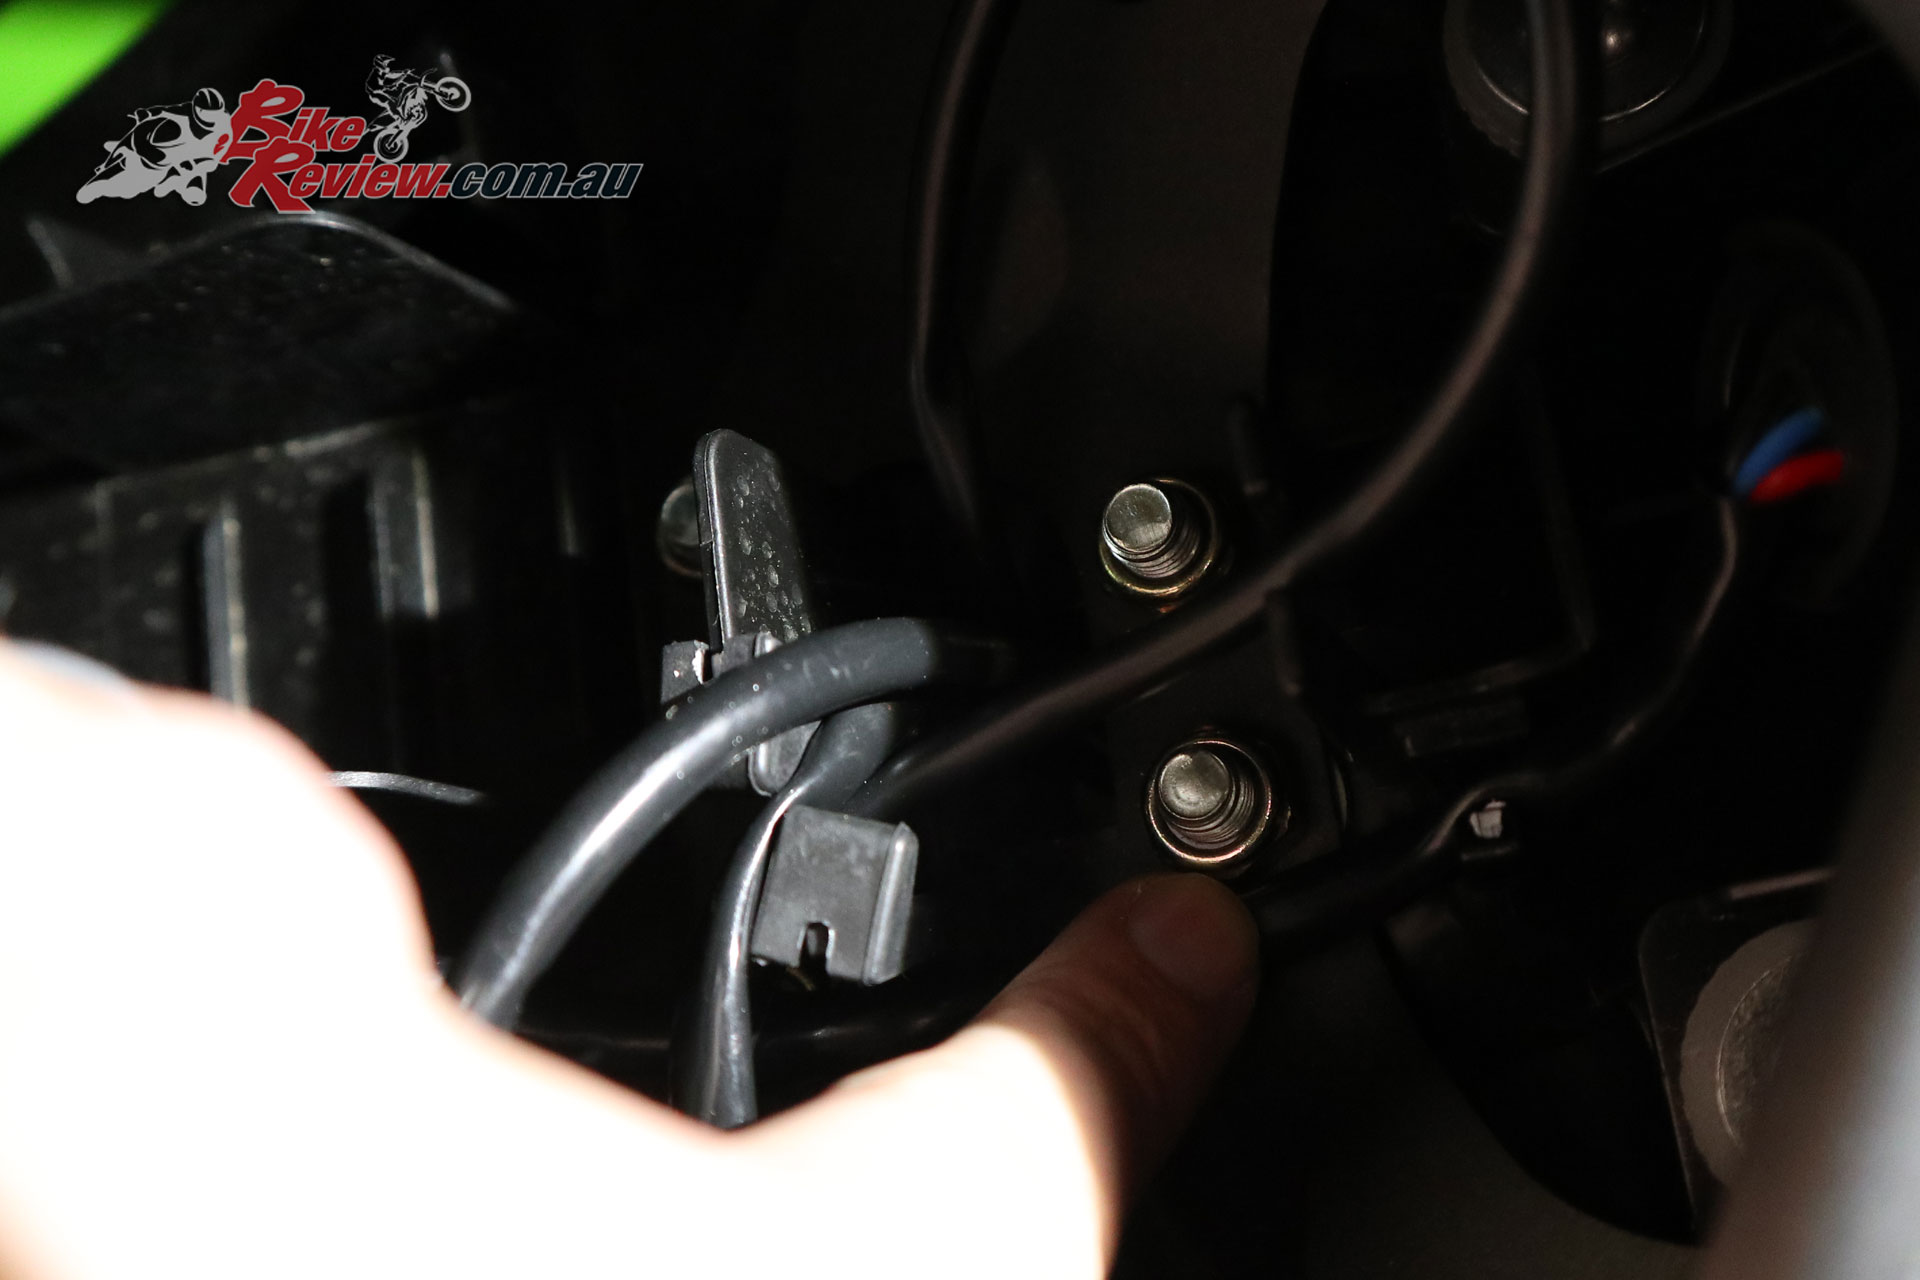
Here you can see the original four mounting bolts for the fender. Note these bolt down into the stock fender. The replacements will bolt UP into the tail with nuts to hold them in place.
Identify the four fender mount bolts as well. These can be undone, releasing the stock fender. Route the wires and plugs down out of the tail to remove the fender, don’t force them through in case you pull a plug off.
With the stock fender off, dismantle it to get to the stock indicators. These are held in place by a metal retaining plate, with a screw, and underneath this is another plate that is pushed into the rubber of the indicator boot, expanding the rubber and holding it in place. I had to bend the stock fender open to get a screw driver in, and still shredded one of the screws.
Here’s the stock indicator connected into the Oggy Fender Eliminator. See the inner metal plate and the outer metal plate.
These fit directly into the Oggy FE, just replace them in the same fashion as you removed them. Also fit the FE licence plate light using the provided small bolts. Finally remove the license plate from the old fender and fit to the Fender Eliminator, using the bolts and Nylock nuts.
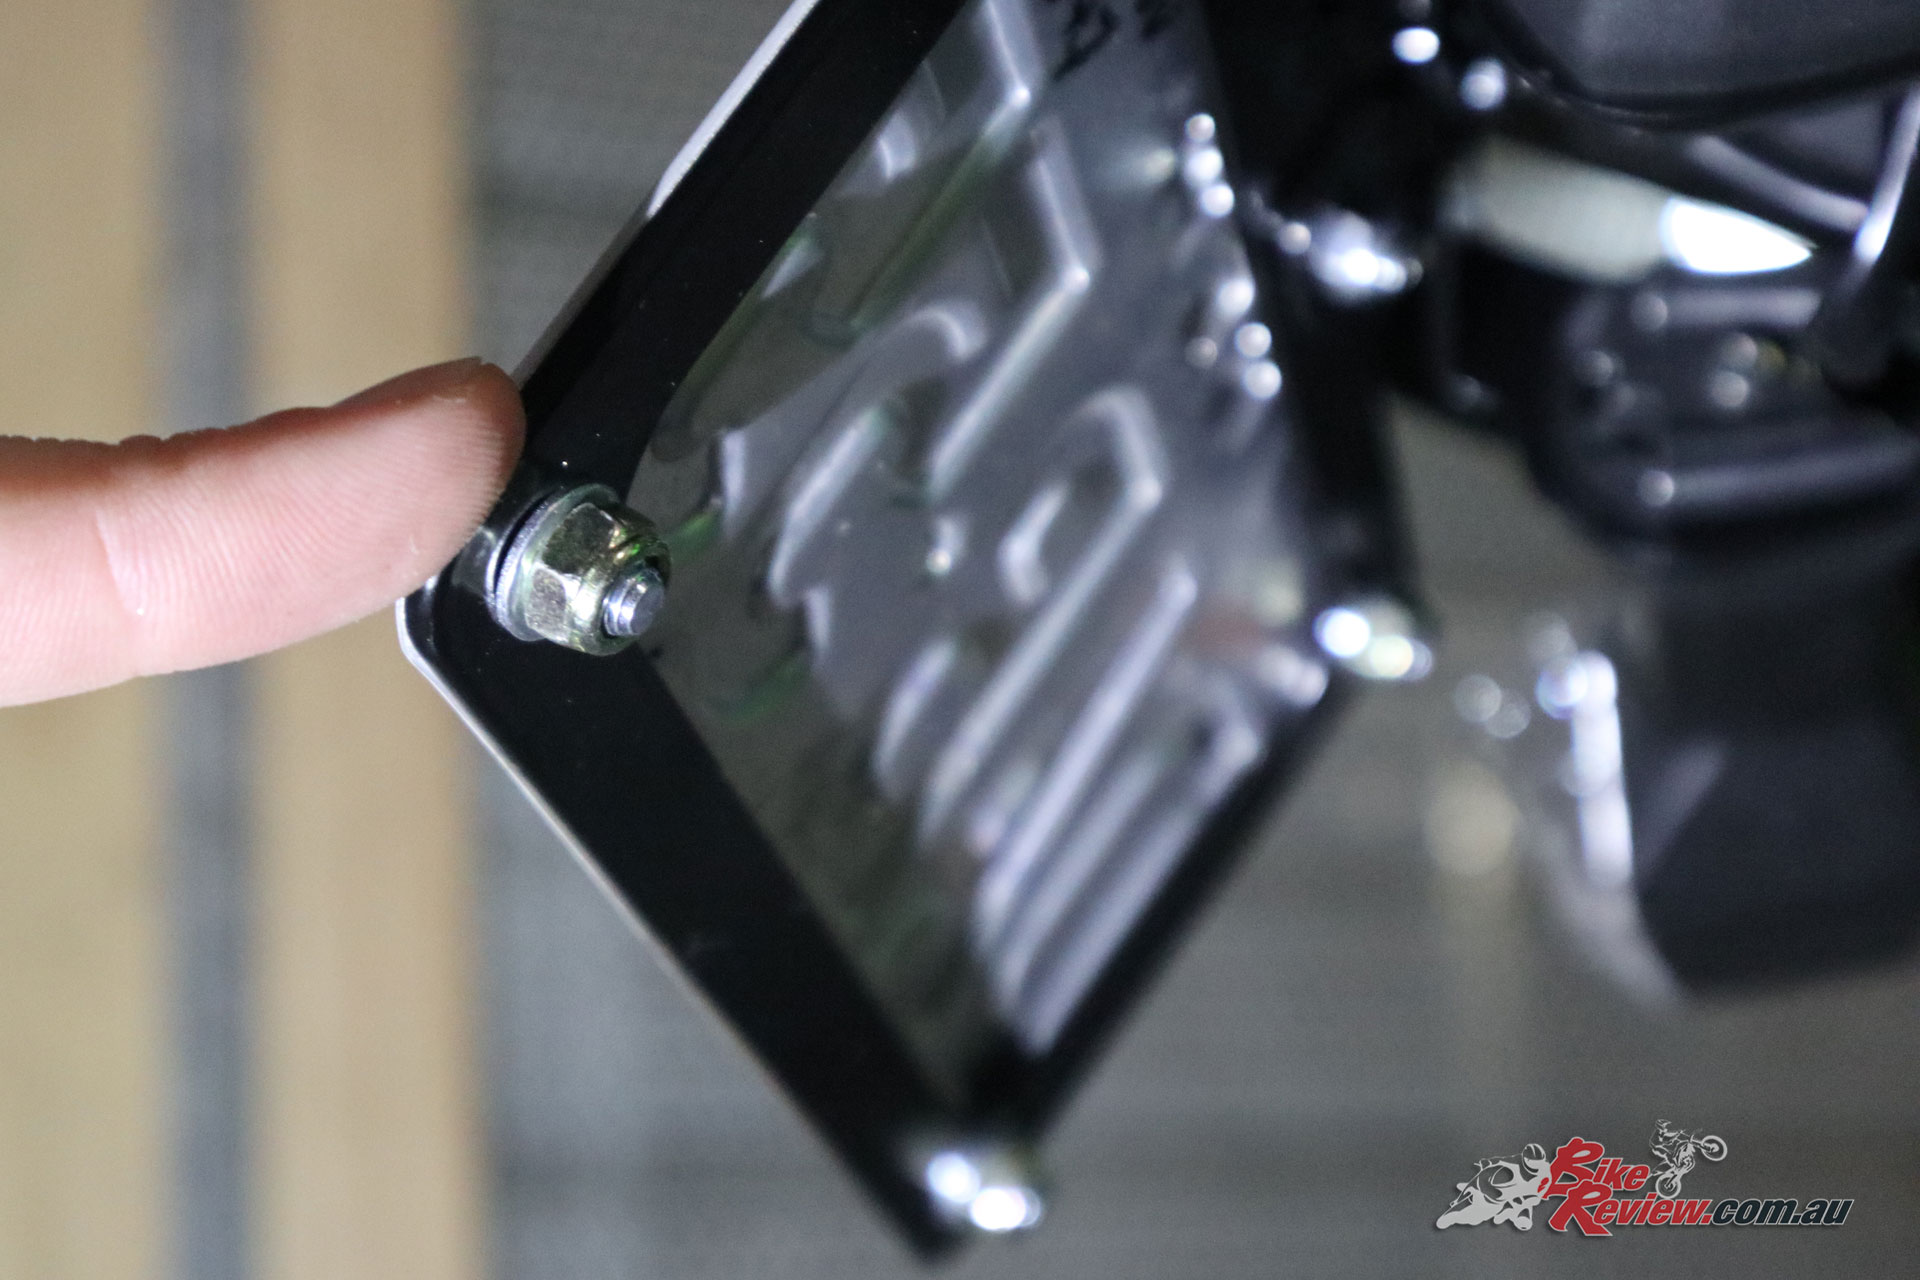
Also bolt the license plate onto the new FE.
The Fender Eliminator should now be fully assembled. I cut the original plug off the license plate light, and spliced it onto the wires for the FE version.
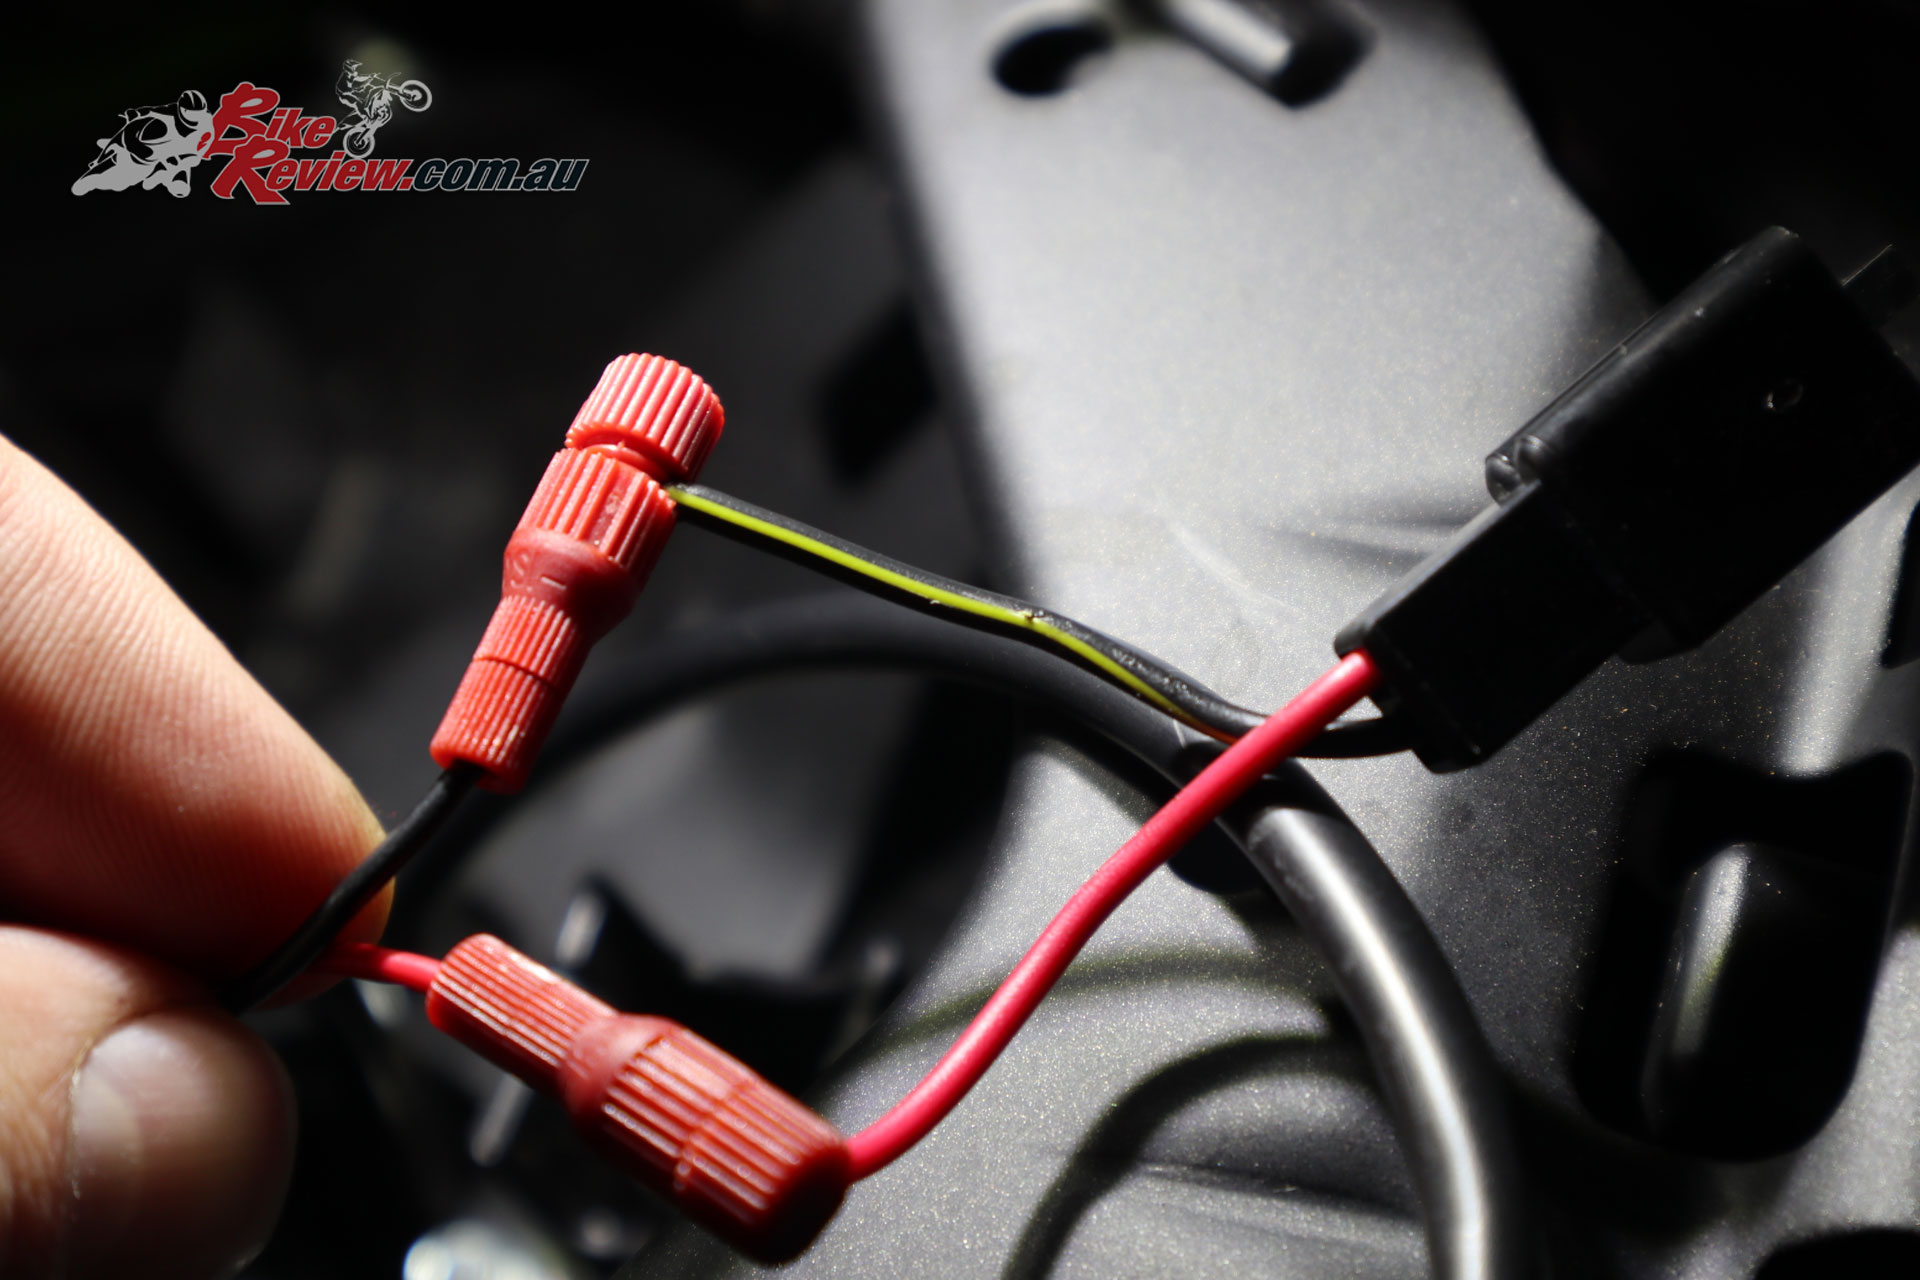
I used the provided connectors with the plug off the original plate light.
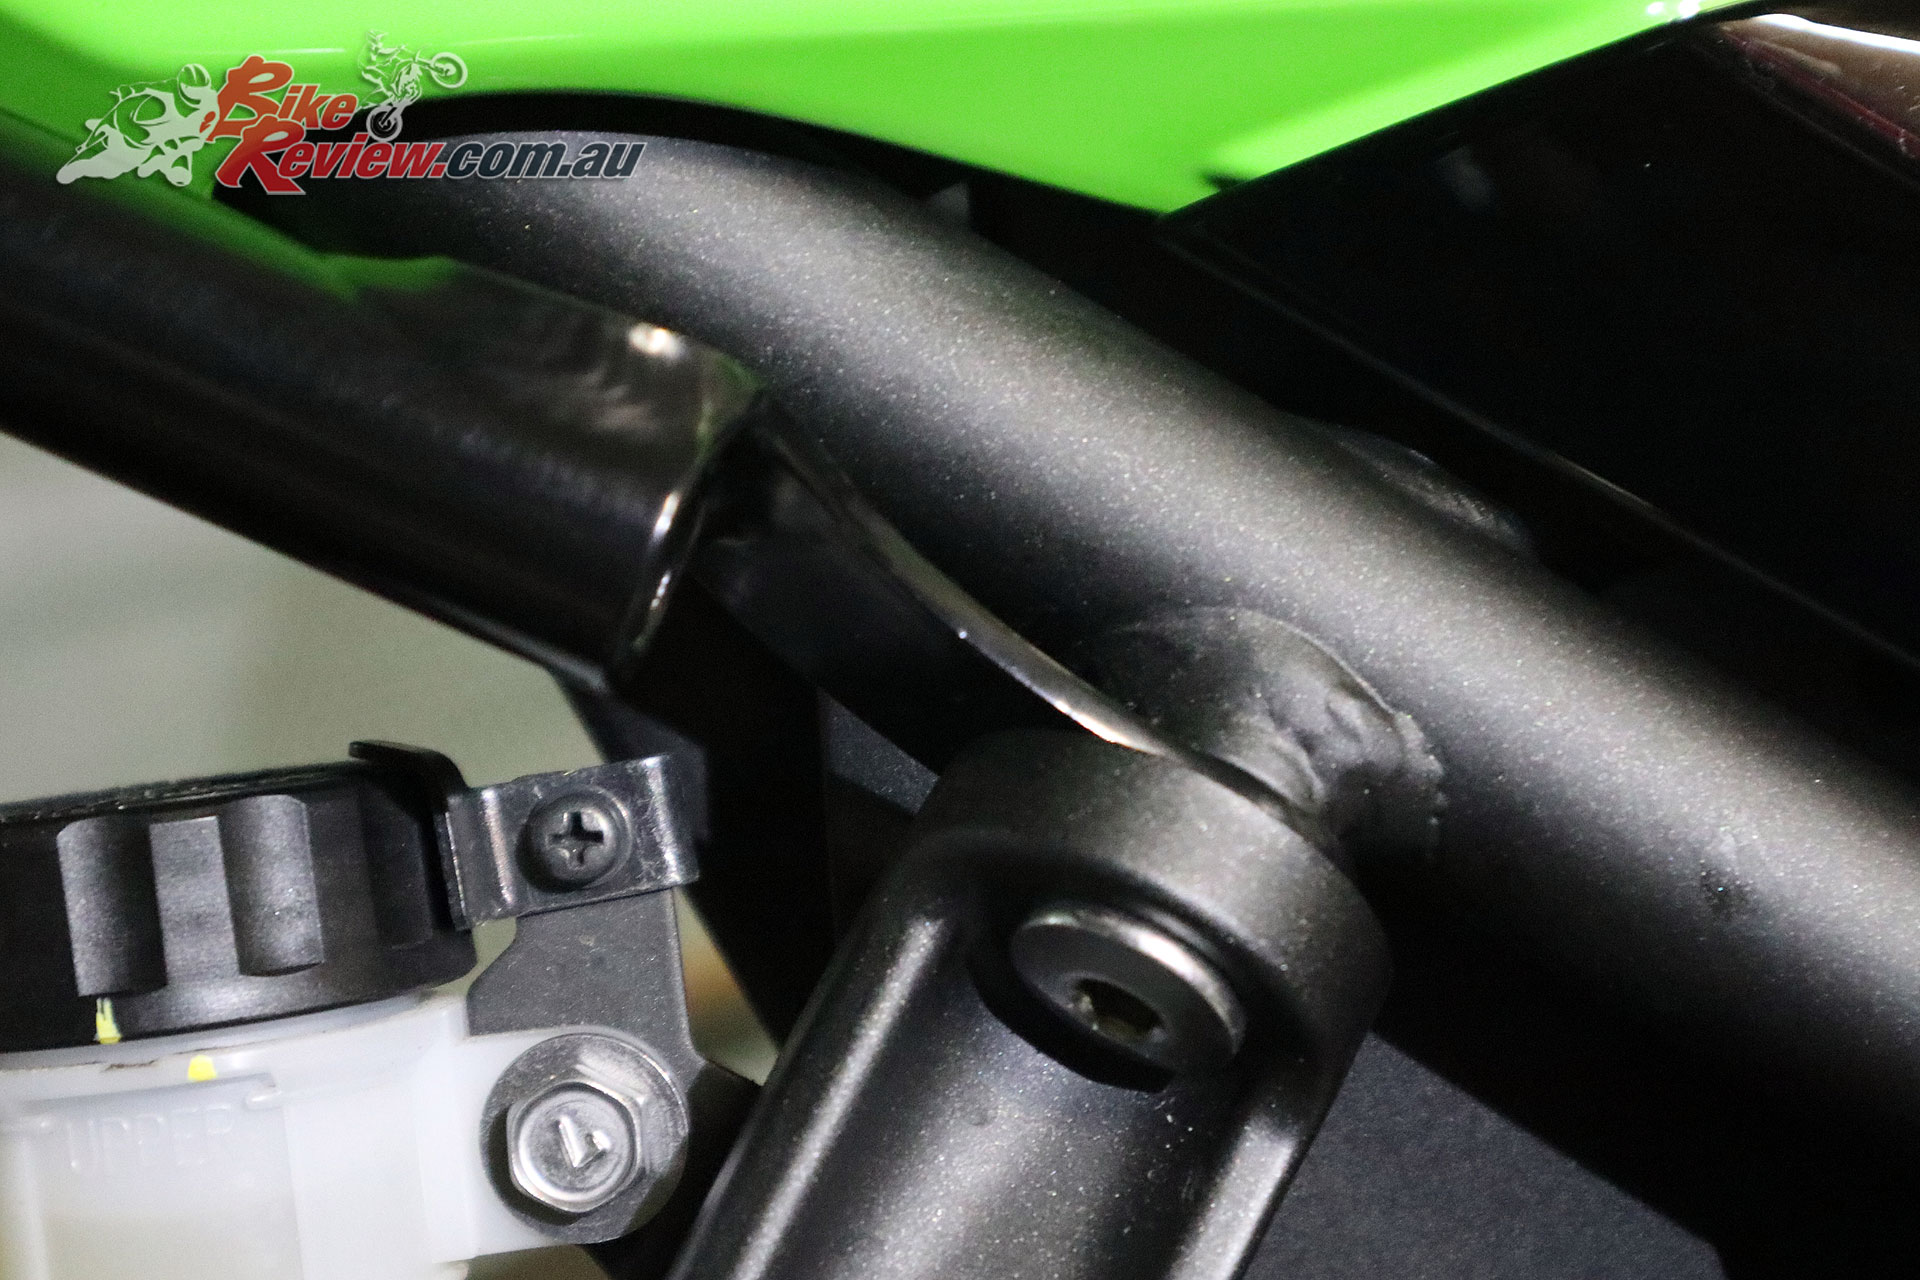
Route the indicator wires and plugs, and the plate light wires and plug back up into the tail and connect them. Then add the two bolts closest to the tail (rear of the bike) with provided washers, and the nuts which go on the inside of the tail. Just keep them slightly loose.
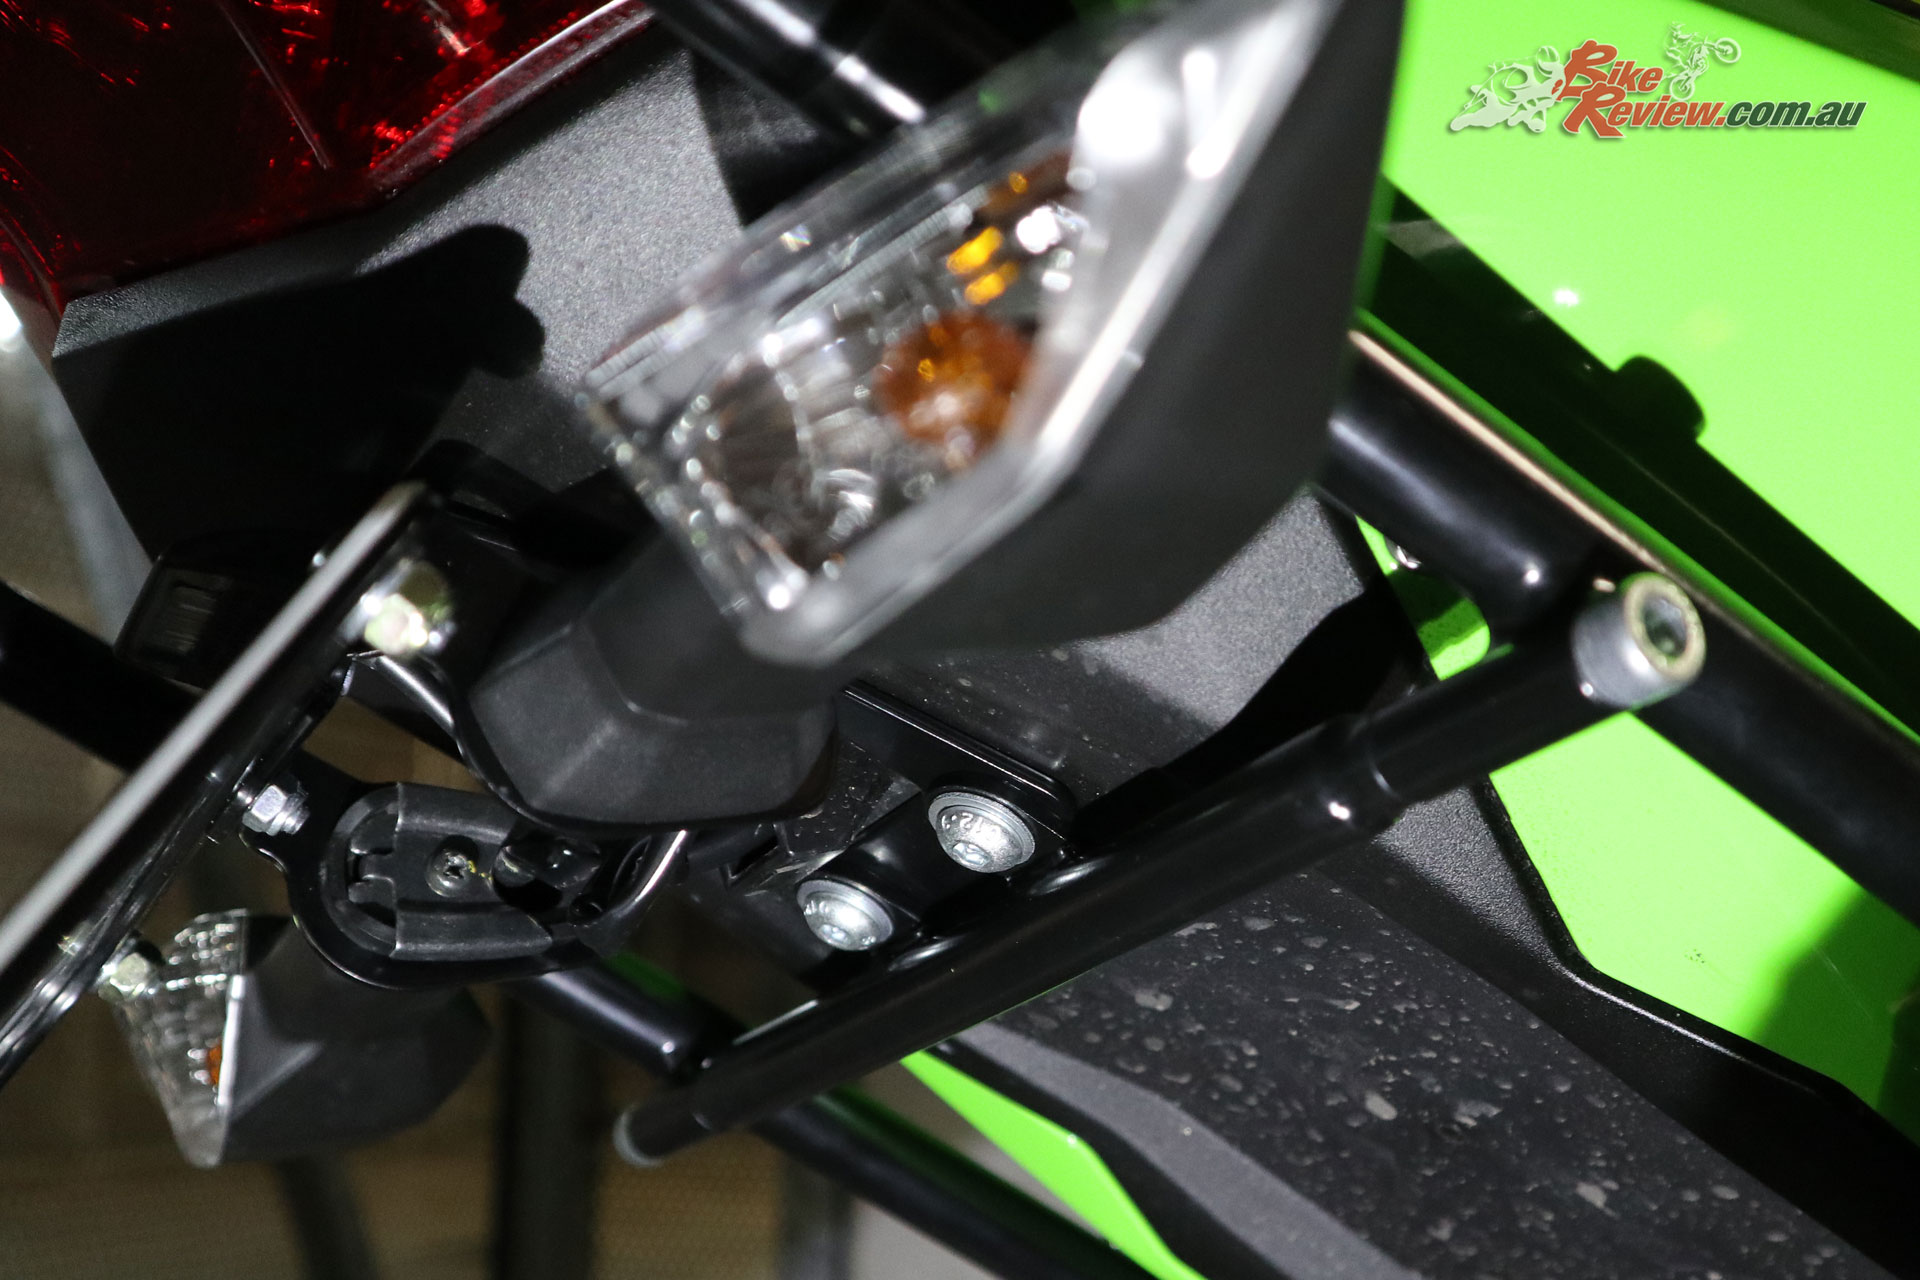
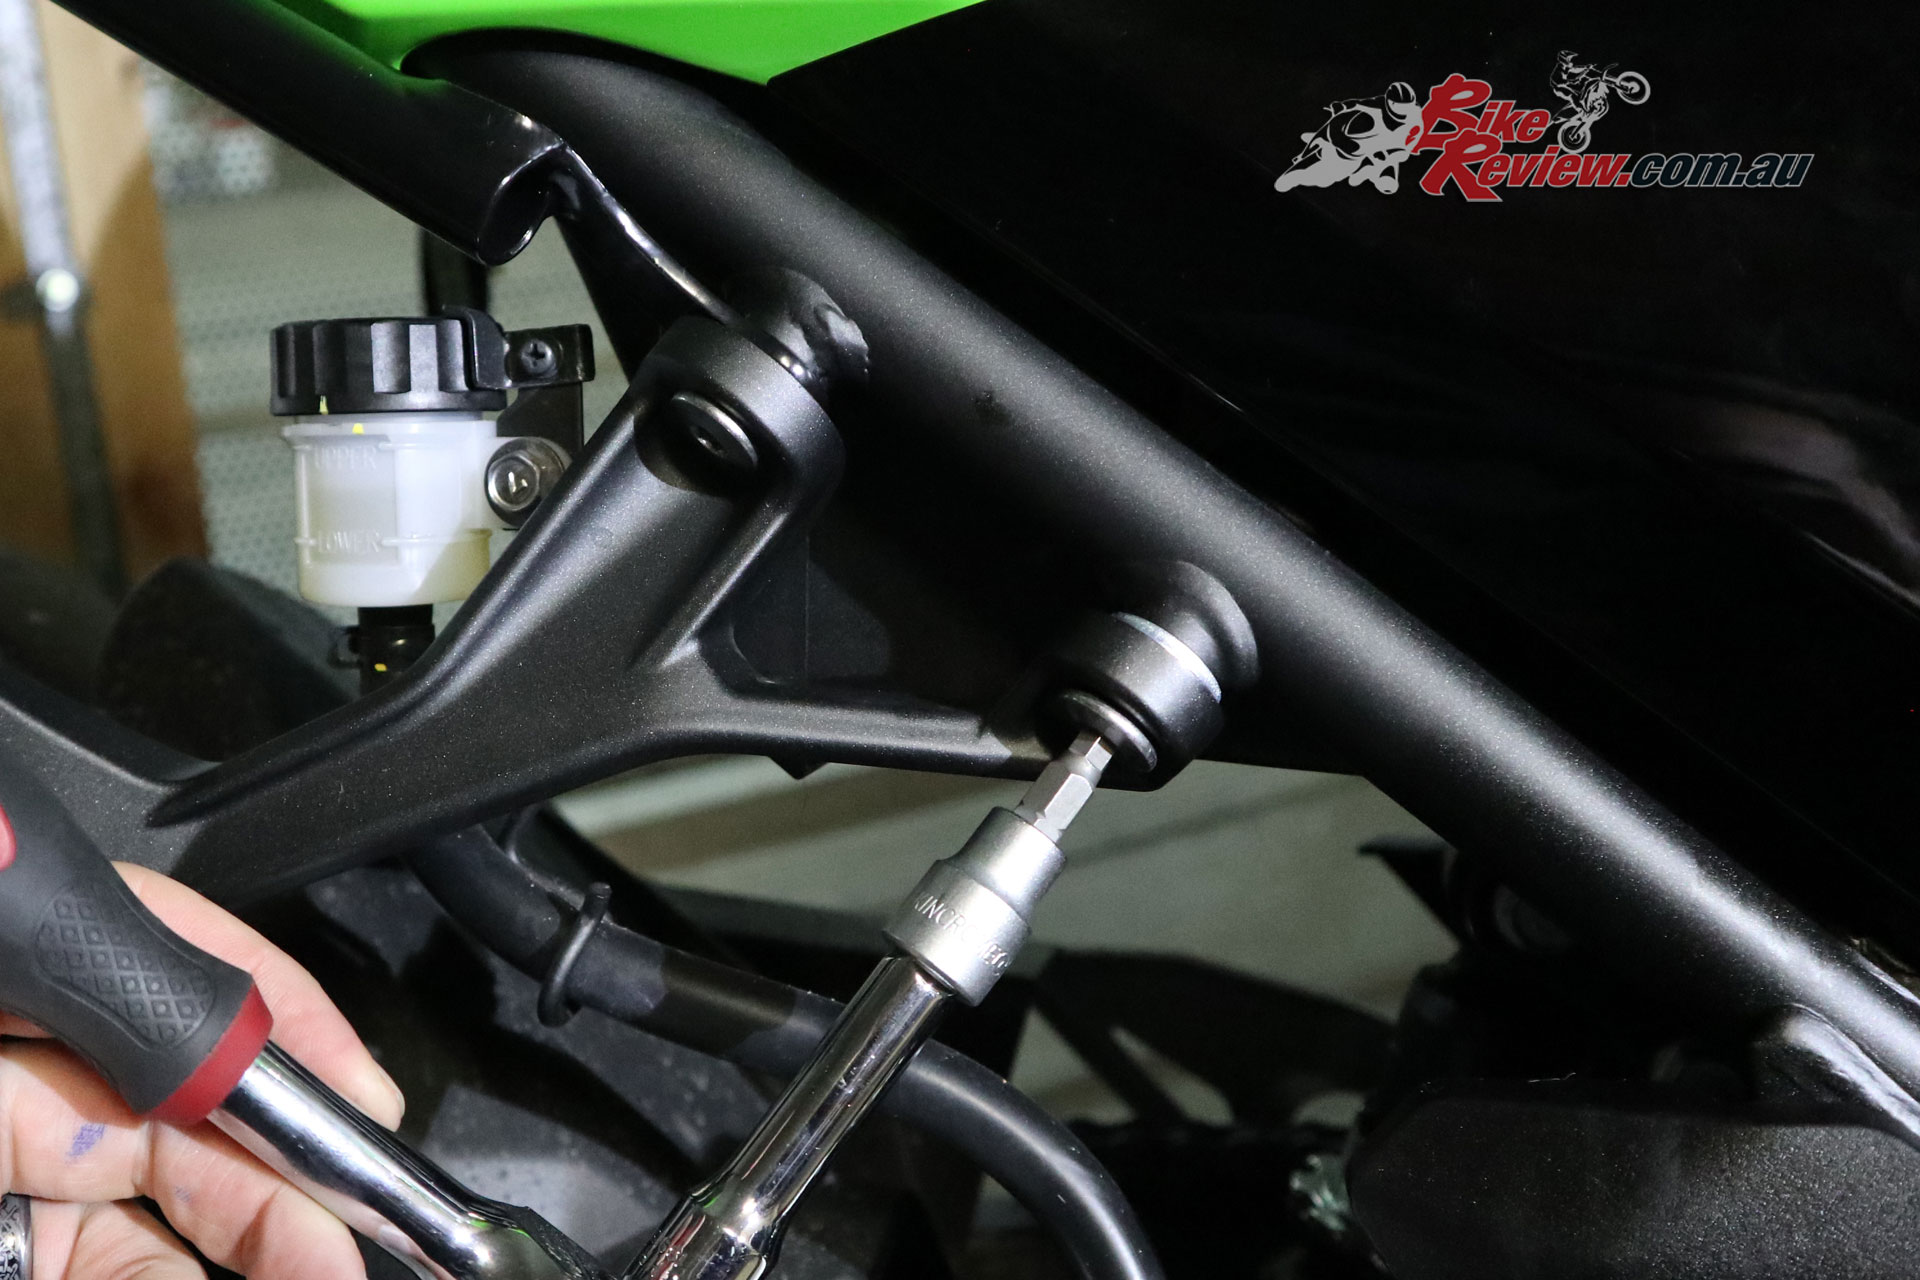
Hard to see here, but the first two bolts to add are further back. Next we’ll also add the final two bolts clearly seen here, holding the cross member for the Ventura L-Brackets in place.
Remove both pillion peg brackets, keeping in mind the right side also holds the exhaust. Replace the bolts closest to the front of the bike, adding the spacer provided, which goes between the pillion bracket and the frame.
Inside the tail you can see the nuts you’ve added to the Fender Eliminator mounting bolts.
Now grab the L-Bracket cross member, it’s essentially a pole with a mounting plate on the middle, and bolts into the two remaining mounting points for the new Fender Eliminator. Again don’t overtighten.
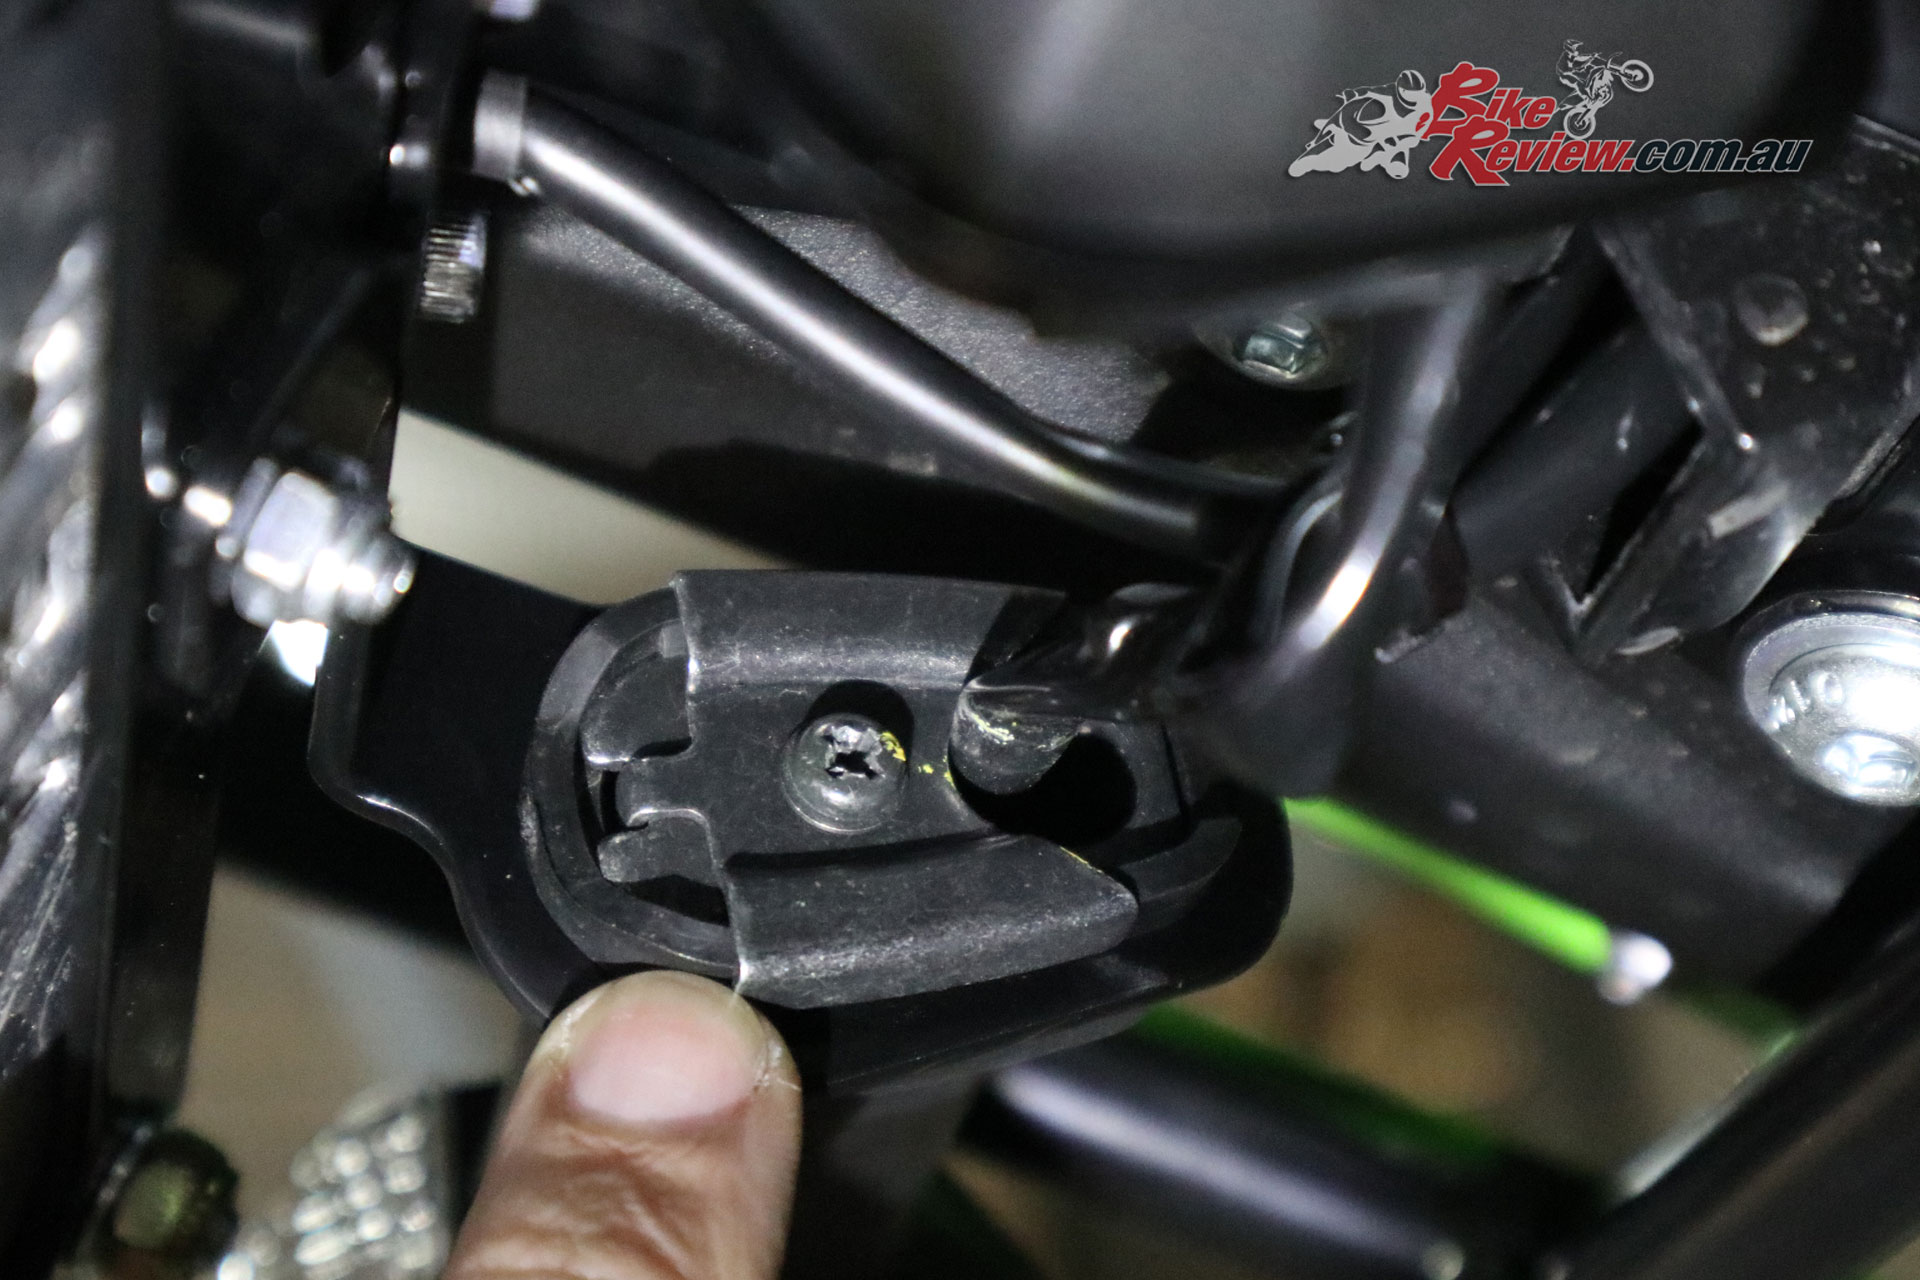
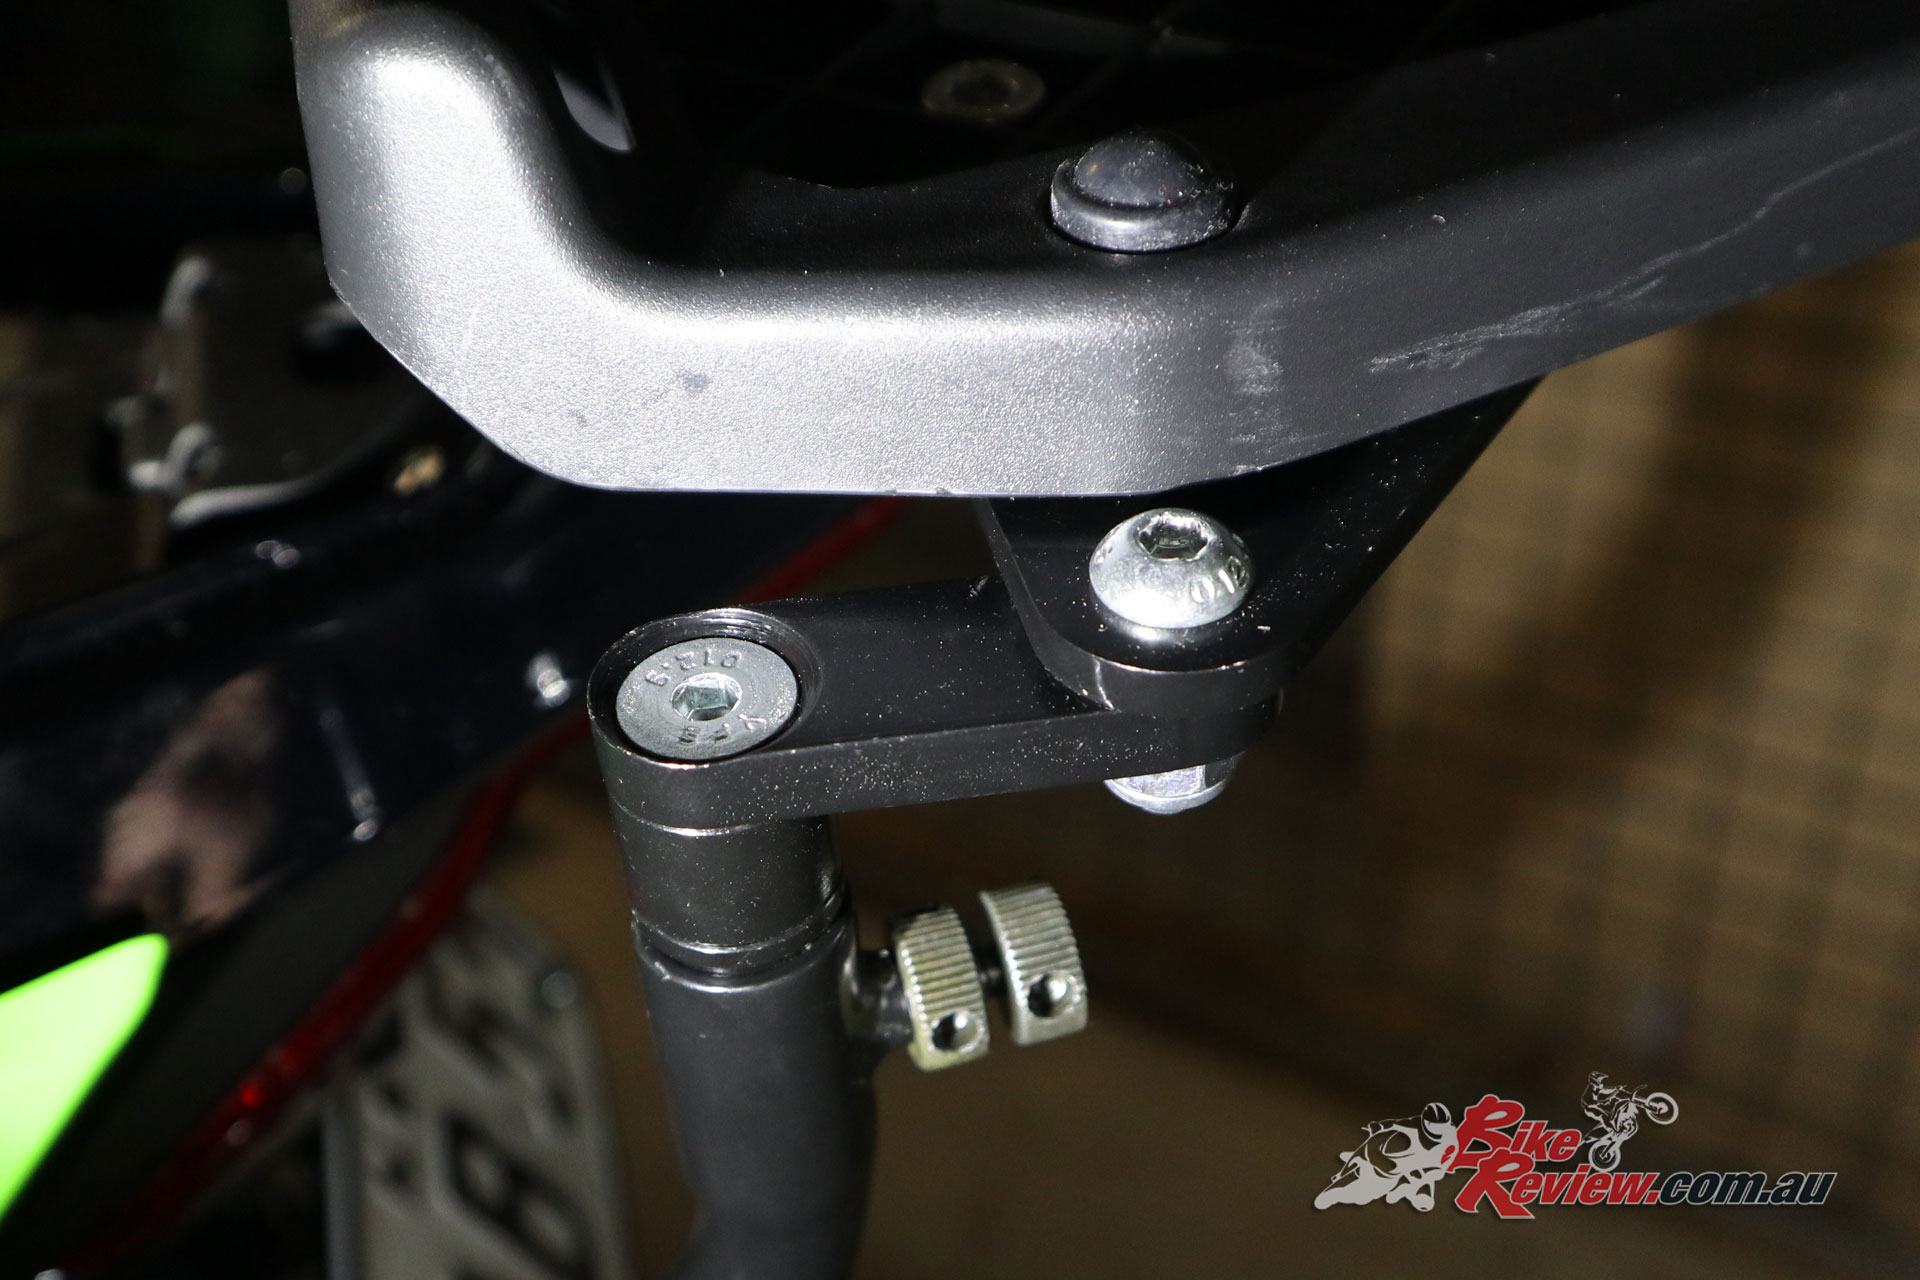
Here you can see the thin/flat end of the L-Bracket properly in place.
The L-Bracket’s thin, flat end now mounts to the rear pillion bracket mounting point, also between the bracket and the frame. The L-Brackets only fit properly one way, so make sure you’ve eye-balled it to get it right. If it looks totally wrong, switch them around.
Here you can see on the left the L-Bracket under the pillion bracket, and on the right the space (thick silver washer) at the other end, which keeps the spacing right. Don’t tighten fully.
Then add the bolts on each side to connect the L-Bracket onto the cross-member you’ve just bolted on at the Fender Eliminator. Keep everything loose still.
Now assemble the Coocase mounting plate mounts as per the instructions. If you’ve chosen a different Ventura Rack and Bag combo, you’ll have a rear rack you can simply slot into place. With the mounting plate mounts together, put them into place on either side, and add the mounting plate.
Assemble the plate mounts – these connect into the L-Brackets and are held in place by the bolt with locknut below.
Line up the plate mounts with the mounting plate, so that you’ll be bolting it into place in the same locations on each side. Then add the washers provided to those specific mounting points, then the bolts provided. The plate mounts are threaded, so you’ll just tighten the mounting plate down onto them.
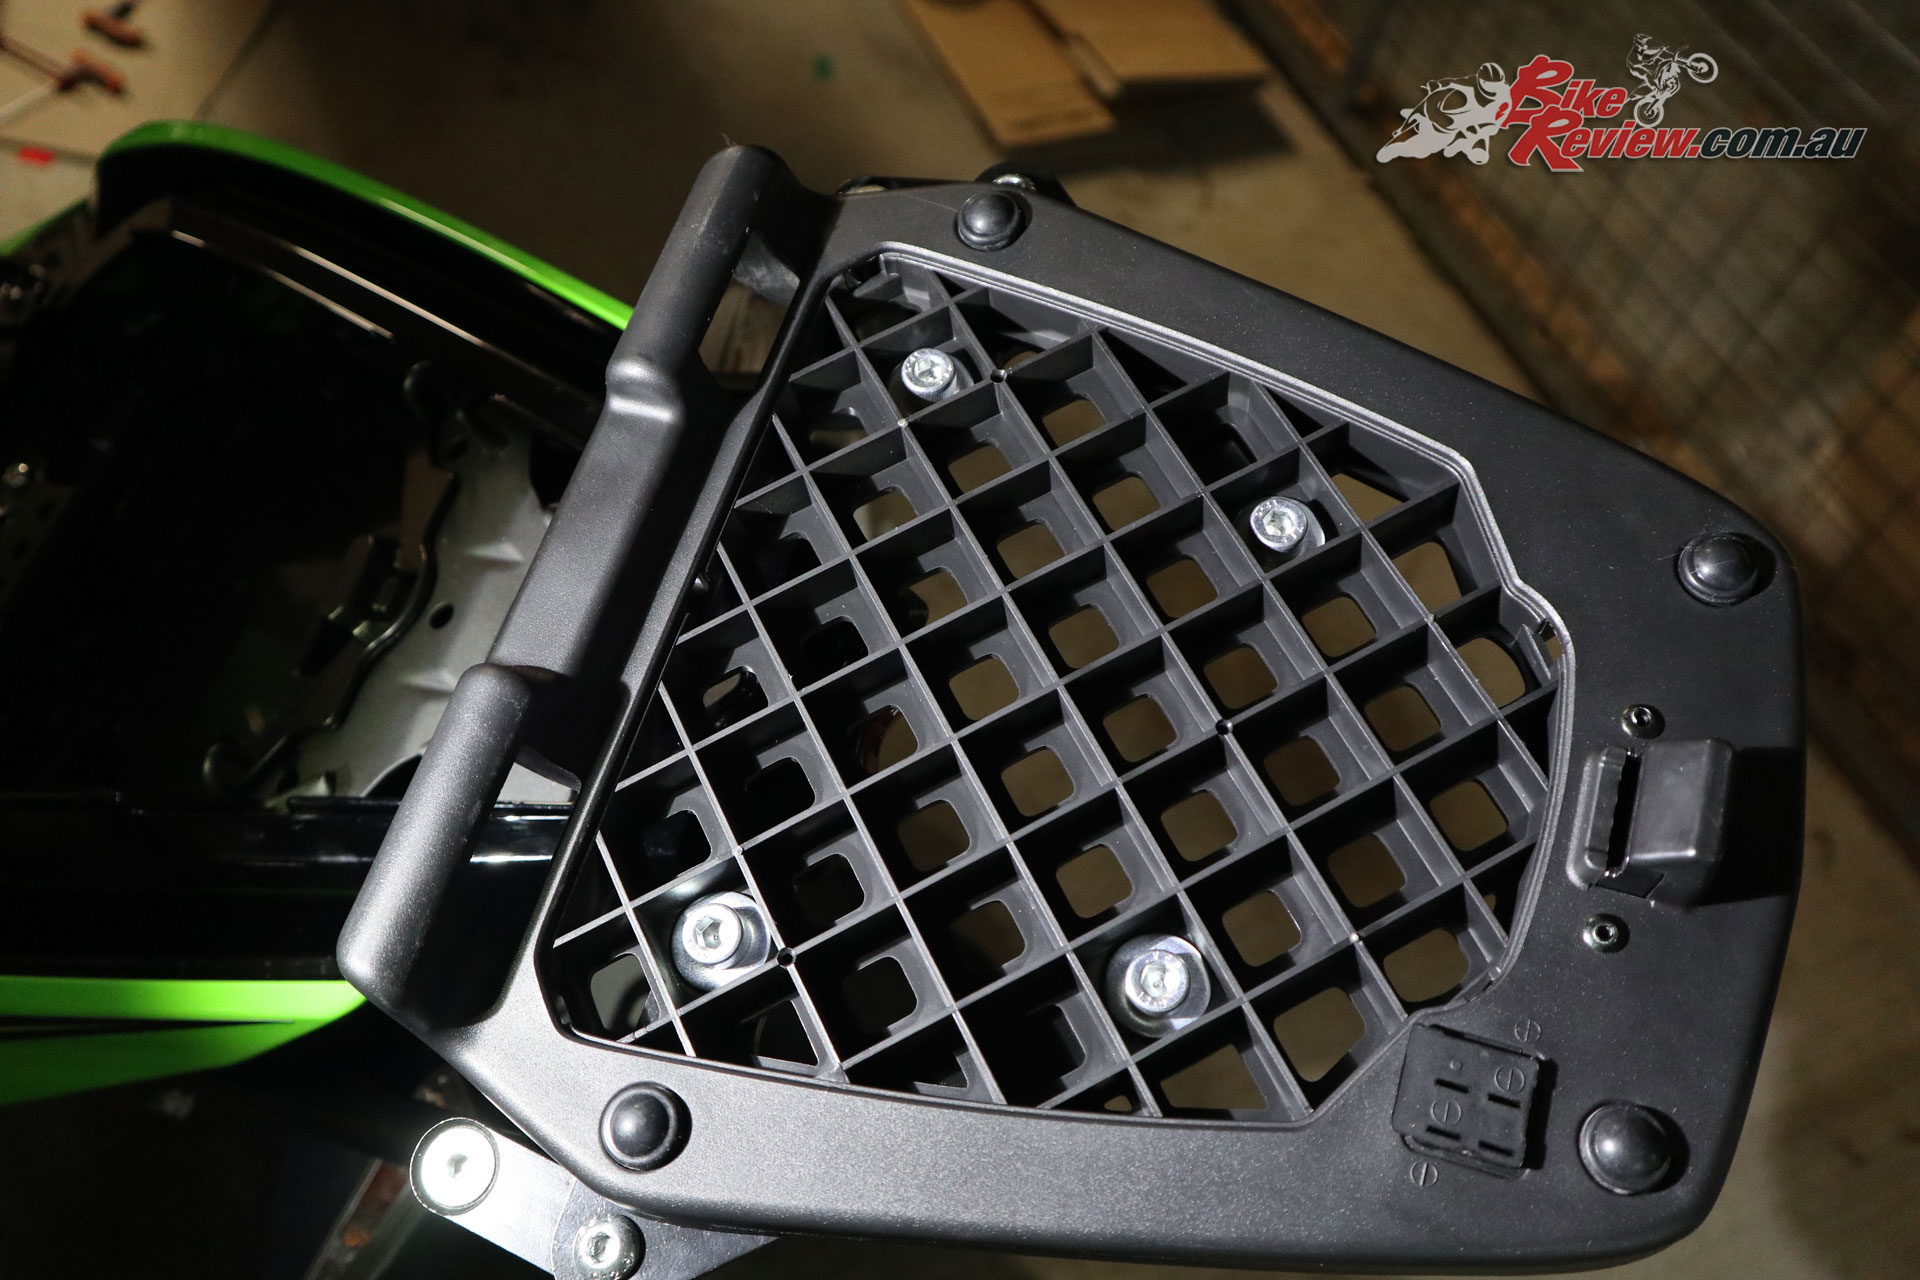
Line up the mounting plate so that the bolts into the plate mounts below are the same on each side. Don’t forget the round washers.
Note: The plate mounts are the V-shaped metal assemblies. The mounting plate is the big plastic top box mount which bolts over them.
With everything now in place and aligned, tighten the Fender Eliminator bolts (all four), then move on to the two bolts at each pillion peg bracket, then move back to the cross-member (one bolt each side), followed by the plate mounts (two each side) and mounting plate bolts (four on top).


Just be careful with the final two, that you don’t end up with the mounting plate at some weird angle.
Give everything a final check to make sure they are tightened appropriately and check that the indicators are plugged in correctly and working, as well as the plate light.
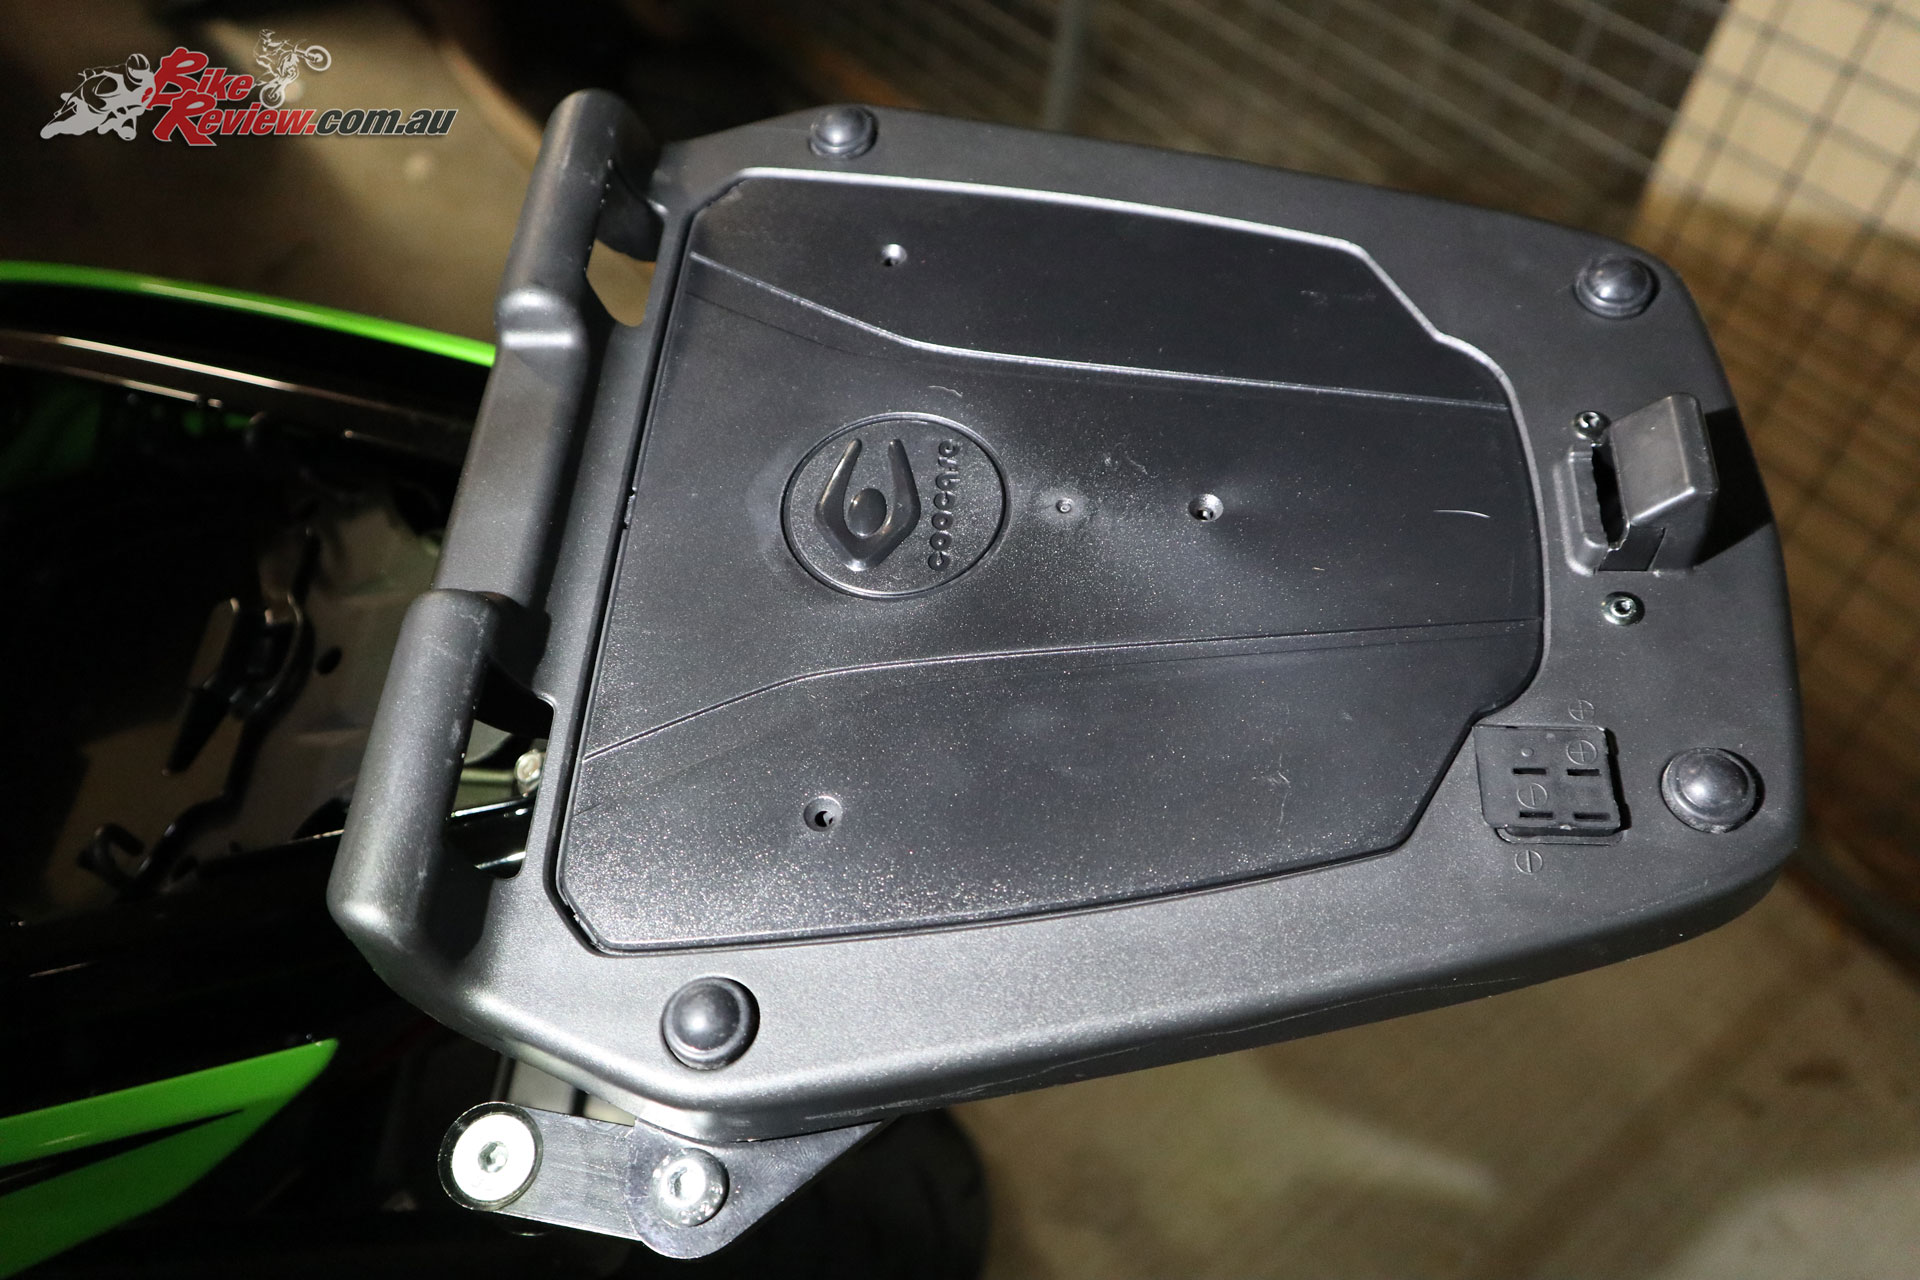
Everything cleans up nicely with the final cover.
With this done, place the plastic cover over the mounting plate for the topbox, hiding the four bolts, and push the plugs from the fender into the rubber sleeve to protect them from water, then put the pillion seat back in place.


Now just grab your Coocase, remove the keys from the envelope included, and unlock it, then slide it into the back of the mounting plate, then press the key side down until it clicks into place.
The foam/fabric liner should fit into place pretty easily, and you’ve got the Coocase 36L Wizard Coocase ready to take a helmet and possibly a light jacket and gloves.

Push the foam/fabric inner into place and you’re set!
You’re now ready for pretty much anything, enjoy that new luggage capacity, and if you want something to clean up the rear of the bike when you don’t need to full Coocase, think about grabbing a Ventura Grab-Rail, or a little EVO-10 rack with Sports Pack.
We wouldn’t go any larger with the Coocase on this size bike, but on a large machine you could opt for a case that fits two helmets.
Ventura, Coocase and Oggy Knobbs (Promoto) are available from all good motorcycle stores, or check out the Kenma Australia website for the full range and pricing.