We fit some bling to our Long Term MT-07 Tracer (LAMS) with Gilles Tooling Billet Levers, a Billet Oil Filler Cap and Comfort Seat, all Yamaha genuine accessories.
You’ve probably read our last installment on the Long Term Yamaha MT-07 Tracer, where we fitted the Akrapovic Exhaust and Sub Cowl. Now we’re fitting the Billet levers, Oil Filler Cap, and Yamaha Comfort Seat. All these accessories are genuine Yamaha accessories and available through their dealership network.
The Comfort Seat and Billet Gilles Tooling Oil Filler Cap are both extremely easy installs. It’s as simple as removing the standard items and refitting the replacements.
The Yamaha Comfort Seat is a super easy install. If you’ve ever removed the original to check the battery or similar, it’s the same process but you just clip the new item onto place.
Levers are also generally a relatively easy job, although there’s a small complication when it comes to the MT-07 Tracer, due to the hand-guard/indicator assembly which is mounted with a supporting bracket that prevents access or removal of the lever pivot bolts.
This requires removing the mirror, bracket and screen (to allow for easy mirror removal), which adds a little time to the overall job, but it still super easy.
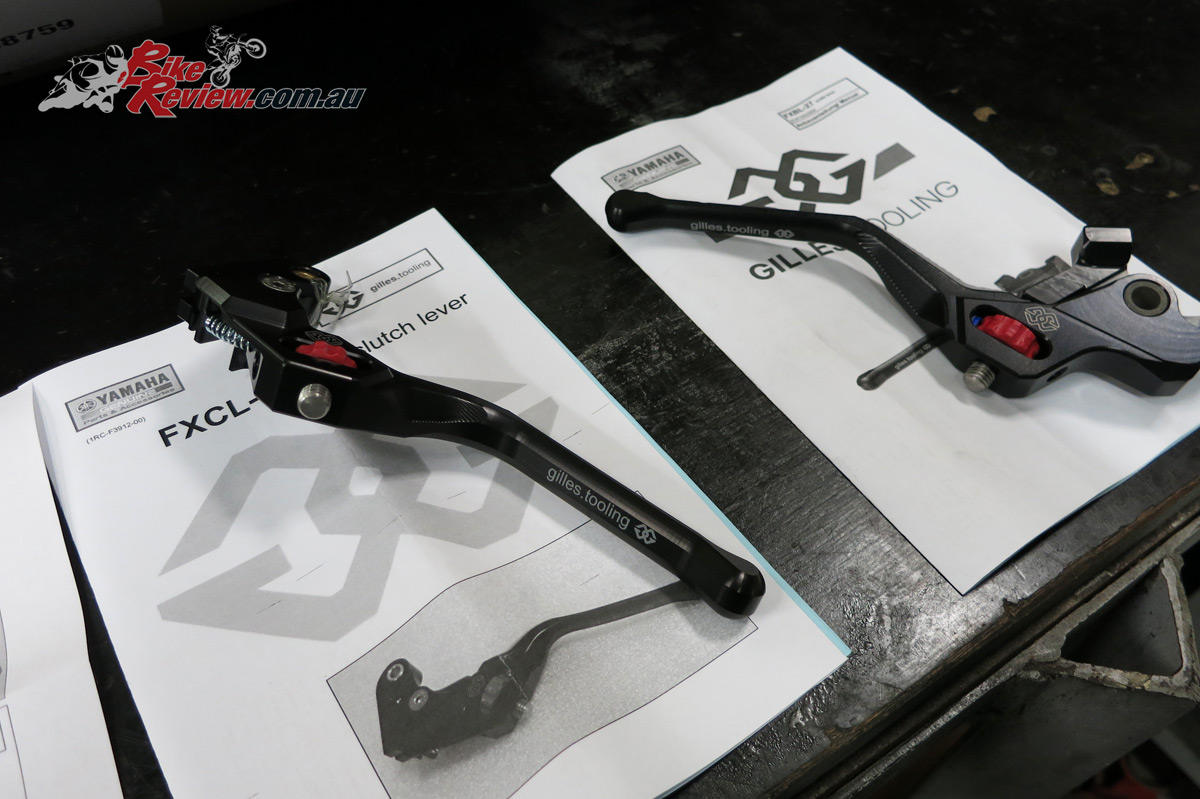
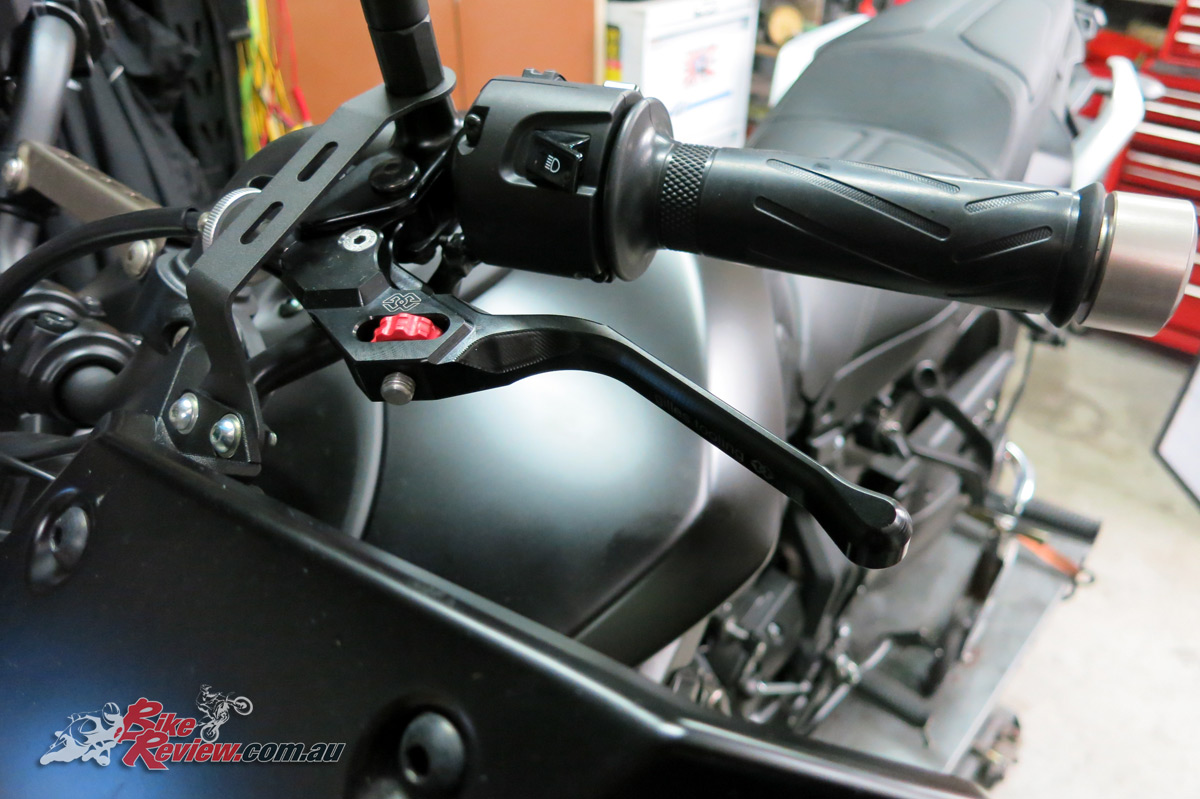
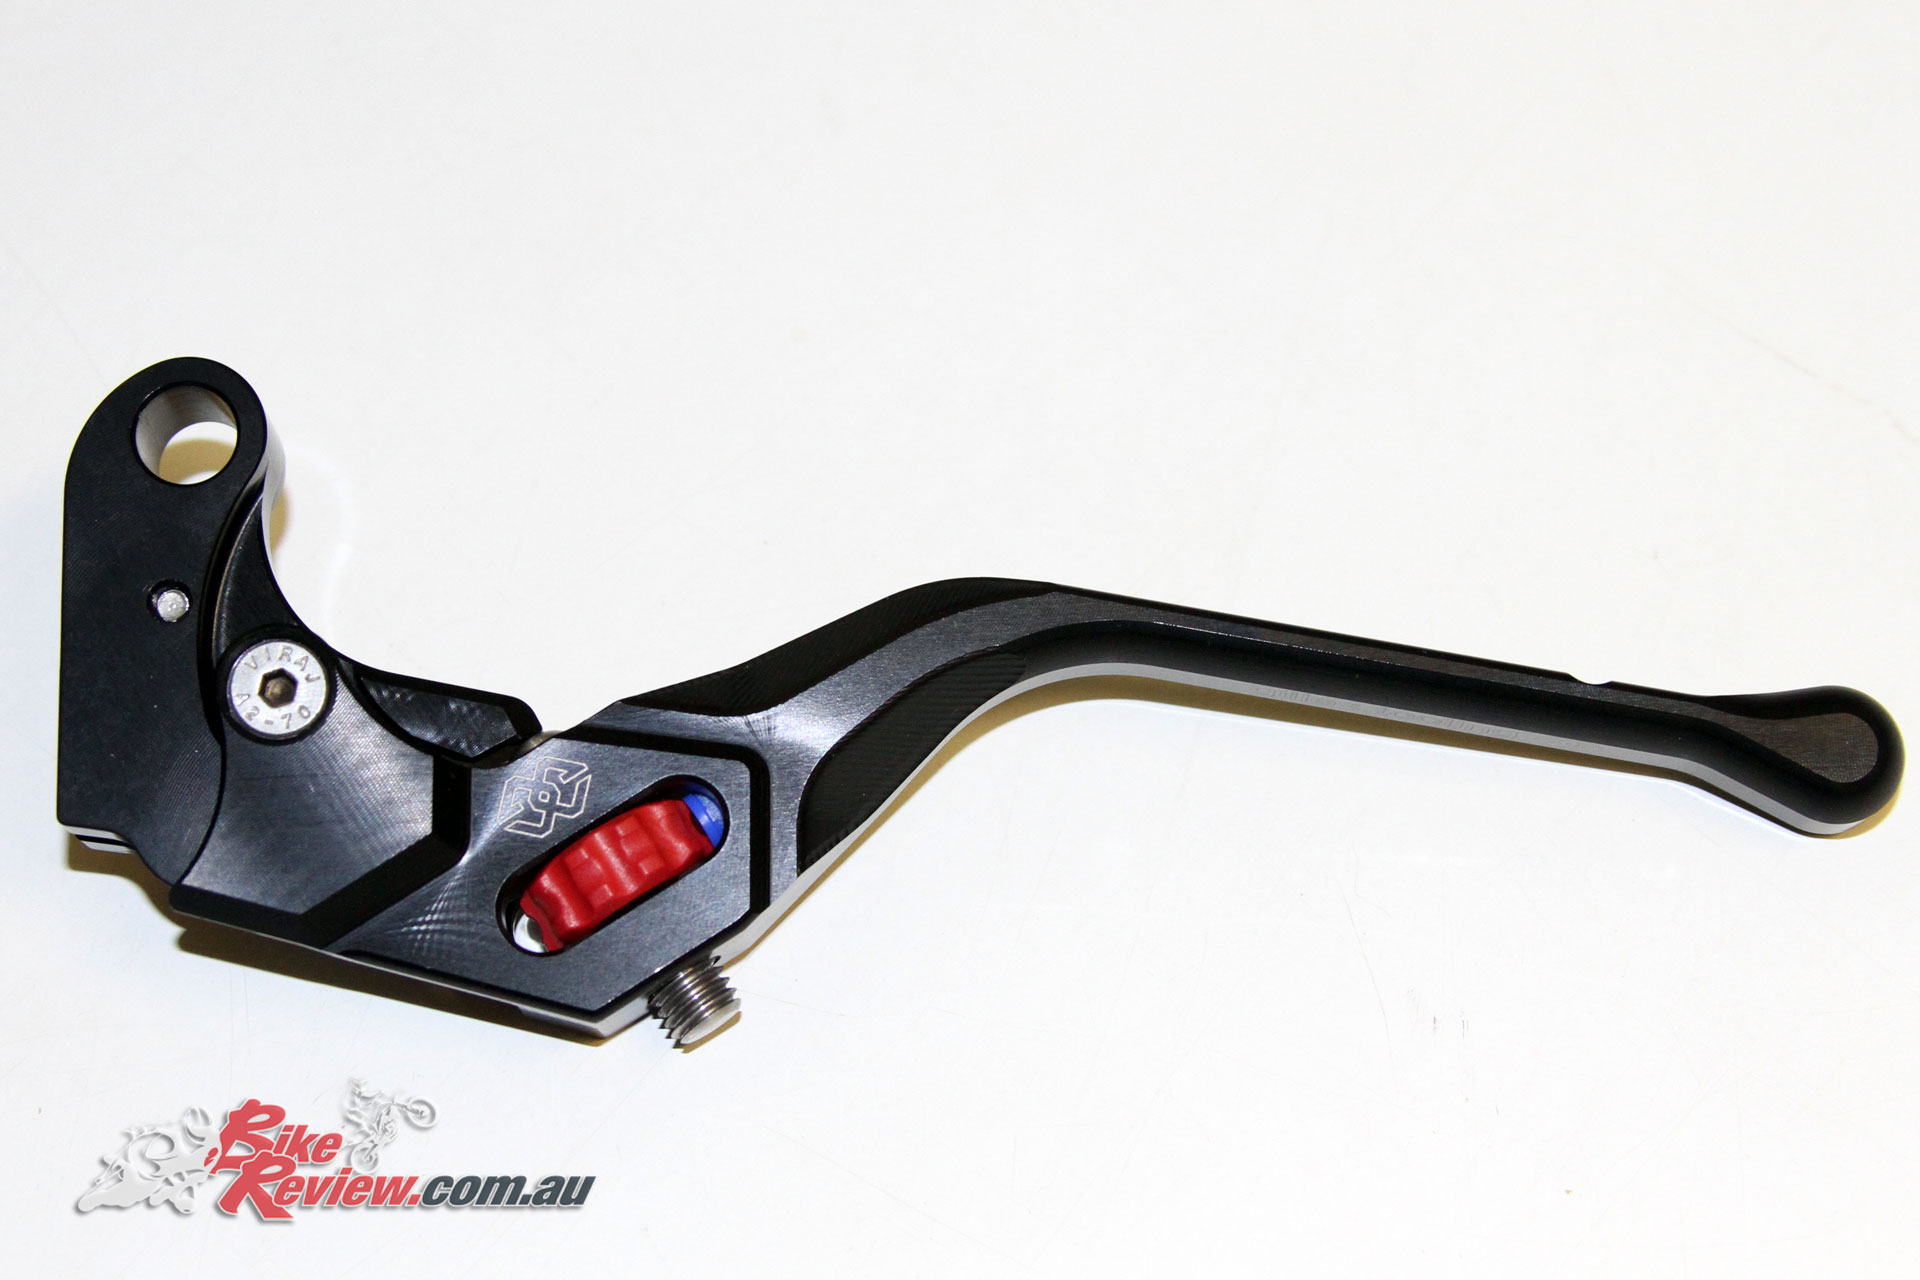
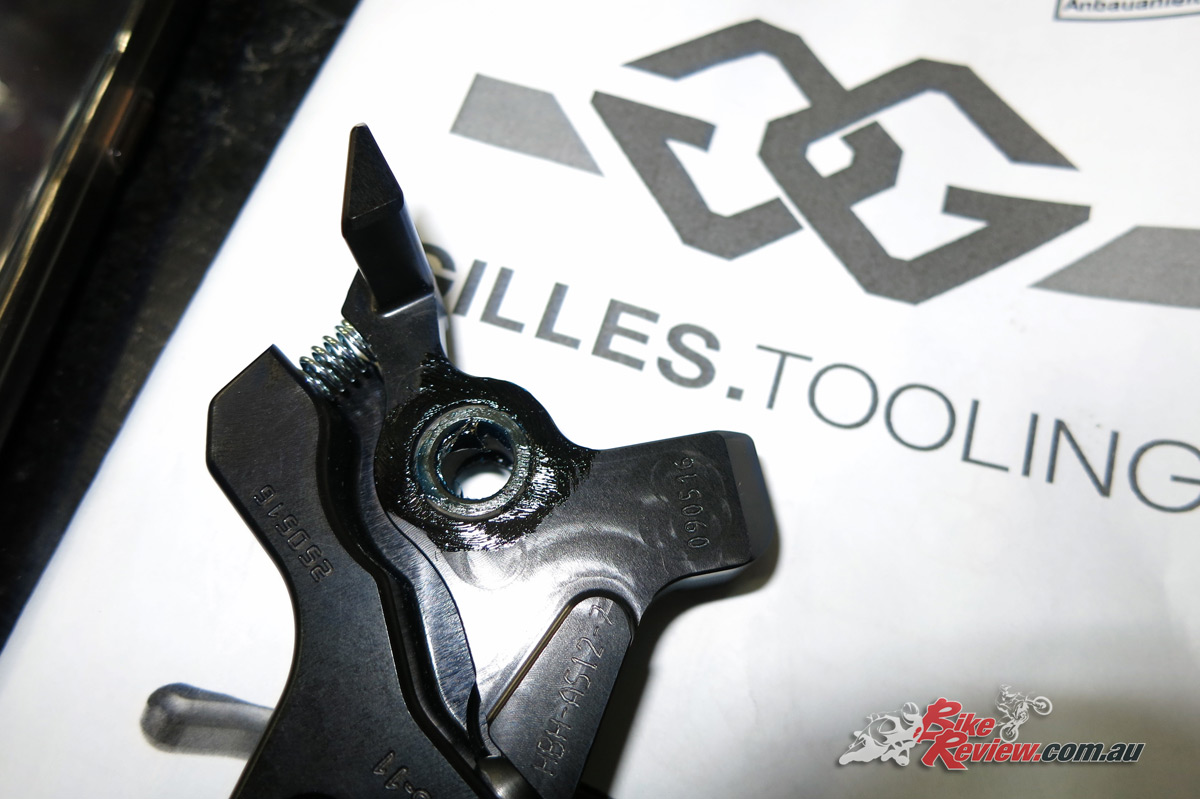
The Gilles Tooling levers available from Yamaha. These are some seriously cool levers but also on the pricey side.
When you look at the quality of the items made by Gilles Tooling – the levers and the oil filler cap – you can see the build quality, with the oil filler cap ready for lock wiring. The levers are a work of art, with a great adjustment mechanism and top notch components.
Gilles Tooling Levers available from Yamaha
One of the big differences with buying a reputable brand is in how well these items last, and hold their colour. Granted the Gilles Tooling levers in particular are top dollar, but they are an item you can often carry between bikes if you’re lucky. That’s certainly what I’d be doing if I bought a pair.
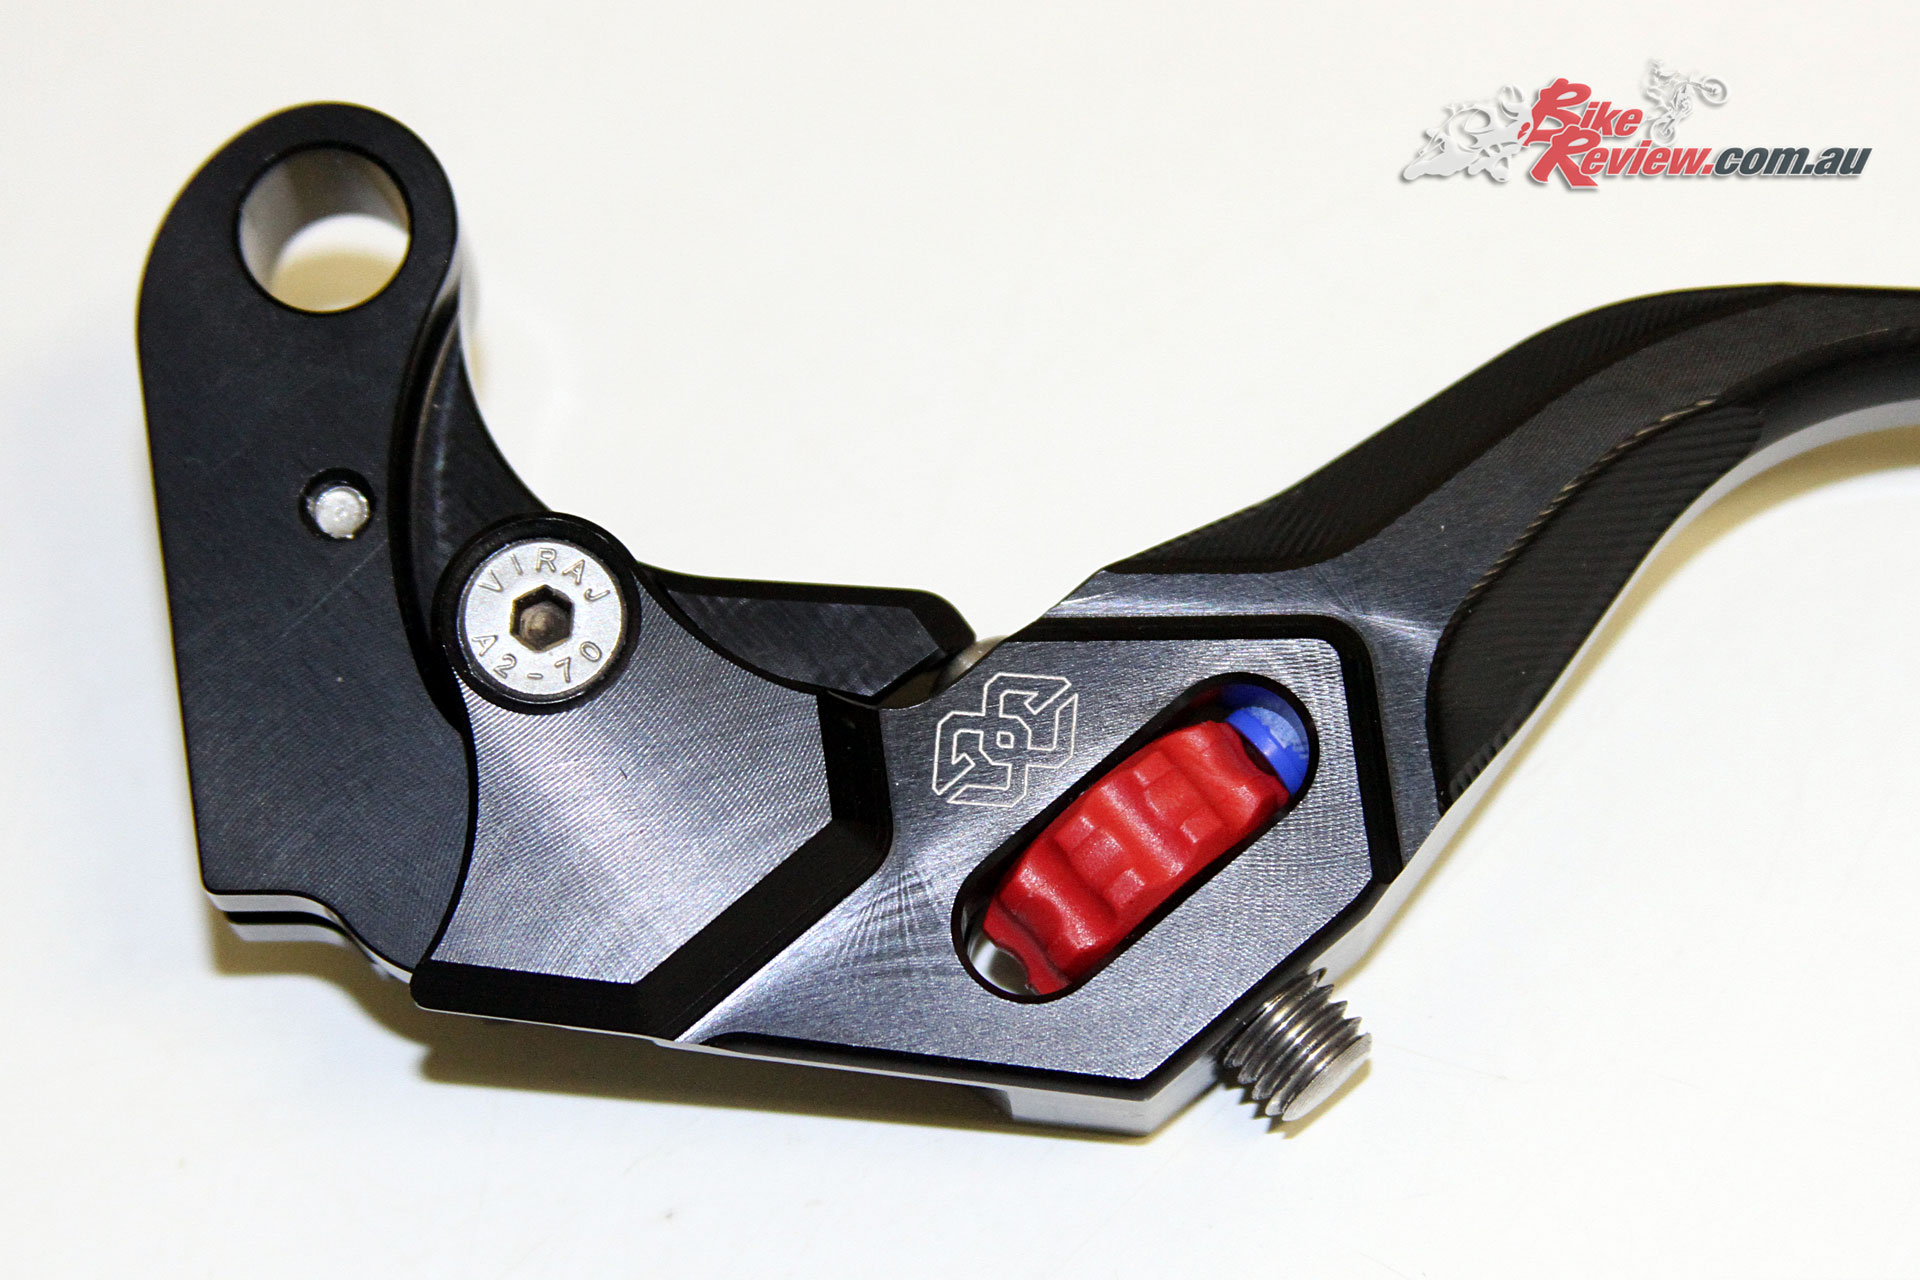
Build quality is exceptional
Whether you’re willing to spend the money for the best is subjective however, as these are right up there price-wise. If you’re buying a keeper though, which to me the MT-07 Tracer falls into for it’s price bracket, it’s a worthwhile investment.

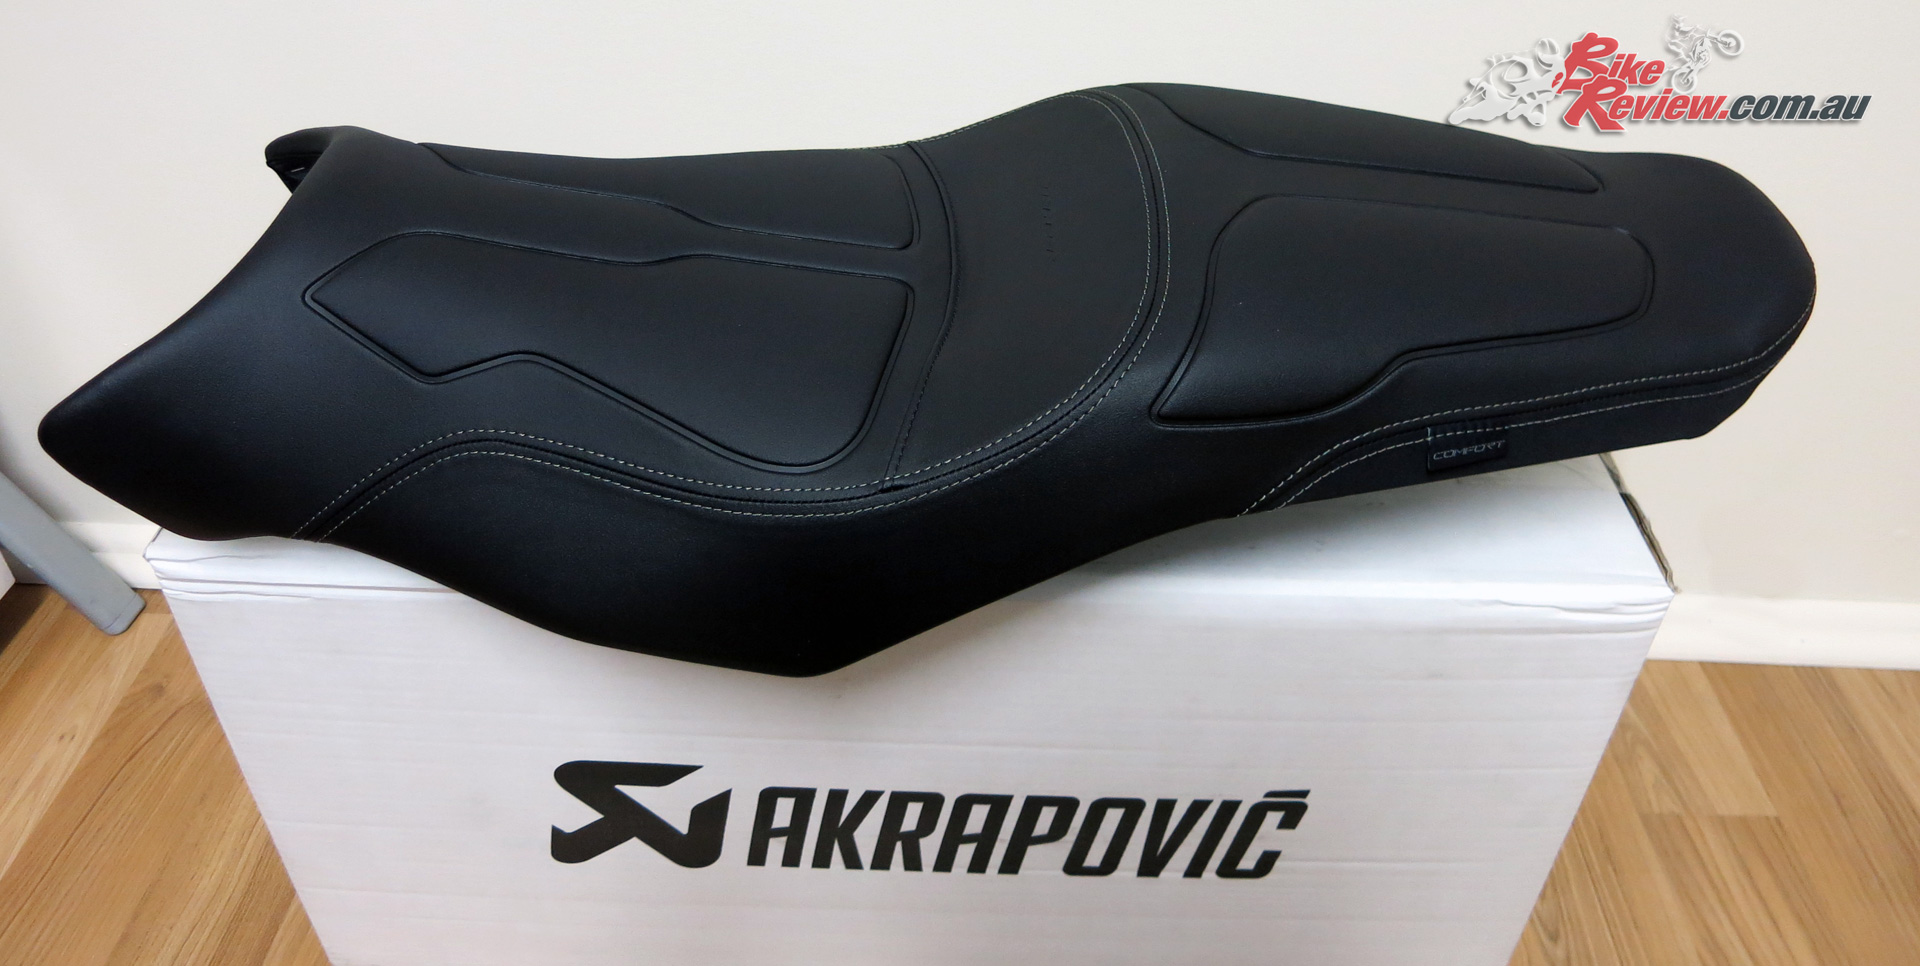
The Yamaha Comfort Seat fitted to the MT-07 Tracer
For the Yamaha Comfort Seat, simply remove the old item by using the key point on the side of the bike, and sliding the Comfort Seat into position, pushing firmly down on the pillion end to ensure it locks in place. As simple as that.
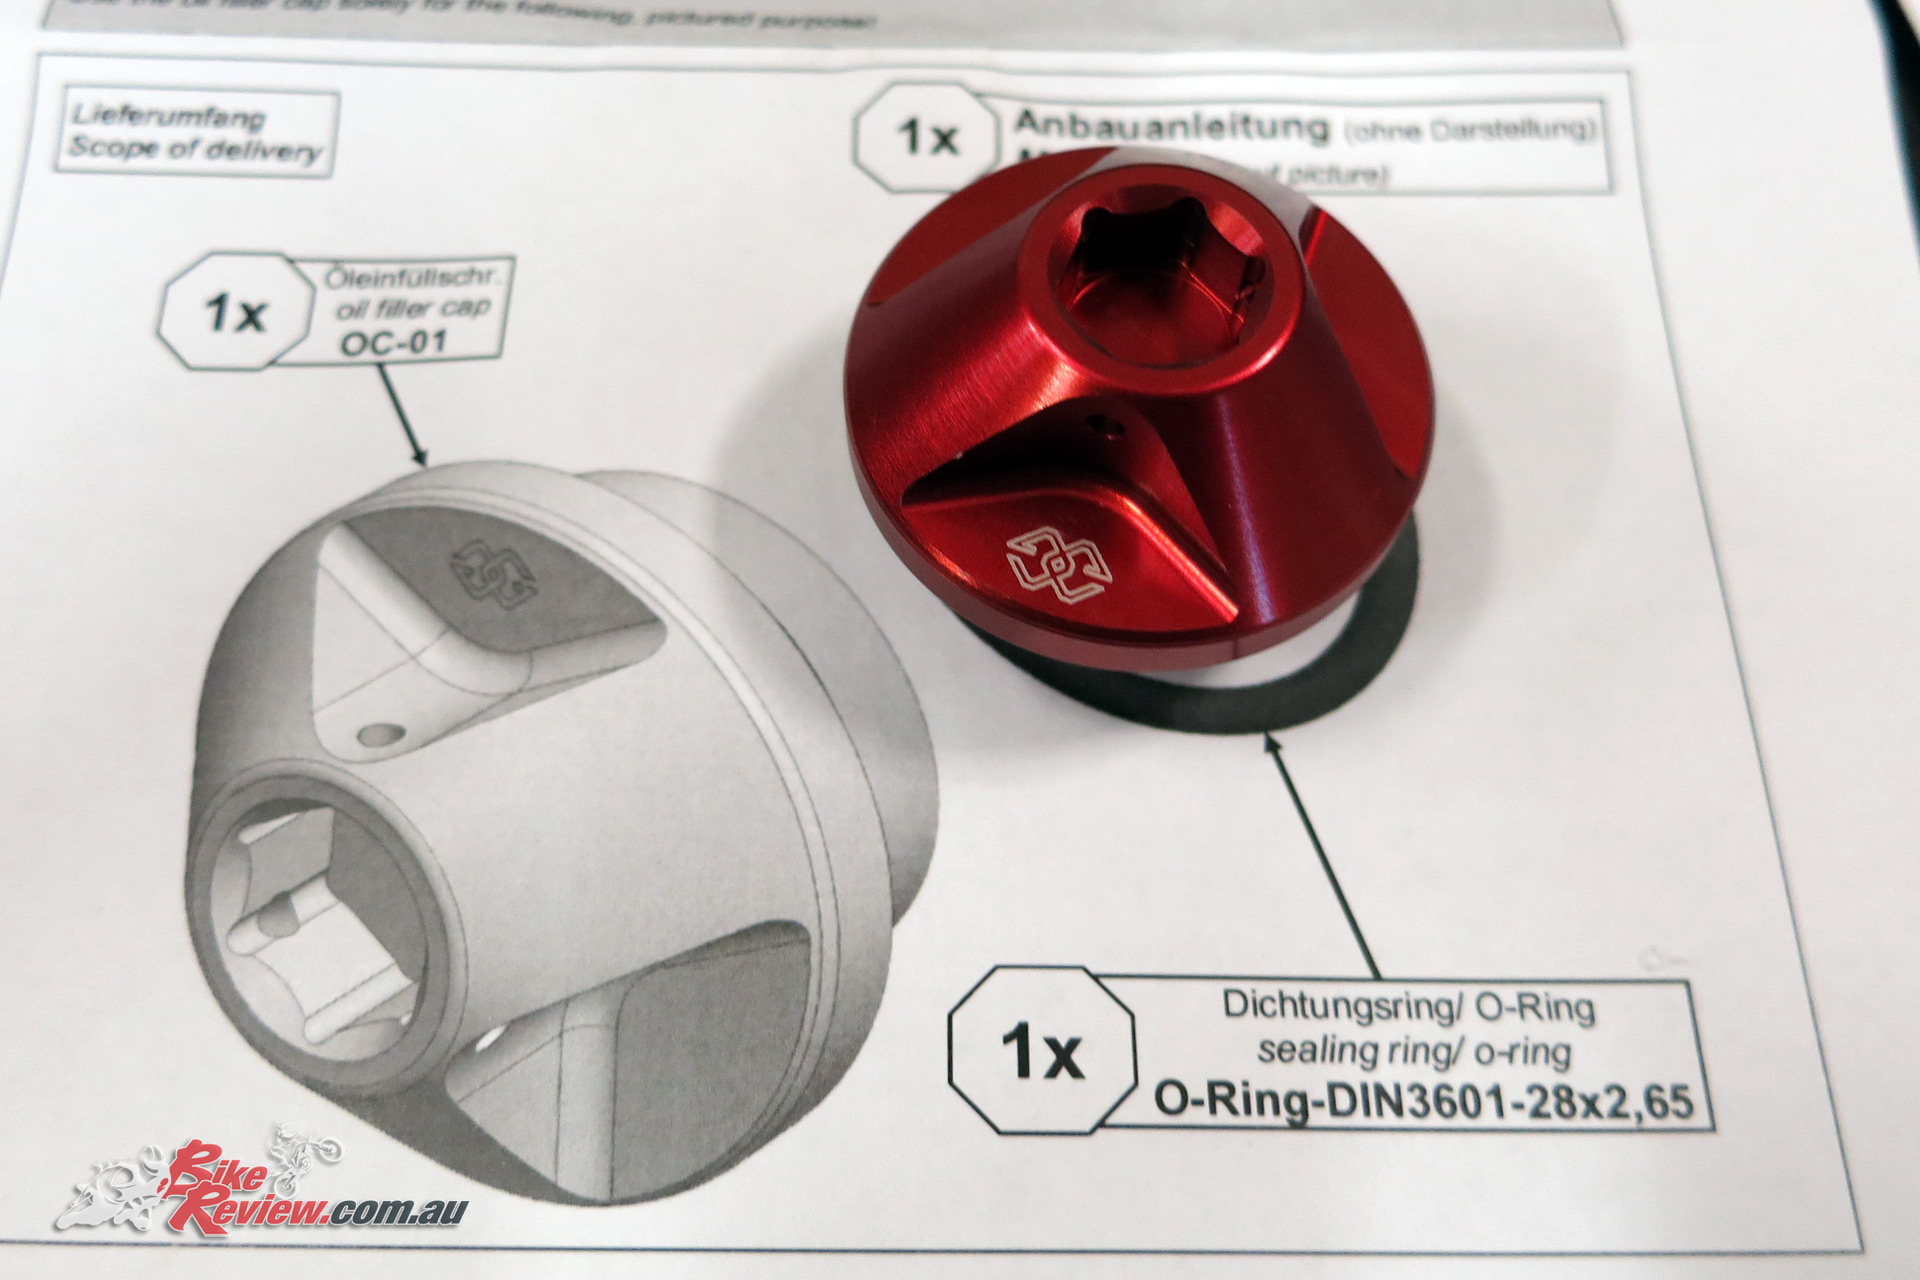
This Oil Filler Cap is available from Yamaha in three colours (Red, Blue and Titanium).
The Oil Filler Cap likewise just unscrews and replace with the new item.
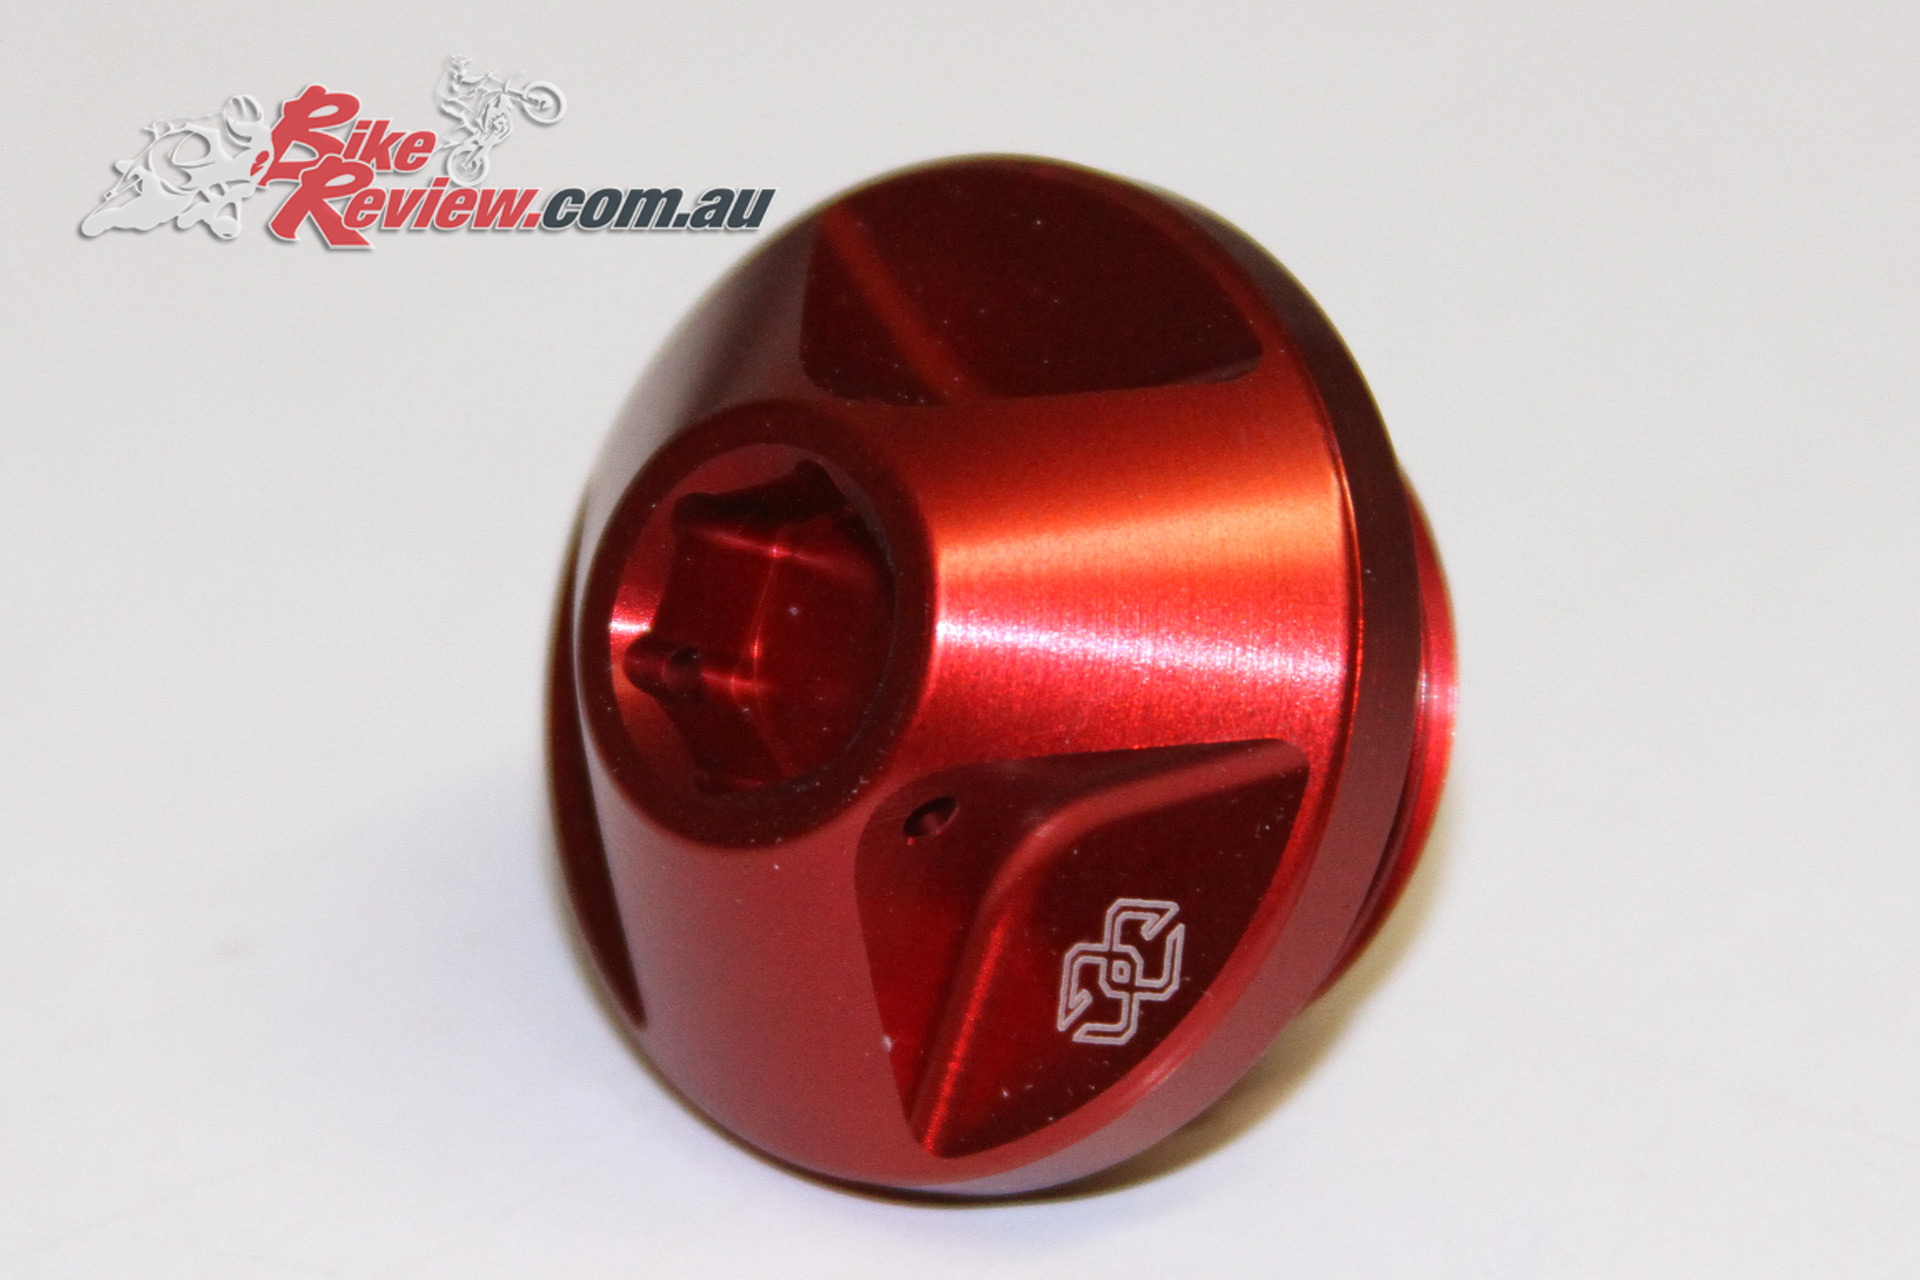
Oil Filler Cap for the Yamaha MT-07 Tracer
Store away the originals in case you ever need them. I’d recommend doing the same for the levers when you remove them. You never know when you may need them . You can replace them if you ever sell the bike, and sell accessories separately, getting much more of your money back than including them in the sale will ever net you.

The Oil Filler Cap fitted to our Yamaha MT-07 Tracer
Here’s a step by step run down for fitting the levers on the MT-07 Tracer.

MT-07 Tracer Billet (Gilles Tooling) Lever install
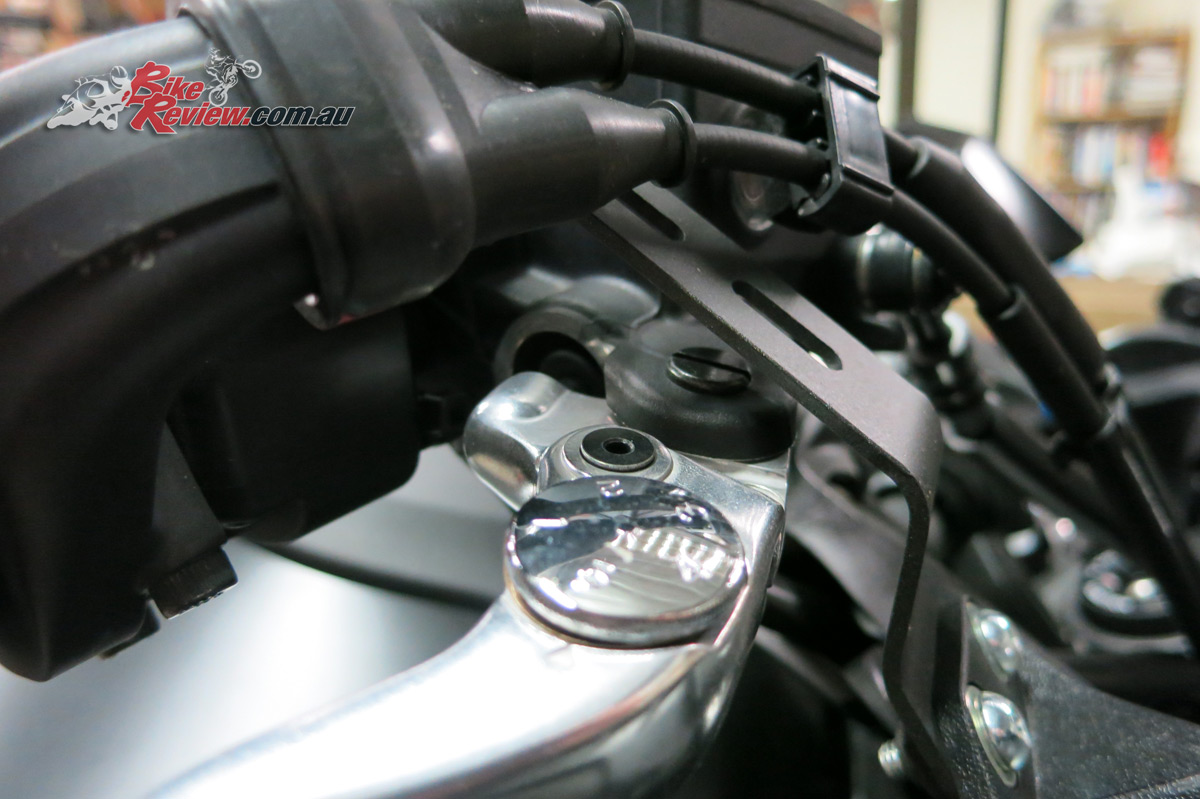
First up you need to remove the original levers. An easy enough job except for the handguard bracket in the way…
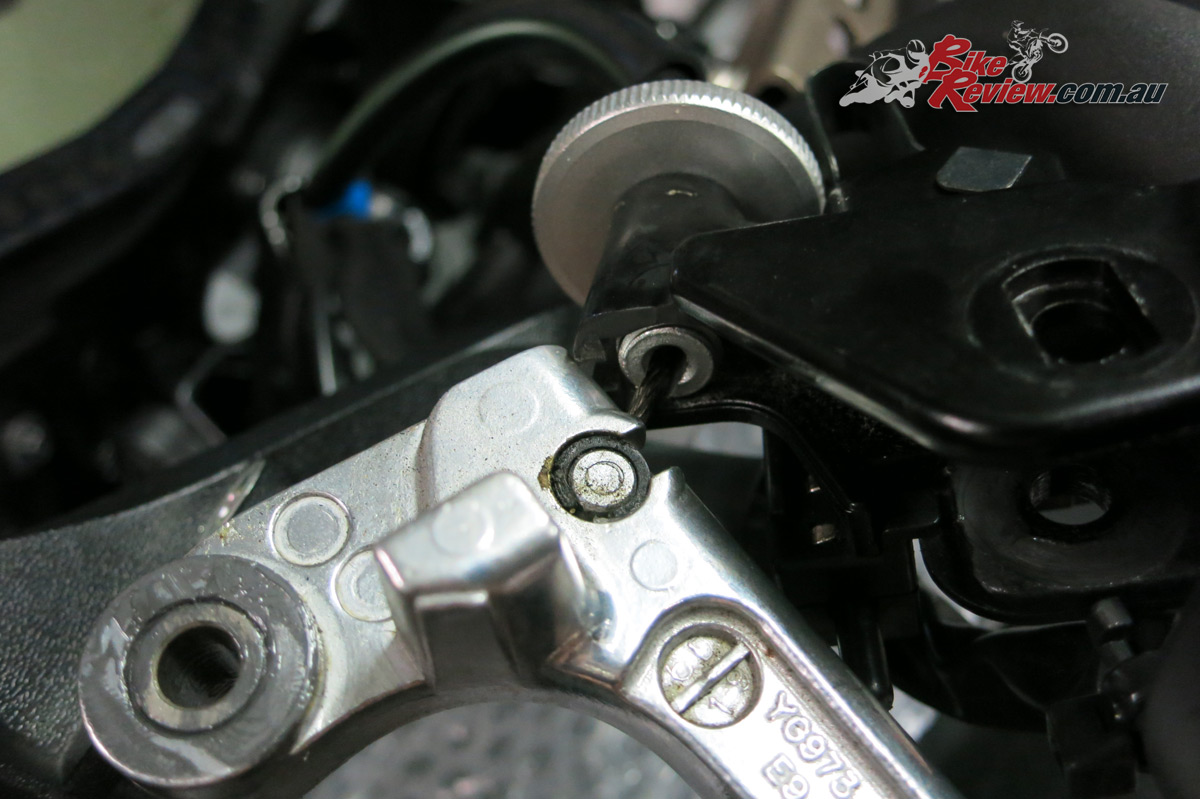
Here the first bolt is loosened from the nut below but there’s no clearance to remove it.
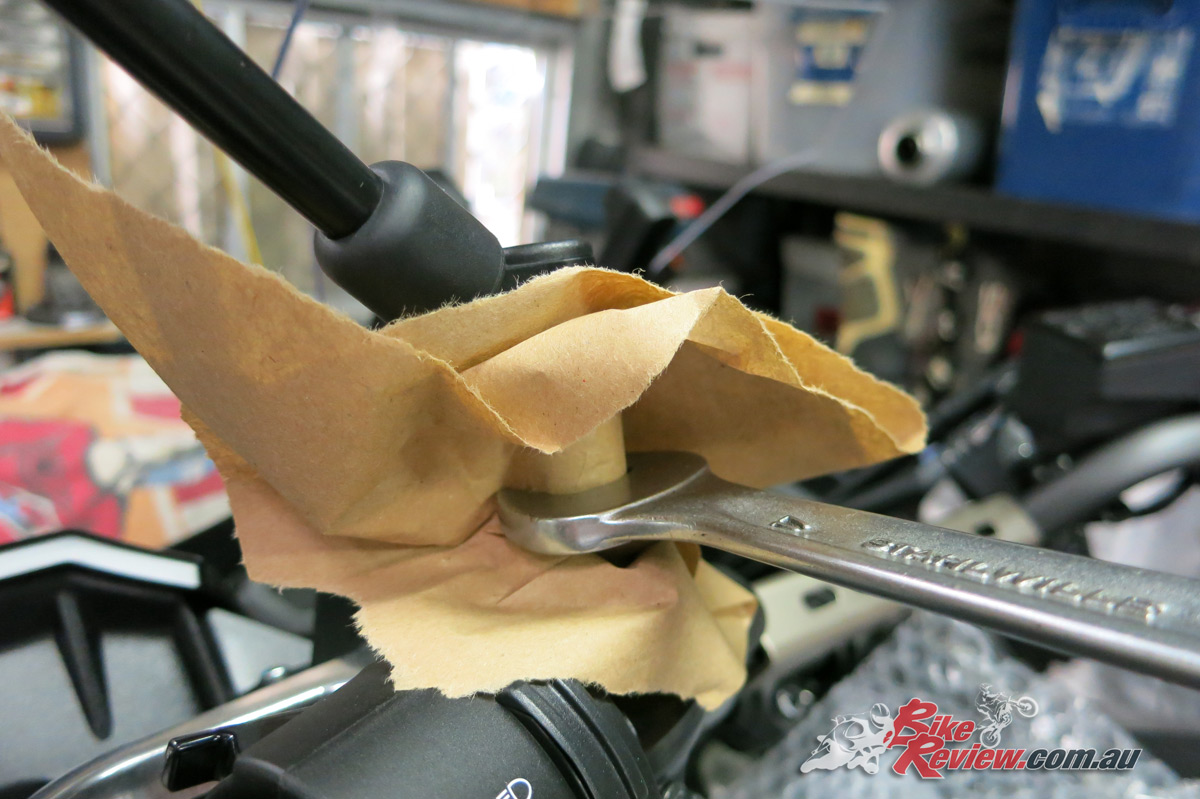
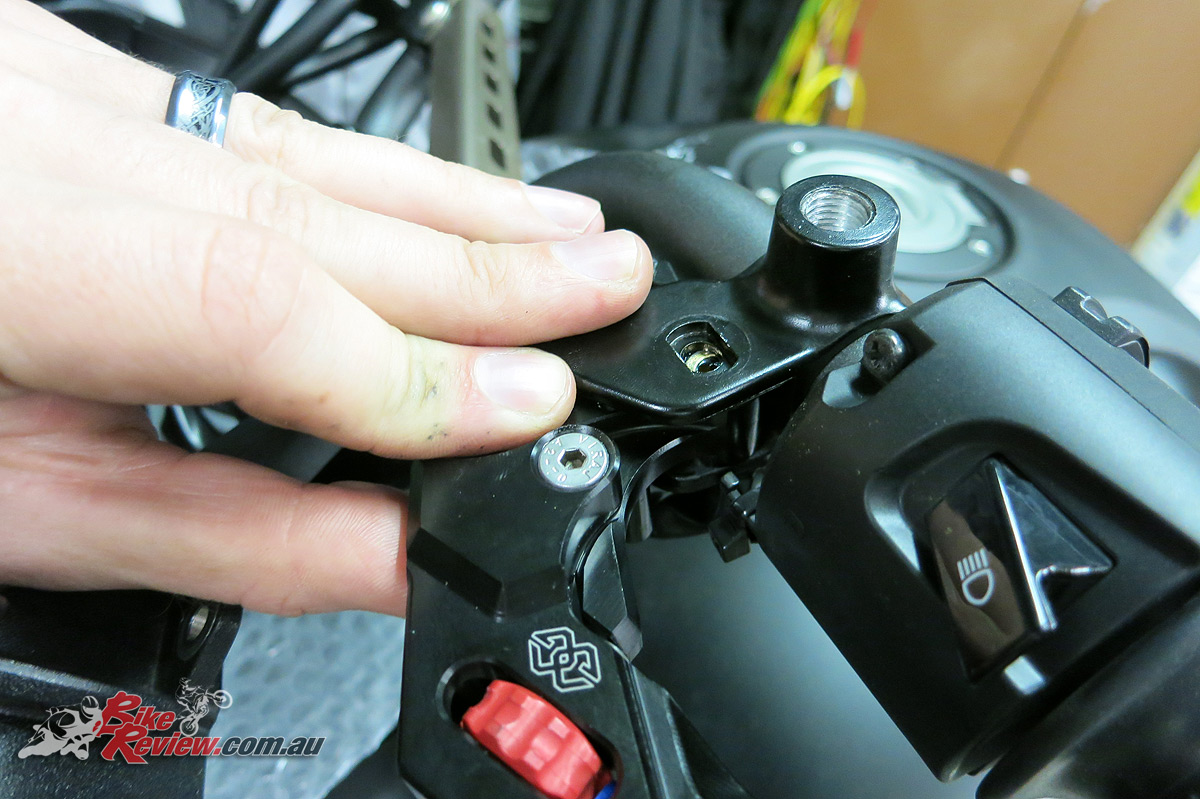
We removed the mirrors and brackets, which also included taking off the screen. Some paper was used to prevent damaging the black mirror stem.
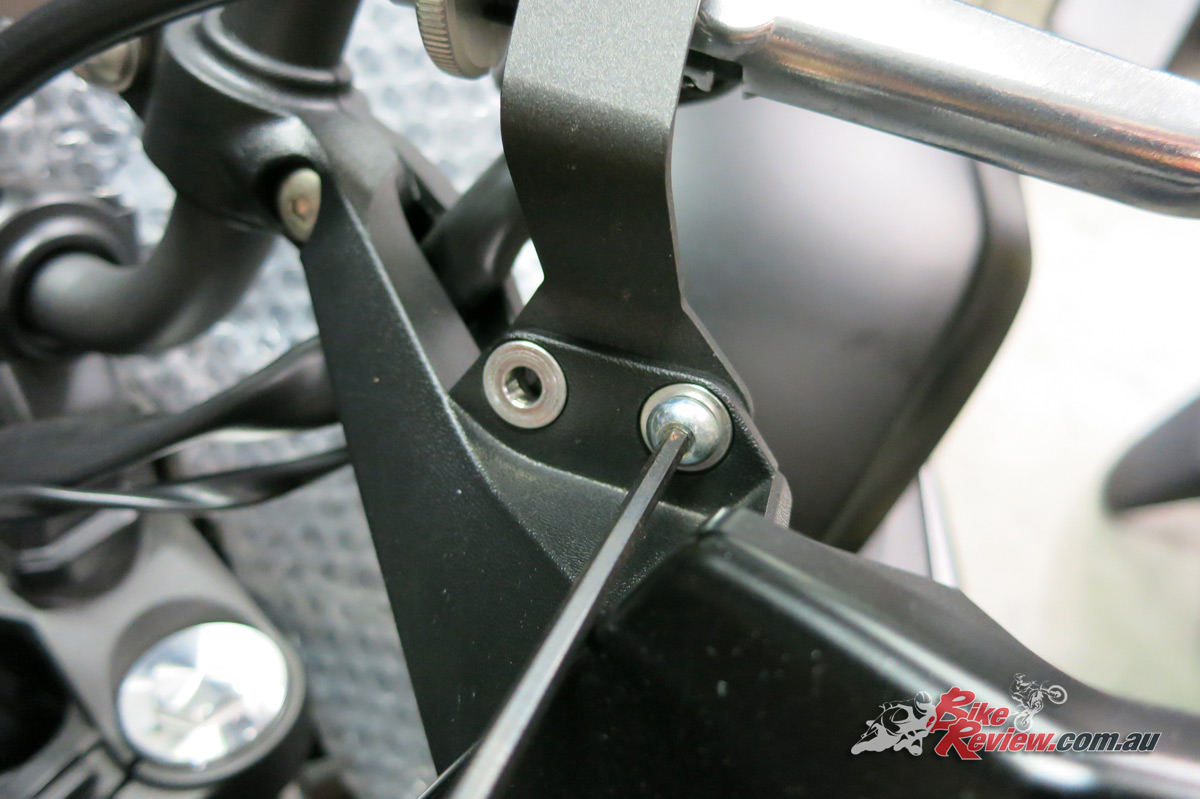
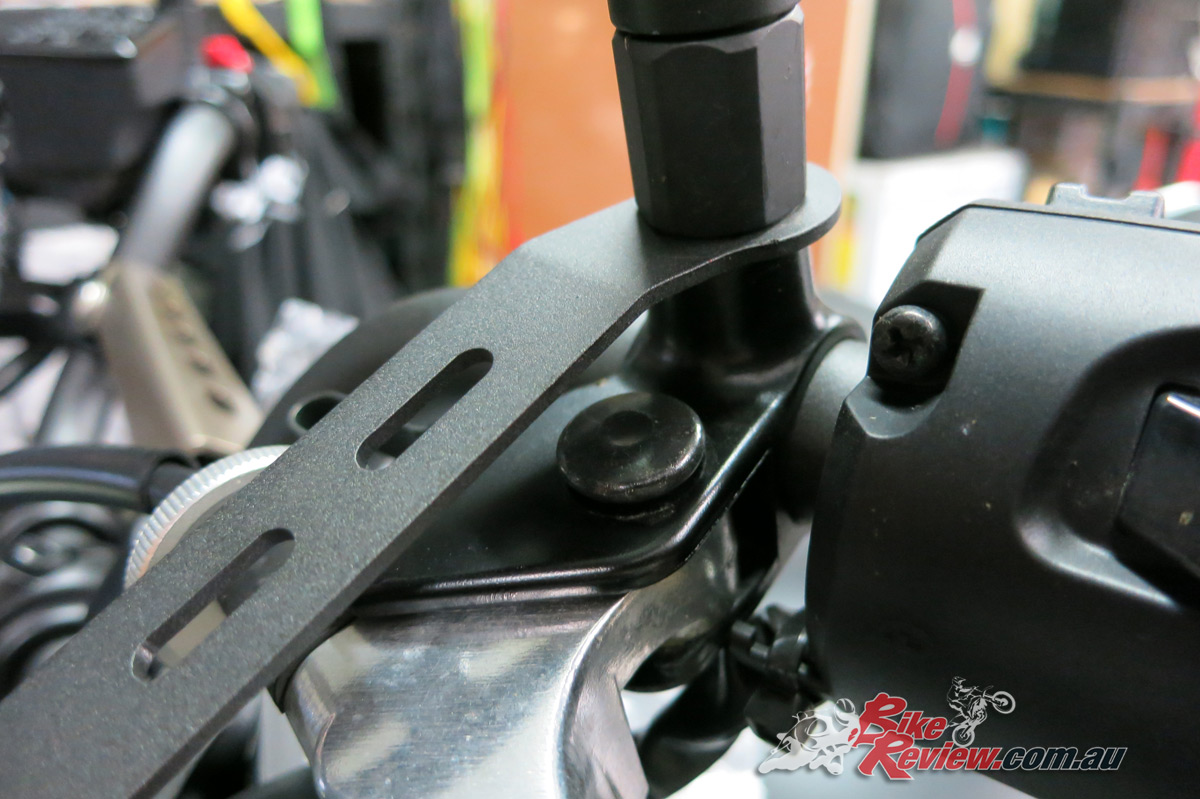
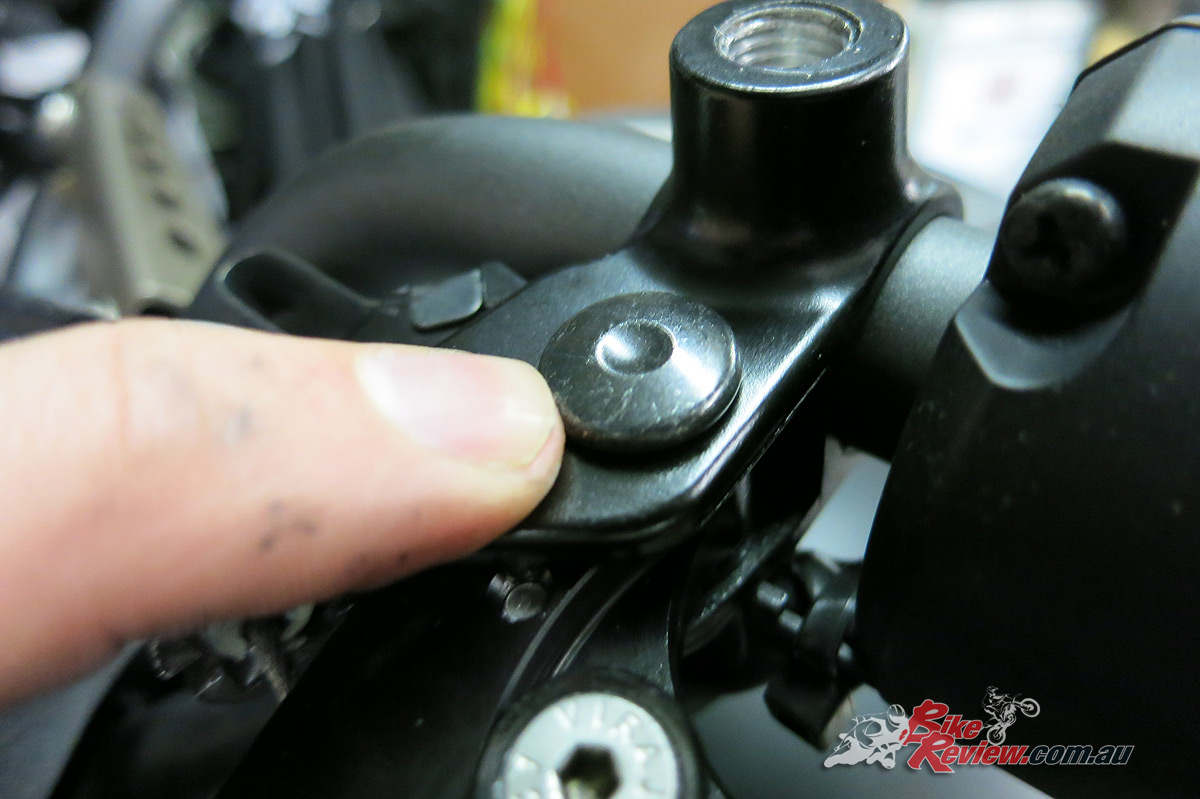
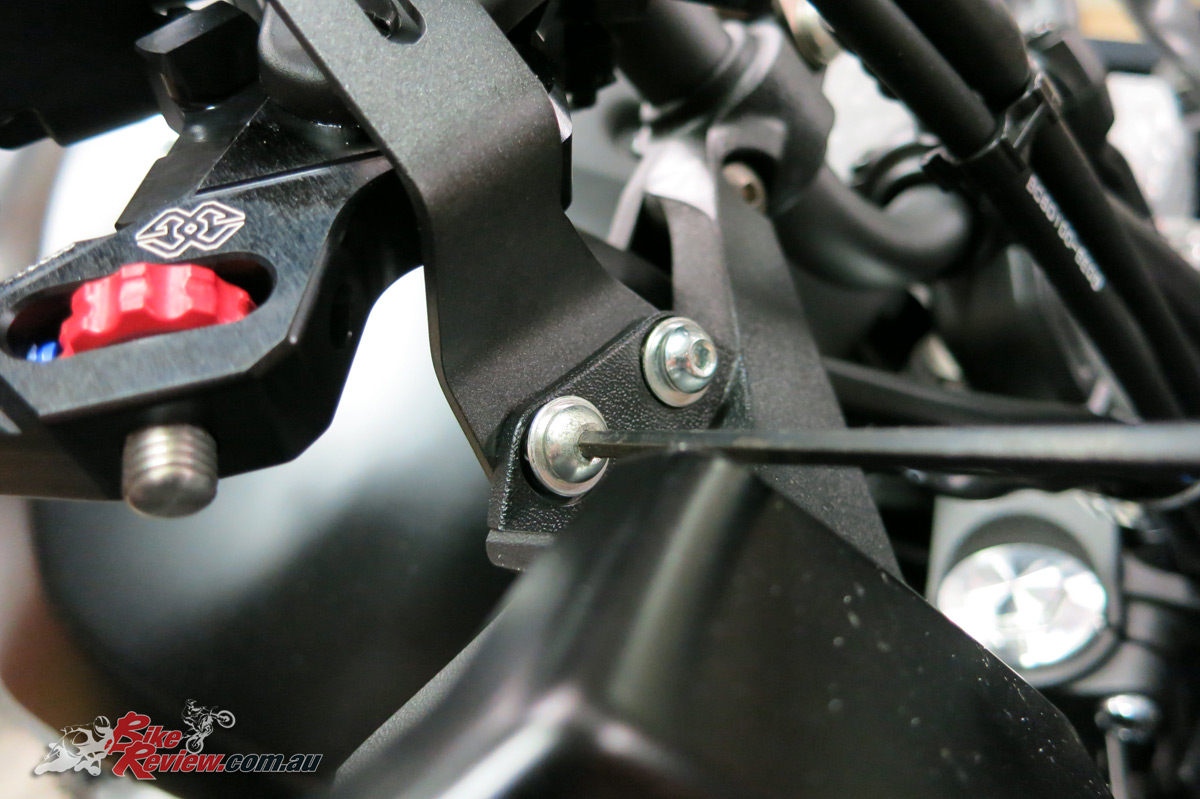
Undo the two bolts on the guard itself on each side. The bracket includes captive nuts, but don’t lose the spacers.

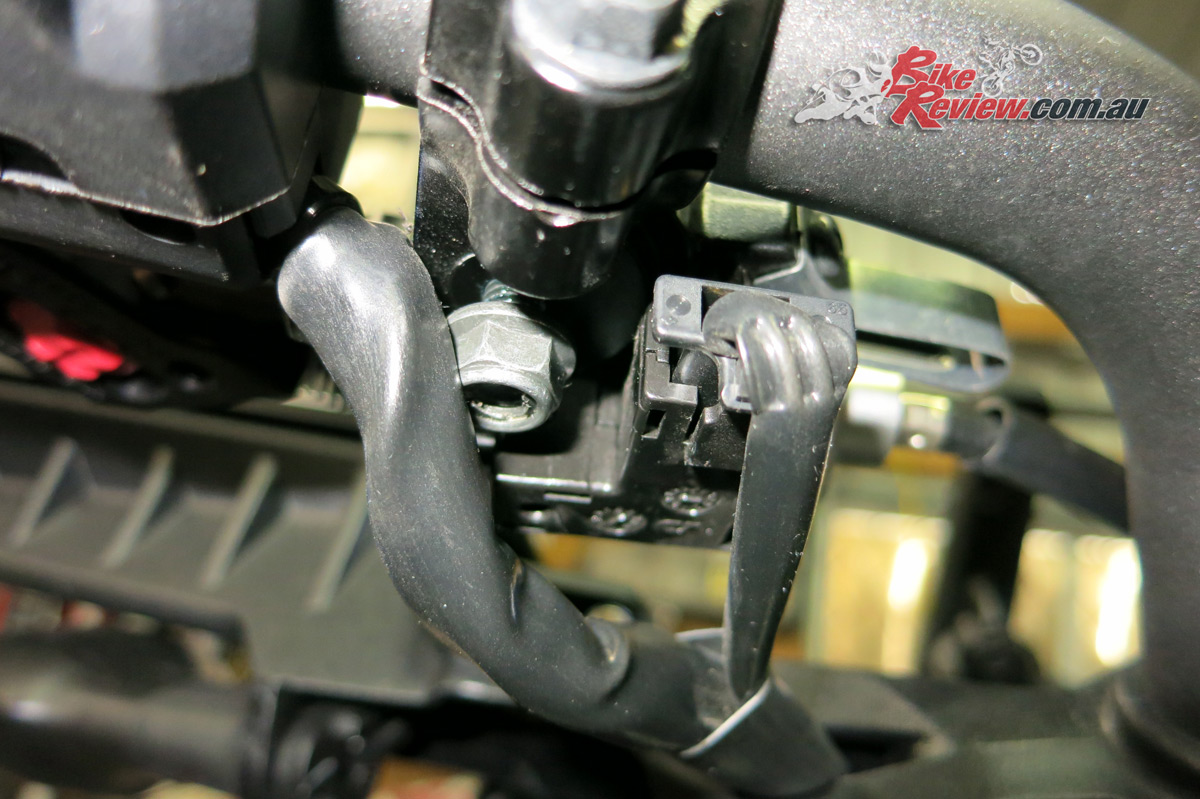
Undo the nut which with the bolt acts as the pivot point for the lever. We put some bubble wrap down to avoid banging the tank.

The right side will also require a screw driver and you unscrew the bolt after removing the nut.

Here’s the bolt (right side) removed, and you can see the brake light sensor.
A little lube onto the moving pivot parts of the new levers is a good idea to help prevent wear and tear. Don’t lose that internal space either!
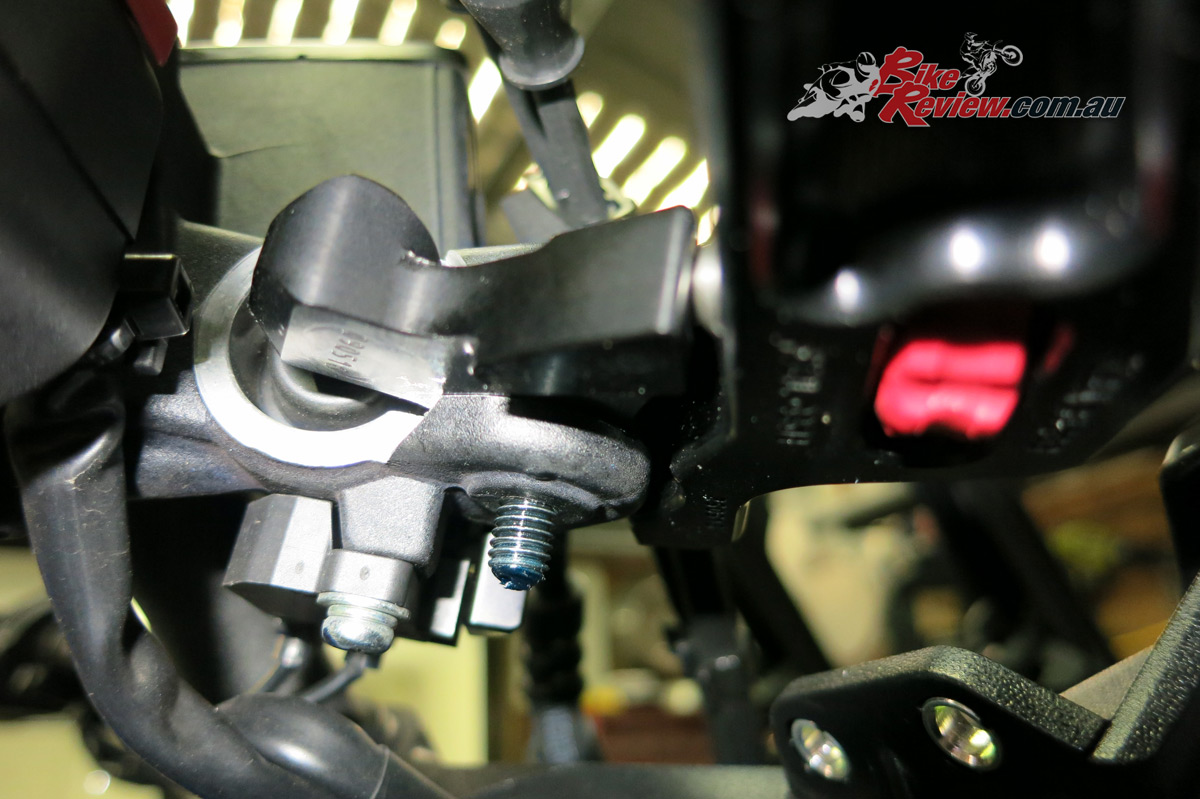
Fit the lever – the brake side is easier, just make sure the brake light sensor is aligned and push through the original bolt.

Replace the nut and tighten, without over-tightening. The lever shouldn’t be pinched which restricts movement or may prevent the brake from releasing or being easily applied.
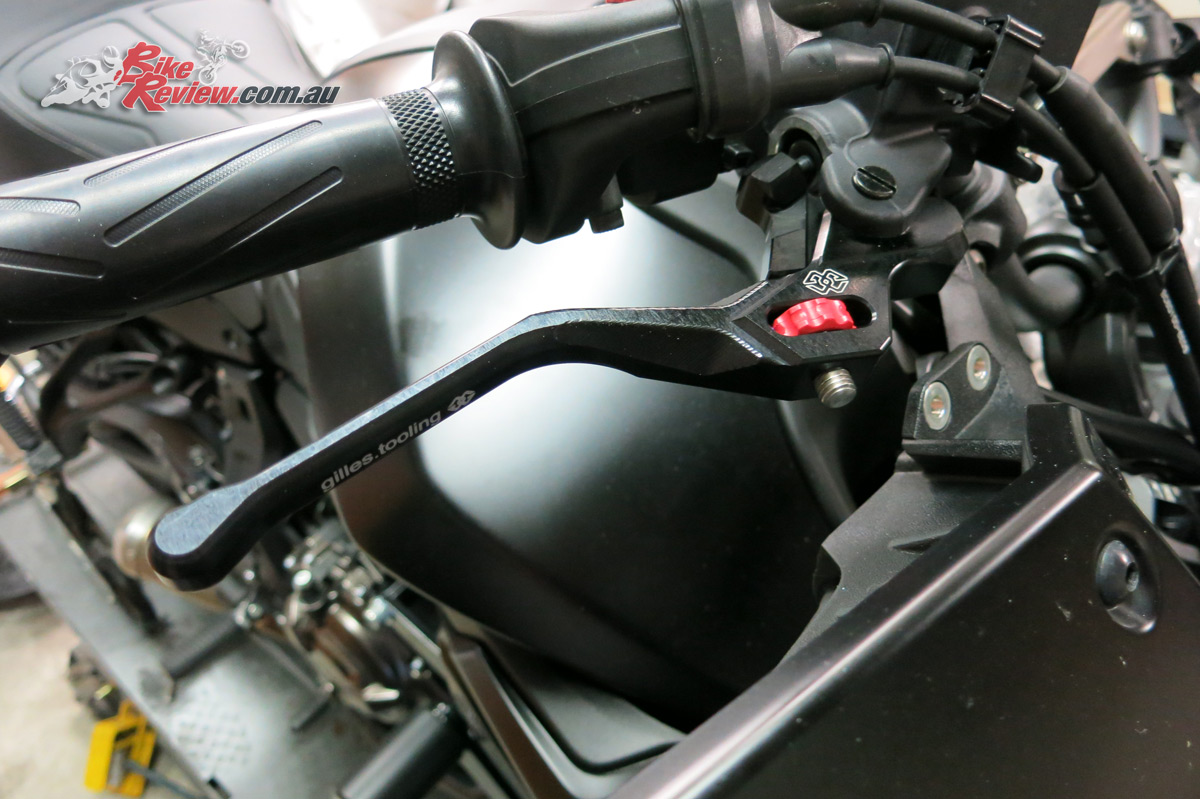
The brake side fitted and ready to go. Now just use the adjuster to get the ideal lever span.
The clutch side is slightly more complicated, as you’ll need to remove the clutch cable nub. A pair of needle nose pliers can come in handy here. Also align the ‘bar end adjuster so the cable can be pulled free with more slack. You may need to wiggle the lever around a bit to get it free.
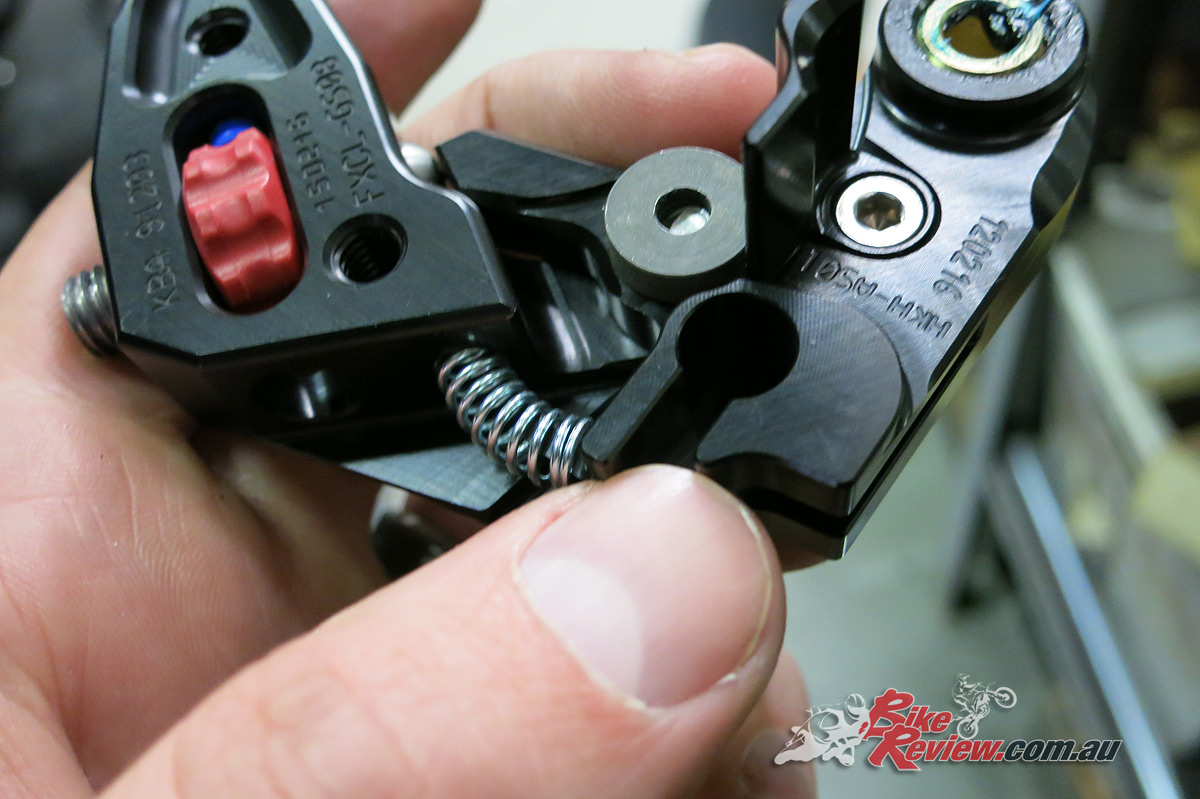
Here’s where the nub will connect on the new lever.
The nub at the perch sitting loose, the clutch has pulled it back against the perch, but you’ll want some slack to get it fitted to the new lever.
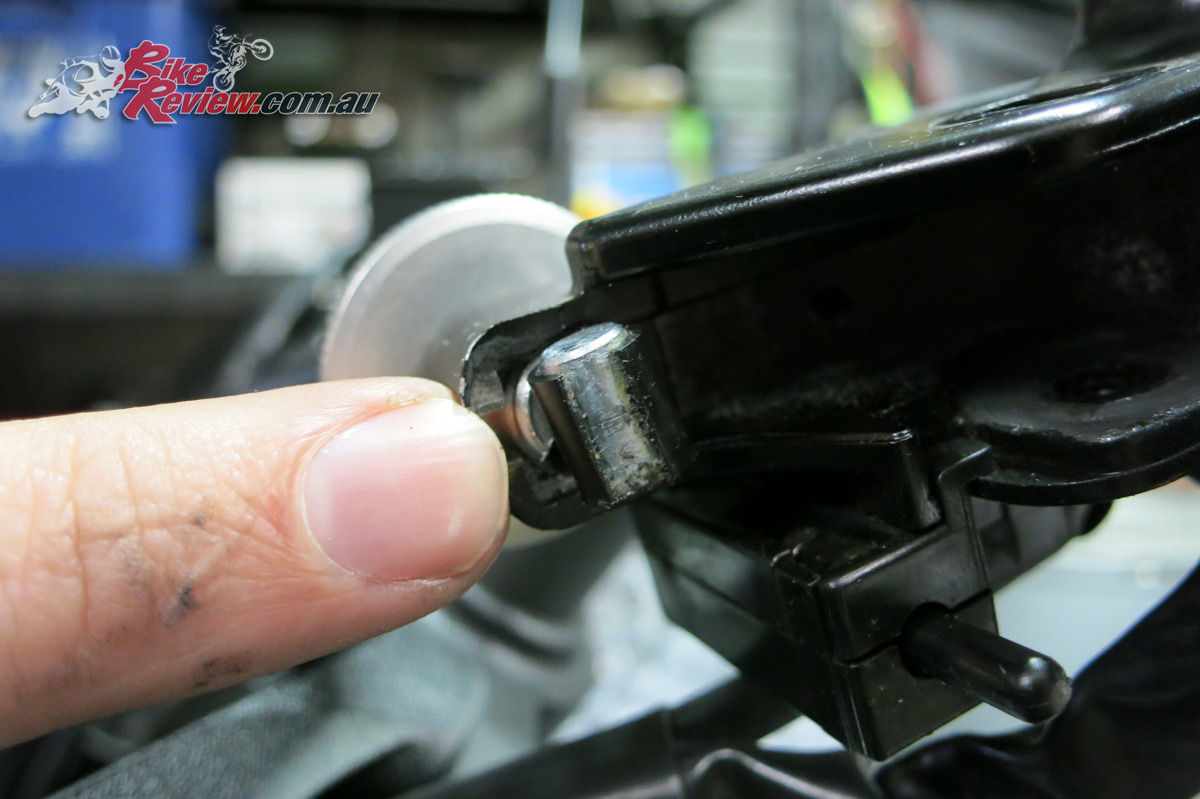
Here’s the cable connected at the clutch, you can bend the little tab up to release the cable if you need more slack.
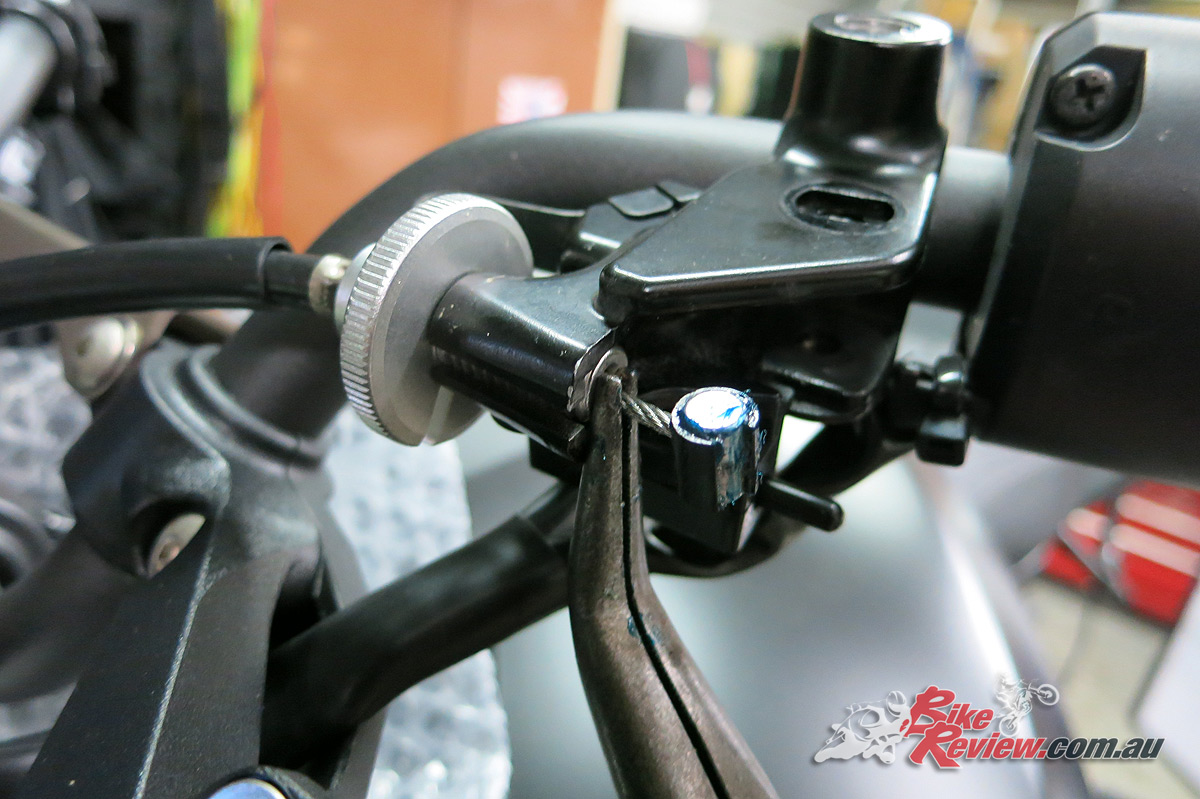
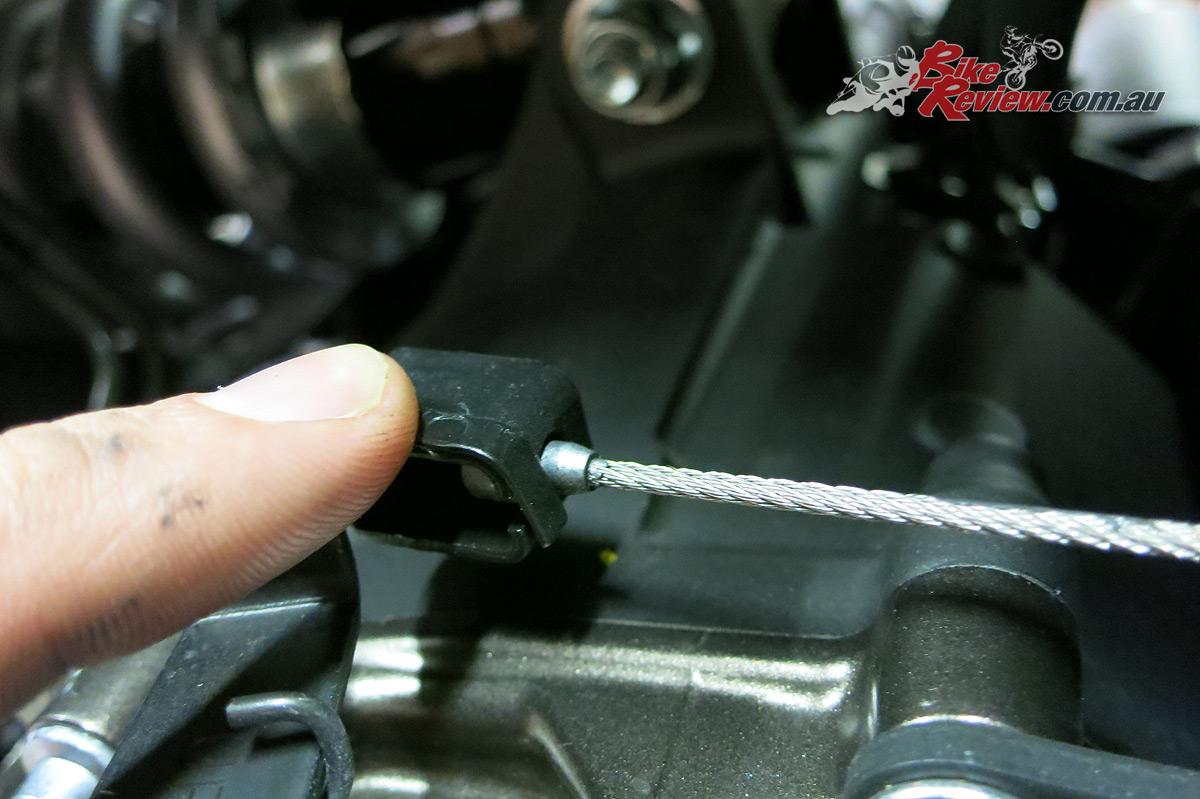
Use your needle nose pliers to pull the nub out. Just be careful, you don’t want to damage the clutch cable itself. Fit this into the position in the new lever – sorry no picture for this step as I had my hands full. But refer to a few pictures back to how it looks in the original. You’ll also note there’s some lube on the nub, and also on the new lever in this area.
Here’s the lever in place, you’ll need to ensure the clutch sensor is aligned, and that the clutch cable nub it pushed into place, as well as that the clutch cable is not catching on anything.
Make sure the alignment is right and replace the bolt, it pushes into place and is held captive. The bottom of the bolt head should be flat to the perch (it isn’t as pictured).
Now replace the nut underneath and tighten. Again, don’t over-tighten, you don’t want to pinch the lever in the perch and limit movement.

The Gilles Tooling lever fitted. Now just ensure the clutch is adjusted properly. If you disconnected the clutch cable down at the clutch, reconnect it, and make sure there’s 1-2mm of slack in the cable, prior to pull.
Finally just replace the handguard brackets, mirrors and screen and you’re set.
All these accessories are available from your local Yamaha dealership or via the Y-Shop. The Yamaha MT-07 Tracer Comfort Seat is $305.64 RRP. The Gilles Tooling Billet Clutch Lever in Black is $179.30 RRP, the Billet Brake Lever by the same brand also $179.30 RRP. The Oil Filler Cap is $109.47 RRP for the Titanium and Blue versions, and $110.02 RRP for the Red version shown here.
You can check out all articles on our Long Term Yamaha MT-07 Tracer (LAMS) here.
The Verdict | Staff Bike: MT-07 Tracer – Billet bling & Comfort Seat install
Easy!