
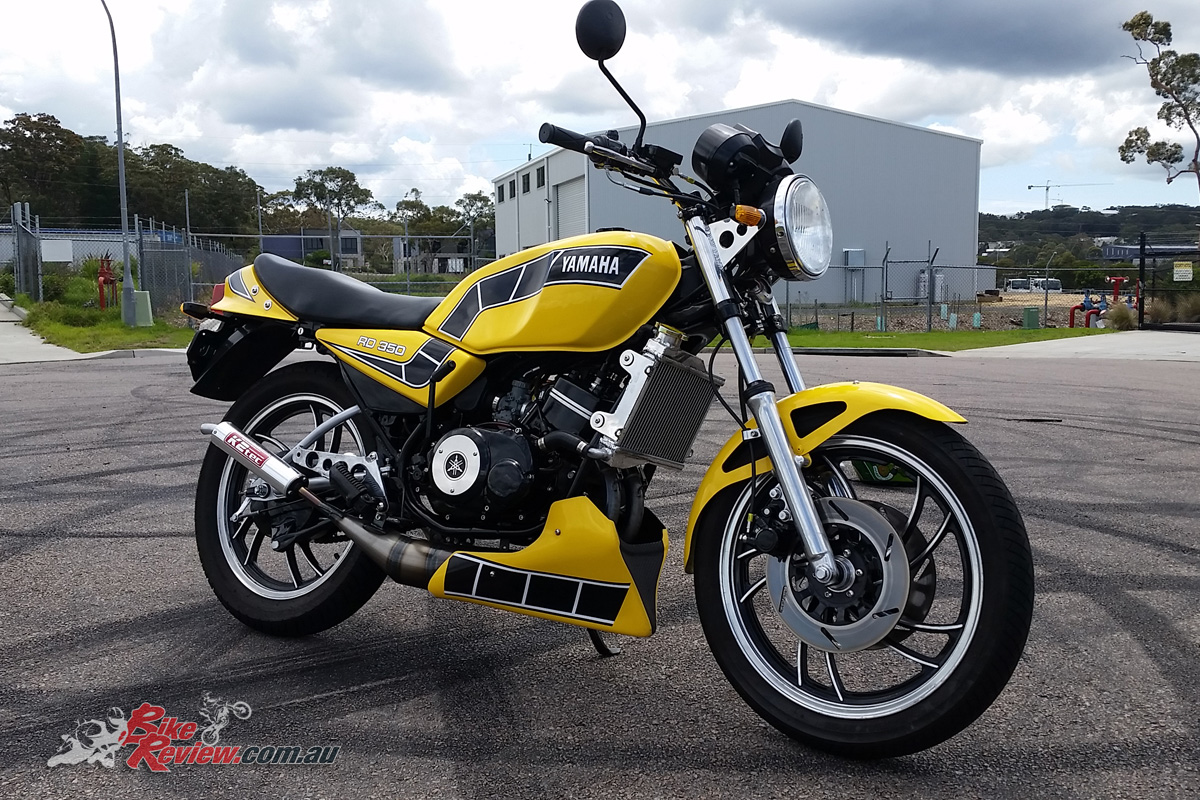
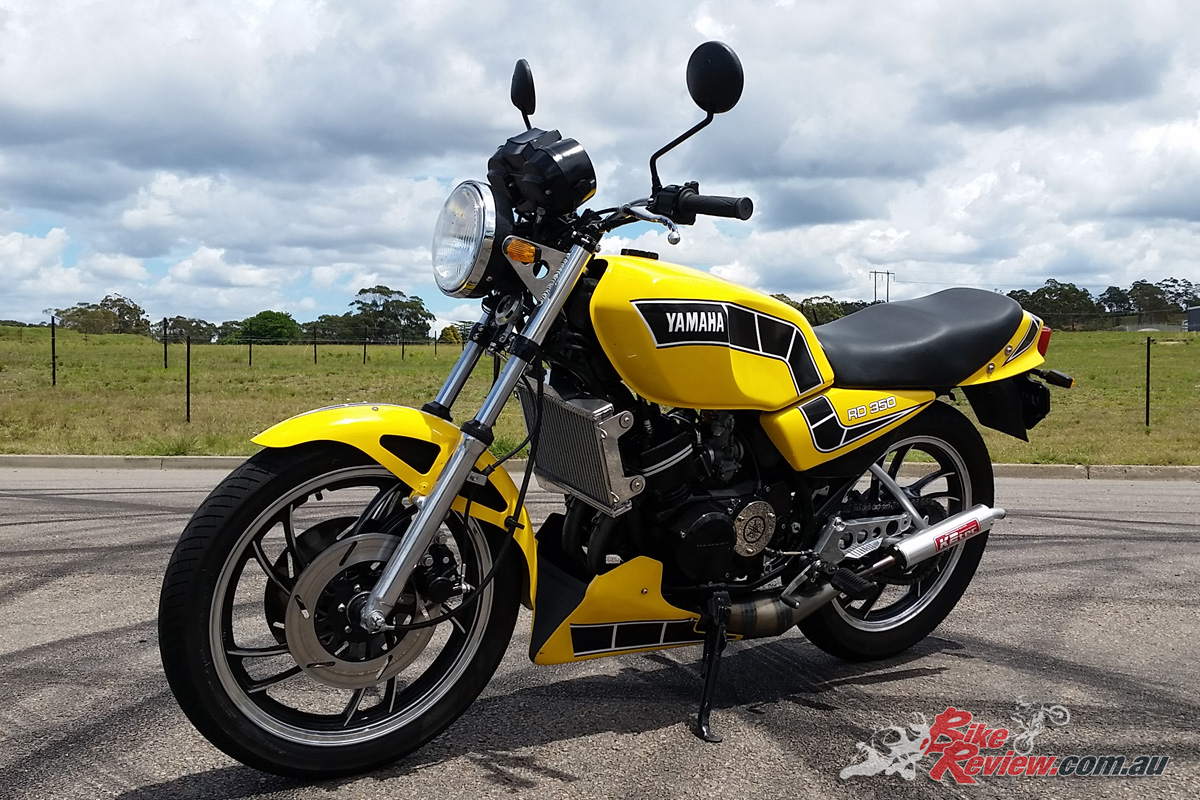
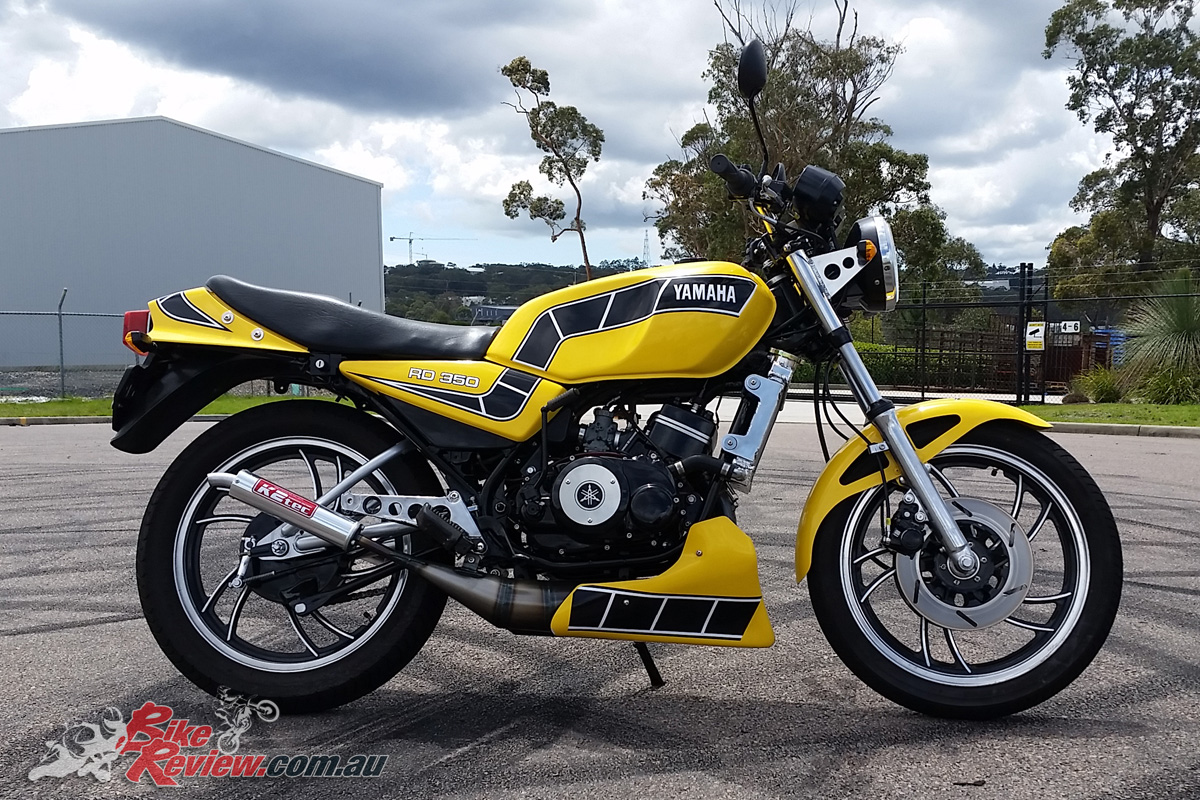
This immaculate Yamaha RD350LC was restored by Pommie, taking him back to enviously eyeing off his mates RD LCs at age 16, and received the Kenny Roberts; treatment. Resto & Images by Tony ‘Pommie’ Wilding
The Yamaha RD was introduced as a road bike way back in 1972, taking its heritage straight from the racetrack, and then in 1980 the LC version was born, becoming an instant success and fan favourite. For me, as a 16-year-old in the UK, the LC was the ultimate bike…

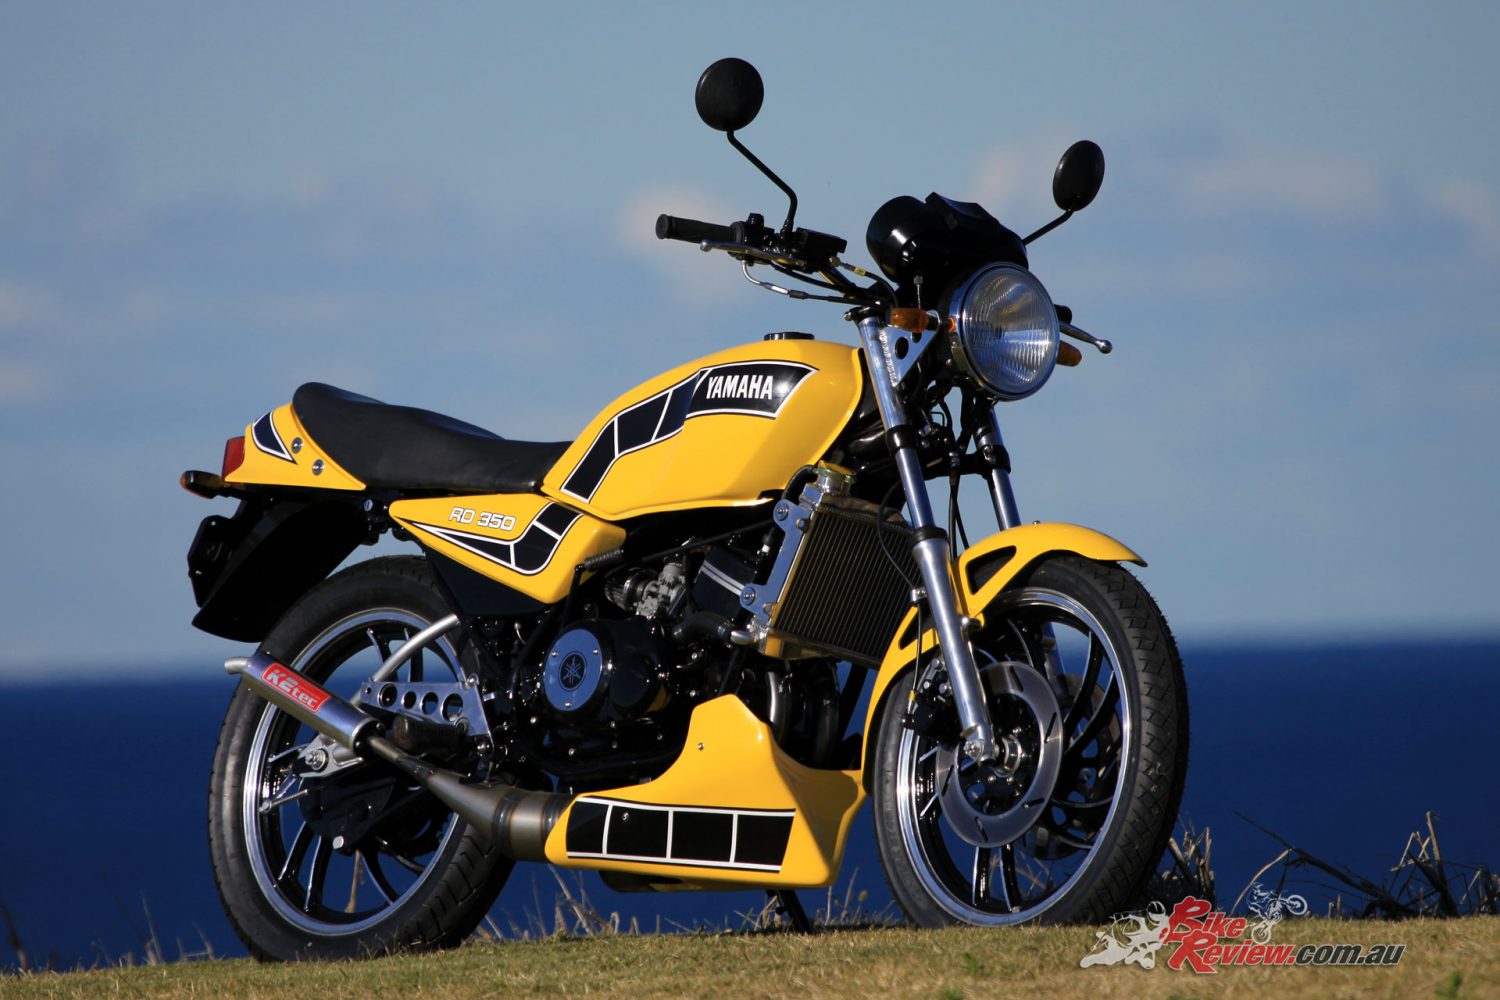
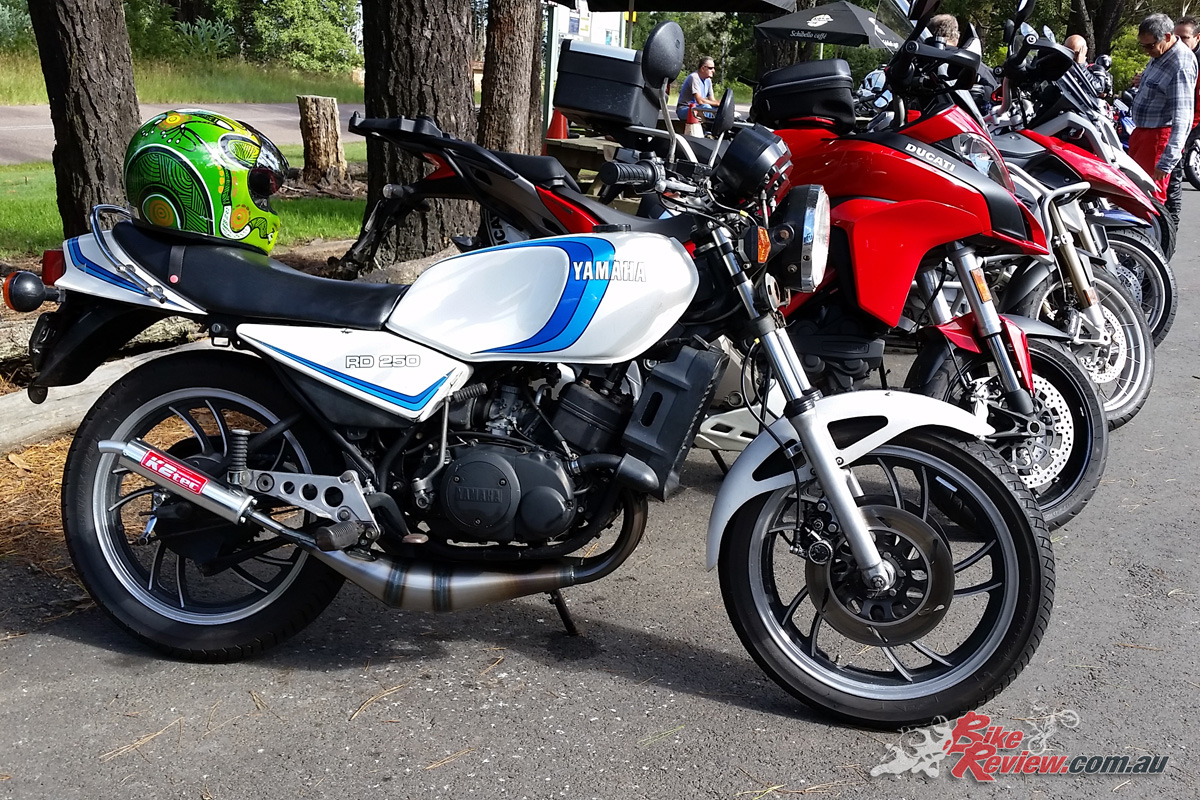
The Yamaha RD350LC in all its glory. Pommie had wanted one since he was a teenager…
As a 16-year-old in the UK, the LC model RD was the ultimate bike. When I was stuck riding my Yamaha DT50, which was flat out doing 50km/h, my mates that were two years older had 250 and 350s RD LCs. I still remember them riding into my mate’s shed, pulling the heads and barrels off and filing an extra few millimetres off the ports, in the hope of gaining an extra couple of horsepower and the sound that came from those Micron expansion chambers when they teared off up the street is still a fond memory for me.
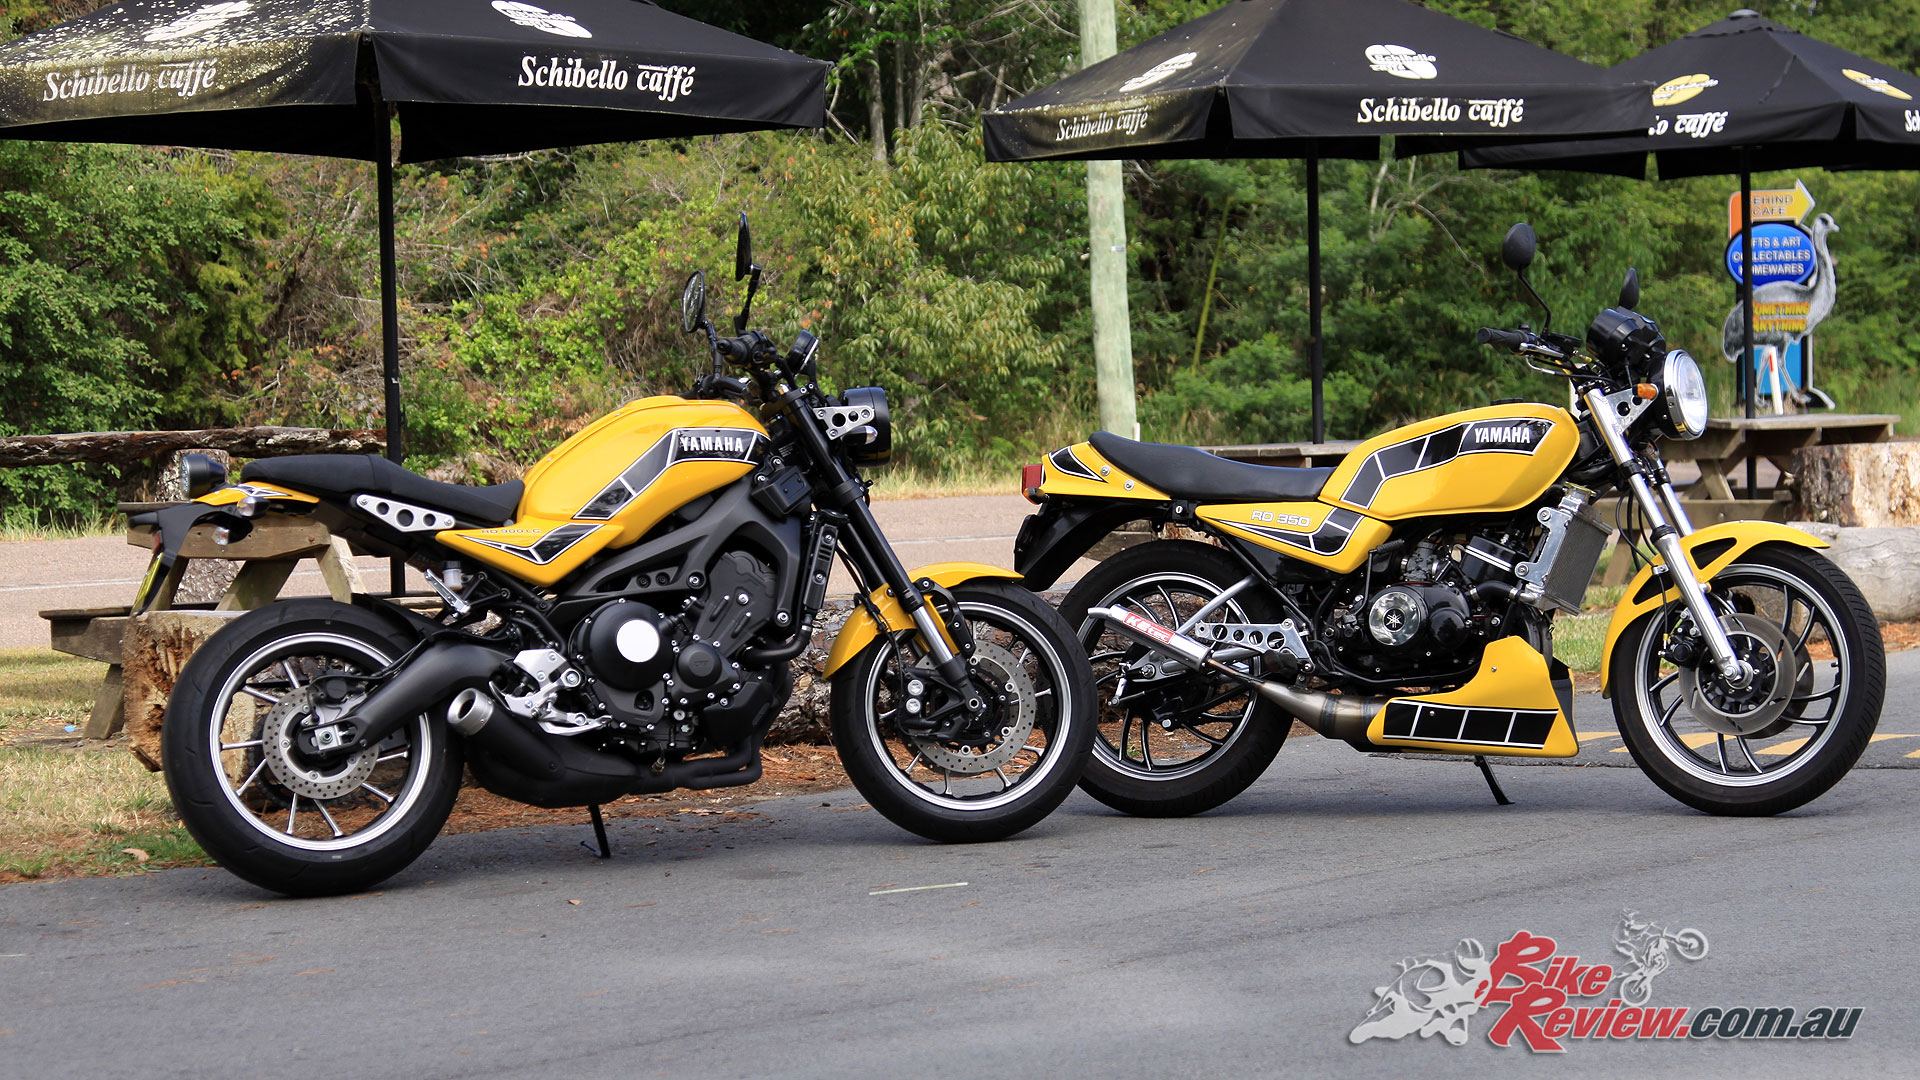
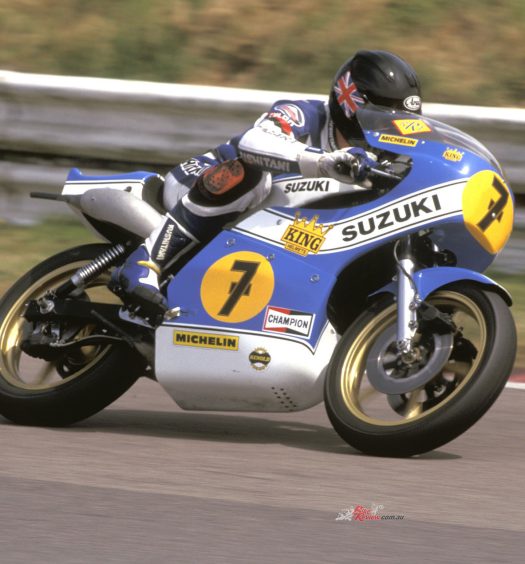
Yamaha XSR900 ‘RD900LC & 1981 RD350LC
After I’d finished restoring my Kawasaki H1, I wanted to find a rough RD350LC to get my teeth into, again like my H1, I wanted to find a bike that was pretty much complete, so I put my feelers out and also hit the internet. I soon got a call from my mate Chris Pickett who happened to have one of his mate’s bikes for sale; he had been riding it for a while and gave it the thumbs up, as far the mechanical went, although the rest of the bike was a bit rough.
This particular RD350LC was picked up for $5500 and offered the perfect canvas for a restoration.
After a short test ride and a $5500 bank deposit I had the bike in the ute on the way home, a couple of days later I got a call saying that there were a few spares to go with the bike. A few spares were an understatement to say the least, in fact, there was a full spare bike in bits and two stripped engines.
Pommie’s RD350LC only saw two rides before the need for a restoration kicked in.
Like my Kawasaki H1, I’d planned to ride the bike around for a while before I restored it, but I don’t like riding anything that I’m not proud of, so I only had two rides before I started the restoration. It’s a good idea before you start to strip and rebuild any bike, is to have a plan and a suitable budget, for me, I’d been lucky enough to get a few grand from my parents for my 50th birthday, so that was me sorted.

I also knew what I was going to do with the bike, which helped. Firstly, I was going to fit the mandatory expansion chambers, then I knew the paintwork was going to be in yellow Kenny Roberts colours, I also had the idea to do it as quickly as possible just for the fun of it, I had a couple of weeks off work.
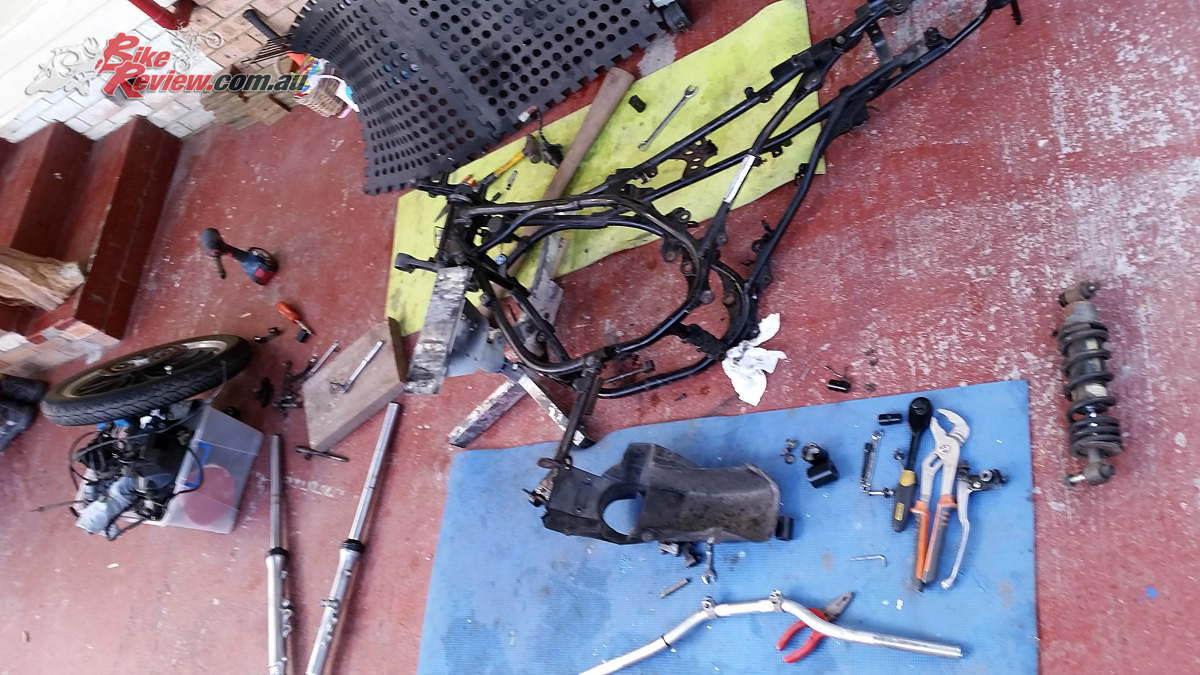
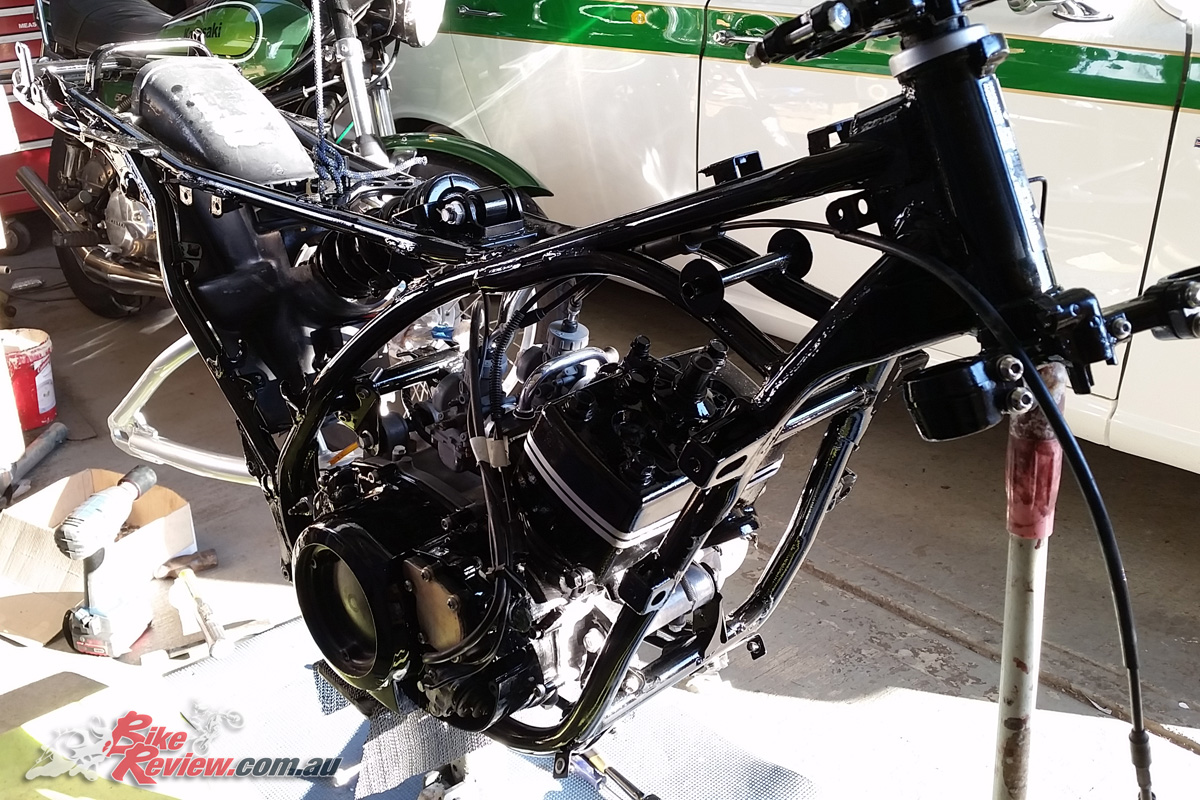
The bike was stripped down to the bare frame, once Pommie had planned out what he was going to do, taking careful note of what went where, and how.
My first job was to strip everything off the bike down to the bare frame, if you have never done this before it’s not as daunting as it sounds, just mark everything exactly, especially the wiring and take plenty of photos of where everything goes, you don’t want to put things back together only to realise you’ve routed the wires on the wrong side of the frame. With the bike in bits, it was a good opportunity to start buying all the parts needed for the build.
The engine was mechanically good, however expansion chambers were needed and it was due for a tidy up.
The most expensive thing I needed was a set of expansion chambers, when I say needed I really mean wanted, as I already had two sets of stock pipes. I did a bit of research and settled on a set of K2 Tech’s from Japan, not only do they sound good they are less than half the weight of the originals. I also ordered a Kenny Roberts sticker set from the UK, along with a new headlight.
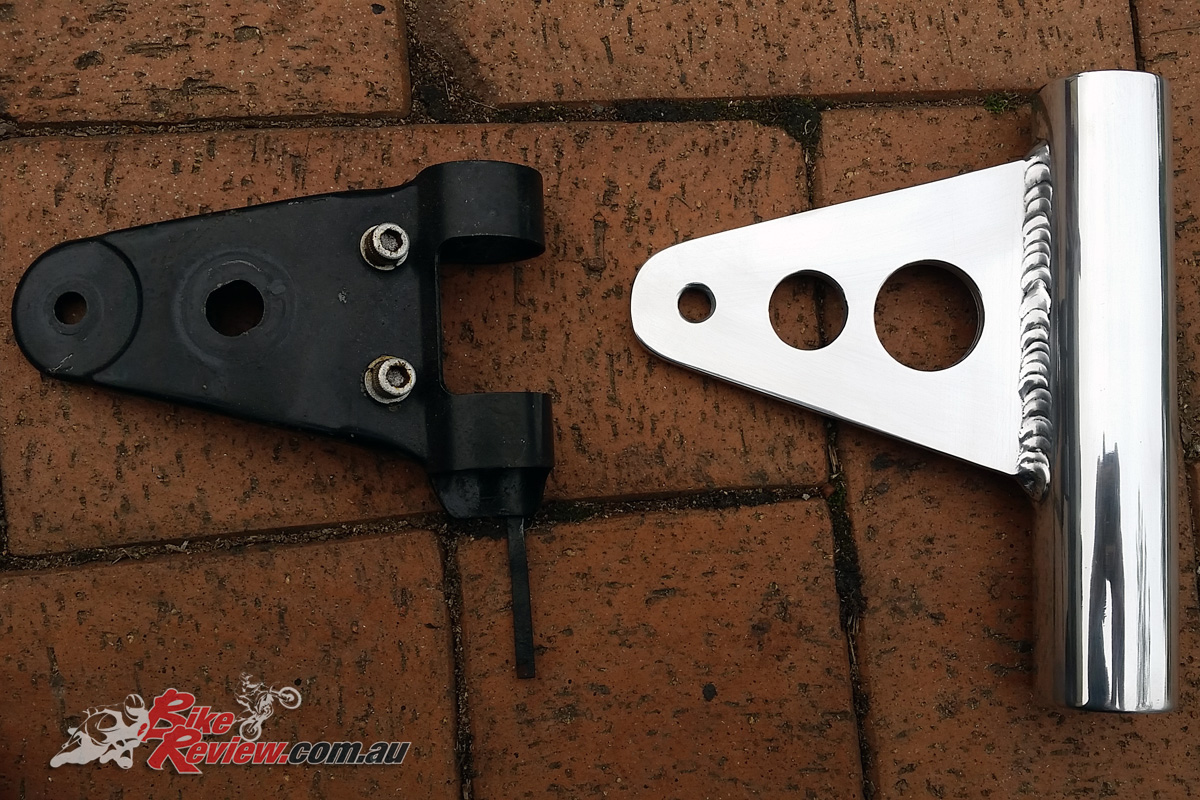
Rather than replace pitted fork stanchions a new headlight mounting system for the headlight on order was created and polished up.
I did really need a new set of chrome fork stanchions as they were pitted with rust around the top, but decided to make a trick alloy headlight bracket that would slide over the tubes and hide the pitting. For this I used 3mm thick hollow tube and 5mm flat plate, which I cut and linished to shape, once I had everything cut I took the parts to my mate Graham to weld, I then polished the brackets to a mirror finish. The forks themselves were stripped, with the lower legs polished and new oil and seals thrown in for good measure.
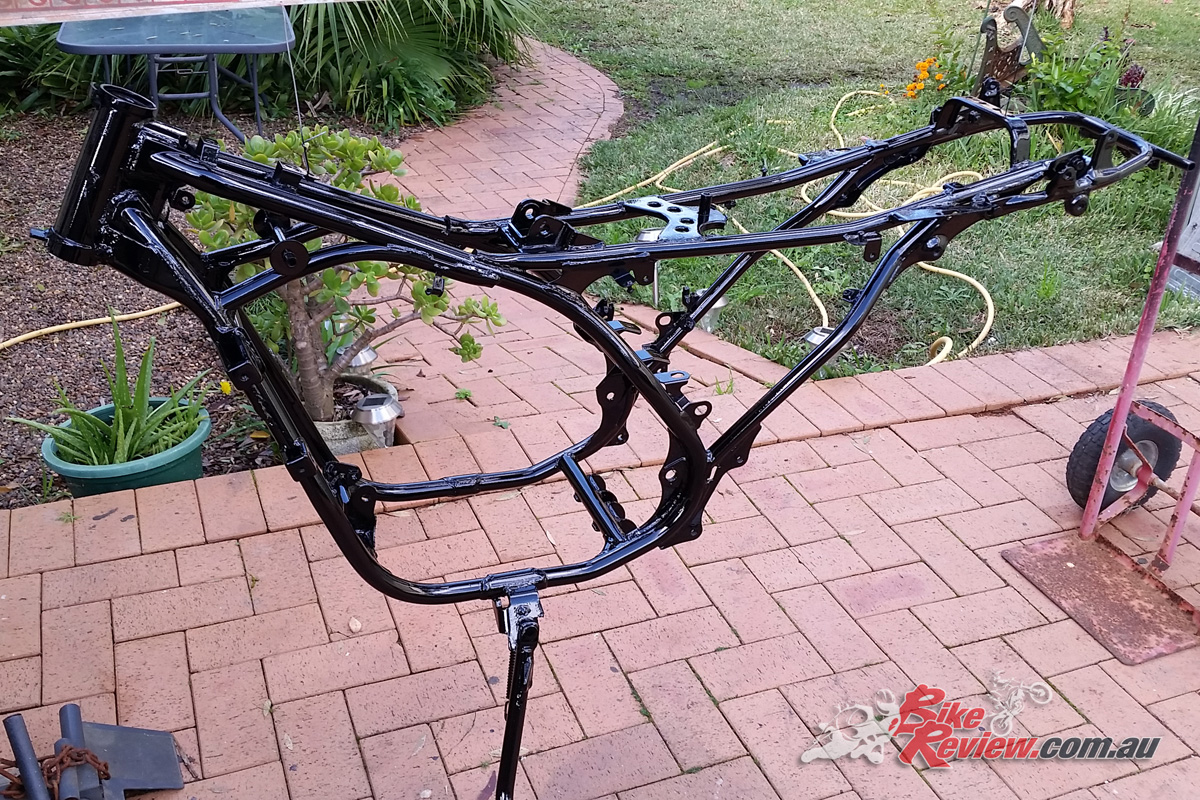
The frame was in good order and was just sanded down to be repainted, instead of being sandblasted.
I also ordered a new alloy radiator, really just for the look as there was nothing wrong with the stock one. The only other thing that I really needed was a gear lever and linkage as the old one was flogged out and I needed a new set of indicators, for these I chose a smaller set that still look a bit period.
With most of the parts on order I started work on the frame; the frame was in pretty good order with only a few spots of surface rust. I have a large enough cabinet to fit the frame in for sandblasting, but it didn’t need it so I just sanded the frame with 240 grit paper, before applying two coat of a universal etch primer, followed by four coats of hi-build two-pack primer.
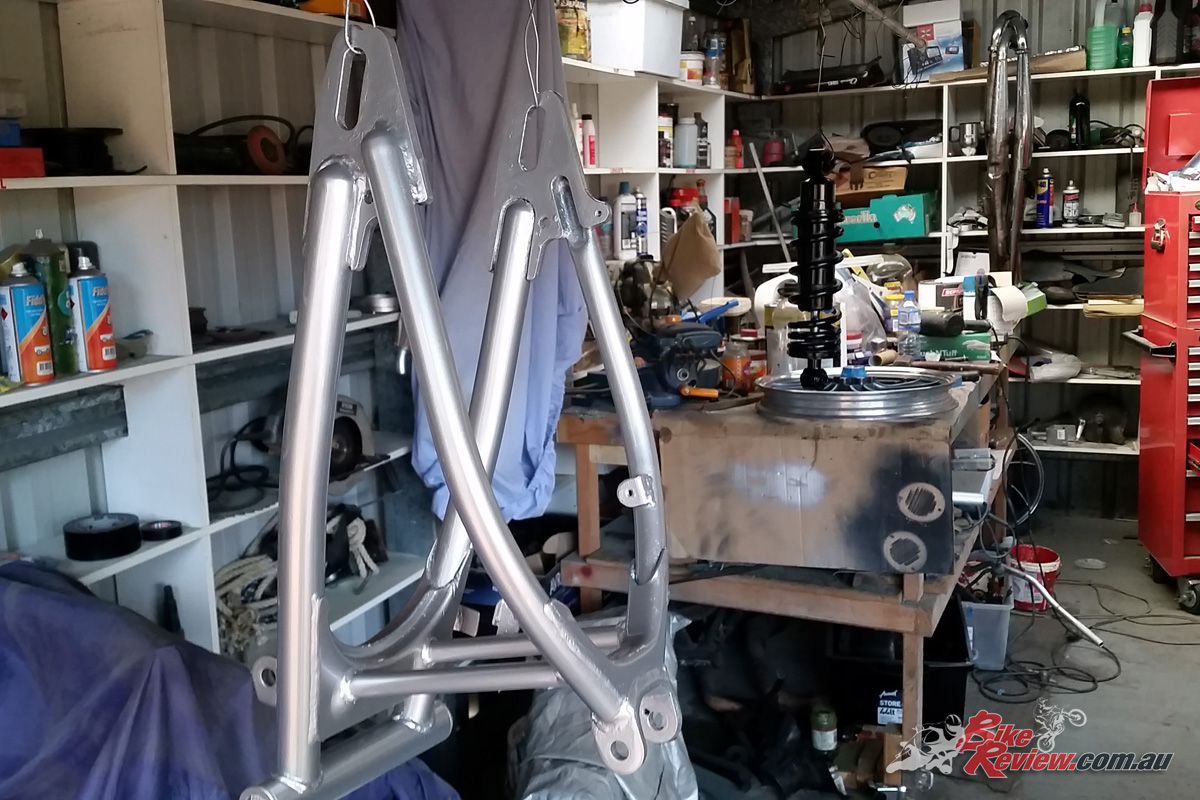
The swingarm was also repainted, in silver to contrast the frame in black.
Once the primer has hardened, for a couple of days, I rubbed the primer smooth with some 800 wet and dry sand paper, then cleaned and dried the frame with compressed air and wax and grease remover. I then sprayed the frame with four coats of two-pack gloss black, for the swingarm I wanted to give it contrast against the black frame so I decided to paint it basecoat silver and then give it a couple of coats of clear to give it a deep shine.
The bearing/bushes in the swingarm were in good condition so I just cleaned and re-greased them before fitting the swingarm back in the frame, I also replaced the head bearings with tapered ones for a smoother operation.
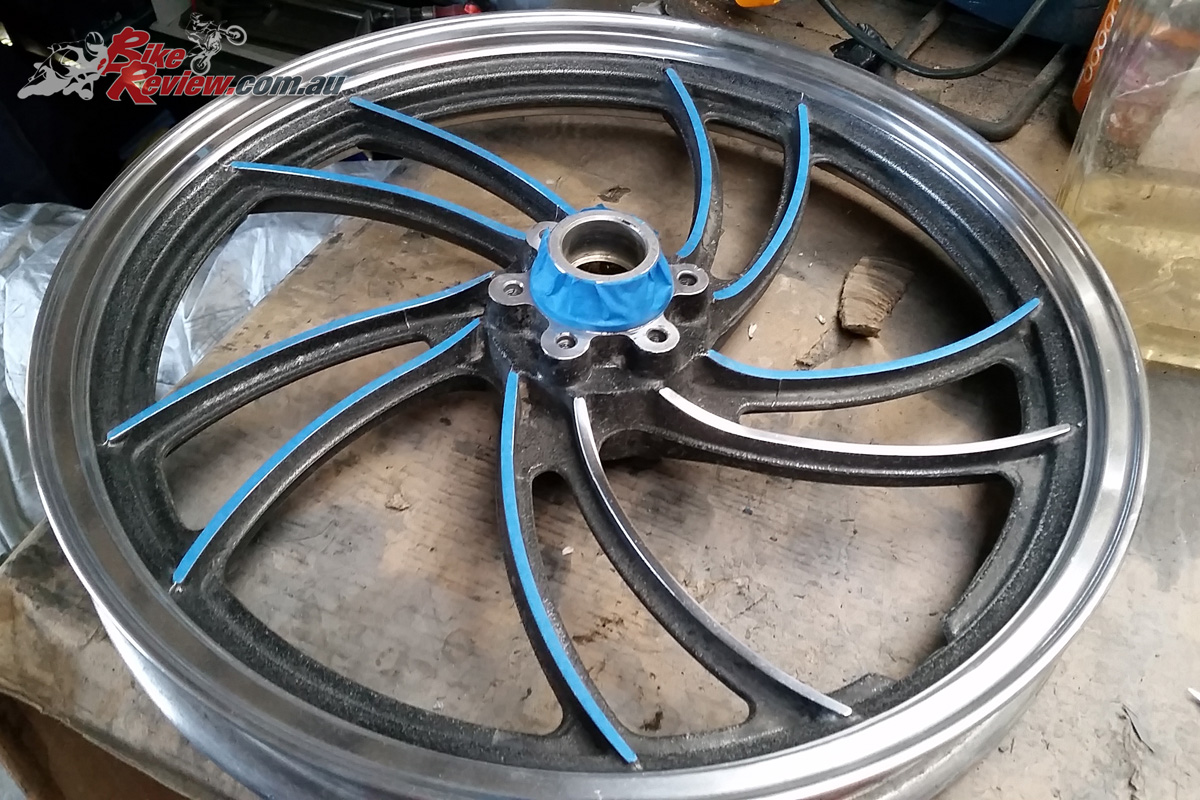
The wheels needed some TLC and were sent away for polishing and to have a dent removed, before being taped up.
After the frame was finished and the forks were in, my next priority was to get it back on its wheels so it’s easy to work on. The wheels were given to my mate Graham to strip and polish, there was also a slight dent in the front rim that he took out for me, I could of done this work myself, but I did a deal with him for a set of stickers I made for his Fireblade and any day you don’t have to spend polishing alloy is a good one as far as I’m concerned.
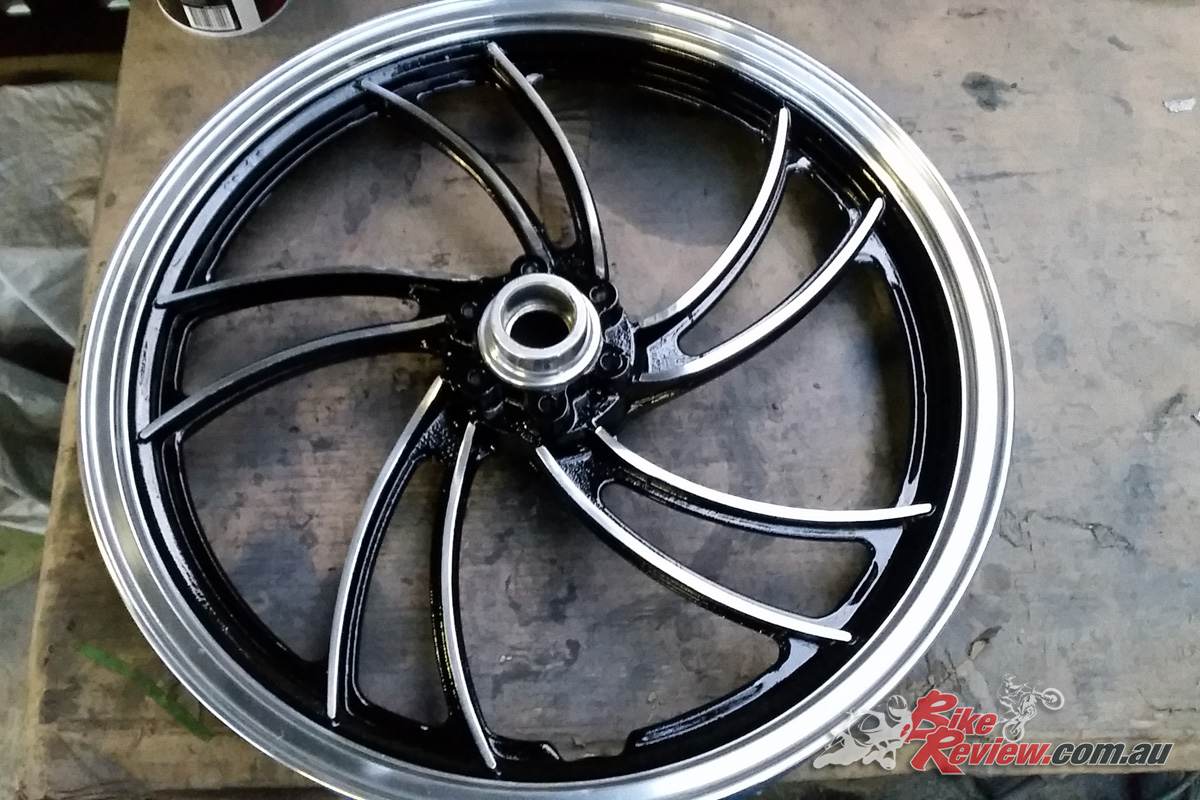
Then it was repainted back to the original look.
Once the wheels were back, I masked up the rims and the polished curves on the 10 spokes, which took forever, then hit them with a few coats of two-pack gloss black.
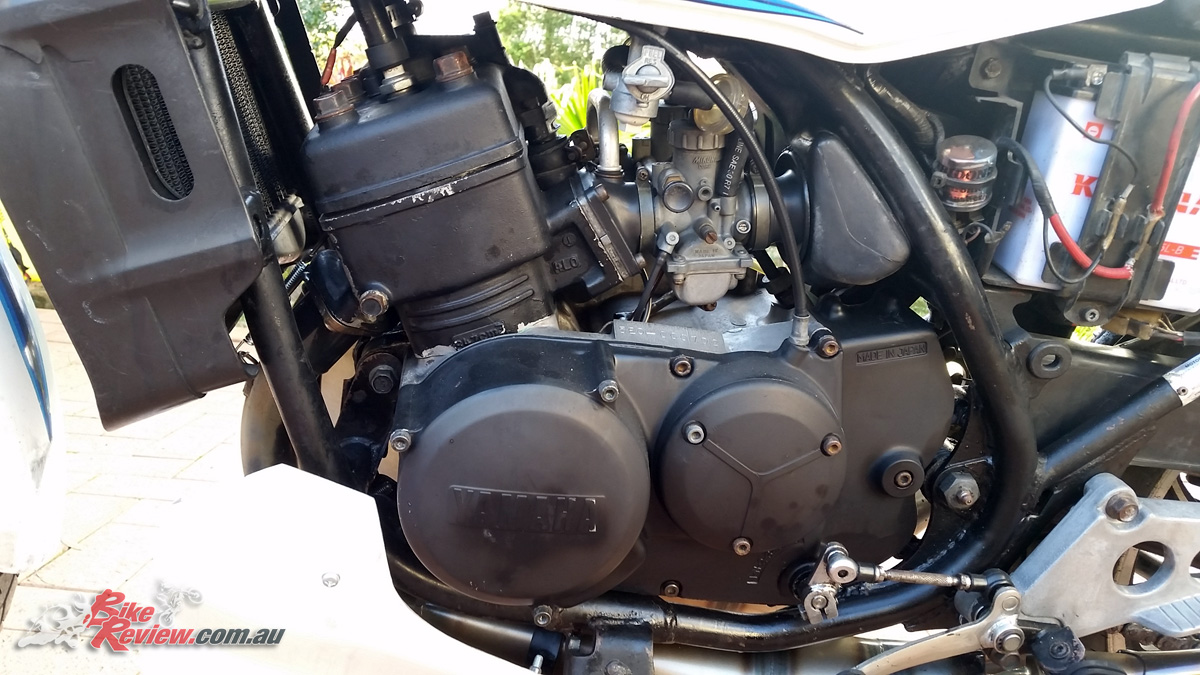
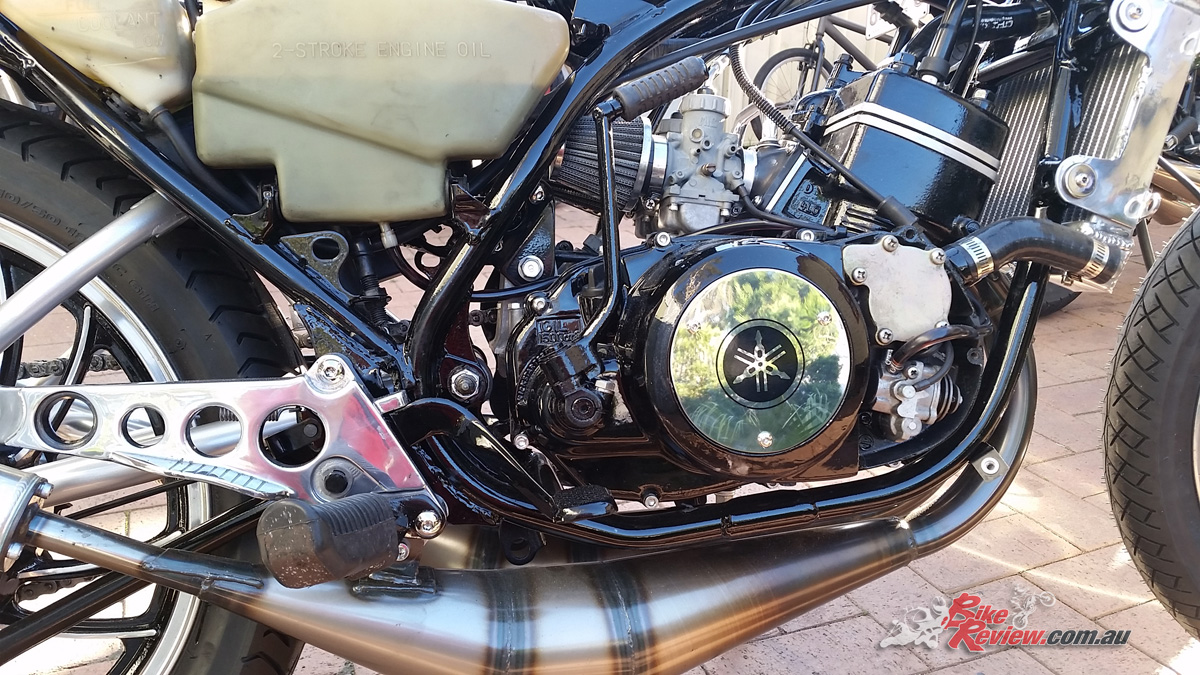
The next job was the engine, which I was lucky was in great condition so all that was needed was good detailing and painting, again with two-pack gloss black. With all that black on the engine and side covers, I wanted to break it up a bit, so where the heads meet the barrels I linished those edges to expose the alloy and show that as a highlight..
The engine was repainted in gloss black and was linished where the head meets the barrels.
With the black side cases, I used some 2mm polished stainless steel I had laying around and made a template from the inspection covers on the cases, I again handed them to Graham to cut into perfect circles (he has too much time on his hands) to fit the space.
Stainless steel plates were also created for the engine bases to give a further refined look, bearing the Yamaha logo.
Once the stainless plates were fitted to the cases, I then made some Yamaha logos on my sign cutting machine to finish them off. On any bike build it’s the small things that you don’t immediately notice that make the difference, like replacing all the engine side casing bolts with stainless steel ones, then going to the trouble of polishing the heads on each bolt.
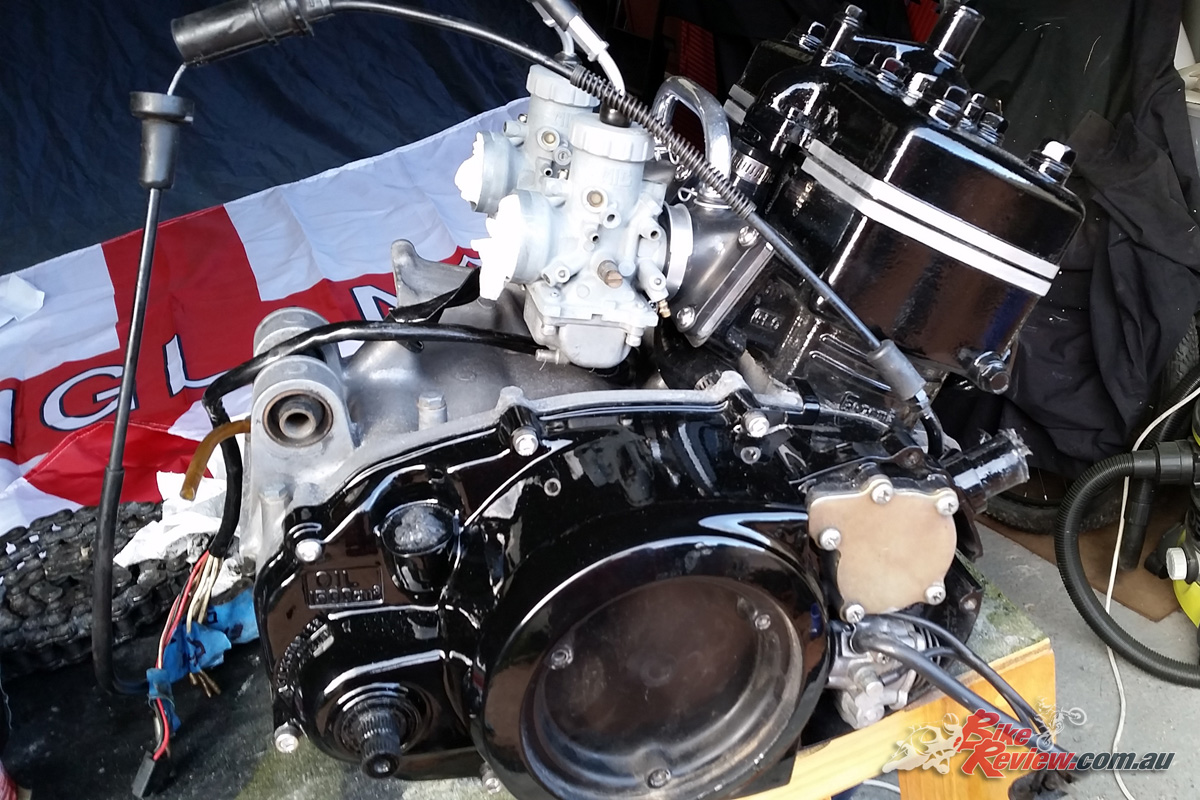
The carbies were also cleaned with diluted hydrochloric acid, as the bike was in good working condition originally.
Next on my list was to clean the 36 year old carburettors that were not only covered in oil but deeply tarnished, there are a lot of methods for cleaning ally parts and a search on the internet will bring up loads of opinions. Because I knew my carbs already performed well I didn’t want to do anything too dramatic. I have previously soaked carbs in all sorts of solutions with various degrees of success, but the best results I have found have come from different types of abrasive blasting.
In the end I decided try using a 50 precent diluted hydrochloric acid. Using a strong acid like this you need all the safety gear on and do some tests to see how long you should leave it on, it’s brutal stuff and it was an experiment for me, but seemed to work well.
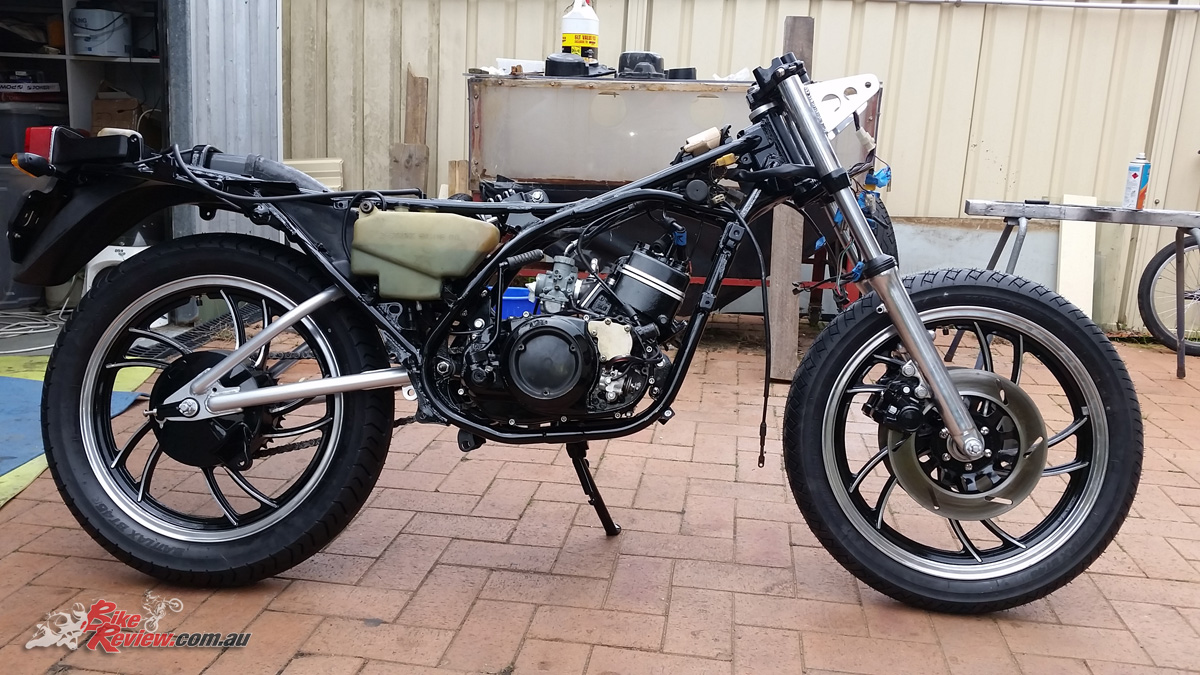
The rolling chassis assembled, with the engine and carbies fitted.
With the engine and carbs back in the frame, I started to install the wiring loom, referring back to my original photos for direction, once the wiring was back in place, it’s really a downhill run from there as I could start to install all the electrics and components. Before I put each part back on the bike I either painted it or spent some time and effort polishing the part, such as foot rests, radiator and handlebars.
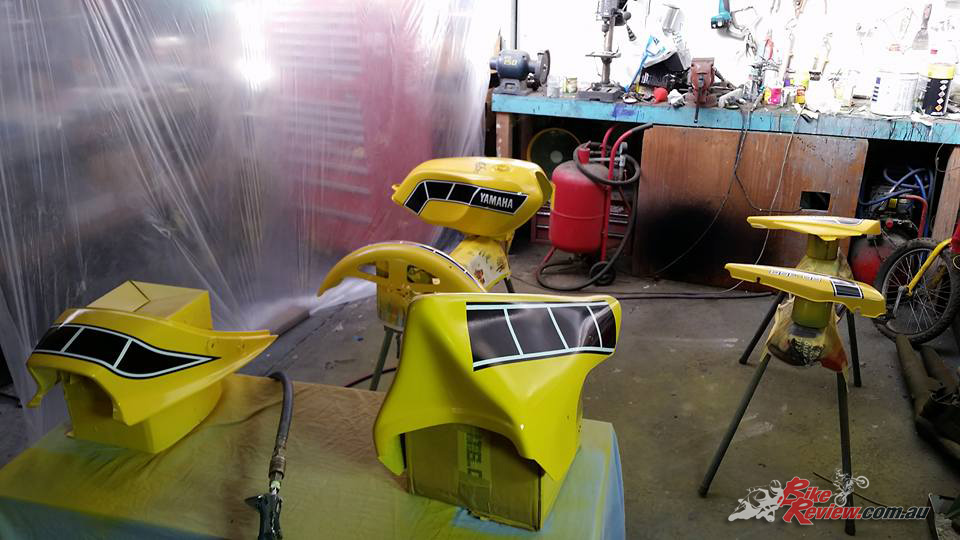
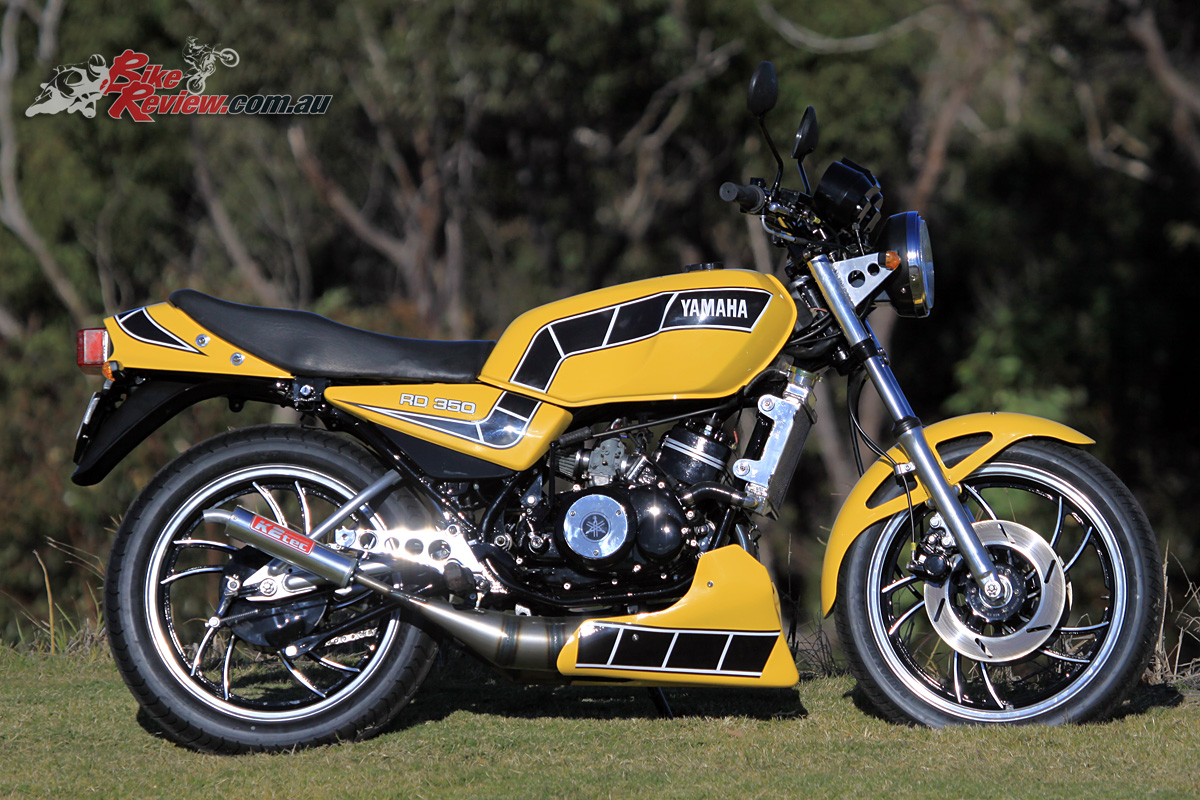
The bodywork was also repaired and fully repainted in Kenny Roberts livery.
The most important part of the restoration for me is the bodywork, being an ex-spray painter I always desire perfection, but on this particular build I slipped up. Buying the Kenny Roberts sticker, although saving me days of work masking and painting the graphics on, it left an edge around the stickers that only I probably notice – I really do kick myself for not doing it right the first time.
The restored panels and tank test fitted before having the graphics applied.
The process I used was to repair half a dozen dents on the tank first, this was done with normal body filler, and then two-pack primed. The rest of the panels were in bad shape, one of the side panels for example had that many cracks in it and the panel was beyond repair. I tried plastic welding the panels, but none of my six types of welding rods worked, in the end I used a plastic weld resin that seemed to do the trick after spending a fair bit of time cleaning, sanding and making a V grove in the cracks for the resin to go in.
With the panels repaired I then two-pack primed them, then along with the tank I sanded them smooth with 800 wet and dry. Repairing, filling, sanding and priming are probably the most important part of the process, like my old boss used to say, “You can be the best spray painter in the world, but if the job is badly repaired it will still look like shit.”
The bodywork was painted by Pommie, receiving a basecoat of Lotus Yellow, with the graphics on the tank a particular challenge when it game to the graphics.
For the colour I chose basecoat Lotus Yellow, with the panels prepared and cleaned, I applied six coats, and then left them a day to dry, I then laid down the graphics, which on the tank was not easy due to the shape of it. With the graphics on, I then sprayed four coats of two-pack clear lacquer over all the panels to not only give them a deep glossy shine but to protect the graphics from fading in the sun.
Painting anything outside a spray booth you are going to get dust, especially in a shed like mine so I needed to flat down any dust particles with 1200 grit wet and dry sand paper, then polish the panels back to a mirror finish. Any kind of machine polishing is fraught with danger, you can cut through the paint on the edges of the panels in seconds and the machine can grab a light side panel and sling it across the shed like a Frisbee (I know this from experience).
The first ride wasn’t quite the expected moment of triumph with the bike not running as expected.
With the bike all painted and back together it was time for my first ride, there is nothing that can compare to the moment you take off up the road on your newly restored bike, especially when you’ve done the work yourself, but unfortunately it only lasted 200 meters.


Read about the Yamaha XSR900 RD Replica here…
I rode the bike back to the shed scratching my head, for some reason the tuning was way off, which was weird because I hadn’t touched anything and the bike had ran perfectly before, even with the new expansion chambers. I then found myself pulling the carbs to bits and cleaning them around four times, but the fuelling was way too rich, I then started dropping the needles down and the carbs to lean out the mixture, this made a big difference, but it’s still not 100% right.
The carbs were pulled off and cleaned and then tuned to lean out the mixture.
With the bike running pretty well I was then able to go for a decent ride with my mates, this was where I finally managed to get that feeling of accomplishment, especially when you get numerous people coming up to you admiring your work, that’s always special to me and I get real pleasure explaining to people what I’ve done to the bike or offering advice to anyone who needs it.
The one thing that did surprise me and my mates when riding the bike was how well it handles, especially on slightly rougher roads, for a bike built in 1981 it certainly deserved any reputation it built up over the last 36 years – I really to love every second riding the RD350LC, the smell, the smoke and more importantly the feeling it gives me.

The end result is a breathtaking offering in the Kenny Roberts colours.
Yamaha RD350LC Specifications
Current Purchase Prices: $4000 – $11,000
Colours: Blue, white and black
Claimed power: 47hp[34.5kw]@8500rpm
Claimed torque: 40.2Nm@8000rpm
Wet weight: 149kg
Fuel capacity: 16.5L
Engine: 2-stroke parallel twin-cylinder
Displacement: 347cc
Gearbox: Six-speed
Clutch: Multiplate wet
Final drive: Sealed chain
Chassis: Tubular mild steel, double down tubes, mild steel tubular swingarm
Suspension: 32mm stanchion tube forks, rear single shock cantilever five-way spring preload
Brakes: Dual single-piston calipers, 267mm discs, rear drum brake
Tyres: 3.00-18, (f) and 3.50-18, (r)
DIMENSIONS:
Wheelbase: 1365 mm
Seat height: 785mm
Instruments: Analogue


The Author
You Might Also Like


January 7, 2018
Looks great Tony, another cracking restoration alongside your KH. I really enjoy bikereview.com.au