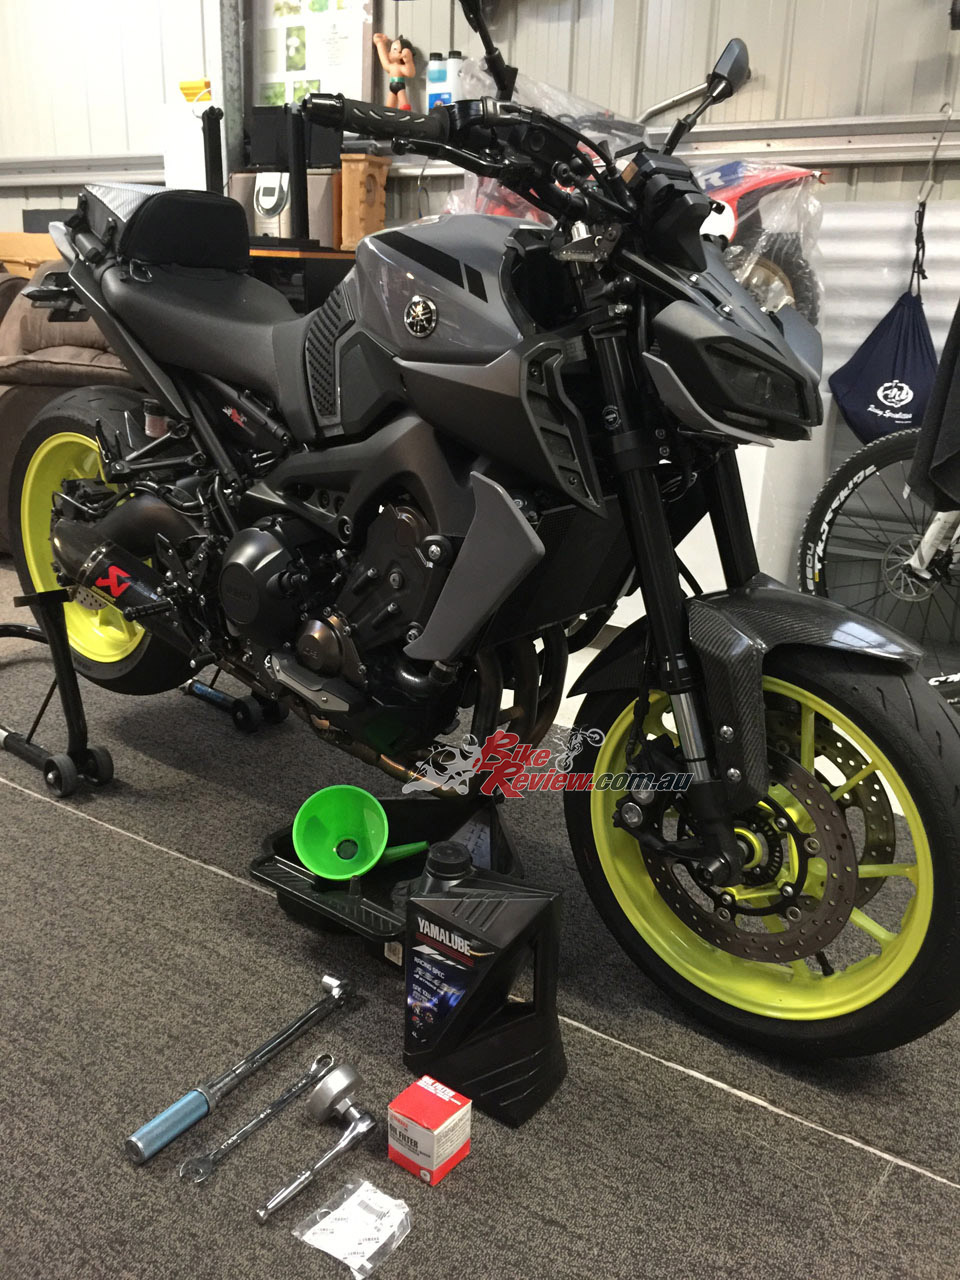
Taka gave his MT-09 a freshen up using a Yamaha Road Bike Oil Change Kit, all ready for summer. The kit includes the oil, oil filter and sump plug washer for $83.10... Work: Taka Nagata
Taka gave his MT-09 a Yamaha Oil Change Kit refresh between services. This is a great DIY job, and while complexity and time required varies by bike, it’s a smart one to do yourself, save a bit of money and keep your bike in top shape between major services.
Yamaha sell Genuine Oil Change Kits through their dealer network and through Yamaha Y Shop.
Checking fluid levels should be a weekly part of your motorcycling regime, along with tyre pressures, brake pad wear, tyre wear, and giving everything a good once over.
If you’re running a faired machine, it’ll take a little longer to change the oil and filter yourself, while hopefully you don’t own a machine which requires the headers to be taken off for this job. The MT-09 is super simple. You’ll just need 4L of oil, a new oil filter and the appropriate tools. We’ve got genuine oil and filter kit from Yamaha to suit. They are $83.10 and available here.
You can check out the full range of MT-09 parts at the Yamaha Y-Shop Accessories Online website, or talk to your local Yamaha dealer. Here’s a quick guide to changing oil on the MT-09 first up:
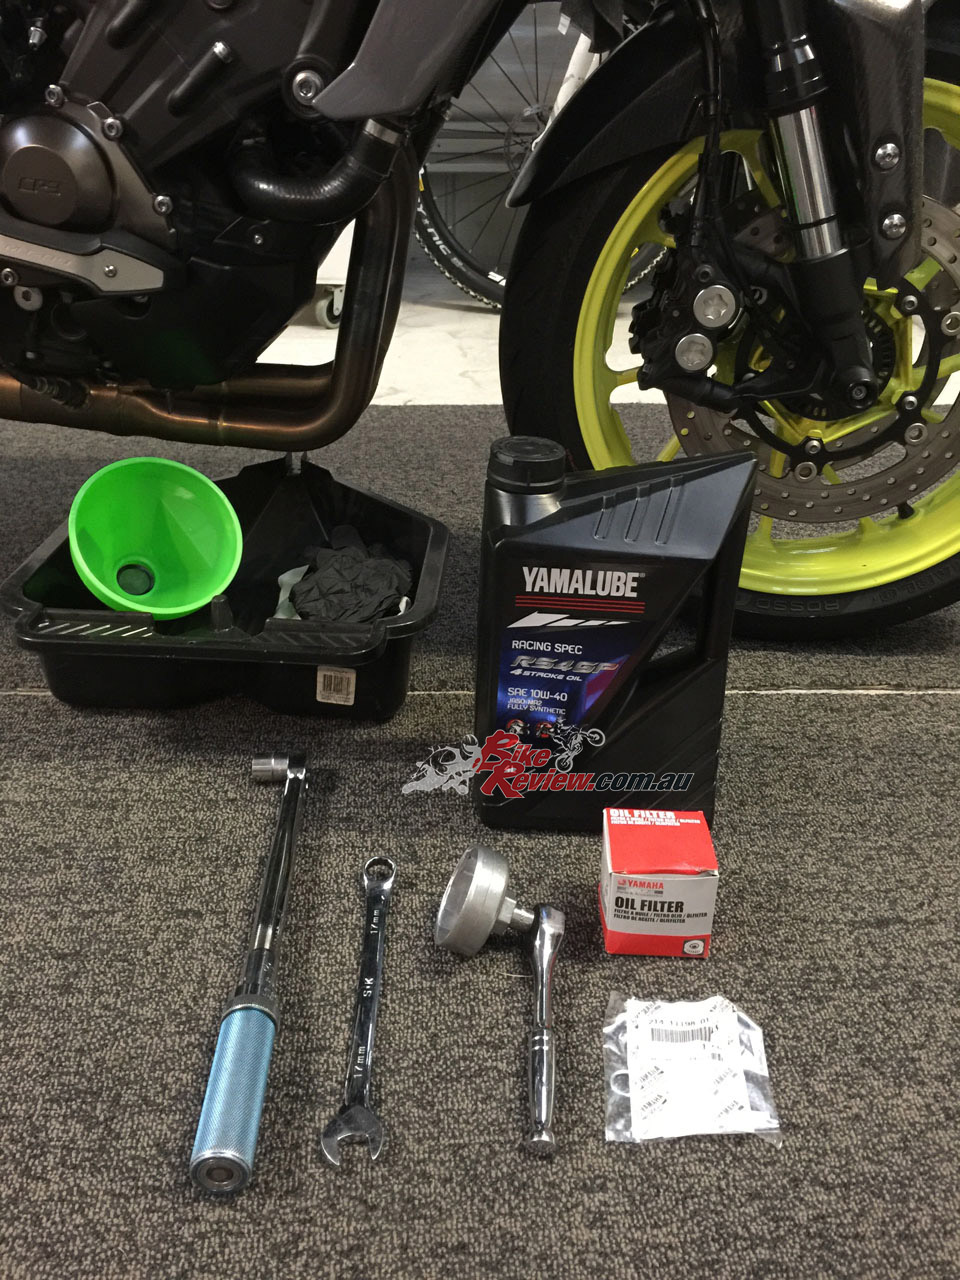
The kits cost $83.10 for the Road Kit which includes the filter, oil and sump plug washer.
Yamaha MT-09 Oil Change
First up you’ll want your bike located somewhere flat, with good access, and it’s best to warm the bike up so the oil will flow out quickly. This doesn’t mean the bike needs to be red hot, if the cases are warm (not hot) to your hand, you’re probably right. You don’t want the oil too hot, as if you use your hand to undo the last few threads for the sump bolt so it doesn’t drop into your oil pan, you’ll normally end up with oil on one hand. Needless to say if it’s boiling hot, you’re in trouble. If you’re not confident with what you’re doing just use a spanner and keep your hands clear.

Also have some rags handy, your oil pan, and the tools needed for undoing your sump bolt, and taking off the oil filter. If you’ve got a K&N filter you may be able to get a socket onto the bolt welded on, otherwise an oil filter wrench can help get the stubborn filter off.
Position the oil pan under the bike, there’ll be a bit of pressure behind the oil, so make sure when it pours out the sump plug hole it is into your pan, not onto the ground. Also remove the oil filler cap so there’s not a vacuum which will slow the oil draining.

Make sure you don’t burn your hands with the hot oil, or drop the sump plug in the dirty oil!
Undo the sump bolt, make sure you’re undoing it, not over-tightening it, or you can crack the sump. Try not to drop it into the oil pan if you can, give it a wipe and put it somewhere safe. If you haven’t changed the oil sump bolt’s washer in a while, it may be worth thinking about getting a new one – if you’re halfway through and thinking you need one, keep it in mind for next time instead.
With all the oil drained out you can now replace the sump bolt, with new washer if necessary, torque to spec – do not over-tighten. Now grab your new oil filter out of the box and remove the plastic cover over the end that screws onto the bike. Open your new bottle of oil and spread a small amount over the edge of the end of the filter that seals onto the bike (onto the threaded area and the surrounds, out to the rubber seal). It can be quite sharp in some areas, so watch your finger(s).
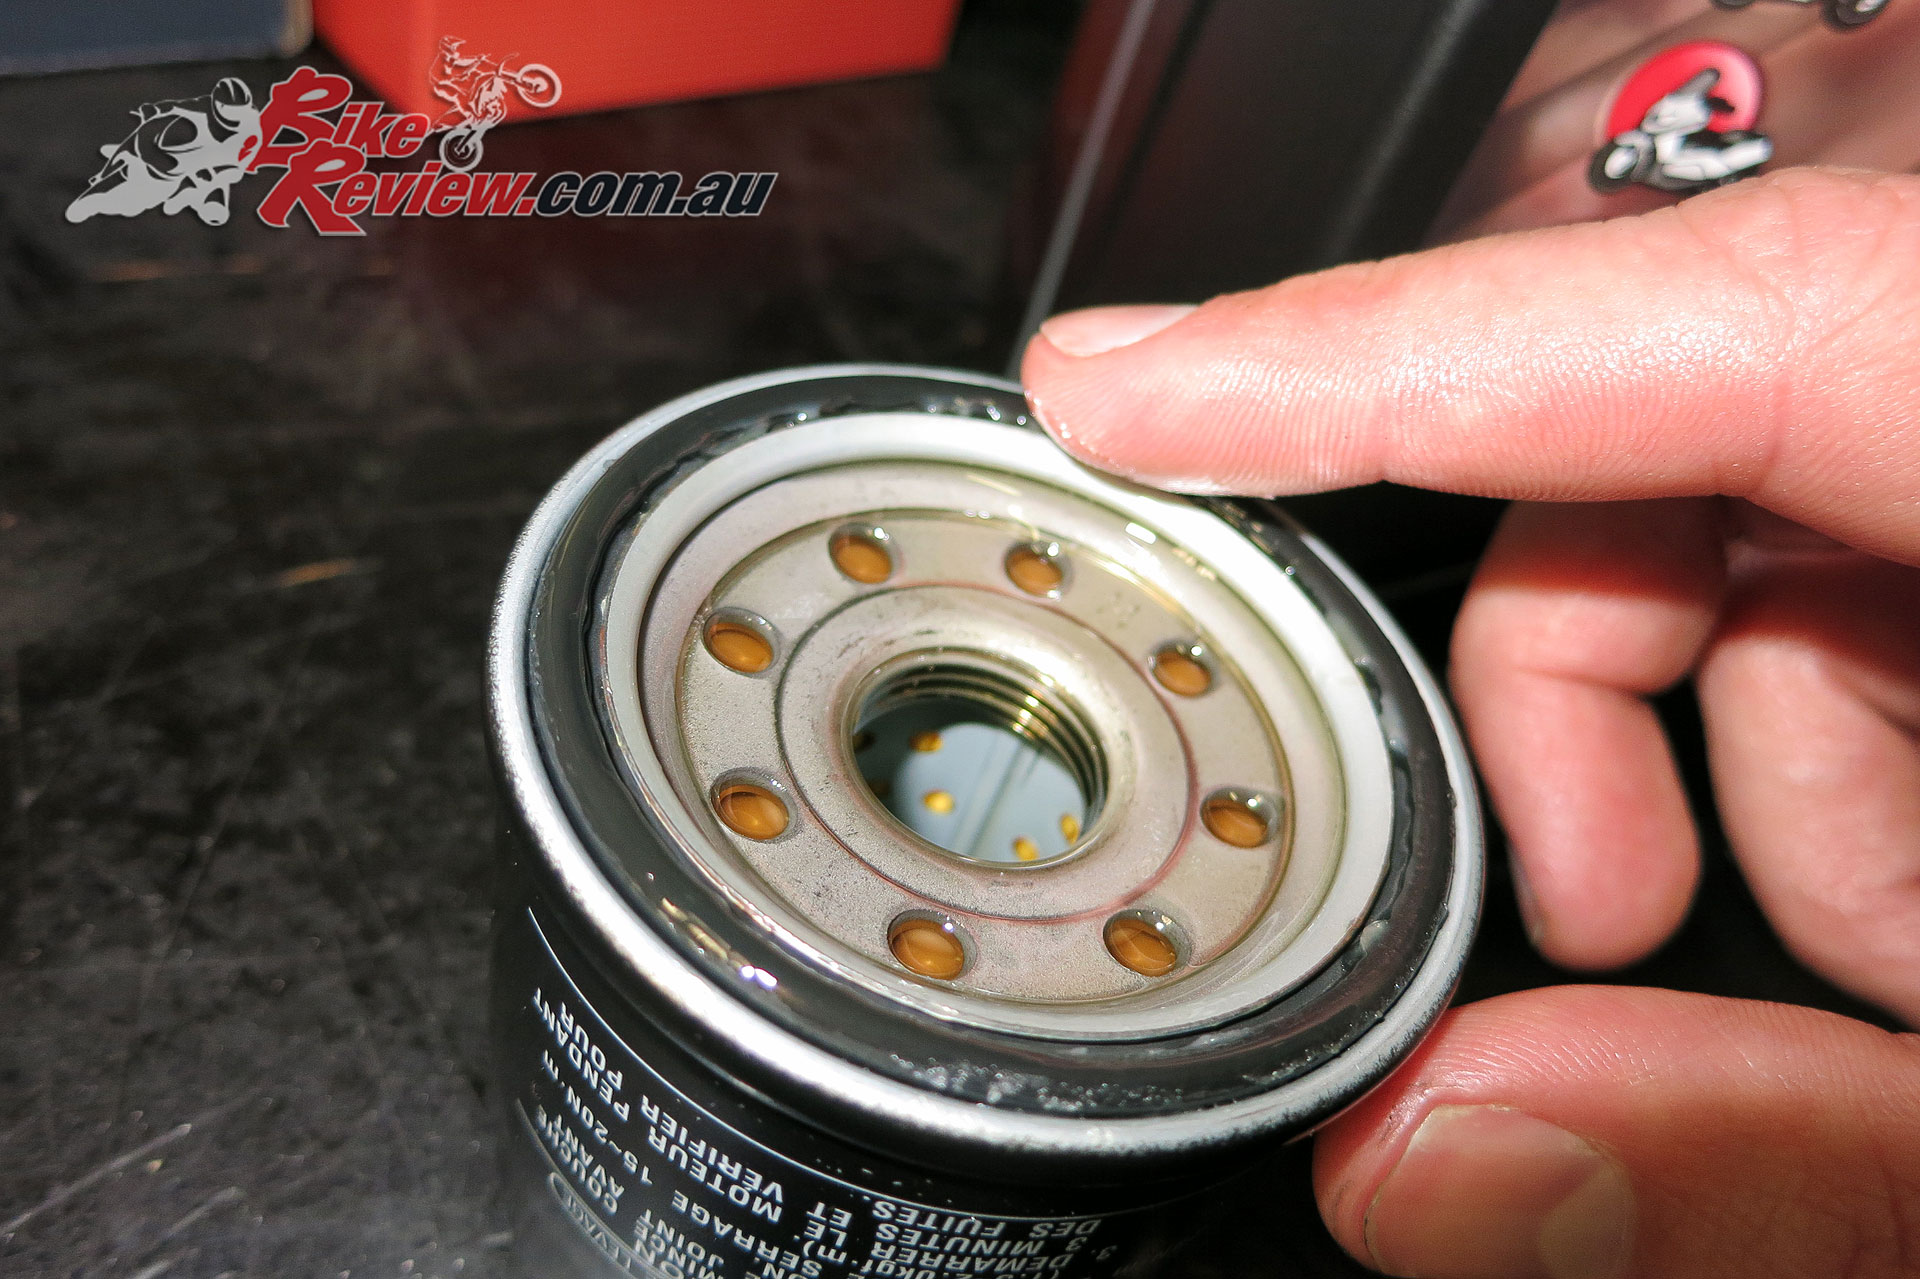
Grab the new oil filter and get some oil across the sealing surface
You can also partially fill the oil filter, keeping in mind it screws on horizontally (in this and most cases), so if it’s full to the rim, you’ll lose a fair bit of that oil getting it into place and screwed on.
I’ve always tightened the oil filter by hand and never had an issue. In fact they are normally almost impossible to get off in the same manner, when it gets around to the next change.
So you’ve got your new filter and the sump bolt back in place and properly tightened (double check this at this point). Now you can pour oil back in via the oil filler cap point.
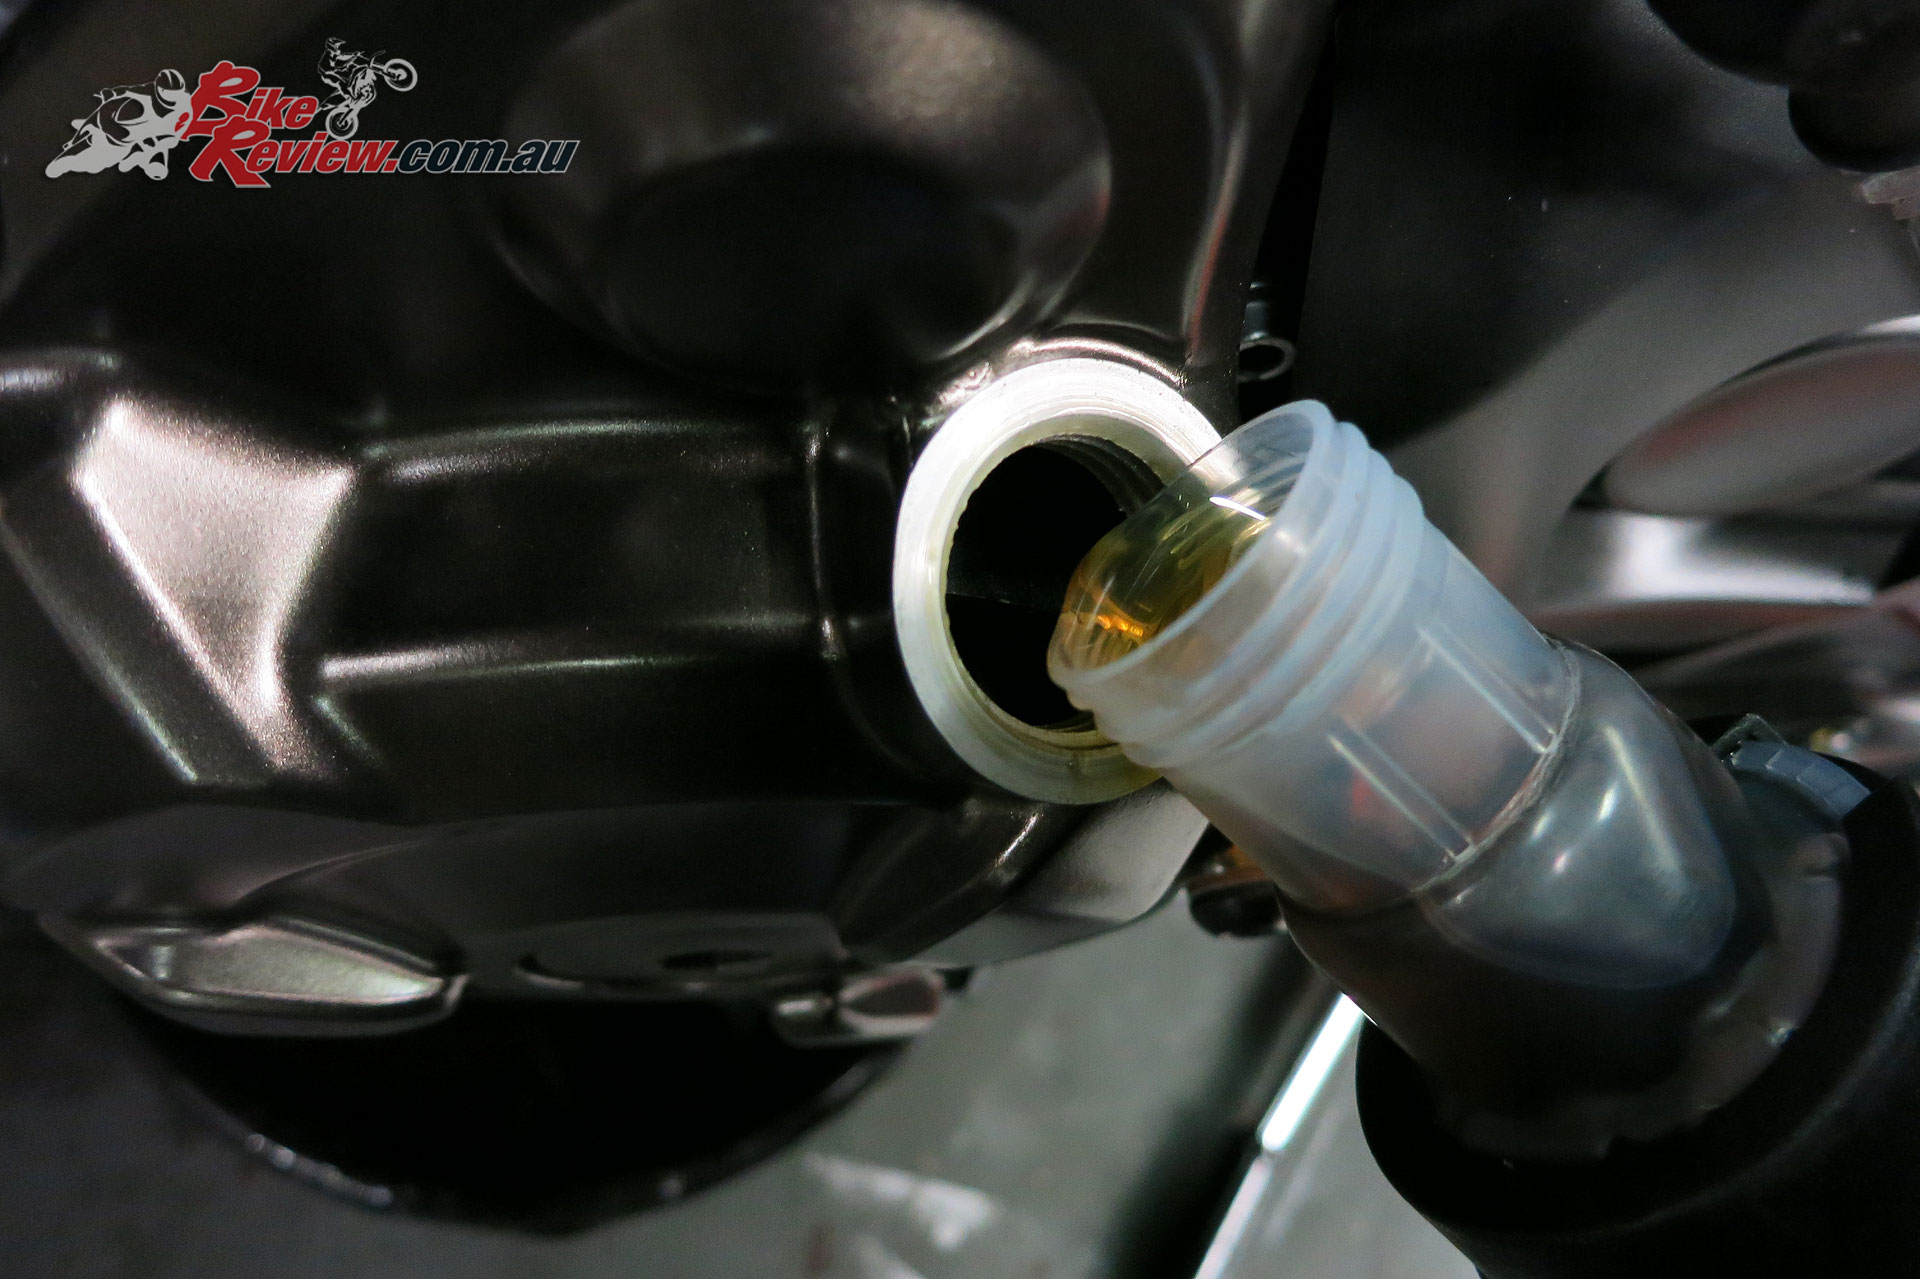
You can fill the bike back up with the new oil via the oil filler cap hole.
If your oil pan has measurement lines, you’ll be able to roughly guestimate how much oil needs to go back in (ie at least as much as came out, unless it was previously overfilled). Most oil bottles also now have a transparent section with markers for how much is left in the bottle.

You can see how much oil you’ve poured so far on most oil bottles now (3L being the remaining amount)
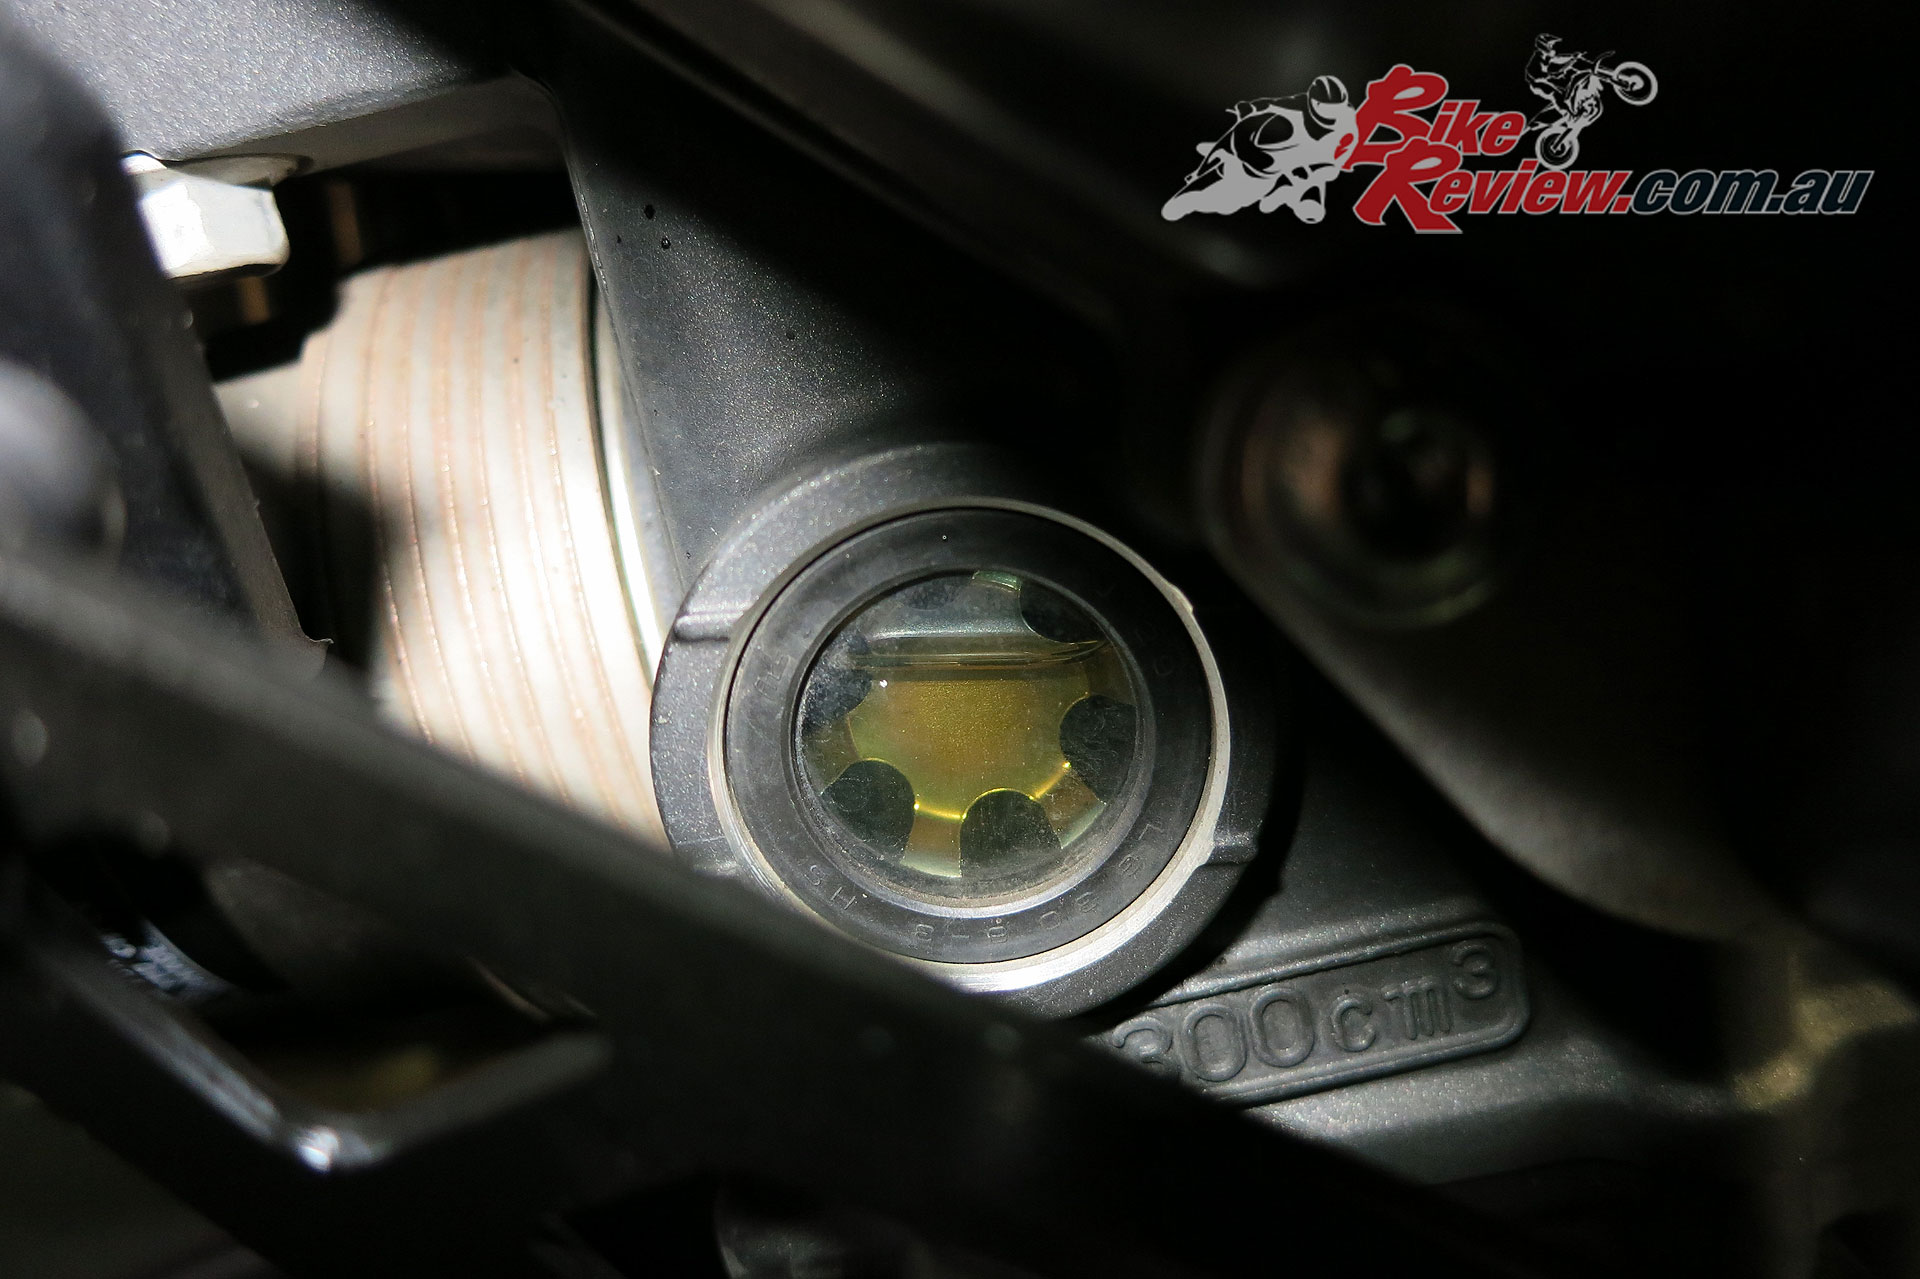
If there’s an oil level window like the Tracer the job is even easier. I filled to the halfway mark in the oil level window, keeping in mind the bike is on a rear stand. We then replaced the oil filter cap and let the bike run for 30 seconds, letting it settle.
Then we topped the oil back up to just over halfway in the window again, before again replacing the oil filler cap. Repeat this step until the oil level remains the same. But give the oil time to settle after turning off the bike.

If you’ve got no window, slow is better, and make sure you’re checking the oil level with the appropriate strategy mentioned by your owners manual. If the oil level is taken with the stick fully screwed in, make sure you do it that way to get an accurate read.
Some motorcycles perform better with a specific oil level (within the recommended range), like right near the top, or on the lower side, with bike’s which have been around longer you can often find your bike’s community will know the best method.
Now wipe any oil drips off the case, and tighten that oil filler cap. Double check the oil filler is secure, and the sump bolt, then replace that Sub Cowl if you’ve got one fitted. If you’ve somehow managed to spill oil onto the exhaust headers or collector, expect to smell it every ride for a while, it shouldn’t be a drama, but if you’re seeing excessive smoke, stop and make sure everything is OK.
I rate the kits as great, as I like to use genuine parts in my Yamaha and it’s convenient to have the three things required all in one box ready to go, and the price is competitive also.