We take a look at this stretched GSX-R1000 with Nitrous Oxide, as well as the basics of fitting a dry nitrous system to your bike. Words by Kris Hodgson and Dave, Photography by Peter Pap
Custom bike projects come in many forms and thanks to the popularity of modifying bikes in current times there are plenty of options and inspiration available for personalising. For some however the unbeaten path holds the greatest appeal and so it was with Simon, the owner of this stunning GSX-R1000.
 Why the GSX-R1000 as the basis for the project? I’ll let Simon explain in his own words, “I’m a Suzuki person through and through,” he told me, “They are a great, user friendly bike to ride, with the affordability helping me choose this particular bike from Sunstate Motorcycles in Queensland when I was originally looking…
“Plus I’ve had Suzuki’s for 10 years and the GSX-R motors are pretty much bullet proof out of the factory!”
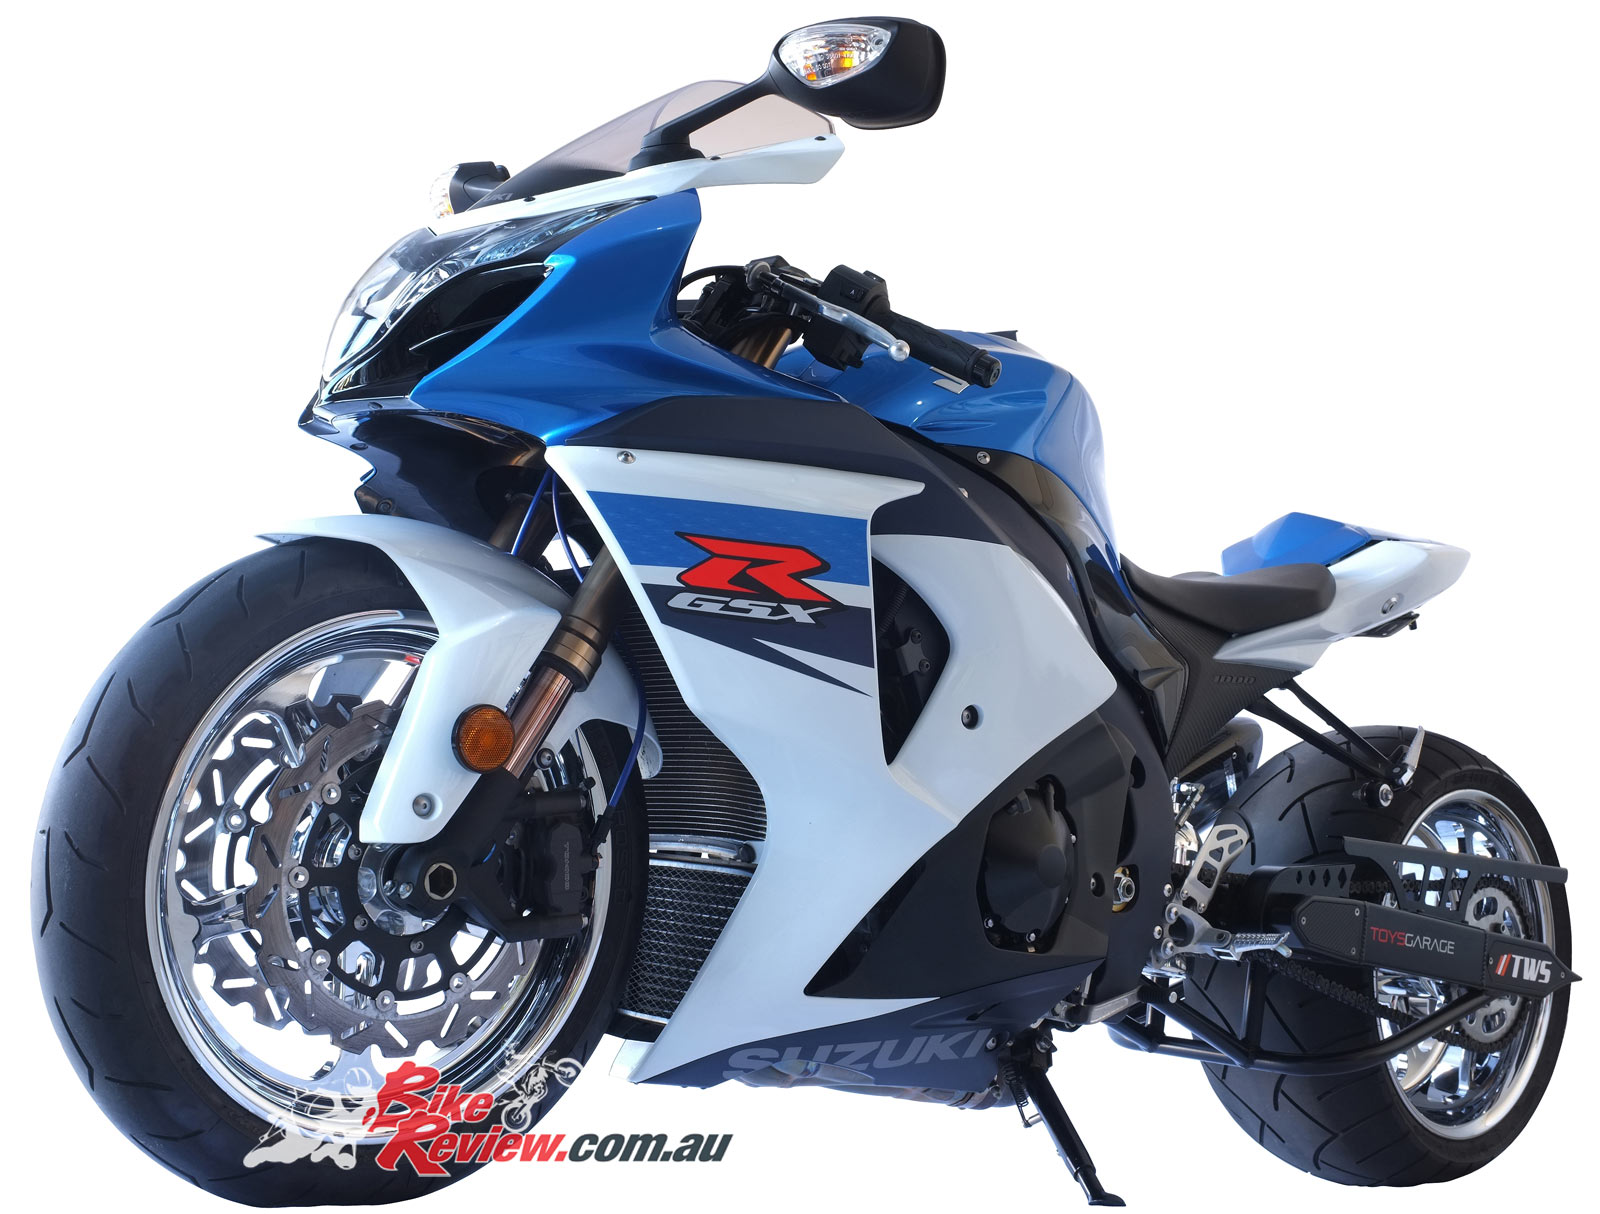
 The bike in question is a 2011 Suzuki GSX-R1000, which Simon purchased brand new with a mind to do something unusual, especially with stretched and widened Hayabusas a common choice in the modding community, partly due to the ease of sourcing parts, the suitability for drag machines and the incredible performance from the factory. As a result the smaller GSX-R models don’t get quite the attention they deserve, especially if you ask Simon!
Getting the ball rolling on this project Simon knew he wanted a stretched and widened rear end with a kit sourced from America for affordability. This meant calling and contacting a huge number of suppliers to find who was offering what, the quality and reliability of the products and equally importantly – what it was going to set him back.
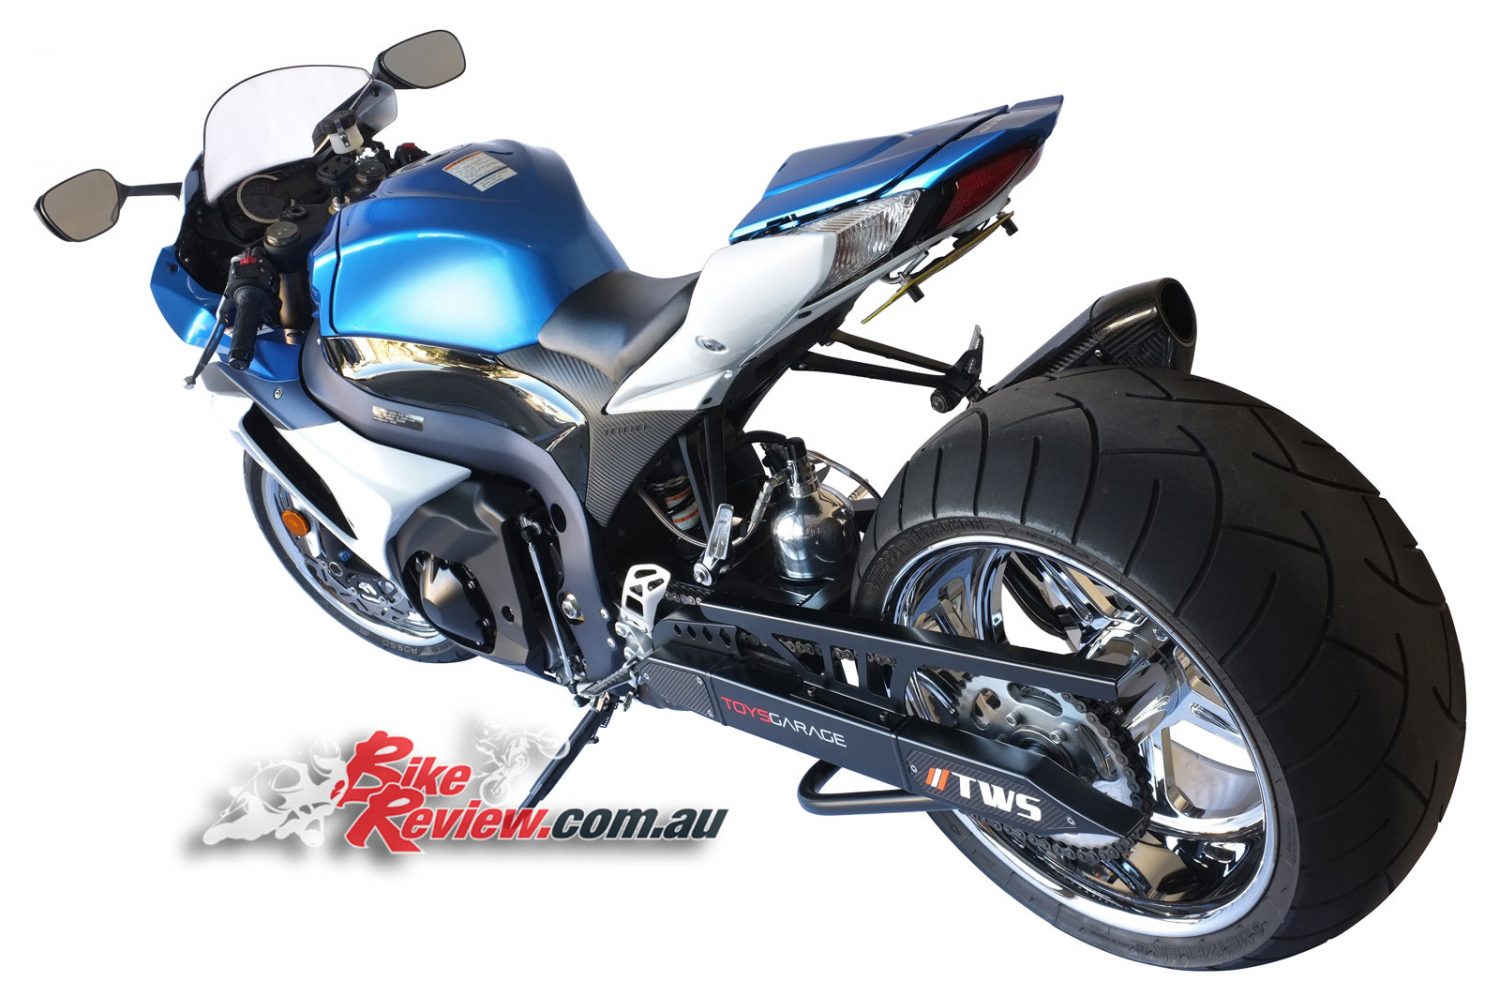
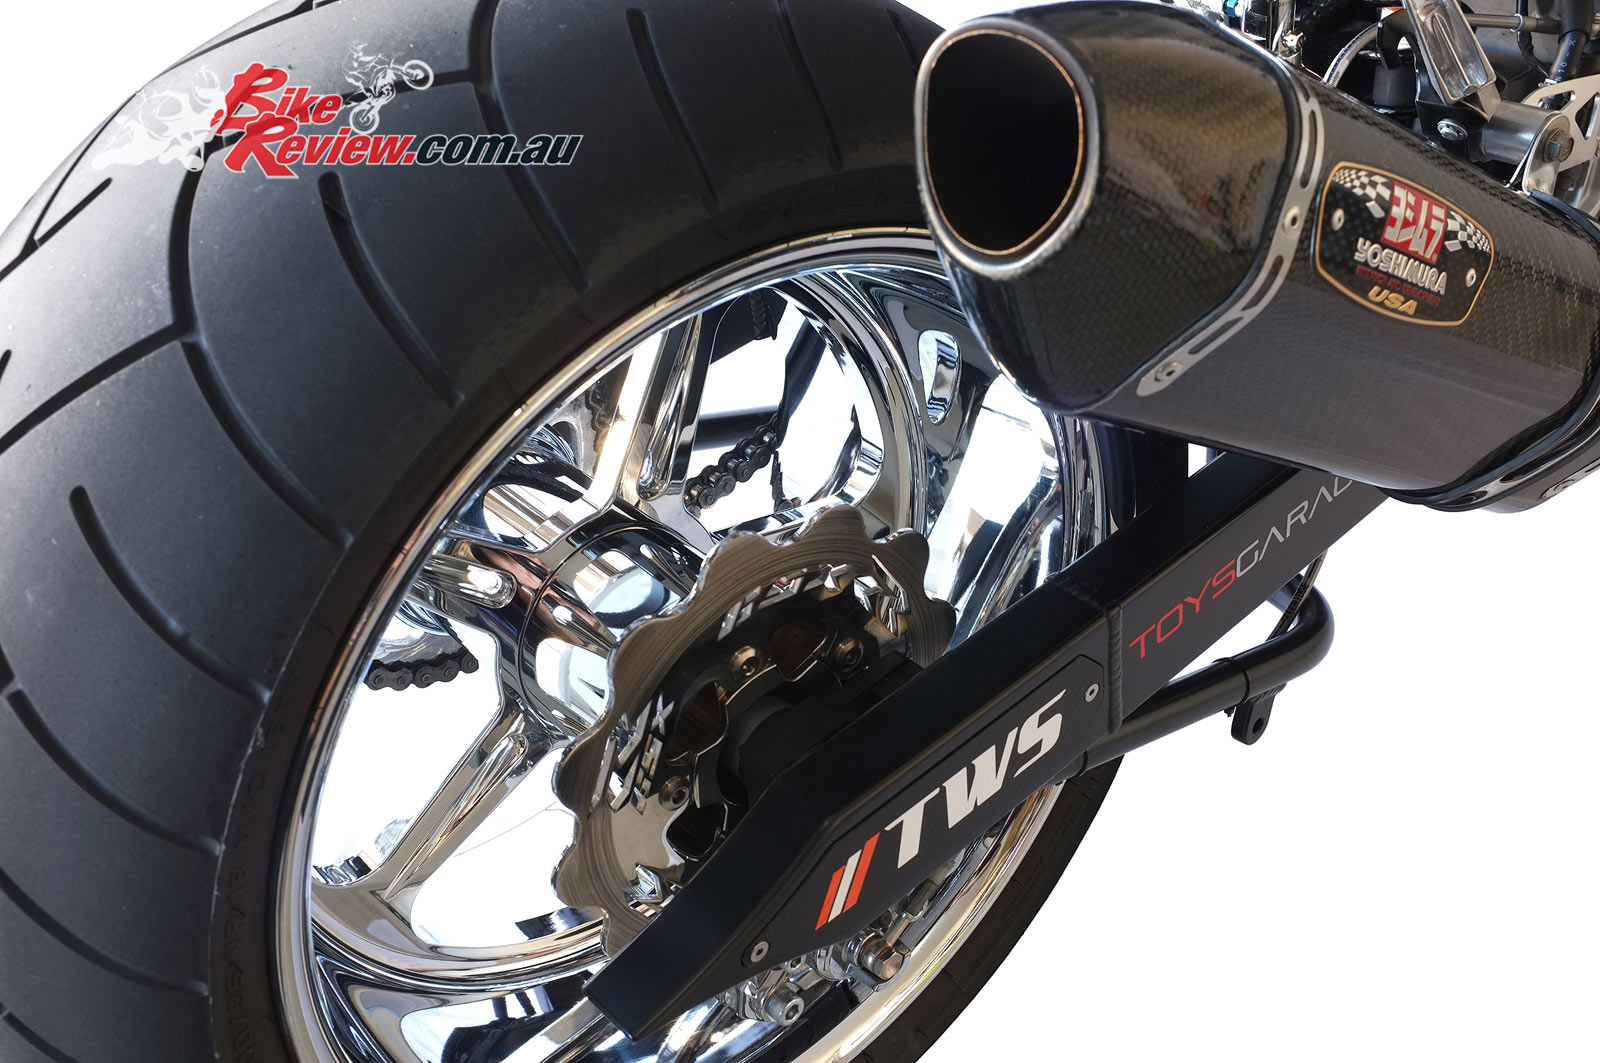
 After much to-ing and fro-ing Simon ended up sourcing a kit from PPM Custom, who offer a complete 300 wide tyre kit for GSX-Rs, incorporating a RC Components Outlaw 300-wide rear wheel, with a matching front wheel fitted with a Pirelli Rosso Corsa, custom bolt on stretched swingarm, RC Components rear sprocket, 530 chain, jackshaft, axle, spacers and brake bar.
The kit even includes a 300 tyre for the rear rim and an extended Goodridge braided brake line for the rear caliper. Another benefit was that PPM Custom offer a number of additional components, including in this case a bracket for mounting the NOS bottle to ensure a perfect fit.
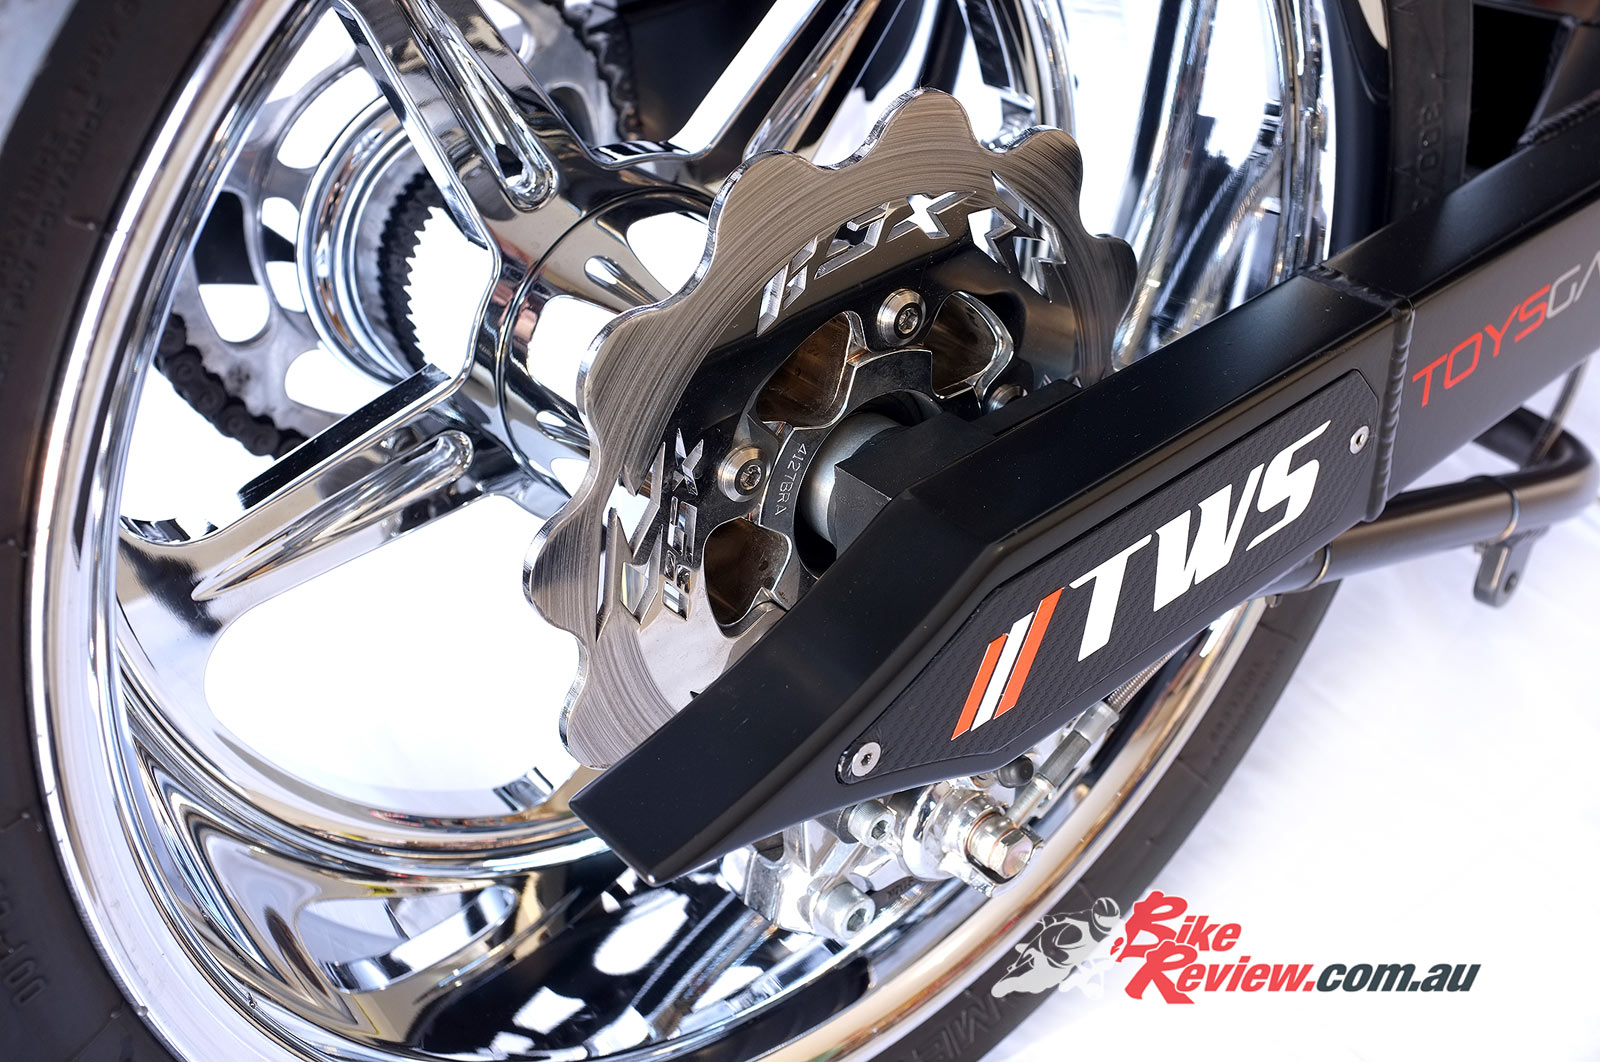
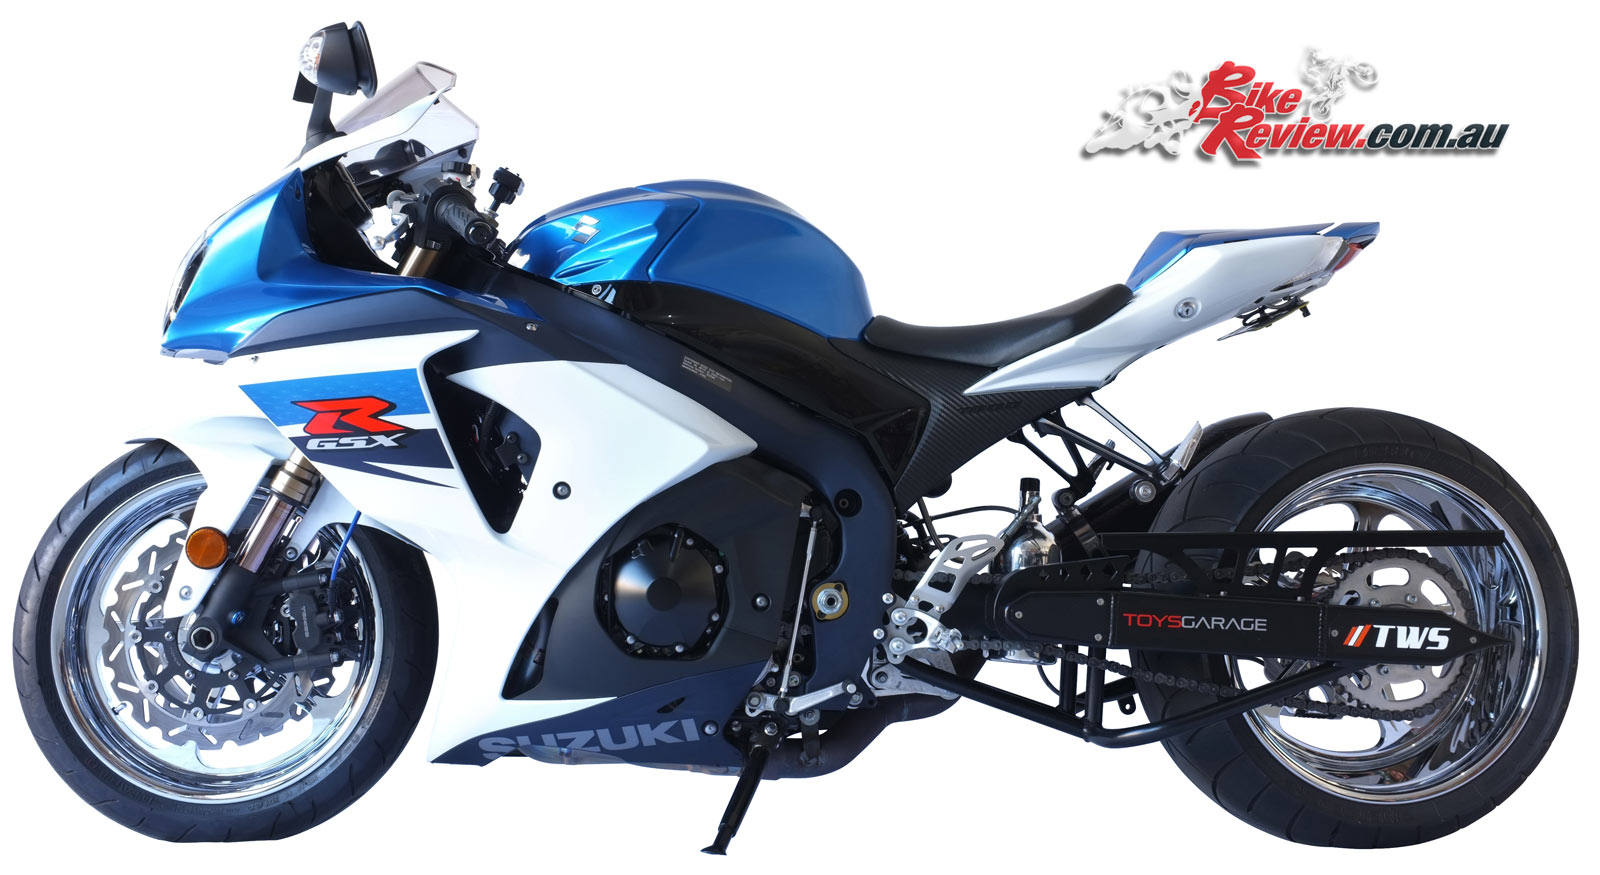 He also opted for the powdercoated swingarm option, explaining he didn’t want the bike looking too bling. The custom wheels on the other hand are both RC Component Outlaw design chromed billet items that look stunning, with Simon choosing to go with the custom rims instead of stock replica options with a widened rear.
The rear sprocket was also replaced with an aftermarket item, with a GSXR carved rotor also added, while the rear caliper was chromed to match the rear wheel and fitted onto the new swingarm with a custom mounting plate.
 I asked Simon with some trepidation how the install of the swingarm had gone and he reassured me that installation went without a hitch, with the entire assembly being a simple and easy bolt-on job, which he explained was particularly important when ordering a kit from America, with no local support for the product and an expensive and lengthy shipping process for returning any parts.
Part of this build is of course the NOS installation, with Simon originally going with a wet shot system that he found just wasn’t providing the gains and reliability he was after.
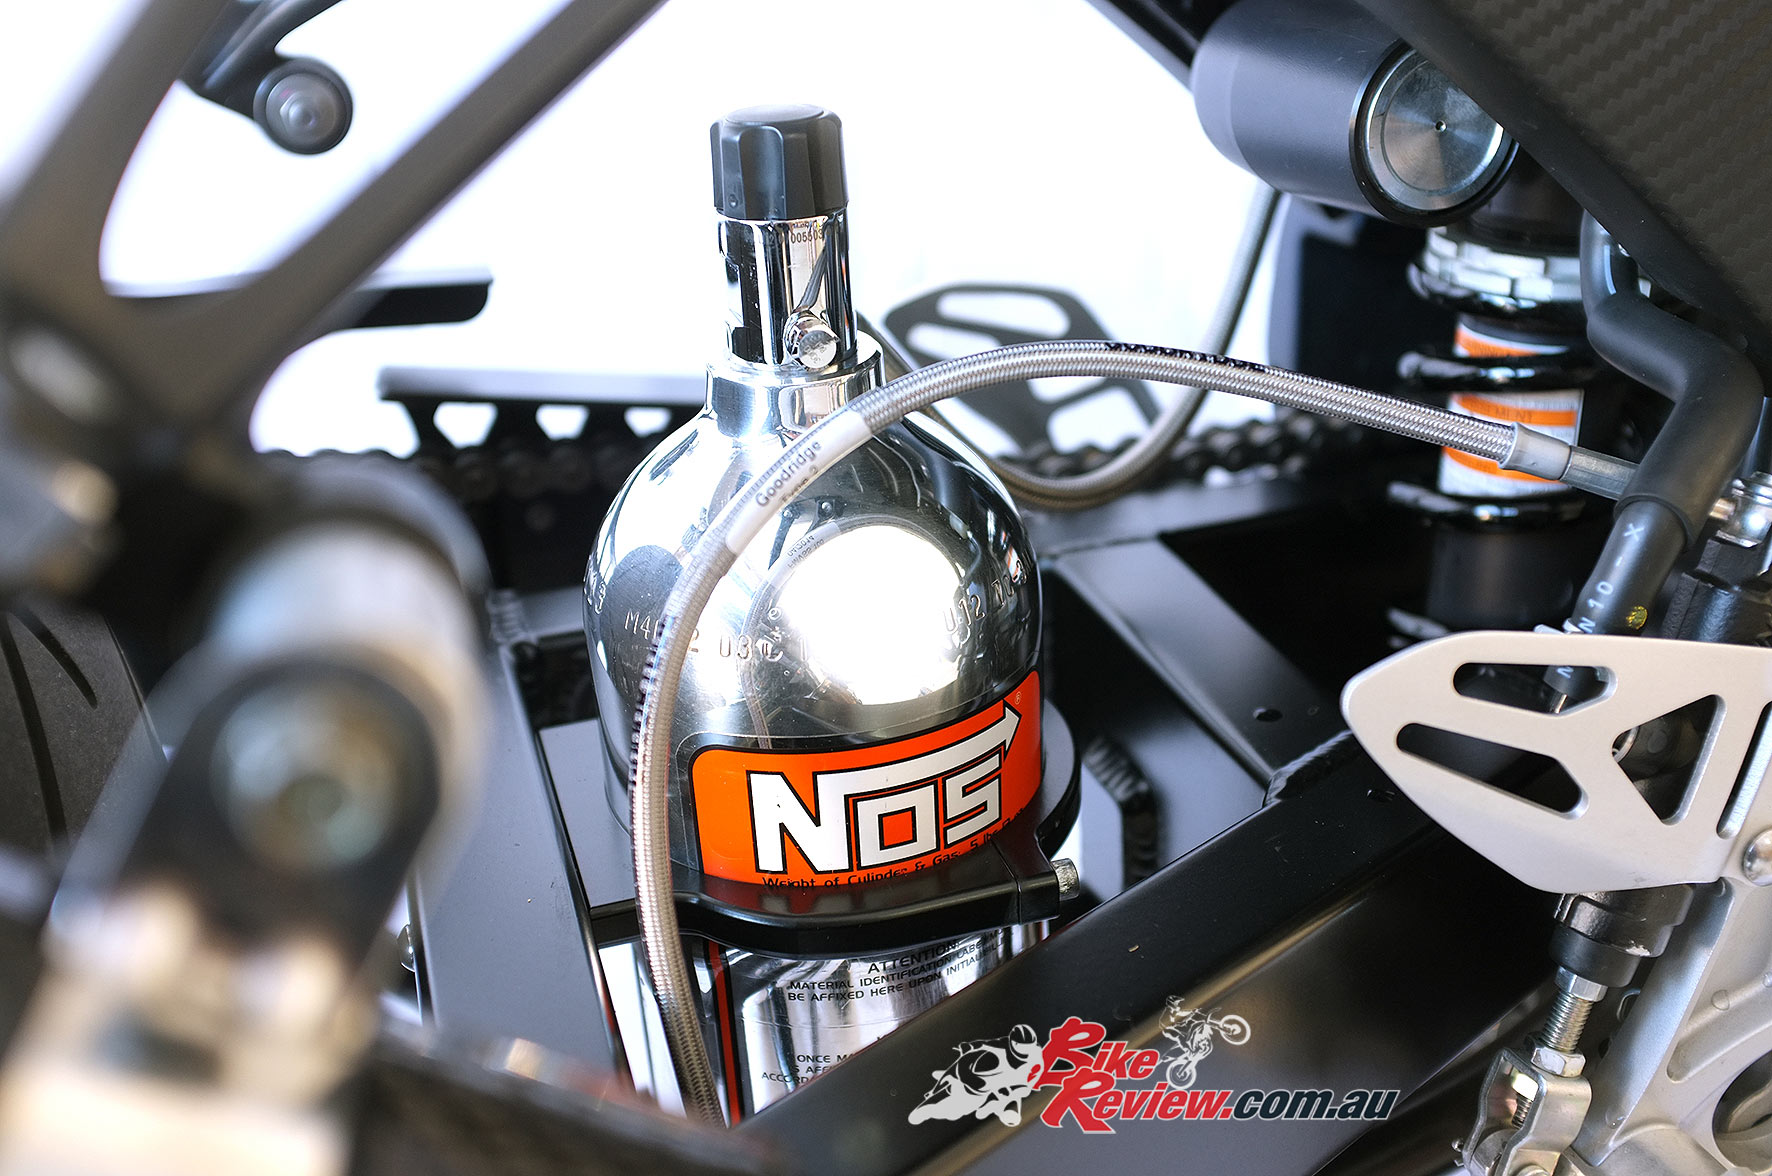 Instead he settled on the simpler and more straight forward option of a dry NOS shot, with the added benefit of two rear mounted dual purge kits, exiting to either side of the licence plate.
The bike also benefits from mild cams, with Simon remaining tight lipped about the details of exactly what he fitted and how he’s got the NOS operating, after all the time and effort that has gone into finding a solution that works.
Power output with the NOS is an estimated 190hp, for a fairly tame 20hp shot, that won’t put too much stress on the engine.
 Other additions include a K&N airfilter to maximise airflow, with Yoshimura headers joined by a custom mid-section pipe from Toys Garage and finished off by carbon-fibre Yoshimura RS77 muffler for good measure.
The end result is a stunning machine that is an interesting mix of the stock bike’s looks on the front, with a stretched and widened rear the real looker on the rear-end.
 Simon did admit that the rear hasn’t helped handling greatly, with the bike noticeably affected, with plans to add an air suspension shock in the future but was quick to add the bike is still great to ride.
The entire project took Simon 40 to 50 hours, although he added that it would be doable in a weekend if you had all the parts on hand, which he laments he didn’t have.
“I don’t have any further mods planned at present, although if I had my time again I would fit a turbo straight up and having more time to gather parts for a quicker install would be top of the list.” Added Simon.
 “The cost is definitely outweighed by the finished product but putting a value on it is hard, when the time comes to part with the bike for a new project, then I’ll work out a price…”
ENGINE:
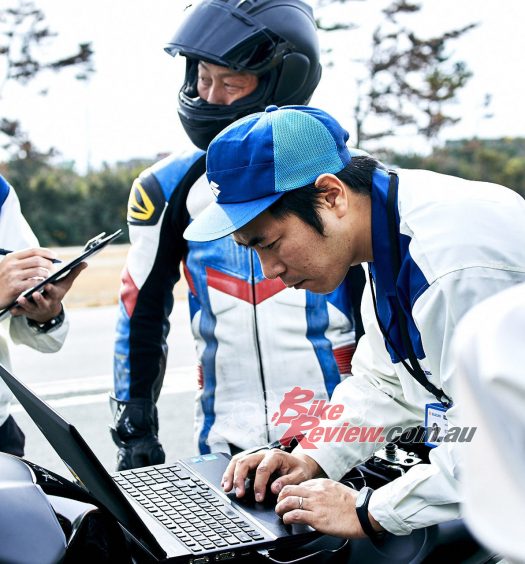
2011 Suzuki GSX-R1000, liquid-cooled, in-line four-cylinder, mild cams, Yoshimura headers, custom mid pipe, remapped ECU in Japan, K&N airfilter, Yoshimura R-77 carbon-fibre slip-on muffler, NoS dry shot kit, dual purge kit
CHASSIS AND BODYWORK:
2011 Suzuki GSX-R1000 frame and fairings, PPM Custom 300 wide tyre kit, RC Components Outlaw chromed wheels, RC Components rear sprocket, heavy-duty 530 chains, extended braided rear brake line, chromed stock rear caliper, aftermarket ‘GSXR’ rear rotor, WezMoto braided front lines, aftermarket front wave rotors, aftermarket tail tidy incorporating dual purge nozzles
FITTING A DRY NOS
There are many different dry nitrous kits on the market. If you’re a novice, it’s best to pay a bit extra for a kit that is purpose built for your make and model. That way you’ll have exact instructions for your bike and everything will be pre-made to fit. If you’re a half reasonable backyard-mechanic there are universal kits that are cheaper but they require extra work to fit.
A Muzzys dry nitrous kit is a good example of one available to suit a variety of bikes, with Sam of LAE Racing in Brisbane giving his advice, “Most kits are a four part job,” says Sam. “Mount the bottle securely and in an accessible place. Fit the solenoid and route the wiring and nitrous line to the airbox. Wire the solenoid to a switch – we generally use the horn button.
“These days, most kits have very good instructions and they should be followed closely,” he added.
“One thing with imported kits is to check the wiring. Not all wiring harnesses are the same for different countries.”
")
")
")
")
")
")
")
")
")
The bike should be baselined on the dyno first. As per Sam’s instructions, the nitrous bottle should be fitted first. Some Muzzys nitrous kits comes with a bracket that mounts the bottle under the pillion seat and this keeps the whole system concealed.
The nitrous oxide is held in the bottle at a pressure of approximately 900psi. This is to keep the nitrous liquefied. As a liquid, you can get more nitrous into the combustion chamber than as a gas. The nitrous supply solenoid was then fitted. This is activated by an on/off switch that starts and stops the nitrous feed to the airbox.
The airbox inspection plates can be drilled for the nitrous feed line and wiring. A fogger nozzle has to be fitted in the airbox. This fogs the liquefied nitrous and introduces it into the airstream as it makes its way to the throttle bodies.
With all of the hardware fitted, the horn button is wired in and used as the activation switch for the nitrous system. Dry-test the system to ensure the solenoid switches on and off before we added the nitrous feed.
The dry shot should now be ready to be fired in anger. To ensure the bike is still operating in a happy zone after testing, the air/fuel ratio should also be checked. Adding nitrous will lean off the air-fuel ratio so make sure you have it checked with a run on a dyno.
You Might Also Like