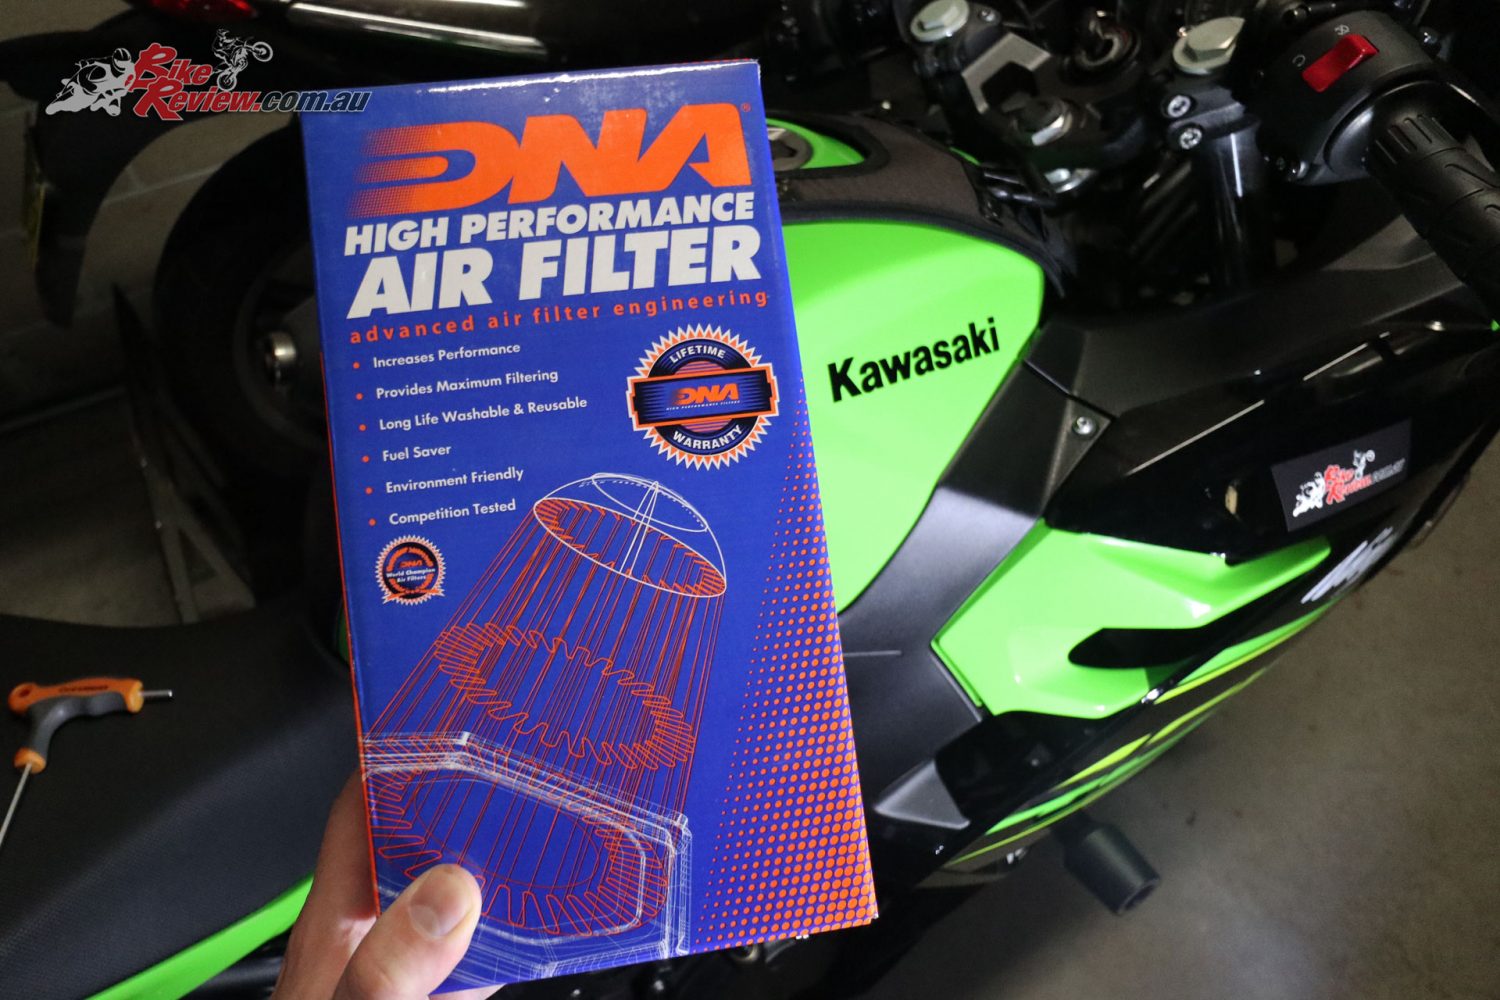
We fit a DNA Performance air filter to our Long Term Project Ninja 400, so future services will just require it be cleaned and re-oiled, rather than totally replaced...
We’ve just had a DNA Performance Air Filter arrive for our Project Ninja 400 and it’s time for fitment, which on the Ninja 400 is a relatively easy and painless job. We haven’t had a chance to dyno the bike so we won’t have that comparison unfortunately, but it’s not a mod we do purely for power or torque gains.
The last DNA Air Filter we fitted to a long term project bike saw some moderate gains alongside a Stage 2 airbox mod, however in this case the big advantage we’re looking at is the long term value of the DNA air filter, which can be cleaned and reused, with a lifetime warranty.
This is also a great DIY job for new riders with basic mechanical skills who want to get to know their bike a little bit better. Lifting the tank varies by model, but it’s a great job to be familiar with.
On our Project Ninja 400 lifting the tank is easy, and can be done without fully removing the fairings. One thing to keep in mind is that on this model, pulling the tank up actually involves totally removing the tank. It’s held in place into two rubber grommets on the front and bolted down at the rear. Some bikes allow the tank to simply be unbolted near the steering head and pivoted up, without full removal.
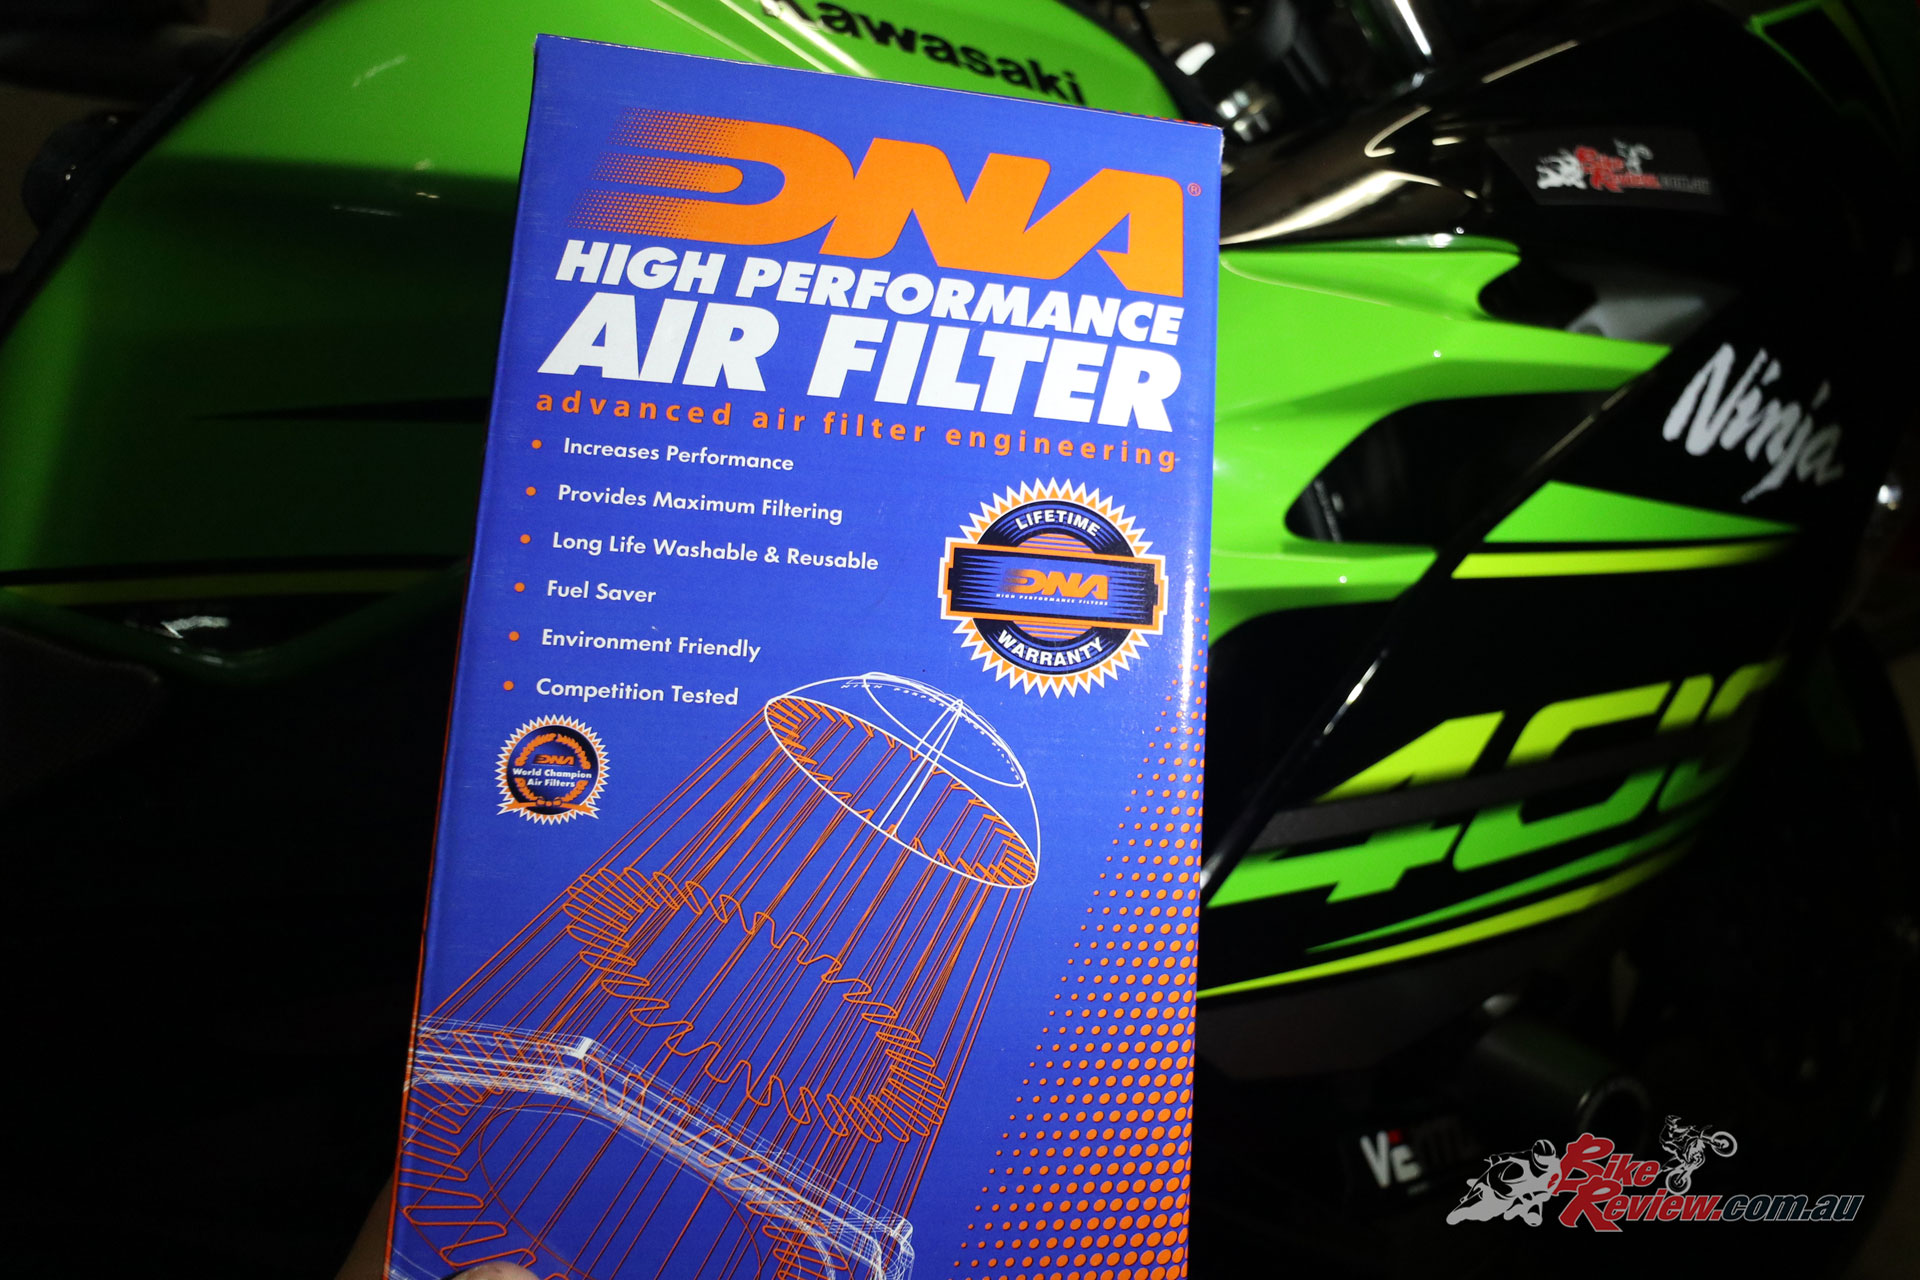
DNA air filter – check
On the Ninja in removing the tank we do also need to be careful, there’s a breather and overflow pipe on the left of the tank, and the fuel line and connector, as well as the fuel pump connector. You’ll need needle nose pliers for the wire hose clamps and a long thin screw driver is helpful for releasing the catch on the fuel pump connector.
Otherwise you’ll just need a metric socket set, Allen/Hex keys (preferably T-bar), and Phillips head screw driver for the screws on the airbox. I recommend making sure you’ve got good quality tools too, as stripping any of these bolts or screws will be annoying in the long term.
Equally (maybe moreso) important than good tools is also having an area to place the undertank panels you remove and the tank! Yes when you remove the tank you need to have a prepared area to place it, with a few layers of soft cloth, like a couple of towels. The area being out of the way so you don’t trip over anything is also important. Repairing a tank is expensive and unnecessary when you’ve damaged it doing this kind of job!
The Kawasaki tank won’t leak kept in the normal orientation it sits on the bike, even with the fuel line disconnected, but there’ll be a tiny initial leak when you disconnect that line, try and catch it with an old cloth you can throw away. Also organise each bolt and screw as you remove them, so getting everything back in place is quick and easy.
Here’s a step by step guide:
Ninja 400 DNA Air Filter fitment

Alright, grab that air filter and take it out of the box, check it’s for your model (probably should have done this when it arrived) as you’re going to struggle later on if it’s not.


Remove the pillion seat and rider seat for access to the tank bolt down points, as well as the rear mounting points for the under-tank panels (black textured plastic, not the full fairings).


Remove the bolts on the under-tank panels, as a general rule lay them out so you know what goes back in where, in case there are different length bolts.


Remove the under-tank panel, it has a few plastic barbs that go into rubber grommets, so it sticks in place, gentle pressure will pull them lose. At the front of the bike it also sits with a small section into the fairing panel, go from rear to front and it’ll come off easily. Do all these steps on both sides.


Now undo the bolts that secure the fairings to the tank (left image), and the push-pins that also hold everything together. I do this so I’ve got a bit more freeplay in the fairing panels.


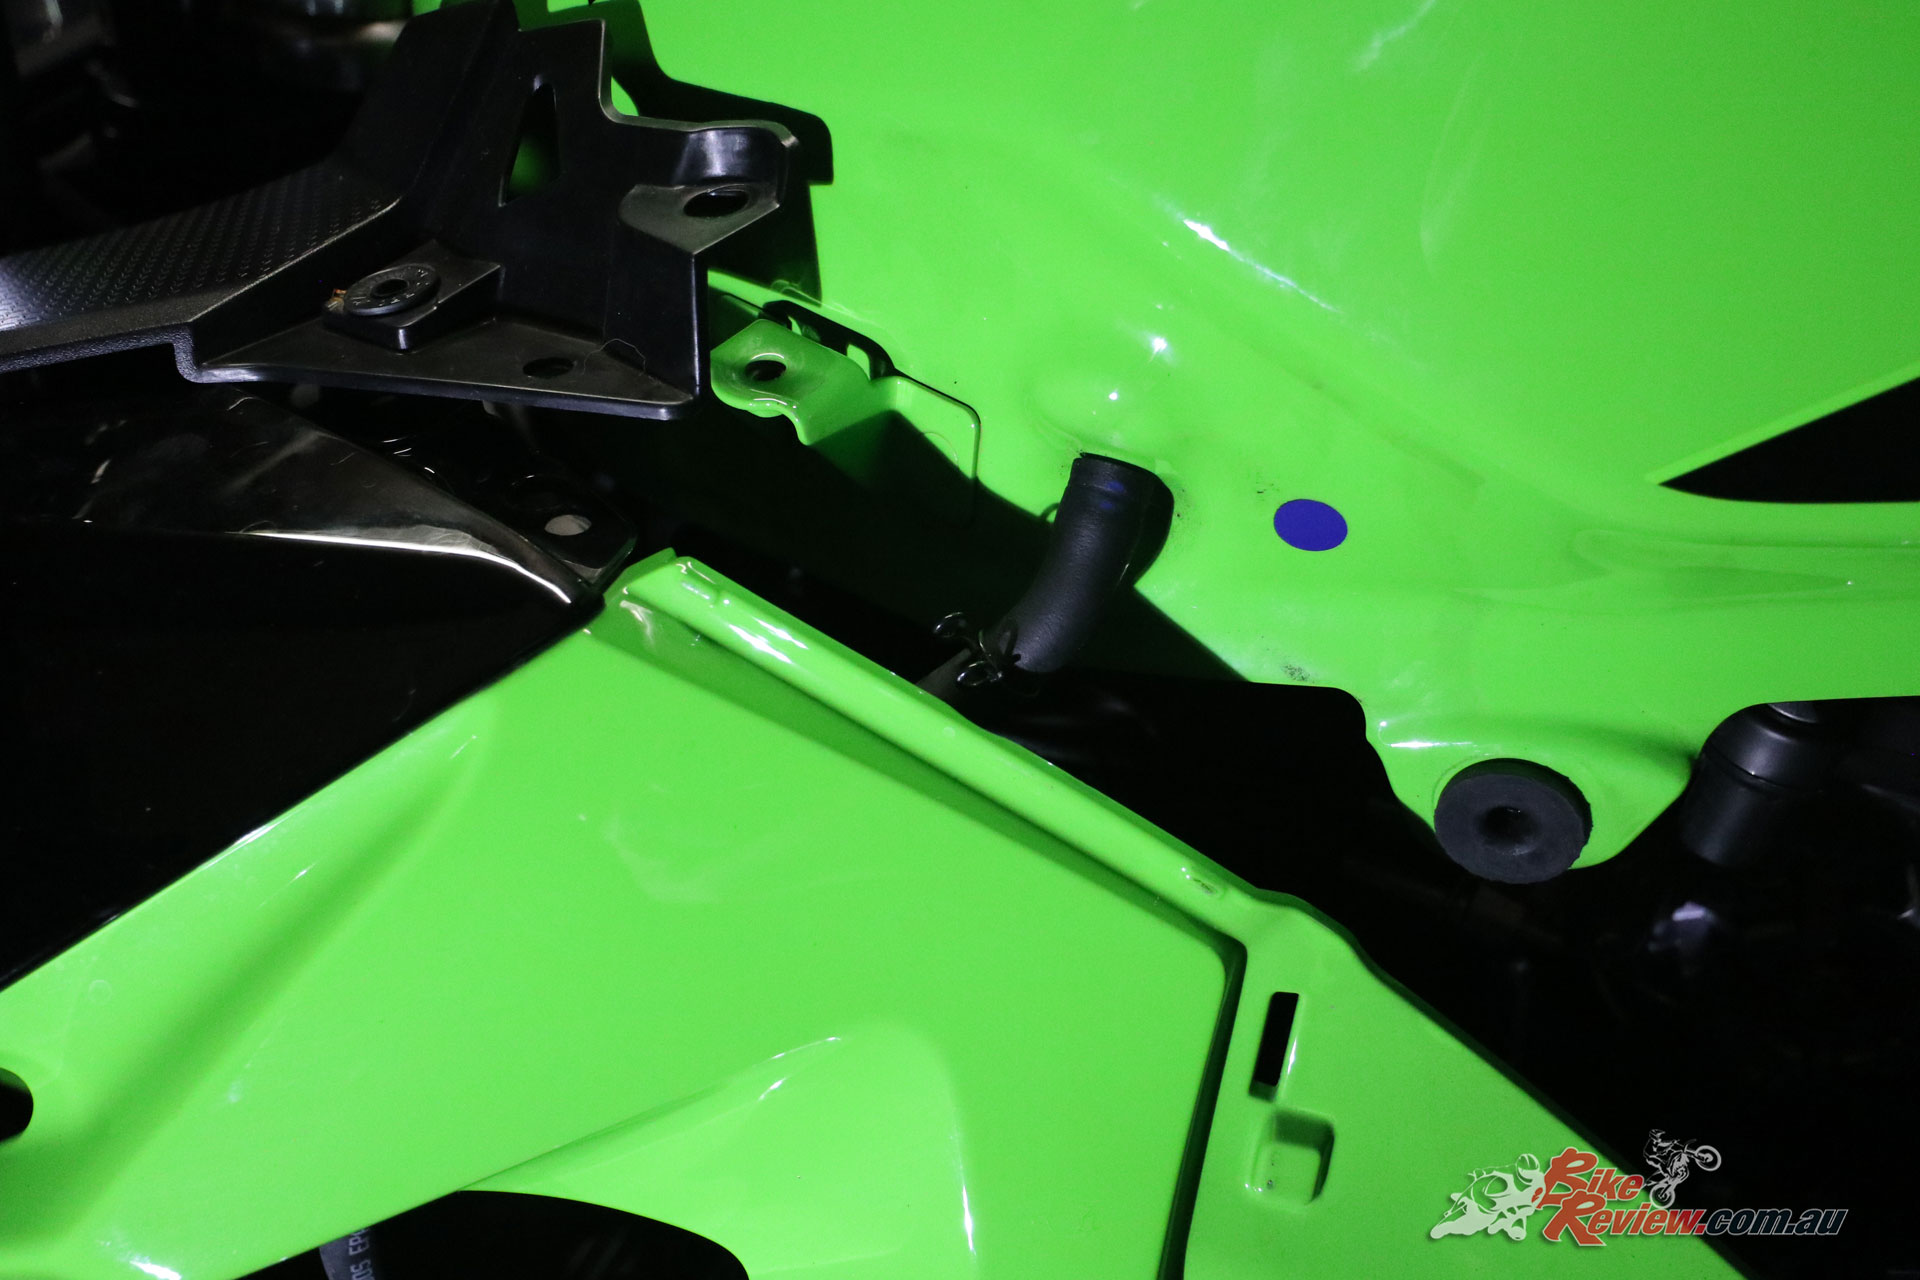
Ok left side of the tank (facing front of the bike from the seat) you’ll note these two rubber pipes onto the tank. One or both is an overflow, the other may be a breather. I’ve noticed the tank pressurises though. Either way these need disconnecting. The image on the right is the fuse box, if you’ve ever had electrical problems you’re familiar with it. If you’re unfamiliar with it, thank your lucky stars. It’s not important in this article but worth noting the location and ease of access. Good work Kawasaki!


Use those needle nose pliers to loosen and move the wire hose clamps. Then disconnect both pipes, they shouldn’t go anywhere, and note which is which.


OK, we’re making progress, undo those two rear bolts on the tank. At this points it’s held in place by the two grommets at the front, near the headstock. BUT, it’s also still connected to the fuel line and the fuel pump electrical connector. As a quick note, the electrical connectors can be annoying in tight spaces, but don’t force them, it’s all about finesse.

Here’s the fuel line disconnected
The fuel line is really easy to disconnect, just put a thick rag underneath to catch any fuel that escapes, a tiny amount did when I did this part of the job. The red clip can just be pushed up, unlocking the connector. The fuel tank didn’t leak for me after I disconnected this plug and neither did this line.


Now it’s just a matter of sliding the tank back off the two grommets in the front of the frame, which you’ll see in the right hand image. Essentially the whole tank is mounted into those two grommets, with two bolts under the rider’s seat holding everything secure. Obviously at the front that’s mounting into rubber, which is why the tank can be a good place to mount your GoPro!
With the tank removed put it somewhere safe. I placed it on several layers of painters drop sheet, so there was no chance of denting, scratching or abrasion placing it on the ground or a tabletop. I apparently forgot to take a pic of that too, but you get the idea…


Note all the screws around the airbox lid to make it airtight. All these need to be removed (obviously), just make sure you don’t miss any and try to force the lid open. Also, very little force is needed for anything airbox related.


Undo all those screws, and make sure if any are different lengths you know where they go. They were all the same on the Ninja 400. Pull that lid off and take a look inside. Now may be a great time to do a social media update for all your mates, so they can be suitably impressed by your basic wrenching skills. It should also go without saying, don’t drop anything down those intakes.


The filter is bolted in as you’ll see. Some are simply held in place by the airbox design and a lip, this one has a screw at the rear of the filter, which is where you’ll note the discolouring of the stock filter. Obviously Kawasaki wanted to ensure the filter was kept in place snuggly at that point, where the actual airbox lid itself isn’t holding it there.


The new DNA Performance air filter! What orientation does it mount? Easy one to answer. It has a captive screw just like the stock filter, it’ll only fit one way properly. Note the screw on the right.


Get the DNA air filter into place then tighten that screw up once you’re sure it’s properly aligned. It should fit in like the piece of a puzzle. Also note the airbox lid and the lip, that’s to hold the air filter in place and seal the airbox once the screws are back in.


Get all those screws back into the airbox and make sure you haven’t missed any. Now tighten them all up. It’s SUPER important, NOT to overtighten these screws. They are a metal screw into a plastic airbox. Seal is important, but they’ll also chew out all the plastic, especially when you’re servicing the air filter regularly.

Remember to slide the fuel tank back into those two grommets, now we’ve got to reconnect all those pipes and connections. That’s the fuel pump connector (pictured right).


Plug the fuel line back in and pop the red lock back into place. Also push the fuel pump connector back in.
Now plug both those rubber pipes back into the tank and replace the wire hose clamp
To connect both those pipes up on the opposite side of the tank, use your needle nose pliers to run them back up, and tighten them. At this stage I’d recommend starting the bike up to make sure the fuel pump, fuel line and breather pipe are properly attached, as putting everything back together to realise the fuel pump connector didn’t quite click into place, or the fuel line wasn’t quite connected would be quite the hassle.


Now get those bolts back in at the rear of the tank, under the rider seat. If you’ve got the tank bag mount, make sure it’s properly attached.


Just repeat all the early steps in reverse. Get those bolts connecting the fairings to the tank in place, and the push-pins. Tighten as the next step of replacing the under tank panel will remove access. Now replace the under tank panel, remembering it needs a firm hand to push back into the rubber mounting grommets. Then add the bolts down at the rider seat and up the top. Also double check the tank mounting bolts now, then add the rider seat, following by the pillion seat. And…. you’re sorted.

Our Project Ninja 400 fitted with the DNA airfilter!

And of course a DNA sticker to boot!
All good motorcycle shops stock DNA Performance air filters, so go grab one today! Or for more information check out the Kenma Australia website: kenma.com.au
You’ll also note we’ve got a Ventura rack system fitted (EVO-22 and Euro-Rally), Oggy Knobbs, and the genuine Kawasaki seat cowl and Tank Bag.
You Might Also Like