A Ventura rack system is the perfect luggage solution for most bikes! Words & Photography: Kris Hodgson
On a previous motorcycle I’ve run a hard top box, which proved a great investment, offering waterproof storage with plenty of space for a helmet and gear, with a Ventura rack being the top of my list for my next bike.
When I upgraded my ride I was left trucking around all my stuff in a backpack, which was uncomfortable while riding and noticeably increased the amount of wind buffeting I was subjected too. Riding everyday, normally commuting and not having a car for the weekly shop also meant a storage solution was needed to make life easier.
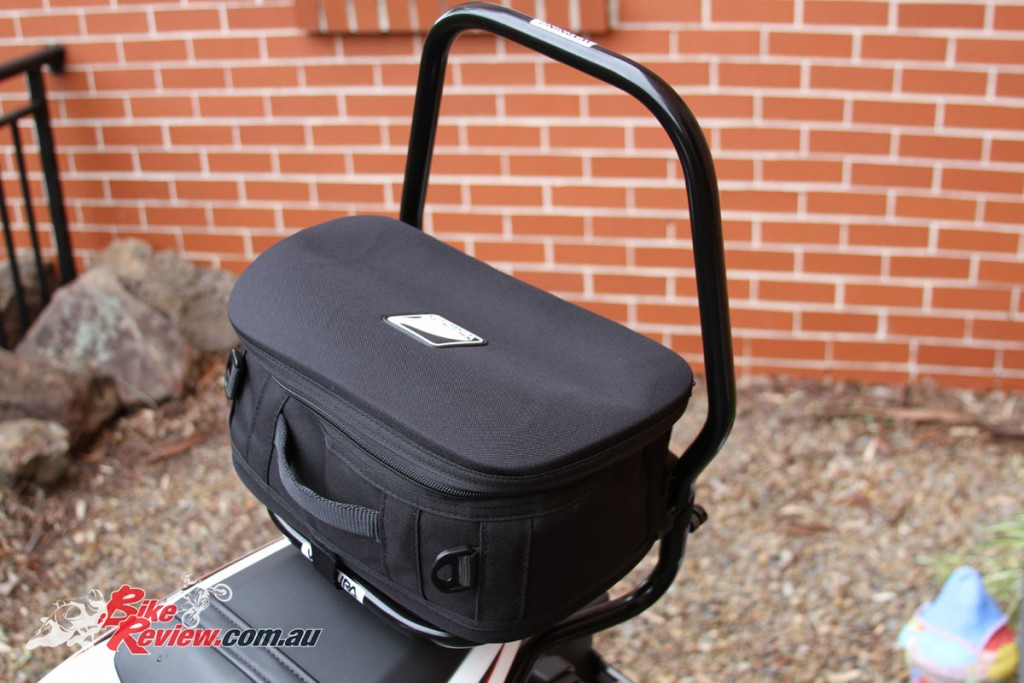
This is where the Ventura Bike-Pack system from Kenma Australia (available from your local motorcycle dealer or store) came in. The concept is really simple – there’s a few important components, the L-Brackets, which connect to your bike, the Pack-Frame, which connects into your L-Brackets and holds your bag of choice; plus the bag itself. Plus there’s addition options like agrab rail for when you don’t need any luggage or the Sports-Rack for the minimalist.
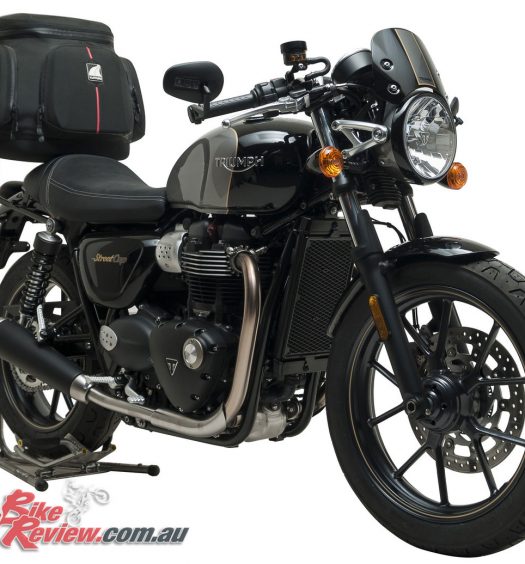
It’s also a modular system, so once you’ve got the L-Brackets fitted you can add pretty much any of the Ventura options, including their more recent addition, the Astro Top-Box, a hard top box.
This also means if you change bikes you’ll just need a new set of L-Brackets to suit the new bike’s model and you’ll be back in business.
Ventura have also been around since the Seventies, just to give you an indication of the businesses success.
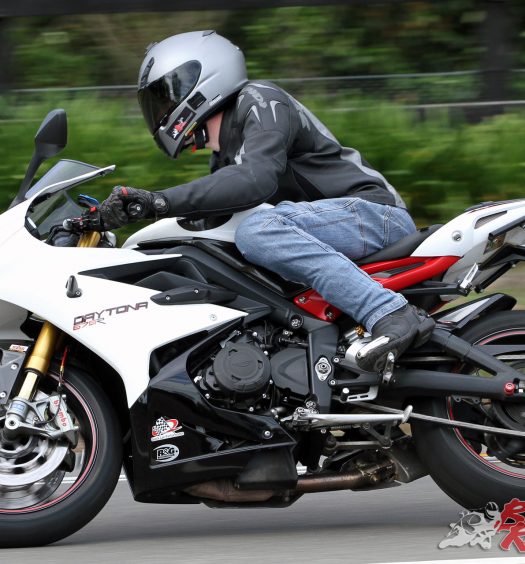
Onto the product itself, I needed storage for a 2013- Triumph Daytona 675 R, which for the Ventura system means you’ll need to drill through the undertail plastics when mounting your L-Brackets, which mount onto existing rear sub-frame mounting points.
This varies from bike to bike, with some being able to be mounted directly to the pillion peg points and not requiring any modifications, so just check for your specific model. In my case a second hand undertail panel isaneasy replacement.
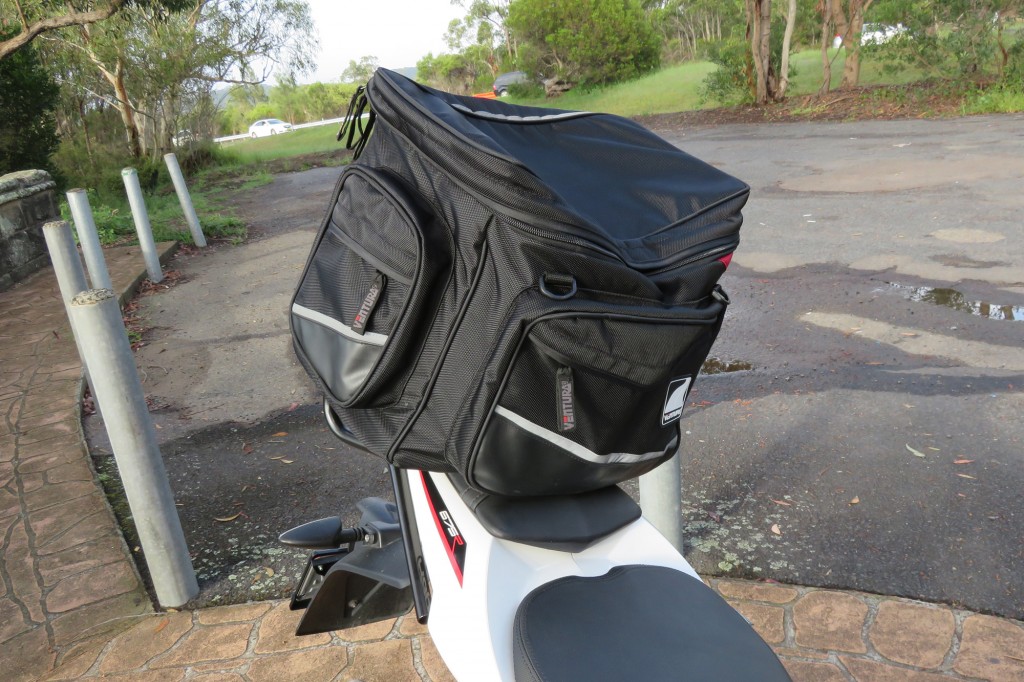
I went with the Rally-Euro Touring-kit, which offers an expandable 44-56L soft bag and unsurpassed storage capacity in my opinion, while not being quite as aerodynamic as some of the other options. I also picked up a Sports-Rack with the Sports-Pack, which is a 10L bag, perfect for day trips with not much to carry around.
If you do need to do any drilling for fitment, make sure you read the instructions a few times and grab anything you need before getting started. I needed a 22mm drill bit which I thought I had, until I got to that stage! Poor planning on my part.
Here’s a full run through:
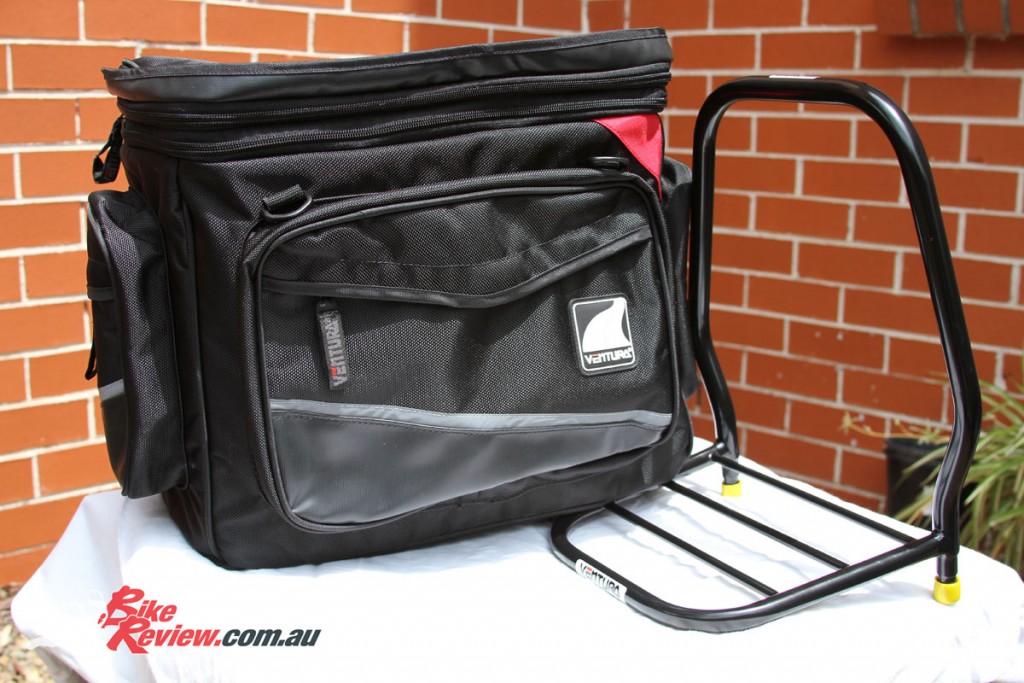
The Rally-Euro Touring-kit, it comes complete with everything you’ll need. One of the kits is the best value option for getting started, with the rack, L brackets and normally a bag included. Plus all the mounting hardware of course. Keep in mind you can take the bag and rack with you to your next bike!
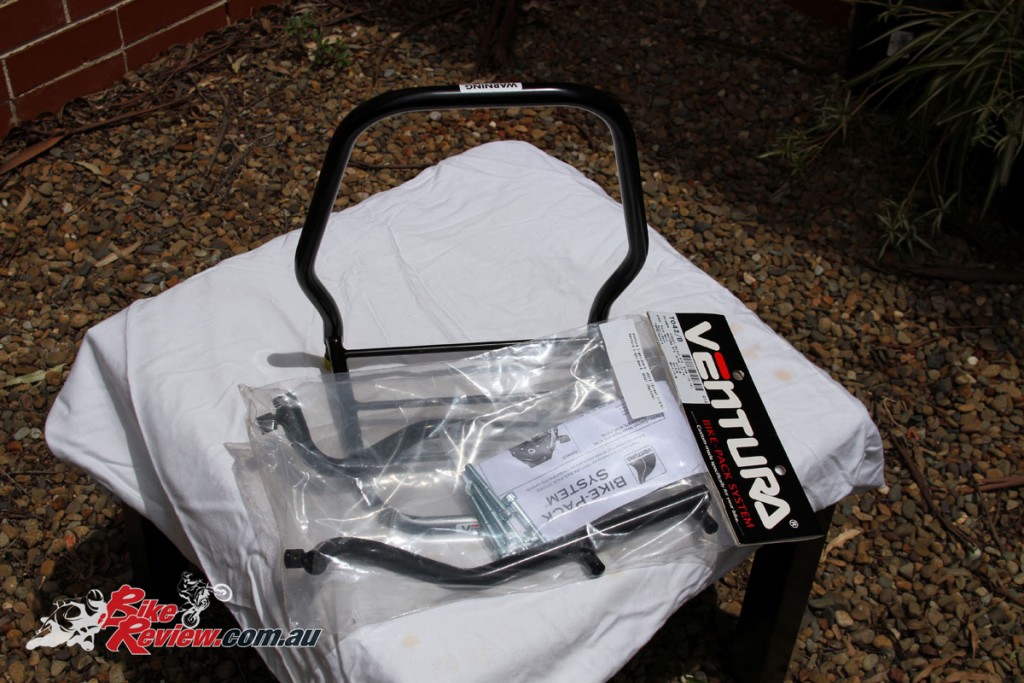
The rack and L-Brackets. The L-Brackets are specific to your bike model, so make sure you’ve got the right year and if in doubt check with the VIN to be extra sure. Everything is a very tight fit as far as clearances, which ensures the rack system looks great but also means you need the specific system for your bike.
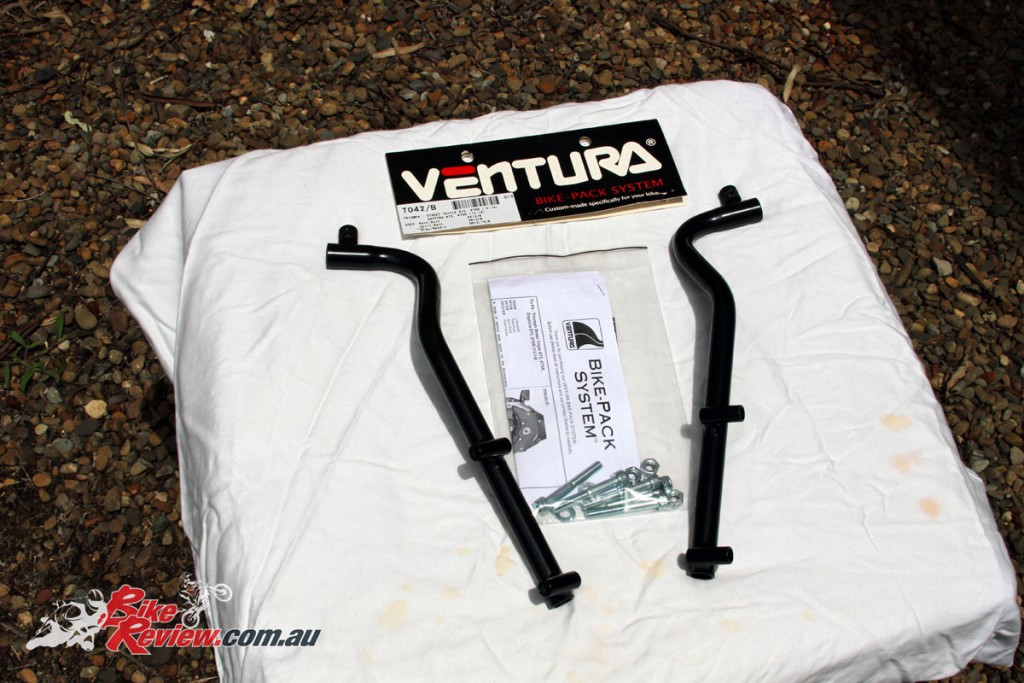
Grab out those instructions and put all the mounting hardware somewhere safe where you won’t lose anything. These are the L brackets, with the smaller tubes on the lower ends going through the rear undertail plastic and contacting the sub-frame, where they bolt into existing (unused) mounting points.
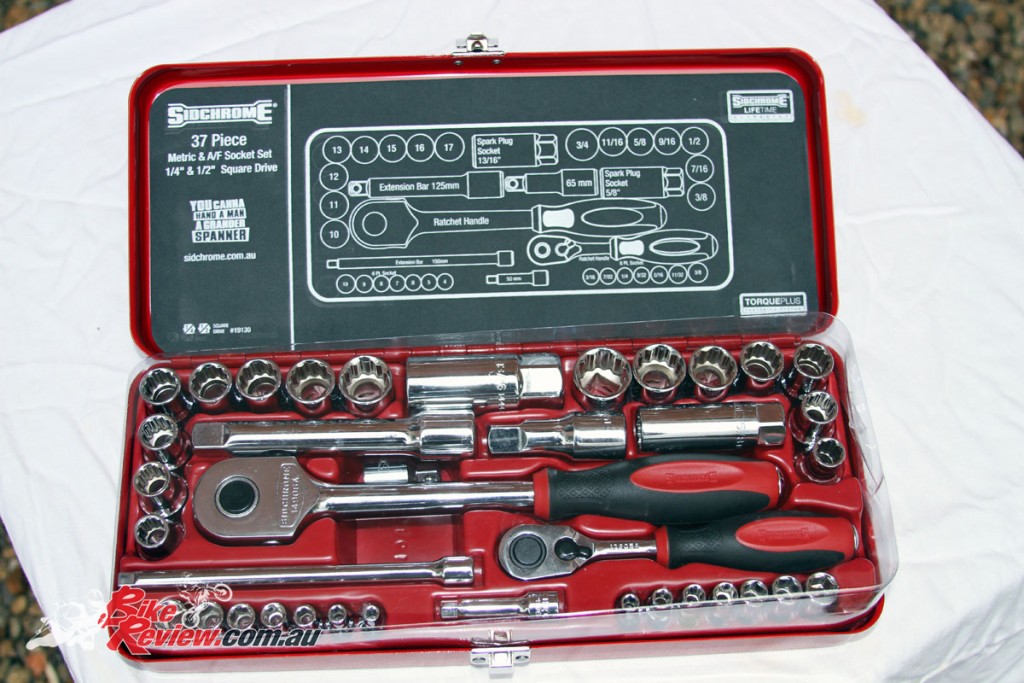
Before getting started, make sure you’ve got all the necessary tools ready to go. A socket set, with Hex and Allen socket bits to suit your bike is a must, especially if you need any Hex bits.
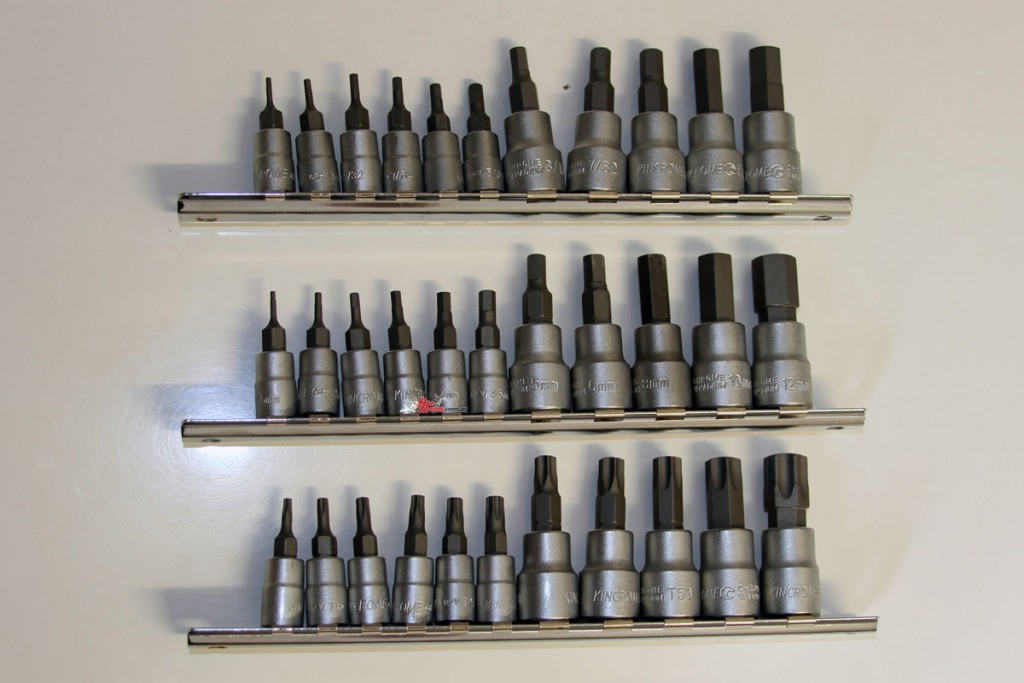
I took the Ventura fitment as an opportunity to pick up some socket bit sets I didn’t already have. They are good value and make many jobs a lot easier, especially if you like working on your own bike. With this install the only really unusual piece I needed was a 22mm drill bit, which is a bit larger than you’ll find in your basic drill bit sets. It’s used for drilling through the undertail on the Daytona and makes for a pretty much perfect fit when fitting the L-Brackets.
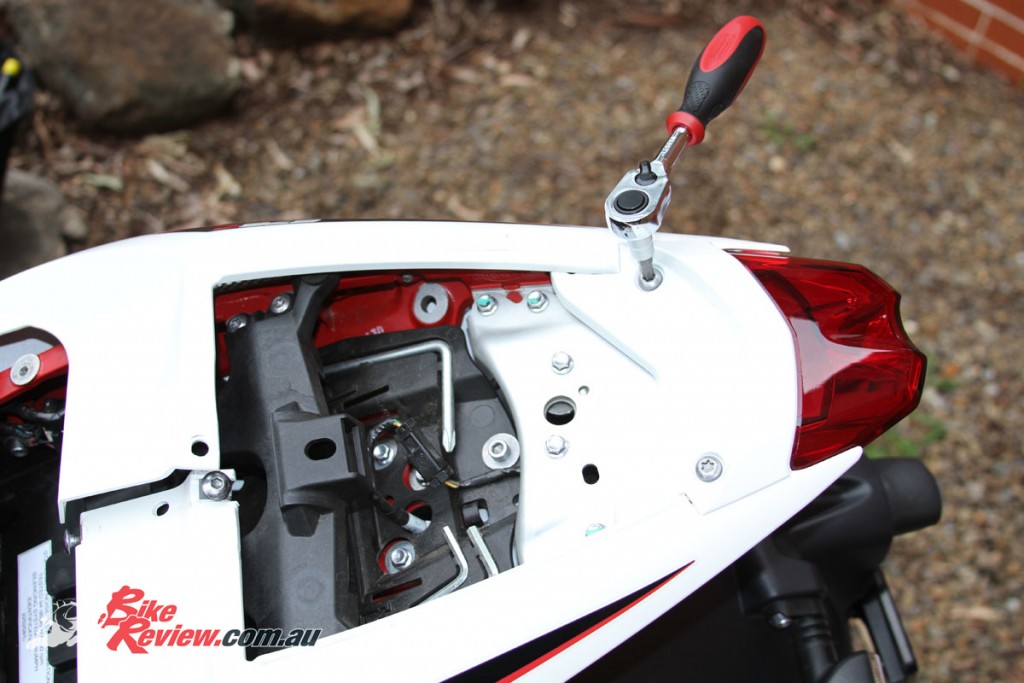
Remove the plastics that impede access to the areas you’ll be working on. In this case that was the pillion and rider seats, plus these upper tail panels. You can see one of the mounting points on the sub-frame in this picture, it’s the metal coloured mounting point on the red sub-frame to the left of the socket wrench.
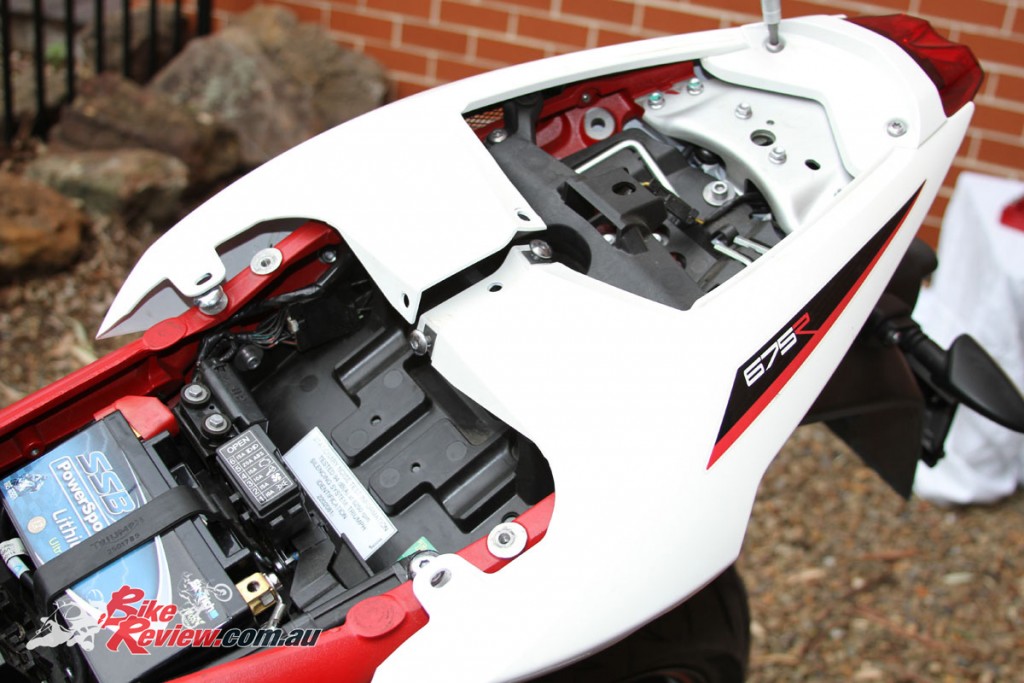
I didn’t completely remove the rear plastics at first which was a mistake, as I cracked one of the tabs that it’s bolted down with.
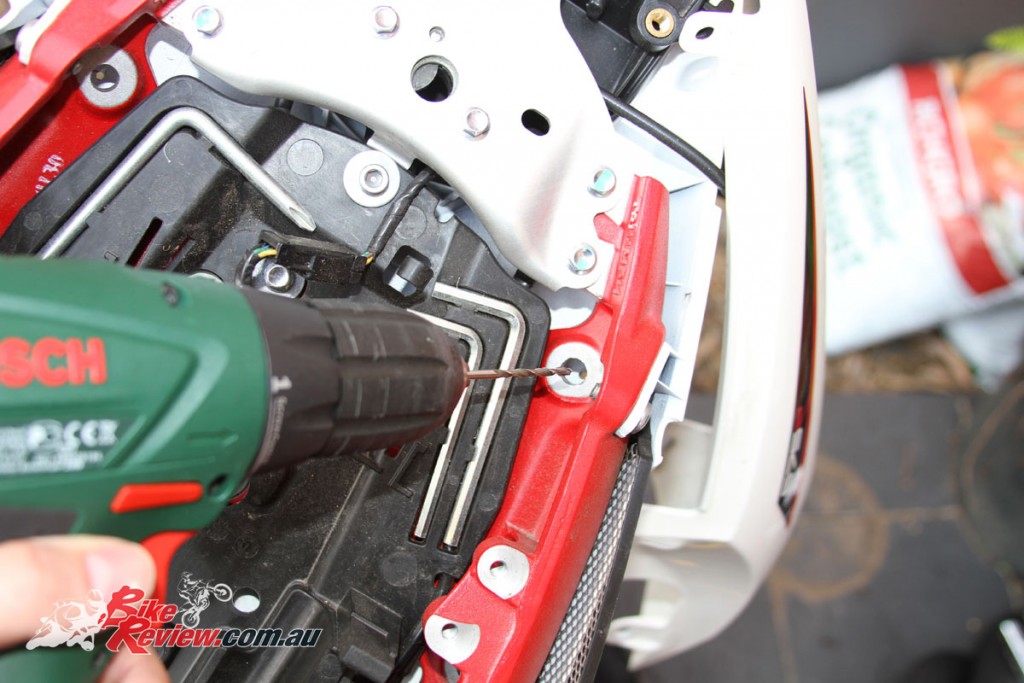
Here’s the sub-frame mounting point, you’ll need to drill through these into the plastic at an angle that matches the sub-frame mounting point, so the L-Bracket is aligned correctly. I drilled through from above following that angle to create a pilot hole.
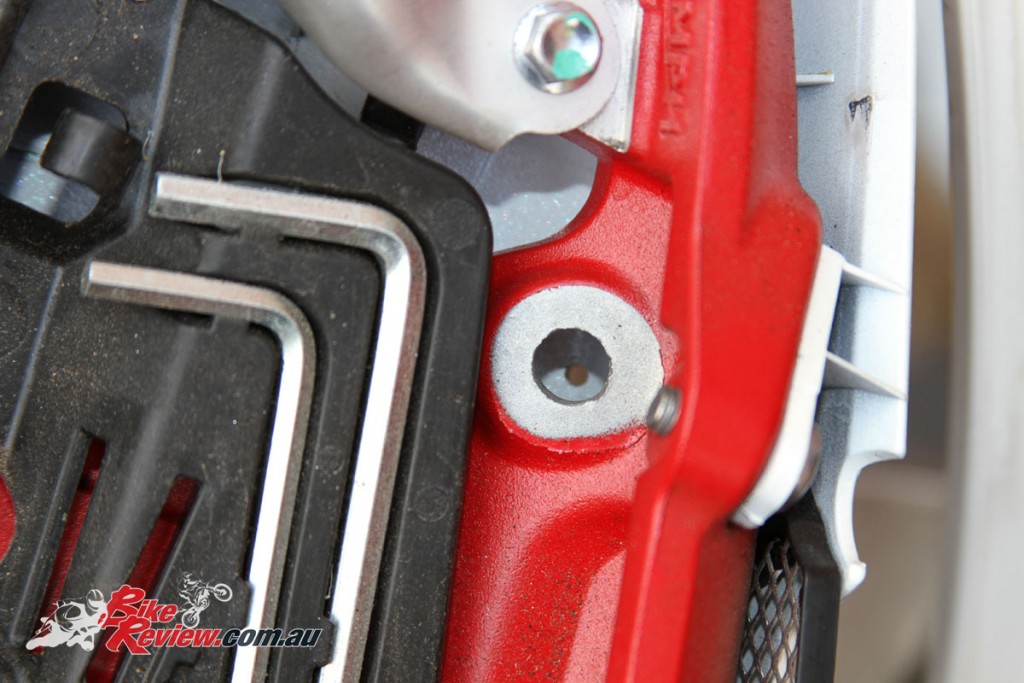
You can see here how the alignment is correct. With your pilot hole if you mess it up you can try again, but there’s not really much room, so better to get it right the first time.
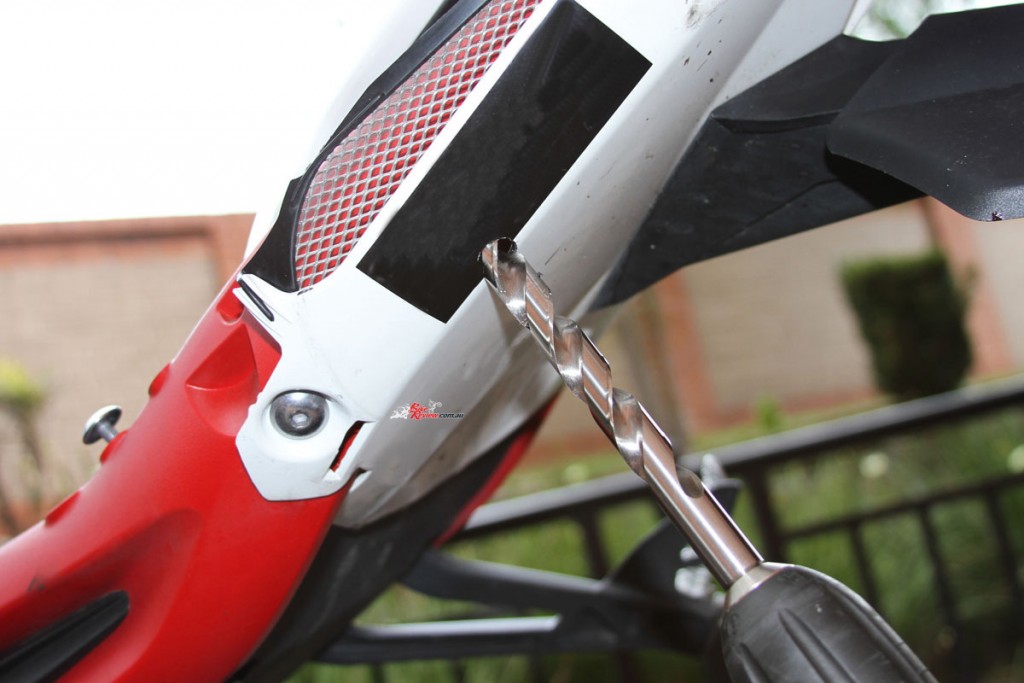
Now from below I used the 22mm drill bit to enlarge that pilot hole to the correct size. Taping off may help create a cleaner hole. Again you need to match the sub-frame mounting point angle. Also just drill through the plastic lightly, you don’t want the drill bit making contact and damaging the sub-frame.
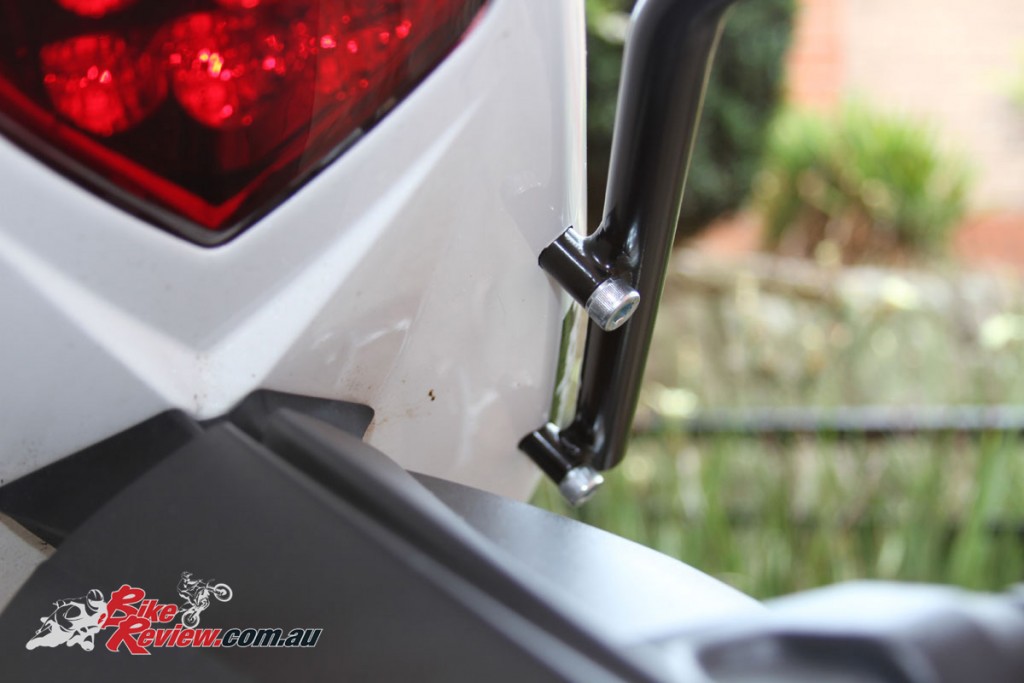
The L-Bracket should be a snug fit through the plastic and you can run the bolts through and lightly by hand tighten the nuts. Use the washers as recommended in the instructions.
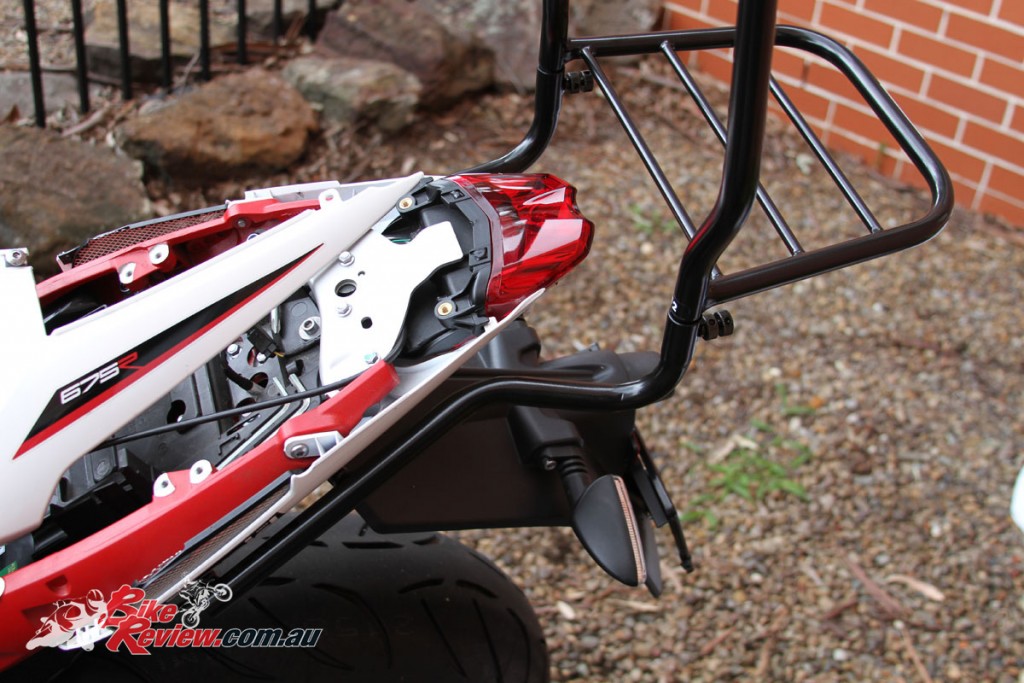
Now I fitted the rack, with the L-Brackets bolts still only lightly tightened, to ensure the alignment would be correct once tightened fully.
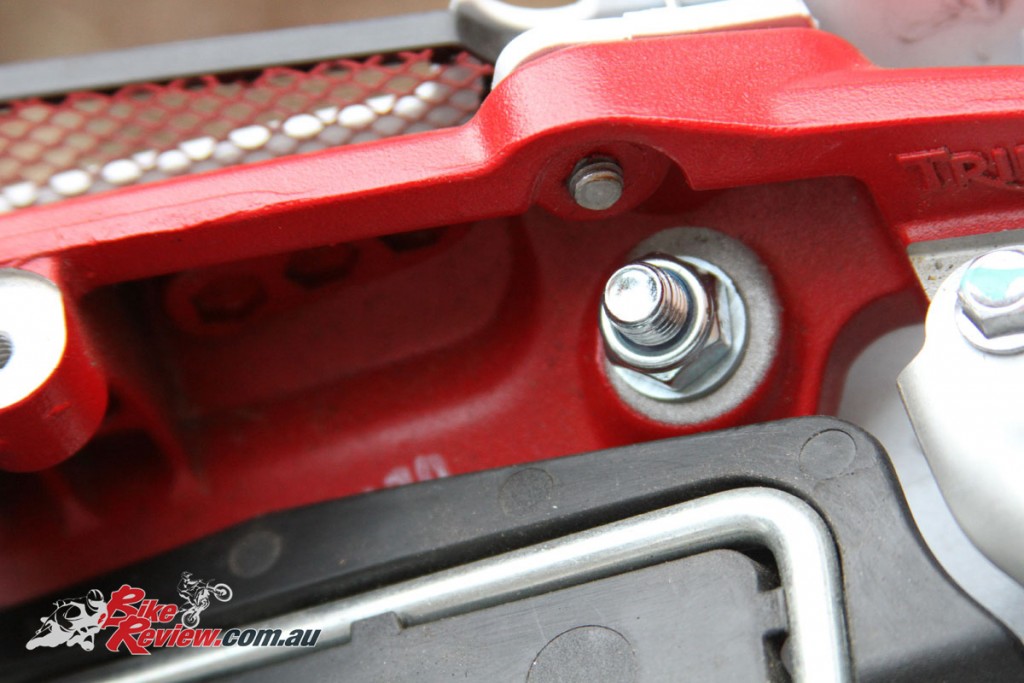
The L-Bracket nut and washer on the inside of the sub-frame. Each L-Bracket is held in place by two bolts.
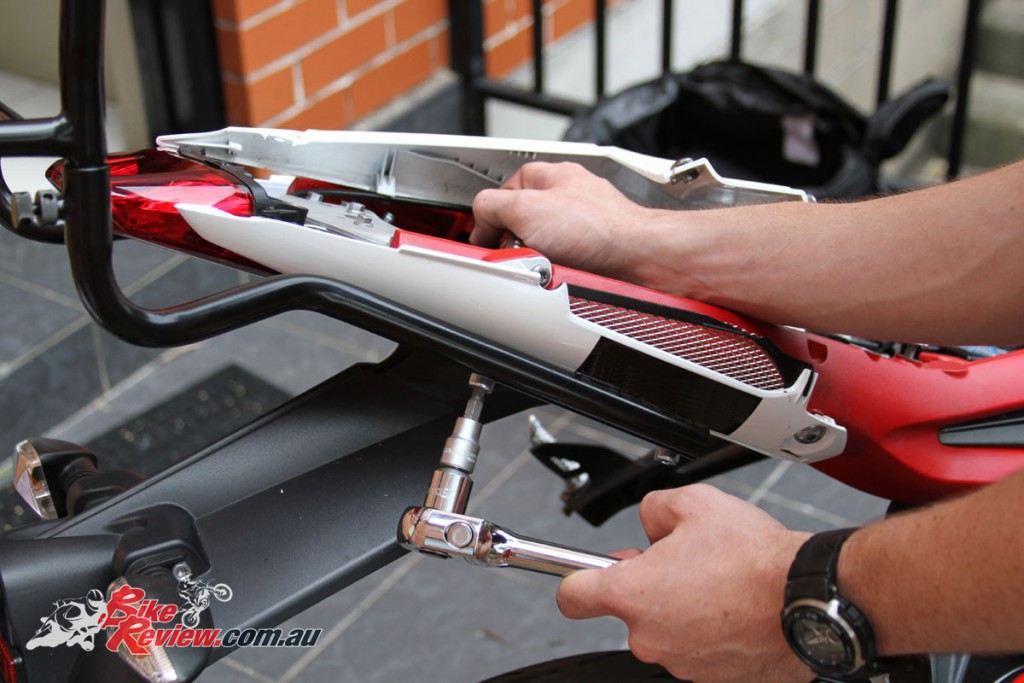
Now tighten everything up! I’d recommend double checking all these bolts after a week and a month to ensure everything stays tight, as there’s a fair bit of vibration, especially with a loaded Ventura pack being carried.
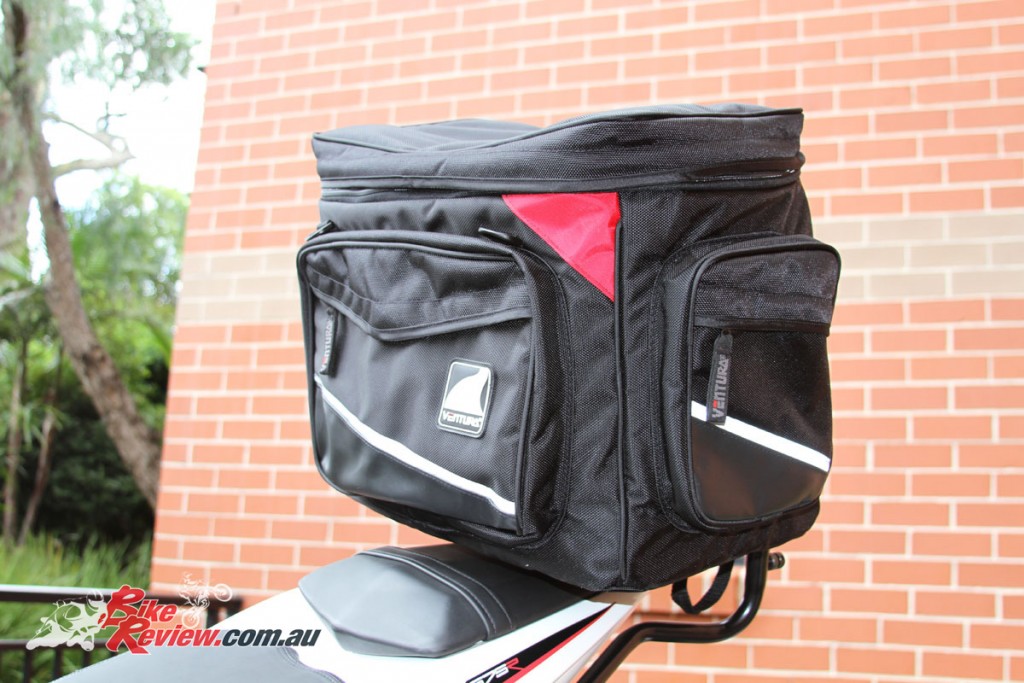
Here’s the Rally-Euro pack fully fitted. You can run the pack on the pillion side of the rack to help with weight centralisation and aerodynamics, but it can make getting your leg over the bike a challenge.









August 3, 2016
Kris, can you post the model numbers for the rack? I have the same bike and would love to install a rack as well.
August 3, 2016
Hey Ben, the Ventura is a great choice!
Here’s all the information from the Daytona specific mounting hardware:
Ventura Bike-Pack System
T042/B (Barcode) Q12
Triumph : Street Triple 675, 675R (13-14)
Daytona 675, 675R (13-14)
Uses: Pack-Rack PF12/B
Sport-Rack SR12/B
Grab-Handle GH12/18/B
The second sticker also had this info:
Ventura Light-Guard VP272 (Street Triple)
Ventura Light-Guard GP301 (Daytona)
Let me know if you need any more information! Your local dealer should also be able to order the right rack/mounting hardware combo in for you.