

Jeff and Heather bought and restored an Aprilia RS250 to re-live their younger carefree days, here's the story... Words: Jeff Ware Photos: Dave Herdman/Jeff Ware
In late 1999 Heather and I were living day to day in Sydney, me a bike courier trying to get a start in journalism, and Heather working a city office job. We only thought about what to drink that night, when we were getting paid next, and how long until we can afford the Aprilia RS250.
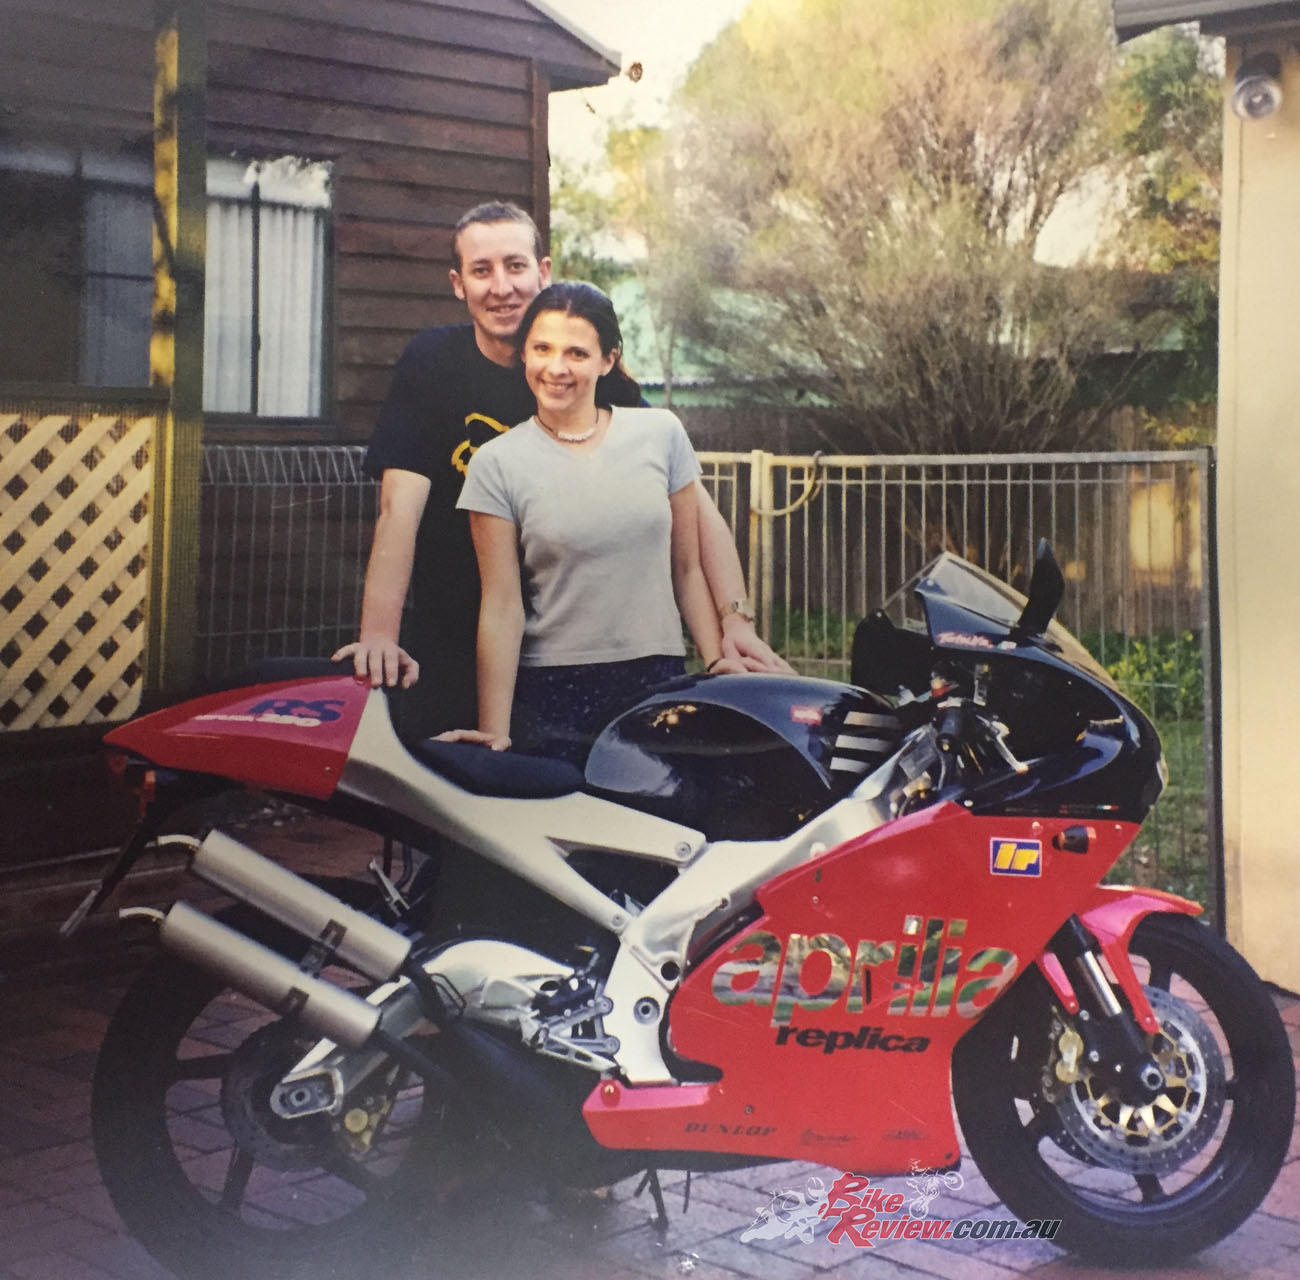
In the early 2000s, Jeff and Heather were living care free. With only work, fun and bikes on their minds.
Check out our Throwback Thursdays here…
Heather had just finished University, where she completed a Bachelor of Psychology, so she could go on to become a motorcycle publisher ha, and I had just returned from living and riding in Japan and had decided to take a year off racing due to health reasons. I really wanted a two-stroke road bike and loved the Aprilia RS250…
When Jeff returned home from Japan, one of the first things on his shopping list was an RS250.
We got some cash together and got a bank loan for the balance and bought an immaculate low mile used 1998 Rossi Replica RS250. It was our first bike together, we scrimped and saved for the deposit for ages until we could finally get our hands on one.


After spending plenty of weekends carving up Aussie roads over Summer, then on warm Summer nights riding around Sydney CBD taking in the many Harbour views and often stopping off for a pie and peas at Harry’s Cafe, it was decided I was being a right pain to live with so should get back into racing ASAP and the RS was turned into a 250 production racer…
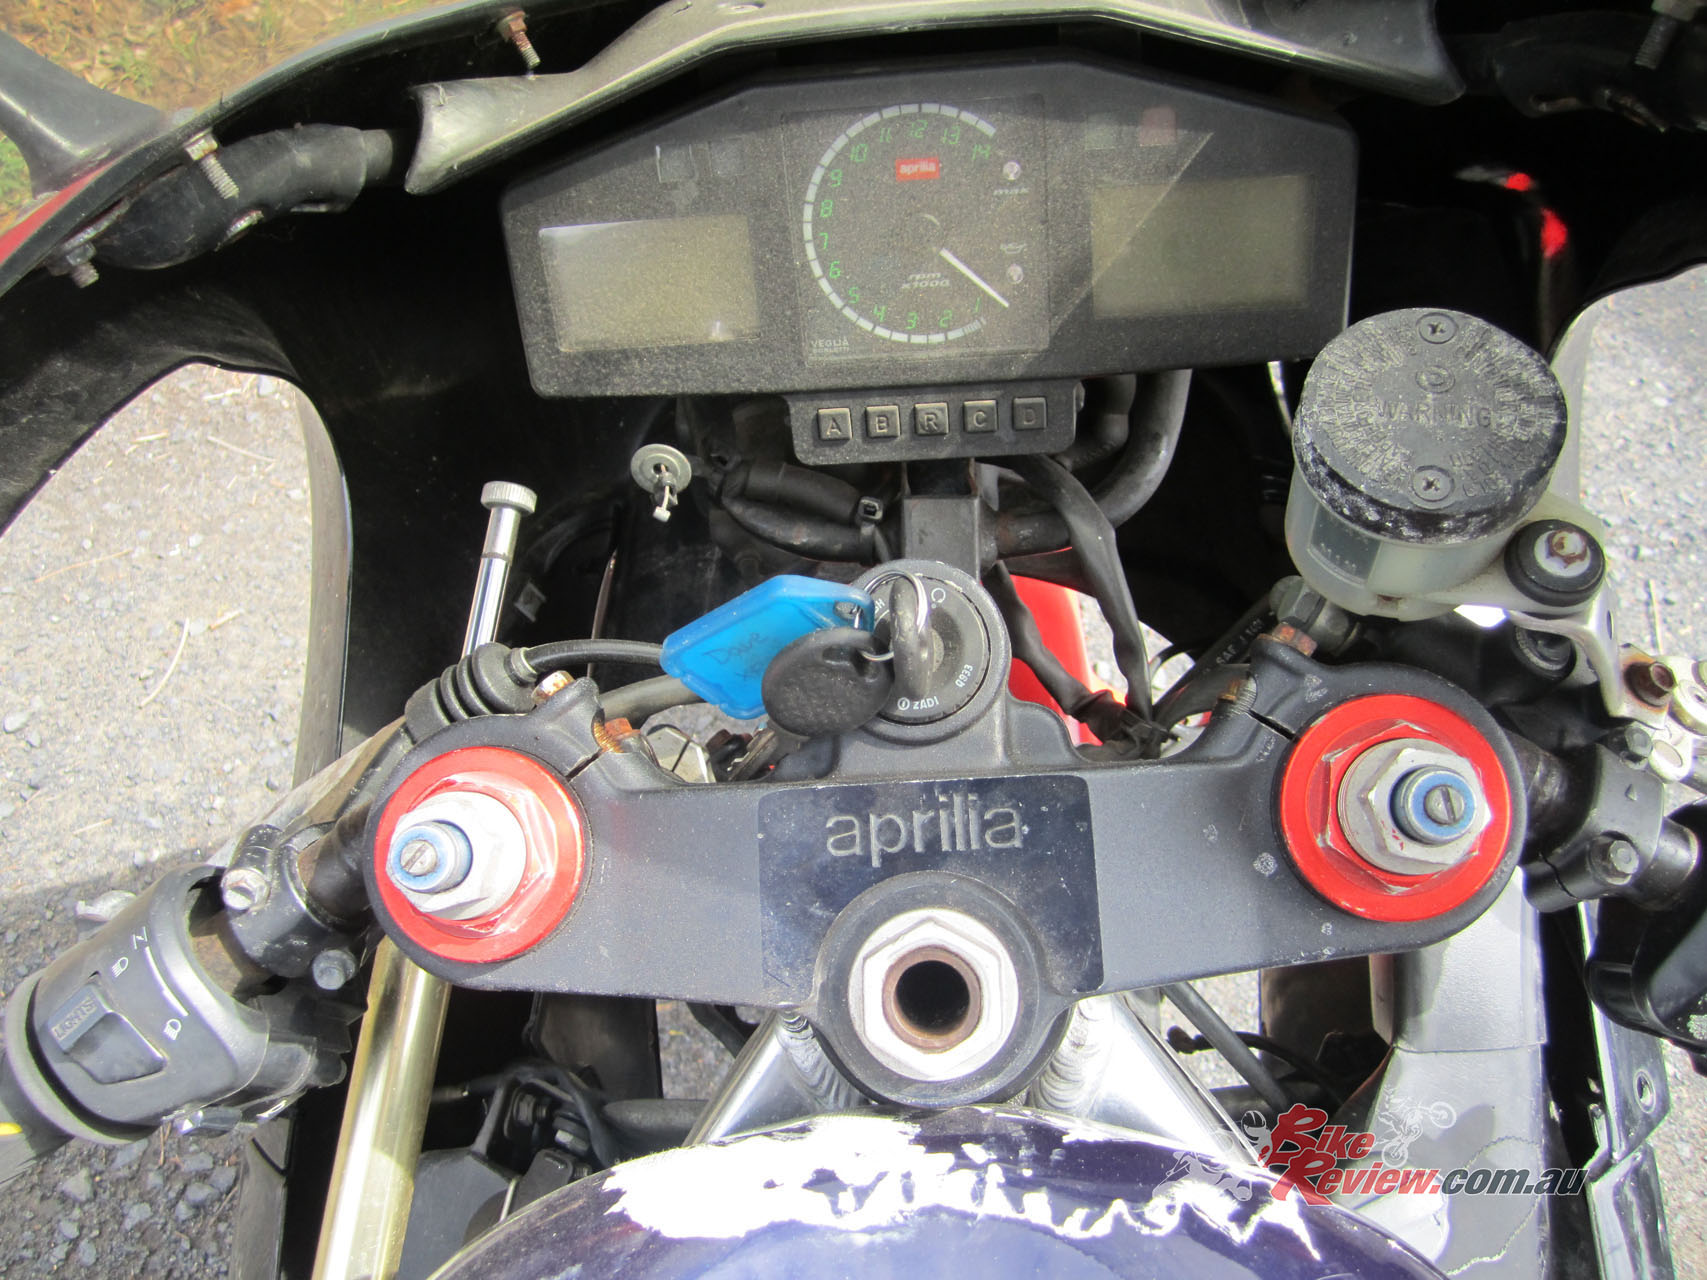
The top fairing bracket was bent beyond repair, the screen stuffed, master-cylinder seized and switches busted.
I had a fun season in the Aprilia Challenge Cup on the bike but became seriously ill and I was rehabilitating for many months, so the RS250 was sold. It was a sad day when it went to a new owner but I knew we would get another one eventually.


When I got better I started full time as a motorcycle journalist at Two Wheels magazine, so I was riding all the new bikes and forgot how badly I wanted another RS250. Lots of bikes have come and gone since but it eventually happened and I stumbled across this Harada replica by chance, back in 2010. It belonged to a mate of mine Thommo (the owner of the RG500 Walter Wolf I tested).

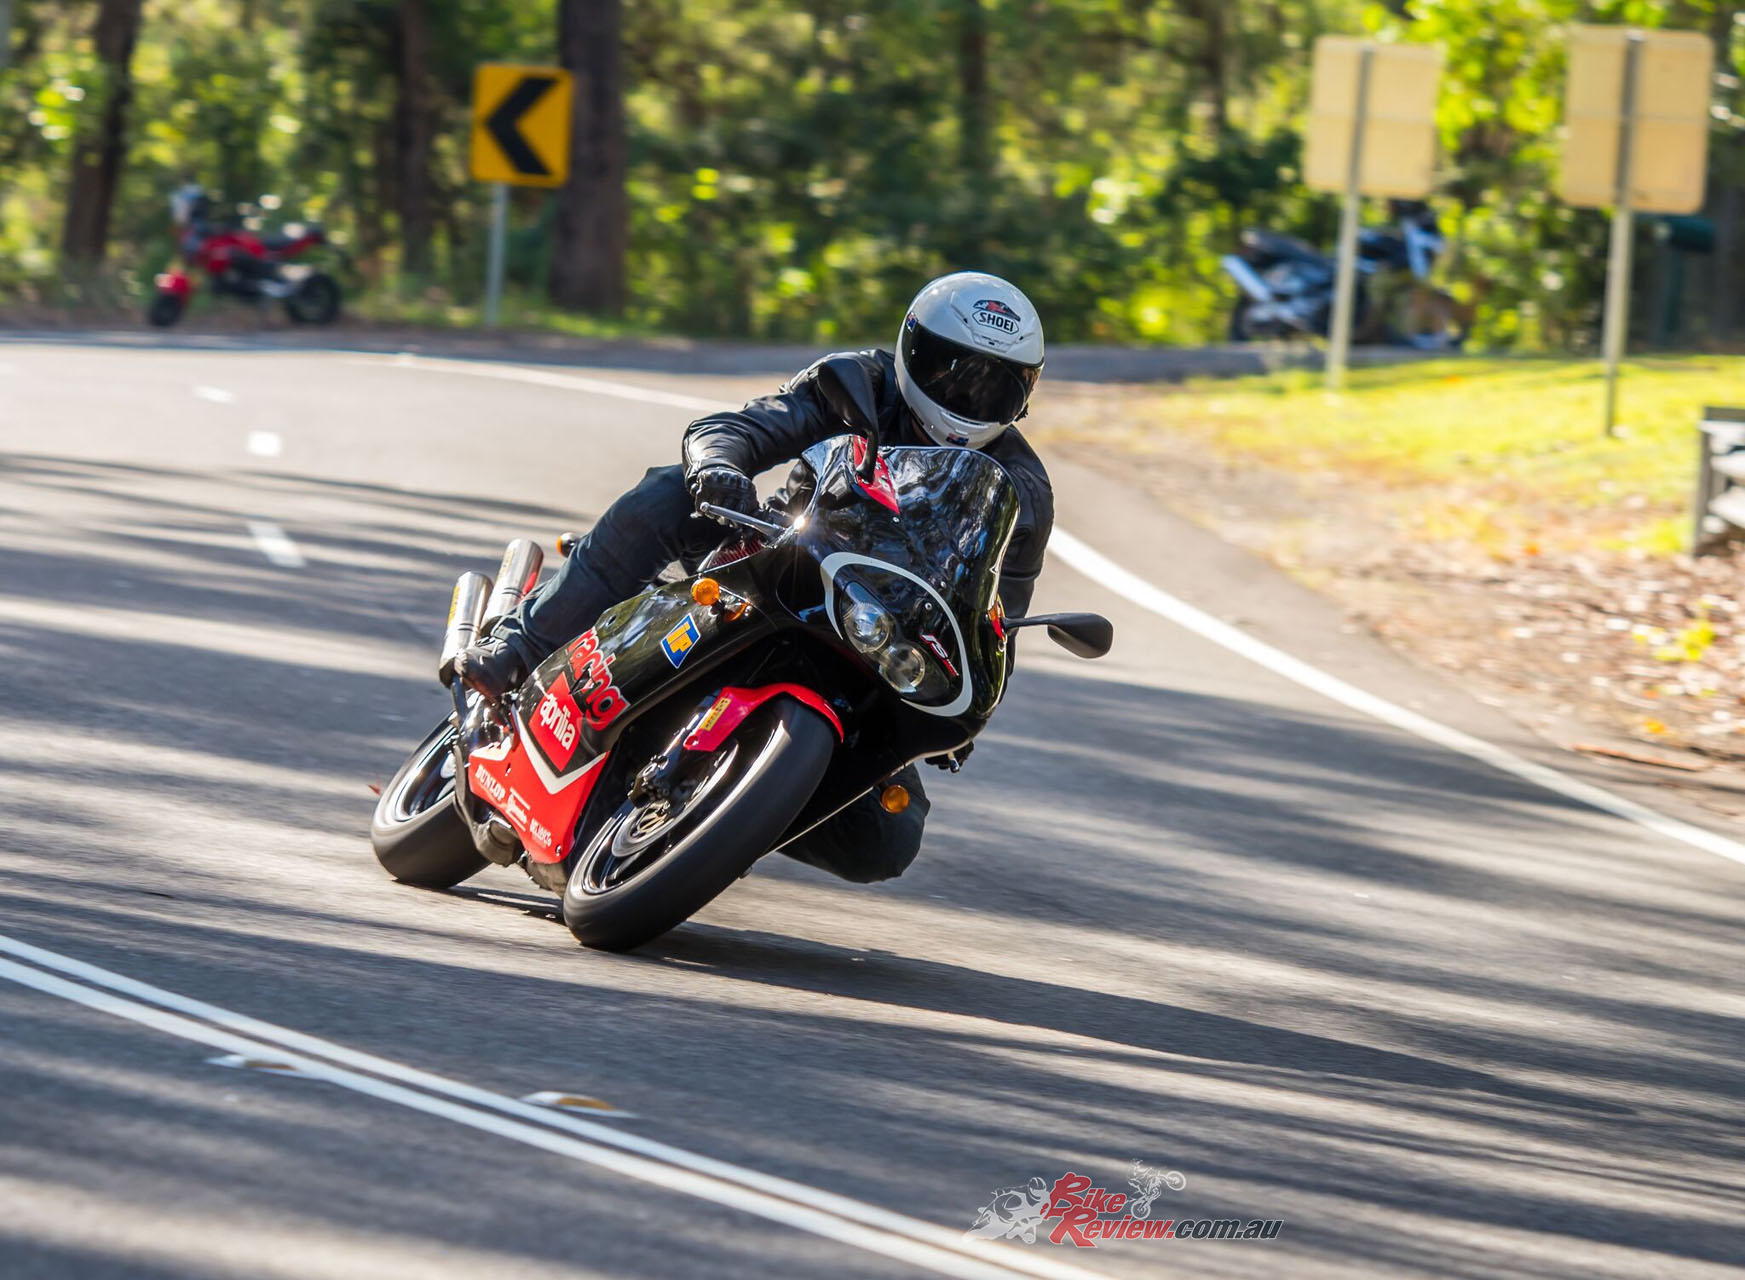
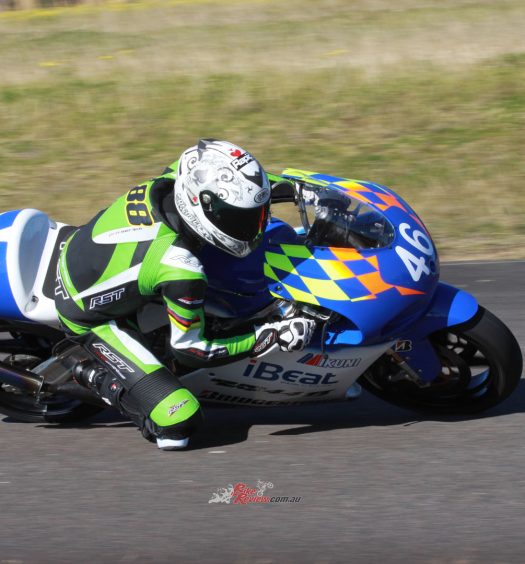
Riding the RS250 Harada was a top experience after so long… Pic: Dave Herdman.
I made him an offer and an hour later I was leaving with an RS250 and boxes of bits in my trailer… The bike sat in the corner of my garage as we seemingly had kid after kid and I wasn’t until late 2016 that I dragged it out and made a start on the resto.
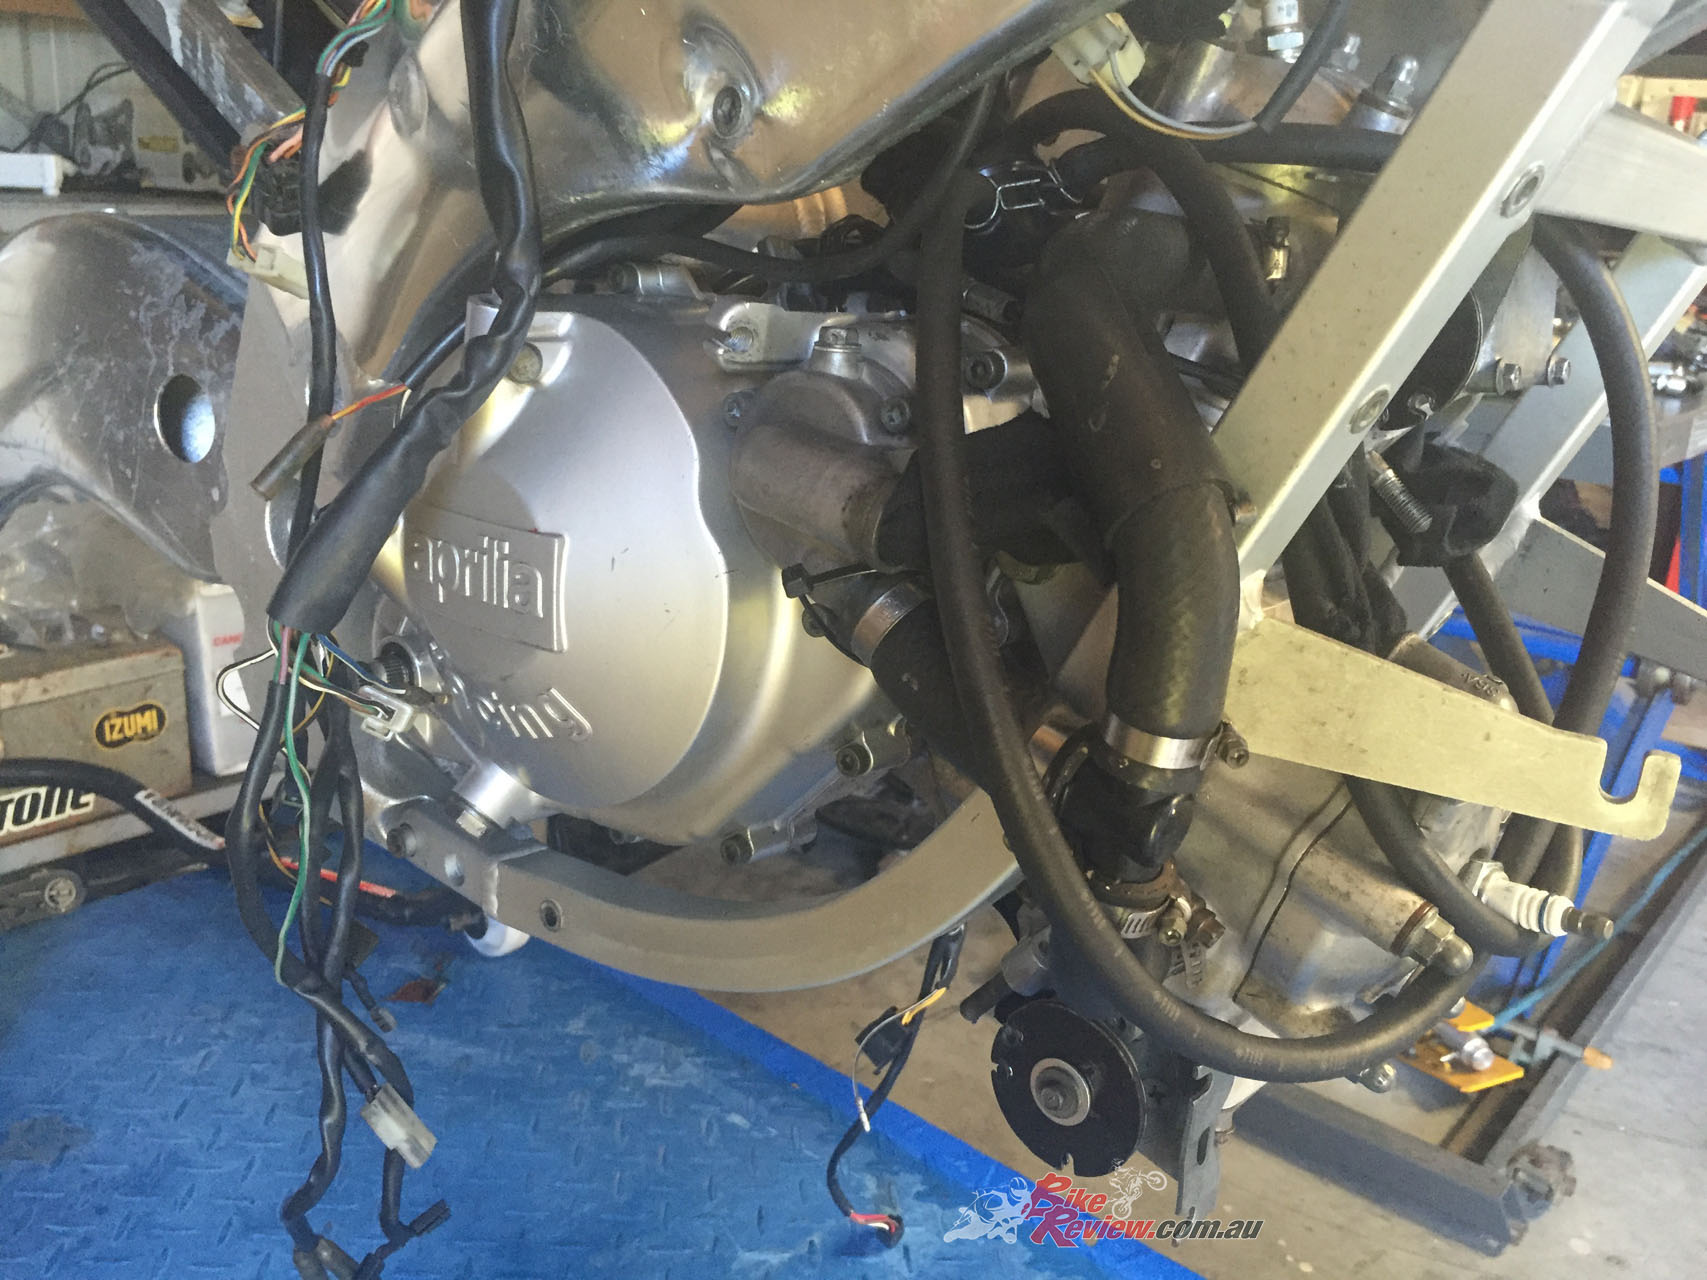
The engine had worn main bearings, leaking crank seals, completely worn cylinders and a wrecked gearbox and clutch, not to mention the seized powervalves!
I had zero budget but lots of spare parts from years of racing RGV250s, plus I had built and raced with great success an RSX550 here, which is an RS250 with an SXV550 engine. I won an F3 Championship and had lap records on that bike… I also happened to have the remains of the donor bike and original VJ22 engine. Happy days…
This was not to be a concourse resto by any means. I just wanted a mechanically sound RS250 that ran well and handled well and looked OK. The main thing for me was that no corners were cut mechanically, so I focussed on that and not on appearances. This bike was going to be a keeper and I planned on riding it every other weekend. If only I knew I would be selling it after just one ride… Yes, another kid arrived. I had to buy a minibus!


As you can see in the images, the bike was as rough as guts and very corroded. The engine was shot, the forks leaking, brakes locked solid, tyres crap, fairing damaged and every bracket was bent in some way. The tank was the wrong colour and the basically, the bike was junk.
Check out our Aprilia RSW250 GP Racer test here…
First off I completely stripped the bike. Once it was down to a bare frame, I rolled it out of the shed and pressure washed the road crud off it. I also pressure washed the wheels, forks, triple-clamps, shock, swingarm and anything else I was going to strip down. It was filthy…


Once I had my chassis parts laid out and a few things on order that I didn’t have, I turned my attention to the engine. I did a complete strip down of the motor and decided to do a complete rebuild.


I had a near new crankshaft in my spares so I fitted that, it had only done a few thousand km, and I also fitted new pistons, new rings, small ends, one brand new and one near new cylinder, completely rebuilt the powervalves, rebuilt the gearbox and clutch and put it all together and back in my now restored chassis, almost ready to start on the aesthetics.


The chassis got steering head bearings, swingarm pivot bearings and seals along with linkage bearings and seals. I also rebuilt and painted the forks and shock, as well as the triple-trees and the handlebars. I painted the wheels and fitted fresh Pirellis and had myself a rolling chassis with an engine ready to be plumbed up…


After rebuilding the complex carburettors and setting them to standard jetting as a starting point, I fitted them and then spent a few days tidying up the rooted wiring loom. I then replaced any damaged or ageing hoses (there are plenty of them) from vacuum to fuel lines and all of that stuff. All of the powervalve cables were lubed up and fitted, timing set for the valves, a coupla fresh NGKs torqued in and a freshly painted radiator with a few new hoses bolted on… Everything was done as per the workshop manual. I’m really fussy on routing cables, wires and hoses as per the factory and study images and diagrams when doing this part of a resto…
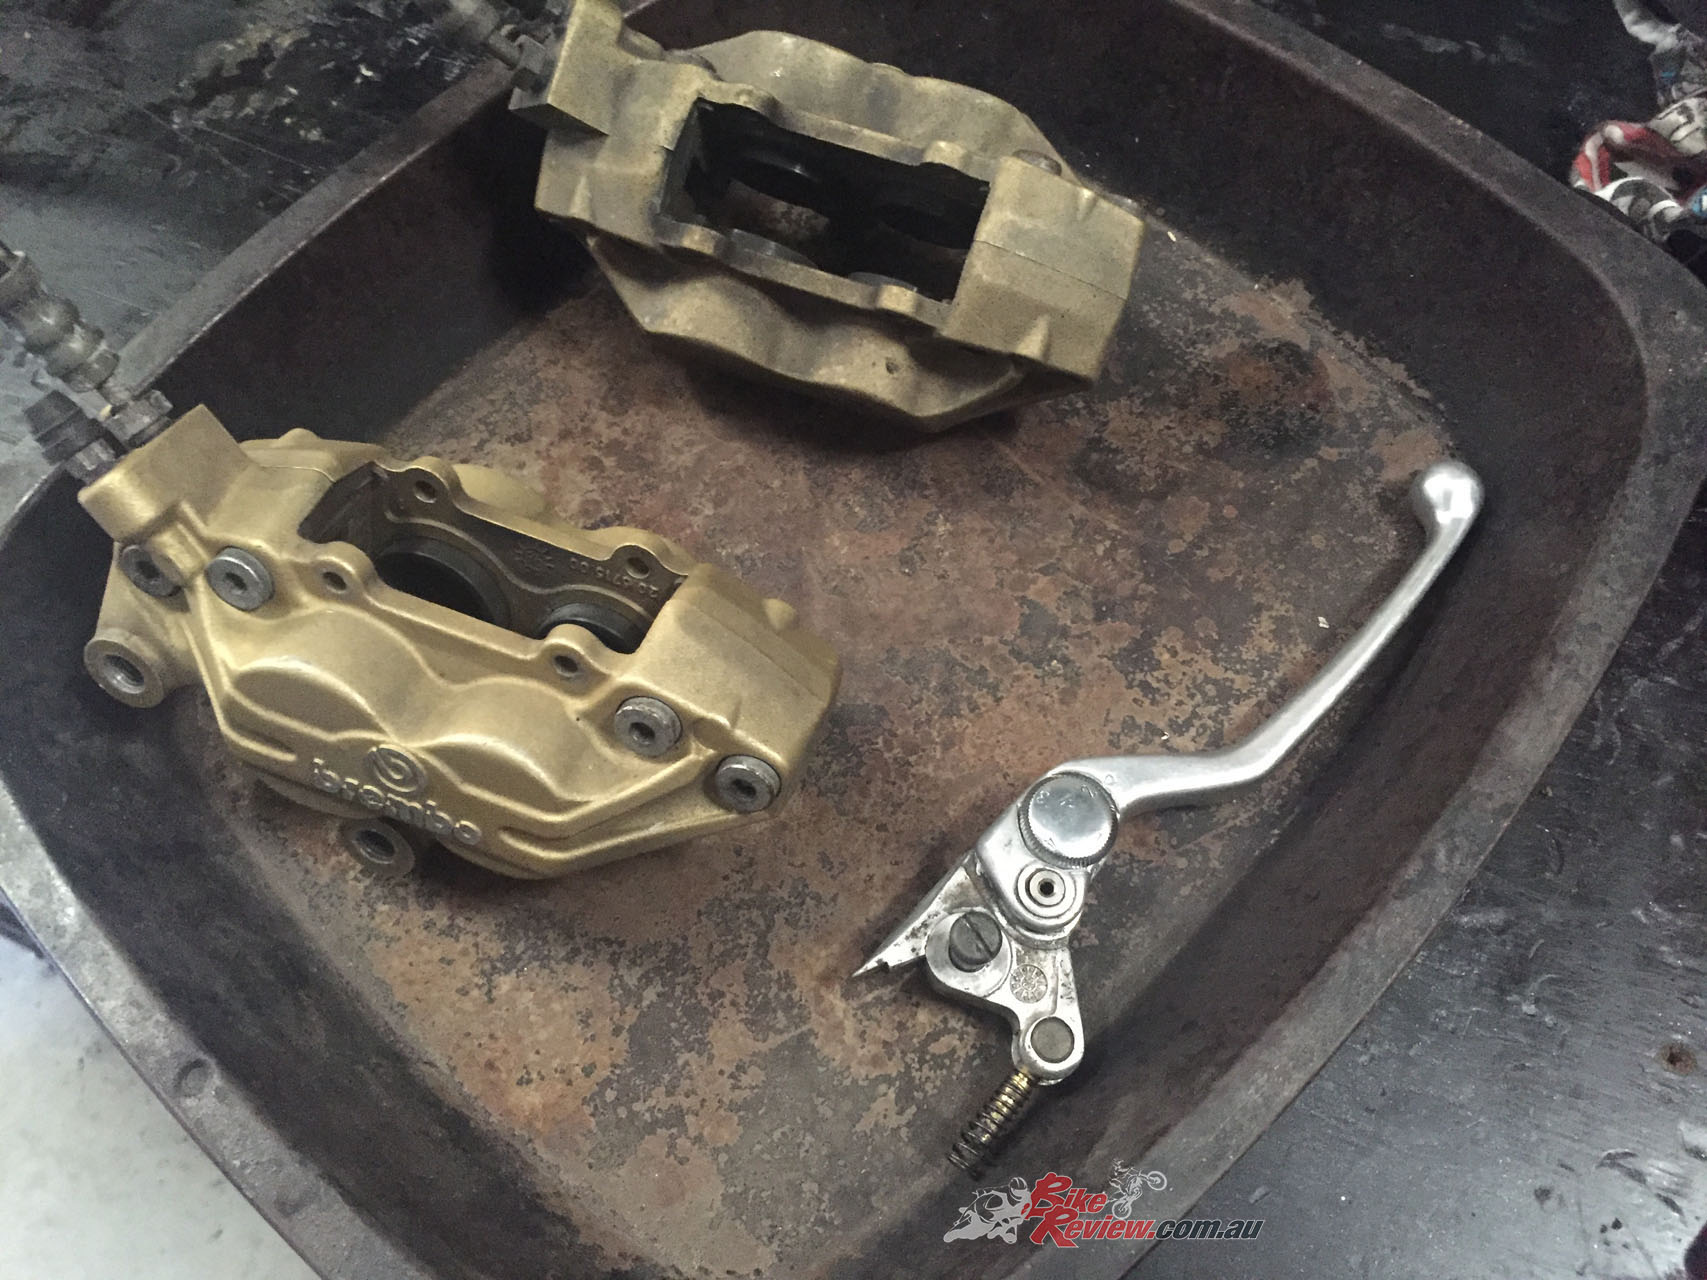
The calipers were stripped and rebuilt. Seal kits were not available so I had to clean the calipers up as best as possible and re-use the seals, which were fine.
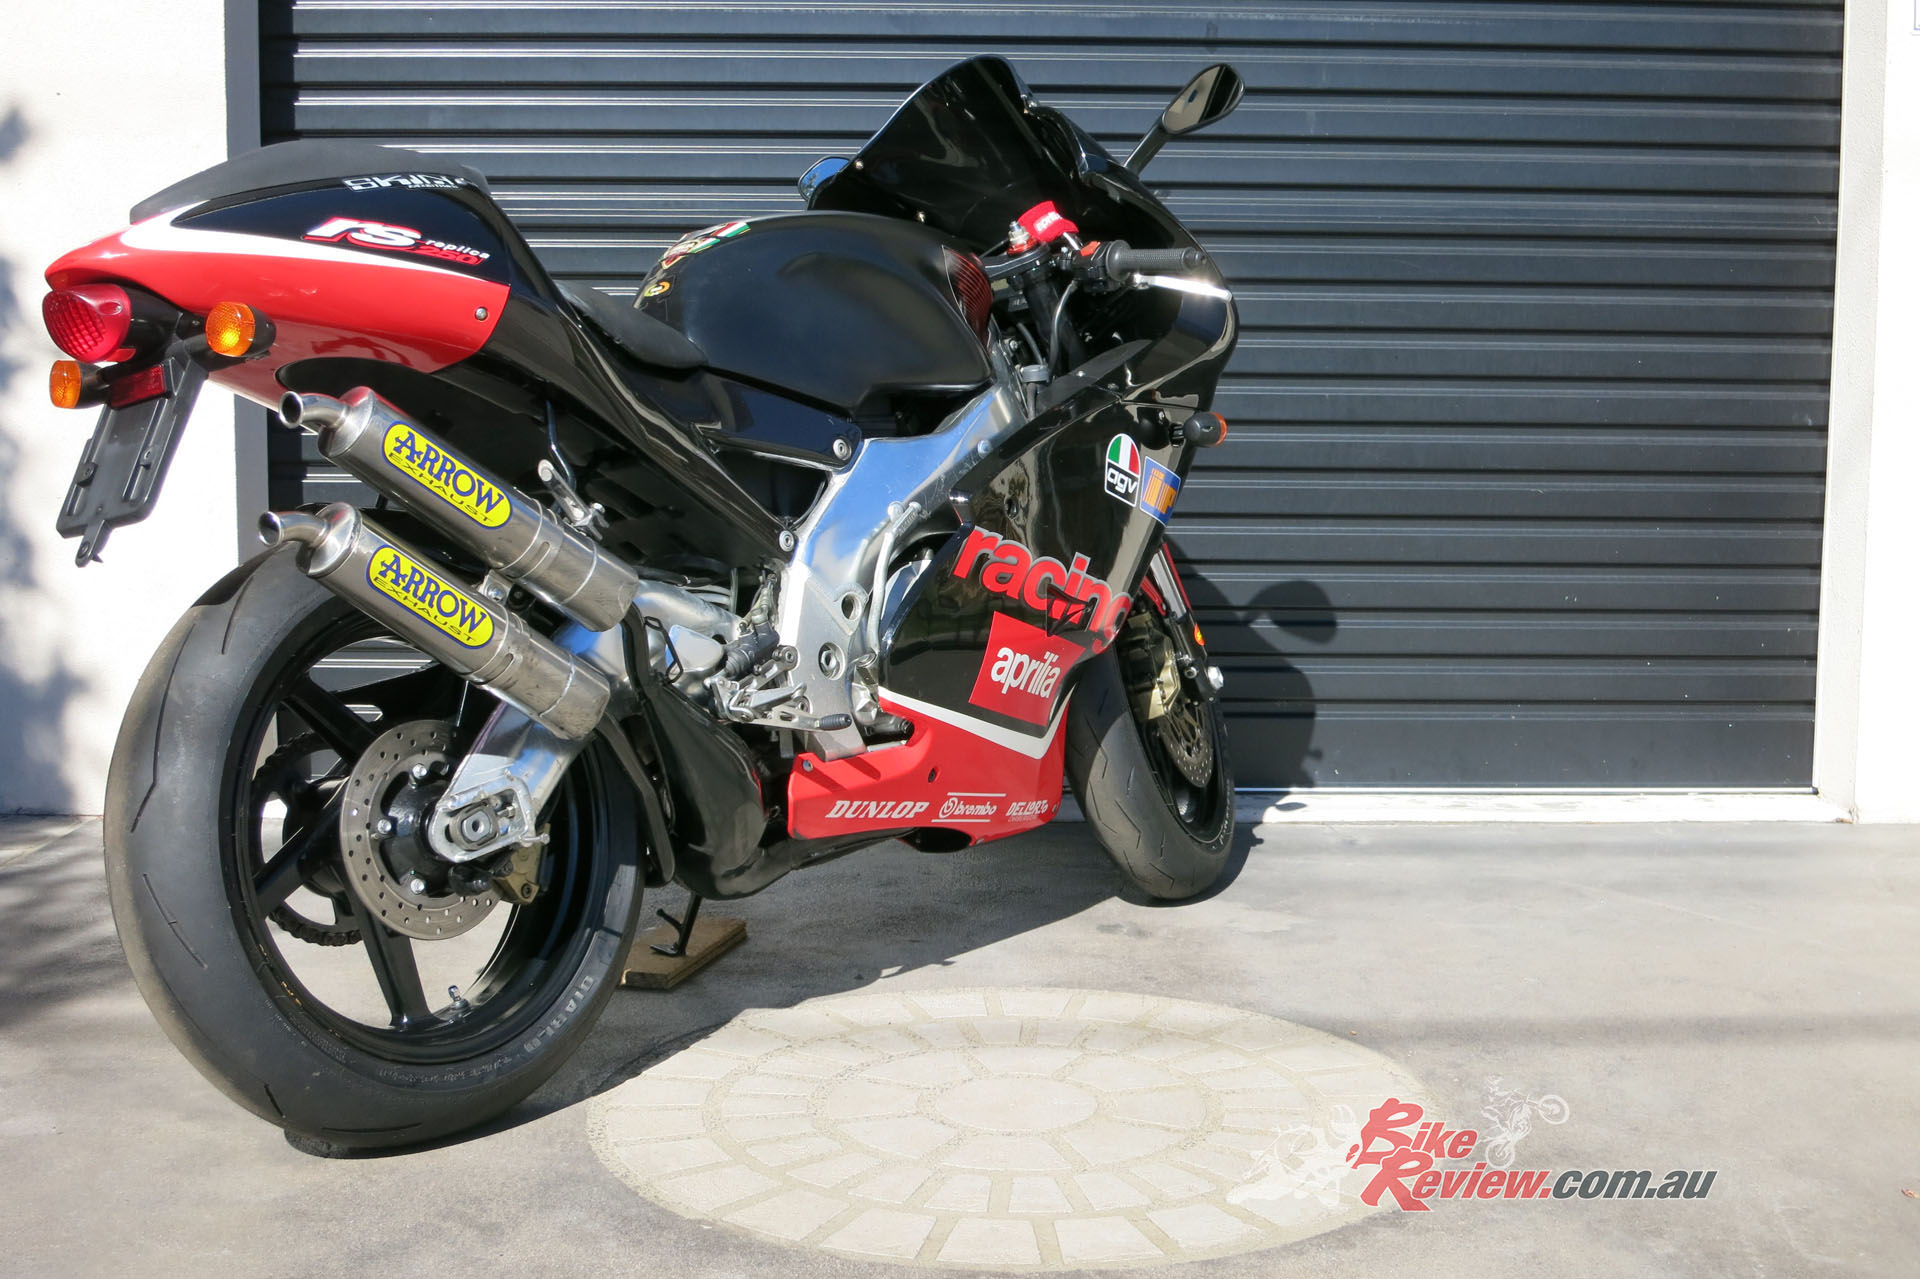
I cleaned up and painted the original expansion chambers next, then did my best to polish the heavily scratched and previously repaired mufflers. A set of Arrow stickers I had covered the marks I could not get out! With the engine in and the fundamentals all plumbed up and sorted, it was time to turn my attention to the finer details to complete the bike…
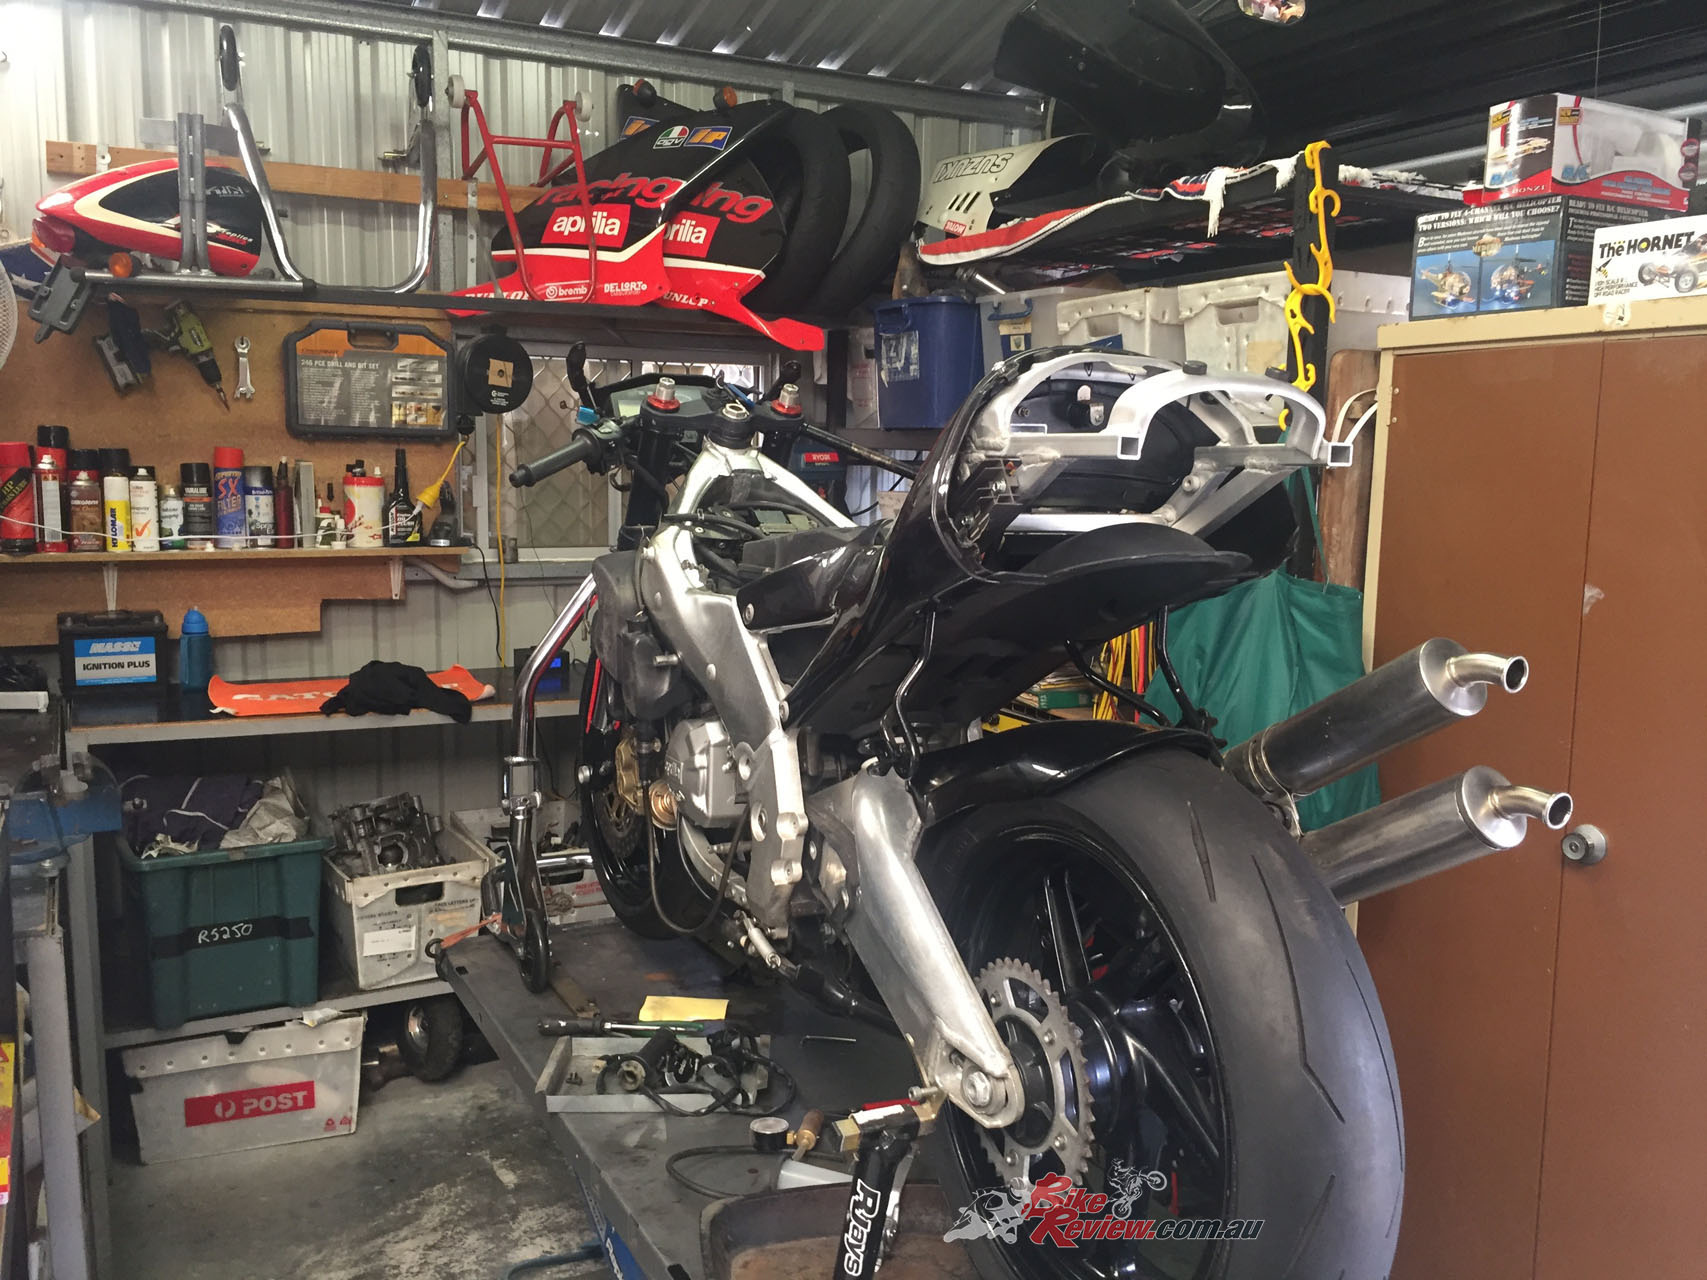
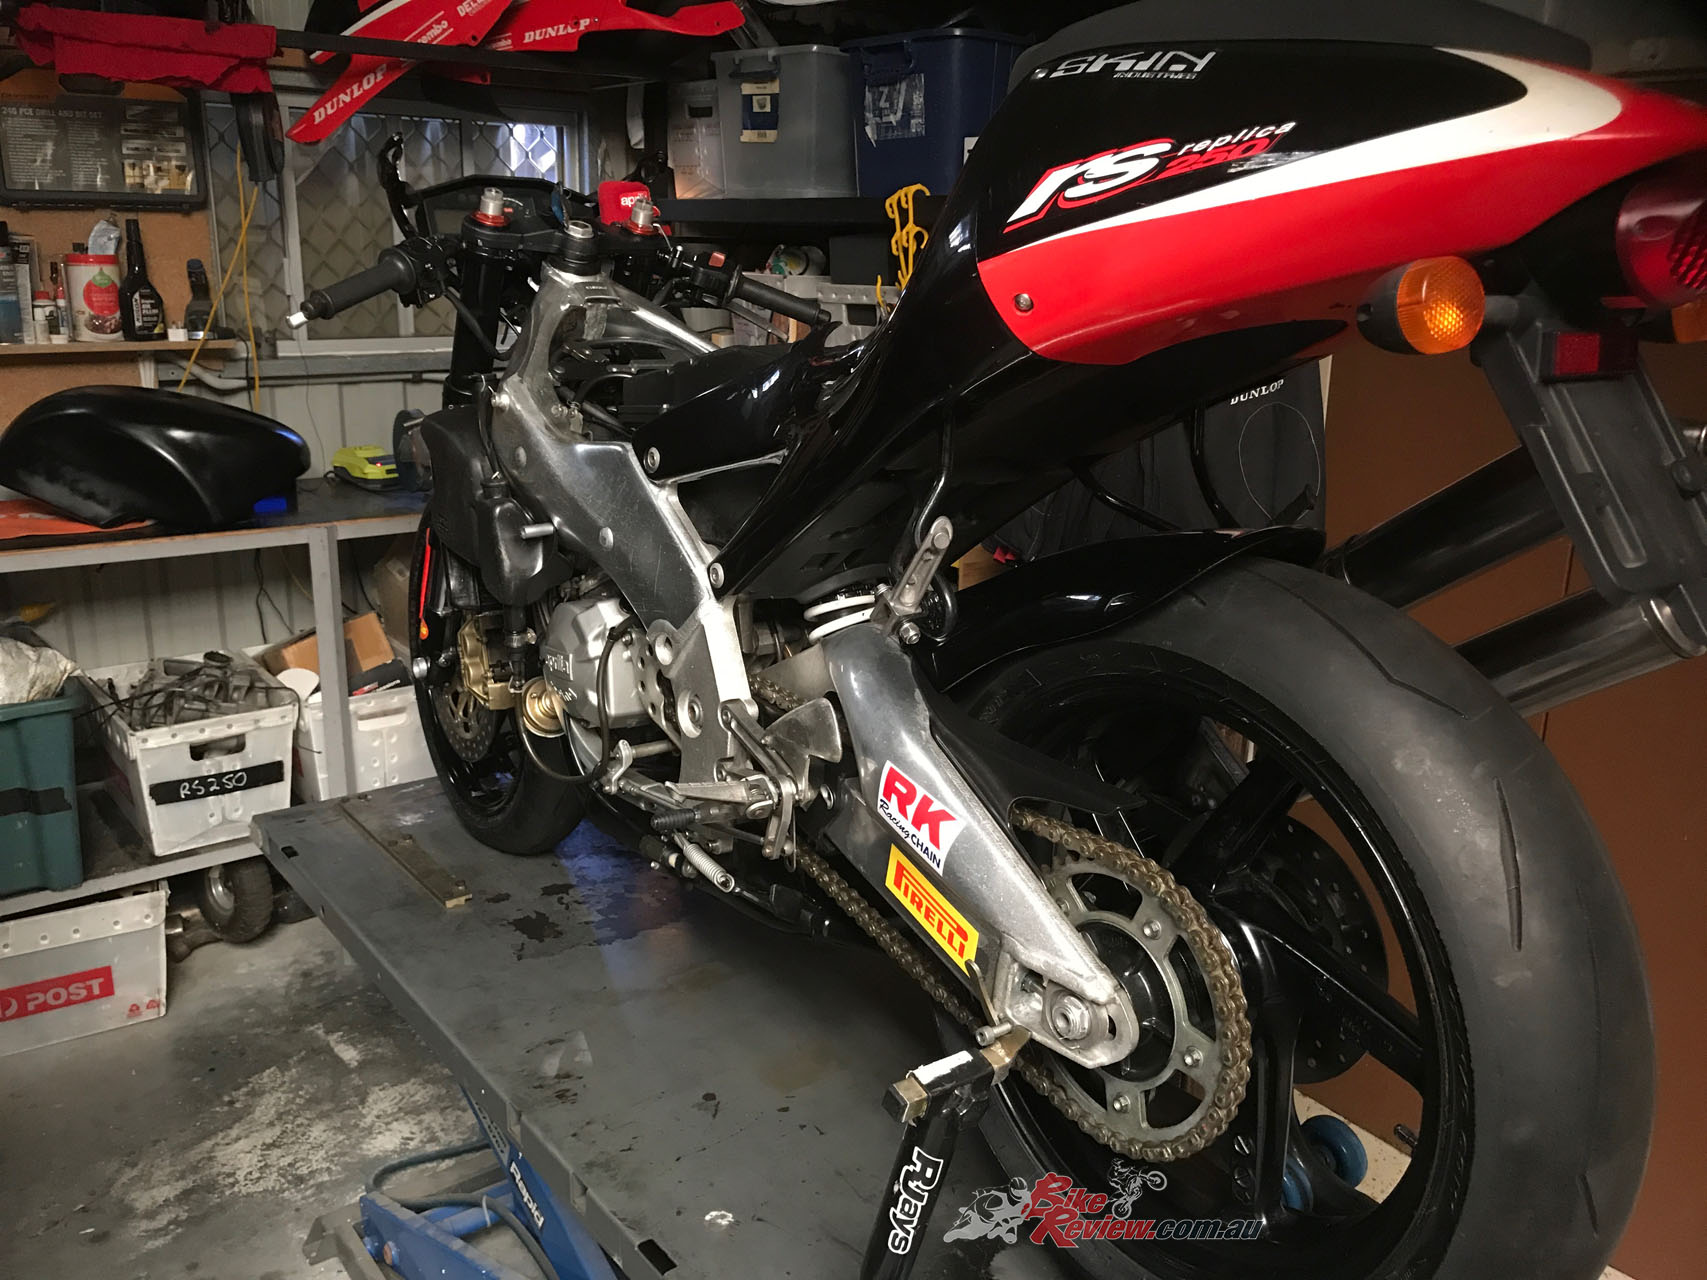
The bike starting to take shape, with the wheels in, engine plumbed and wired up, pipes on. Happy days!
So now my RS250 was looking good and I felt great about the effort I was putting in to make it mechanically up to my high standards. It was during this final assembly that I wire-wheeled and then resprayed all black chassis parts, like the sidestand and bracket, fairing brackets, reservoir brackets, pillion peg and exhaust hangars, basically everything black was re-painted. Painted silver parts were also resprayed and bare alloy was polished up, which was a slow and tedious process. I could not get all corrosion marks off the frame as I did not want to cut through the clearcoat on the frame rails.


Black plastic parts were cleaned up and treated with a rejuvenation gel I got, which was fantastic, and a new battery went in along with a new airfilter and fuel filter. The fuel tap was rebuilt and as I was on a budget I really skimped here and rattle can sprayed the tank then fitted some random Aprilia decals I had on hand. Looks OK to me!
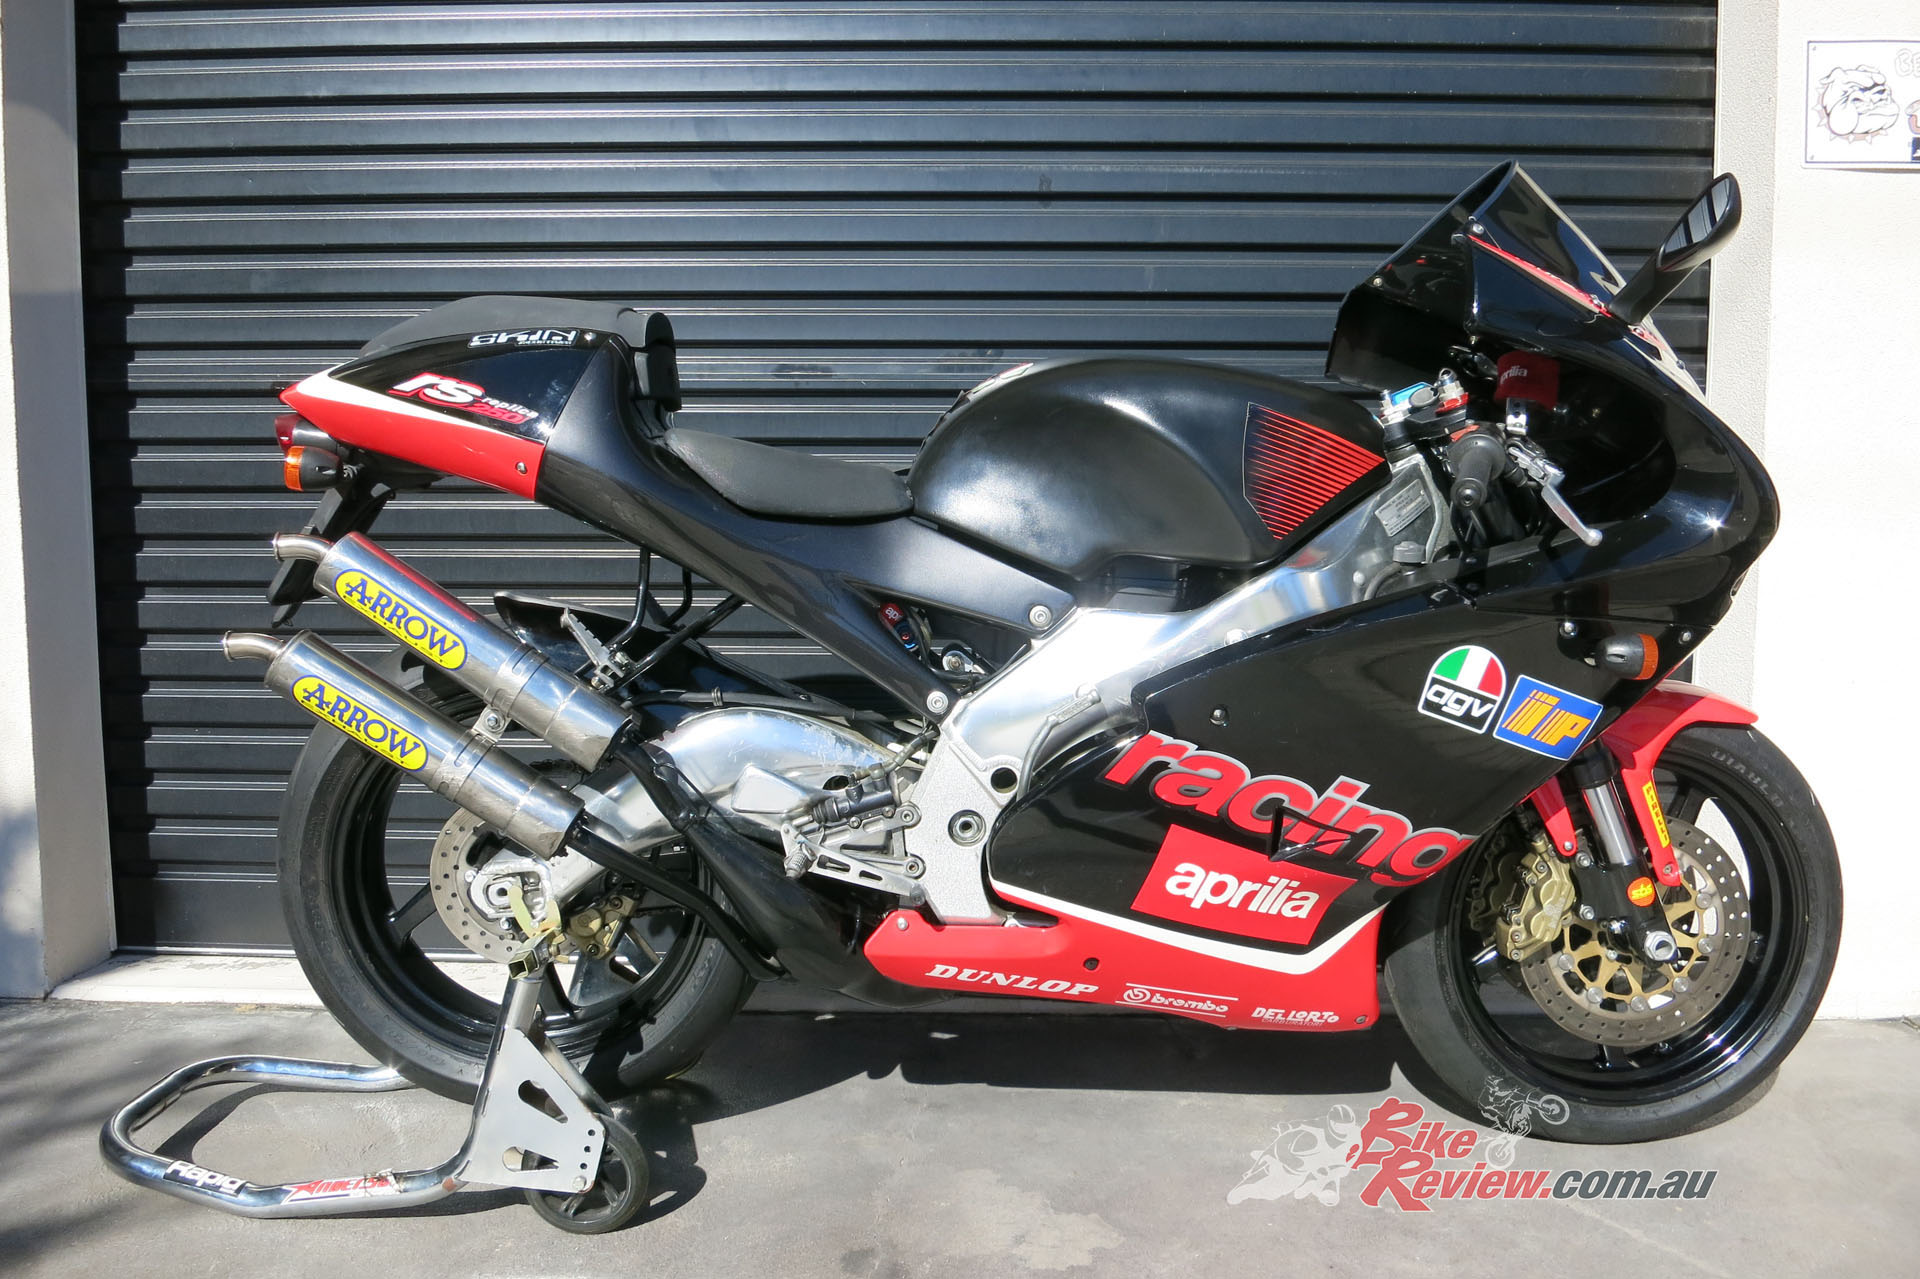
The rattle can paint job to some bits of the bike actually turned out quite well with the new Aprilia decals.
The fuel cap was cleaned, stripped and resprayed and a new OEM chain guard fitted along with chain and sprockets. I bought an RS250 fairing fastener kit online and after spending a full day polishing and cutting back the fairing panels and top fairing, I was satisfied I didn’t need to get the panels repainted and could keep it as original as possible, these were then wrapped up and set aside.


Next a new set of OEM grips went on, along with levers, gear lever rubber and rear brake rubber, indicator lenses and then came the hard one – I needed a right-hand switchblock and could not find one anywhere… In the end I bought a damaged one for 100 bucks and had to make one good one out of two damaged ones. I then found and fitted some OEM bar-end weights and made a good like-new kickstarted from three that I had.


It was around this time I stopped for a few weeks. I had been in the shed for two or three hours every night after the kids went to sleep, so gave myself a break to make sure I don’t rush the job towards the end, as I tend to do.


I sat down with a notepad and torch and had a really good look over the bike, listing what was left to do and any parts needed. First on the list was a couple of master-cylinder kits, which I had forgotten to order. I also need new brake pads and caliper pin retaining clips. Aside from that, it was just a few OEM fairing clips and rubbers plus some missing rubber washers to go with the fastener kit, along with a new screen and a top fairing bracket.


The new parts were ordered and a used top fairing bracket found, thankfully! These are so rare as most production racing rules the World over require them to be retained, so they are all trashed… The one I bought was resprayed and fitted and looked could. So I thought… I rebuilt the front and rear brakes and fitted them up, then it was time to fire the bike up for the first time…


With fluids in and bled where required, the RS fired after just three kicks. It was a proud moment and at no time did I doubt the engine – I have built so many VJ22 motors and did this one with extra love…
Despite a total engine overhaul, the two-stroke kicked over with ease on its first ever start up.
After the usual leak checks it was time to dress the bike. It was at this point I realised the top fairing bracket was bent, as the rear two bellypan bolts did not line up.
Well, let’s just say after the belly pan didn’t line-up, I swore a bit, two hours later it all looked awesome!
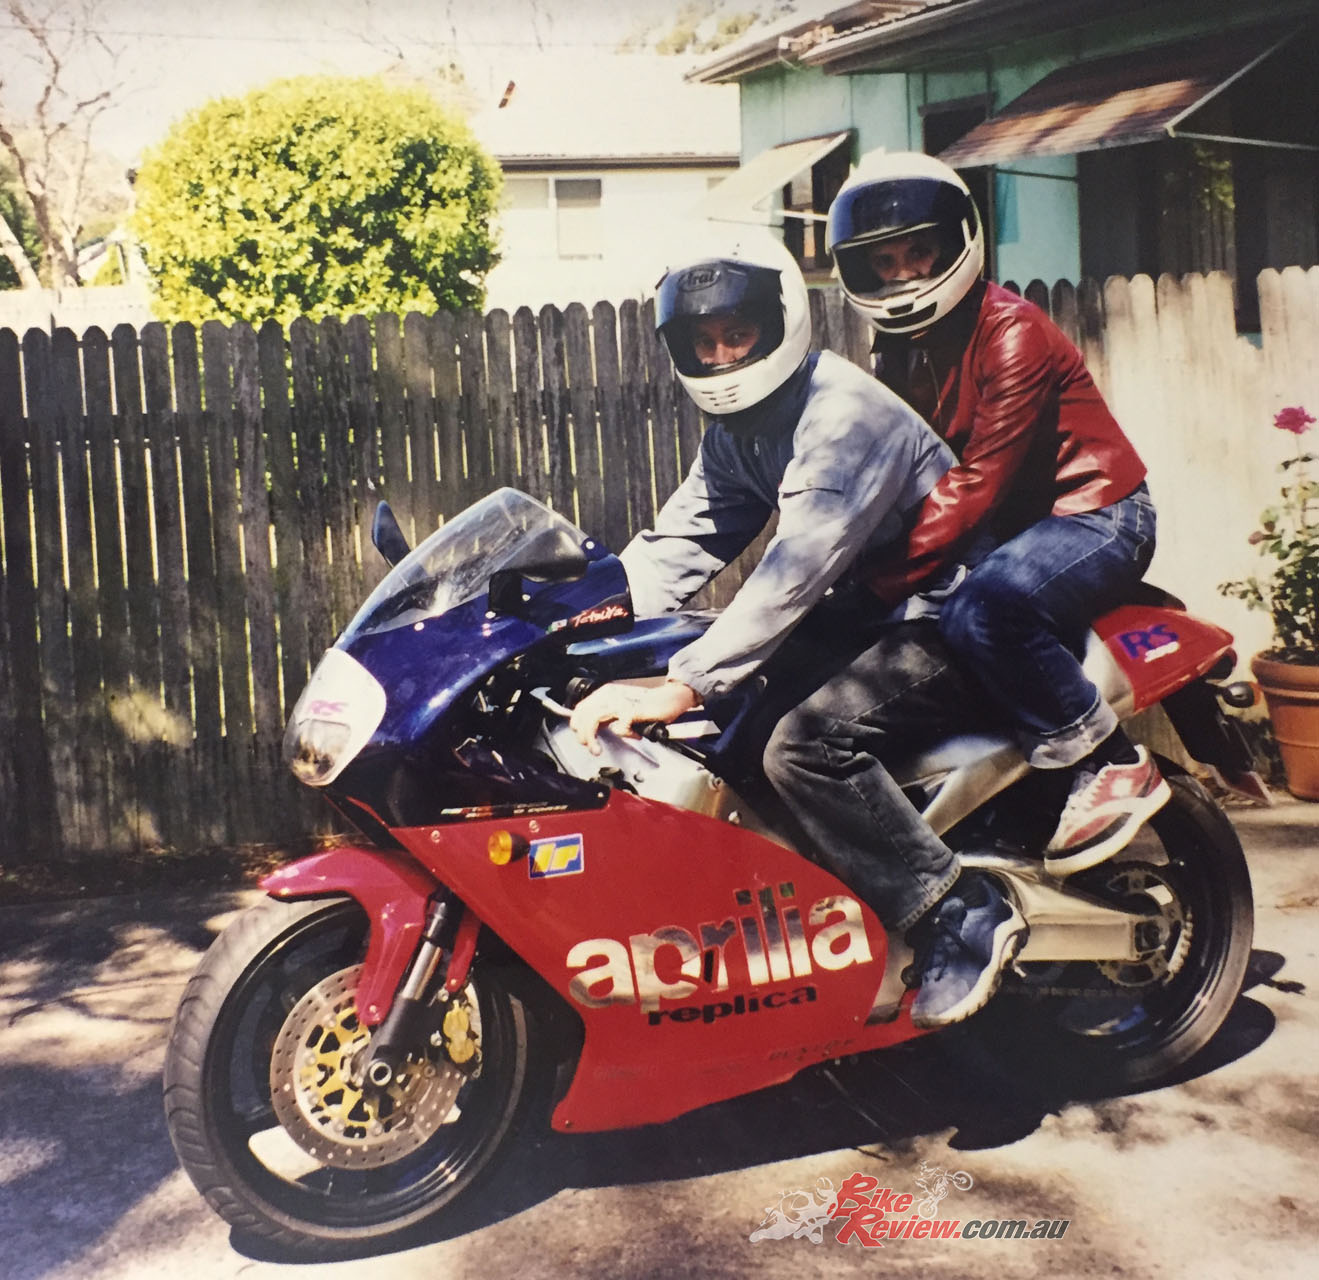
The very next day I registered the bike and on the following Sunday, took it for its maiden run. First stop was to the in-law’s house where Heather and I re-enacted the same pic we had done in 1999. That’s a cool one to have, even if we have aged so much!

I spent the rest of the day having an absolutely awesome time. I headed up to my local twisties and rode all the routes I did back in the day when I was almost 20-years younger. I was so slow to react to the snappy and agile RS250 at first but by the end of the day I was in full swing and realised pretty quickly that these days, I’ll end up in the lock-up if I keep riding this bike on a regular basis…
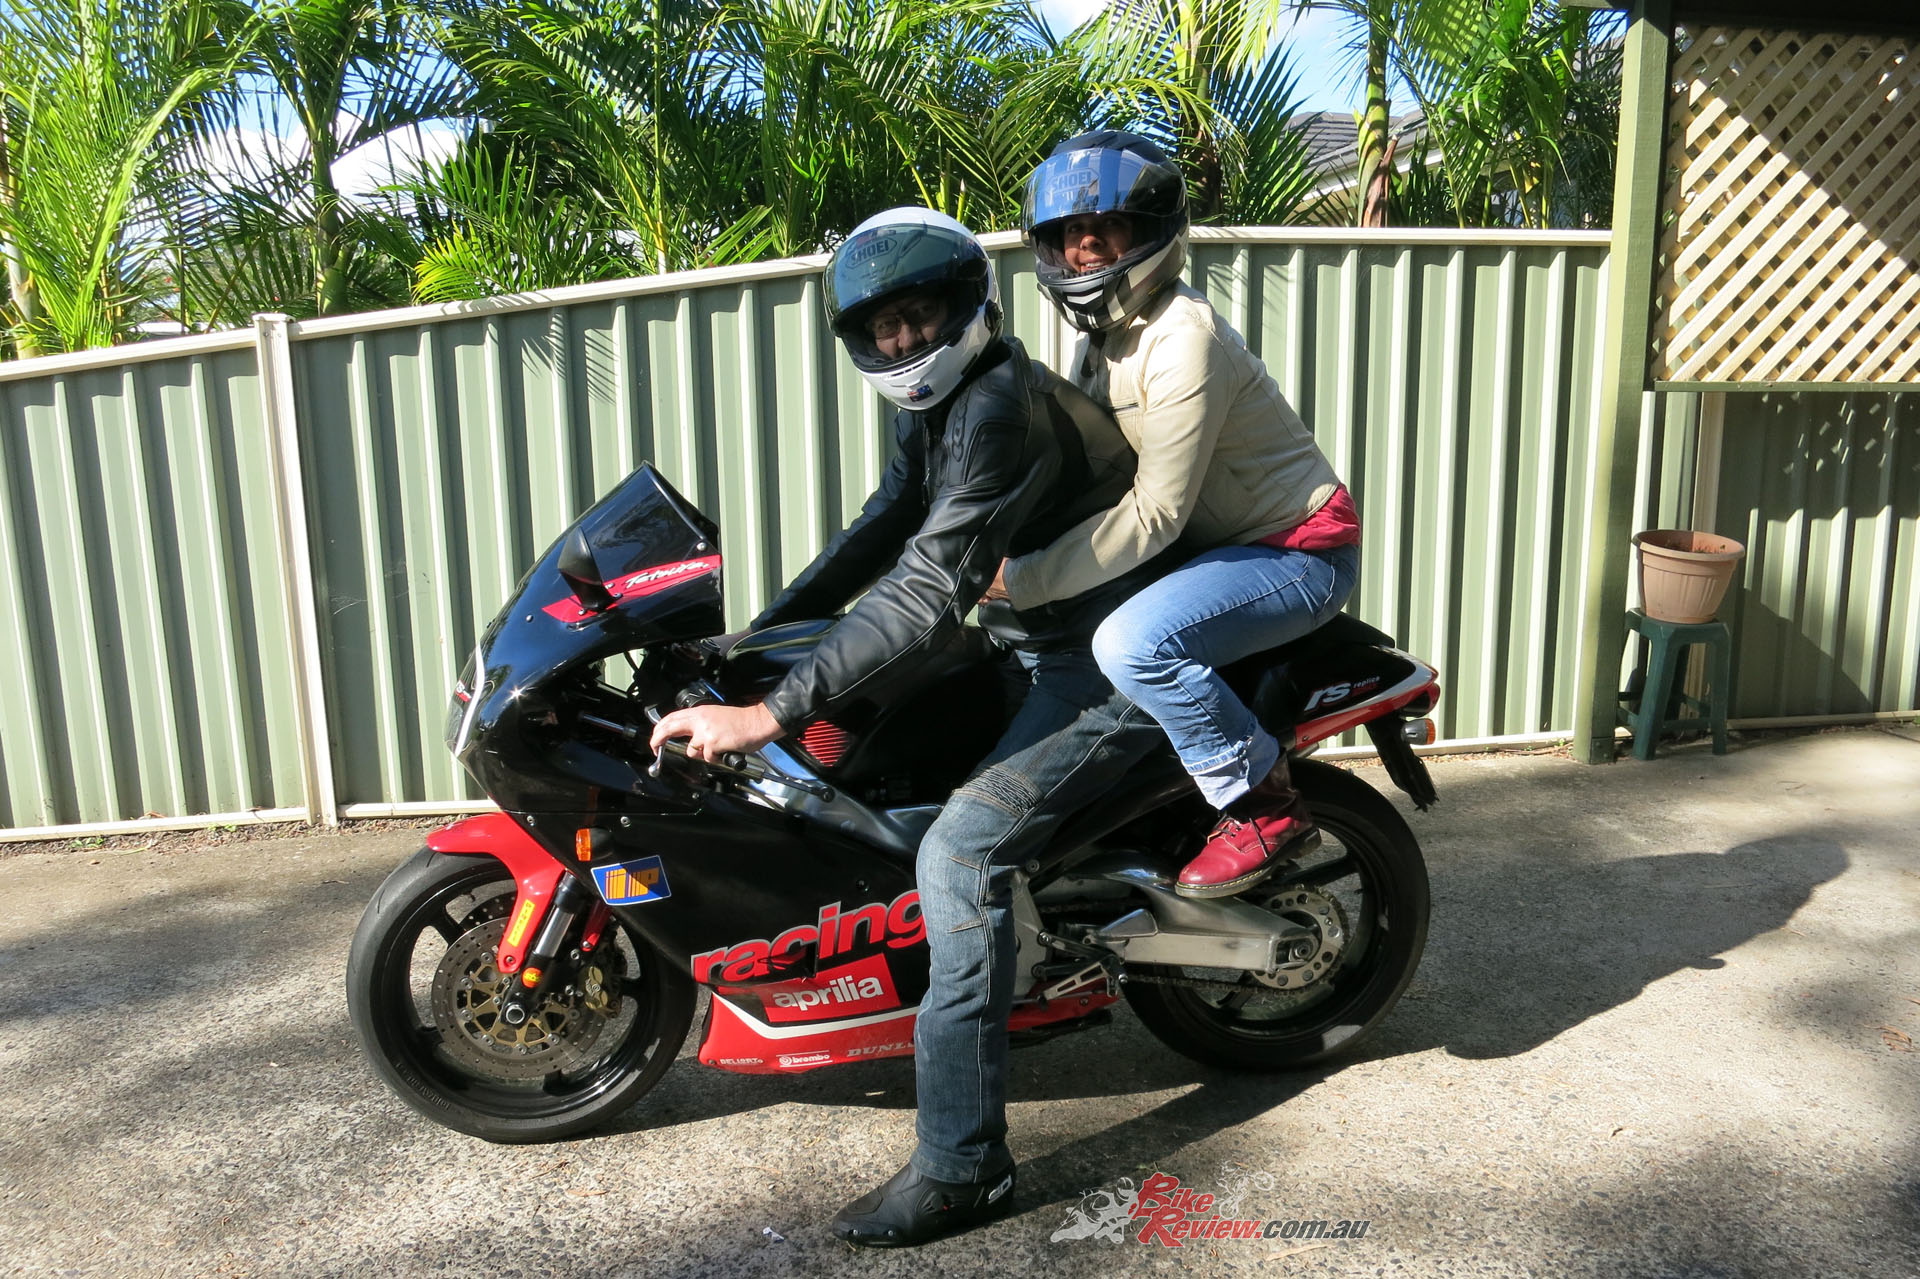
A stop off to the in-laws place to recreate that original photo nearly two-decades ago was great fun!
I got home on dark and sat in the shed with a few cold beers and just admired my bike. I felt true love… Not long after, baby four popped out, so the RS250 went as quickly as it arrived. God knows how much one will cost me when the kids move out in (hopefully) 20-years.

Fun times but all good things must come to an end! Pic: Dave Herdman
The Author
You Might Also Like


September 12, 2022
OMG I want to cry after you having built that thing
October 11, 2022
Thanks! And I did cry when I sold it! Jeff.