Product Review: GoPro Hero5 Session
The GoPro Hero5 Session is a top of the line rugged action cam, that offers waterproofing and a small form factor as standard with no cases required. Boasting up to 4K recording, it's a great option on the premium end of the market. Here's our Hero5 Session review.... By Kris Hodgson
When we first received the GoPro Hero5 Session we had a look at the overall package, what was on offer and general uses. Now we’ll have a look at everything in practice.
First up we’ve also got a variety of adhesive mounts for flag and curved surfaces, plus the standard mount, a chest mount, ‘bar mounts and the Session can be mounted to the provided backpack.
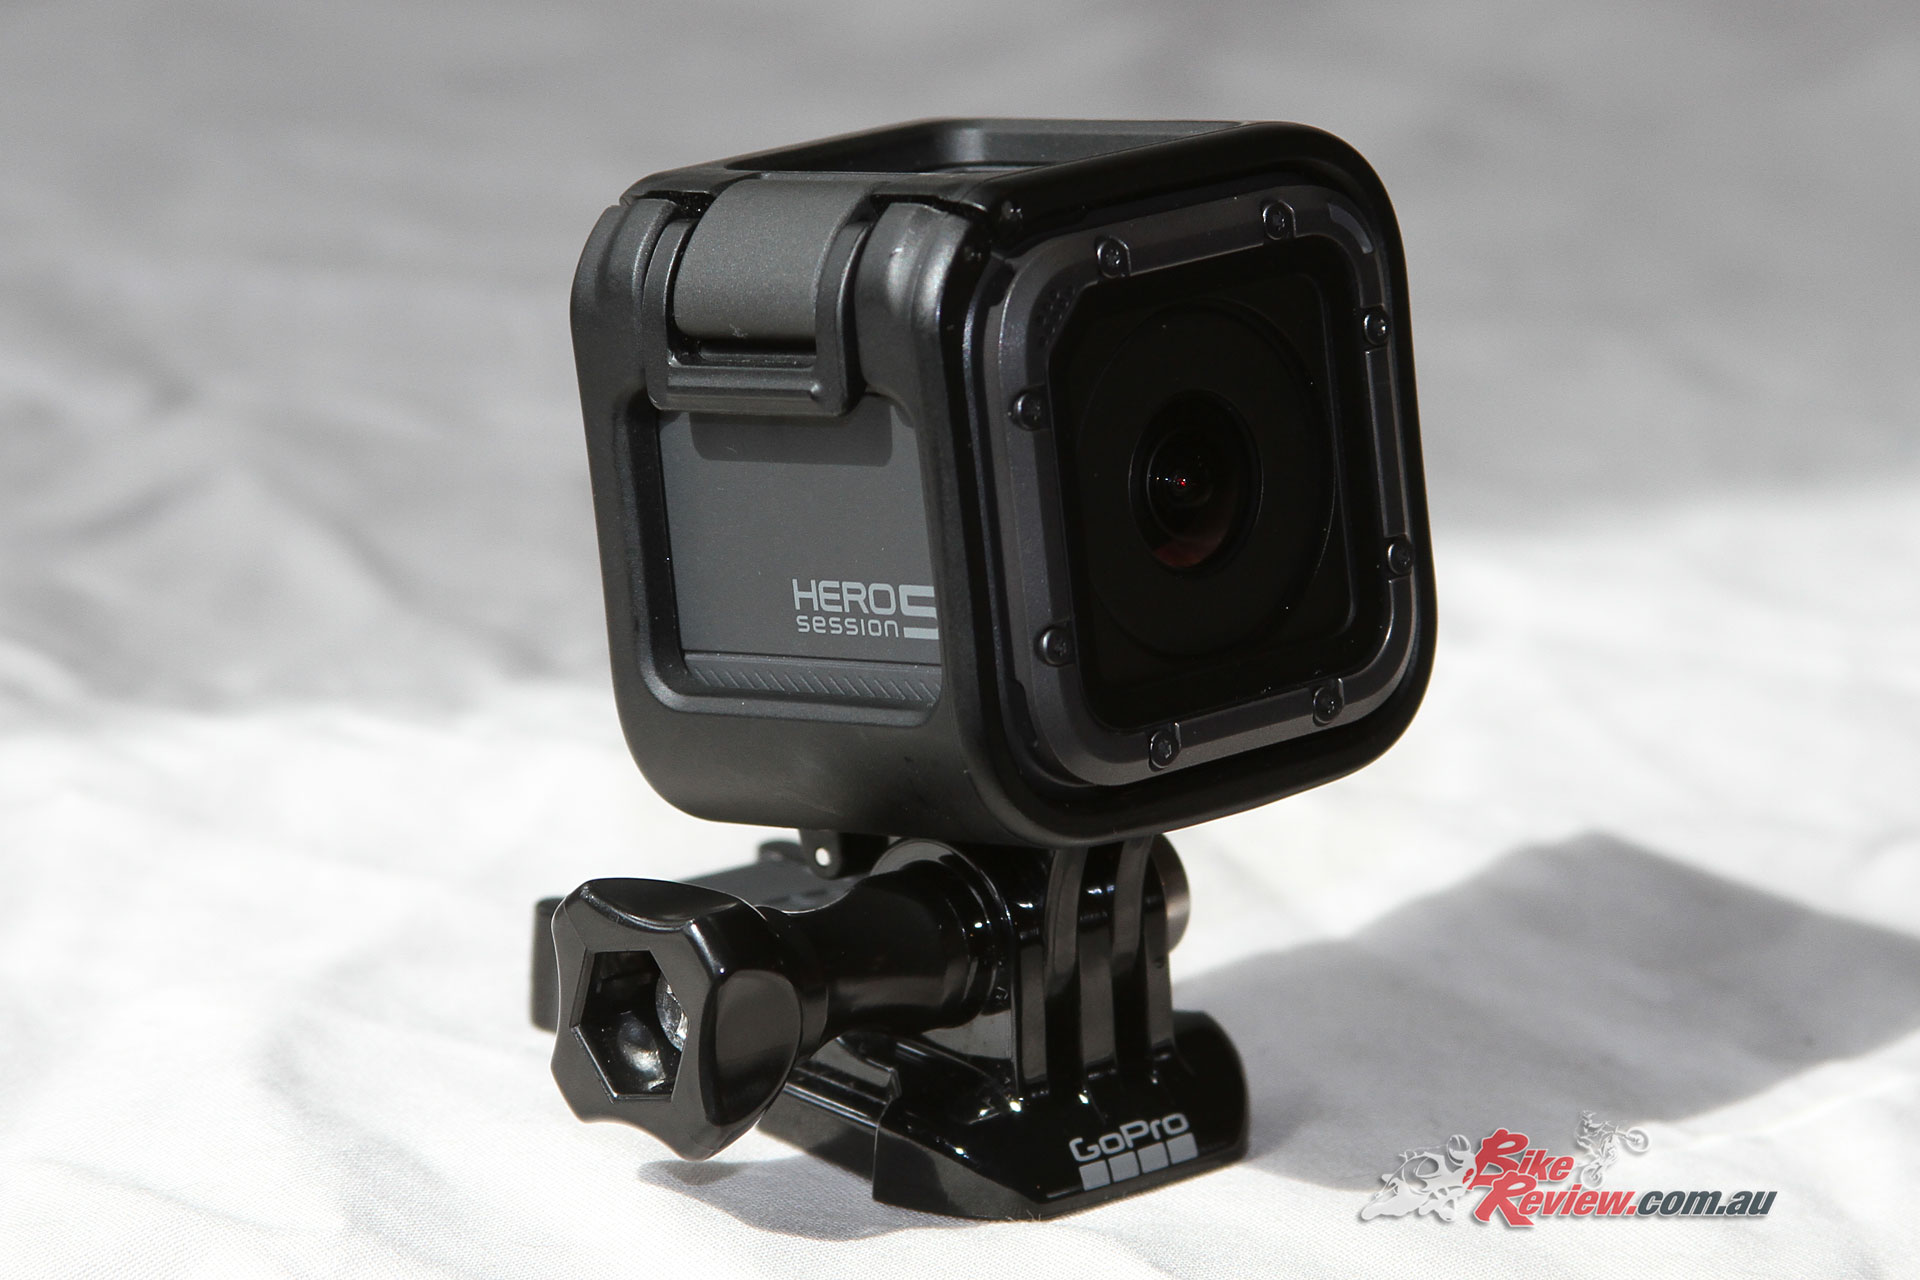
The high profile mounting cage on the Hero5 Session isn’t ideal for helmet mounting, if you’re after that real PoV perspective that includes the bike dash
One of the issues with the standard cradle is it is quite high profile, and only having the single axis of adjustment we ended up mounting it to the top of a helmet. This gives you the adjustability to change the field of vision as needed, but it’s just a poor place for it. You can get great vision down the road, and ahead of where you are riding, but the motorcycle dash, bars and mirrors are generally not visible.
You can switch to the ultra-wide view to somewhat offset this, but you will notice somewhat of a fish-eye effect, which probably isn’t a huge concern normally, and this is more ideal for video where you’re capturing the surroundings, particularly picturesque touring and similar, more than your specific riding.
It may be ideal for off-road dirt biking or similar, where it’s more about the terrain and what you’re doing, however on a road bike, especially when you want the bike itself to be visible, it was something we needed to work on with our mounting position. Also if you find yourself on the freeway the extra wind drag from the camera off the top of the helmet is noticeable if you’re doing reasonable distances – like 100+km at over 100km/h.
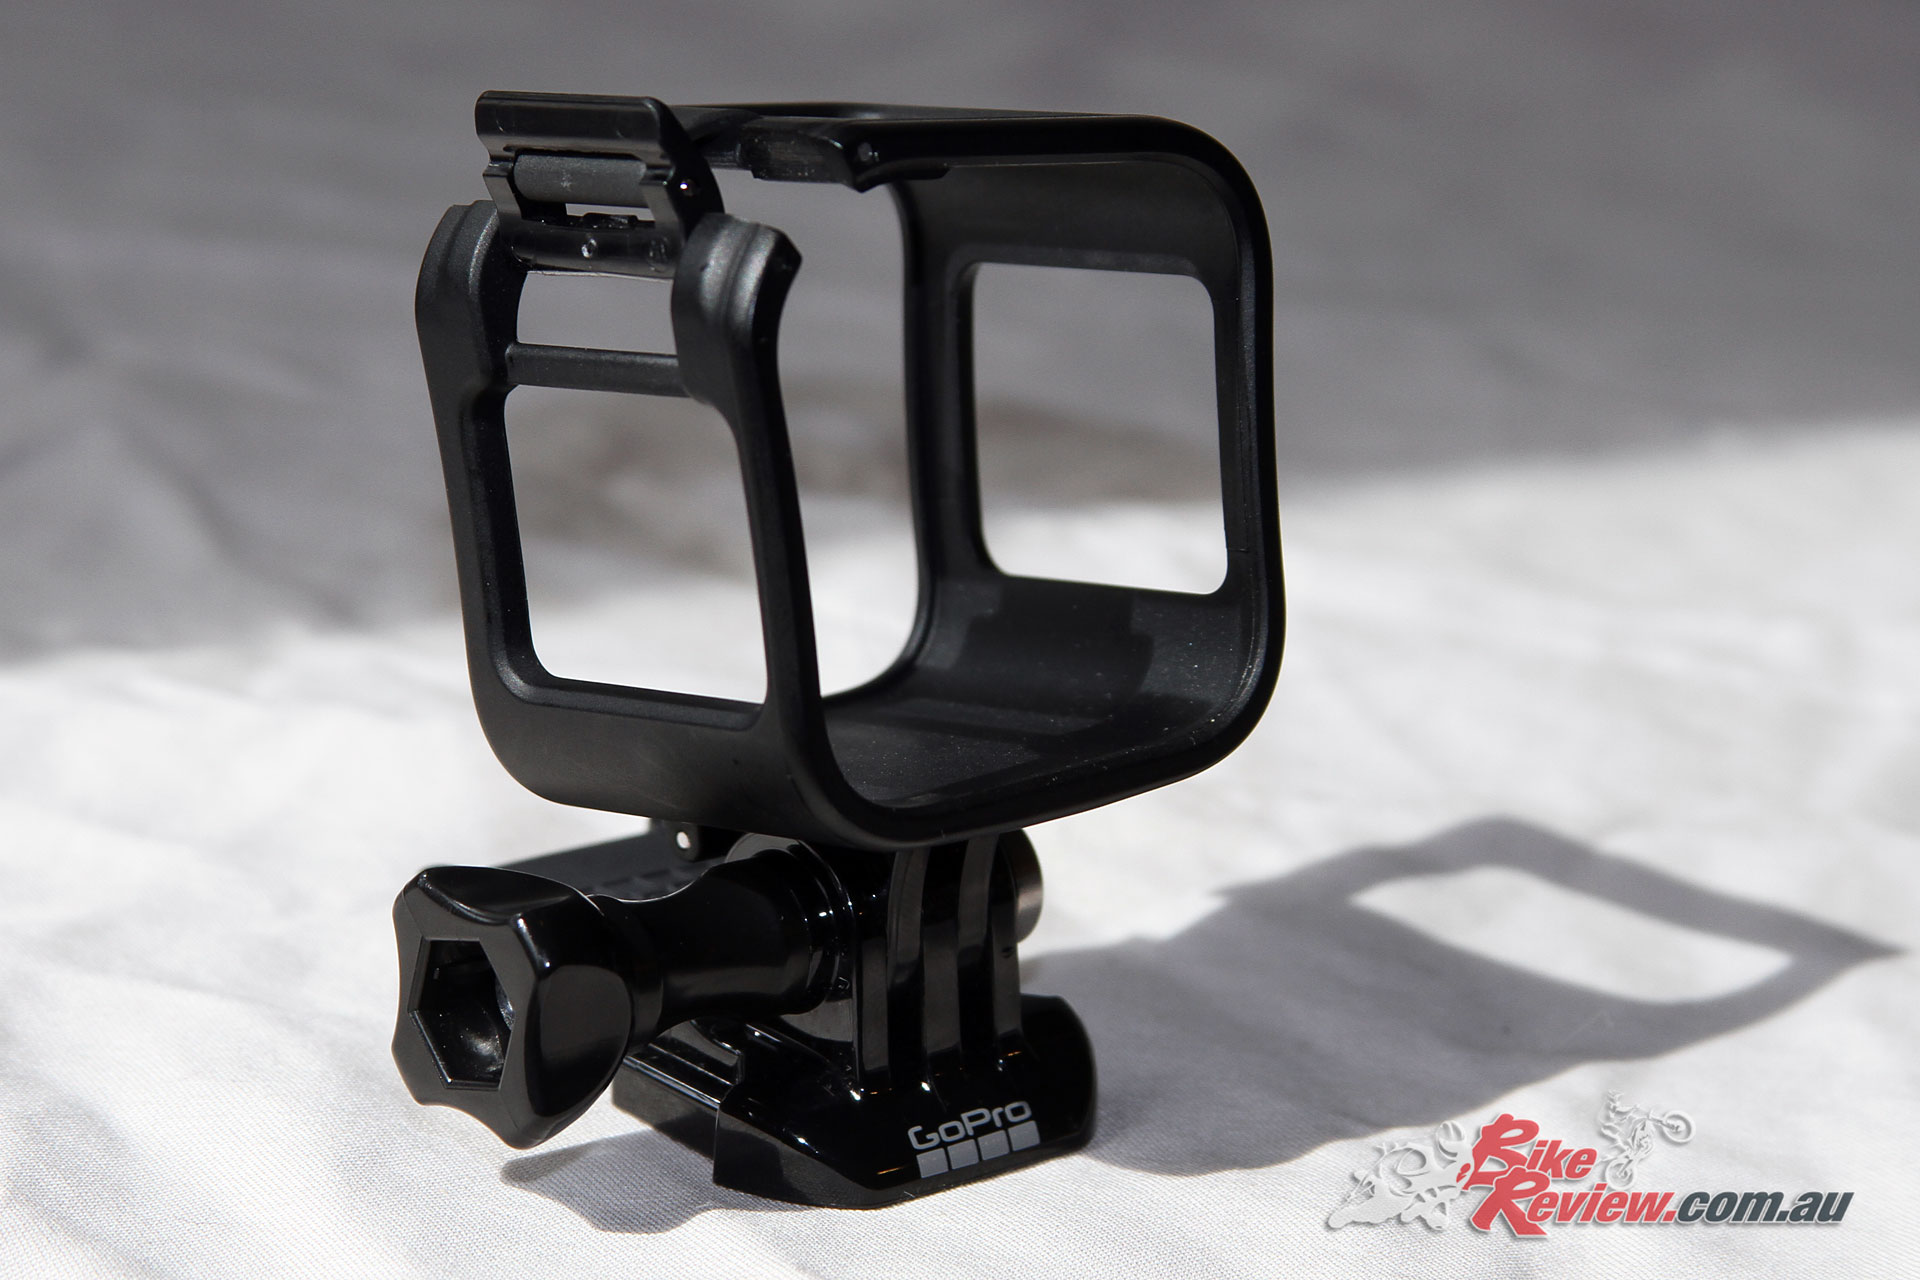
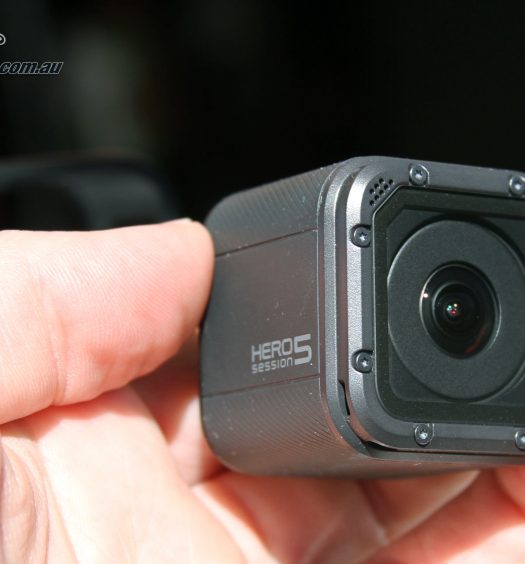
The regular mount offers a single axis of adjustability, while you can turn the camera within the cage. It will auto-right itself if upside down.
In comparison, with the adhesive mounts on a bike, it gives plenty of opportunity for interesting angles and points of view, and the higher profile cradle is not an issue. Remembering you can of course change the orientation of the camera within the cradle if you did not want the typical landscape scene.
If you do accidentally place the Session in the cradle upside down (which does block the record button), the camera will automatically flip the footage, ensure you don’t have to try and do that yourself with the video file.

Now where the Hero5 Session is a true winner is for the quality of the footage, we’ve been running an older action camera which does the job, but the difference in video quality and audio as well is extreme, with the Session offering exceptionally clear, sharp video.
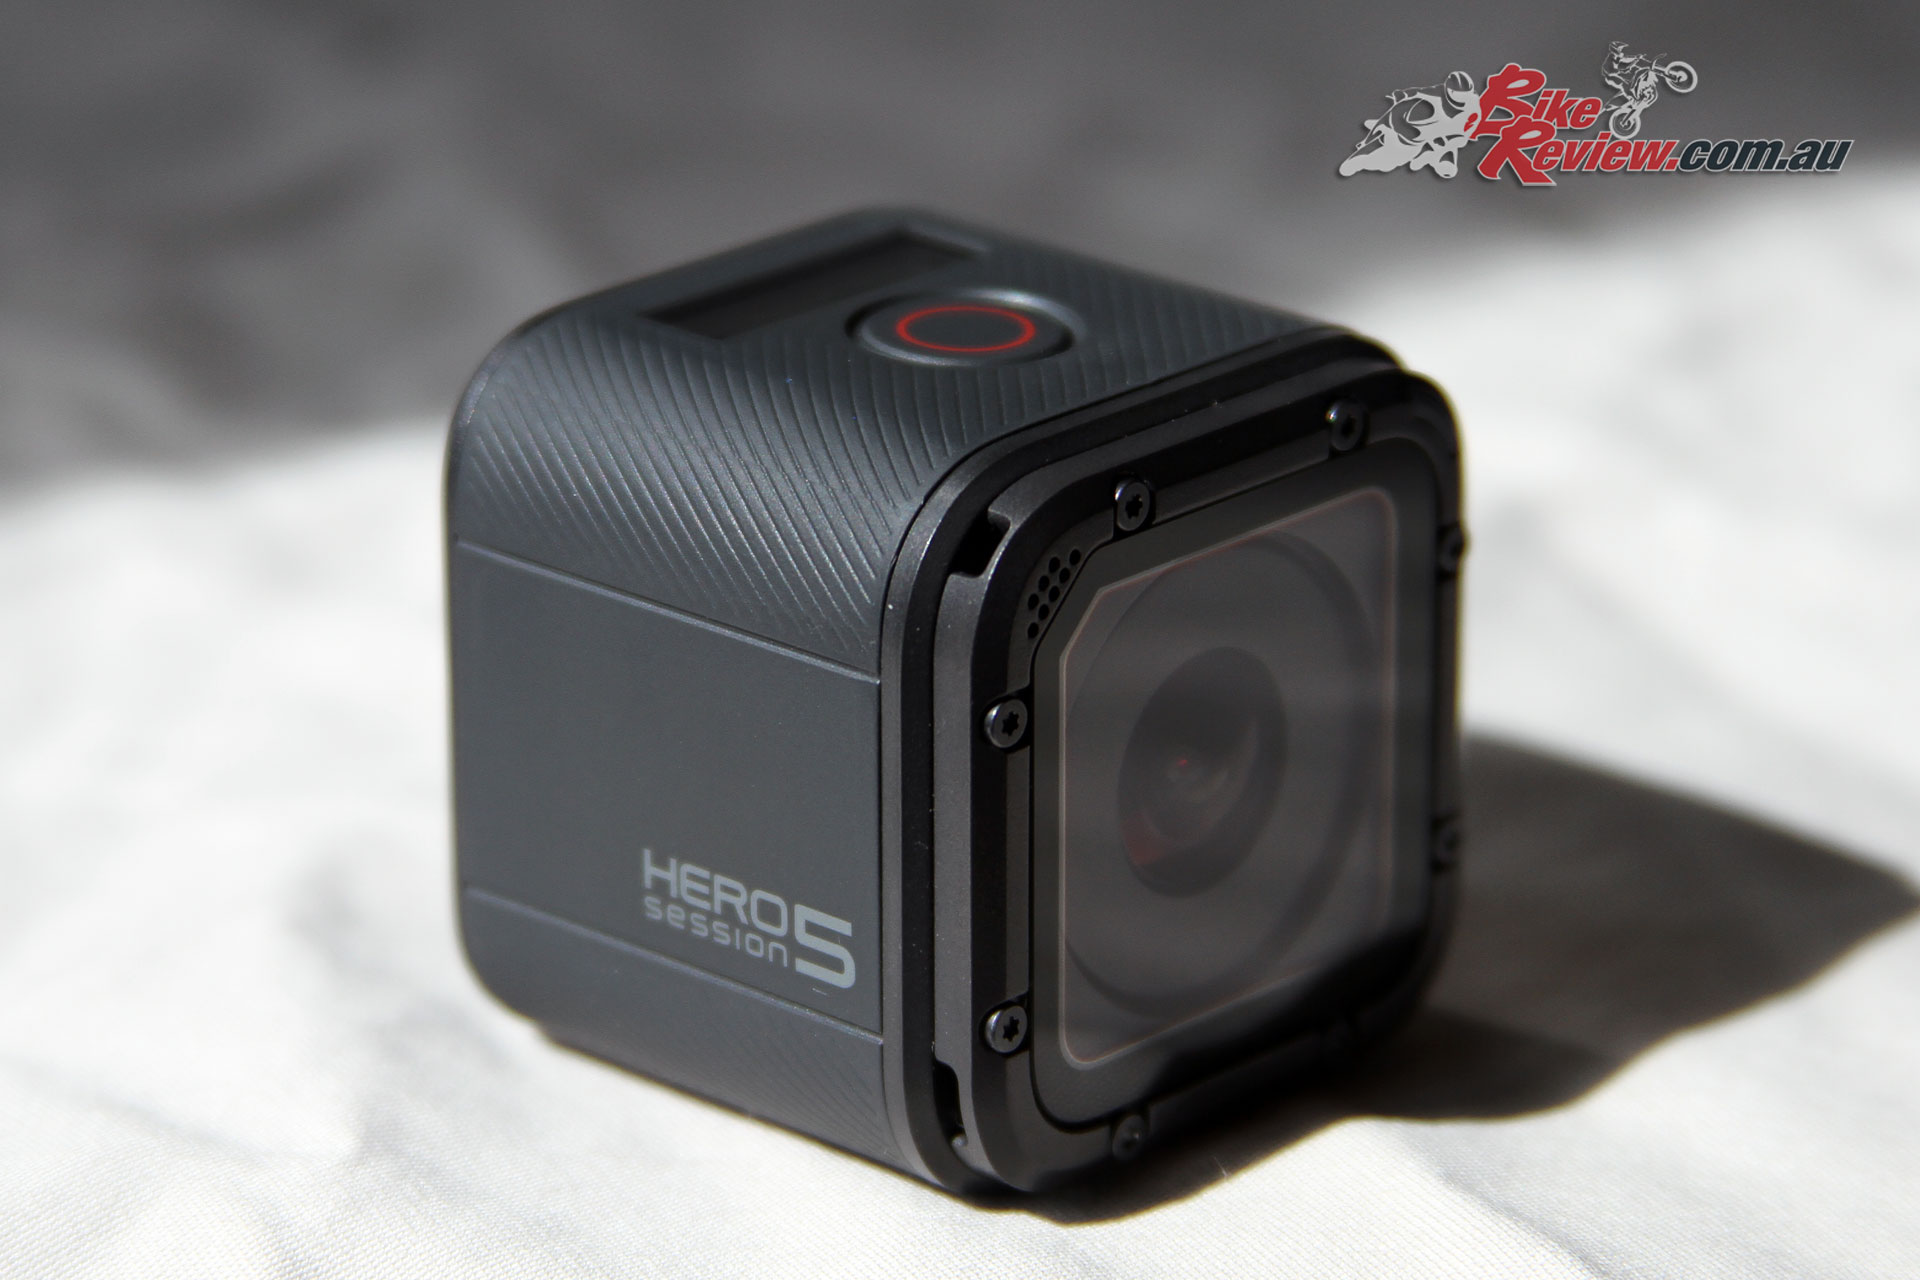
The Hero5 Session really proves its worth when it comes to video quality, it is just exceptional…
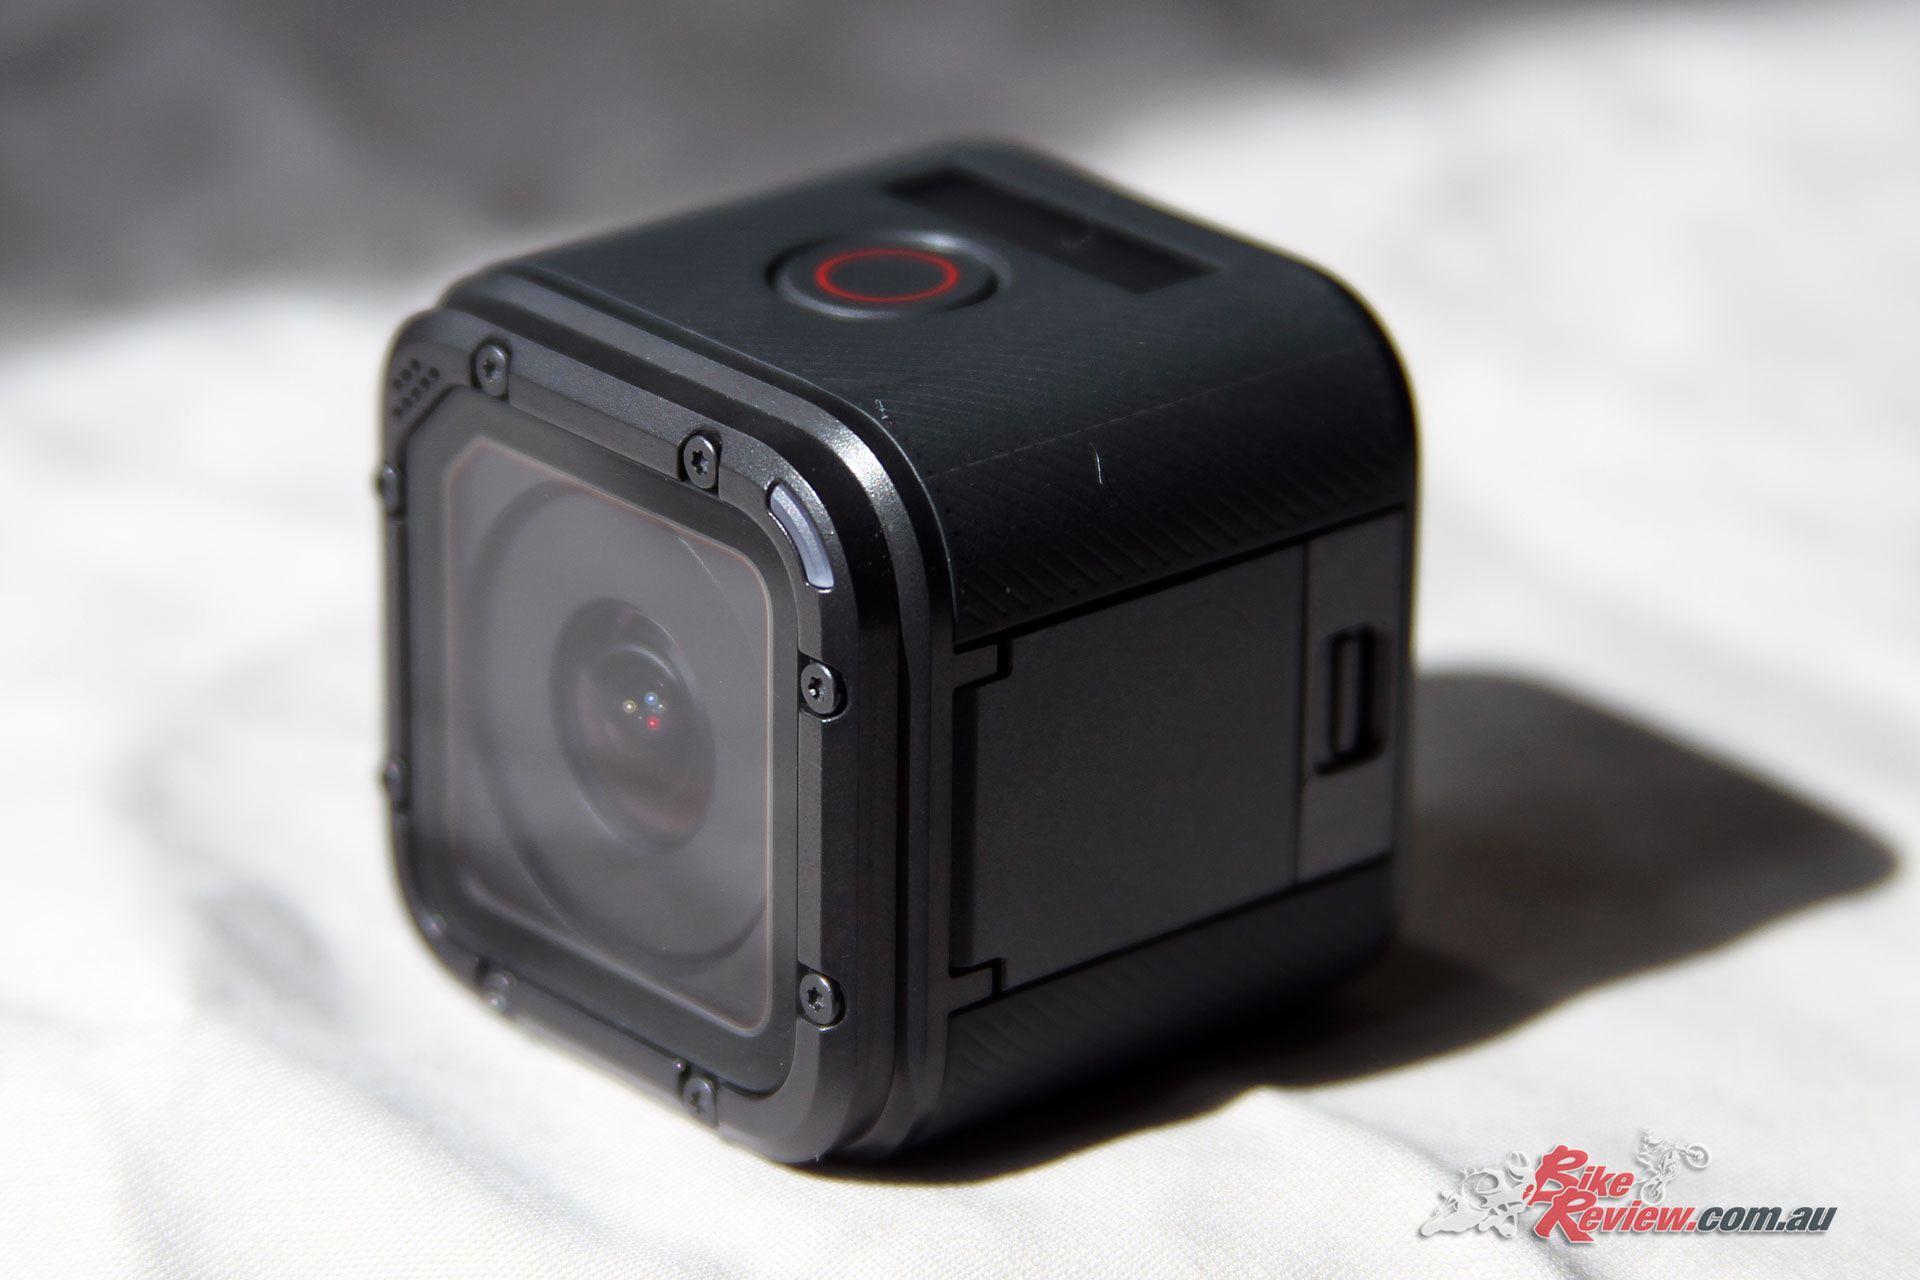
Footage in full definition is (1920 x 1080) is recorded in 15 minute, 4gb files, which means your regular 16gb MicroSD will net you about an hour’s footage. Keep in mind it’ll continuously record, but you’ll get the files split that way. For best efficiency make sure you’re using a 32g MicroSd, preferably a decent brand and speed, that way it’ll match battery life.
There’s also a huge range of recording options beyond what we use day to day, from maxing out at 4K footage, 30, 60 and 90fps, to offering different field of view options, which offers further flexibility and options when you’re trying to record your footage or create a story.
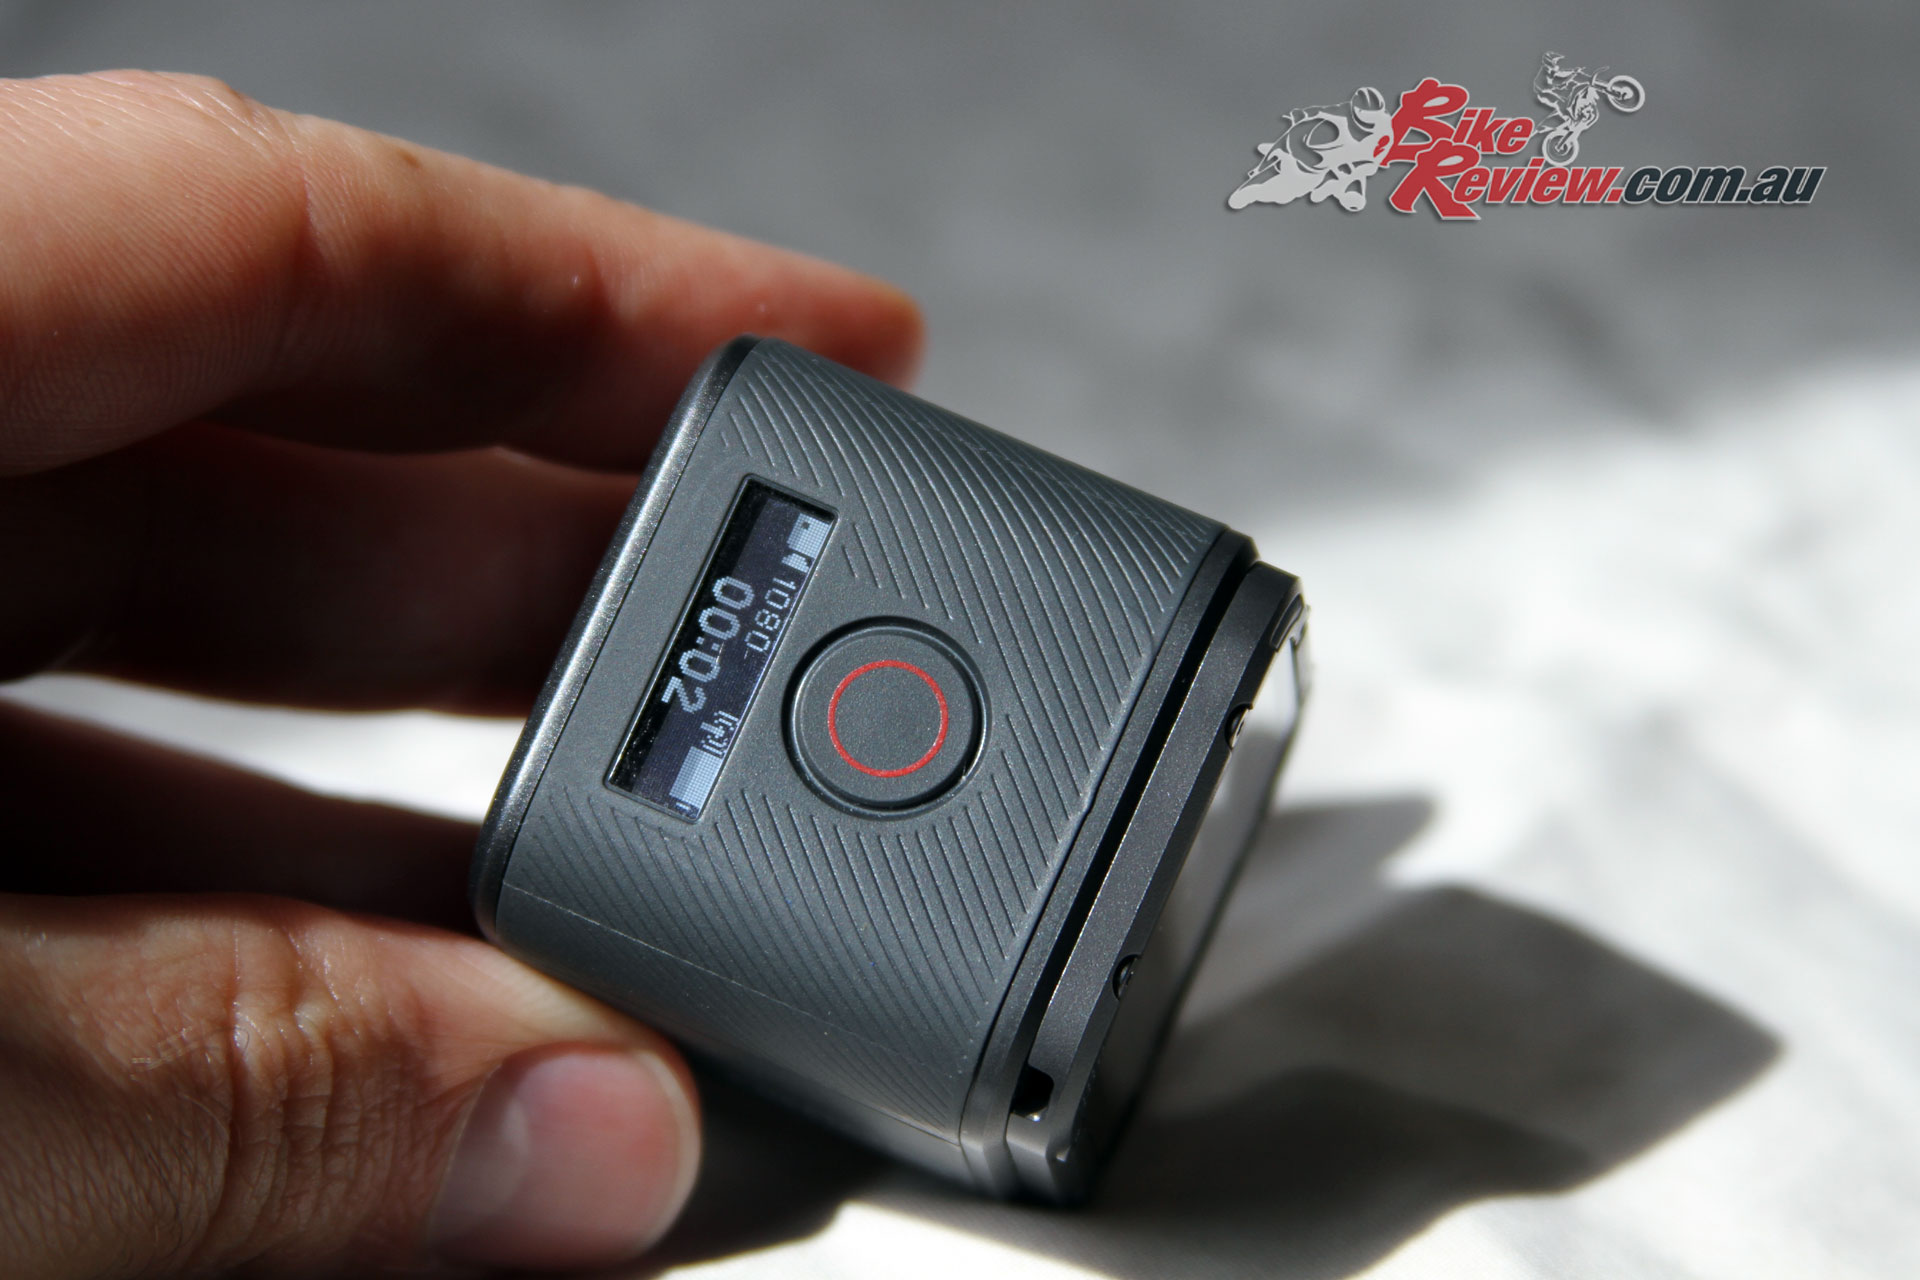
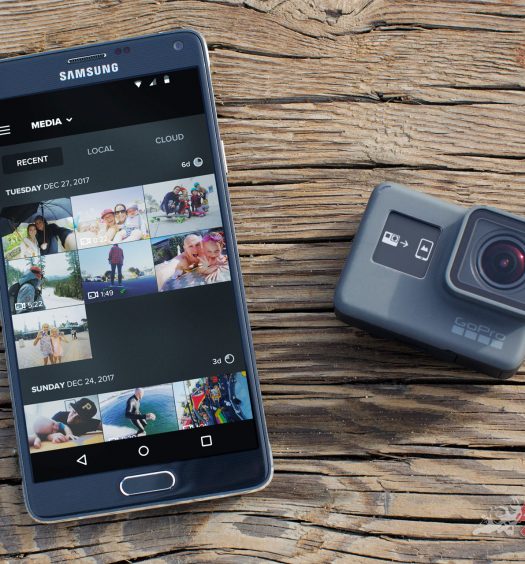
Settings are visible on the display but edited via syncing your phone.
The camera can be charged from a computer USB port, as long as you’ve got the right cable with you, which isn’t a standard USB as you’ll find on many Android phones, instead it’s a USB Type C, so keep this in mind if you’re buying a spare or replacement. You can also carry a battery pack that you’d charge a phone or similar with, and recharge the camera on the run in this fashion, which is really useful if you can put the camera away for an hour to charge between uses, even on the move.
There’s no laser-line or similar for the Hero5 Session but it will sync with your phone so you can preview the camera display and angle, which is a priceless feature for making sure you’ve got everything set up right. In fact you can use you mobile to toggle the recording mode on and off, so if you need to do a few takes, or converse space it’s super easy.
Overall we highly recommend the Hero5 Session, it’s not just an action-cam, it’s more of an all-rounder that becomes super-capable with the accessories available for different uses.
Via the phone sync app you also have full control of the phones many features, from the video quality and still image quality, through to whether image stabilisation is turned on, whether it’ll beep when you turn the camera on and a number of other features.
While sycning with the phone does increase battery drain it offers plenty of flexibility, such as remotely turning recording on, and making sure you’re getting the right point of view for your footage, and that’s one of the cooler features.
So far we have been really happy with the camera, and will have a video overview of it published shortly.
The Verdict | Product Review: GoPro Hero5 Session
Awesome
The GoPro Hero5 Session offers many of the benefits of the Hero5 but in a compact, rugged and waterproof package that is ideal for action sports and filming the tough stuff, where you don’t want to be worrying about your gear.