
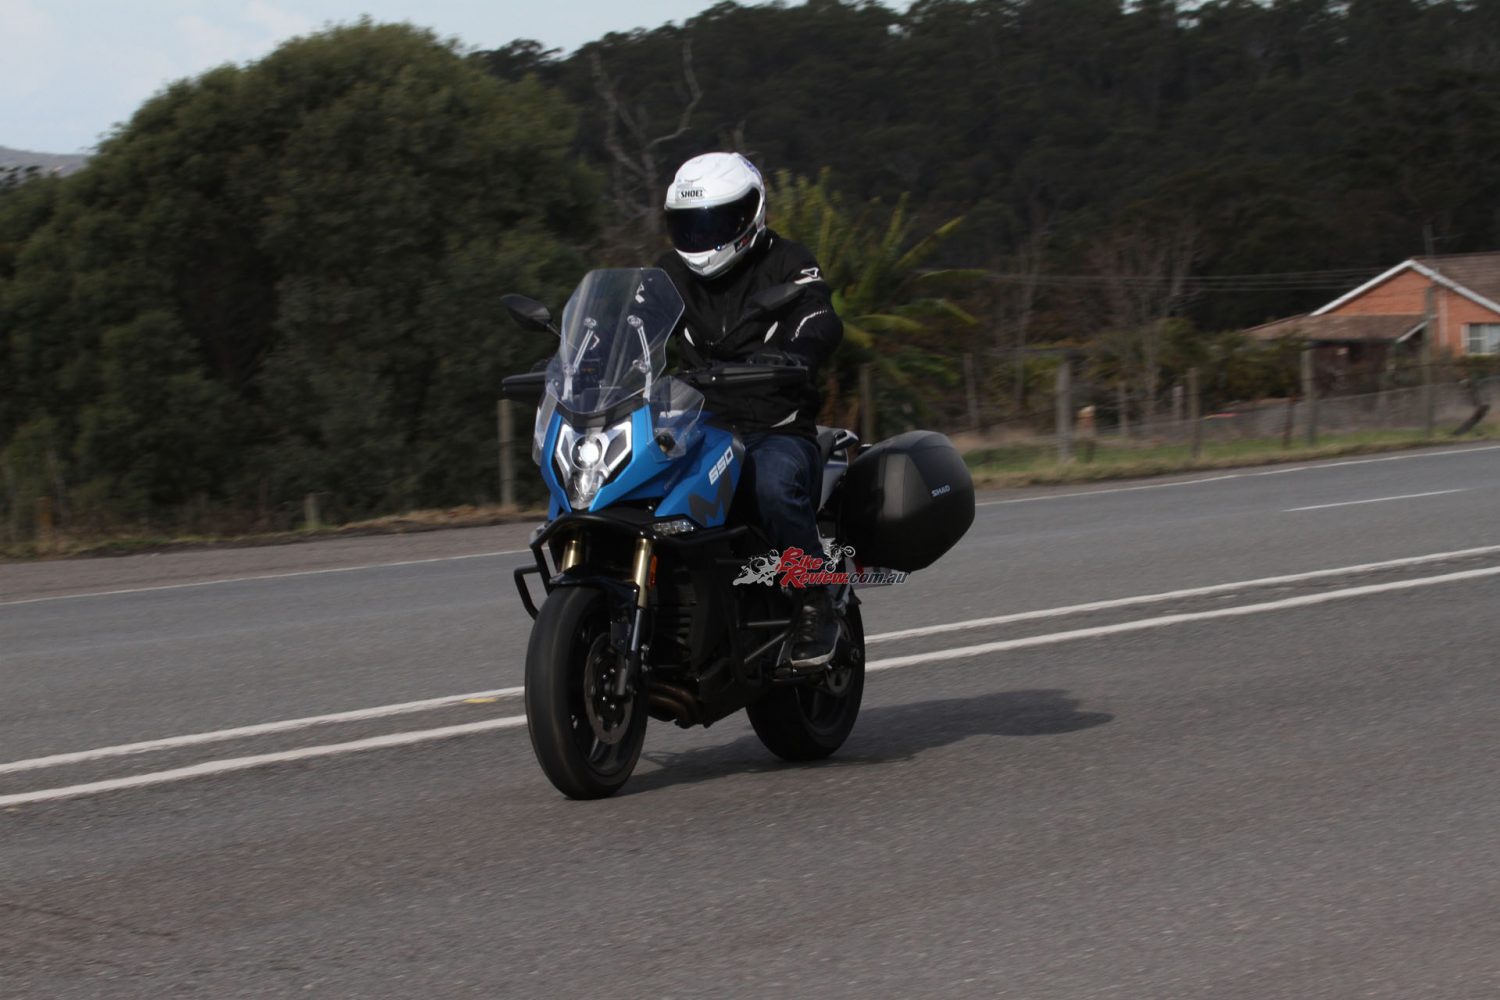
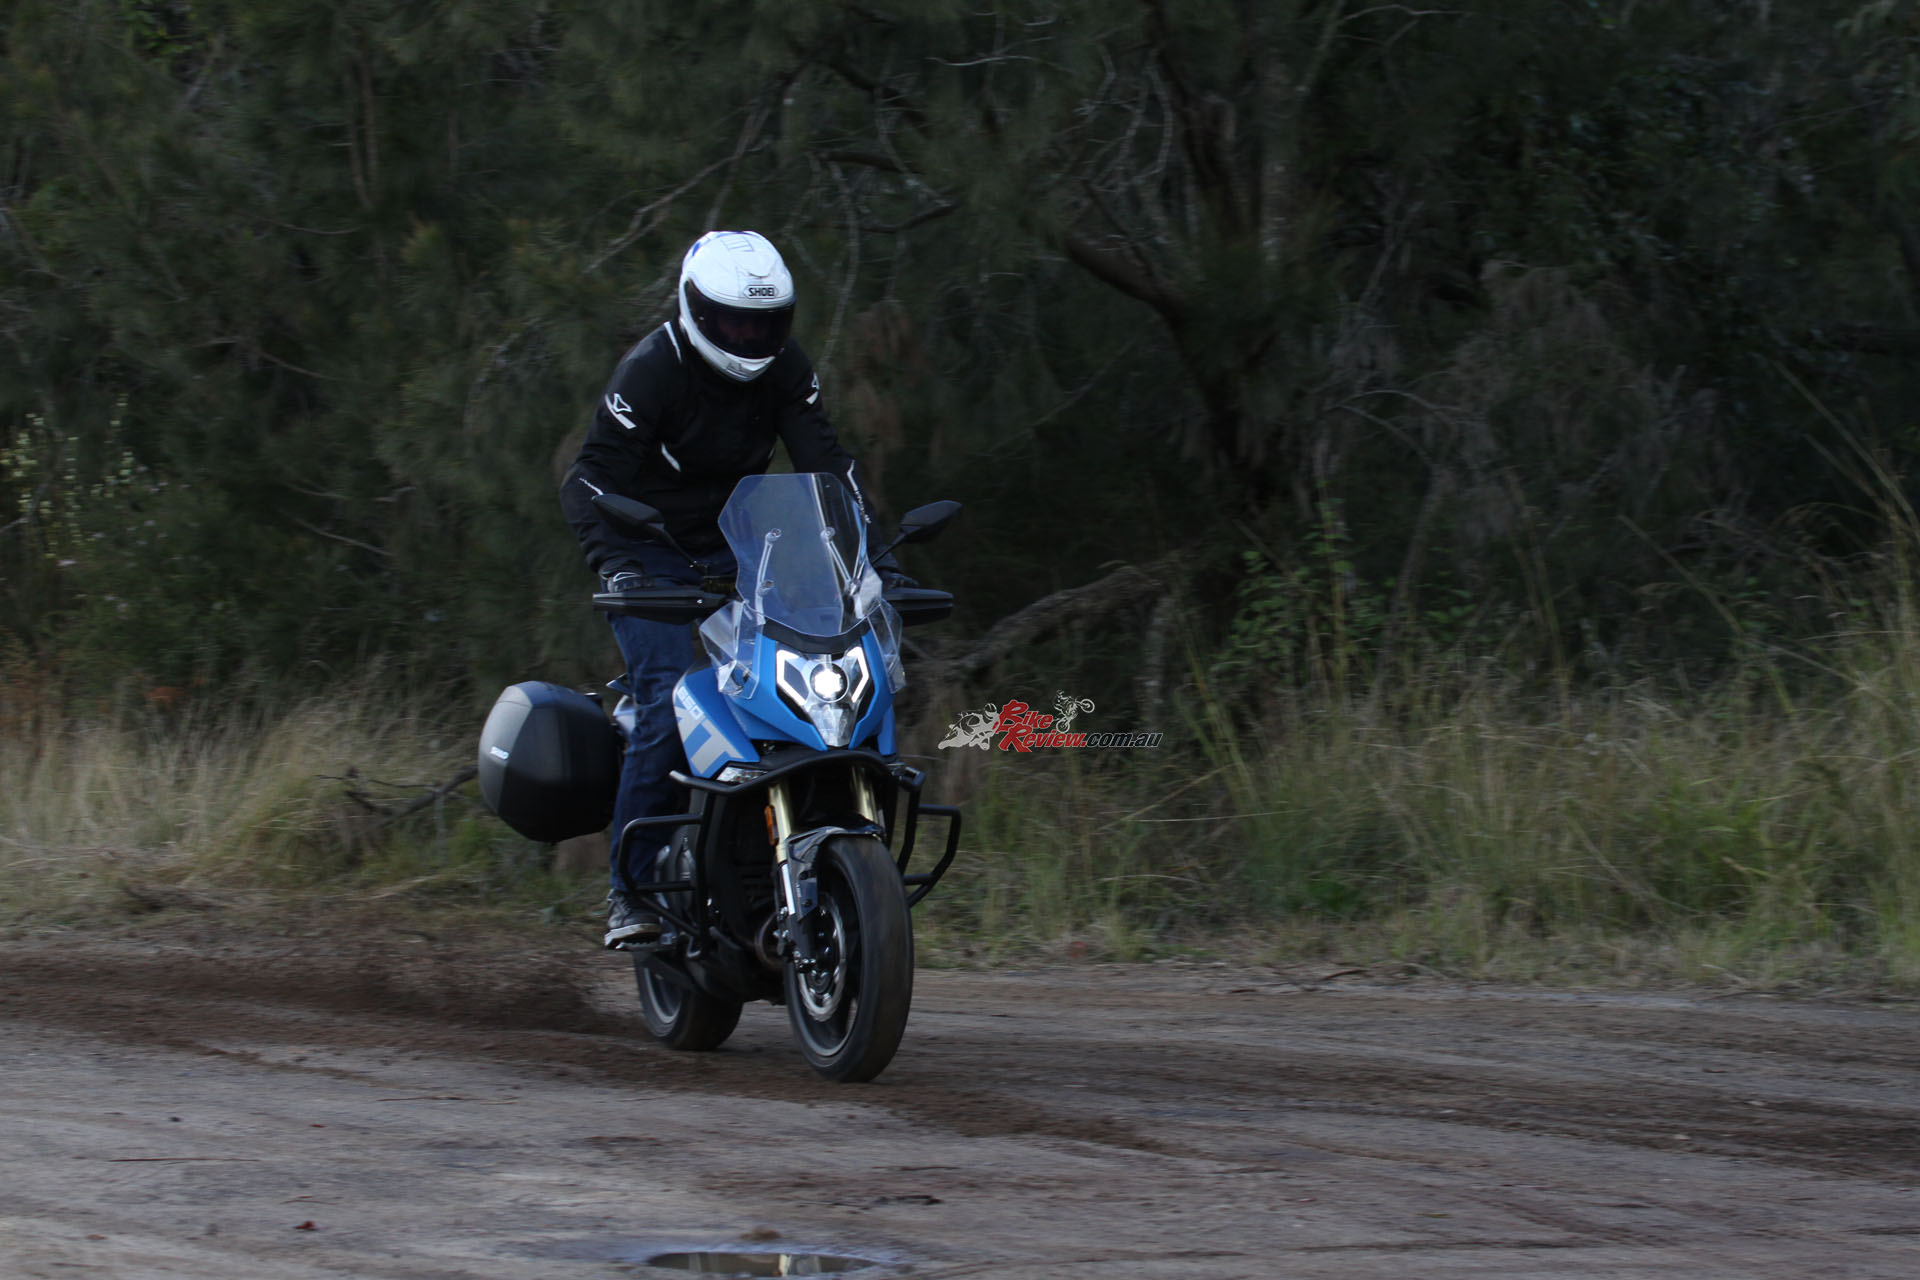
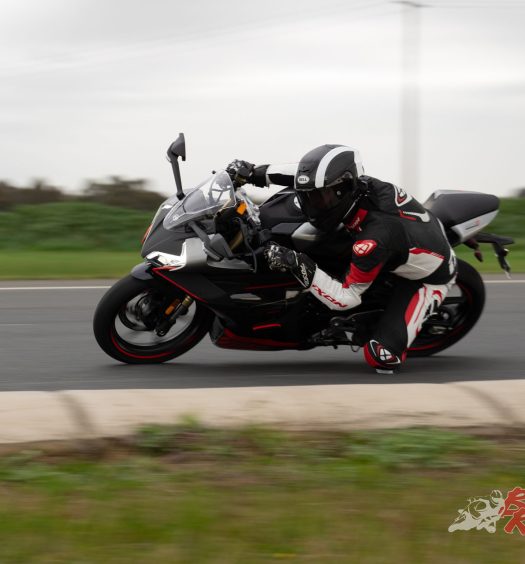
Nick has been stuck in lockdown for the past month with minimal opportunity to take our 650MT for a spin aside from general use, so he got some new parts to throw on the long-termer...
Since we’ve last checked in, I’ve honestly put less than 500km on the 650MT and it’s killing me! The recent lockdowns have left me stuck inside unable to work or head to Uni, the poor bike is in the basement garage just screaming to be ridden more than the 10km radius.
Nick hasn’t had to chance to ride the 650MT much due to NSW lockdown, but he had time to chuck on some new parts!
While I haven’t had much of a chance to get out, bar one solid ride with Jeff up north testing, I have been able to get my hands on a couple of CFMOTO genuine accessories. I’ve fitted the SHAD panniers and the Unifilter airfilter, here’s what I’ve got to say about installation and functionality.
Check out all our updates on Nick’s CFMOTO 650MT here…
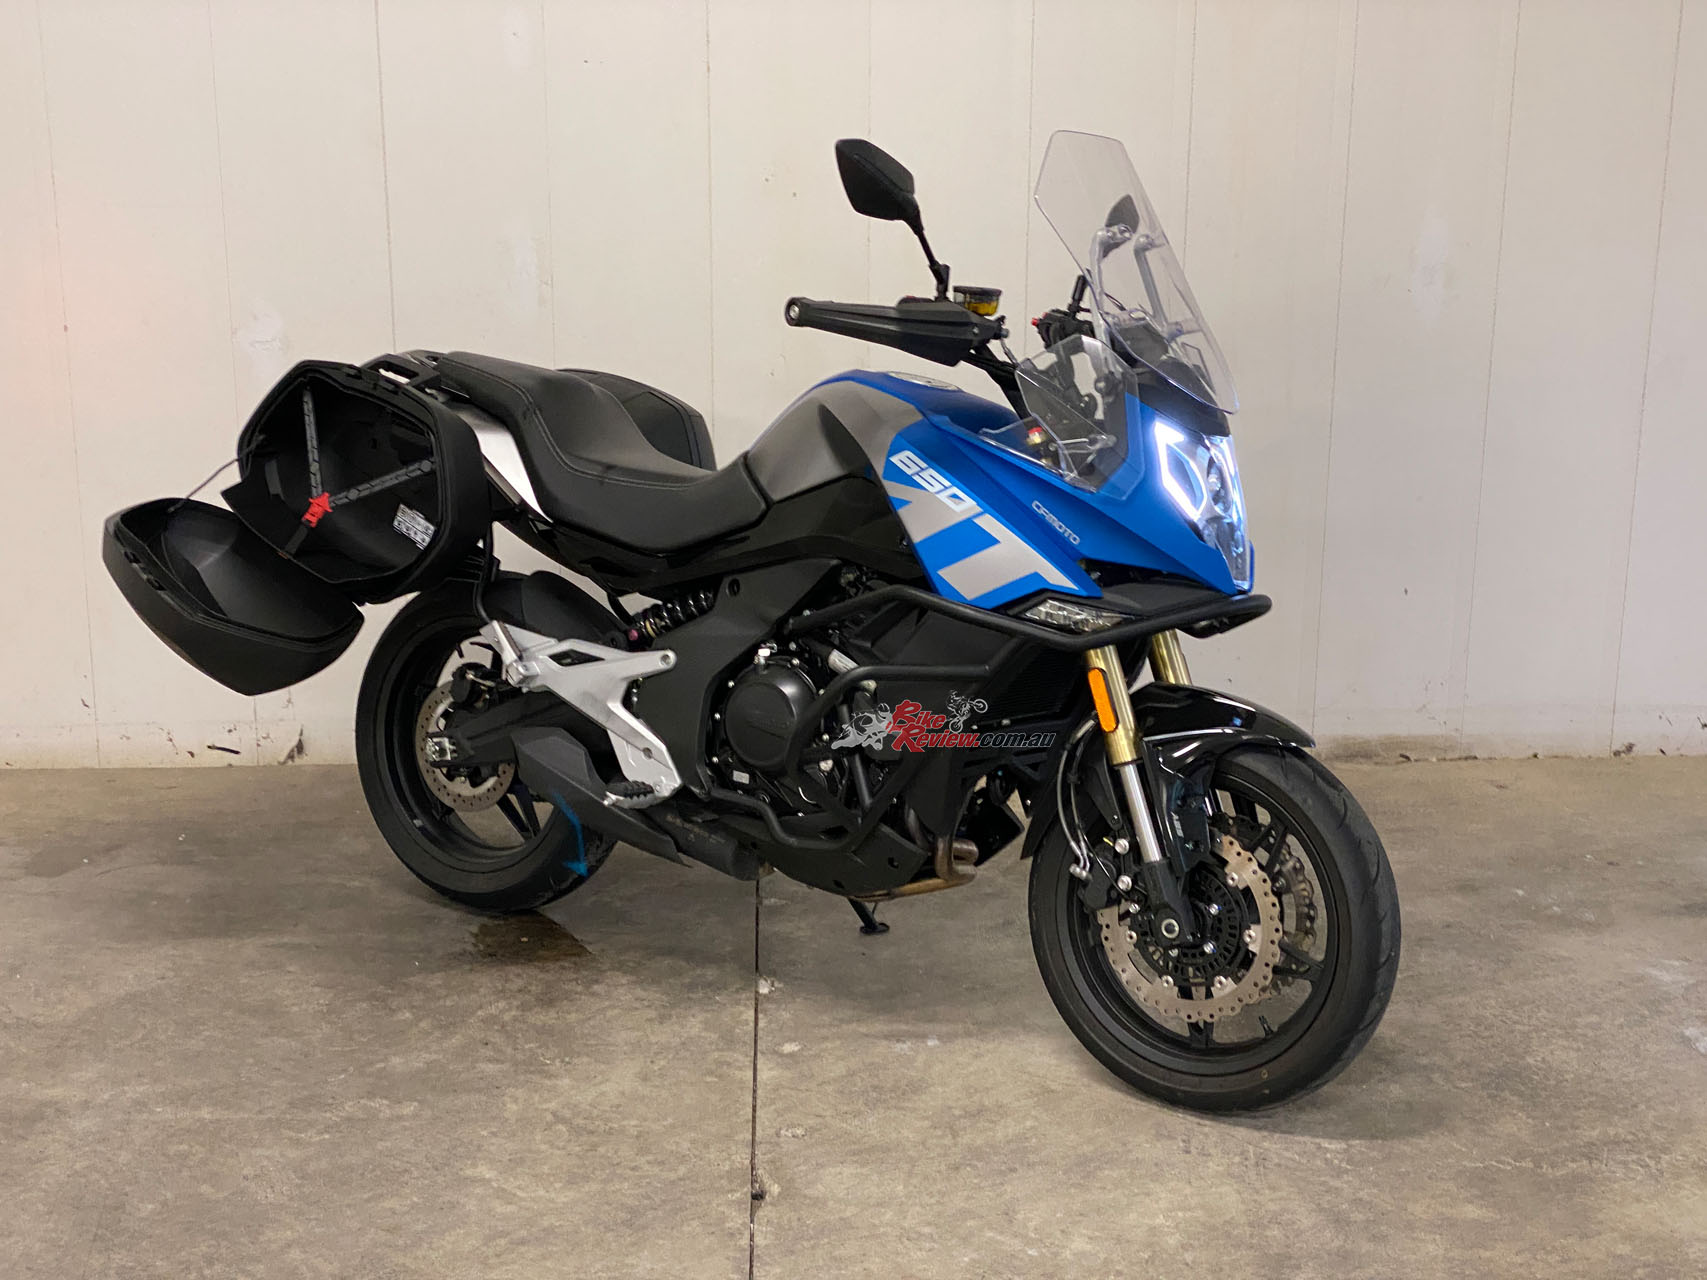
After opening the box for the SHAD panniers (available here for $729 plus $99 for the mounting kit here) I was certain they’d left out a few parts, there weren’t any drilling diagrams, extra parts lists, or anything. There were two mounting racks, a bag of bolts, and the actual panniers. I was used to having to pull half the bike apart, measure and drill on my CBR500RA but this was damn simple, and simple is what I like!
Simple installation made it easy to add extra storage on the 650MT with the SHAD Panniers.
Honestly, the installation took less than 10 minutes with me and the misses. A socket set and the supplied Allen key were all that was required and nothing had to be removed from the bike. As you can see below, the two containers mount to a bar that matches the crash bars across the rest of the bike. These bars mount into open female threads that line up perfectly with the supplied parts.


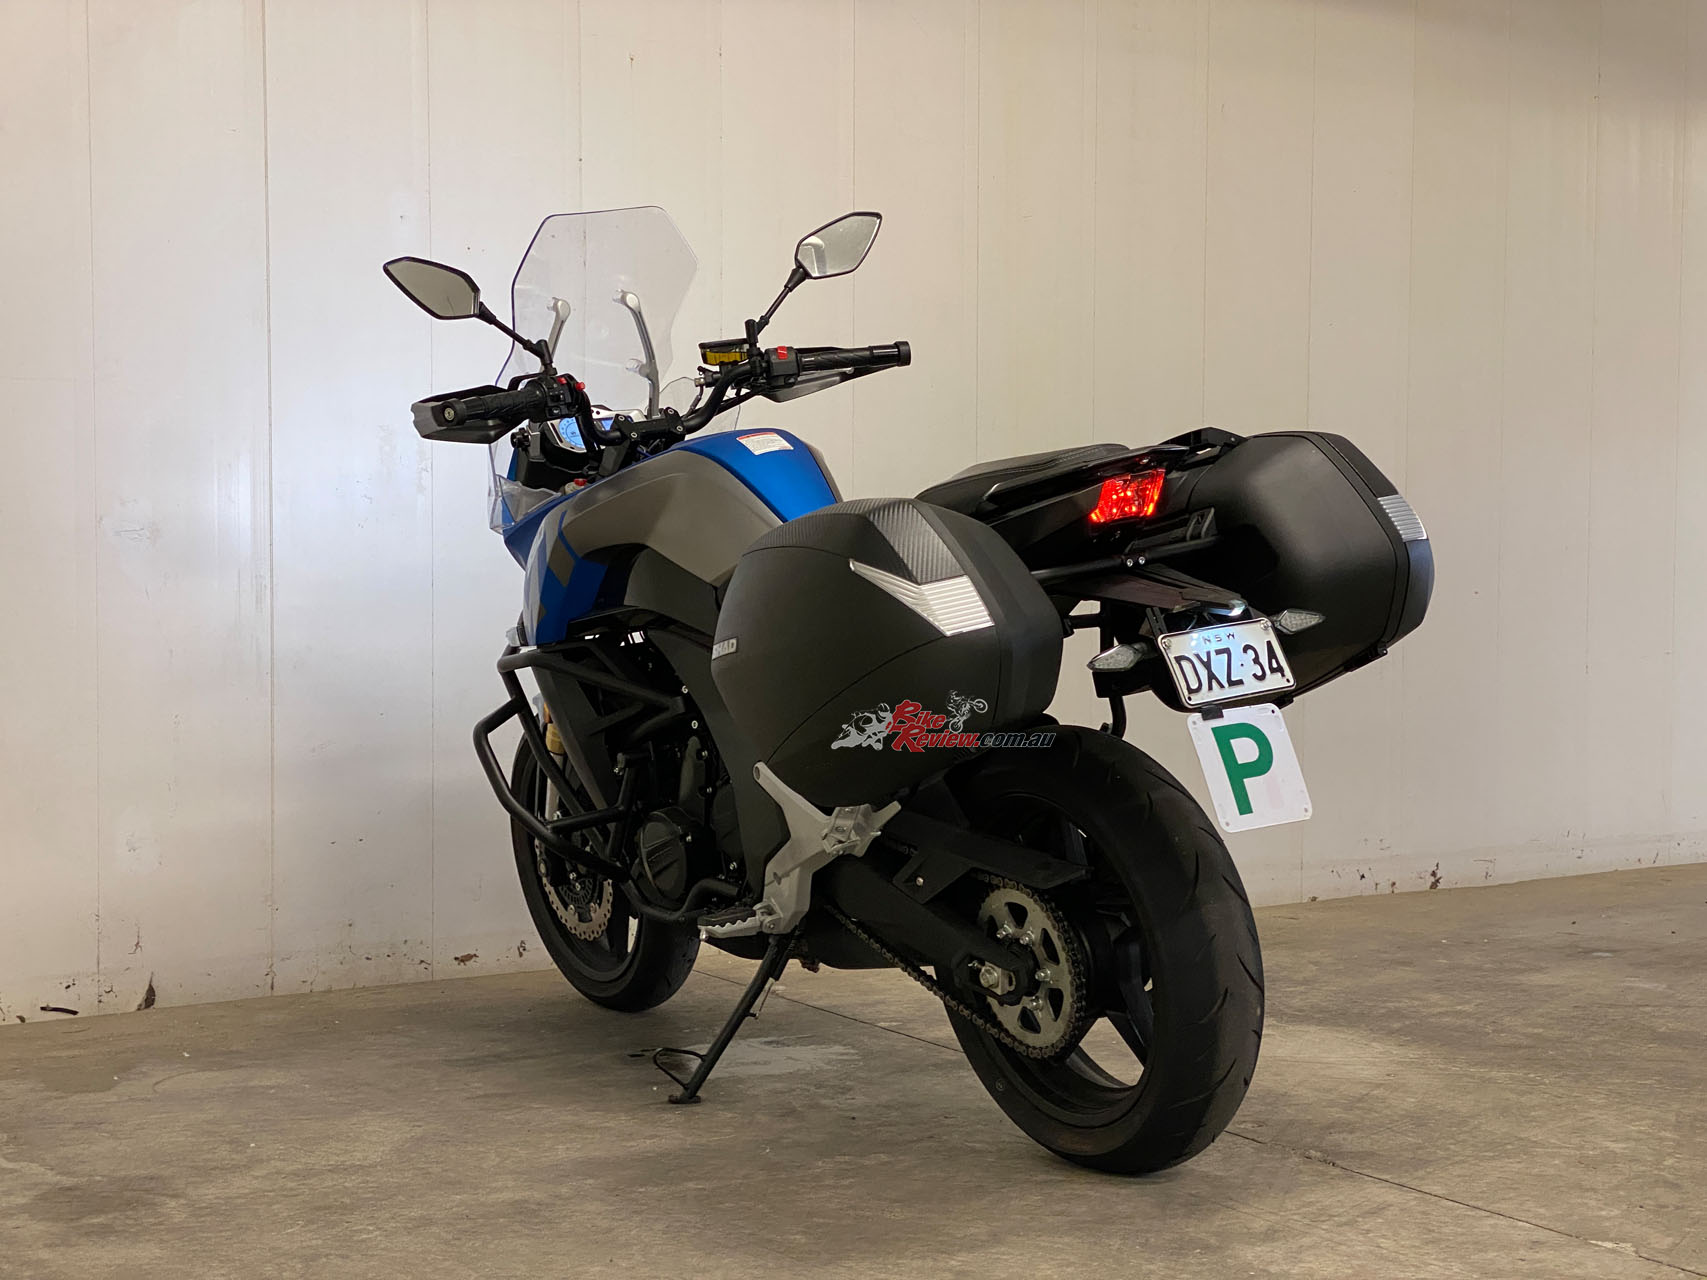
The support bars fit in underneath the rear cowling and in behind the footpeg mount. The bolts were a little fiddly but nothing to get too frustrated with. The battery ratchet spanner courtesy of ToolPro made short work of both sides.


Once both sides had been bolted in behind the footpegs and underneath the rear fairing, you can see where they meet together just above the number plate. Once again, the two holes lined up perfectly and there was no screwing around loosening one side while forcing the other to line up.
 I was tempted to throw Loctite on the bolts, but I didn’t have any and I was determined to get them on ASAP, it’ll be interesting to see how they hold up over the coming months fully loaded. Again, not a big issue but something worth mentioning.


SHAD is renowned for quality products, and they certainly haven’t disappointed with these. The attachment mechanism was faultless and simply required the key to unlock the handle and the lever-action opened the mount and they slipped faultlessly over the support bars. Once they were on, snap the lever shut and they’re locked on tight.


The panniers have plenty of space as well as a little retention clip for anything you’re not wanting to slide around. My Shoei GT-Air II fit snug inside and it stopped me from having to carry it around all day at uni. SHAD gives you an extra key I’ve left in my desk drawer and a spare barrel for any other luggage options you’re opting for. The amount of stuff you can fit in these is incredible and has saved my back, I’ve been able to ditch the backpack and jam most of it inside the panniers.
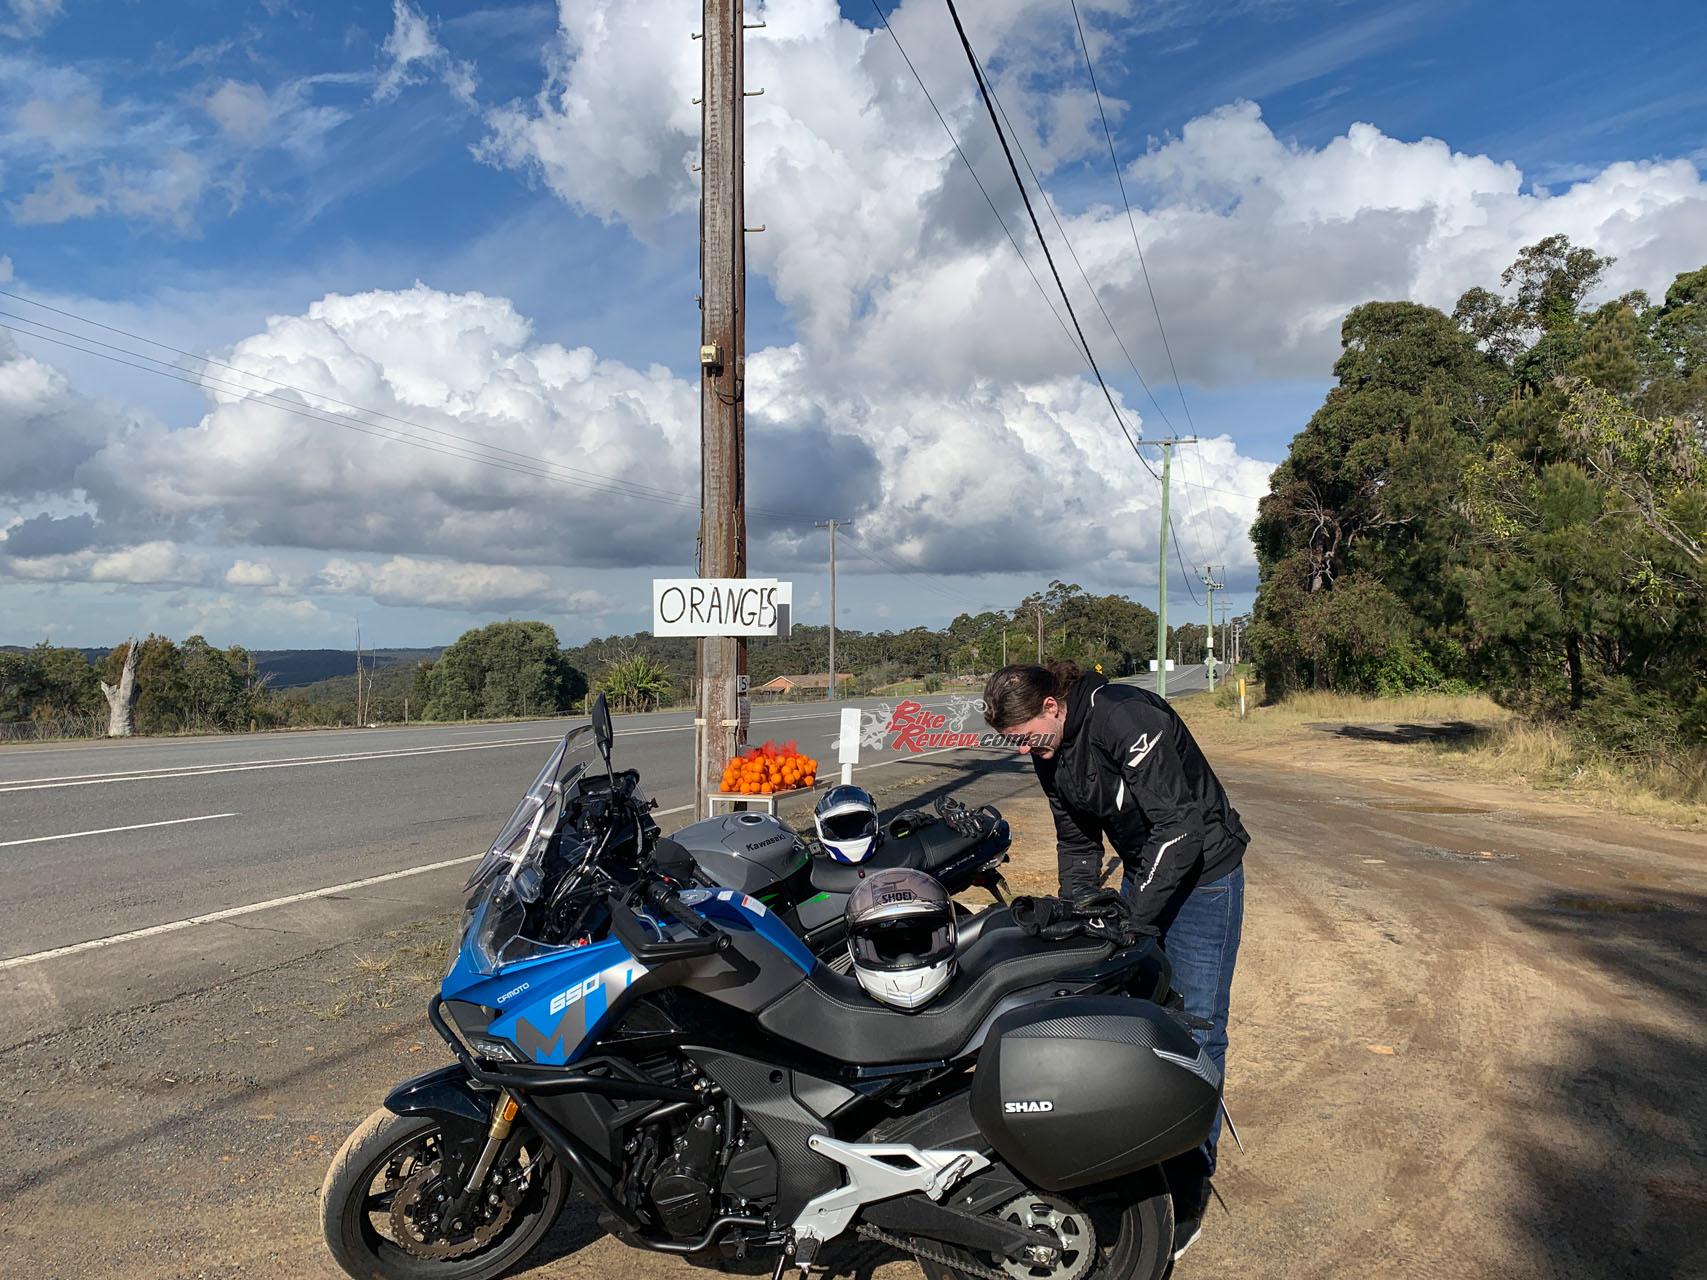
“ My Shoei GT-Air II fit snug inside and it stopped me from having to carry it around all day at uni.”
The Unifilter (available here for $35 RRP) fitment was a job I had put off for a week or two as I’d thought it was going to be a quick job. I was thoroughly disappointed when I removed the seat and there was no airbox in sight. After scoping around the bike for a while I’d come to terms with the fact that it was under the tank and I was not prepared to remove any fairings on a brand-new bike without the proper tools, that is, a six-pack of Pure Blonde and my trusty battery ratchet and battery driver.

I was surprised with how easy the side fairing came off; it was a couple of hex head bolts. The frustrating part was removing the lock barrel from the fairing which was mounted with 3 Phillips head screws, probably an easier way but I didn’t have a manual.


Once the side fairing is removed, you have to pull the tank fairing off. The entire side fairing is held in using a plastic push clip right at the front of the bike above the indicators and a couple of rubber grommets. Also, some double-sided Velcro stickers. After pulling on them harder than I thought you should, they popped off. With both sides off, it was time to figure out how I could get the tank off.


It’s easy to unclip the quick-release fuel line connector and wiring plug to place the tank aside but also possible to have someone hold the tank while you swap the filters. I could then remove the Phillips head screw holding the filter panel in the airbox and slide out the entire assembly. The filter itself wasn’t particularly difficult to replace, the backing pops out and the foam slides out like any other filter.


The Unifilter was not oiled in the package but Castrol sorted us out with some foam filter oil. A couple of coats either side with that and we were set. The element was a perfect match with the factory filter and clipped back into the panel with ease. I held the tank up and slid the panel back into the airbox. Next, I tightened it up with the mounting screw and slid the tank back into position.


The matte finish on the bike is particularly sensitive to scratches so be wary when working with the fairings. With the filter installed, simply reverse all the previous steps. The tank fairing clipped back in fairly easily with a couple of nudges and the side fairings bolted back in without a hassle. The seat lock is mounted easily as the backside of the fairing has a couple of locating ridges for the barrel.


With the side fairings back on it was as simple as locking the seat back in and you’re set! Usually, it’s always twice as hard putting it back together, but for the 650MT this wasn’t the case. With all the fairings bolted back on and in place, I reset the push rivets and popped them back in.
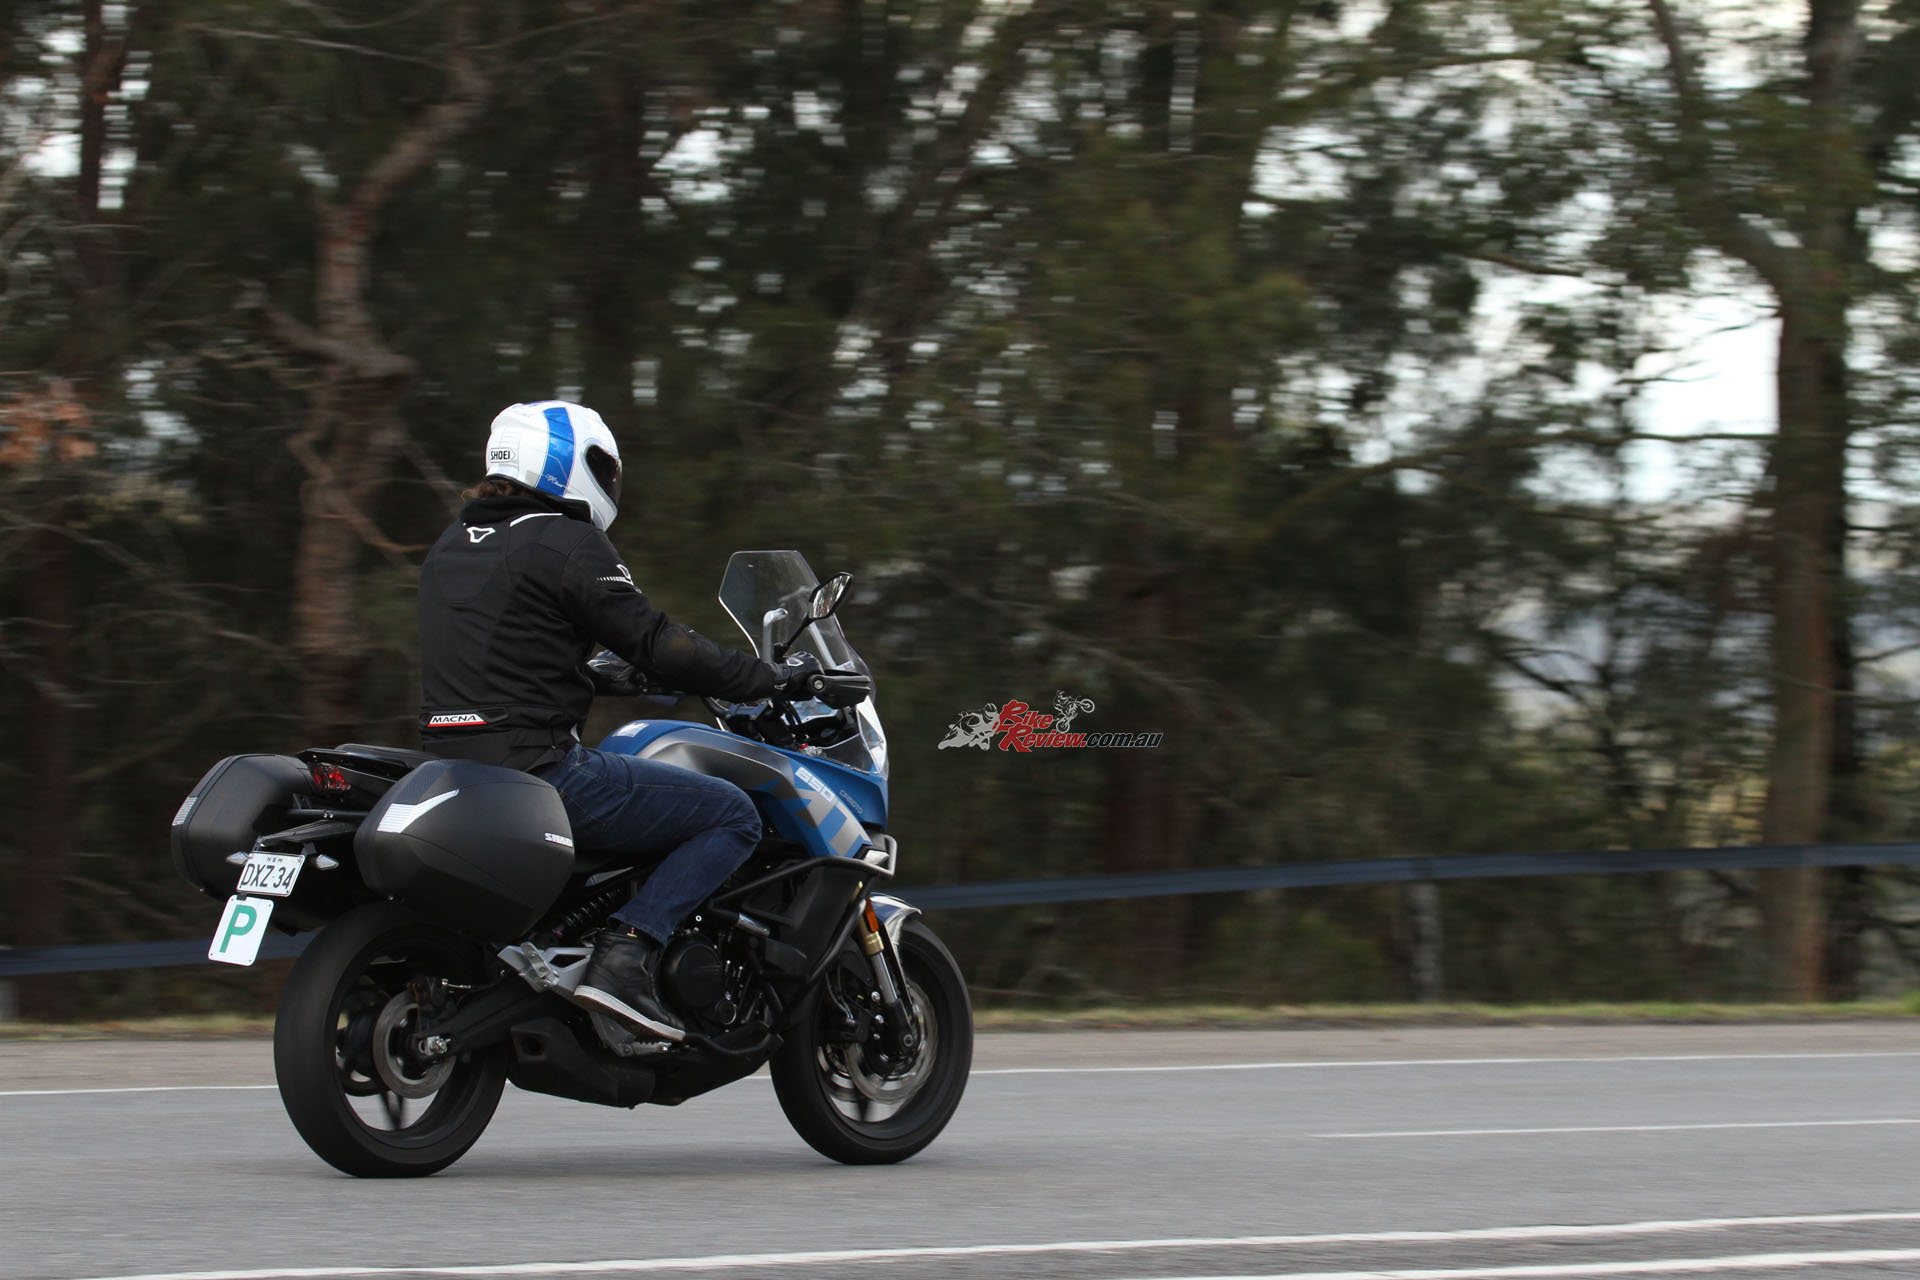
The last job on the list to take your work for a good ride to ensure everything is installed correctly and not rattling around!
Overall, I was surprised with how easy the panniers were to install and how much effort it took to install the filter! Neither were particularly difficult but if you’re stressing about installing luggage racks, don’t. If you’re looking at upgrading the airfilter, set aside a few more minutes than you’d originally anticipated, as installations always go smoother without rushing.
Nick has plenty of new parts on the way for the CFMOTO 650MT so make sure you check out the staff bikes page!
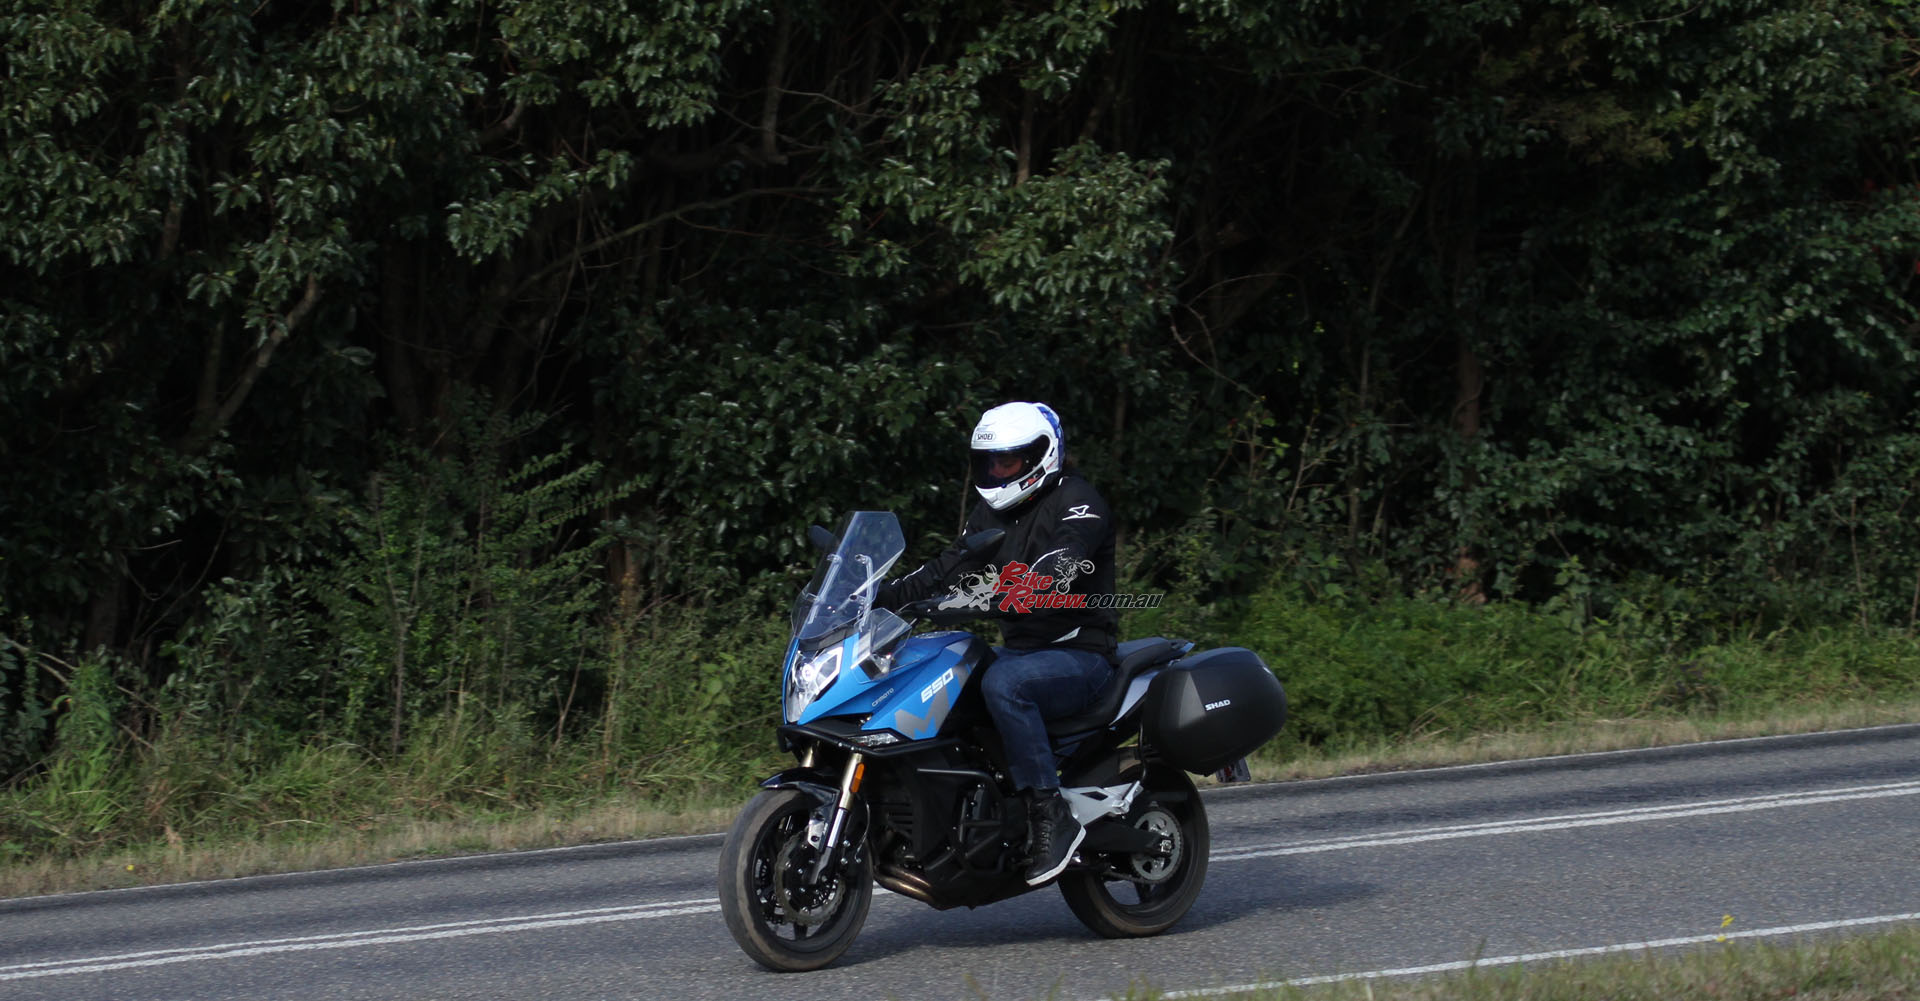
As you all probably know by now, I’m seriously loving this bike and can’t recommend it enough. We’ve got some Avon adventure tyres on the way and some bar risers in transit courtesy of eBay, and a couple of other goodies on the way for this thing, stay tuned…
CFMOTO 650MT WISH LIST:
Bar Risers
Billet Levers
Engine Covers
Heated Grips
Mechanical Cruise
Aftermarket Exhaust
Suspension Tuning
Spotlights
Custom Seat (Taller)
2021 CFMOTO PROJECT 650MT ABS Specifications
Price: $7490 Ride-Away
Warranty: Two years/unlimited kilometre (currently extended to three years)
Colours: Athens Blue or Nebula White
Claimed power: 41.5kw [55.6hp]@9,500rpm (LAMS Restricted)
Claimed torque: 62Nm [45.72ftlb]@7,000rpm
Dry weight: 213kg
Fuel capacity: 18L
Engine: Liquid-cooled, DOHC, eight-valve, parallel-twin four-stroke, 180-degree crankshaft, 649.3cc, Bosch Fuel injection, dual 38mm throttles bodies Gearbox: Six speed
Clutch: Multiplate wet Final drive: Sealed chain
Chassis: Tubular steel diamond frame employing engine as fully-stressed member, extruded steel swingarm with tubular steel bracing
Suspension: USD fork, adjustable, travel 140mm, cantilever monoshock, preload adjustable, travel 145mm
Brakes: Continental ABS, dual 300mm steel rotors, twin-piston calipers, 240mm rear rotor, single-piston caliper
Wheels & Tyres: 120/70ZR17, 3.5 x 17 MT alloy (f) and 160/60ZR17, 4.5 x 17 MT alloy (r) CST
DIMENSIONS:
Wheelbase: 1415mm
Seat height: 840mm
Length: 2150mm
Width: 835mm
Height: 1332mm
Instruments: LCD display
The Author
You Might Also Like


October 16, 2021
Are you able to supply us with details of the bar risers? Thanks.
October 19, 2021
Hi Andy, on eBay search 650MT ‘Handle bar Handlebar Fat Bar Risers Mount Clamp’ the seller is motor-cycler and the price is $70.61.
April 9, 2022
Hi Nick and thanks for sharing your experience !!! It was really helpfull i’m in the way of upgrading the air filter on My Mt650… New proud owner of these Beauty !!! I hope You can help me with a question… My mileage is really high (near 9lts at 100 km) the bike is justo new (700 km), hace You had any issue with gas consume and heating ?? (Radiator fan runs every 5 to 10 minutes in city conmutes) i Will appreciate any advice / recomendación… Greetings from Ecuador, ride smiling… Rife safe
May 26, 2022
Hi mate!
Glad you’ve jumped on board team CFMOTO!
That’s an odd one for sure. That kind of mileage I’d expect out of my daily car! I haven’t had any issues of that sort.
My first question would be: What octane rating is the fuel you are running? Would it be possible that the fuel isn’t too good? I’d be getting on the phone to the dealer you picked it up from and see if they can book it in for a service. Maybe the exhaust sensors are failing or there’s an issue with fuel mapping. I’d definitely be back at the shop ASAP, it must be running very rich. Also check your airfilter. In saying that, we have had a couple of CFMOTO 650 press bikes over the years that had VERY tight, hot and thirsty engines for the first few thousand and they did not improve until friction was reduced after run in.
In terms of heat, yes… They run hot! They usually sit around the 98 Celsius mark, absolutely nothing to stress about. The fans were always on and off, especially during the stop-start city runs, much like your own. I wouldn’t worry!
All the best mate,
Let us know if you get some answers!
Nick.