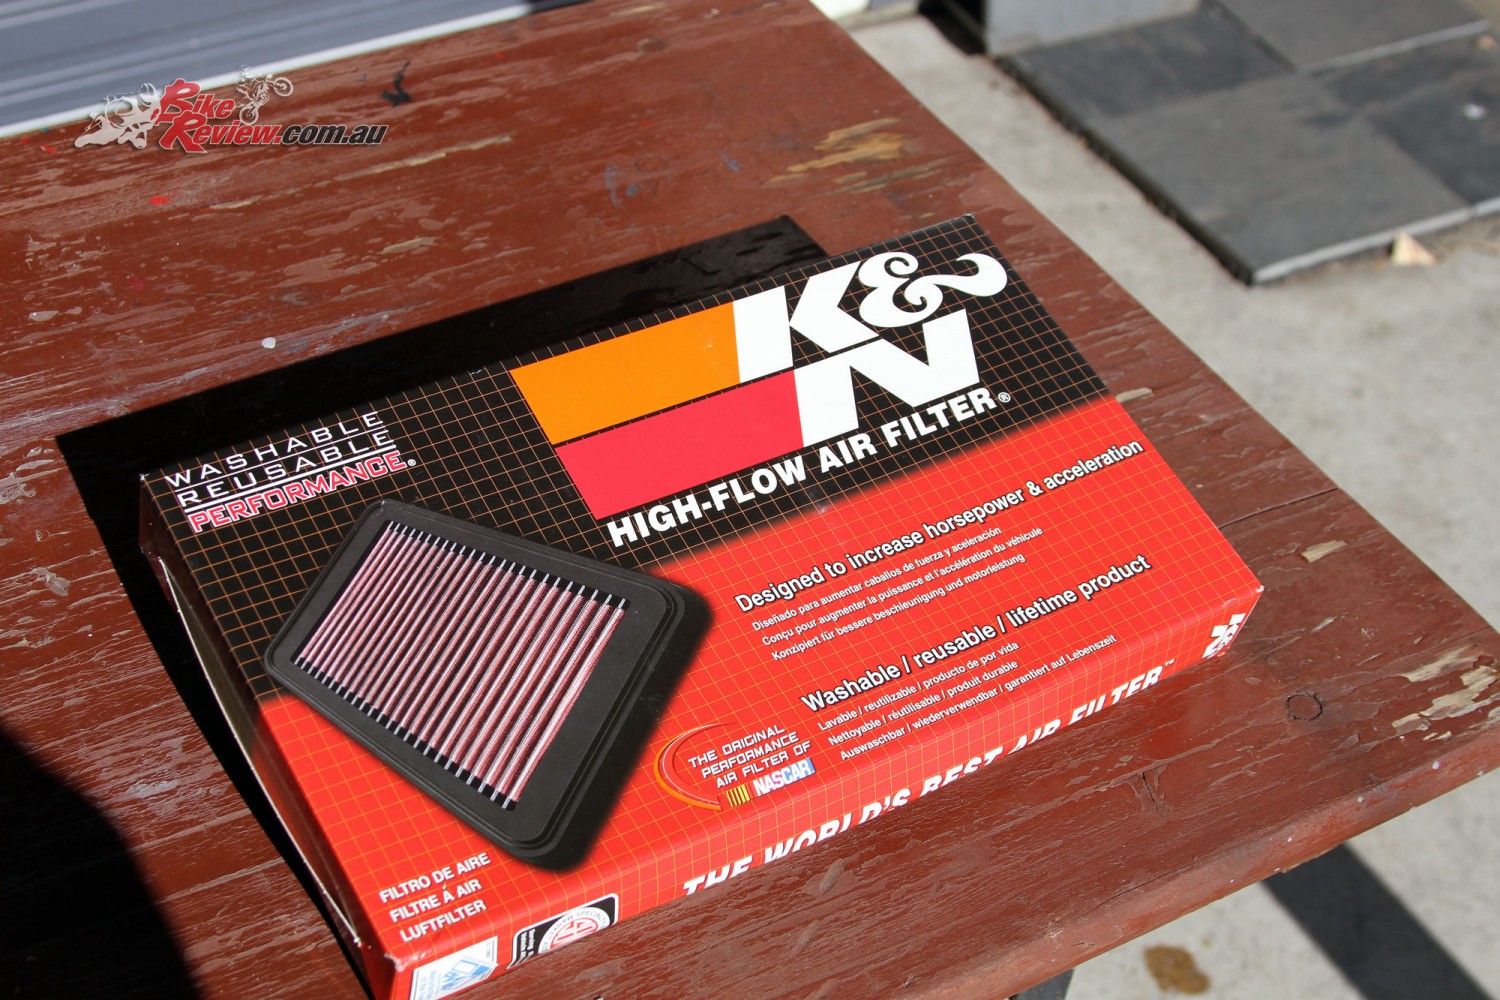
If you’re aiming for extra power and acceleration, to have your bike tuned or easier and cheaper maintenance, then a K&N High-Flow airfilter is a must.
Particularly for tuning, you’ll want to add your K&N filter with any aftermarket exhaust system or performance modifications to ensure you get the best figures possible.
They also come with K&N’s Million Mile Warranty, meaning you don’t need to stress about ever replacing the airfilter, while they can be cleaned and washed to stay at peak performance. In fact you’ll probably be amazed when cleaning your filter for the first time, at just how much gunk they collect, all of which is prevented from reaching your engine.
All you’ll need is a K&N Cleaning Kit, which is a great investment.
The airfilters also only normally require cleaning each service and it’s a quick and easy job. We’ll leave a full explanation for another feature though.
This issue we are fitting a K&N High-Flow airfilter to my Triumph Daytona 675R, which is a relatively simple and straight forward job, needing minimal tools and less than an hour of your time. Some bikes are more difficult than others but as a general rule of thumb this is a great place to start spannering on your own motorcycle. It’s basic, doesn’t require professional tools and is a great gateway into further tinkering!
First up to get under the tank you’ll need to remove the seat on most bikes, as if you’re lucky, the tank will pivot up and back, allowing for easy work under the tank, without having to remove it entirely.
Loosen and remove the bolts holding down the tank, which will probably be just behind the triple-clamp. Don’t undo the bolt that the tank pivots on at the seat end, unless you want to remove it entirely.
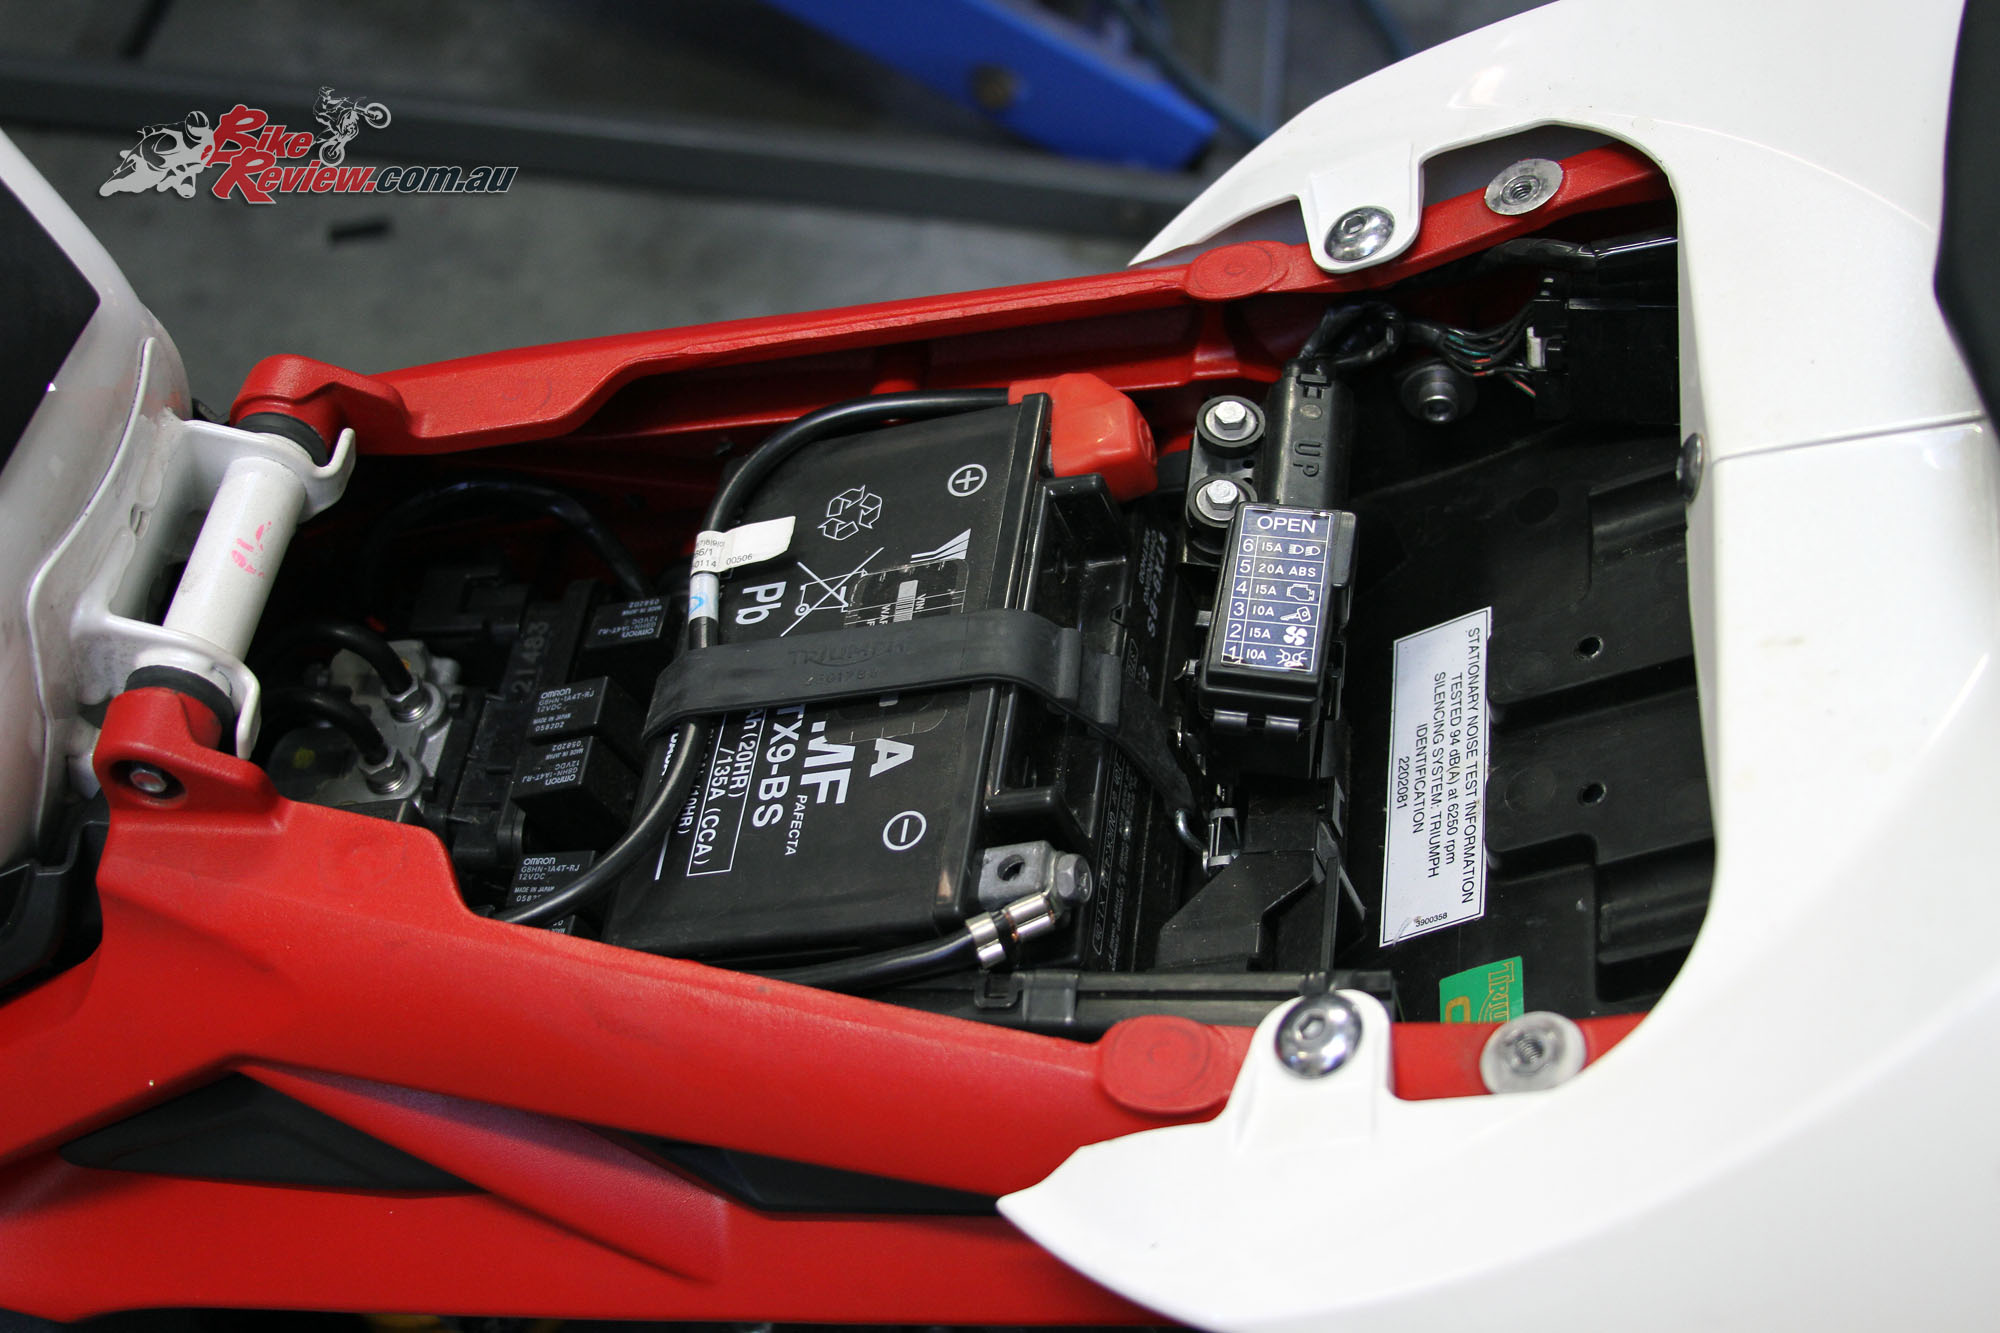
Lift the tank to reveal your airbox. You’ll probably need to disconnect a few of the pipes to the tank, normally the bleeder and overflow pipes which are black rubber and ensure fuel can escape and that air can enter the tank, preventing a vacuum. If you’re not sure take a picture before disconnecting them to make it easier once you’re done. We also removed the ECU here so we could get access to the airbox bolts behind it. Loosen and remove all the bolts holding the top of the airbox on.
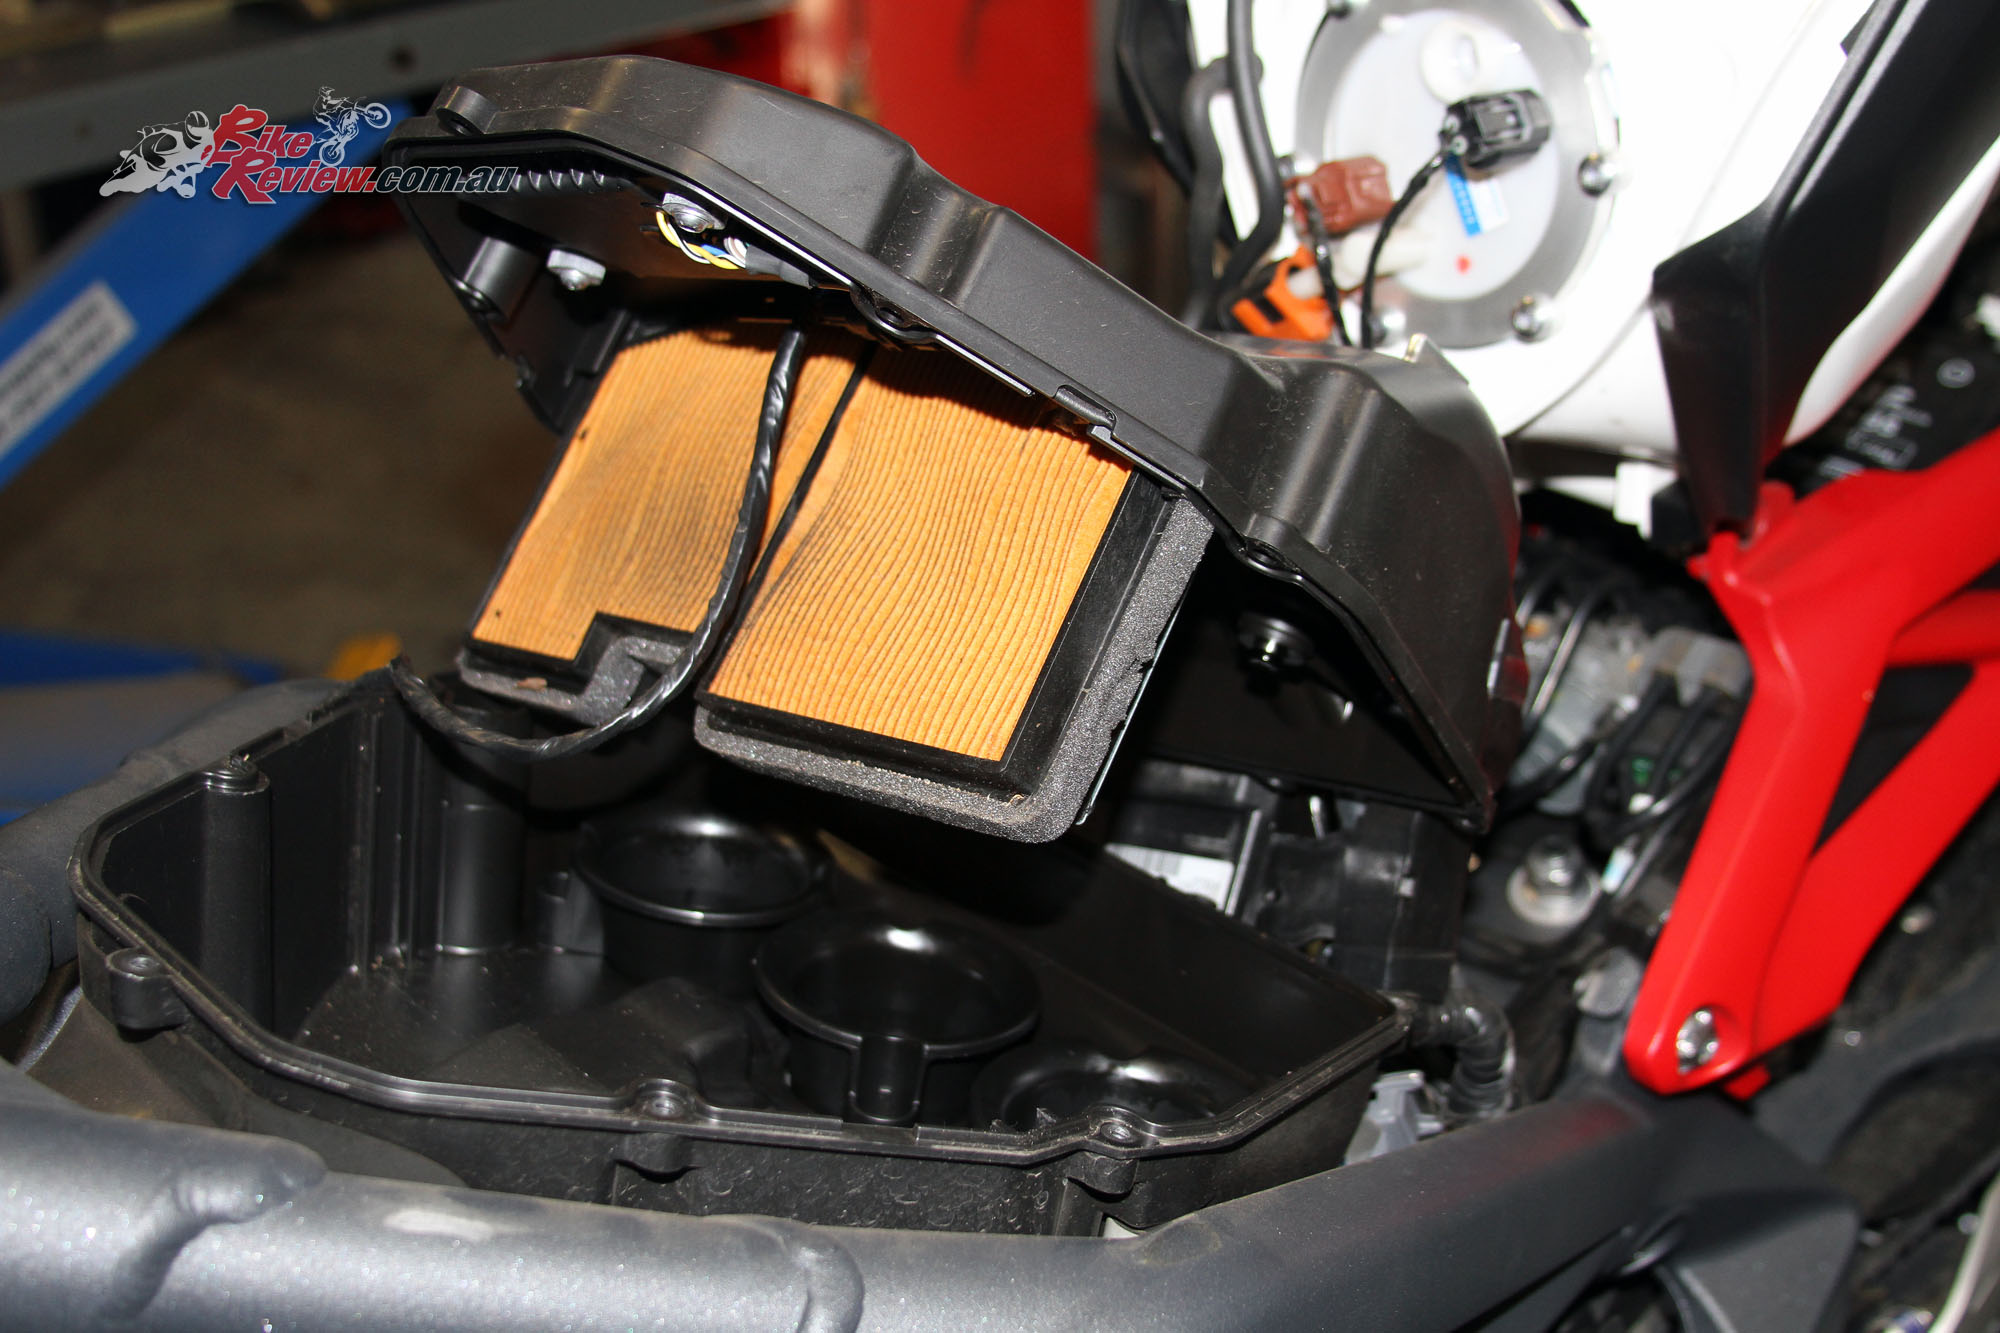
Liftoff, here’s the OEM airfilter. The bike hasn’t done a huge number of km at this point so it’s relatively clean. You also can’t see here, but it has a metal backing plate to ensure rocks don’t go straight through the filter. There’s pretty much a direct path from the air intake in the nose to the filter, so this is a concern.

The replacement K&N Performance airfilter. These come with a lifetime guarantee and are fully washable. The filter should be washed each service.

The K&N airfilter is a direct replacement for the standard item and will only fit one way. If it’s not an easy fit then it isn’t in right!
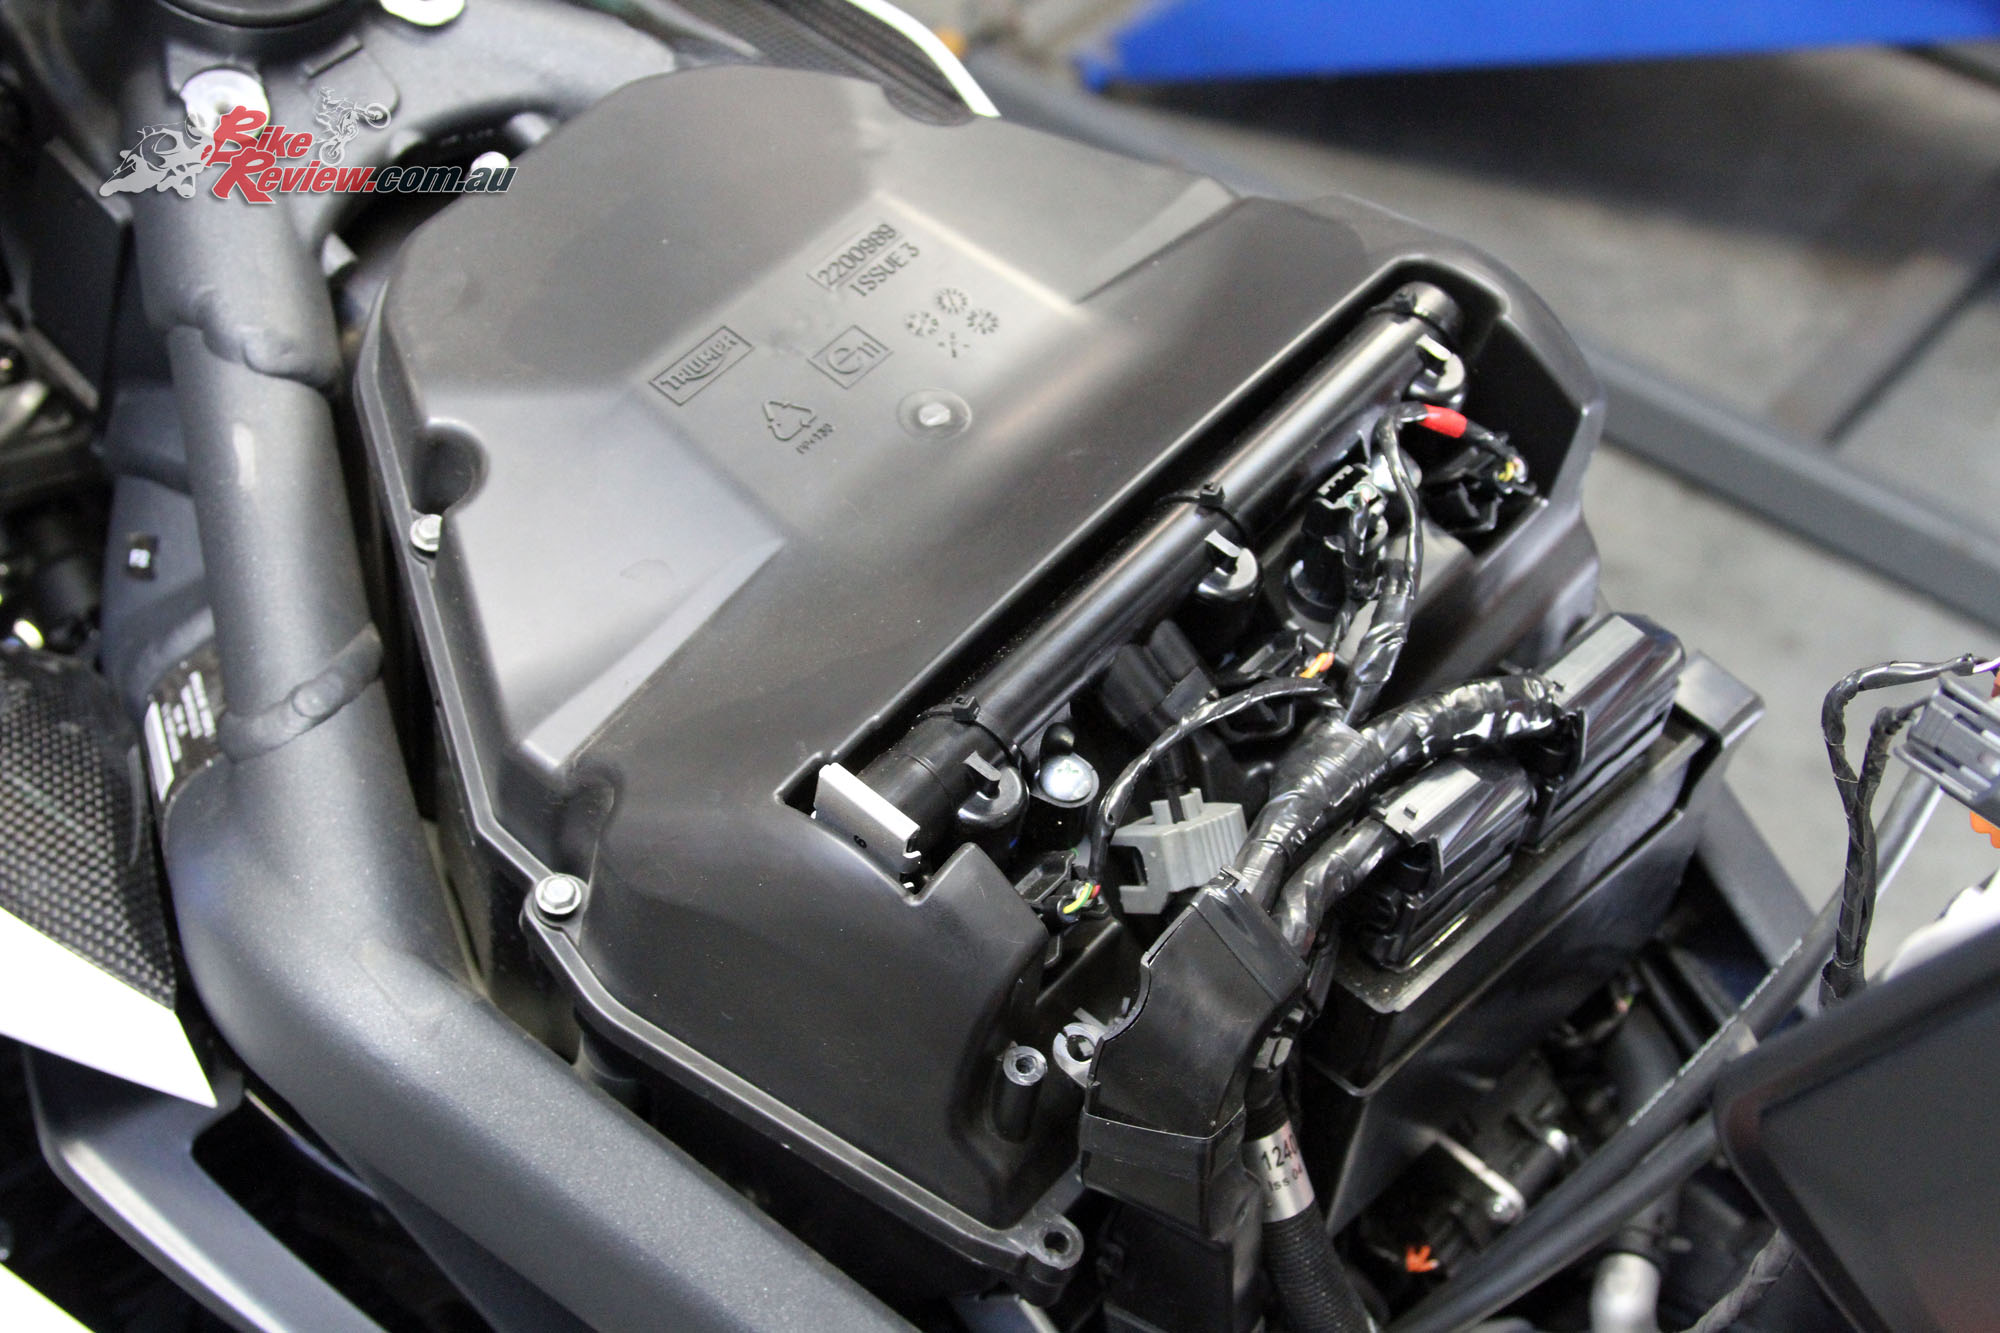
Wiring is routed through this section, so as not to pinch the wires. Make sure you position the wires correctly through here, there’s nothing worse than trying to figure out an electrical problem with broken wires hidden in sheathing or tape.

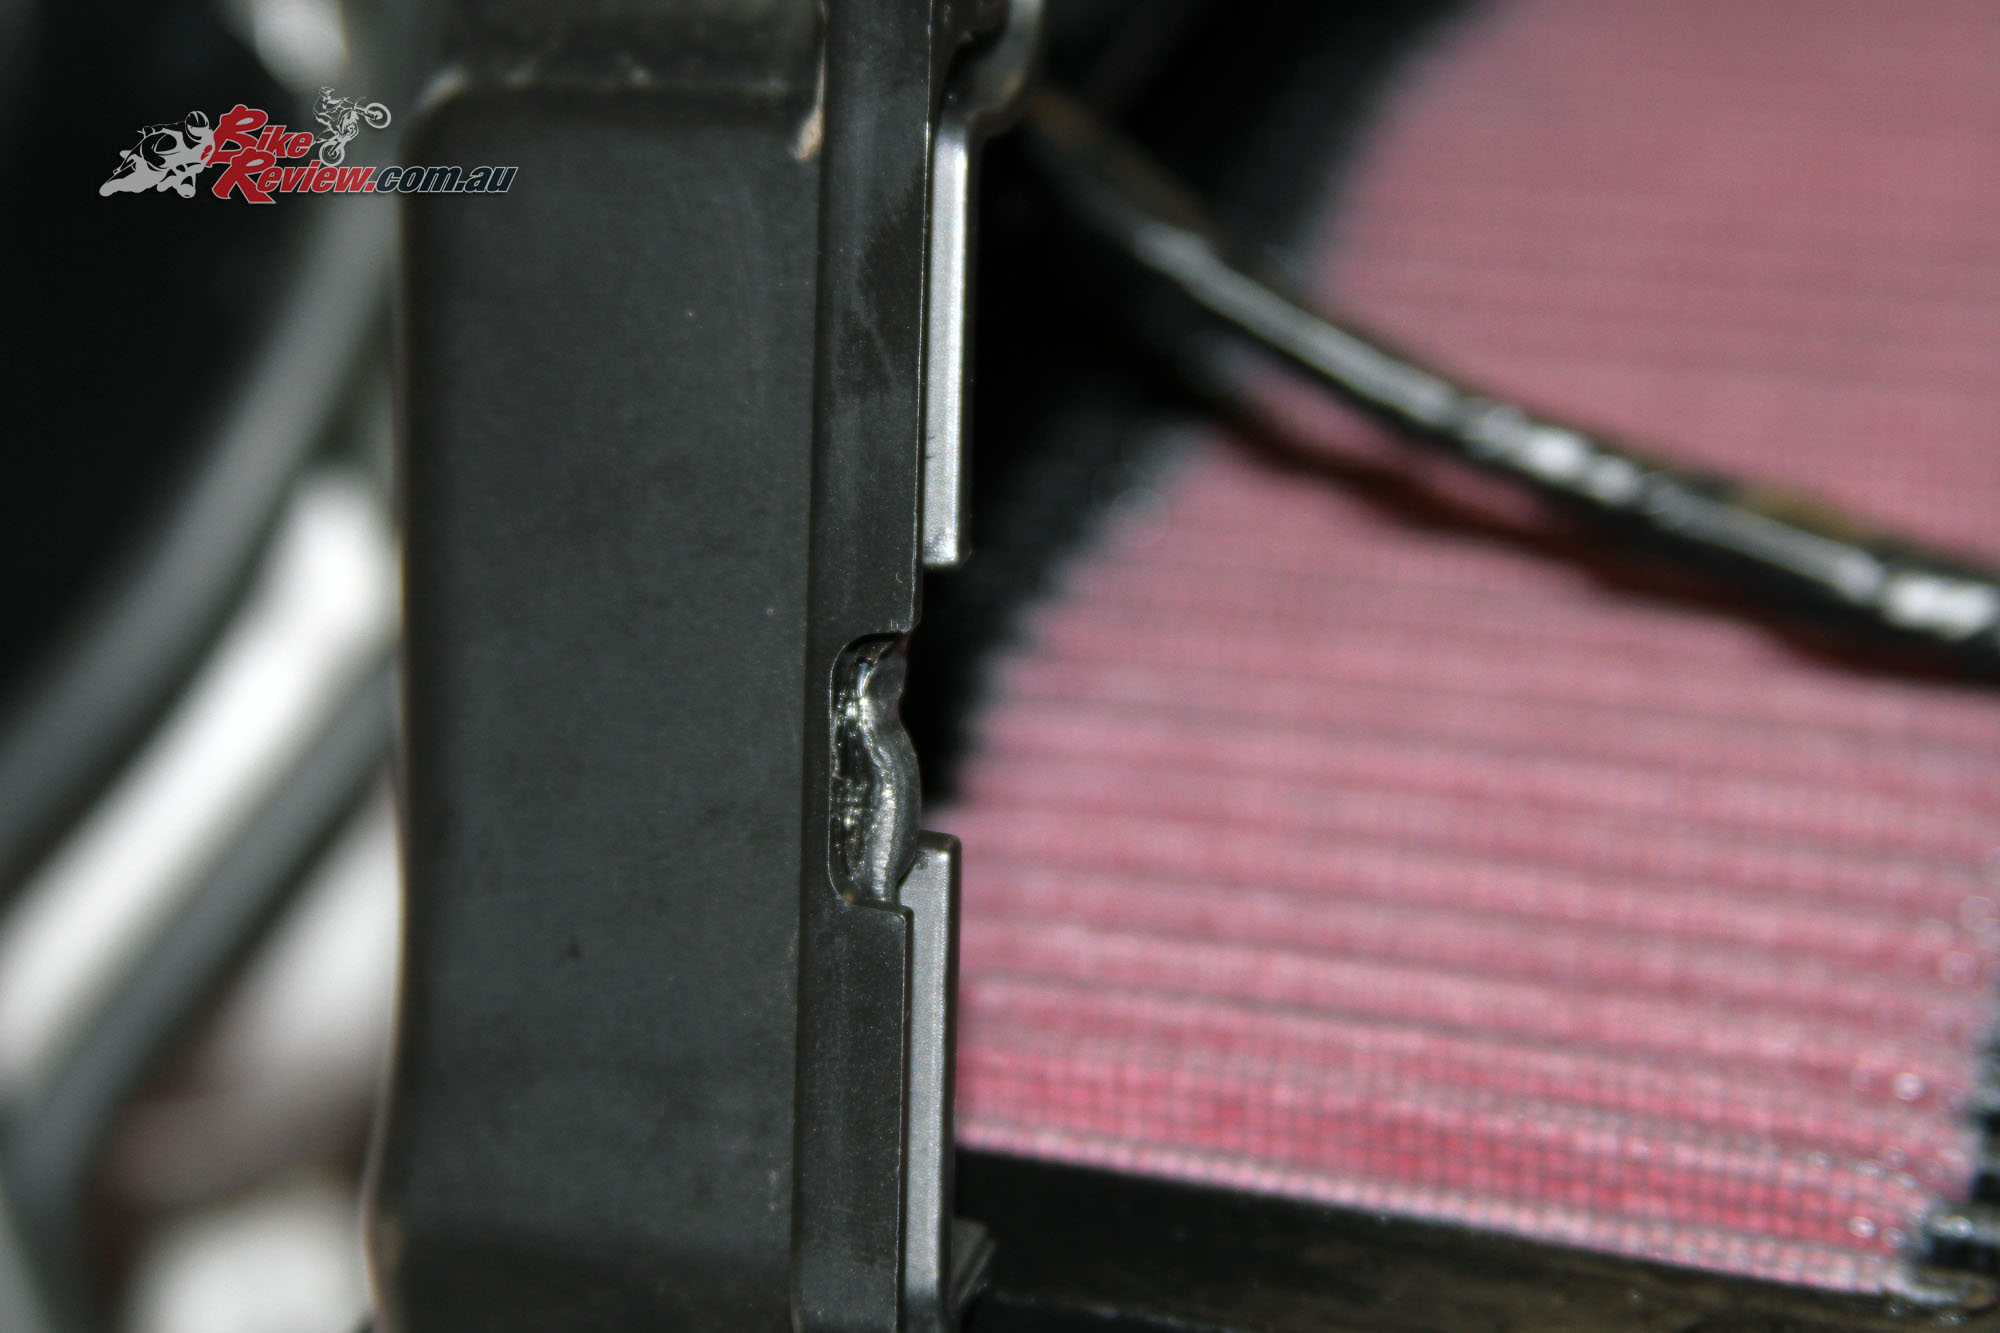
We’ve added some mesh to ensure smaller rocks won’t go through the filter at speed. Note the mesh and screws are on the intake side, so if anything were to come loose it’d still need to get through the filter to enter the engine.
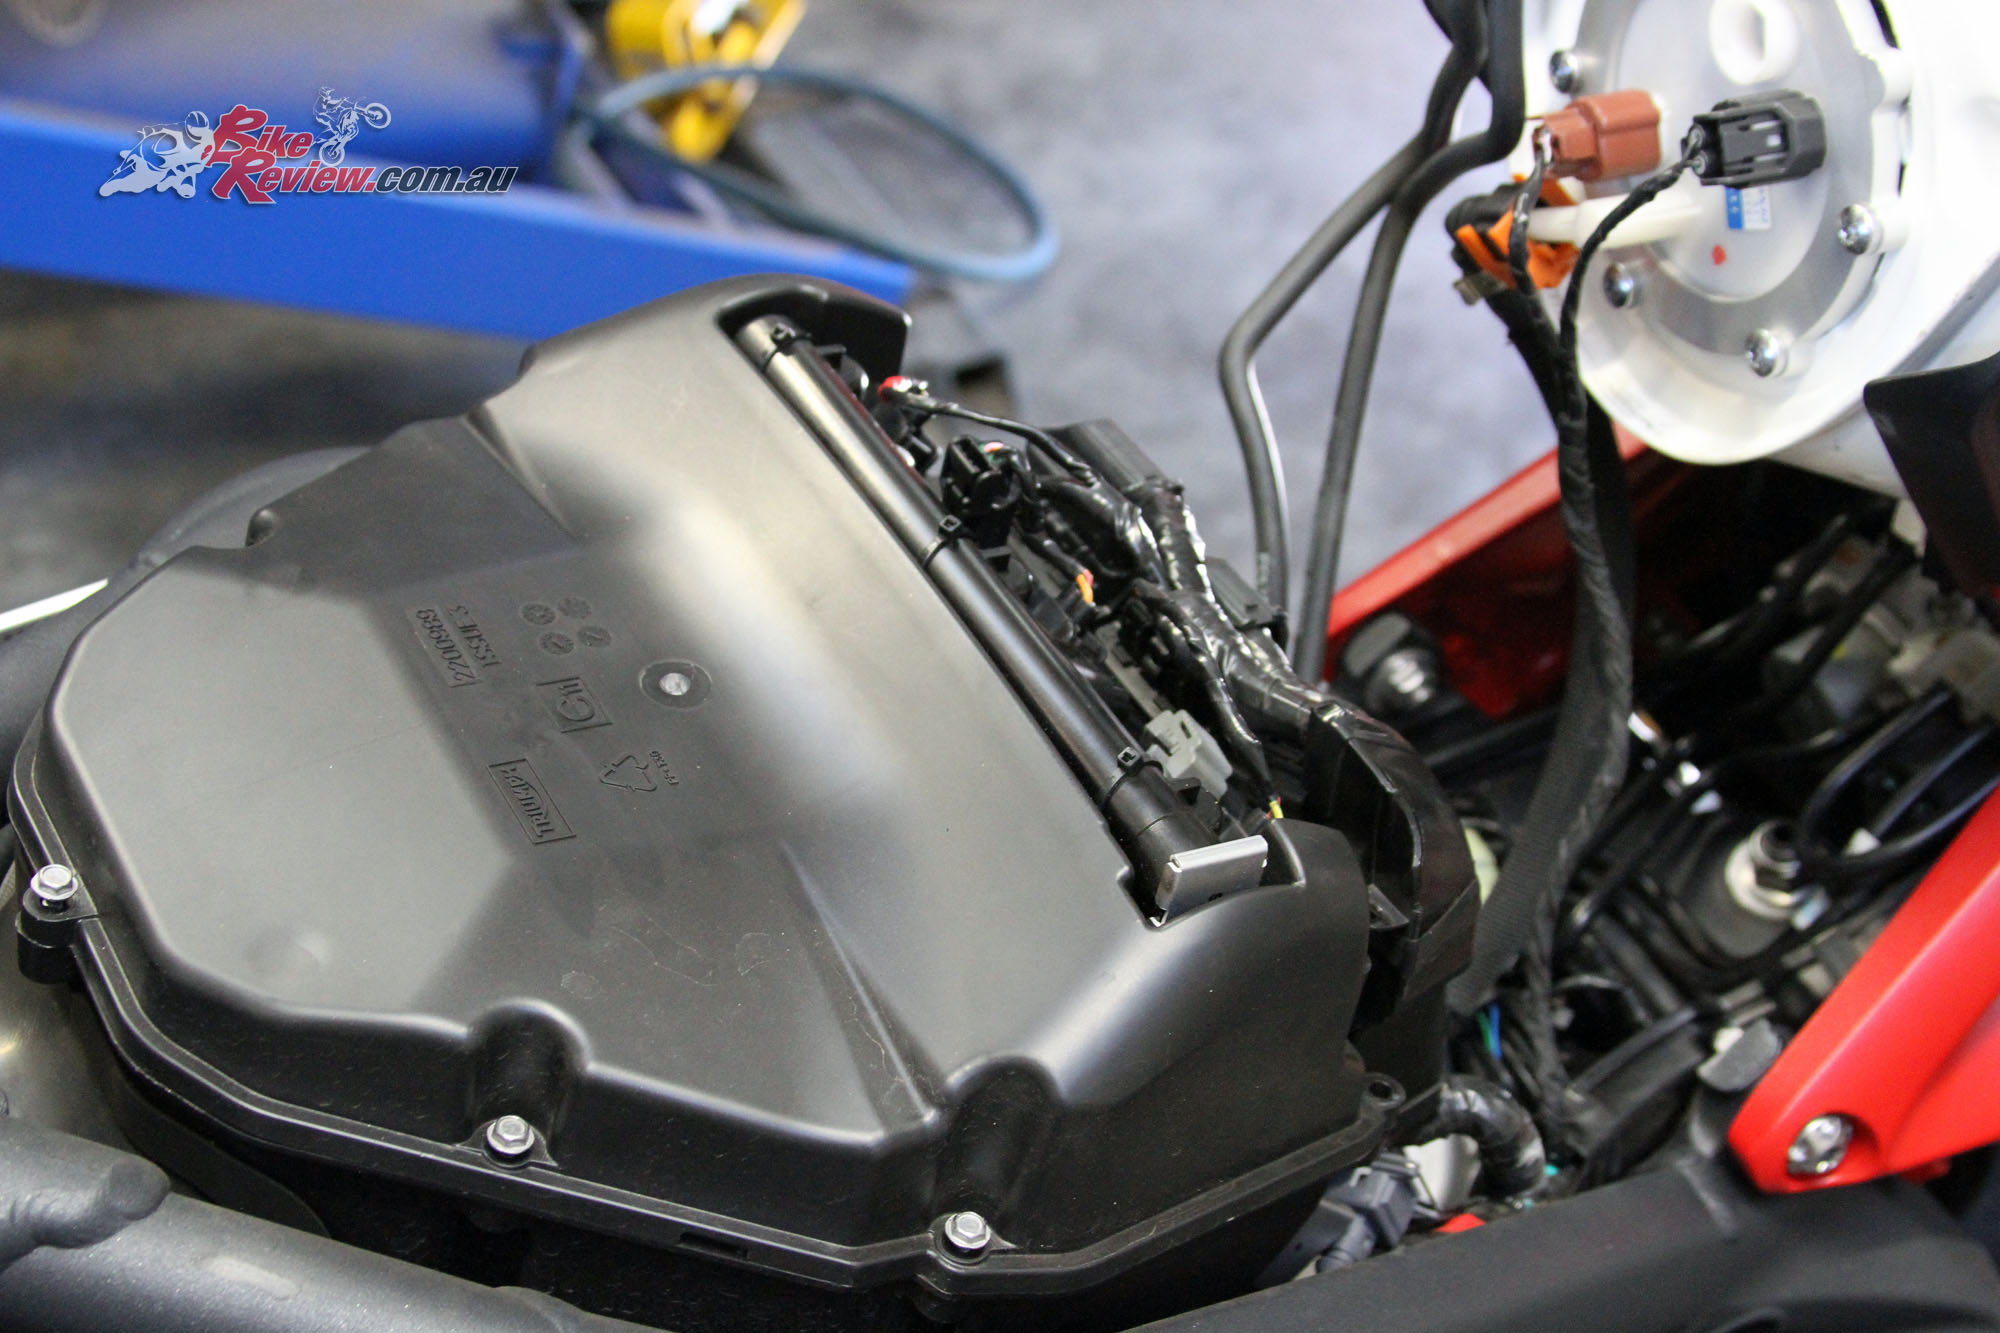
With the K&N airfilter in place replace the airbox lid and make sure the wires aren’t pinched and everything is aligned. Put all the screws back in place. They are biting into plastic so you want them to be tight, but if you over tighten them they’ll chew out holes and your airbox may no longer seal. Now just replace any removed tubes to the tank and lower it back into place. Replace the tank bolts and tighten, then replace your seat.
This is a simple job but you still want a clear working space to organise anything you remove from the bike, such as bolts or screws. Also take precautions to avoid damaging your tank or paintwork while working, use towels and rope to hold your tank up securely – if it comes down on your fingers or head you’ll know about it… If you unplug the fuel lines be careful of leaks, especially if you remove the tank entirely.
You will need to have your bike tuned to take full advantage of a performance filter, which is why it’s a good addition along with an aftermarket exhaust, prior to getting a proper tune done specifically for your bike!
Special Thanks: Pro Accessories
You Might Also Like