How to change your motorcycle engine oil and oil filter at home. Words: Kris Hodgson
Changing the engine oil of your bike is a useful skill which can save you money, it’s an easy job that can be done in half an hour at the most.
Just how easy draining and replacing your oil and oil filter will be varies depending on your machine, but is generally a straight forward job, unless you’re unlucky enough to have a motorcycle that needs the headers removed to take off an oil filter.
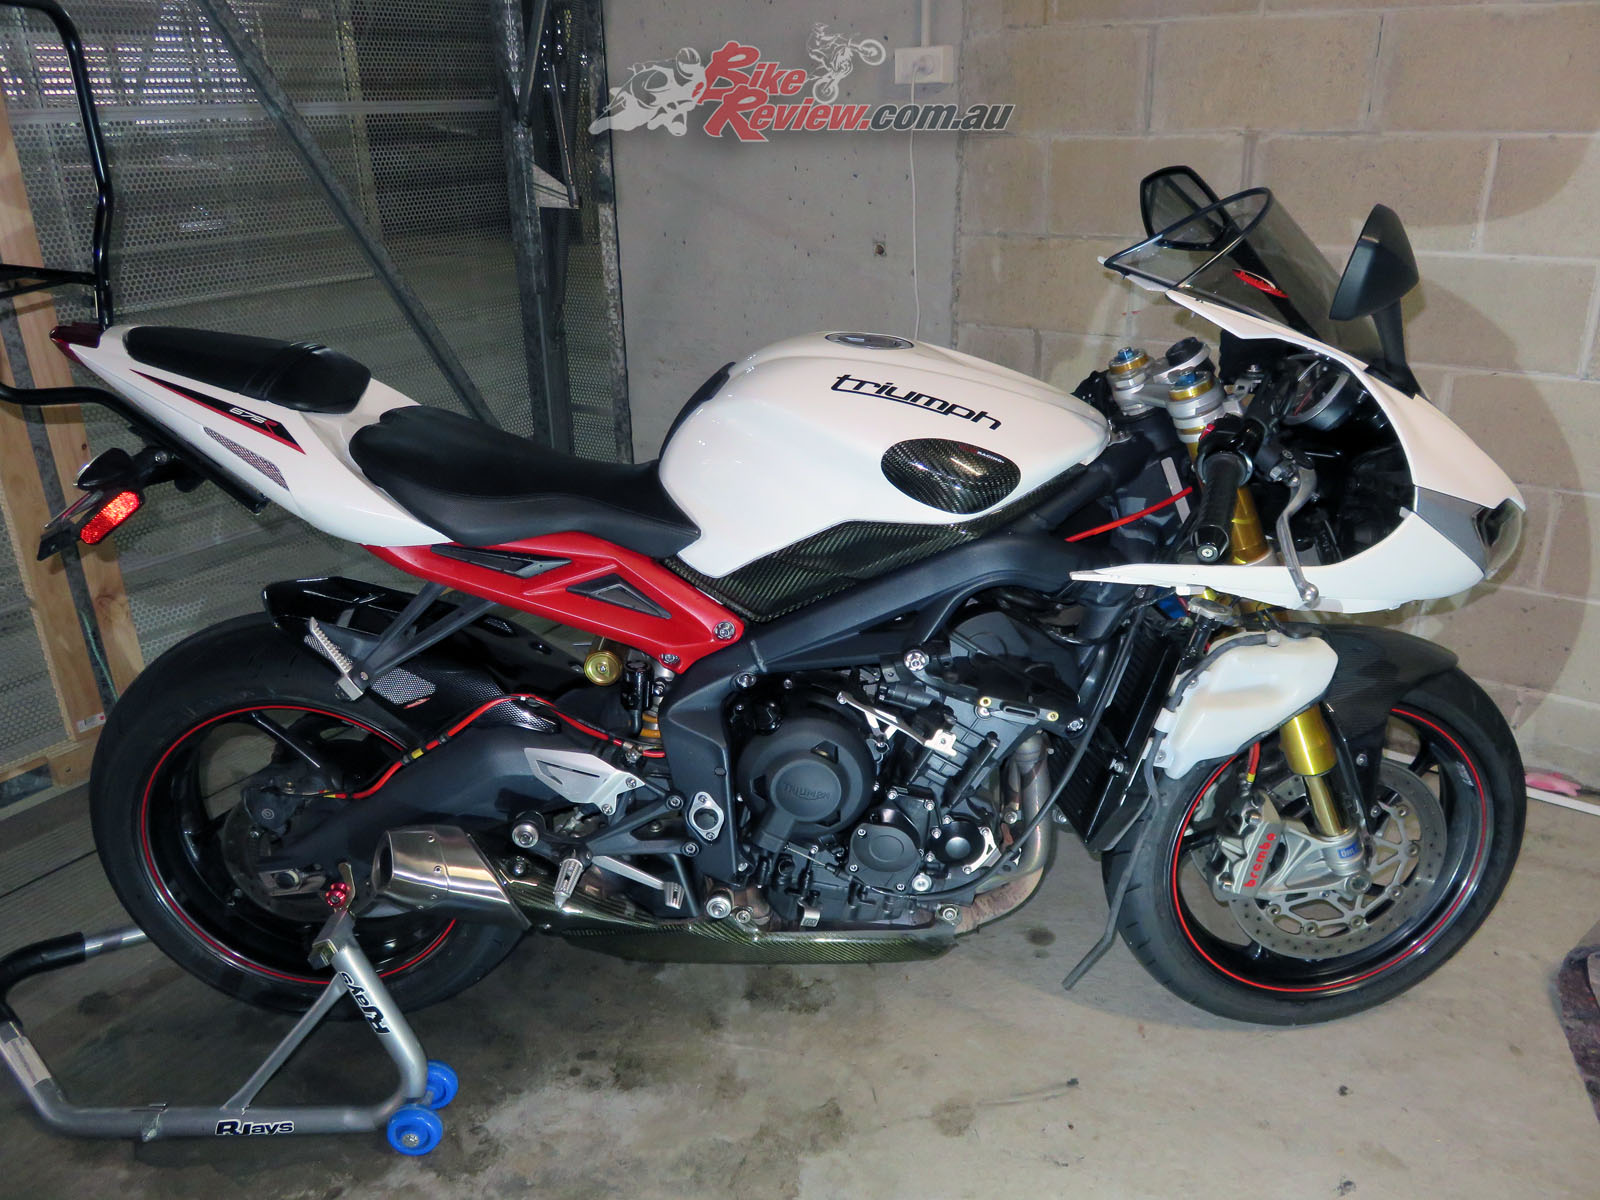
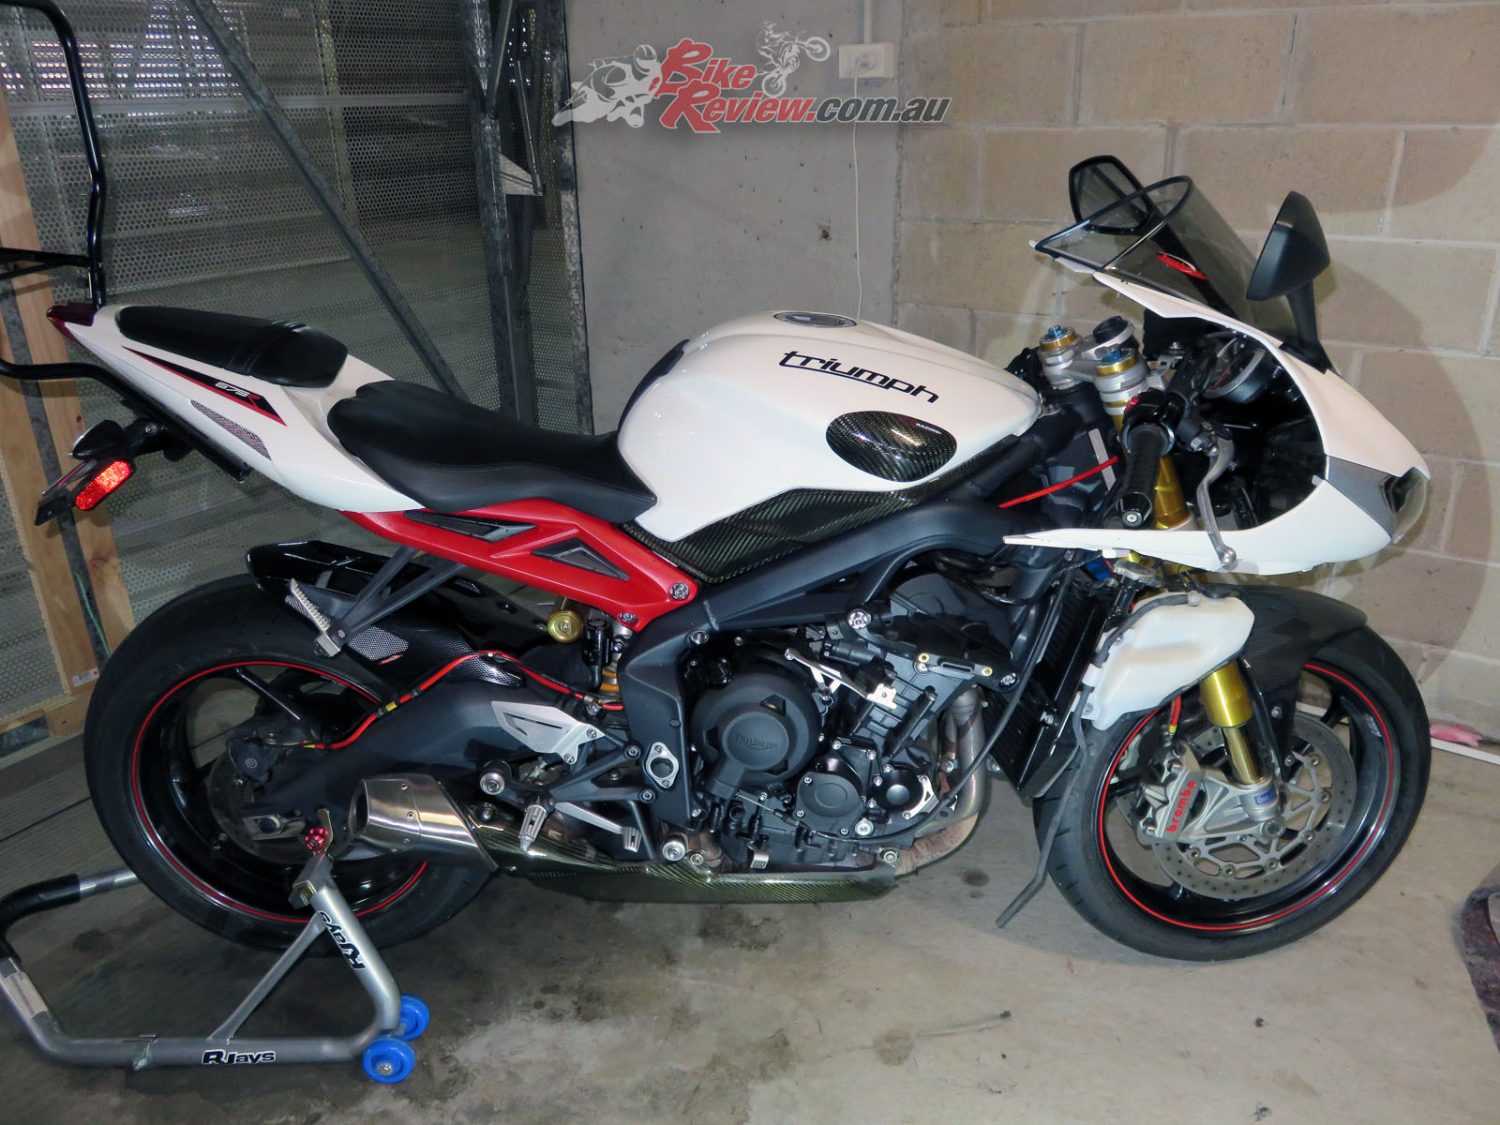
The Daytona 675R with the fairings stripped off, ready for the oil change.
For a faired bike like my Daytona 675R you’ll need to set aside extra time when doing an oil change for removing the fairings to make access to the sump and oil filter easier.
The basic steps are getting access to the sump plug and oil filter. You’ll need a spanner or socket to remove the sump plug, and should be able to remove the filter by hand but they often become tighter over time. An oil pan is also really handy for catching and measuring the oil you’re draining, and you’ll need a new container of the appropriate engine oil for your machine, and a new oil filter. Apart from this just an empty 4L bottle for the old oil and a funnel to help refilling the bike.
A few notes. Buy motorcycle specific engine oil, as car oil will damage your clutch and four litres should do one oil change and have some spare left over for top-ups.
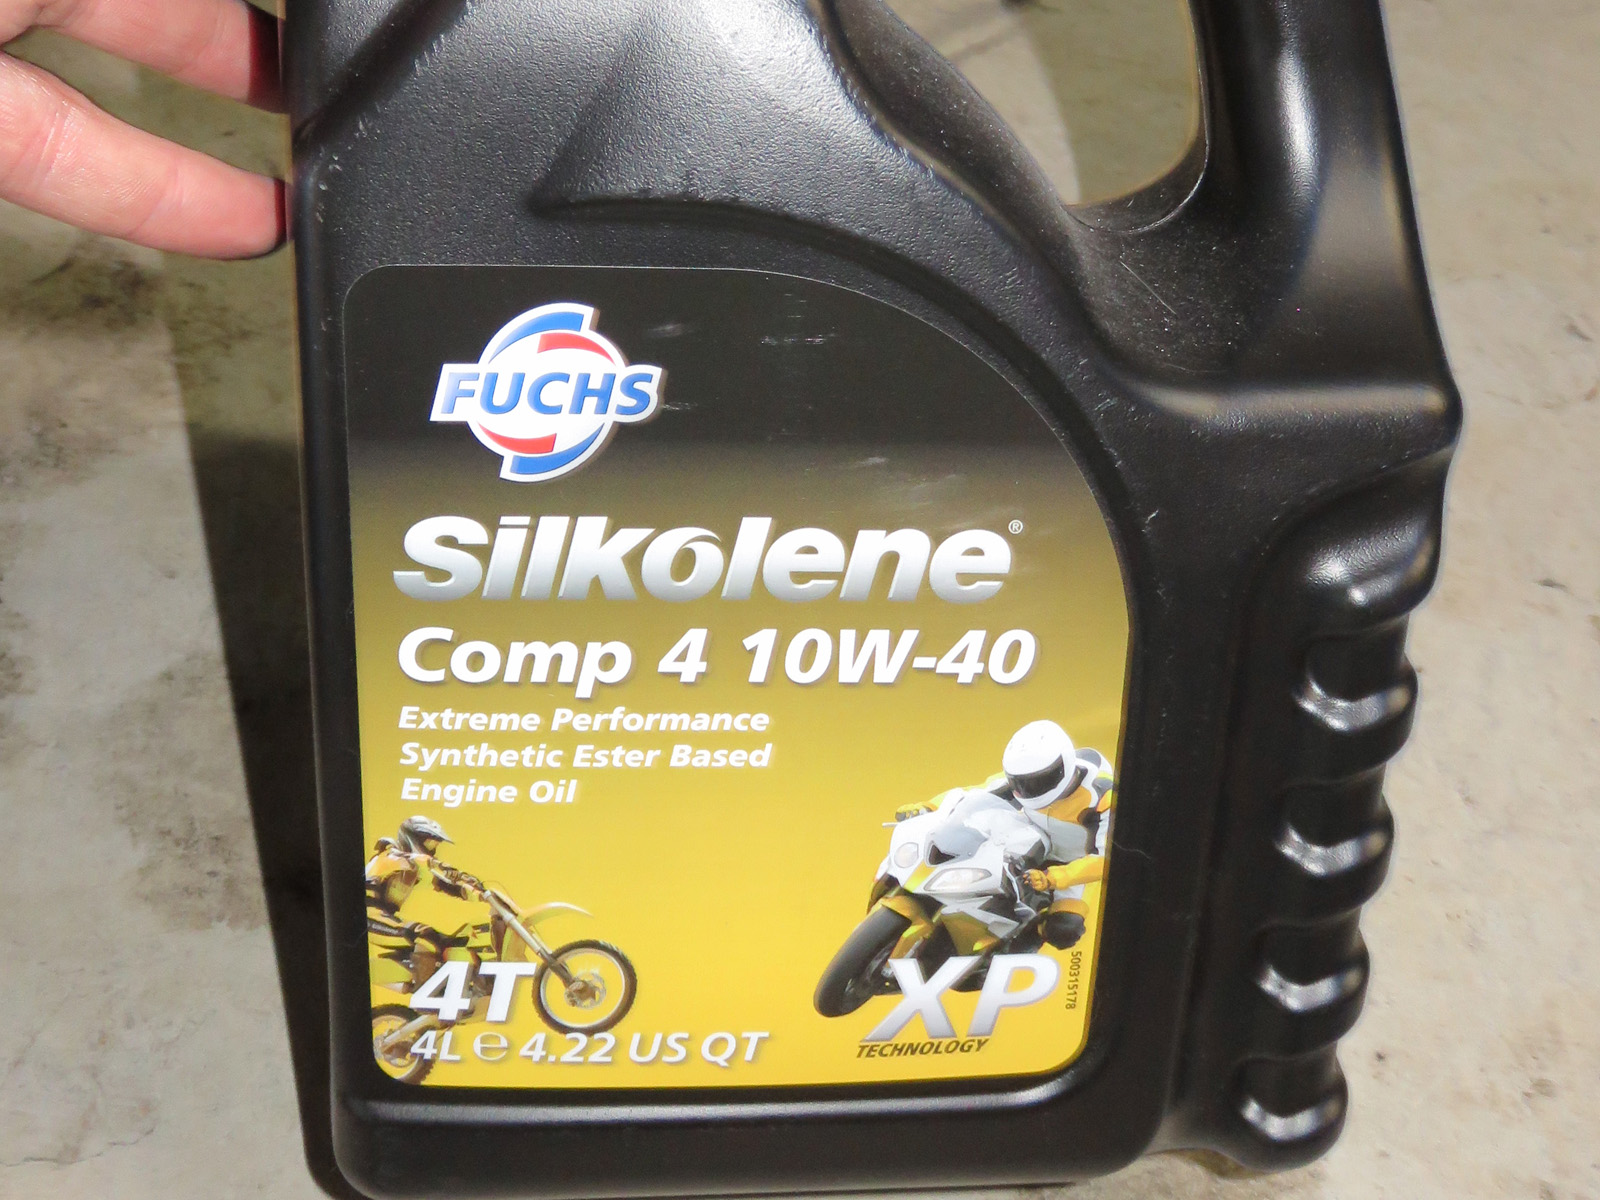
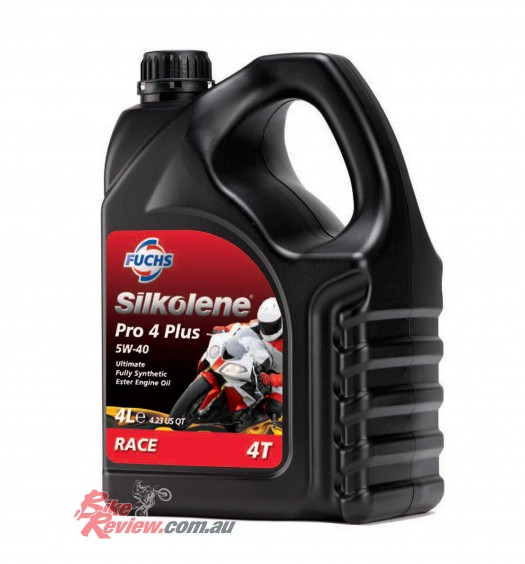
The replacement oil was Silkolene Comp 4 10W-40 thanks to Silkolene/Warrian Enterprises.
Also follow your bike manufacturer’s recommendation for oil – there’s plenty of brands to choose from, but following the weight is important. Also check the specification.
An oil filter with a nut should make removing the oil filter easier. More on that later!

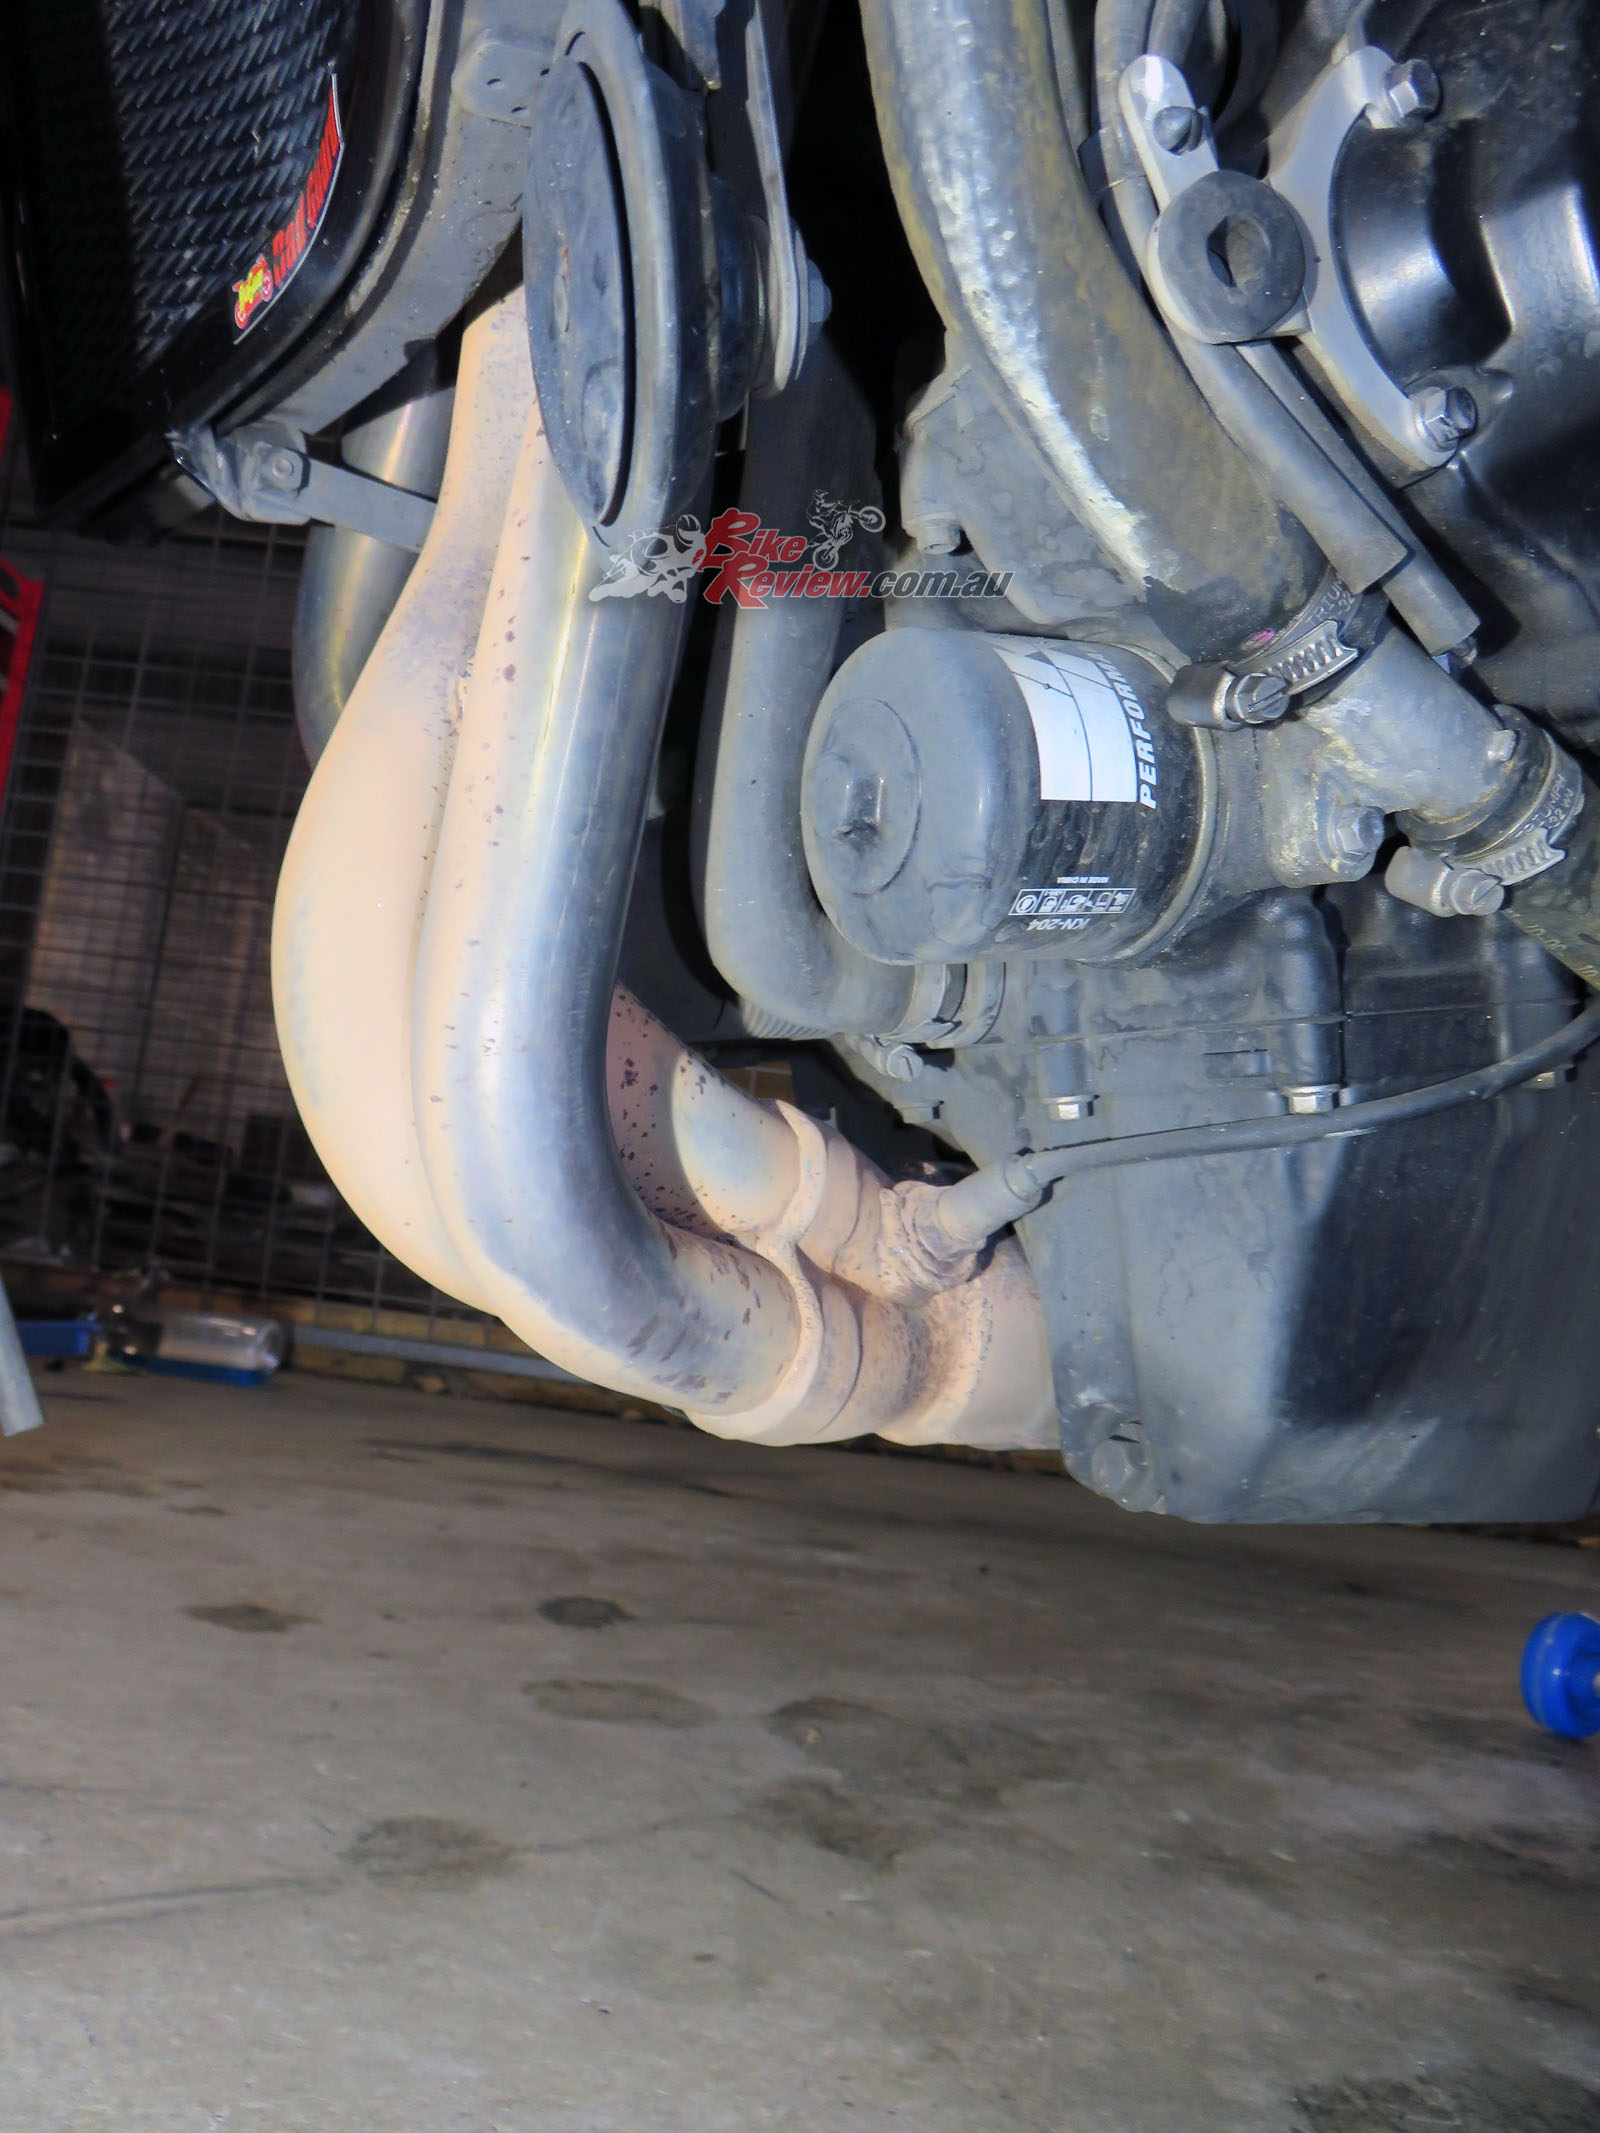
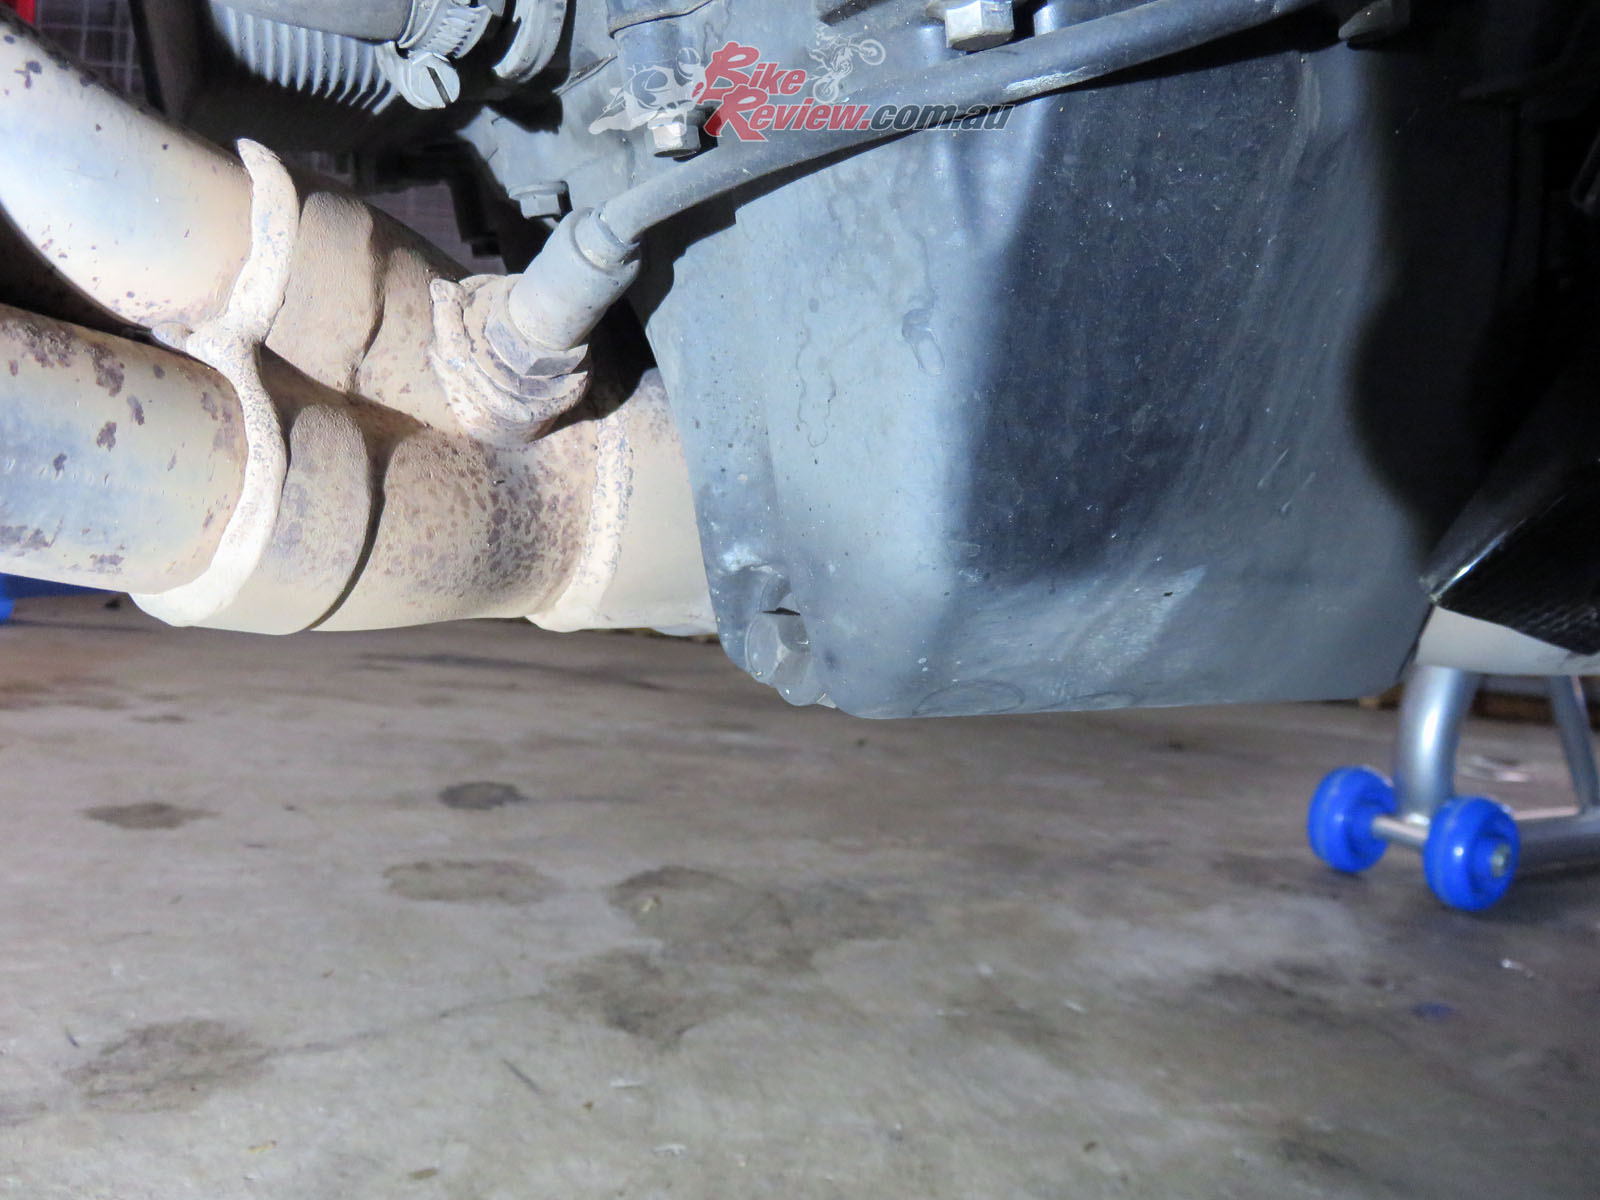
Here you can see the old oil filter and the sump bolt located at the front of the sump. Needless to say I hadn’t washed under the fairings!
So first step, turn your bike on and allow it to warm up. You don’t want to run it full bore, you just want the engine oil warm – I just waited till it reached two bars and the engine was warm to the touch. This means the oil will flow out of the bike easily. If it’s too hot you risk burning yourself when you remove the oil sump bolt and oil filter. Plus the bike will be hot to touch which makes the job harder and adds the risk of additional burns.
The sump bolt needs to be loosened and removed with an oil pan underneath to catch the oil. If you turn the bolt the wrong way and over-tighten it you can crack your sump. If the bike was too hot you can burn yourself on the oil, or by accidentally touching the engine or headers. If you just use a tool to undo the bolt it’s easy to drop it into the oil pan!
First get the correct size socket or wrench onto your sump bolt and turn it counter-clockwise to undo the bolt. This is really important, as if you tighten it the wrong way you’ll crack your sump, which is an expensive and annoying mistake. To get the bolt loose I had to tap it with a mallet and eventually give a wrench a few taps with the hammer to loosen it. Once it is loose you can finish removing the bolt by hand but you’ll normally end up splashed with oil. Using a tool it’s possible to drop the bolt into the oil pan with all the oil.
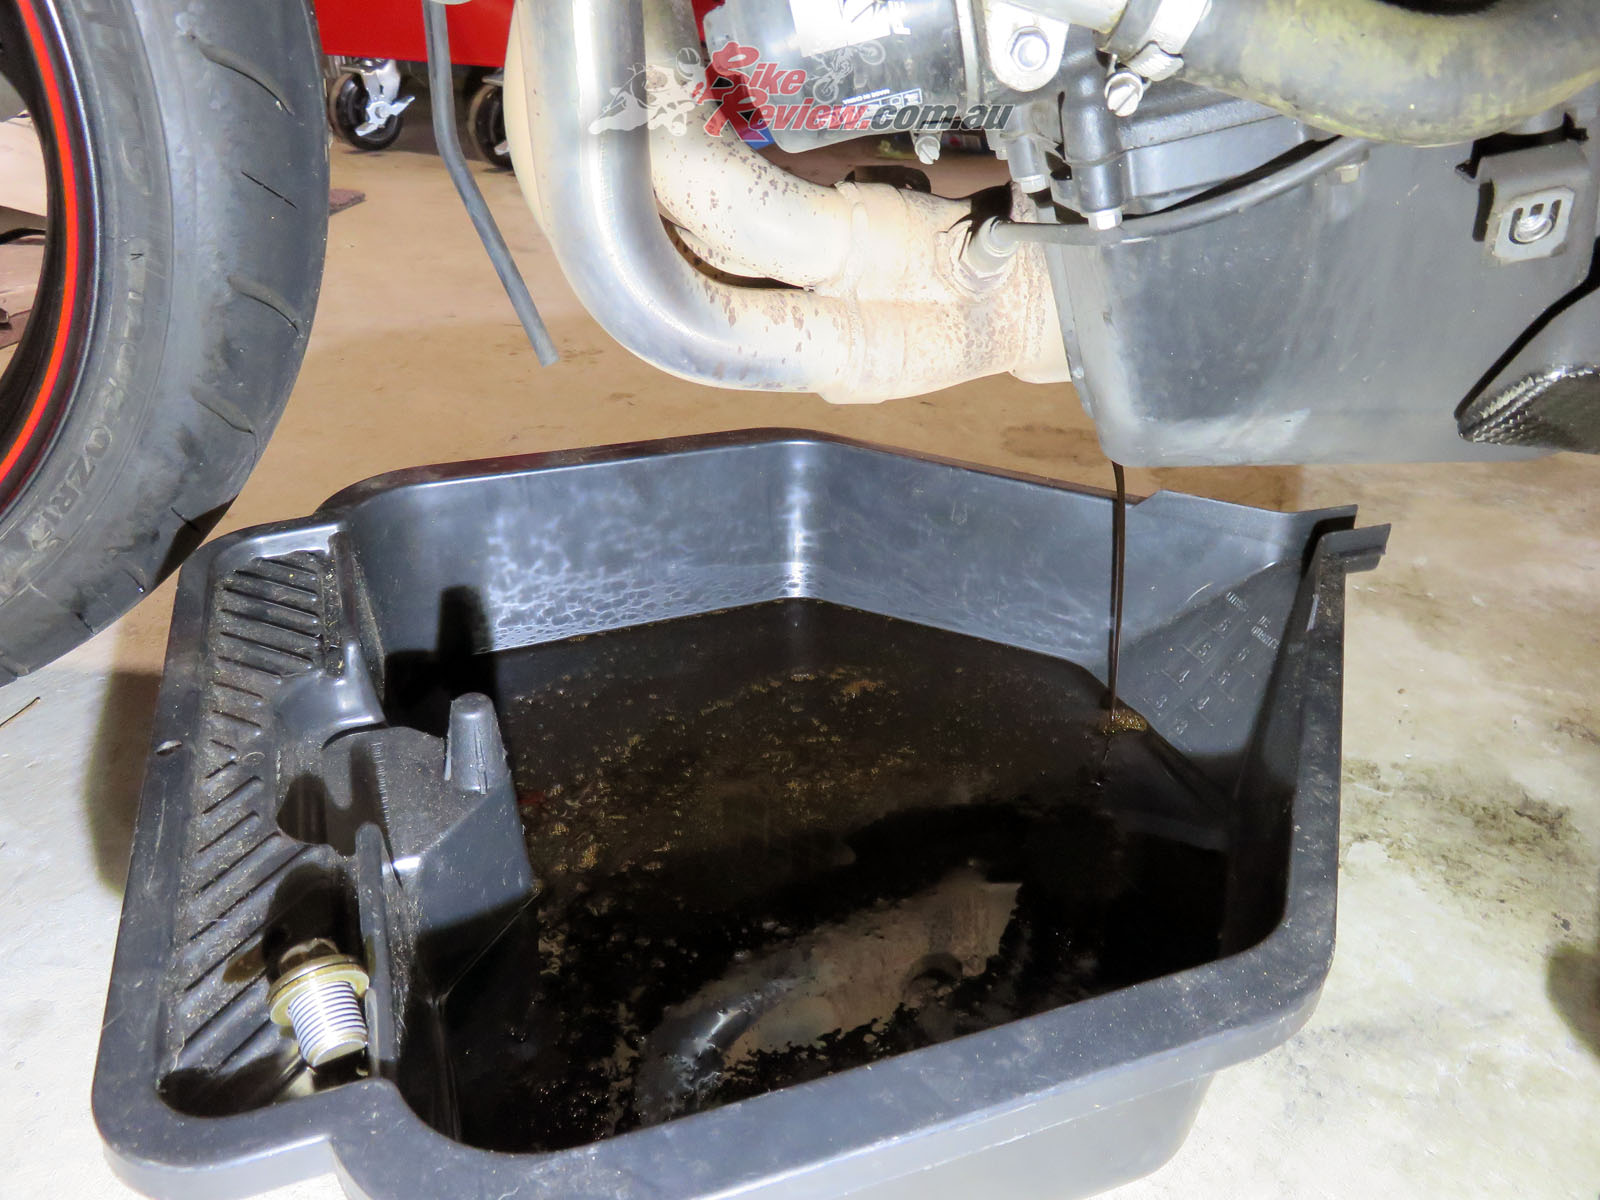
Allow plenty of time to drain.
Place the bolt on the draining area of the oil pan and don’t lose the washer. Now undo the oil filler cap to help the old oil drain out. I had an old bottle of oil from the last change and poured some in to help wash through the old oil.

Removing the old oil filter was not easy, with the nut on the end rounding off and needing a screw driver punched through the filter to loosen it.
Now loosen and remove your oil filter. The last filter I used was a K&N filter as it comes with a nut on the end for easy removal. This time my wrench stripped the nut, which was exceptionally soft. An old fix it for this problem is towards the end of the oil filter furthest from your bike, tap a screwdriver through the oil filter – all the way through, then use the screw driver to loosen the filter.

The old K&N filter off the bike, draining into the oil pan. You can see the puncture holes were I hammered a screw driver through to loosen it.
Don’t use too much force to avoid damaging anything on the other side of the filter. Also remember to do this at the end of the filter furthest from the bike, and ensure once you’ve knocked the screwdriver through that you’ve got room to turn it the right direction. This’ll be fairly messy, some rags on hand is a good idea, just make sure your oil pan is below the sump bolt hole as well as the oil filter to catch the oil.
Now’s a good time to have a 5-10 minute break to let the oil drain. Having given my bike a wash I took the opportunity to polish all the fairings I’d removed and give all the plastics a refresh.

The new K&N oil filter. In the past I’ve never had an issue with the nut and it’s been useful so I was happy to replace the old filter with the same again.
Once the oil has stopped draining from your bike you can replace the sump bolt with washer and fit the new oil filter. Don’t over tighten the sump bolt and with the new oil filter – a K&N oil filter here – you want to add some of the new oil to the thread and seal area before screwing it into place.

Oil on the new oil filter threads and sealing area.
It only needs to be hand tight, although I normally go as tight as I can manage by hand. The manual states 10Nm for the oil filter and 25Nm for the sump bolt.
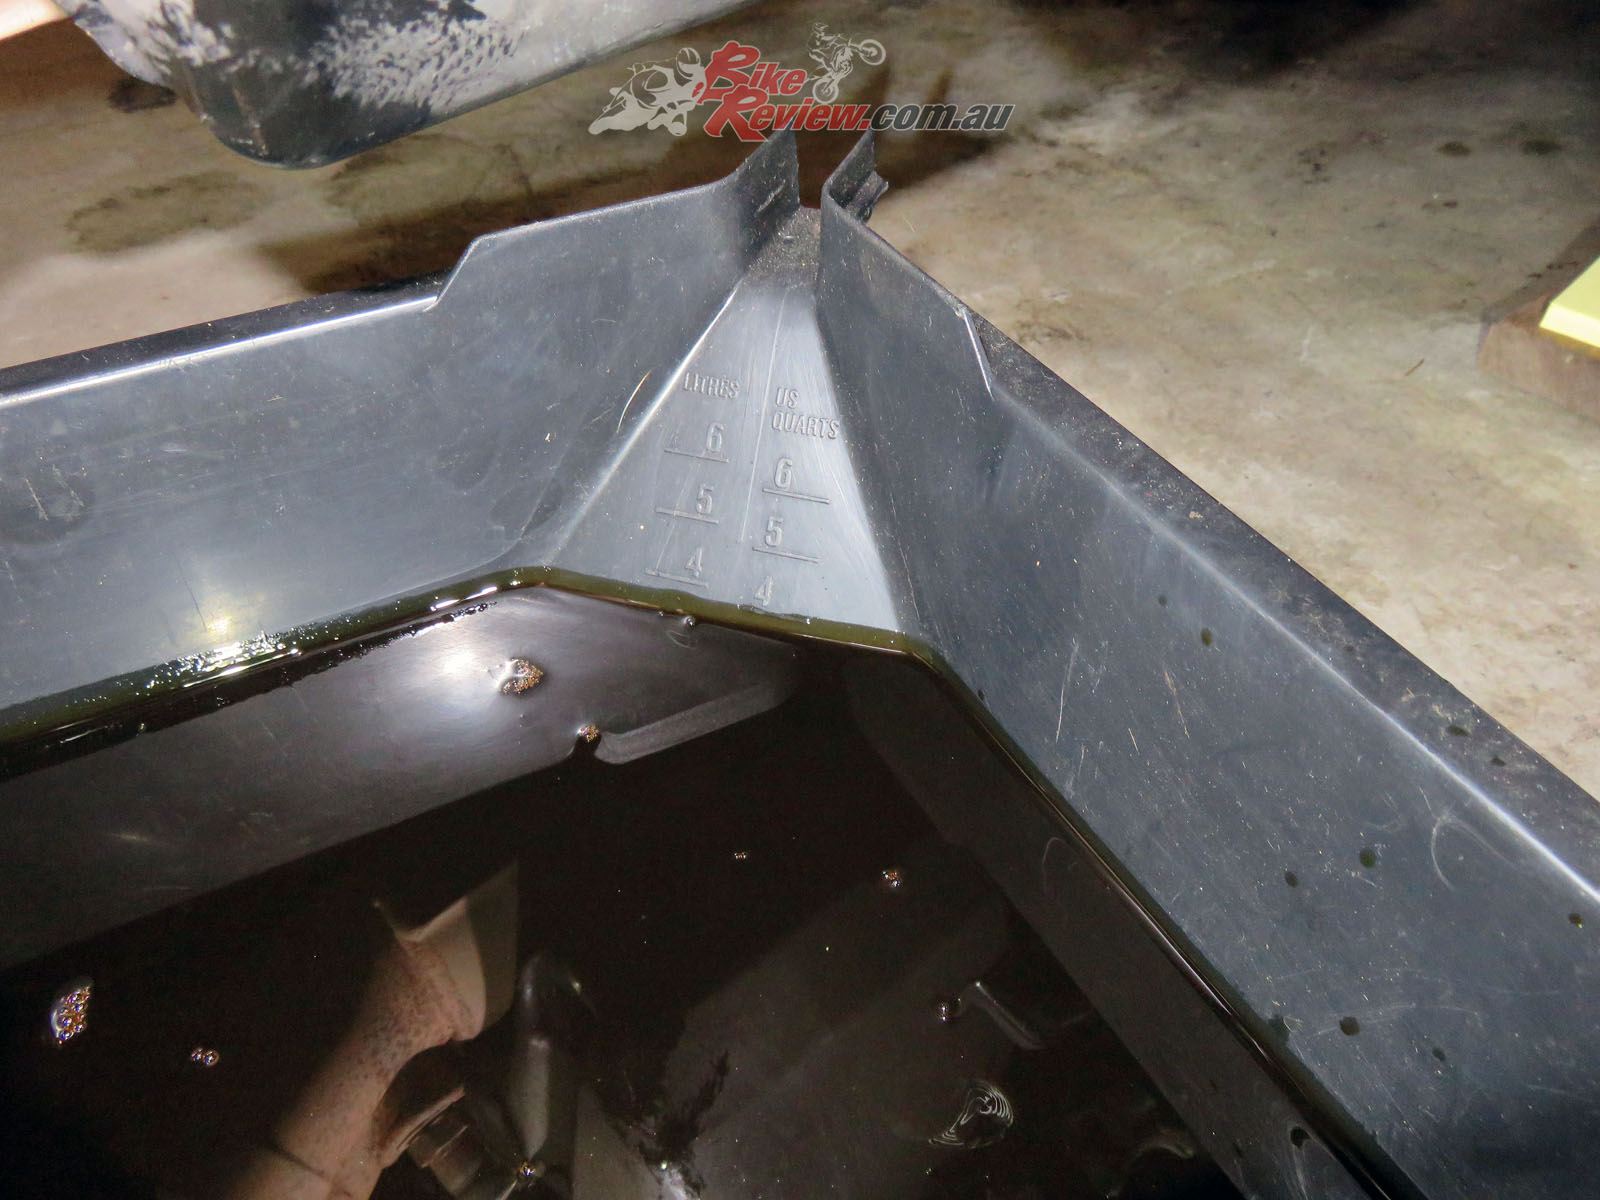
An easy way to measure how much oil you’ve drained, so you know how much needs to go back in.
With this done check how much oil you drained out, this is a great method of knowing roughly how much oil you want to put back into the bike, and most oil bottles will have an indicator to tell you about how much there is left. Here I have drained out just over 3L, when I get close to that much going back in I can start checking the oil level on the dip stick.
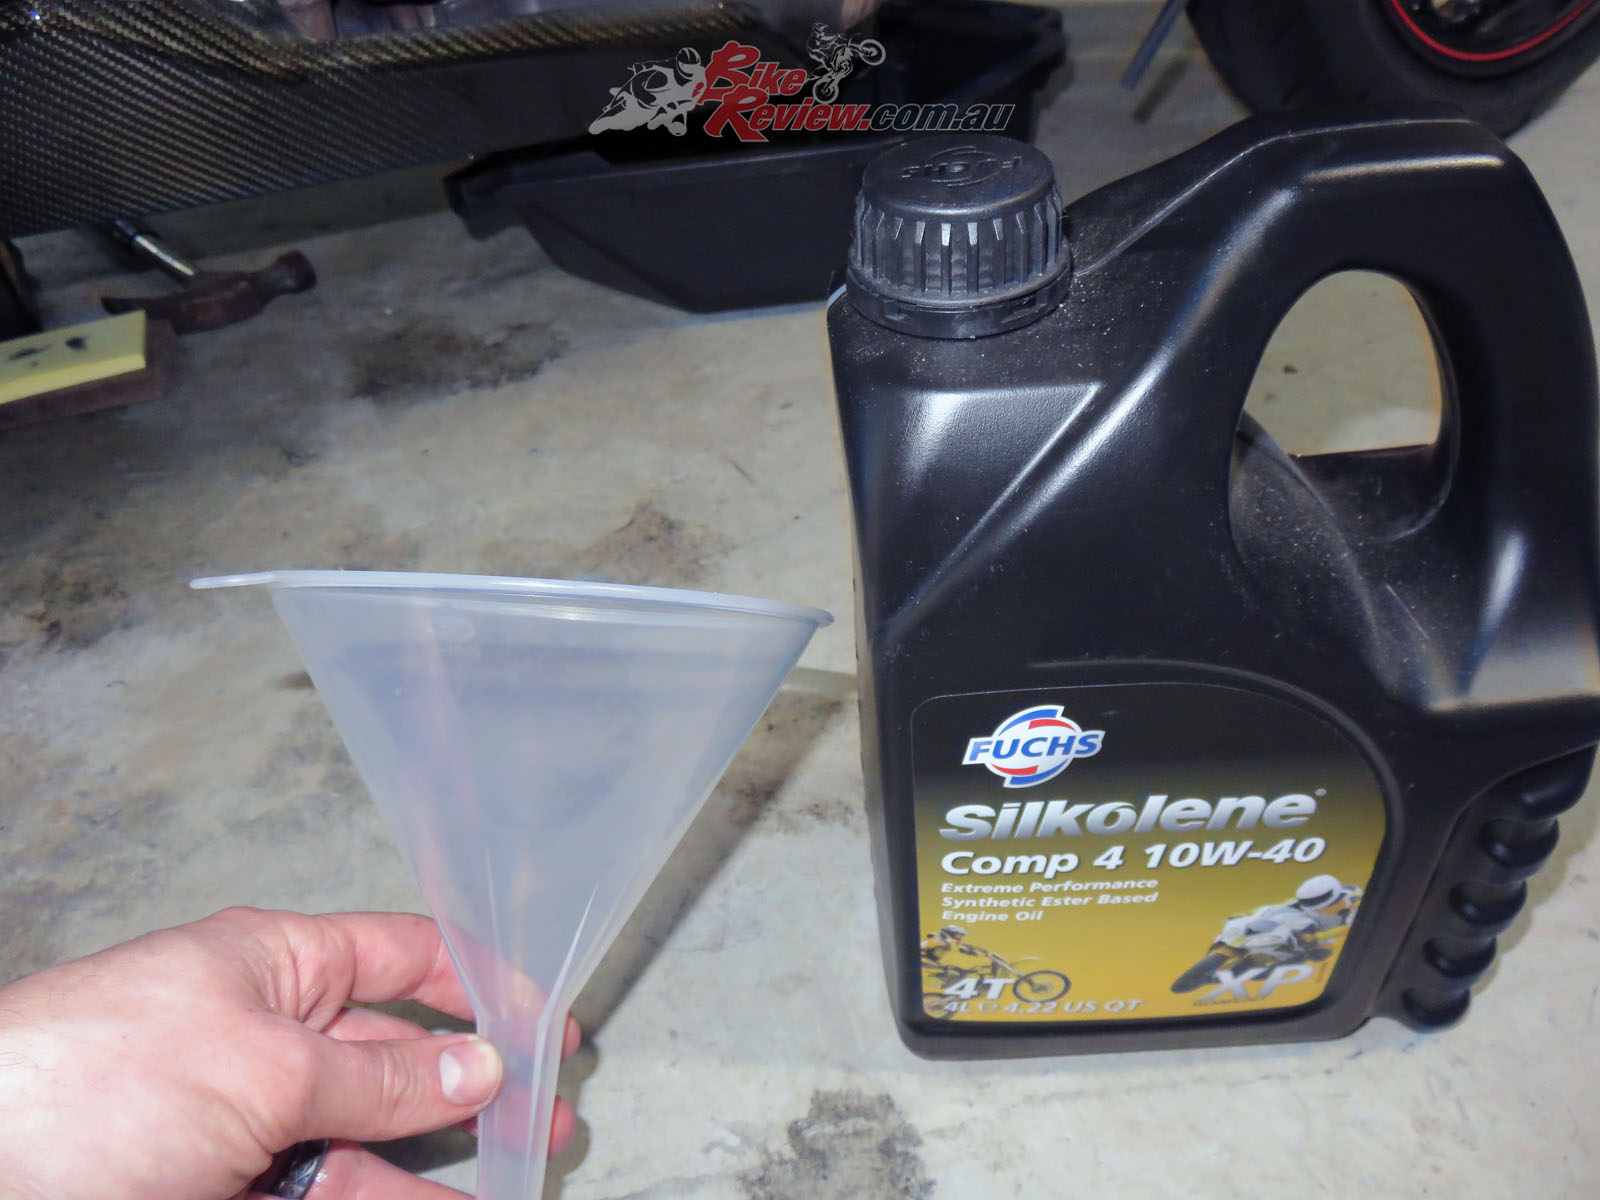
The kitchen funnel getting some use. It’s now the garage funnel.
I also used a funnel from the kitchen to get the oil in without any spillage, which can be annoying to clean off your engine or the ground.
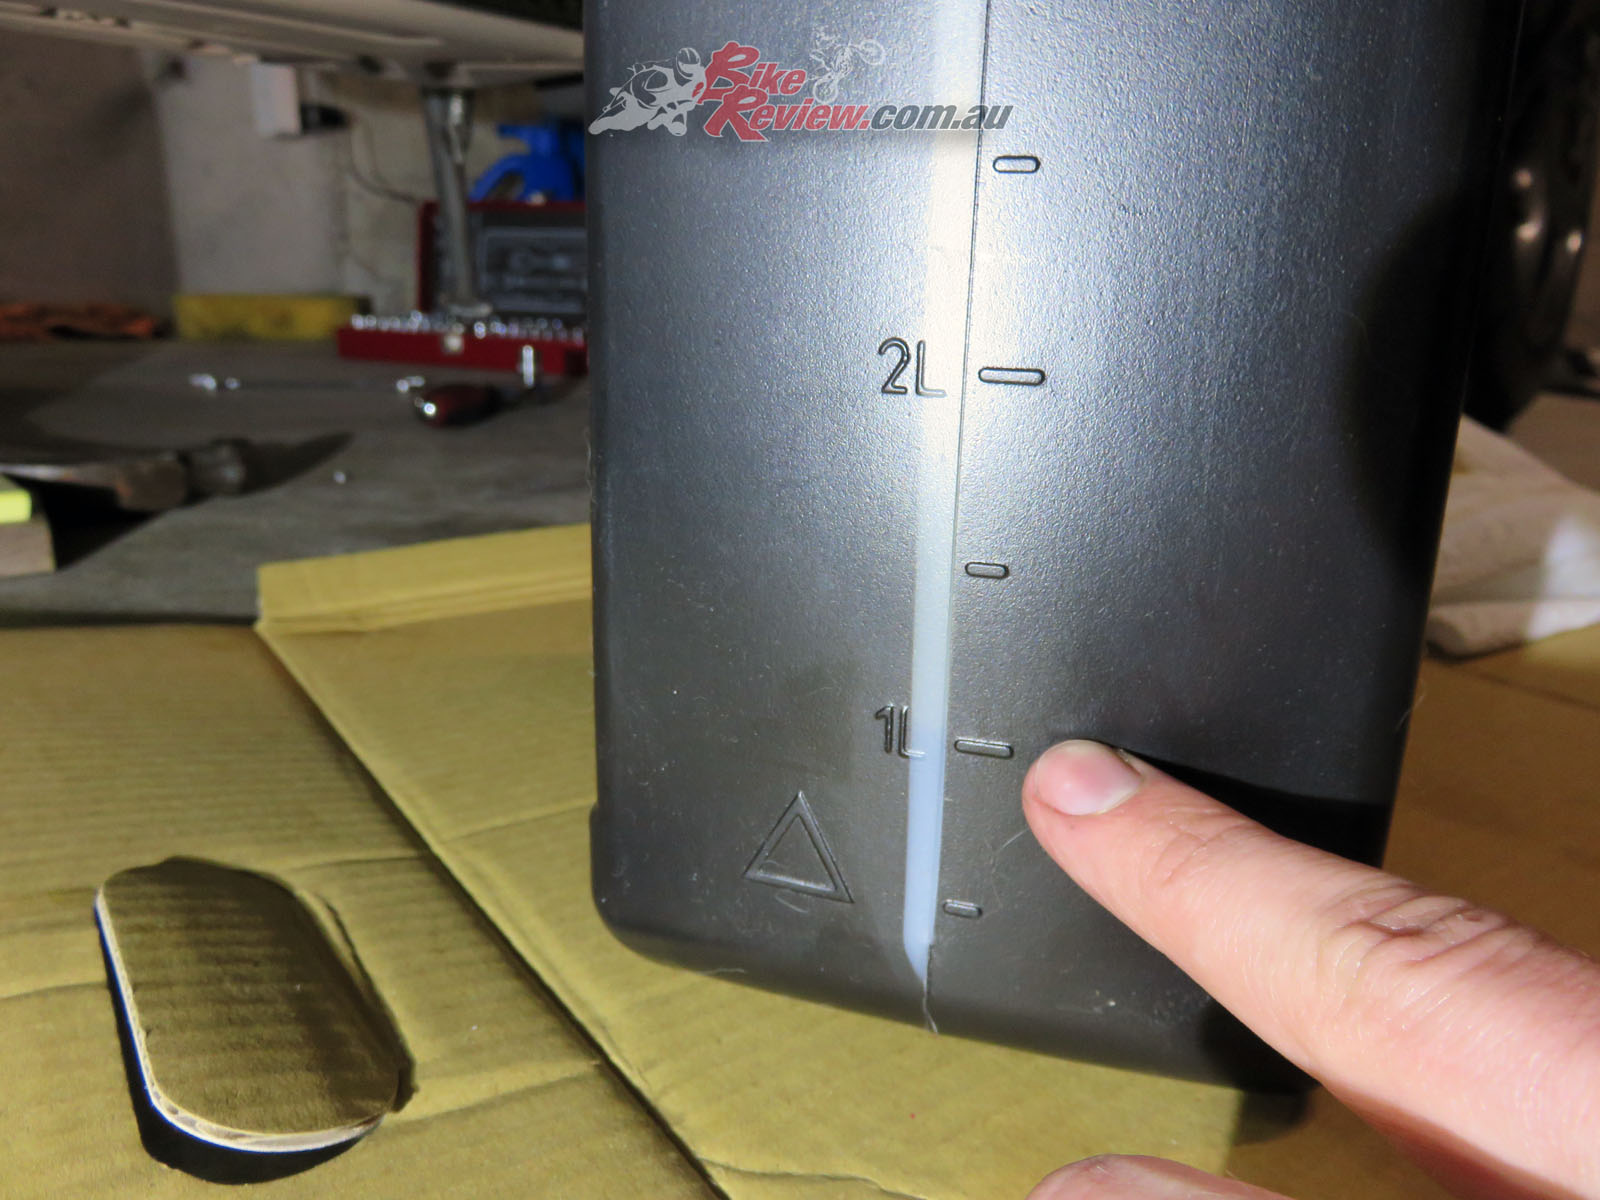
You can see there’s just over 1L of oil left in the bottle. Getting close!
I kept filling till I had put in 3L and then started measuring on the dipstick, although this was already pretty close. It is a good idea to make sure you’re allowing time for the oil to settle and also remember you’ll normally check oil level while the bike is warm.
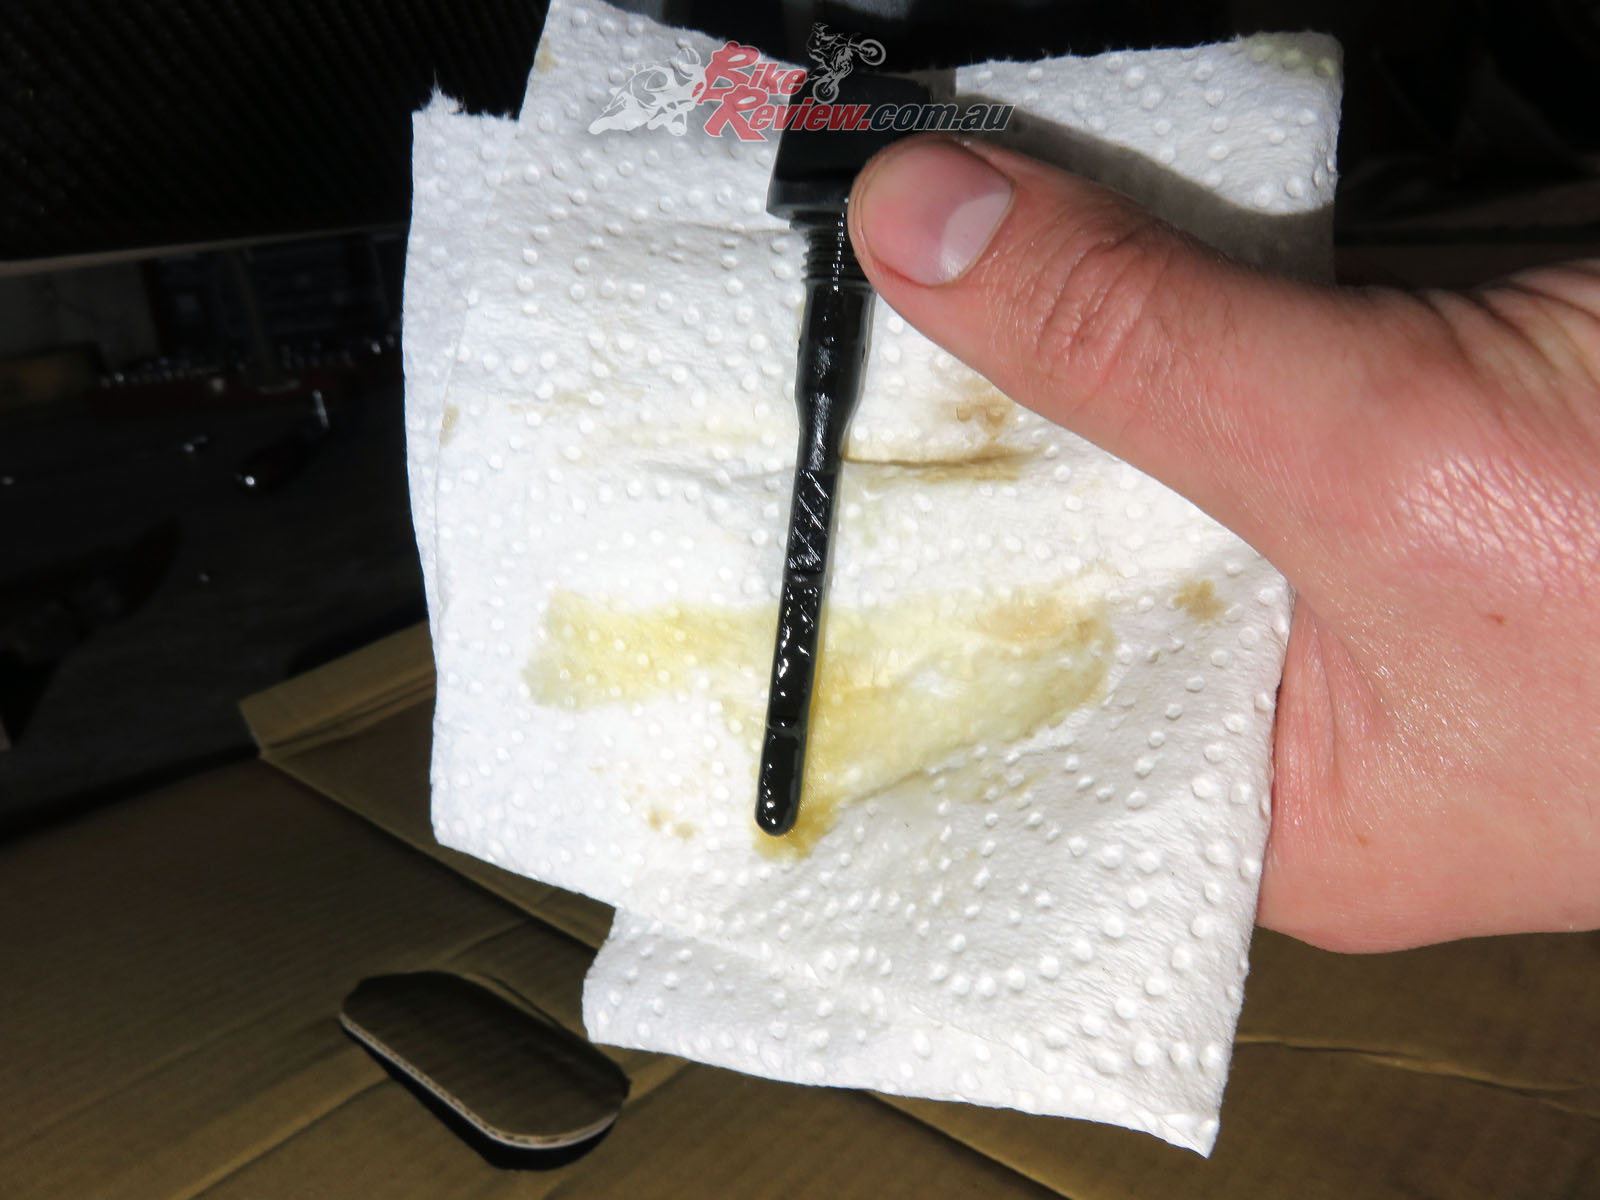
The oil dipstick level, in-between high and low. It can be hard to see, so make sure you have good lighting and triple check if necessary.
Once you’re happy with the oil level being within your manual’s recommendation, replace the oil dipstick and the oil filler cap, double check the sump bolt and oil filter are both tight enough and allow your bike to warm up, then let it sit for three minutes (the recommendation in my manual).
The bike should also be level and upright. I’ve found there’s not a huge difference between on the rear stand and simply held upright (off the side-stand) so I normally do the oil change on the rear stand, however this will vary bike to bike.
Double check the warm oil level once the oil has settled, or if your manual differs, follow their instructions. Keep in mind the recommended level they provide is based on how they tell you to check it, so it’s best to follow the manual.
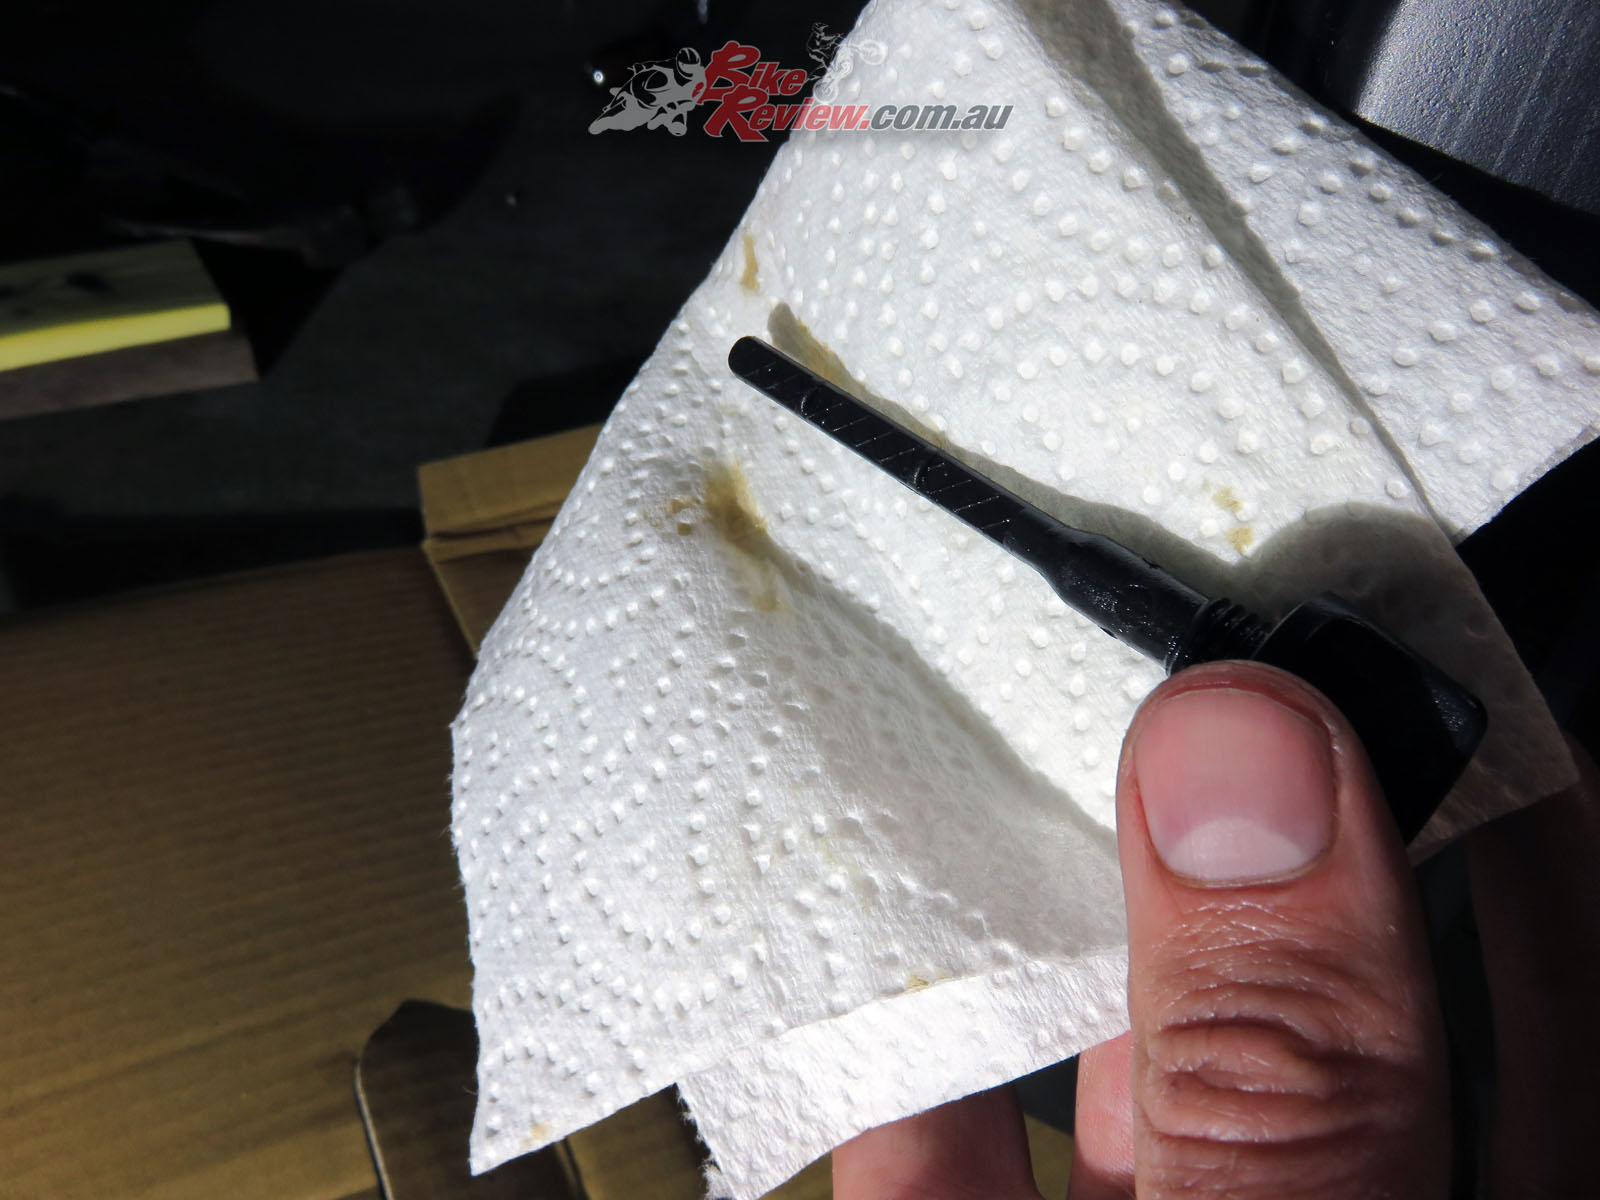
Always wipe down the dip stick between measurement.
If necessary top the oil off a little more, and remember to clean the dip stick each time you use it, to ensure it’s an accurate reading. With the Daytona it needs to be fully screwed in for an accurate reading too.
Once you’re 100 per cent happy with the oil level you’re done. Do a final check of the sump bolt, oil filter, dipstick and oil cap, and if necessary replace all the fairings.
It’s not a bad idea to double check the oil level a few times after your first few rides as well just to be doubly sure.
I did notice the smell of burning oil, but I had dropped some oil onto the headers where they collect from three into one, and only wiped them down so expected this. It is a good idea to keep an eye out for any oil leaks after an oil change, in case anything isn’t tight enough.