A little bit of planning and a Cargol tyre puncture kit can ensure you're never caught out. Words: Kris Hodgson
One of the most irritating occurrences you’ll face on a motorcycle, particularly if you have luck like I do, is to pick something up in your tyre and end up with a flat.
Heading to work recently, after stopping at a light and then taking off I knew something was wrong – I wasn’t going nearly fast enough to be drifting, especially on a 250cc scooter – and pulling over and checking the rear tyre revealed a pretty noticeable puncture.
I managed to limp to a service station and fill the tyre, to get to the next service station and then to work where I’d left my extra puncture kit. The one I regularly carry is under my motorcycle seat!
This puncture repair kit from Cargol is an awesome little set of tools for getting back on the road in no time, which can be a literal life saver if you’re stuck out in the middle of nowhere with no reception. In fact you can even get it with a carry case and a variety of other useful tools.
The trick is the Cargol Turn & Go system, which allows you to easily plug most punctures – once you’ve removed any offending material – before reinflating the tyre with the easy to use compressed air cylinders.
One other thing to remember is that you’ve got a puncture or flat, always make sure you stop your bike somewhere safe, where there is no chance you’ll be hit by other traffic while looking at your tyre or using one of these kits. Don’t put yourself at risk. If you’re stuck somewhere with no shoulder or where you can’t get the bike off the road, leave the bike in as safe a spot as you can (with indicators or hazard lights on) and move to somewhere safe, then call for assistance.
Here’s how it works…
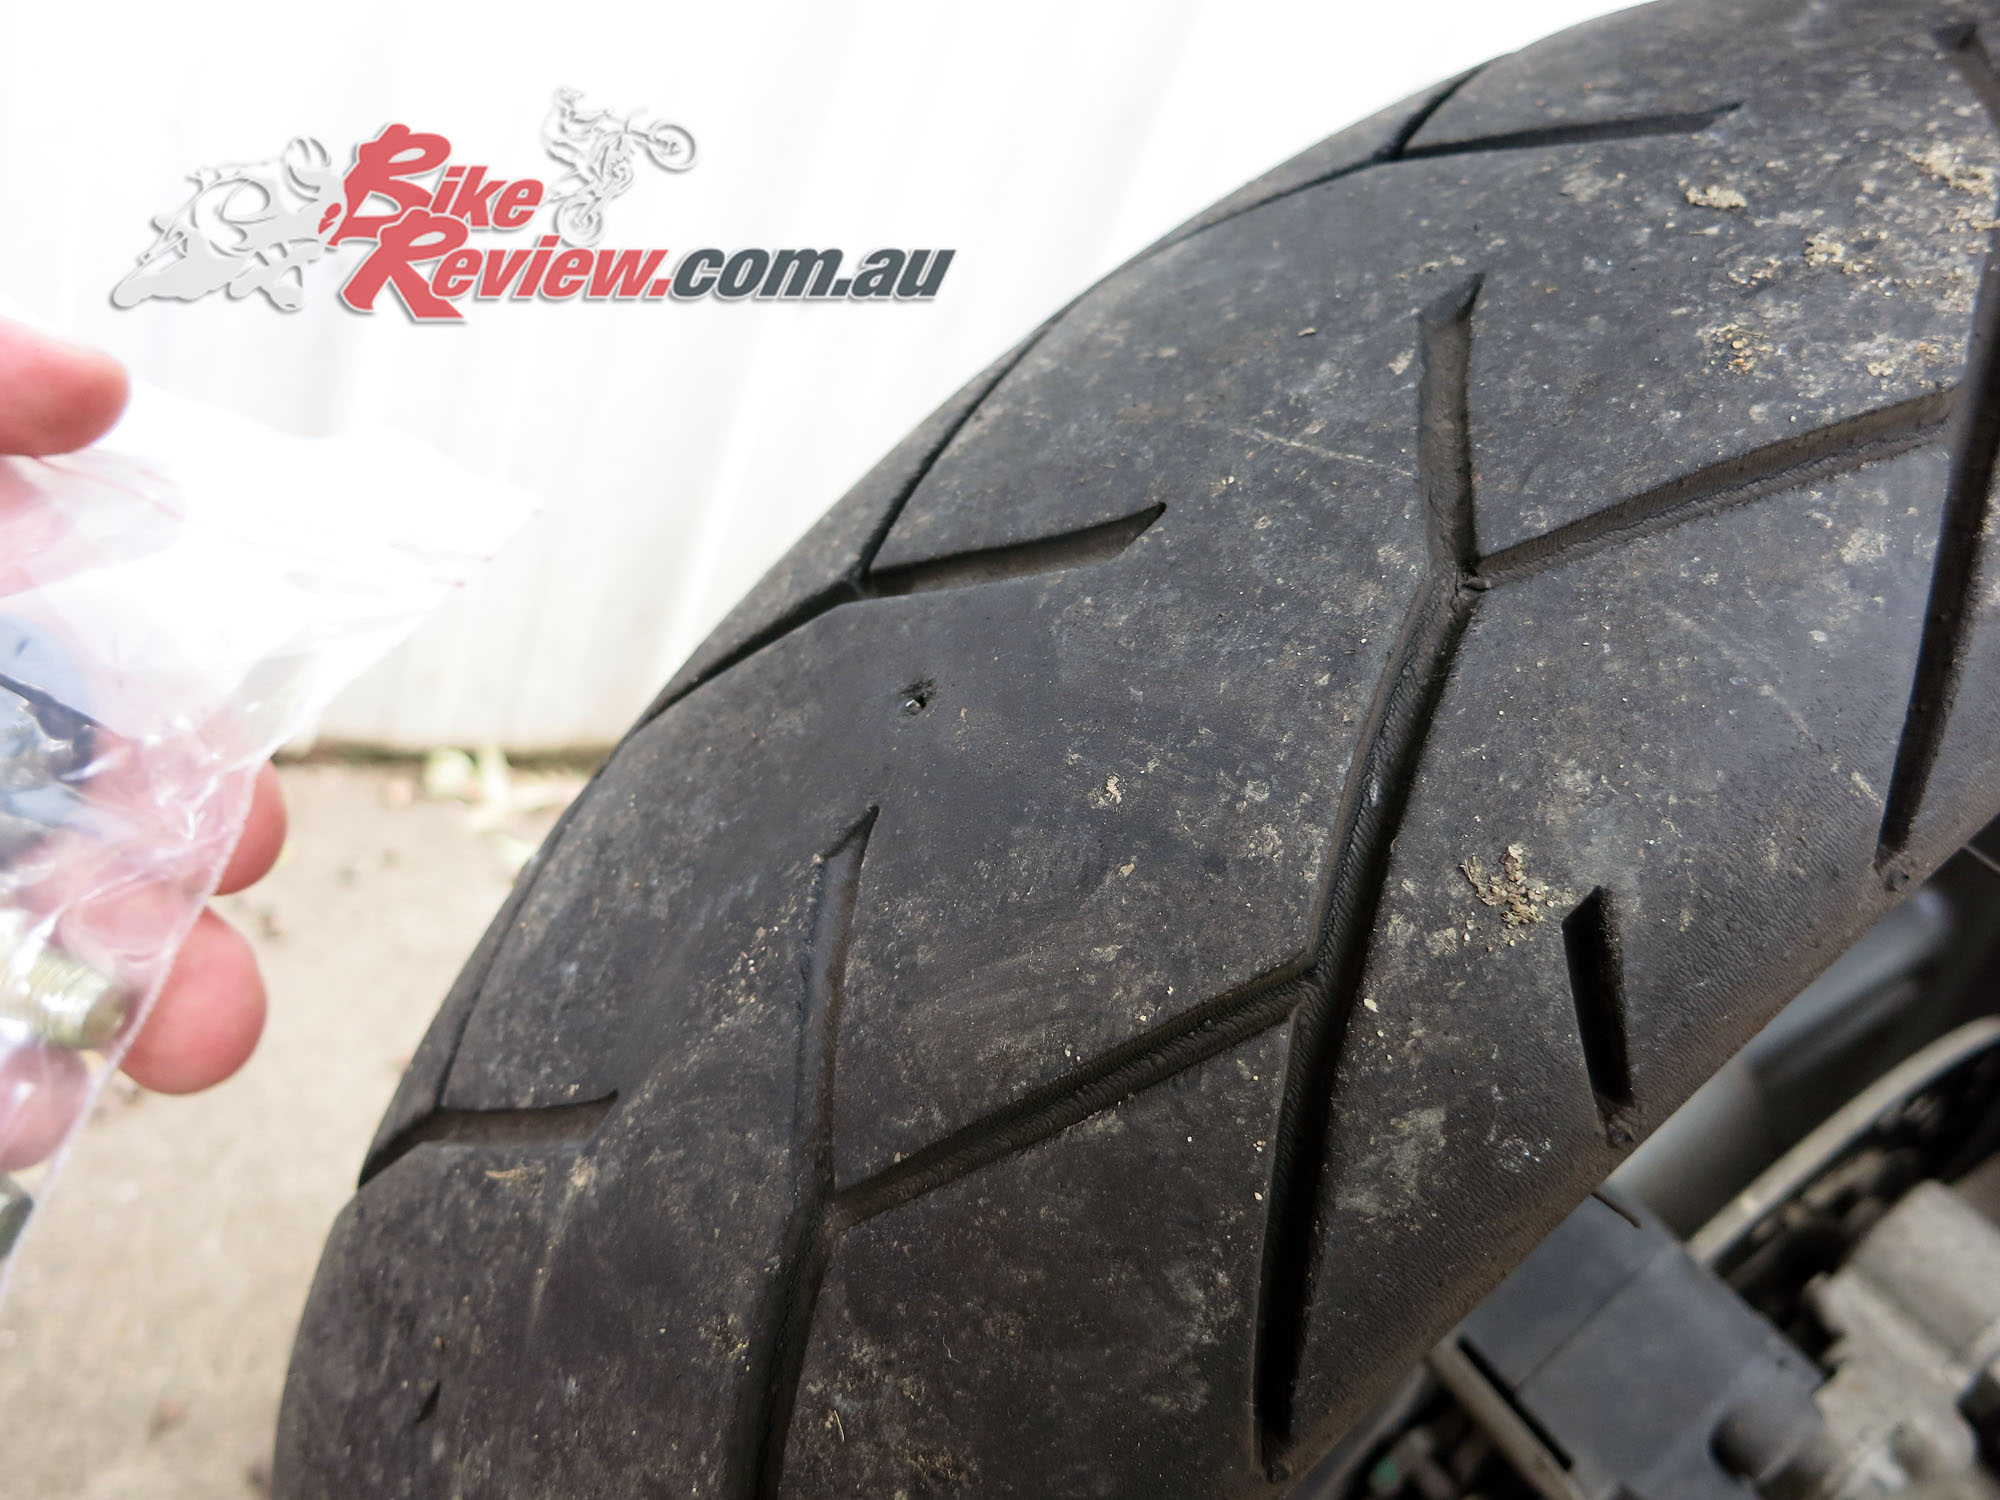
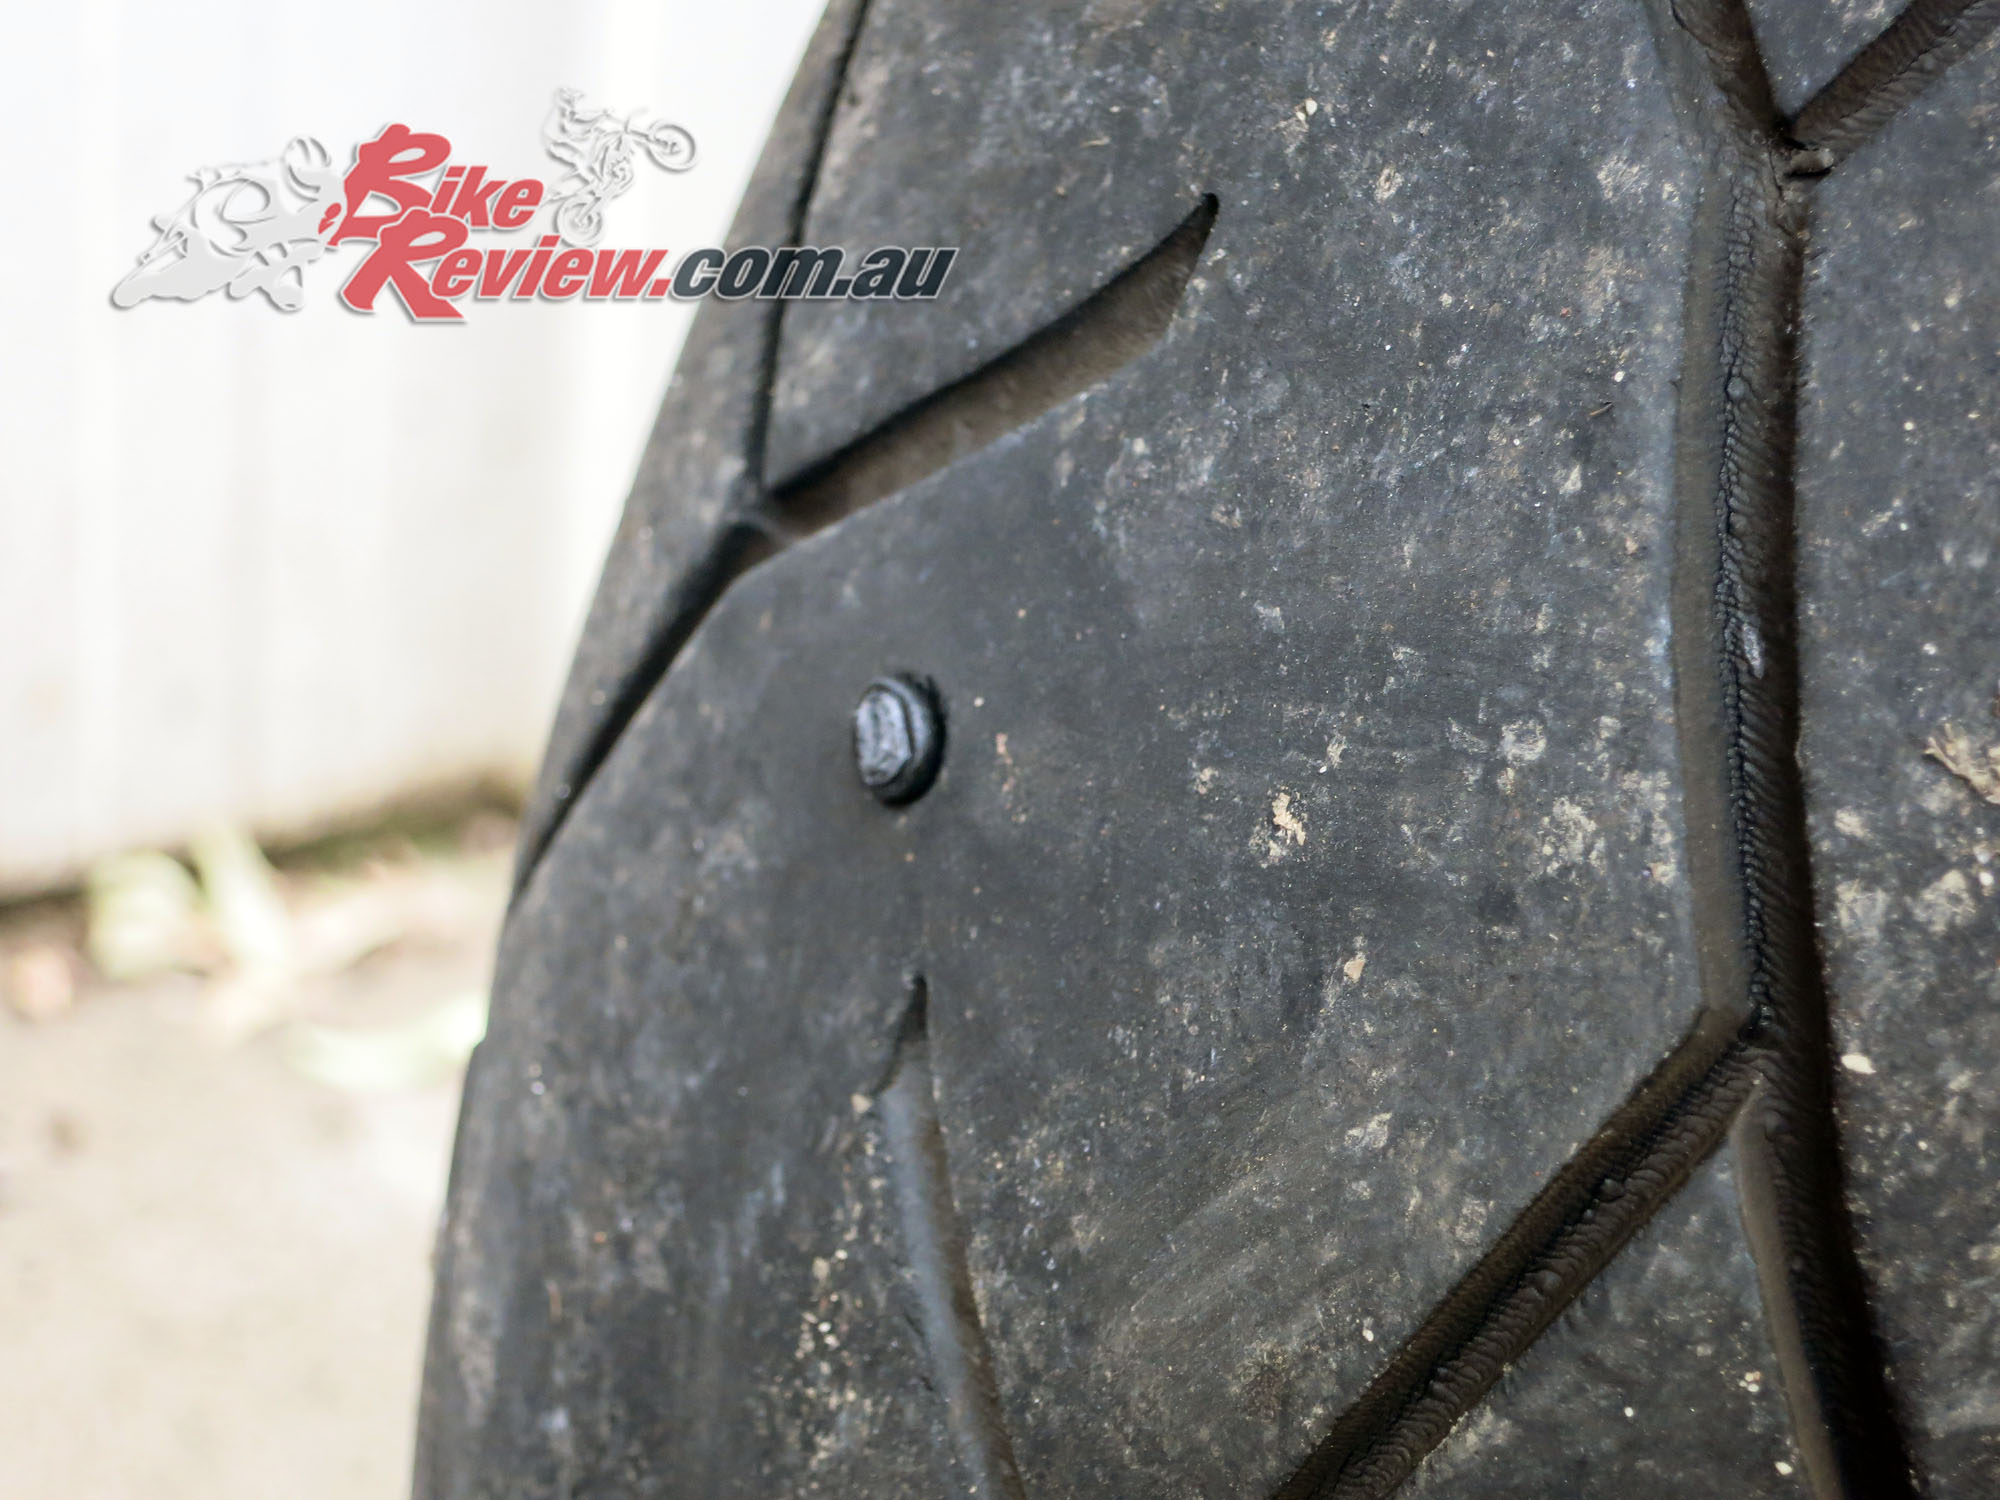
First up identify where the puncture is. This will normally be easy, with a large nail sticking out of your tyre. Other times it’ll be deeper in the tyre and you may need to reinflate the tyre and run soapy water over the tyre to find the puncture. Use the chalk in the kit to circle the puncture (or punctures) so you won’t lose them. You’ll also need to remove the offending material. Use pliers (preferably needle-nose) to get a good hold of the nail or similar and remove it.

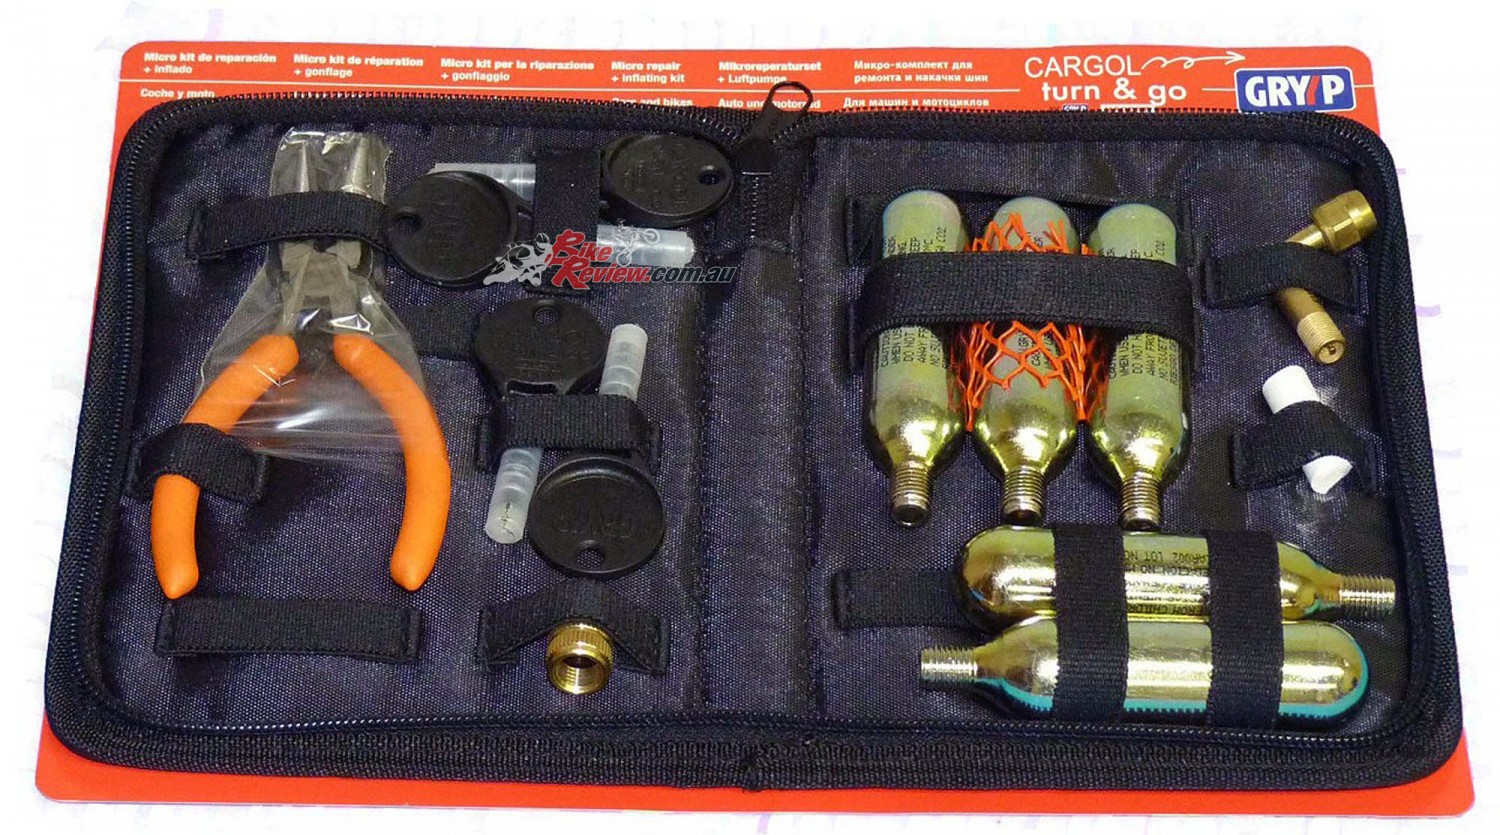
Grab out your Cargol puncture kit, which should include a number of pressurised Co2 bottles, your Turn & Go plugs and an adapter for reinflating the tyres. You’ll also notice the orange bottle cover, don’t lose that! Depending what kit you bought the pliers may be included.
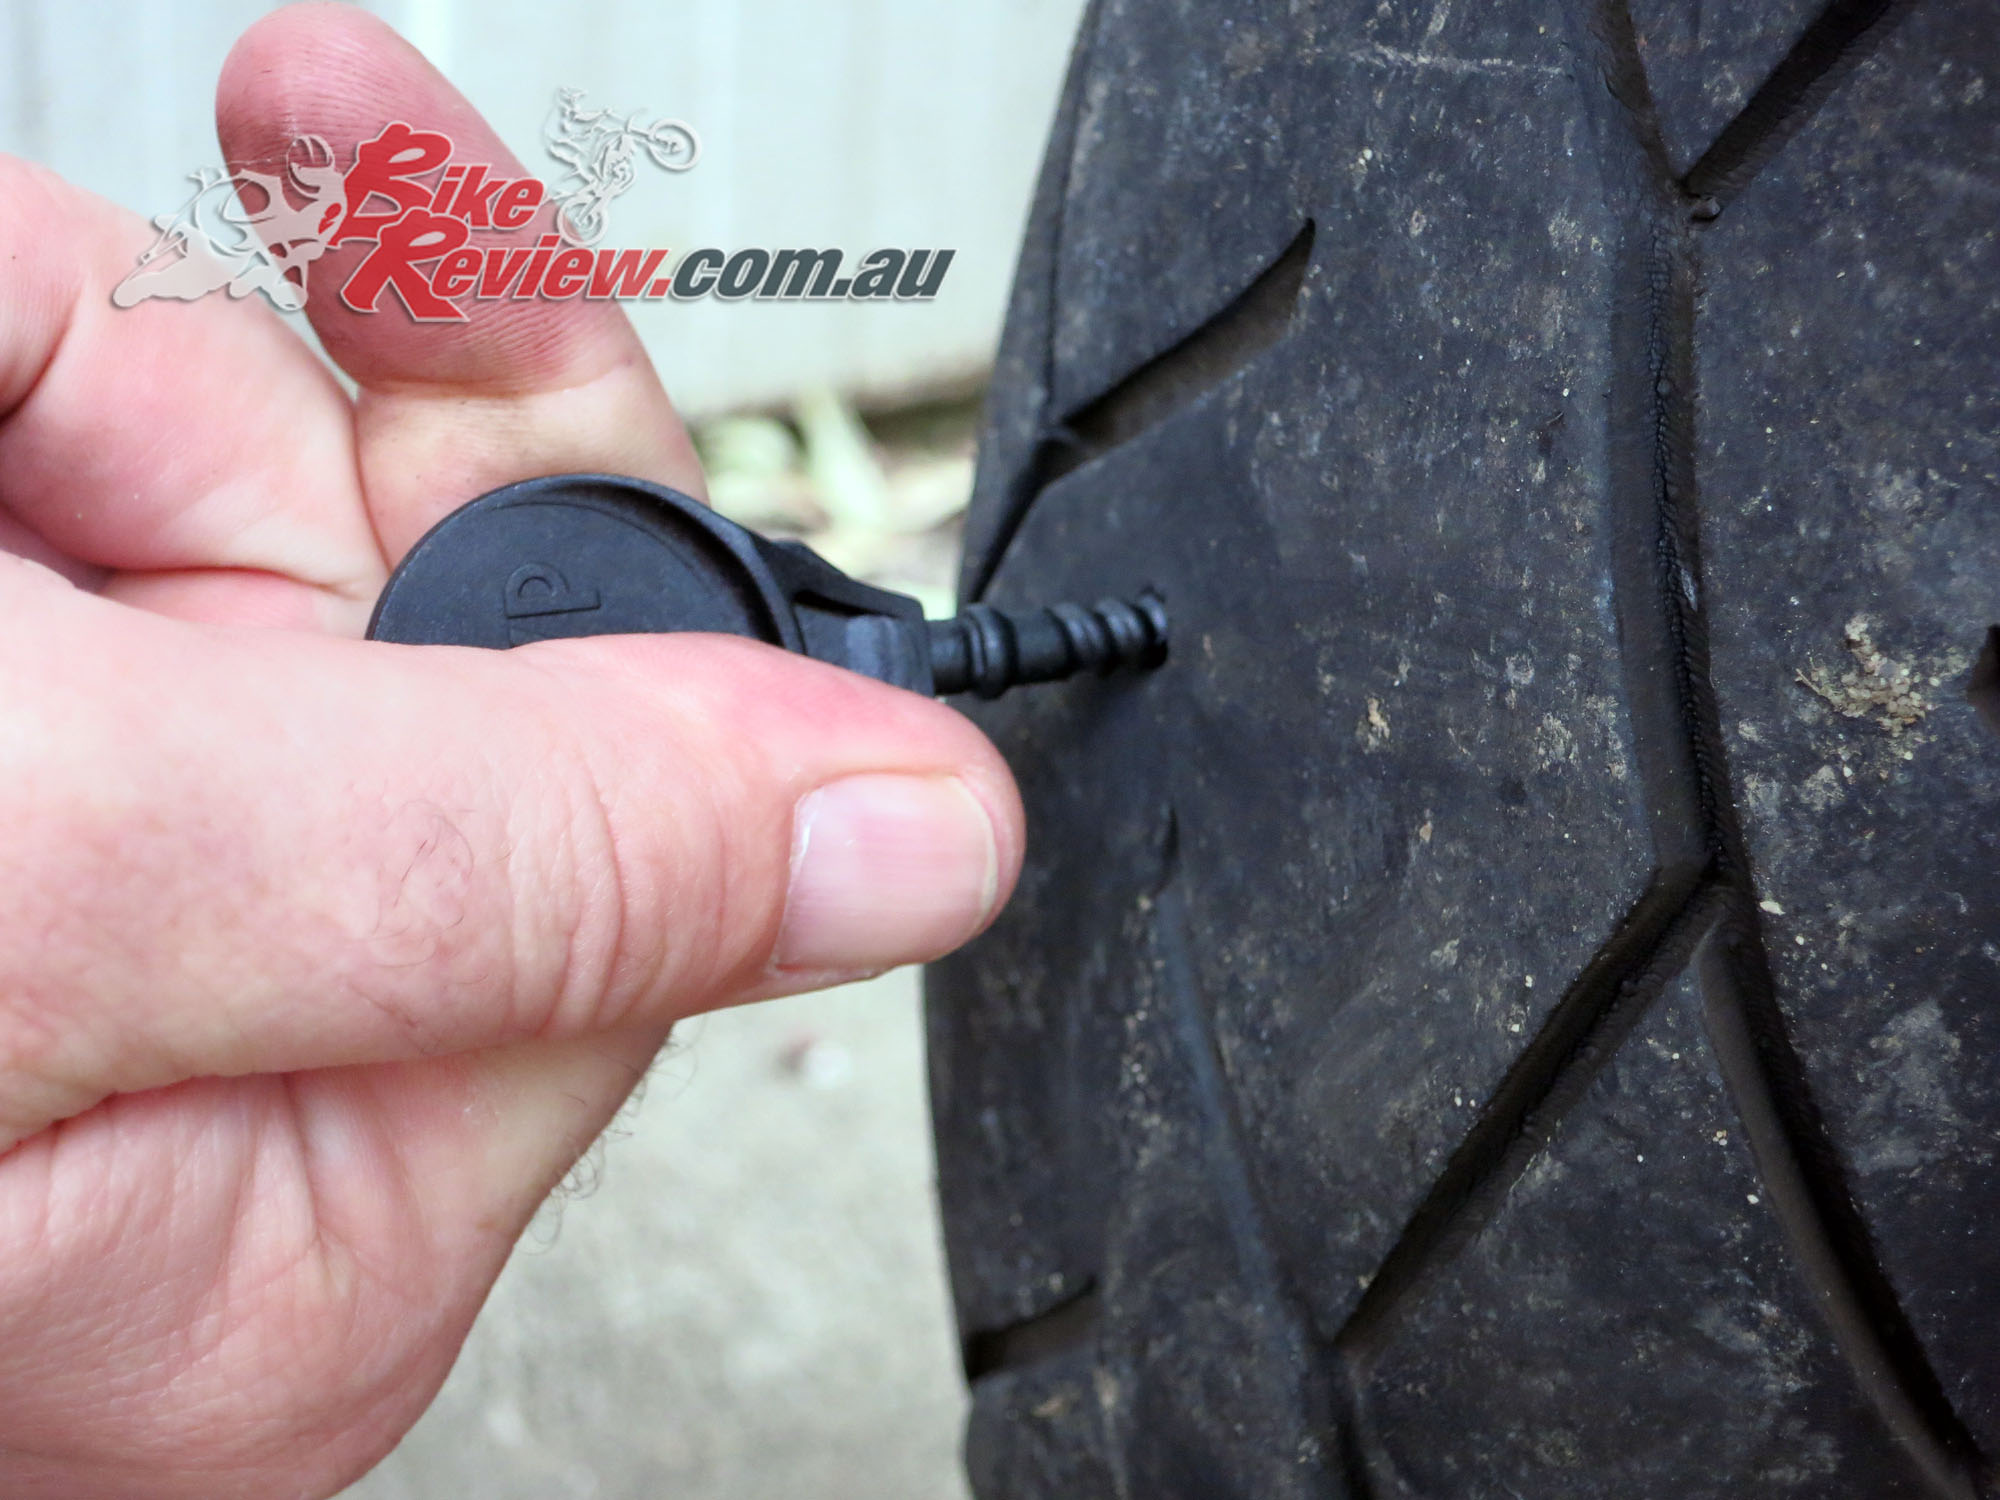
Insert the Turn & Go plug into the puncture and screw it into place, following the angle of the puncture. Very little force is necessary, just let the thread on the plug do all the work.
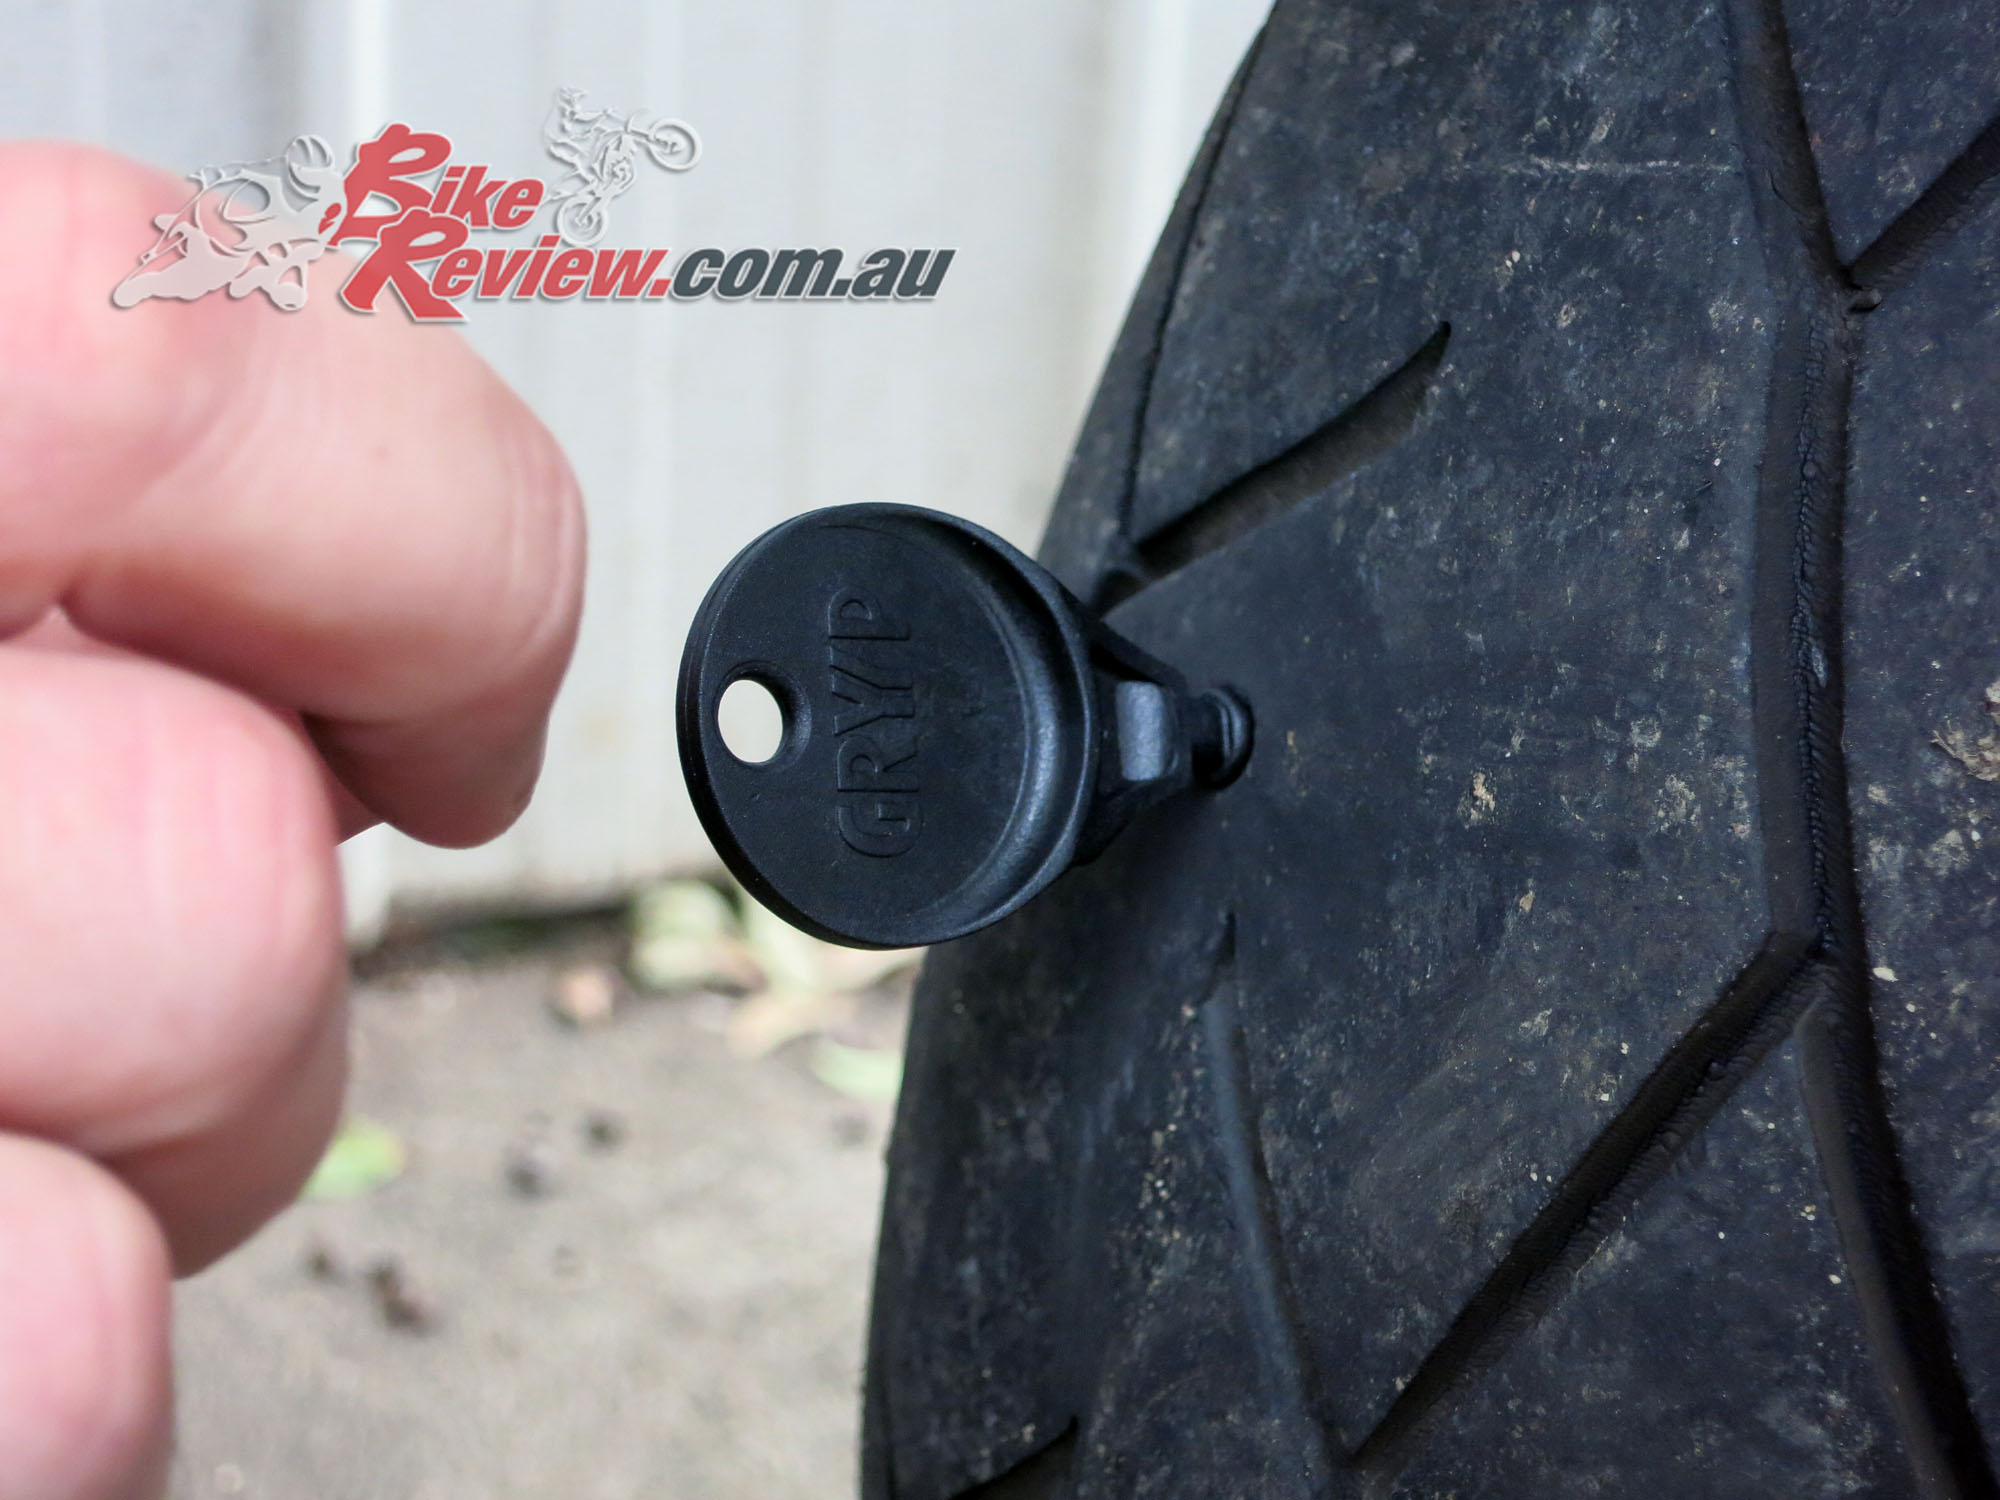
Make sure the plug is tightened as far as it will go. You should be able to just see a small nib left under the break-off point on the plug, right up against the tyre’s rubber.
Snap the top off the Turn & Go plug, making sure to leave the nub there. It will be sitting out from the tyre and tread at this point.
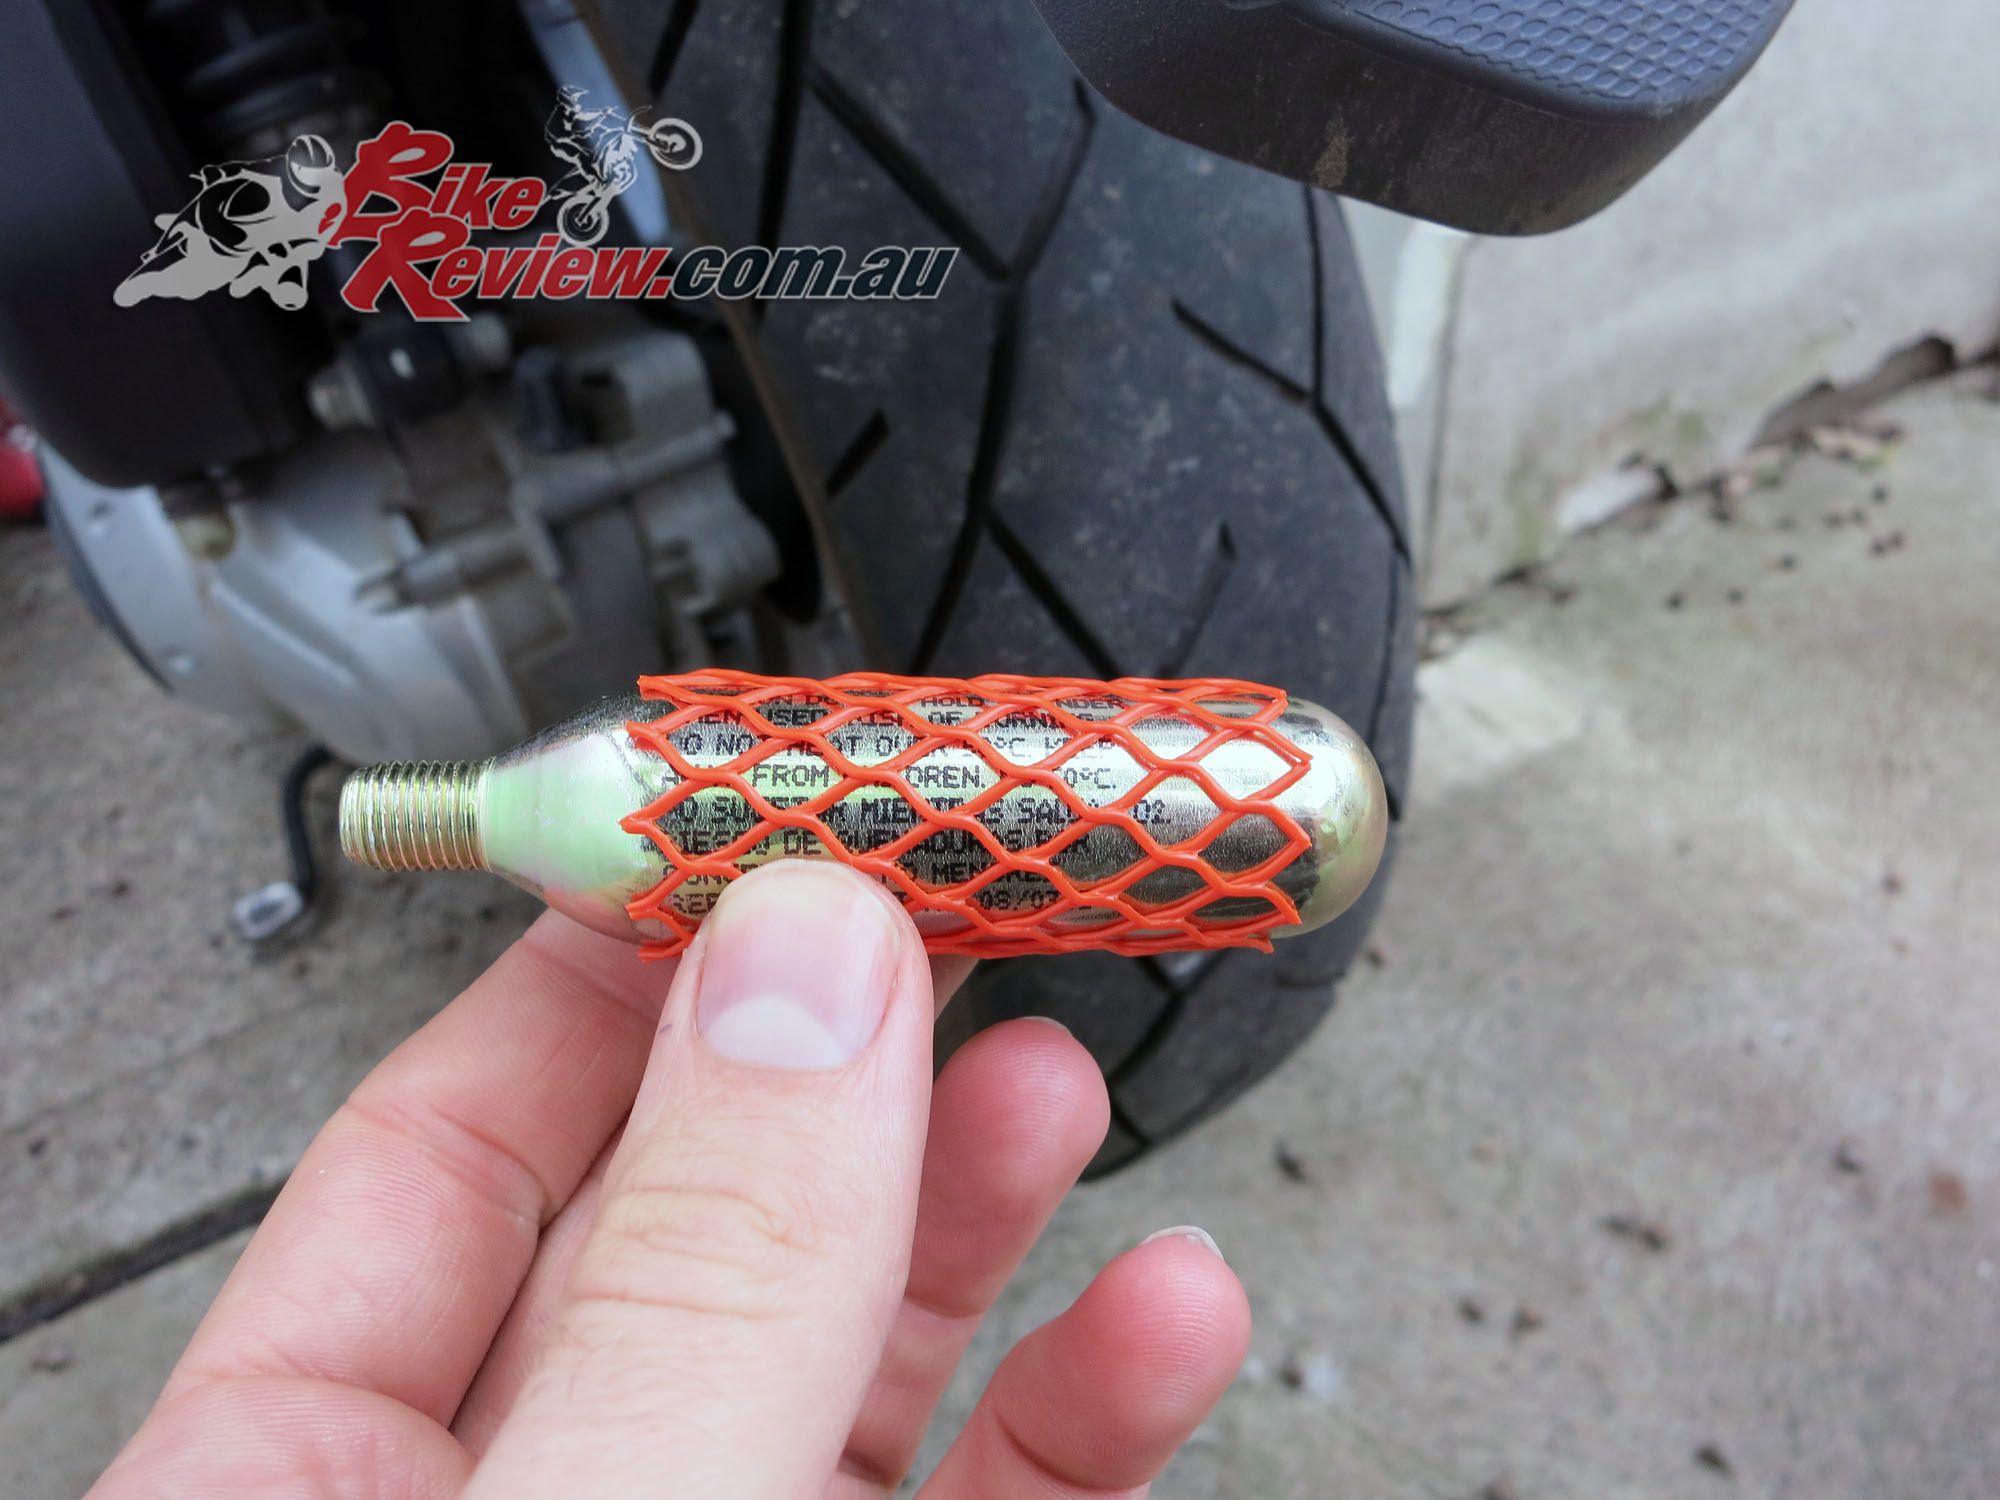
Grab your Co2 canister, unless you went the extra mile and purchased one of those mini hand-pumps, and add the orange protective sheath. As you release the pressure from the canister into the tyre it will rapidly cool. The canister will freeze up and if you’re holding it you’ll probably end up with it stuck to your fingers. So use the sheath!
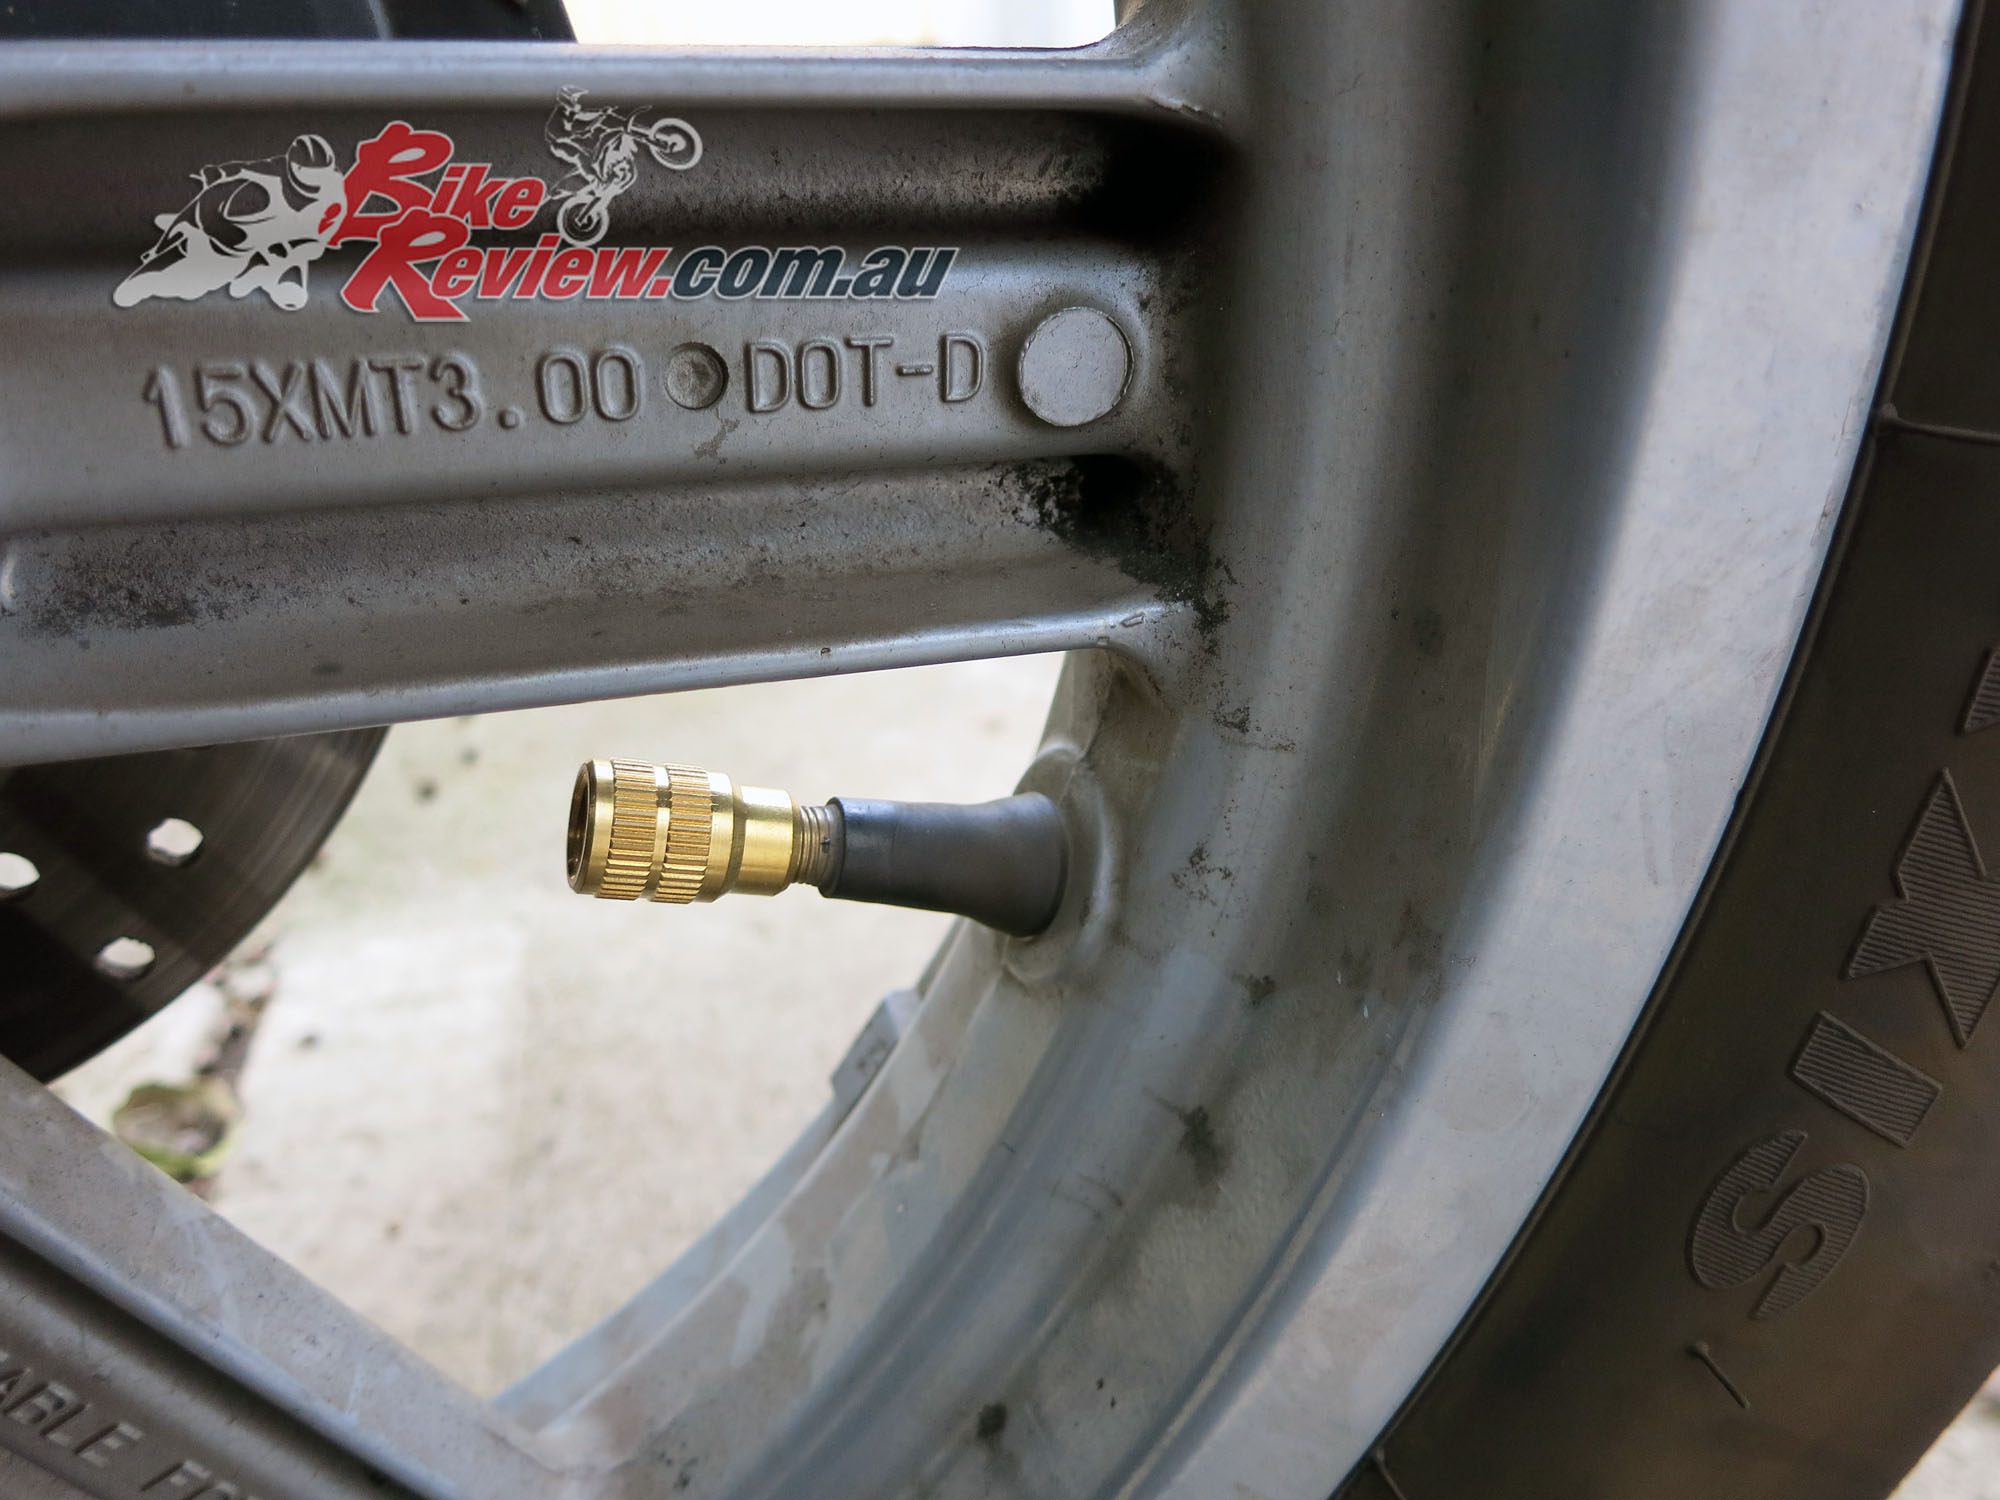
Connect the adapter to the wheel’s valve.

Then connect the Co2 canister and tighten the adapter onto the tyre valve, then the canister onto the adapter. There’s a needle in the adapter that will pierce the canister and release the pressure. You want that to happen last so all that pressure goes into the tyre.
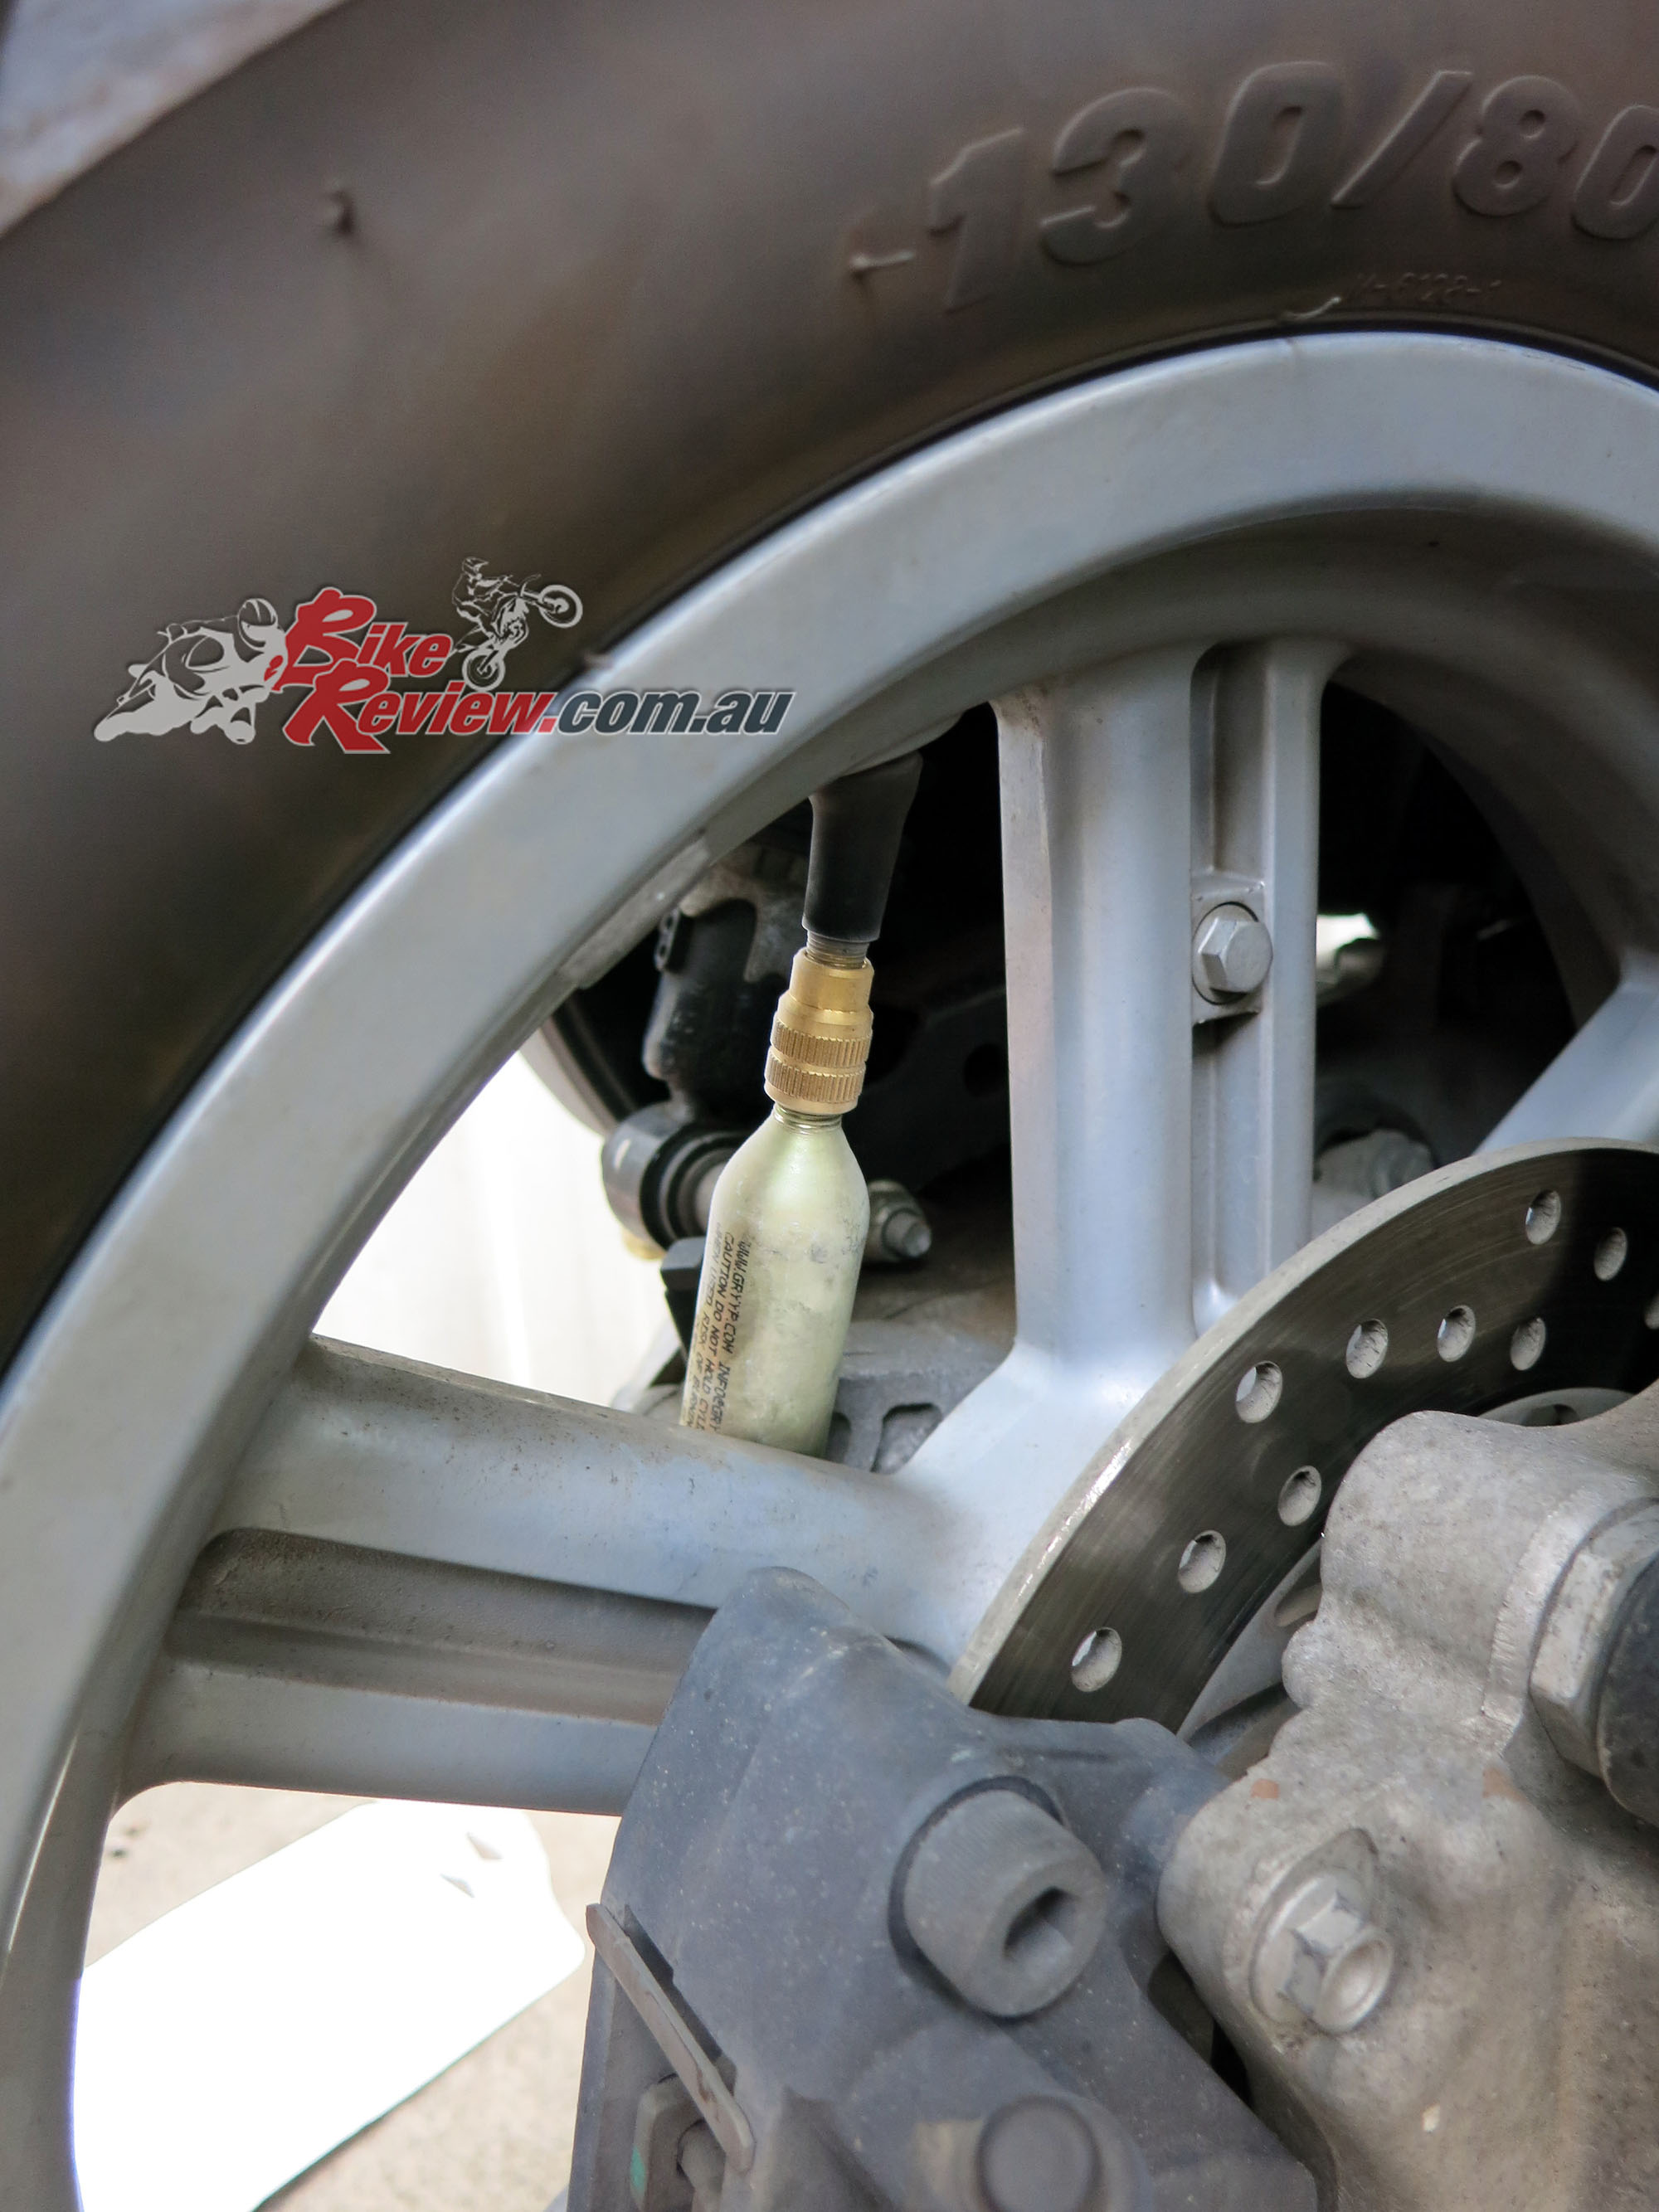
You can see here the frost that forms on the bottle as it cools down. We found we needed two canisters for this job and it’s likely that will be true for most motorcycle wheels, especially on the rear of a bike. Unscrew the adapter from the wheel to ensure you don’t lose any pressure, then remove the canister. Replace your valve cap and you should be good to go.

Here’s one of the kits from Cargol that includes everything you could need for regular repairs. Four Turn & Go plugs, five canisters, both a straight and 90-degree adapter and chalk, with a set of pliers for removing whatever punctured your tyre, all in a handy case that’ll fit under your seat!
We’re not quite done yet!
Keep in mind these tyre puncture kits are for getting you home and not intended for long term use. We did about 200km on this tyre without issues before having a new tyre fitted. Gryyp recommends seeing a tyre specialist after fitment, and tyres can still be repaired for long-term use after using their products, if you wanted a professional internal repair job for instance.
Ensure you also check tyre pressure frequently just in case the leak wasn’t 100 per cent plugged and remember ride safe!
You’ll find Cargol puncture repair kits at all good motorcycle stores.
Special Thanks: Kenma.com.au