If you're a daily rider, you'll understand the familiar struggle of fitting all of your necessities into a backpack every day. Ventura's luggage systems however, are a logical solution to this problem...
Having blown much of my savings on numerous turbocharged cars (like many mechanically obsessed young blokes), I thought it was about time to make the change from my turbocharged Forester to something a little cheaper, and much faster, a Honda CBR500R.
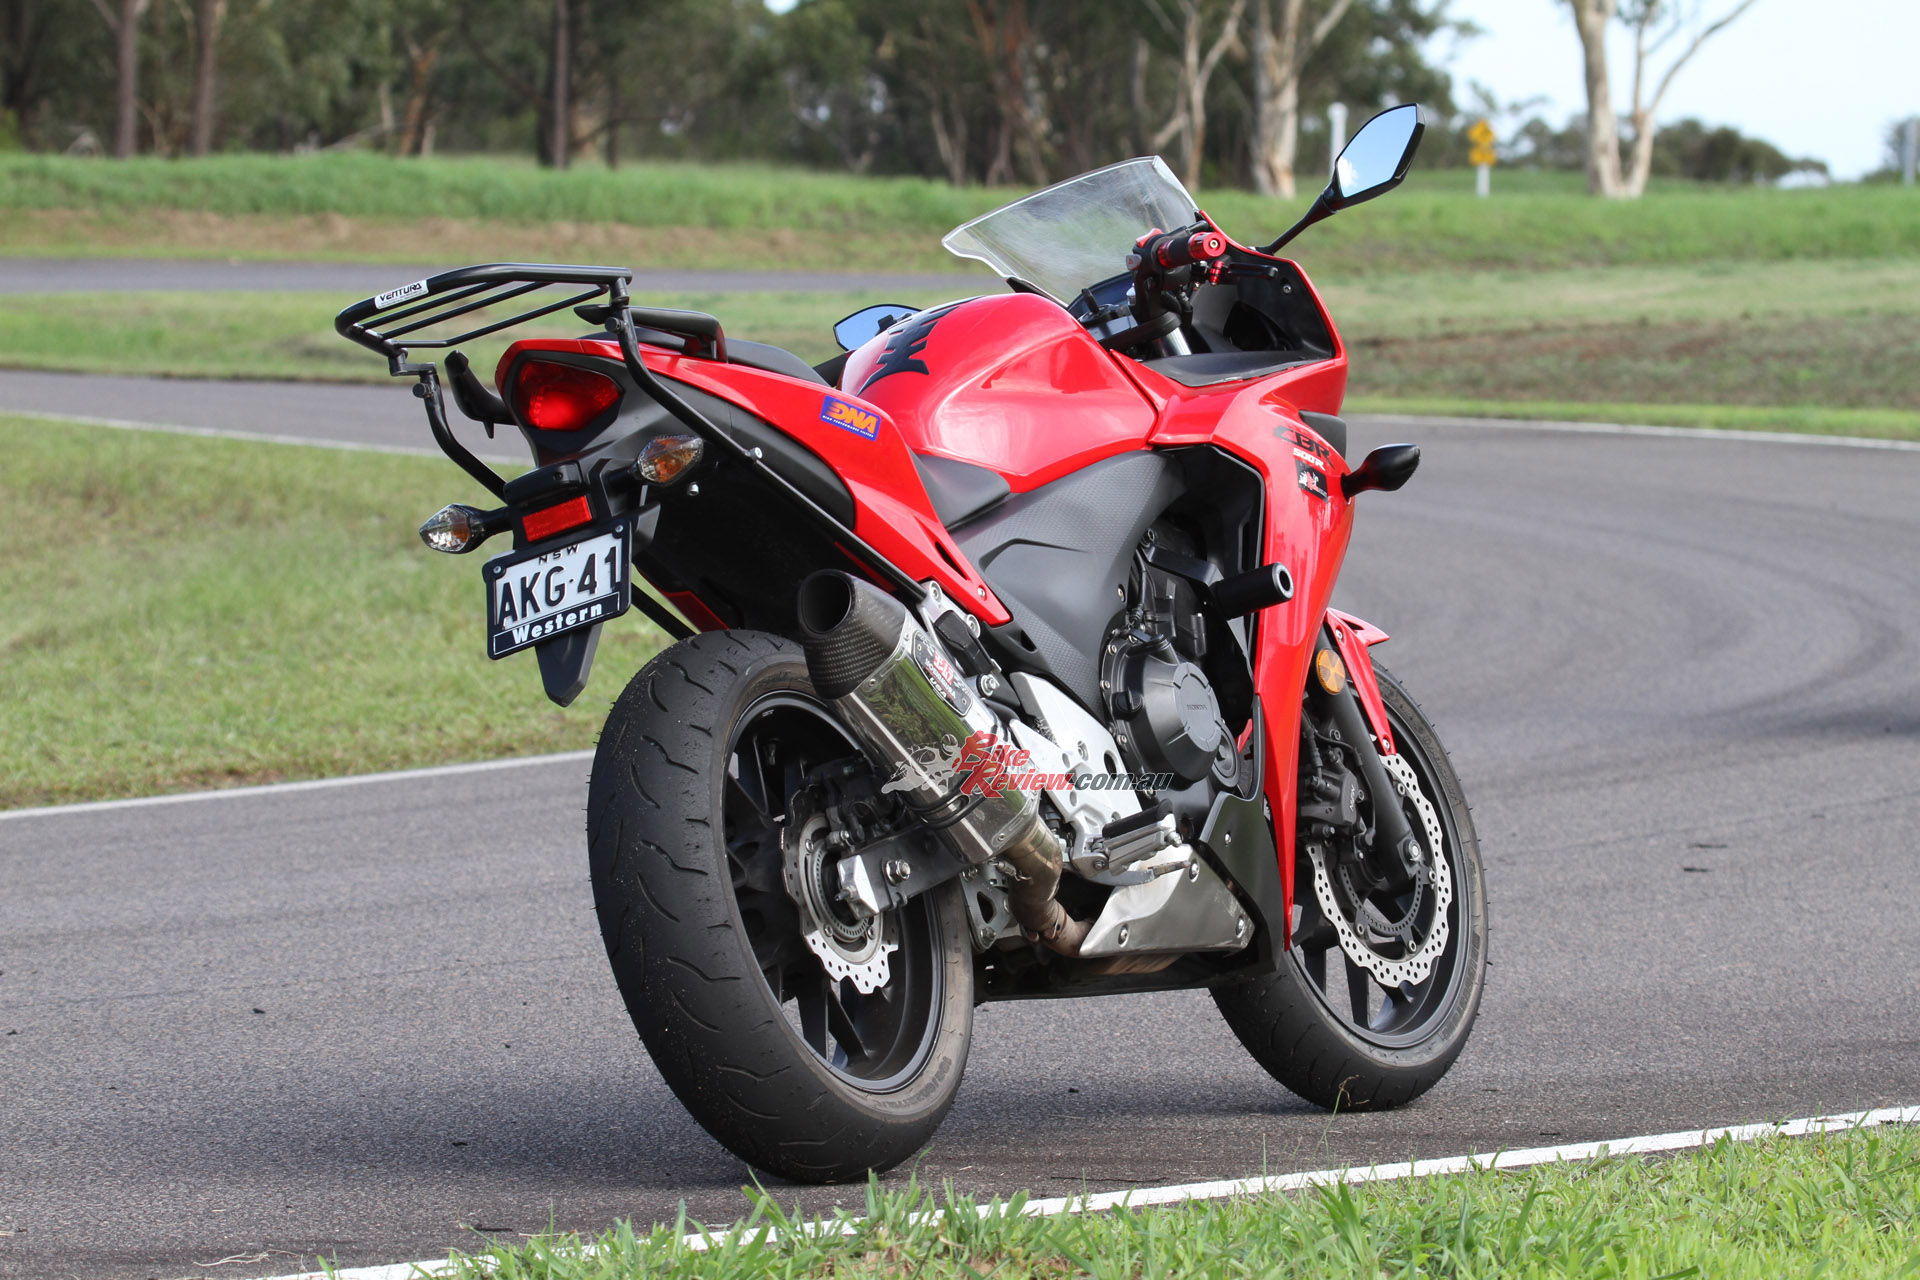
After years of owning turbocharged cars, Nick took the only logical step forward and invested in a CBR500R.
Eventually the rest of the projects and daily drives moved out and I was left with the little Honda as my daily and weekend ride, my only form of transport. At first it was wicked, and I laughed at anyone who questioned the practicality of a motorcycle as primary transport.
Work trips, uni commutes and grocery runs were relatively easy with a decent backpack. It was only when you had to combine any of the three, as most of you know, you’re stuffed.
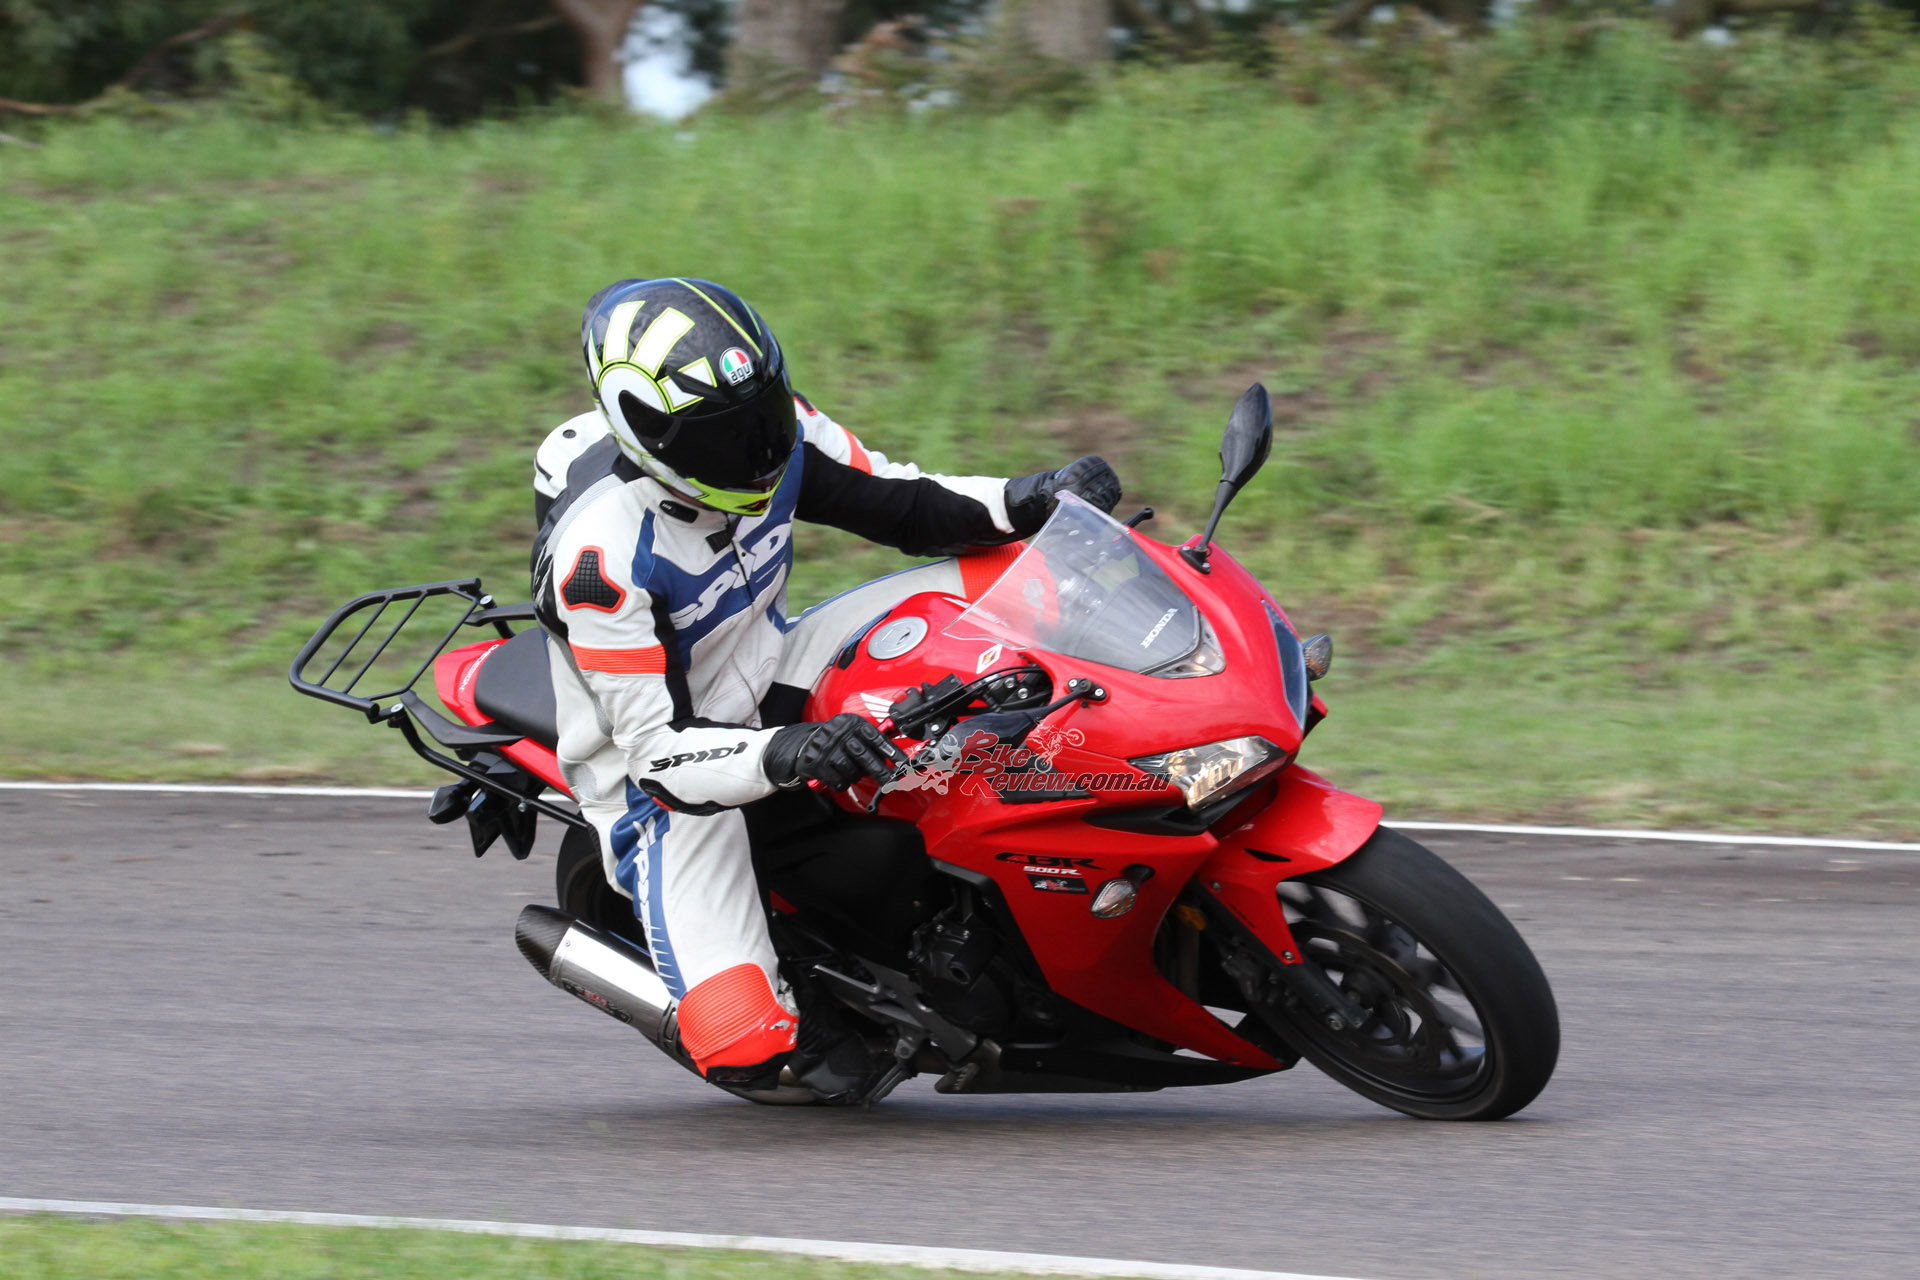
While bikes have unrivalled performance and fun factor, the same can’t be said for their practicality.
I dropped a gear at the set of lights and leaned over the long left coming up into my street, only to notice everything seemed a whole lot lighter than when I left. I turned to see my work shirt, undies and belt waiting behind me. The zippers had blown, but the milk and tuna cans were still alive at the bottom.
‘I’ve gotta sort this luggage situation out’, I cursed to myself, cable-tying my bag back together as passers by smiled and laughed.
If you’re a daily rider, it can become quite tiring and inconvenient to lug around a heavy backpack all day.
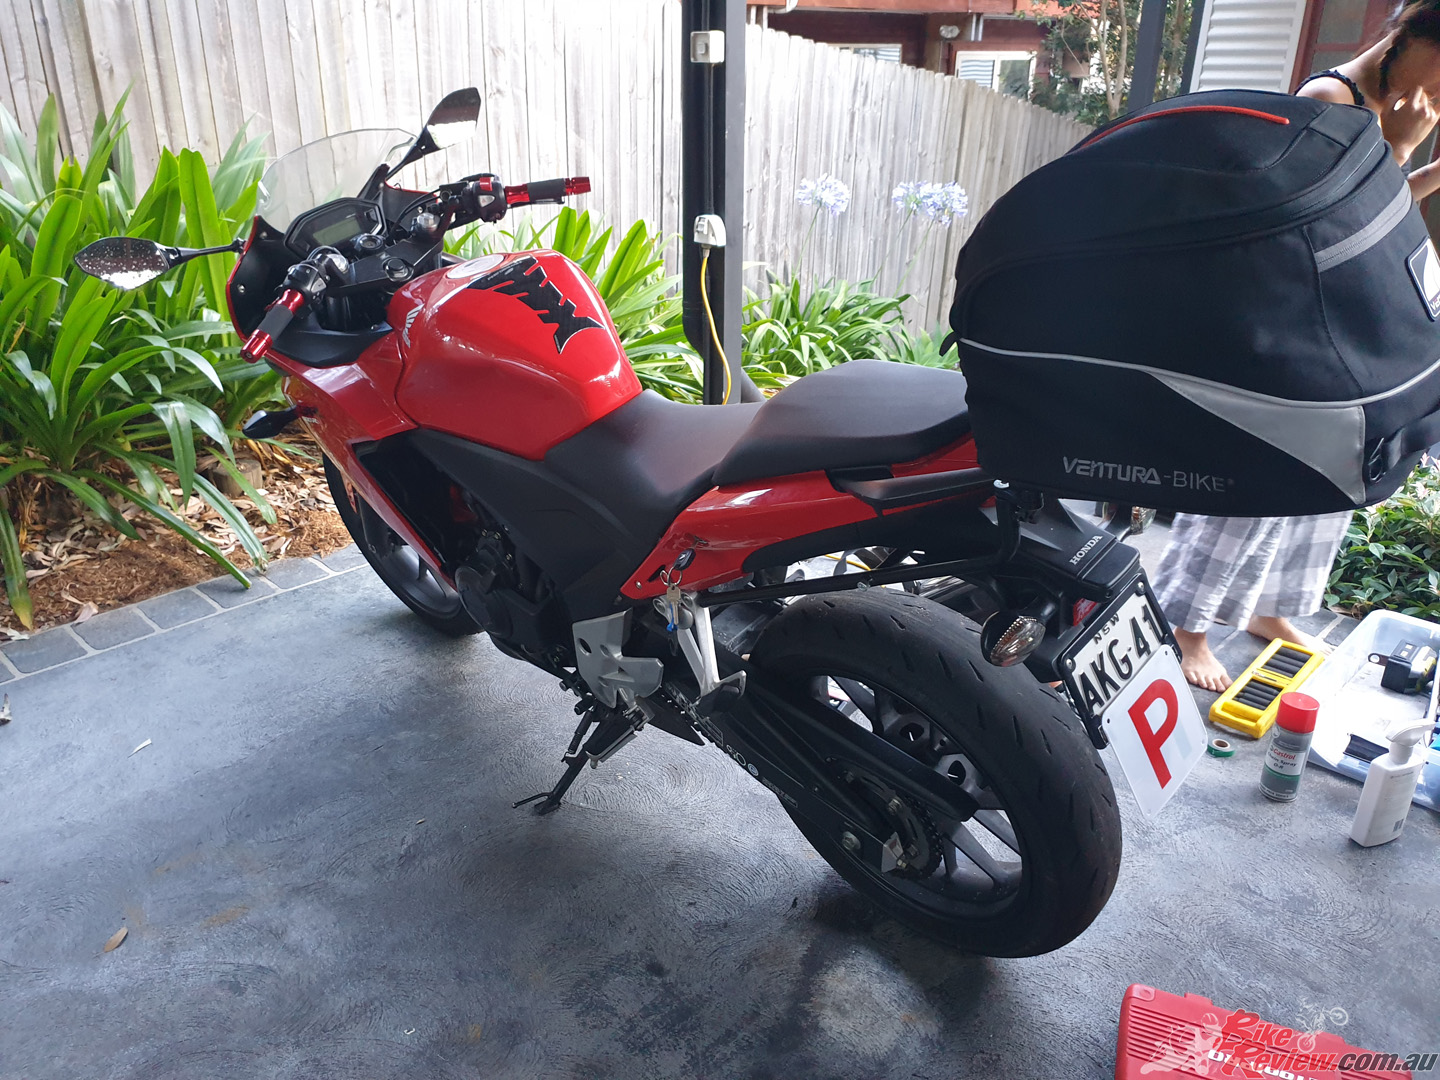
I shot a quick text to Jeff when I got home; “What was the name of that luggage bag that was on the Ninja 300 I had a while back? I need one ASAP”! Soon a Ventura CBR500R EVO-22 Jet Stream Pack arrived and I got to work. The kit is $439 RRP and all the details are here.

Nick got a Ventura Luggage Kit for his CBR500R to make his life easier, and he takes us along on his fitment journey.
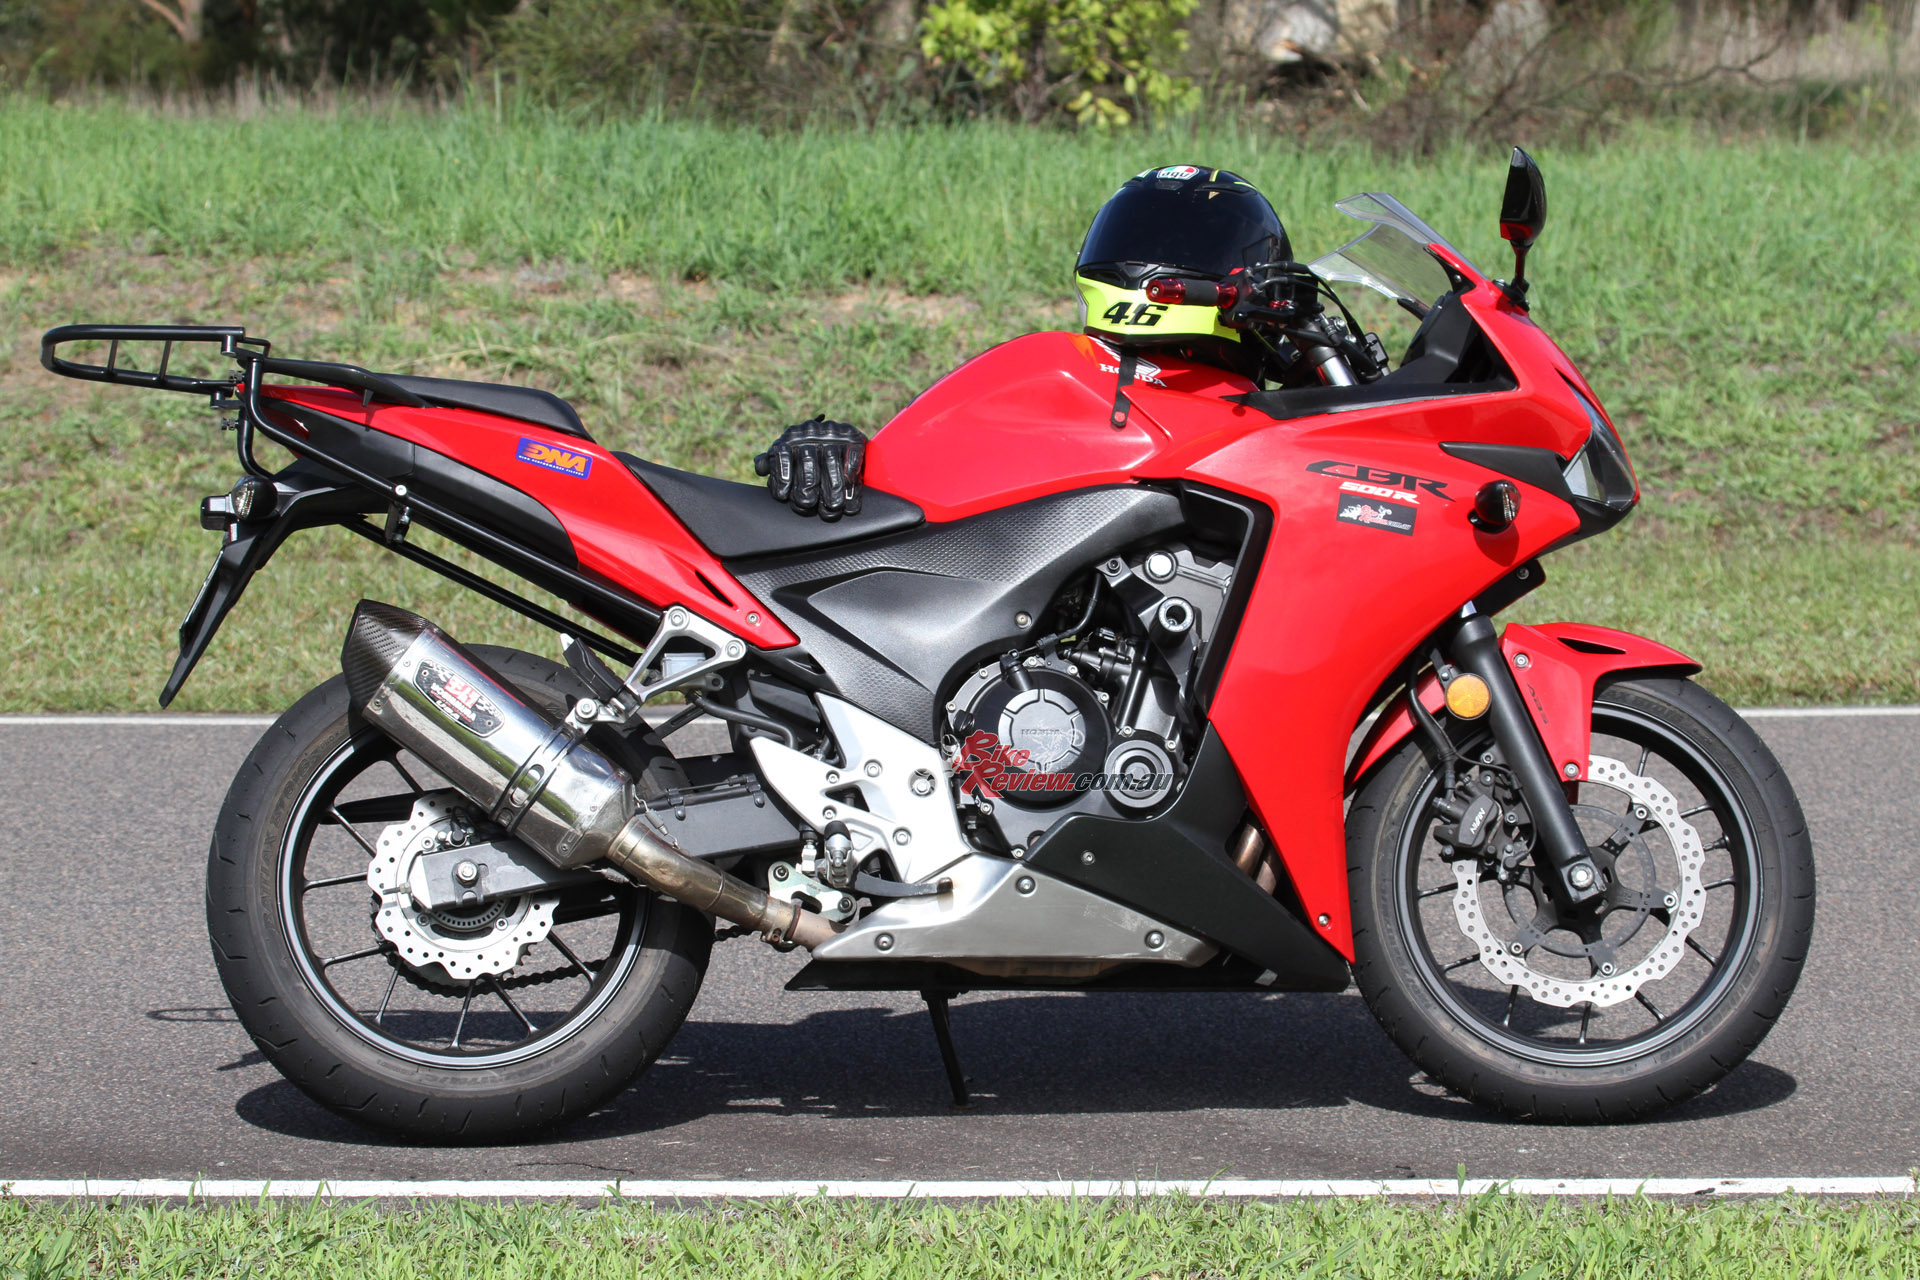
The rack and bag itself came in multiple sections, obviously to adapt and suit to different bikes and positions. For the CBR I needed the rails, the rear rack and the bag itself. Anything in a bag with bolts, screws and instructions gives me severe nervous tension, so I recruited the help of the girlfriend to a) keep me calm and b) do it for me when I inevitably get annoyed and convince myself it doesn’t fit.
To my surprise there wasn’t a whole lot involved. The hardest part was drilling out the fairing beneath the seat to run the rails through. The instructions were clear but could have done with a few bigger pictures and possibly colour printing. The stencil provided was great and made the drilling easy. A cordless drill and a stepped drill bit made quick work. Measure once cut twice right?
Step One
The initial step was to remove the pillion seat (simply using the key) and undo the 2 x 10mm bolts holding down the riders seat. After the bolts were removed, the seat simply slid back and off the bike.


Step Two
Step two involved cutting out the supplied drill stencil and positioning it correctly underneath the pillion seat as shown. A bit of Blue Tack was all that was needed to keep it where it needed to be.
The drilling itself was easy, the stepped drill bit made short work of the plastic and it was a matter of simply drilling until the rail adapters fit snug inside the hole. In the end the actual diameter of the drilled out hole would have been approximately 14mm (if you have that size bit already).
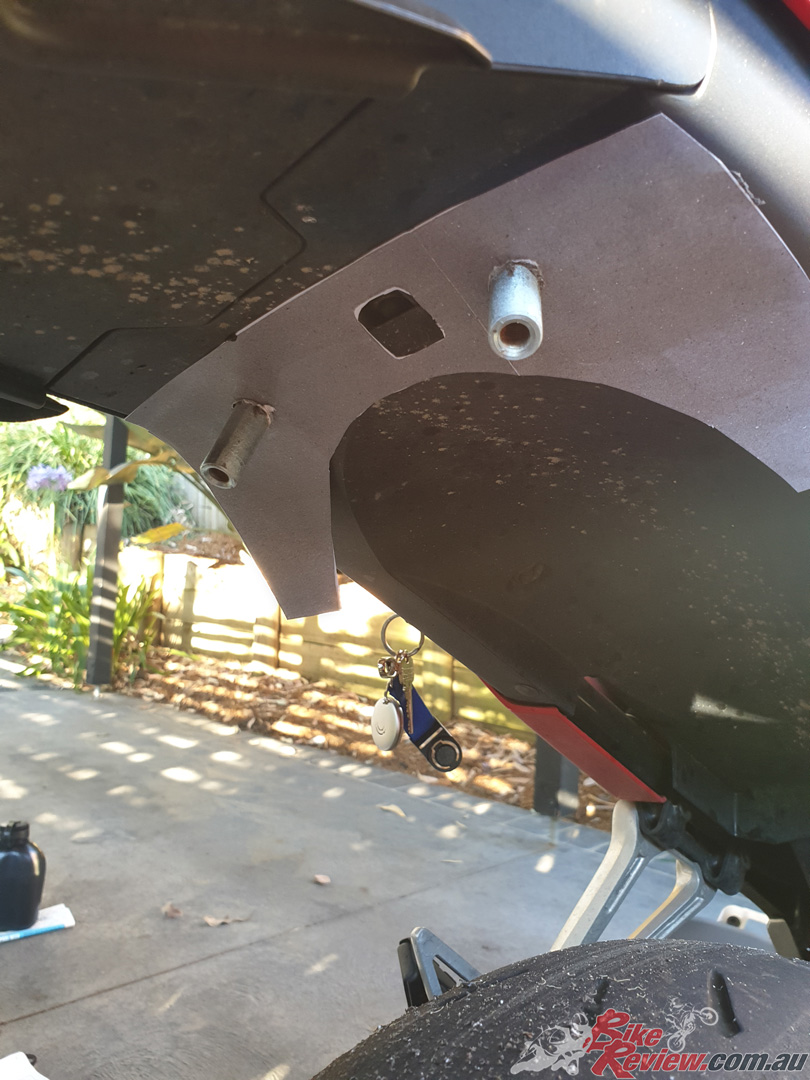
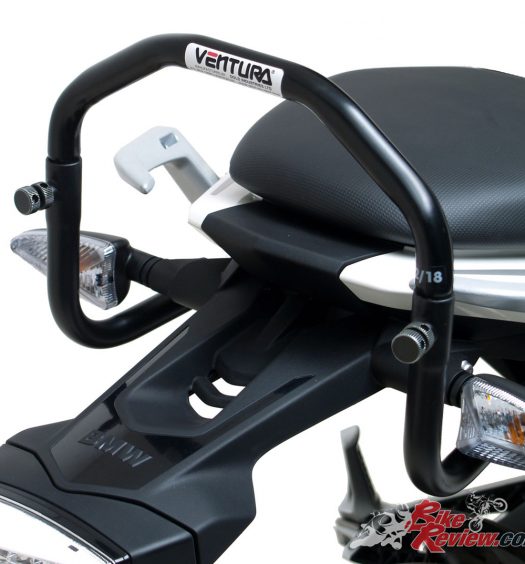
With the rail adapters in snug, you can see where the pillion handlebar bolts need to be undone and removed in order to slide the adapter underneath. I suggest leaving all the assembly finger tight, just to leave enough wiggle room when attempting to line up the rails in the upcoming steps.


Step Three
Step three was simple, requiring the removal of the pillion footrests — which in my case were extremely tight. A decent breaker bar cracked them and they came off easily after this. These footrests do go back on but are in fact the brace for the majority of the luggage rack.
Step Four
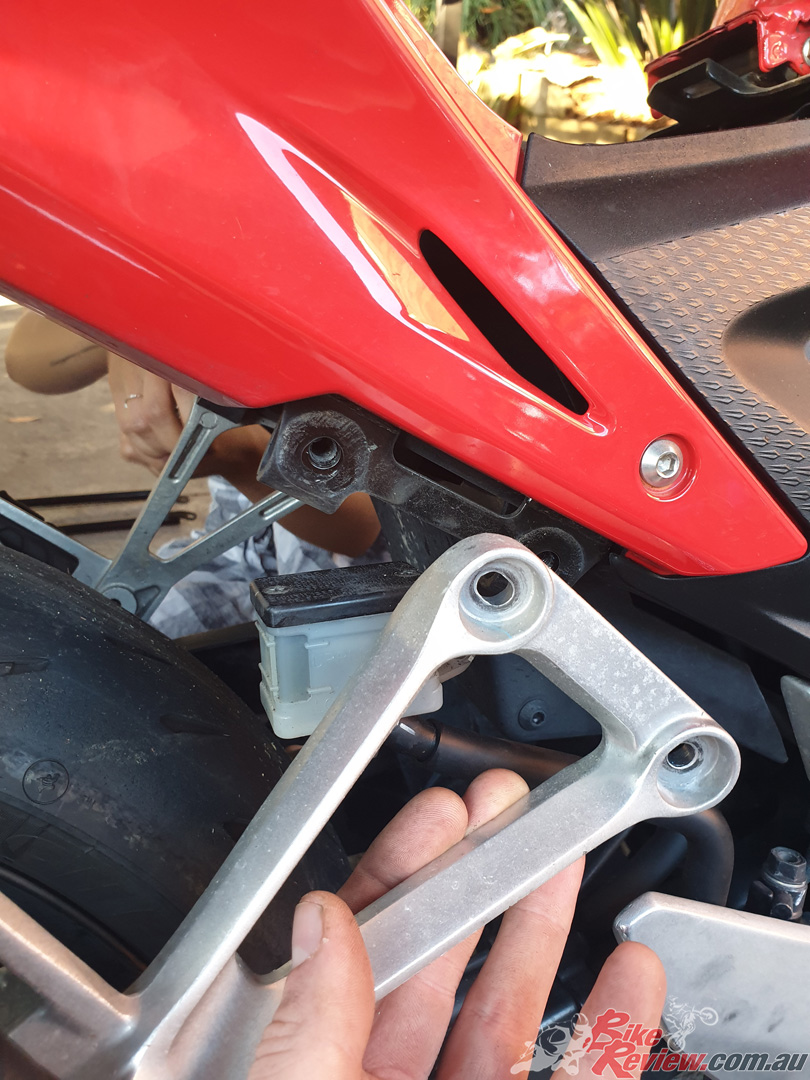
Here the rails started coming together. The perpendicular support was loosely bolted up underneath the adapters using the supplied hex head bolts. Next the rails that run the length of the bike are attached in behind the pillion foot rests, and again up to the perpendicular cross rail.

I do suggest also leaving these finger tight, as they do require a little fiddling and moving to allow the bolts to thread in nicely. The last thing you want is a cross thread on your brand new rail set! Bolt the pillion footrests back on and step back to admire your handy work. Looking pretty sweet so far right?


Step Five
From here was the assembly of the actual parcel tray that the bag would sit on. The large pan head bolts fit snug inside the brackets however they are quite a nuisance to tighten as the whole thing wants to spin. You’ll see what I mean. Leave it relatively tight and the tray should remain secure, as it has in my case so far.
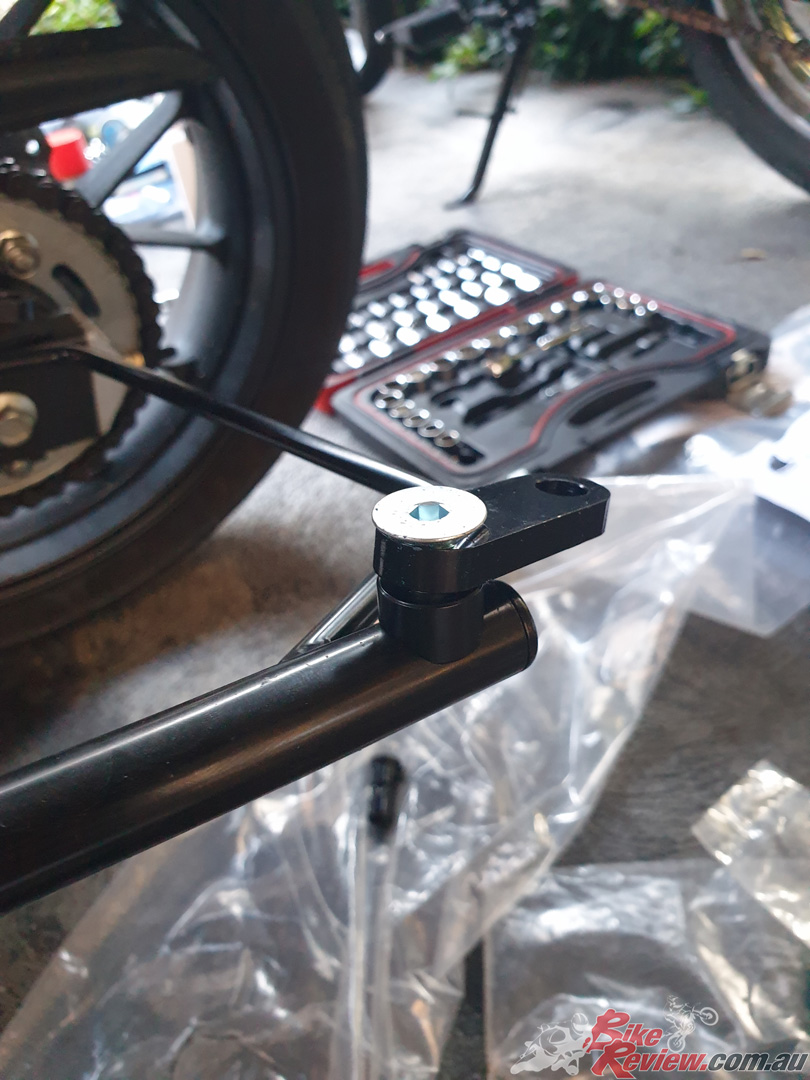
Step Six
Here you’ll see how the parcel tray assembles onto the rails. Again, these are a bit of a pain to tighten effectively without the whole tray swivelling, but just get it to a safe tightness. You can run the tray over the pillion seat or off the back of the bike.
In my case I usually also ride with a backpack – so it made more sense for me to allow for the extra room and leave the pillion seat free. For those smaller riders, or those worked more about performance and geometry, it would make more sense to have the tray flipped and running over the pillion seat.

Step 7
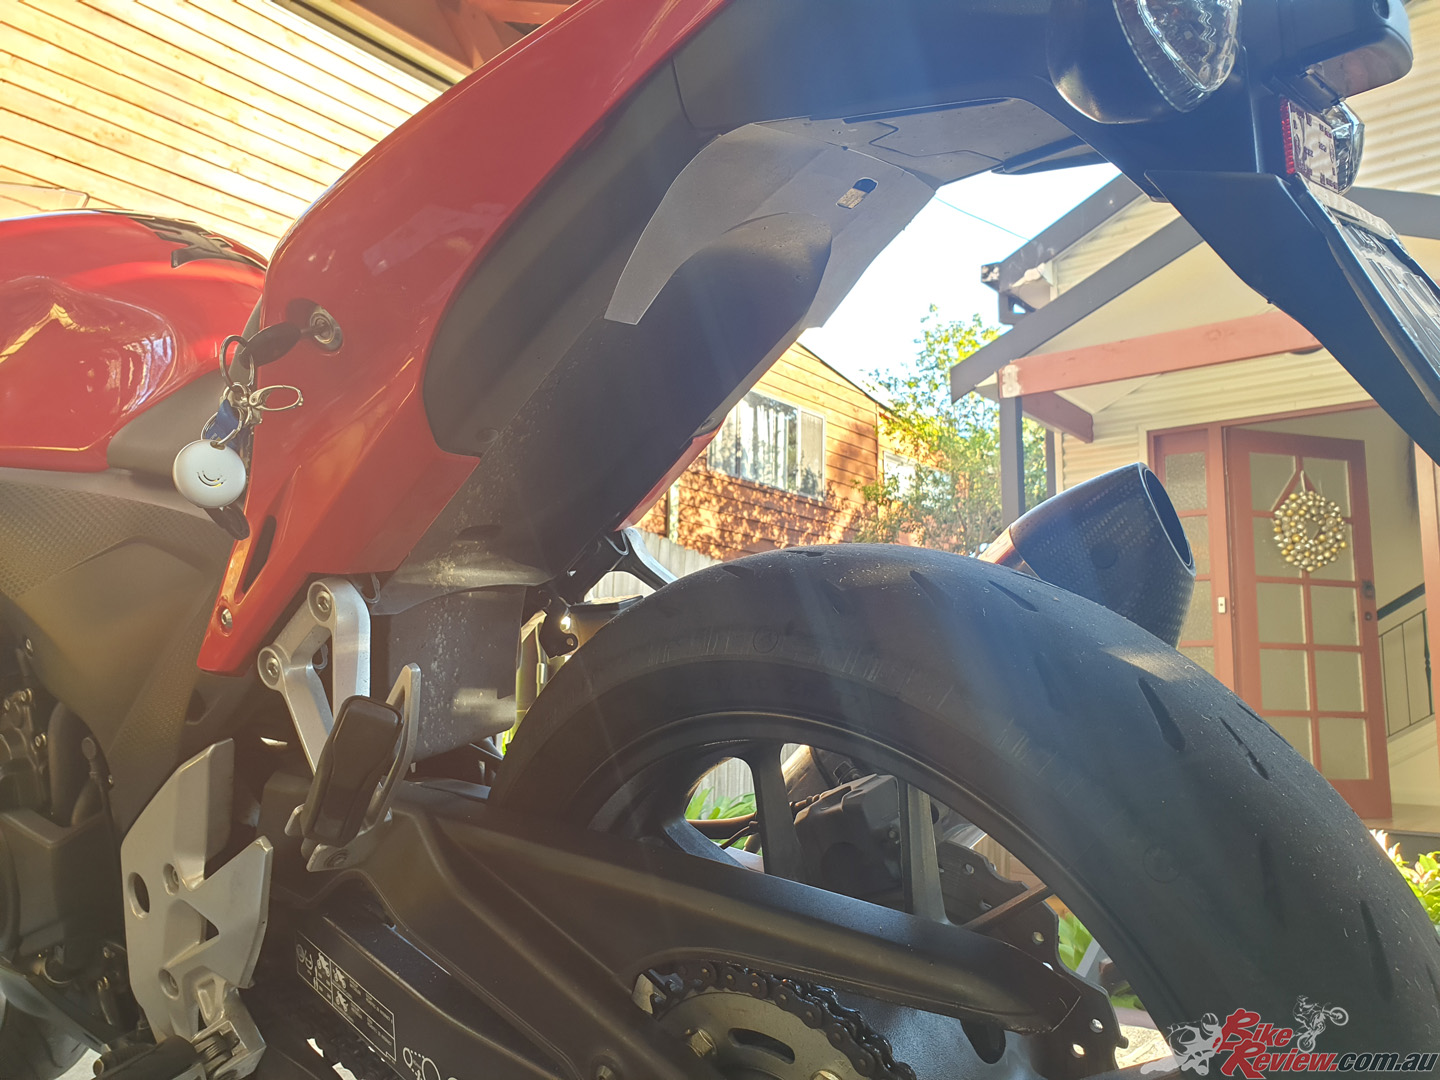
Slide the seat back on, check the torque on all the bolts, reattach the pillion seat and you’re set! All that’s left is to slide on the luggage bag. The plastic clips run up underneath and reattach. At first they looked a little fragile, however I was pleasantly surprised with the solid feel they had to them. I pulled down on the adjustment straps and the bag was locked in tightly. Ready to ride!
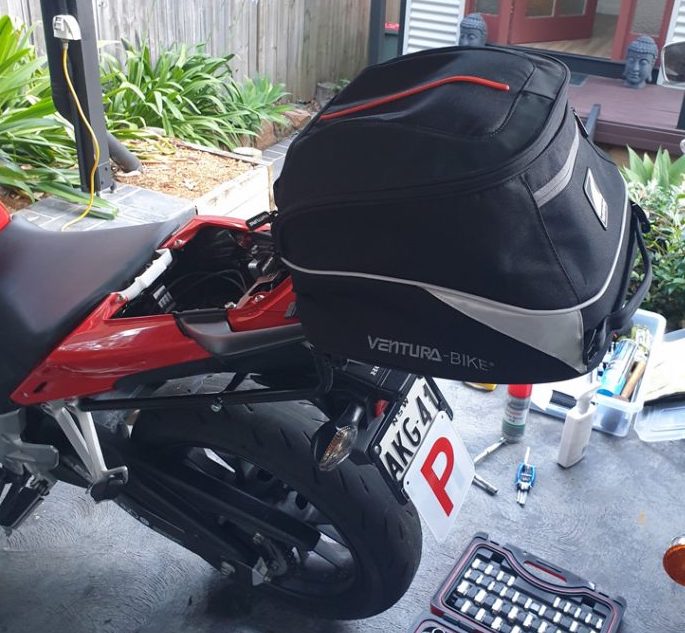
Having ridden with the bag for a few months now I’ve managed to fit everything I’ve needed in it. A cheap padlock from work means I can throw my gloves inside my helmet and lock it all up.


The luggage bag itself has held tight on the track as well as keeping the contents dry in this crazy rain we’ve had recently. I’ve only noticed some slight fabric fade, which I’m fine with as it sits in the sun almost all day every day. The front pocket fits the smaller items nicely while the large main case has a couple of extra little pockets for valuables.
The quality, ease of installation and styling all are tops in my books. I’d maybe recommend a soft pocket inside for electronics, or an inbuilt locking mechanism. Yeah I’m probably being picky, overall I don’t think I’d go without the luggage bag on any future bikes. Top product, cheers Ventura!

The Verdict | Tech Tips: Ventura Luggage Fitment, CBR500R
Excellent
Ventura luggage systems are simple to fit, well made and high quality. Here’s the guide to fitting a system to the popular CBR500R.
The Author