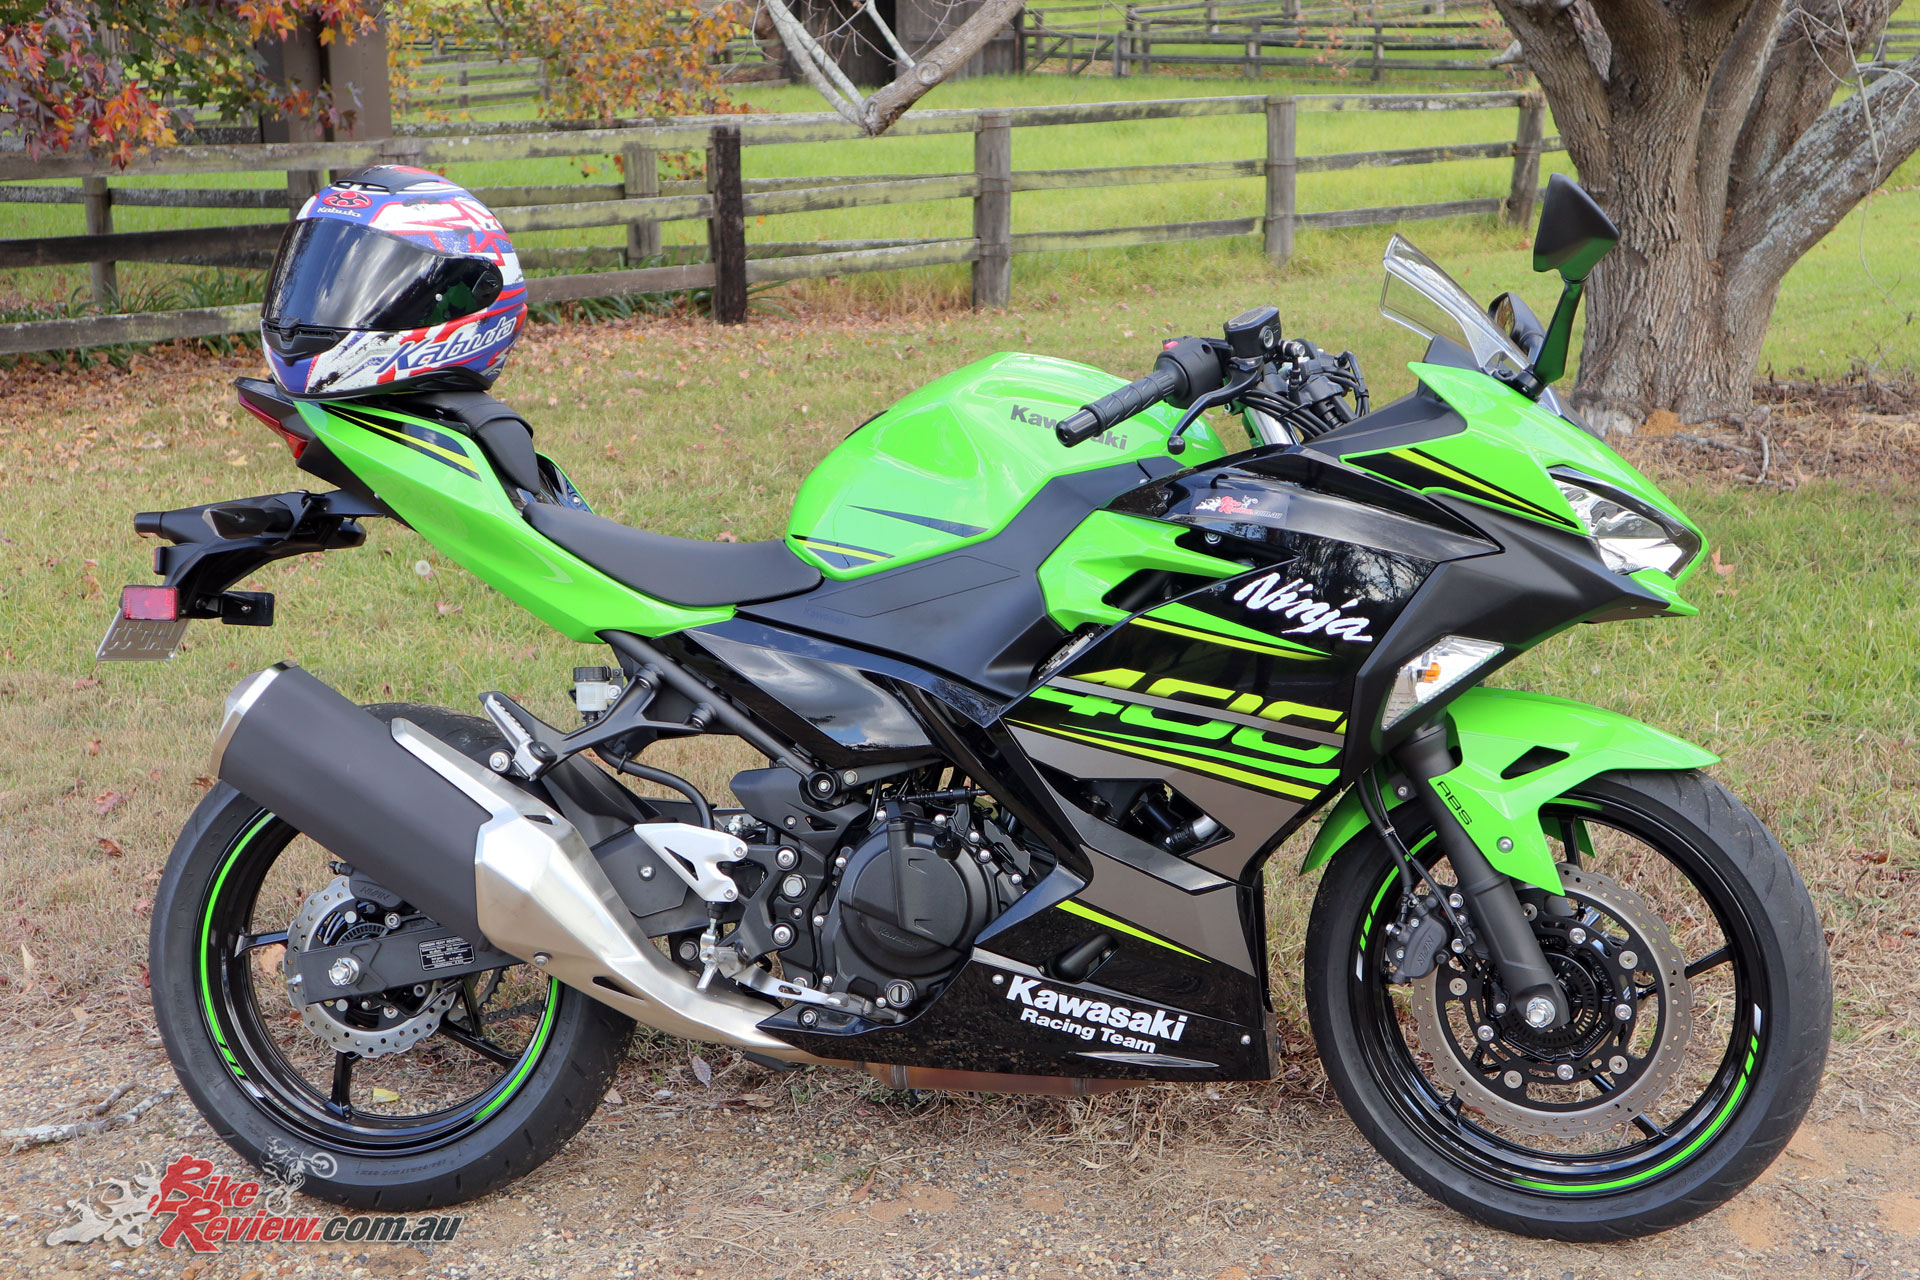
Our Long Term Kawasaki Ninja 400 may have just arrived but we've already got some accessories lined up. An exhaust is high on the list, but first luggage and crash protection!
We’ve now got our Long Term Ninja 400 and we’re building a long list of modifications and accessories that we’re planning on fitting, while you can check out our road test here.
If you haven’t read the road test linked above or the track launch report, Kawasaki’s new Ninja 400 is a great option for new riders. While retaining a competitive price the brand has updated the iconic Ninja with a larger, more powerful and more torquey parallel twin engine, styling is updated, forks are updated, brakes are updated. There’s a whole host of improvements over the outgoing model.
It’s still a flexible, fun and easy to learn on machine, but Kawasaki have really put in the hard yards to ensure it’s still a rewarding machine as you get more experienced. Just like the Ninja 300 was, but better!
We’ll be getting Simon Harris to give us another opinion on the Ninja 400 on the road, to complement his track launch report, plus we’ll be putting together videos on our impressions so far, plus accessory/mod fitment, and the reviews on each, so stay tuned.
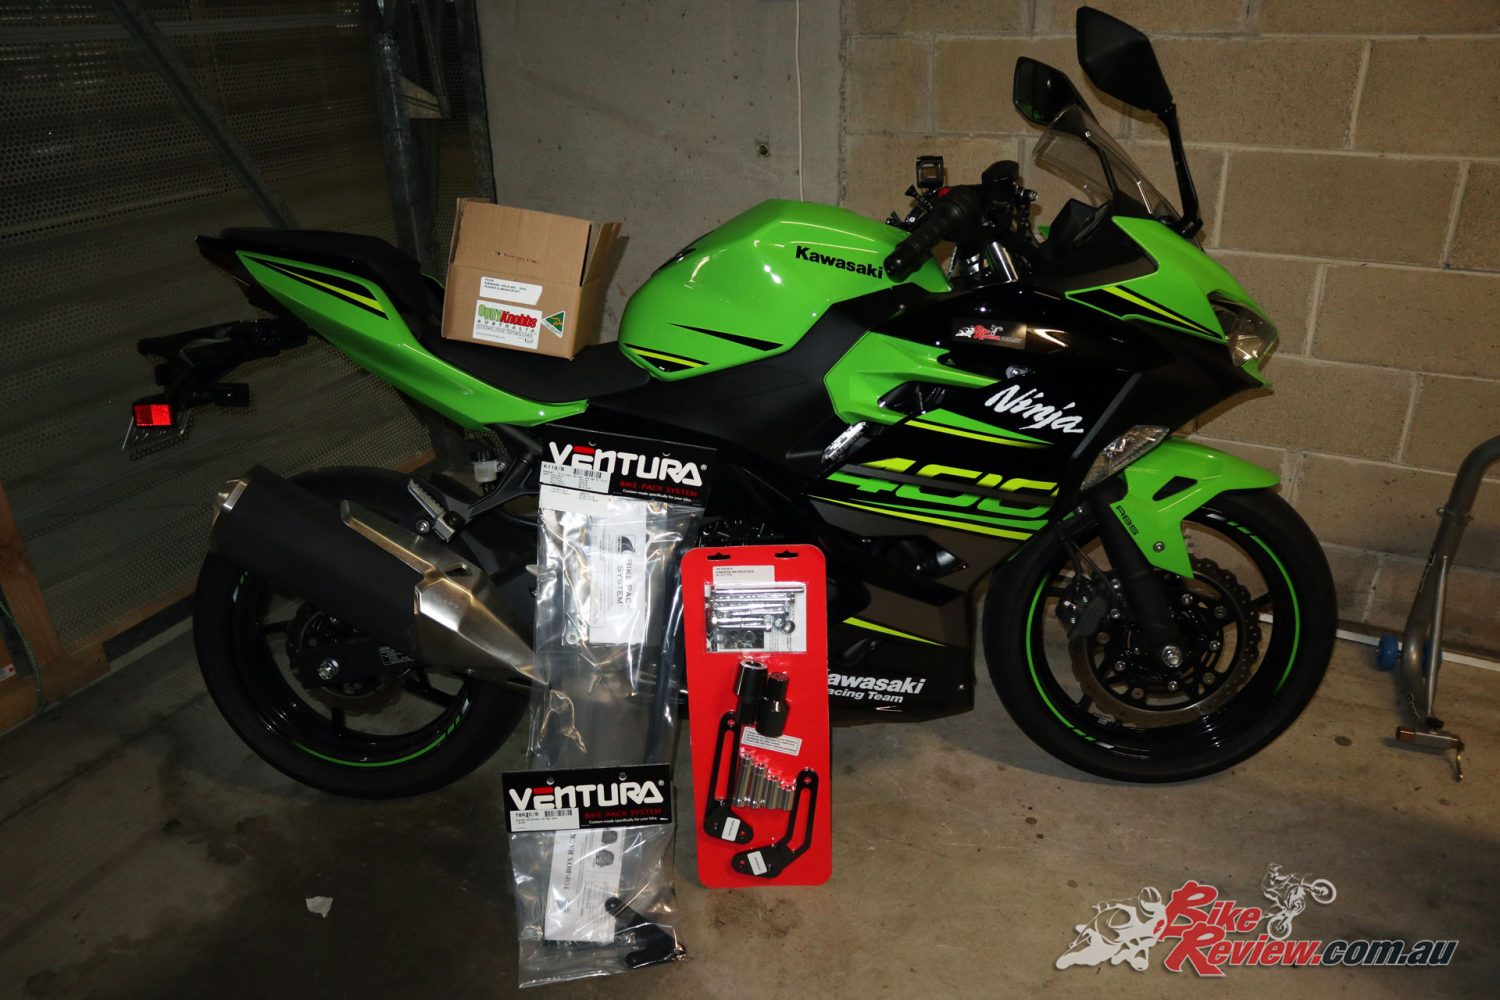
First up, our friends at Kenma Australia have set us up with a whole bunch of those great starter mods, including Promoto Oggy Knobbs, a set of Ventura L-brackets for the Ninja 400, and a 36L Wizard Coocase to fit the Ventura rack. Another really smart addition if you’re doing the Ventura luggage is a Promoto Oggy Knobb Fender Eliminator, as it’ll clean up the rear end of your Ninja and shares mounting points, meaning it’s two good jobs to do together.
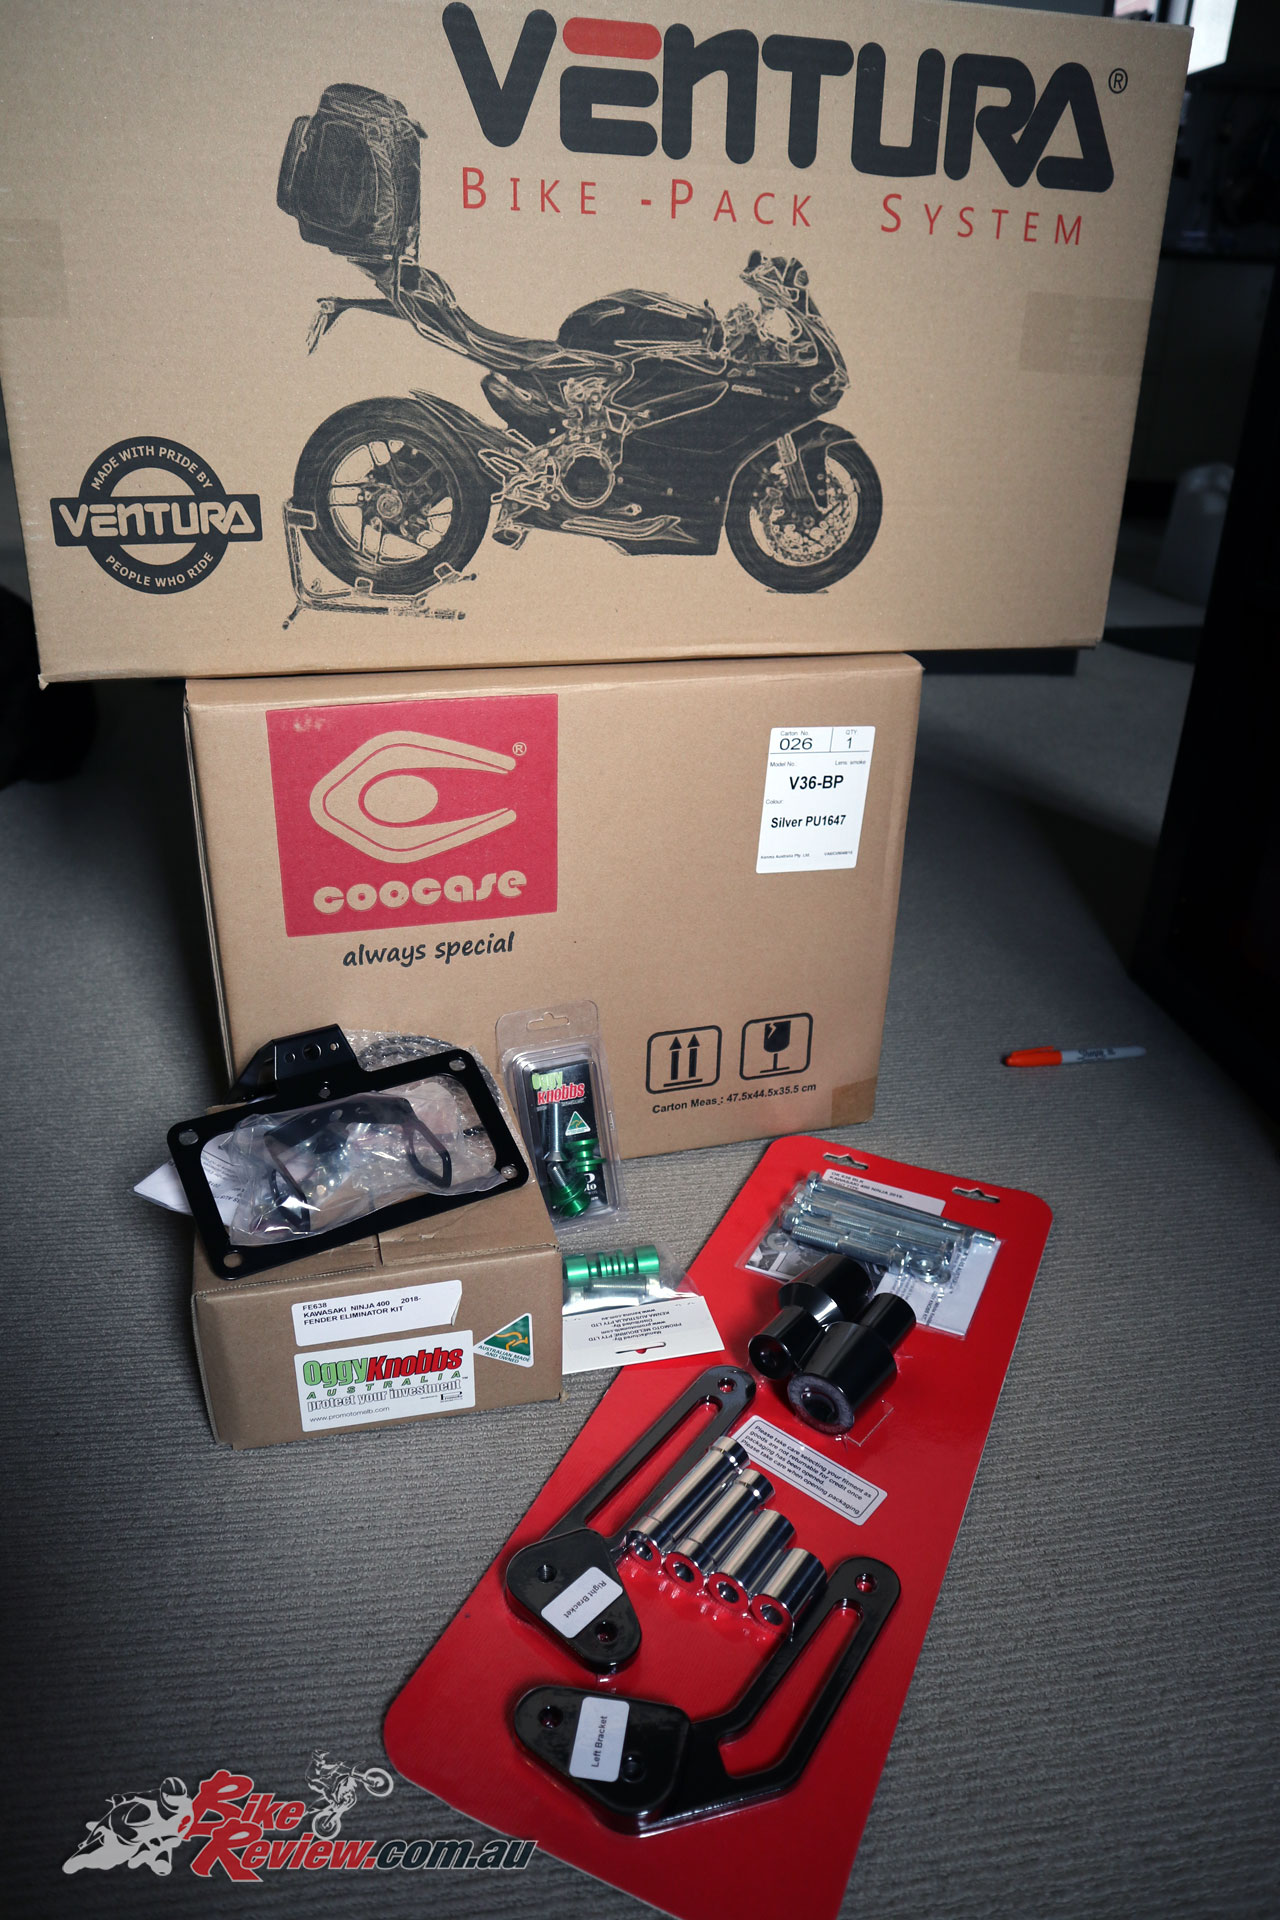
Here’s a look at what we’ve got so far – Ventura L-Brackets and Coocase 36L Wizard top box, Oggy Knobbs, Promoto Oggy Knobbs Fender Eliminator and some pickup spools to try
We’ll run fitment and reviews on each of these products, but here’s a bit of a look at why we’ve chosen these accessories.
Ninja 400 Crash Protection
The Oggy Knobbs are an ideal option for new riders, if you’ve been looking at buying a LAMS machine you’ll have seen the endless array available second hand which have been thrown down the road on both sides and are in need of plenty cosmetic love.
If you’ve got a new bike you’ll want to protect it as much as possible, and spending a bit on Oggy Knobbs can seriously save you money in the long term. Some of the most common causes of damage for learners is dropping their bike, whether that’s in a carpark, in the wet, or at very low speeds. A bit of crash protection can reduce fairing, case or frame damage and mean repairs are cheap and easy.
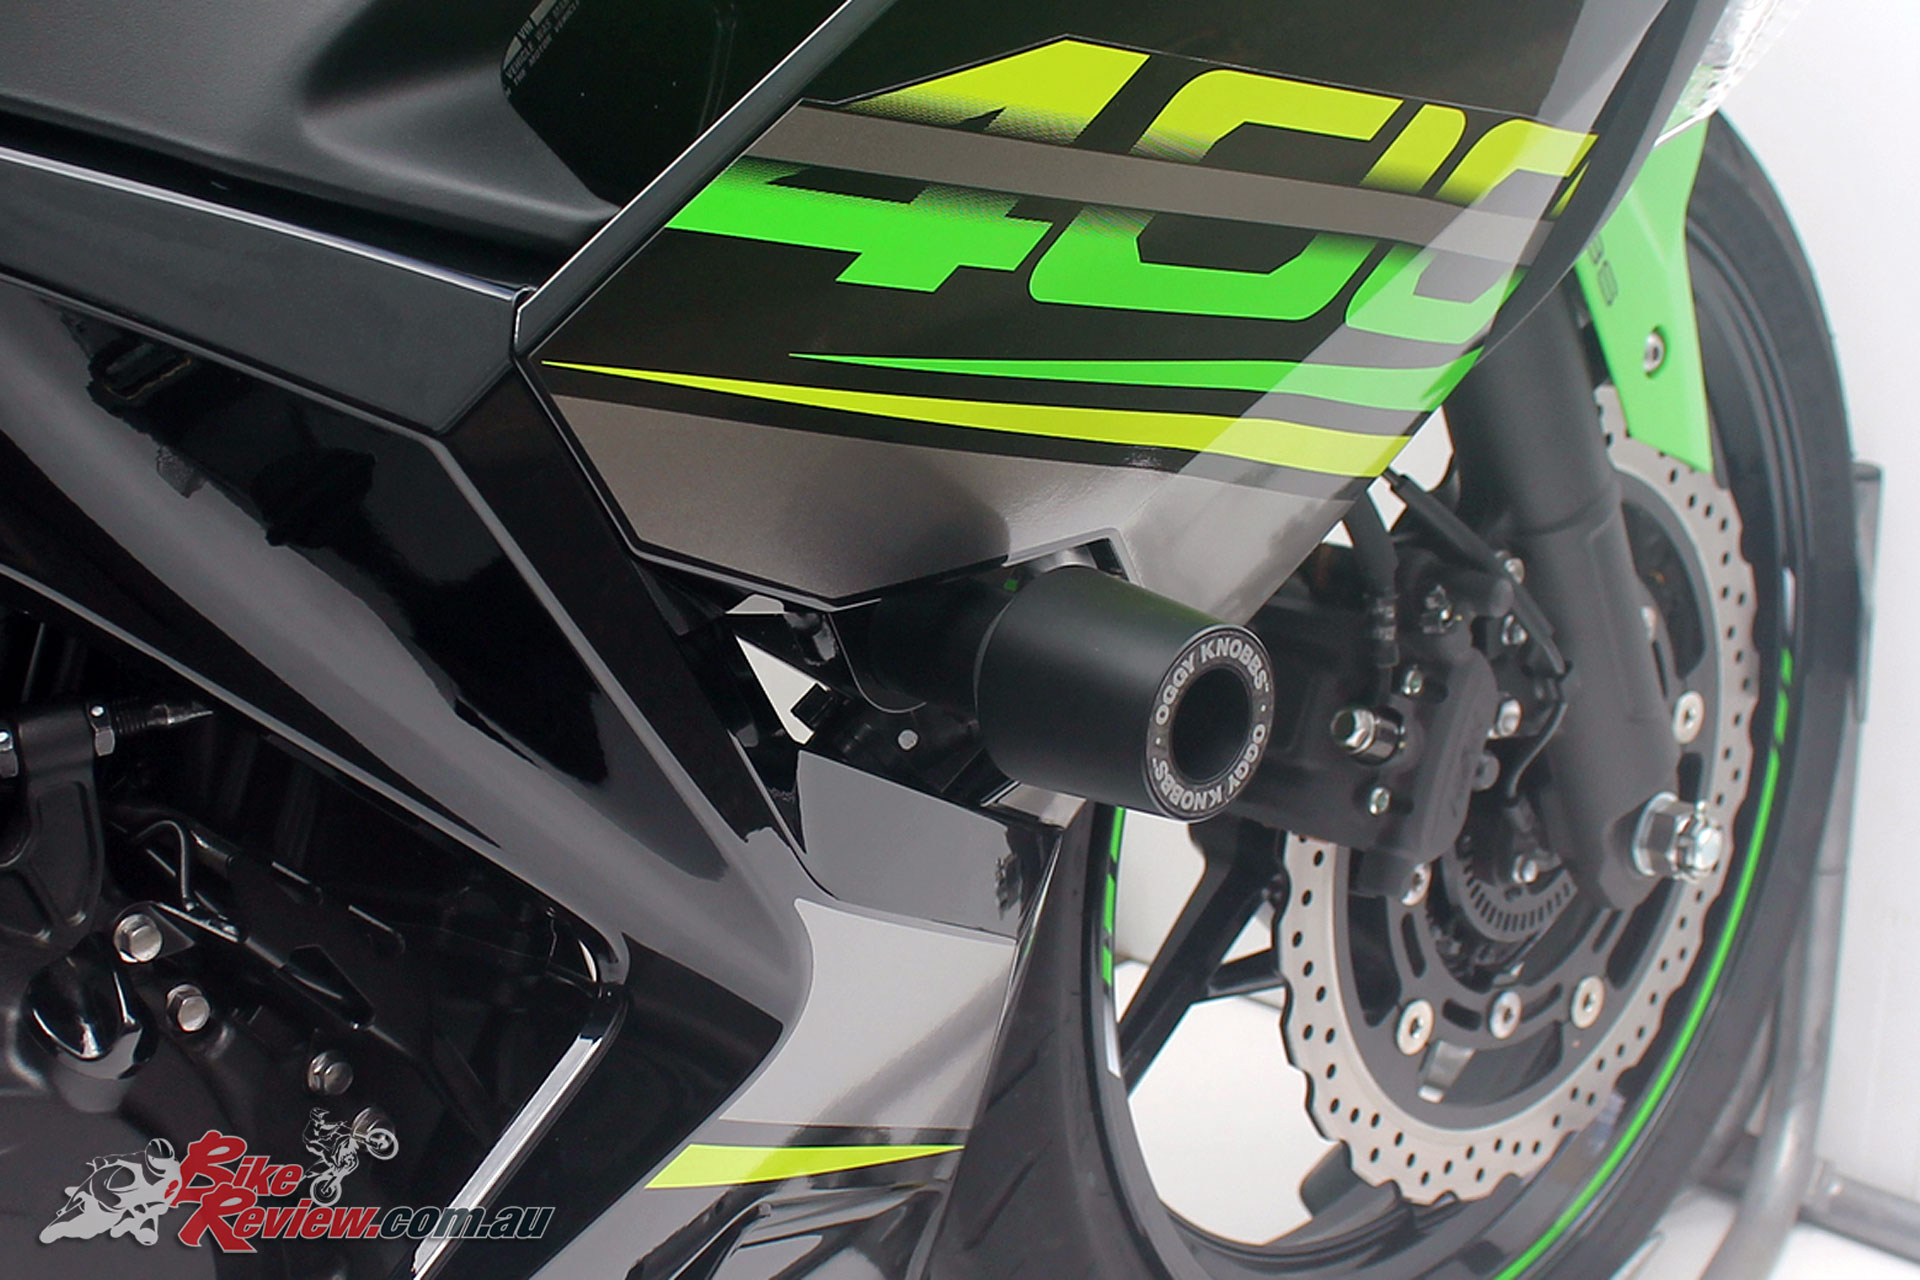
Stock image of the Promoto Oggy Knobbs for the 2018 Kawasaki Ninja 400 – Stay tuned for a fitment and review update
There’s no guarantees but if you’ve somehow got comprehensive insurance for your bike without selling a kidney, repairing this kind of your damage yourself will help avoid the black mark on your record and keeping costs down is essential. Also great is that the Oggy Knobbs for the Ninja 400 require no cutting or drilling, they mount through the frame/engine bolts (just requiring fairing removal for fitment) and the plastic pucks are located through a vent in the fairings.
Ninja 400 Luggage
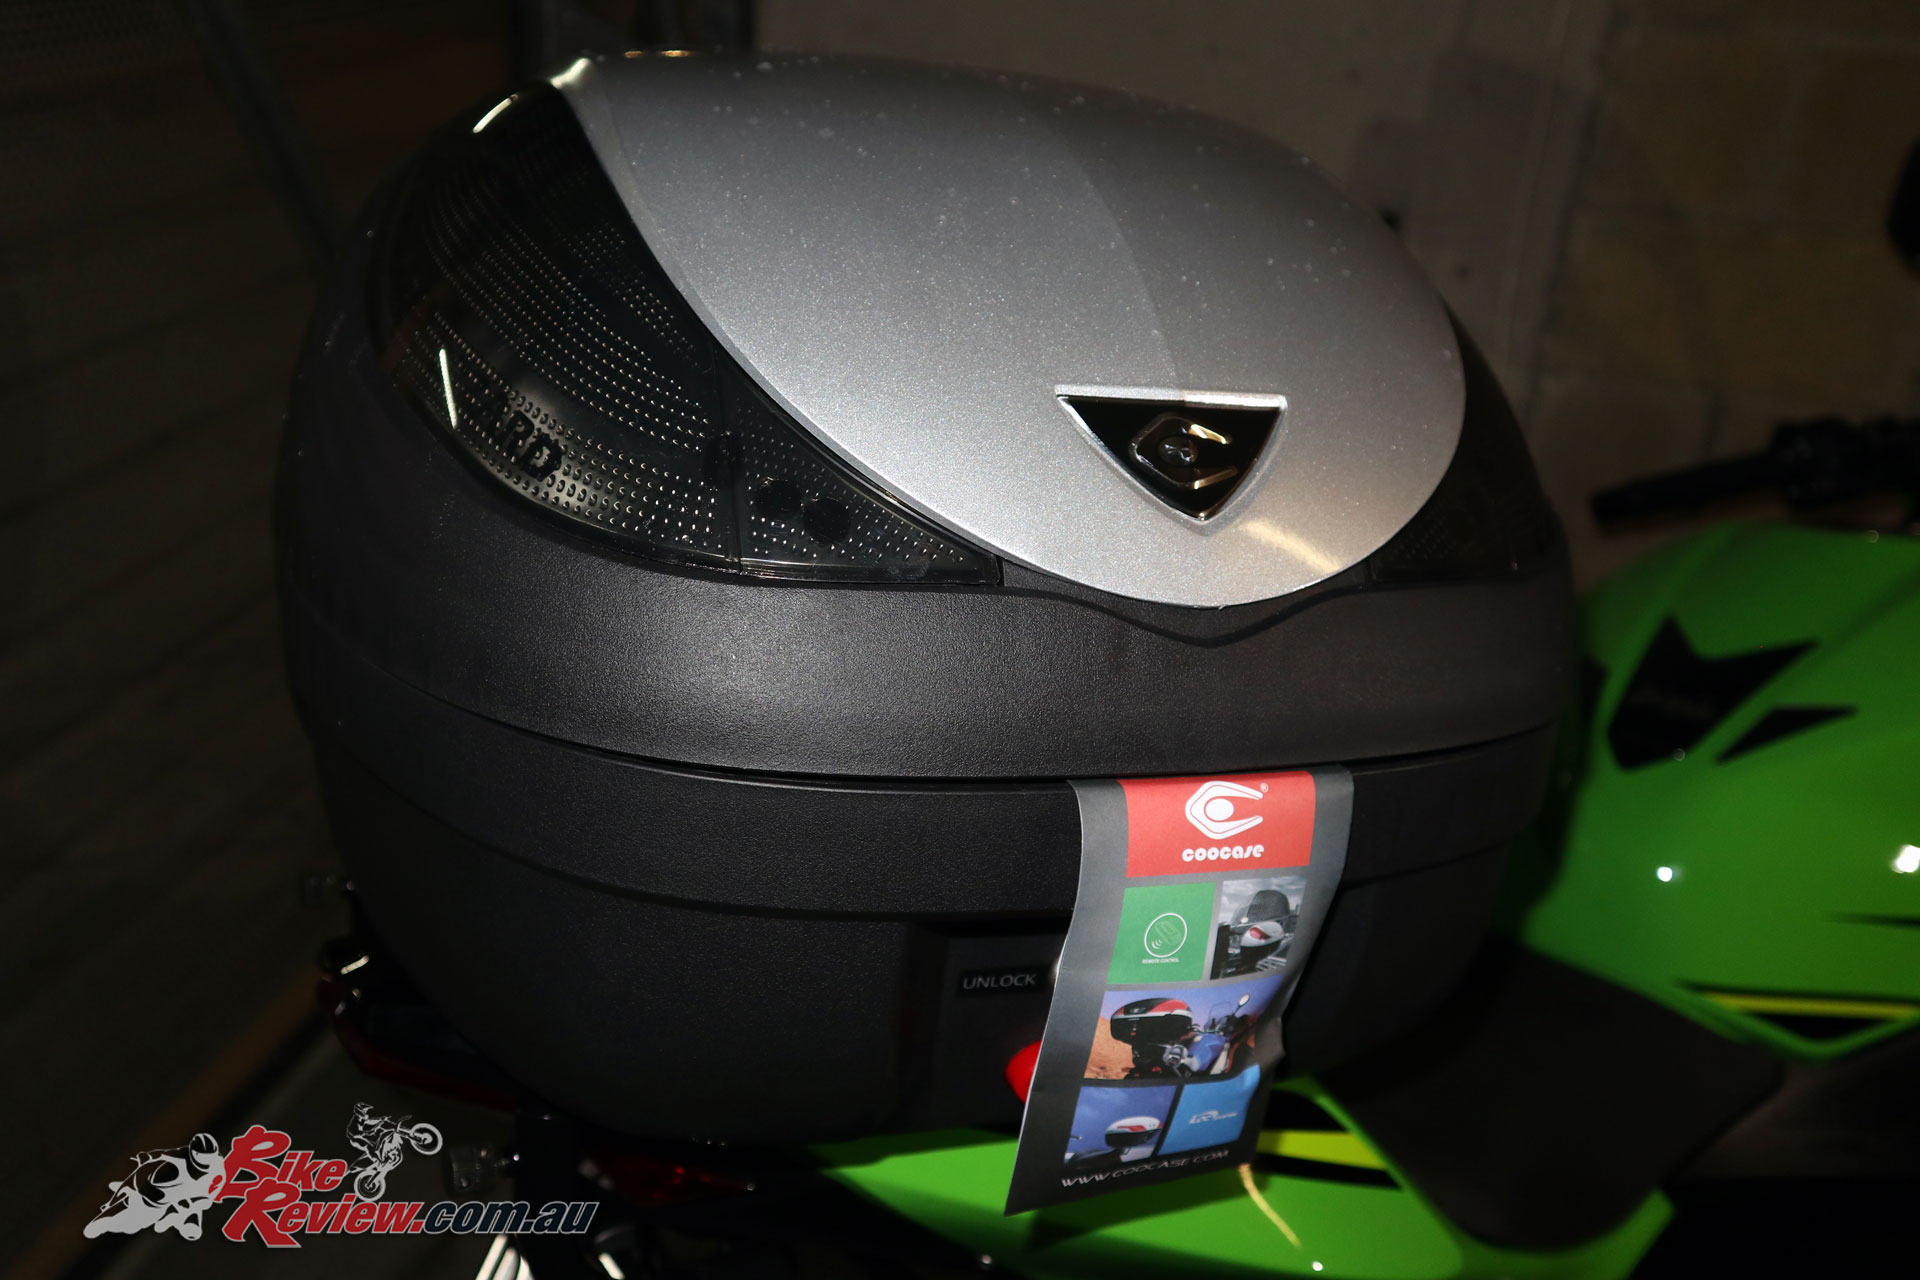
The Ventura luggage is something we swear by here at BikeReview.com.au. We’ve got it fitted to many of our own machines and the beauty is that all these systems will fit to any bike with the L-brackets. So if you invest in a Ventura kit for your LAMS bike, you’ll be able to take the rack and bag to your next machine, all you need is new L-brackets to fit the model.
We’ve got the 36L Coocase for the Ninja, which will fit a helmet and be waterproof, making for an ideal commuter option. The case locks onto the bike and is nice and secure, so you could lock your helmet in there when parked and not have to carry it around everywhere you go. There a 30L and 48L option available, but we figured the 36L will suit the Ninja 400 best. We can also put the Sports-Rack and Pack, or Rally-Euro luggage and racks on that we’ve already got.
The whole assembly works off a set of L-brackets. For the Ninja 400 these are a simple installation, they bolt through the rear pillion assembly bolts and a cross member is bolted in via the fender mount bolts. It’s a very minimalist assembly, and if you’re worried about looks a Grab Rail or Sports Rack can be added when storage space isn’t a concern. It’s also a very simple DIY job, with only basic tool requirements. On my Daytona you needed to drill the tail plastics for fitment, but on the Ninja 400 it’s direct fitment, no cutting or drilling required.
Ninja 400 Looks & Cosmetics
The final item on our current list and one that ties into the Ventura install is a Promoto Oggy Knobb Fender Eliminator. These are a very popular option, as standard fenders are large (often heavy), plastic and ugly. It’s made of two anodised elements which bolt together and includes an LED license light. Standard indicators are use and it’s a much cleaner and sexier option than the standard item.
This ties into the Ventura/L-bracket install because you can do the two jobs at once, as the L-bracket requires removing the fender mount bolts.
With the standard indicators used they plug straight in, while the LED license plate light comes with fittings that allow it to be spliced into the original loom with minimal fuss.
Ninja 400 Future Mods
Along with the mods/accessories we’ve already listed, we’ve got a long wish list of things we’d really like to add on this long termer.
The big ticket item is a slip-on exhaust and we’re hoping for an Arrow muffler at this point in time, as they are usually road legal, great quality and not obnoxiously loud. We had one on our last long termer – a Kawasaki Ninja 636 – and it was a great addition. The standard pipe is also pretty ugly, so this is is a bit of a priority.
We’re also organising some pick-up spools so we’ll be able to use a rear stand for cleaning and lubing the rear chain, which is a regular job on a bike that’s getting ridden daily. Adjustable levers and some aftermarket bar-ends are also on the list for a bit of bling.
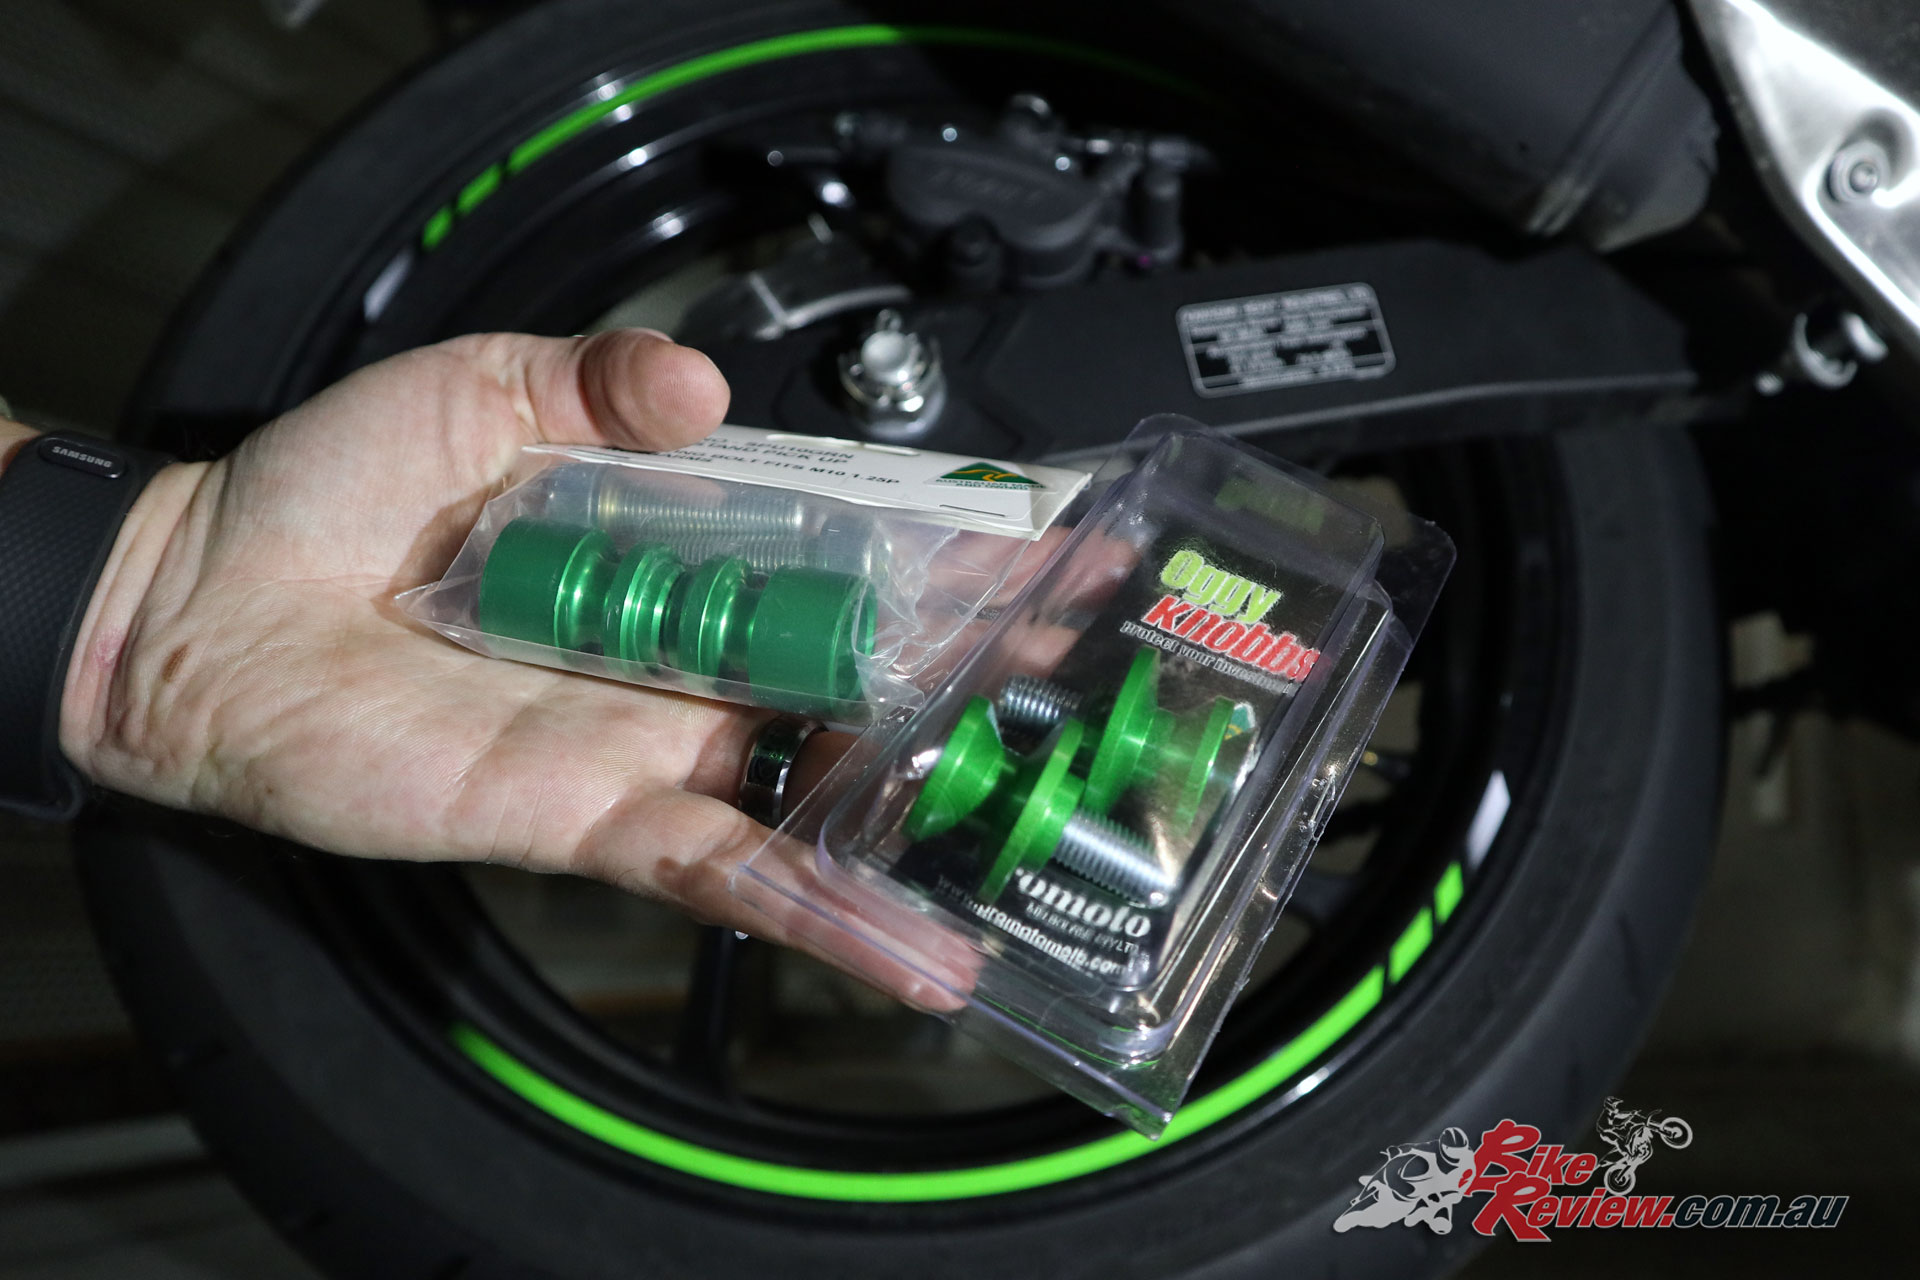
Our first attempt at pick-up spools was a no-go, with both the sets we thought might fit using M10 bolts, as suited the previous Ninja 300. The Ninja 400 needs M8 bolts.
We’ll also have a look at the Kawasaki Genuine Accessories, with the Radiator Trim (Guard), Seat Cowl in colour matched Lime Green, and Taller Windscreen also looking like good potential options.
If you’ve got any other suggestions, let us know in the comments section and we’ll see what we can do!
We’ll also be doing the first service, with an oil change and new oil filter shortly, alongside a general checkup, so stay tuned for that and the updates on installing the Oggy Knobb and Ventura mods.









June 8, 2018
I always thinking how these accessories effect Aerodynamics and handling what riding situations may have the greatest impact. Air always flows where you don’t want it to. Pressure at a point in the extreme rear of the bike is going to have an effect.
June 8, 2018
Can’t say I’ve ever had any noticeable issues as far as aerodynamics with any of the Ventura setups, or with a topbox as large as 60L. In fact in my experience there’s a lot less drag and buffeting than using a backpack, so there’s a massive advantage there in my opinion.
If there’s enough weight being carried with the bag/topbox out past the rear wheel instead of reversed to be above the pillion seat it’ll lighten the front wheel, but that’s with 15-20kg+ of gear. If you switch it around to be over the pillion seat though it solves any issue in my experience, although also obviously removes the ability to carry a pillion.
The Ninja 400 is pretty light so we’ll see how it handles with the topbox fully loaded up in both positions. Generally speaking 10kg is the maximum recommended weight for these systems too, just as something to keep in mind. I know I’ve exceeded that by a significant margin, but that’s a personal risk I take, and not something I’d recommend.
July 24, 2018
No aftermarket exhaust yet?
Any chance for the LeoVince LV-10 slip-on exhaust get reviewed by you guys?
July 25, 2018
Not yet! We’ll see what we can do, but an Arrow exhaust is more likely at this stage.