Nick fits a DNA Performance Airfilter to his CBR500R. Here's step-by-step guide to this easy upgrade that you can do yourself in no time...
Having run aftermarket airfilters in all of my vehicles previously, it was a must-do to get one into the new CBR. DNA airfilters were the best reviewed. Here’s how easy it was to fit…
DNA airfilters held the highest ratings in terms of performance gains and ease of fitment, so I chose one for the Honda.
FITMENT STEPS: DNA AIRFILTER FOR HONDA CBR500R

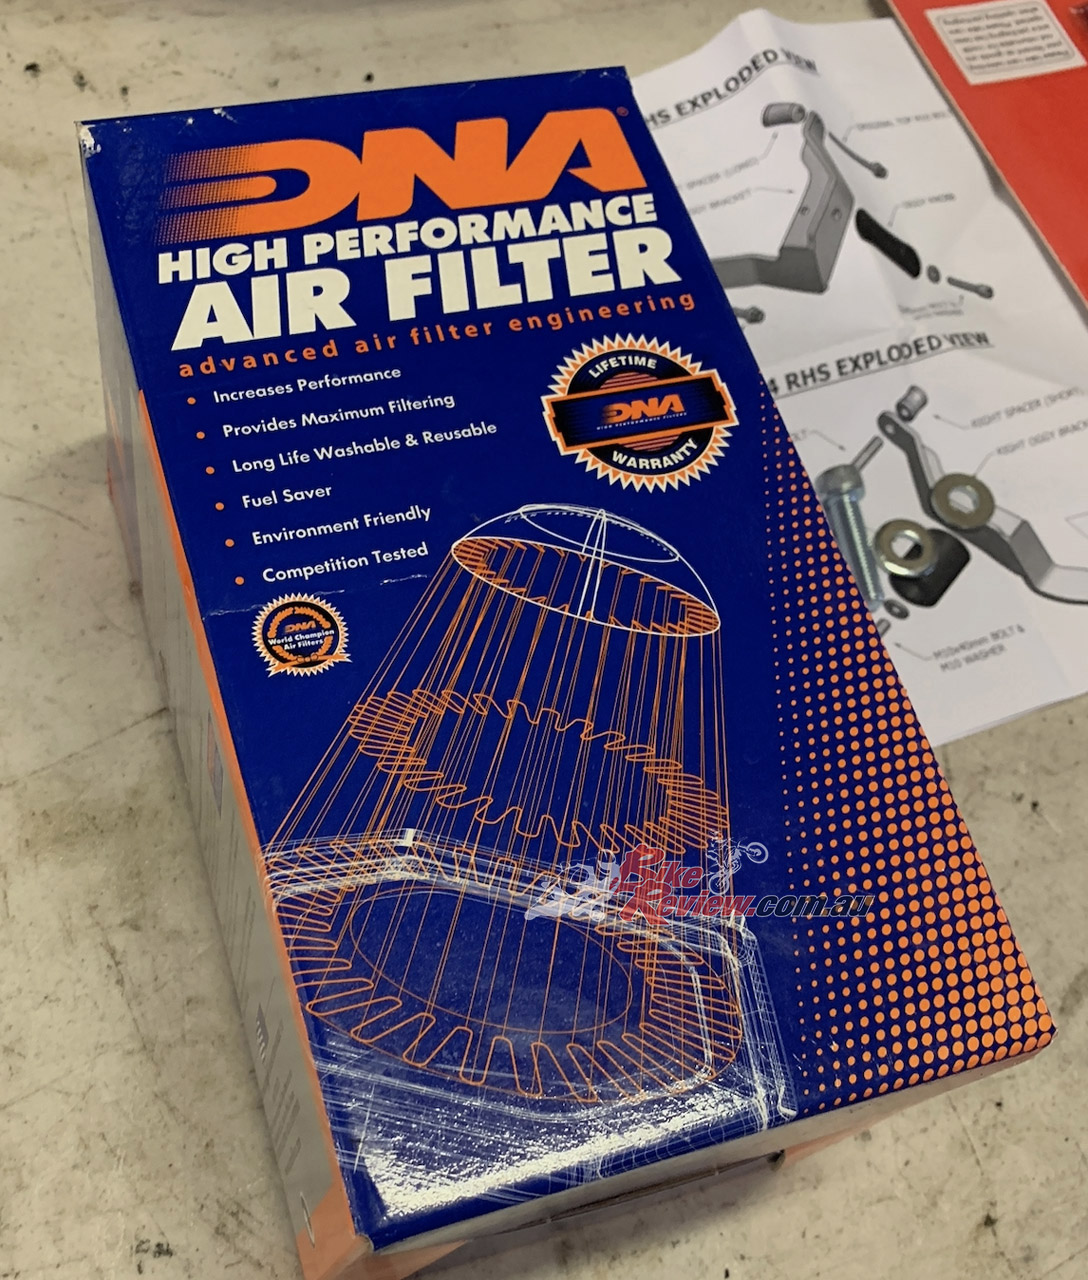
Step One
First things first I opened the box to check out what the DNA filter. Immediately I noticed the quality, the filter itself seemed so solid and well put together in comparison to the standard paper filters Honda use. It came pre-oiled with a couple of nice stickers to place on the fairings once I was done.


Step Two
The pillion seat had to come off first simply with the use of the key. From there, the two bolts holding in the riders seat were removed and the seat slid was removed.


Step Three
Next, out came the battery. The two rubber straps that hold the battery in the box were easy enough to remove with a little bit of force. From there, remove the terminal cables and tuck away to the side. Put the battery to the side and keep your tools away from the terminals!
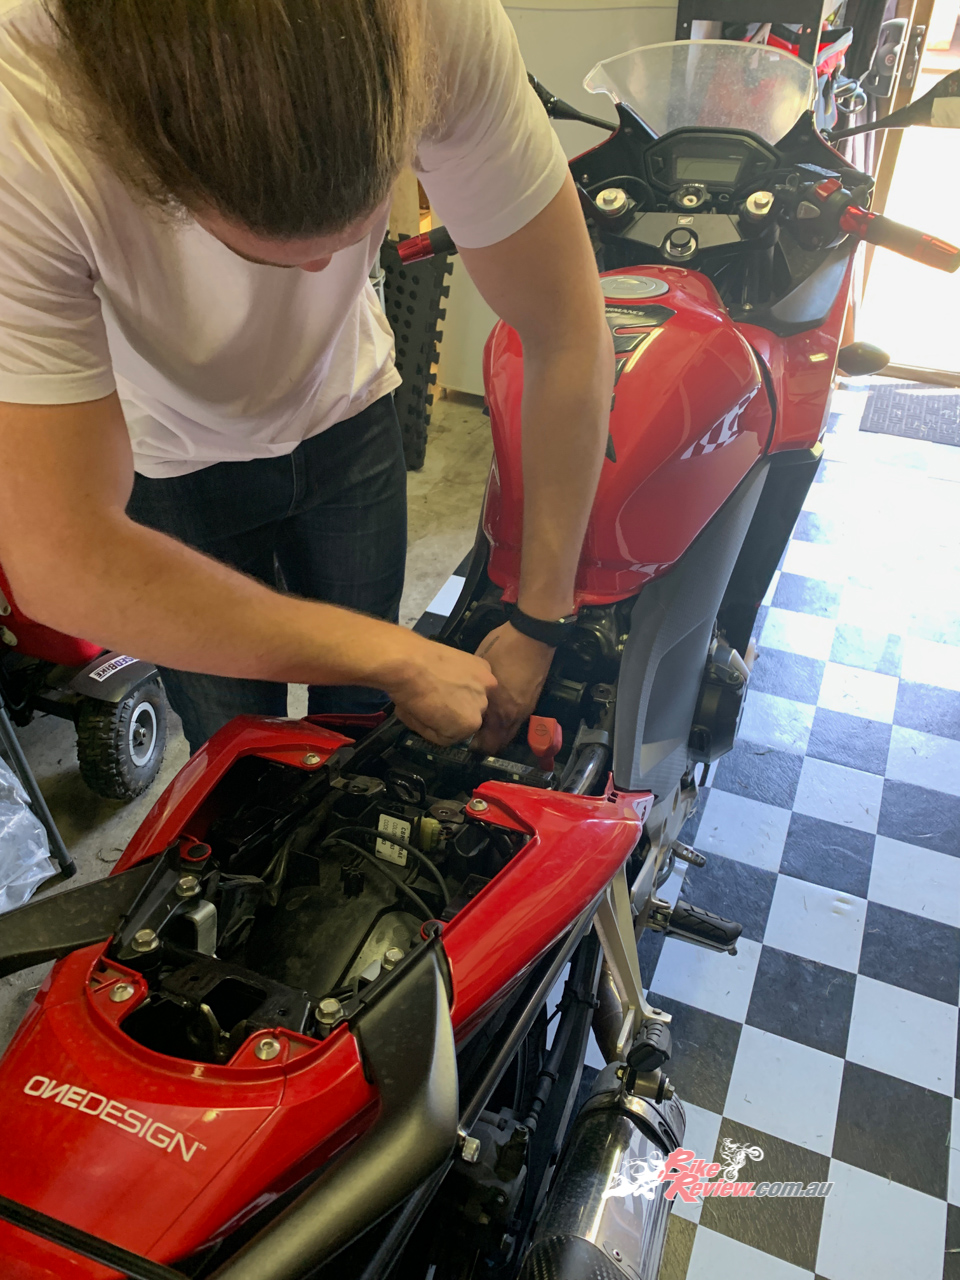
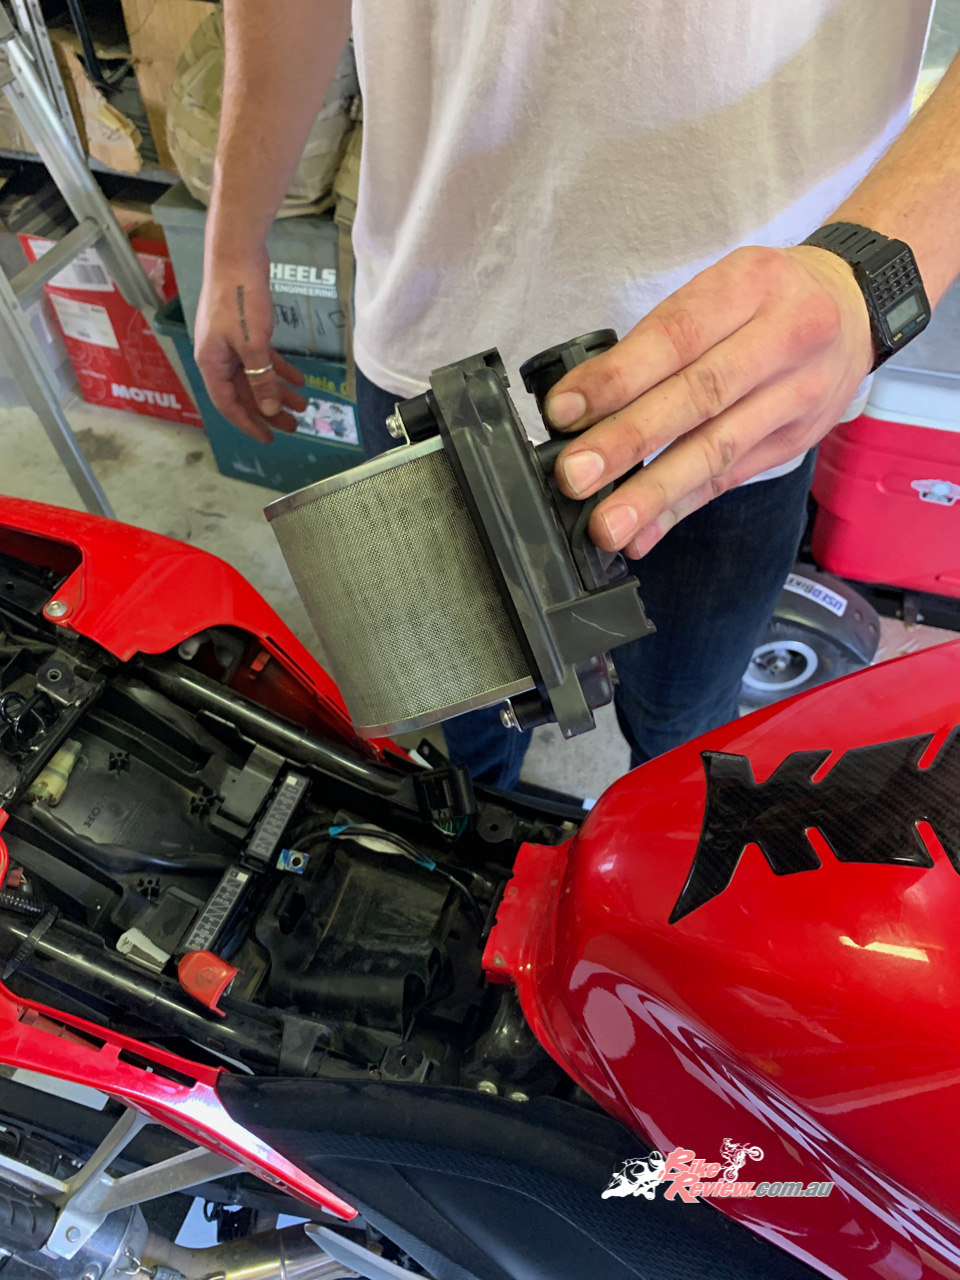
Step Four
With the battery removed, you’ll have clear access to the airbox. Each corner is held in with a #2 small Phillips head screw. A stubby screwdriver for the bottom corners will make your life a lot easier, you’ll see what I mean! Once the screws are out, move the wiring and pull the cover and filter housing out.
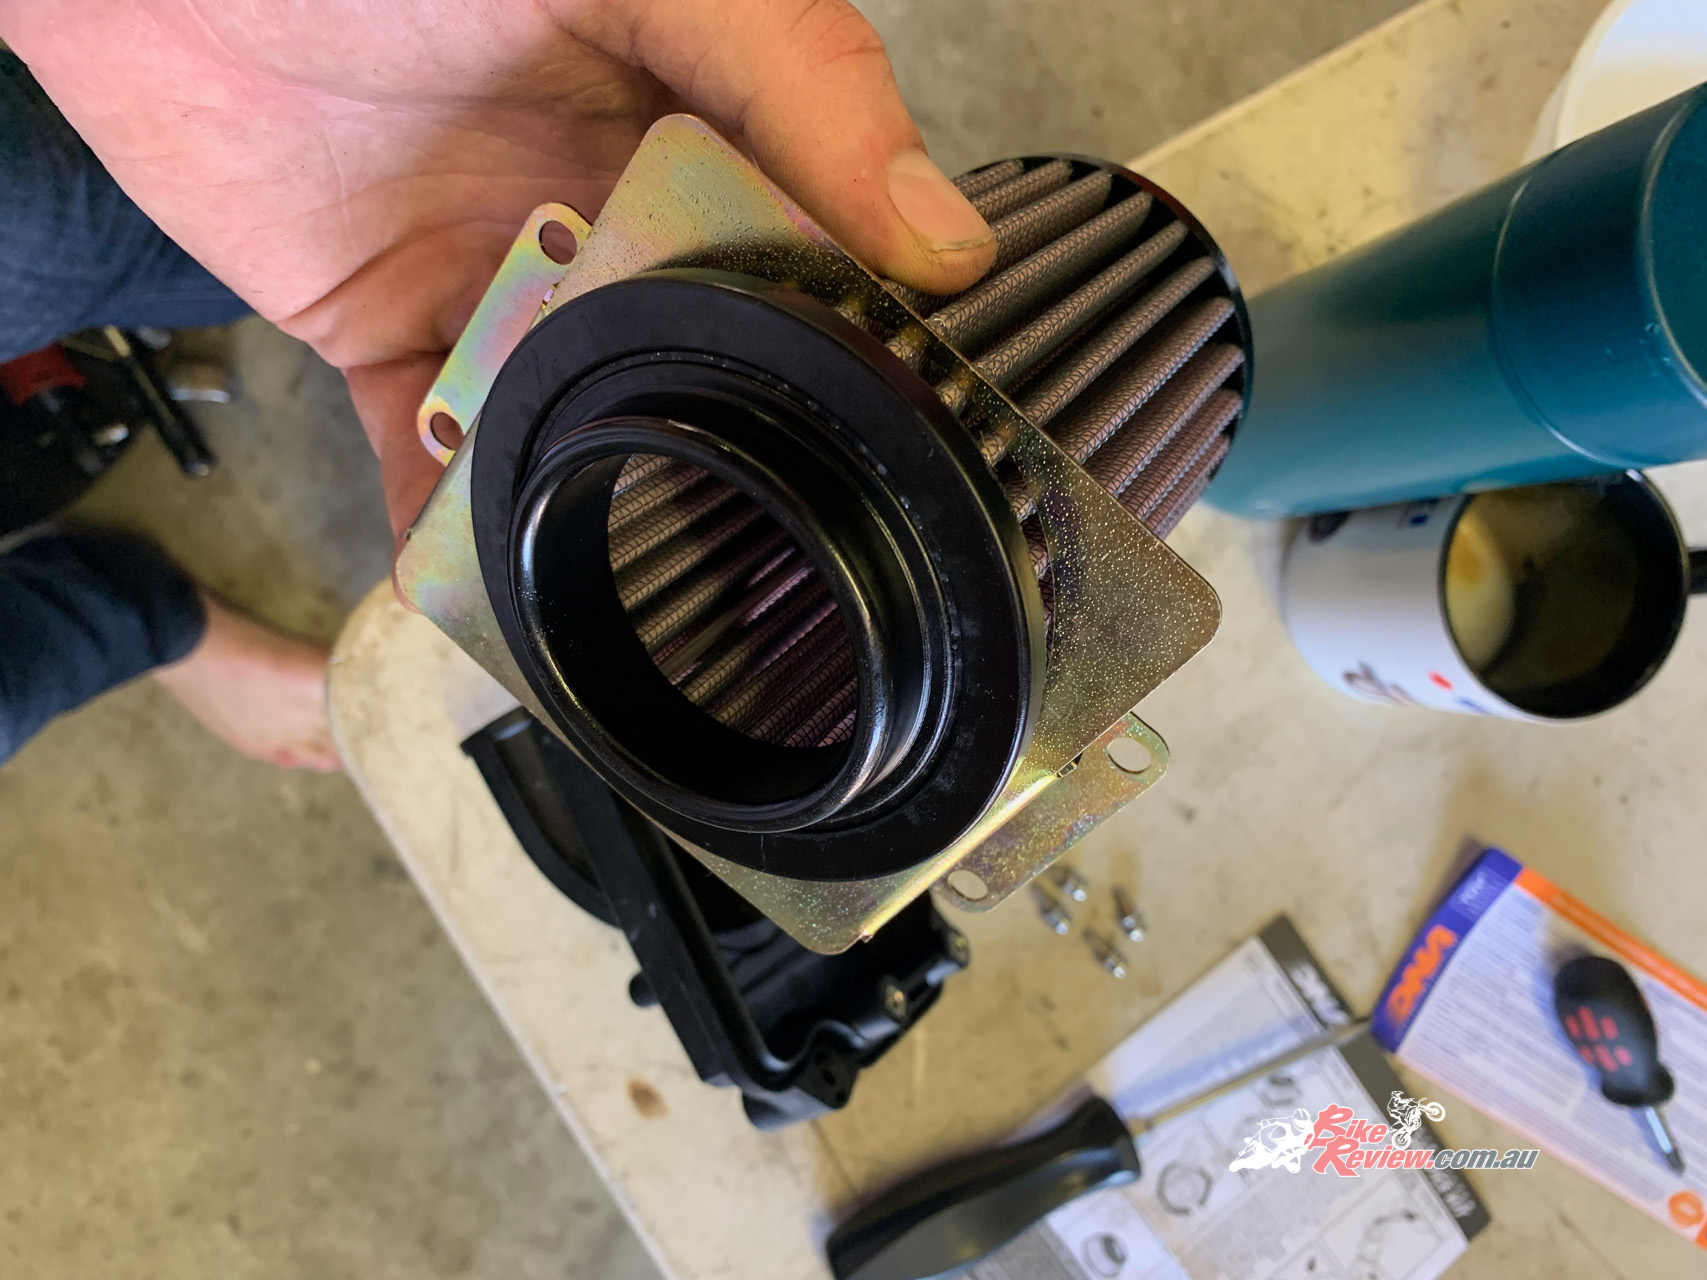
Step Five
Unscrew the old filter off the airbox housing and set it aside. It’s worth keeping as a spare to use while you’re cleaning and re-oiling the DNA filter. Slide the DNA filter into the supplied mounting bracket and begin attaching to the cover.

Step Six
Poke the filter and housing cover back into the airbox and adjust until the Phillips screws thread nicely back in. Tighten down securely and reattach the wiring harness. Next, the battery can go back into the tray and terminals can be reattached. Pull the straps back over the top of the battery and clip down to secure the battery in its tray.
Step Seven
Throw the seat back on using the two bolts, reattach the pillion seat, put on your gear and go for a spin!

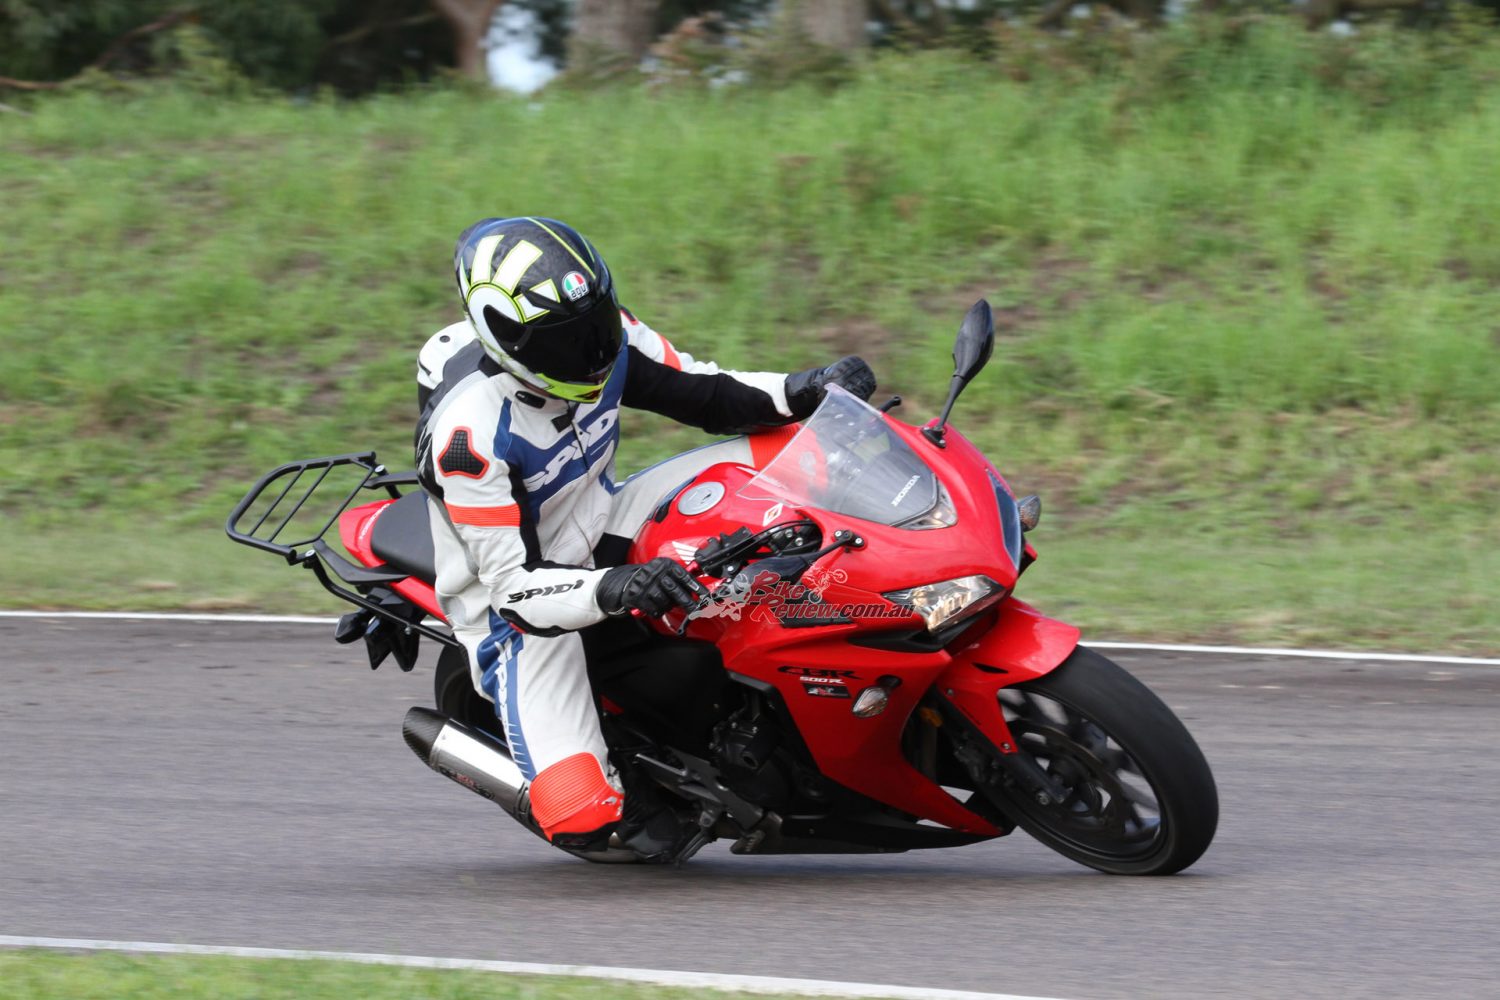
Throttle response and power gains were instantly noticeable on my CBR, which also has a Yoshi slip-on. The bike is more responsive around the streets with a nice audible induction noise when stretching out the gears. First test will be on the track coming up soon, keen to see how it goes! The life-time warranty offered by DNA means the filter should easily outlast the bike. Simply wash and re-oil every service. It was awesome to feel the power difference, not just read about it!

Throttle response and power gains were instantly noticeable, more responsive with a nice audible induction noise.

The CBR500R DNA Filter kit costs $125.00 RRP and is available through your local shop or visit Kenma.com.au – CBR500R DNA Page.
The Verdict | Tech Tips: DNA Airfilter fitment, Honda CBR500R
Lifetime Warranty!
Fitting a quality reusable performance filter is a must-do when time comes to replace your OEM item. Nick chose to use a DNA airfilter for his Honda CBR500R…

The Author
You Might Also Like