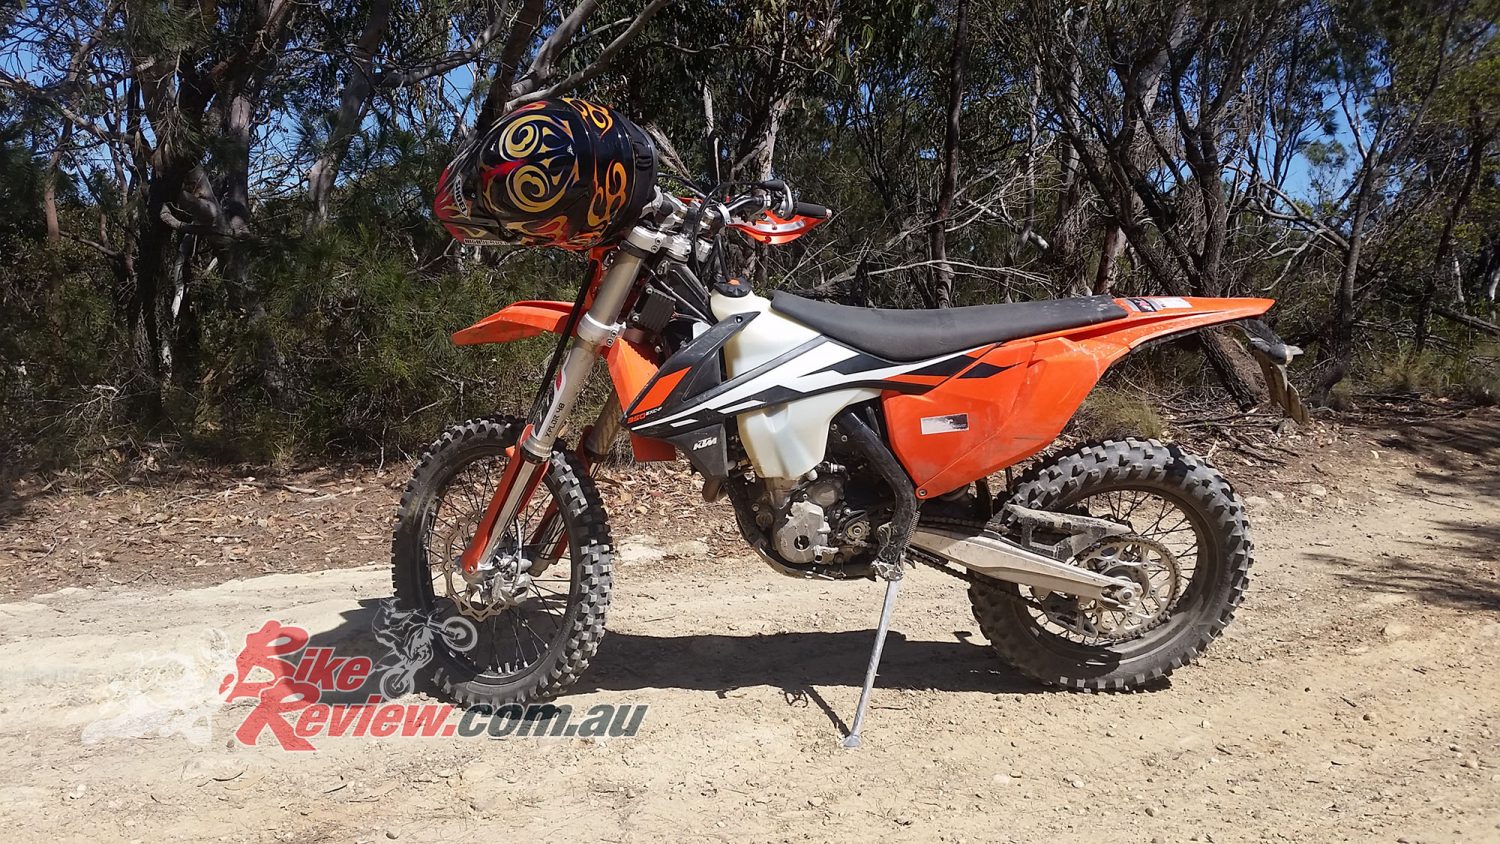
Project KTM 350 EXC-F has been treated to the fun stuff, with Jeff fitting a few tasty KTM PowerParts and giving the bike its first service... Workshop: Jeff
Our Project BikeReview KTM 350 EXC-F has been awesome. Mark had the bike for a while after Jeff ran it in, then we got it back and have just fitted a bunch of goodies from the KTM PowerParts catalogue. We also gave it a service and sent it off to Pommie for a few good enduro loops.
So far the bike has been awesome and we are happy with it. The suspension is set-up great within the standard range and all we need now are fresh tyres, which we will be fitting shortly (Scorpion Pro).

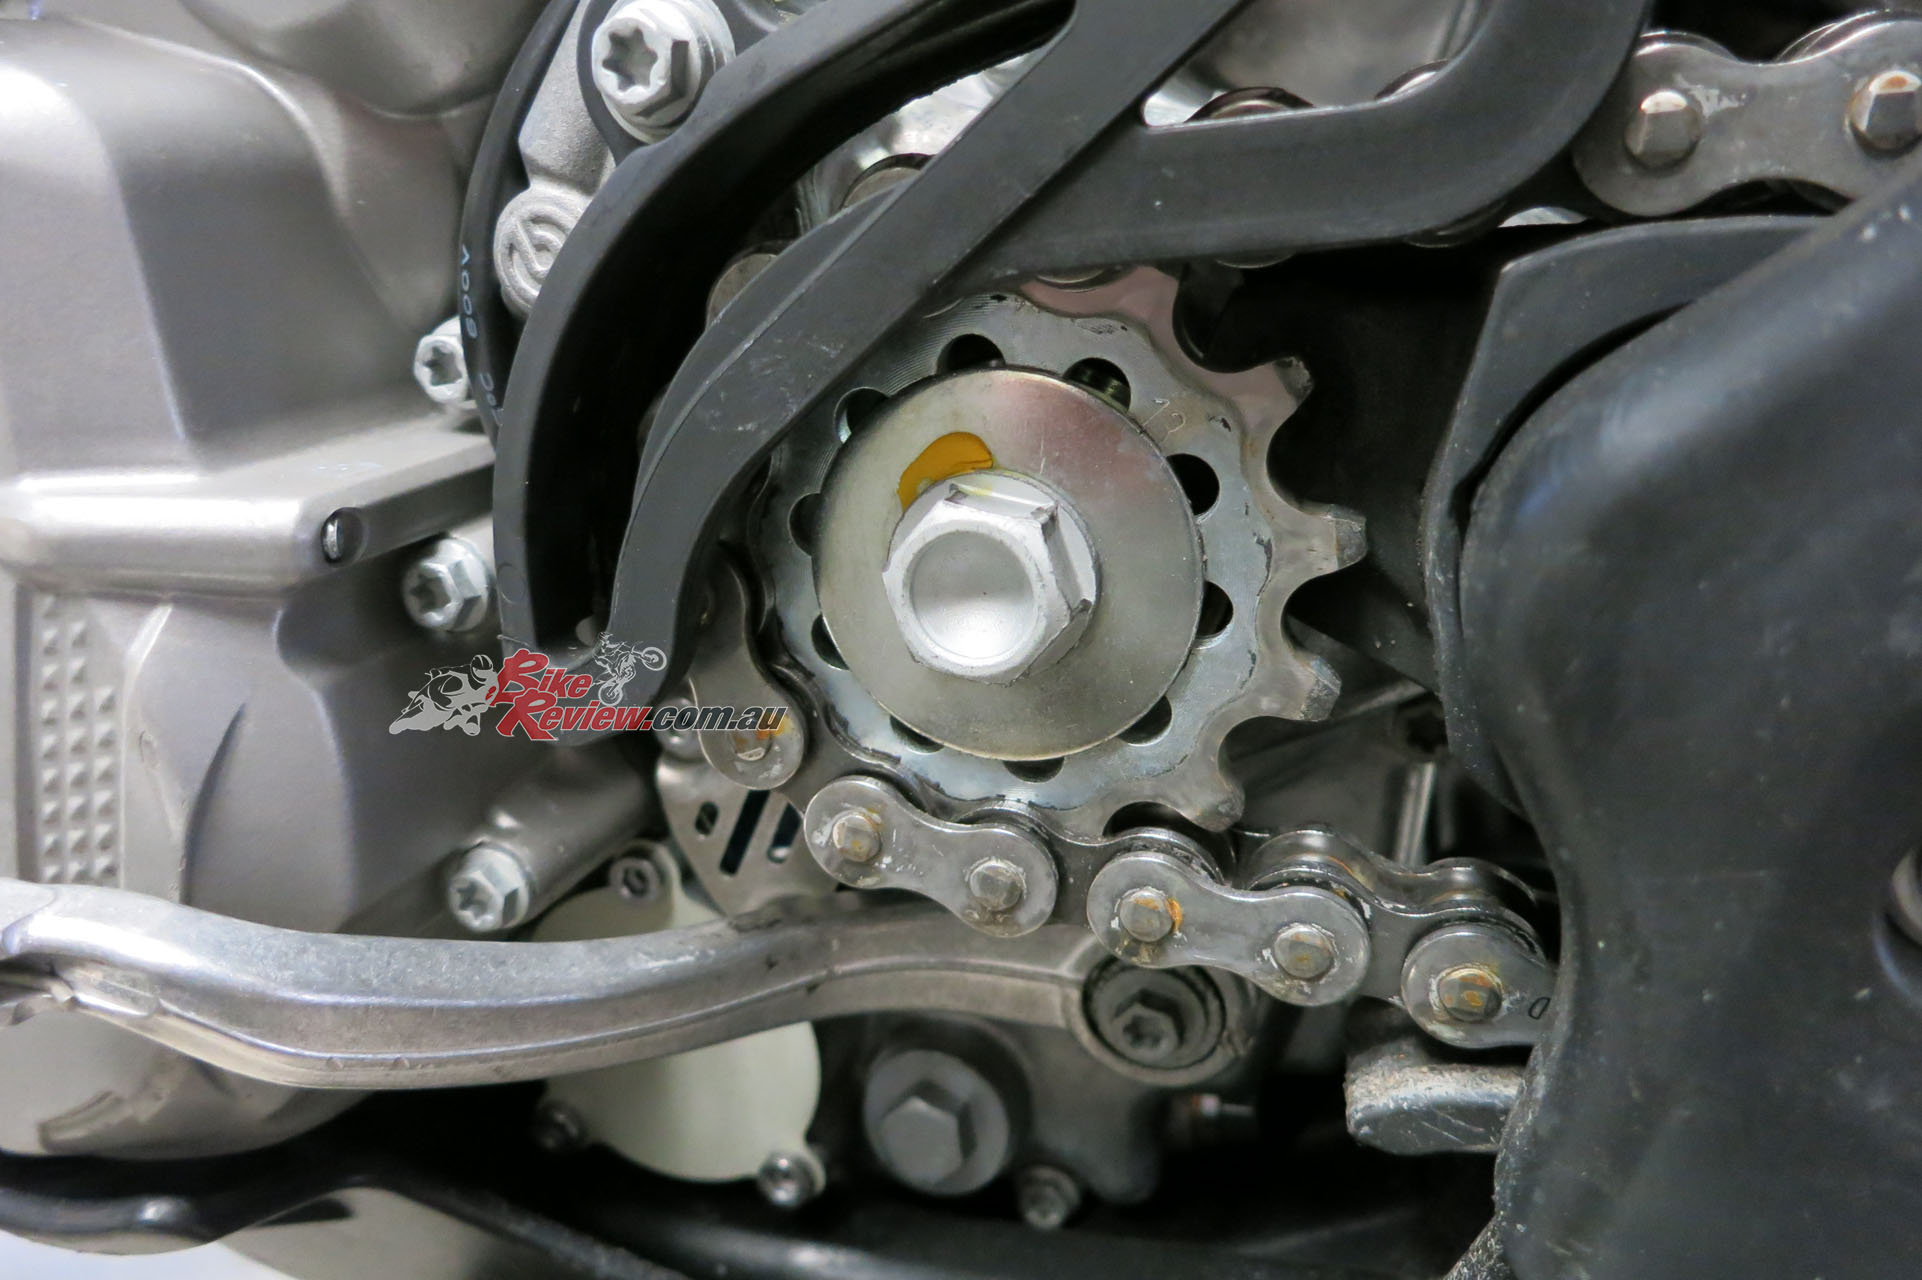
The first job was to give the bike a first service. This involved changing the oil and filter, cleaning the oil strainer filter, checking and gapping the spark plug, adjusting the idle, cleaning the quick-access airfilter, checking the battery terminals and going over the chassis; re-torque major fasteners including engine mounts, swingarm pivot, shock bolts, axles, caliper bolts… also checking and adjusting the spokes and tyre pressures.

Don’t forget to remove and clean the strainer filter when you do an oil change on your EXC-F…

We also had to remove two links from the chain as oddly, the rear wheel was already at maximum wheelbase and as the chain had stretched, we could not adjust it. We had to remove a few links. I’ve never seen this before! Anyway, services these days, particularly first services, are pretty quick and easy – no valve clearances required.
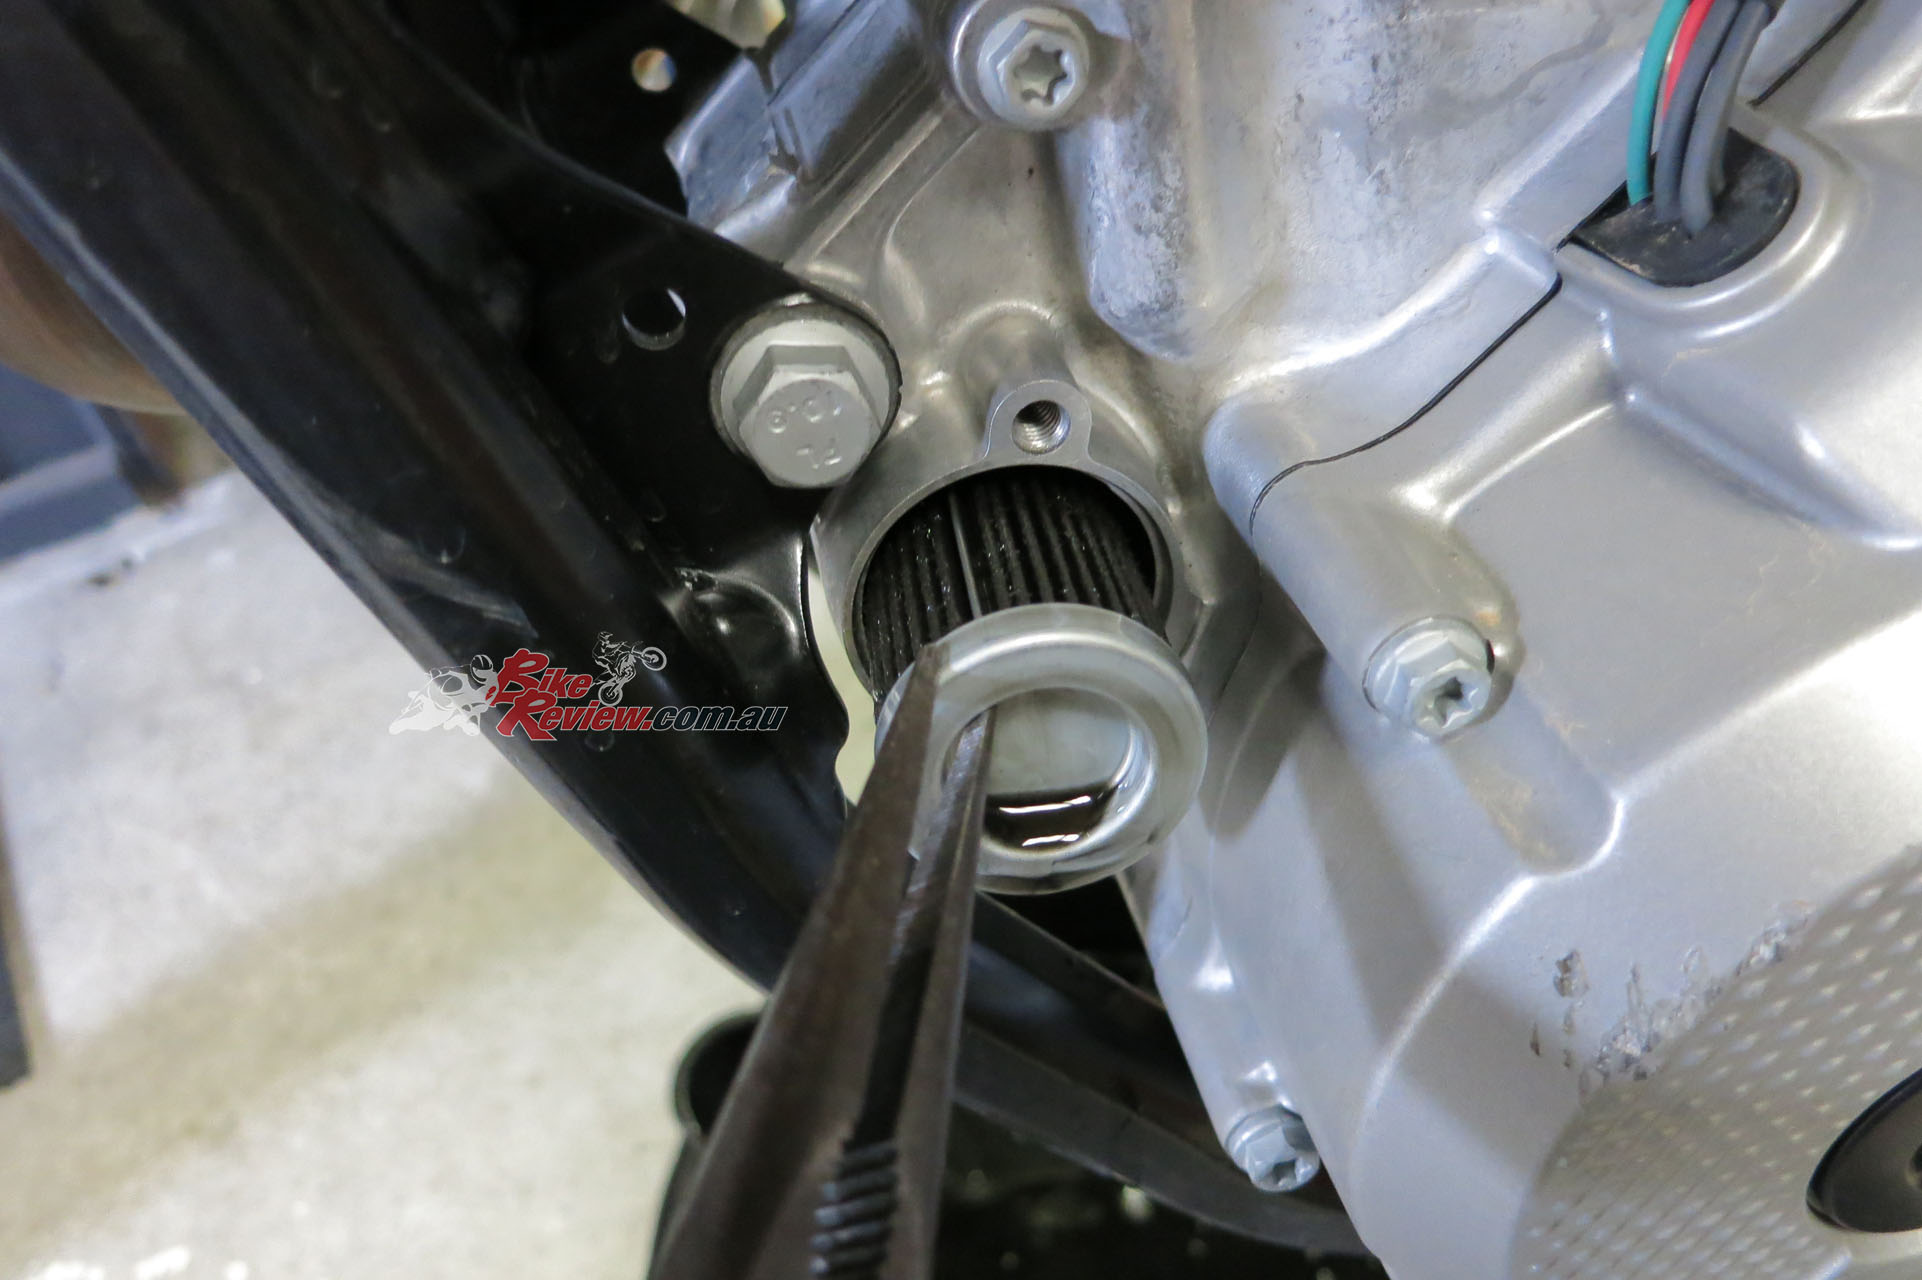
Always change the oil filter. These engines only hold 1L of oil and it works very hard. When you change the oil filter, use genuine parts, and lean the bike away from you and pour a half a cup or so of fresh oil into the oil filter housing before fitting the new filter.
As mentioned, these engine’s only hold 1L of oil and so the oil works extremely hard. The first change was at 1hr, then it should be changed a minimum of every 15 hours but sensible judgement is the best option, if the bike is being ridden hard, bring that back. Experience is the best judge but we are going to change the oil every 10 hours of use.
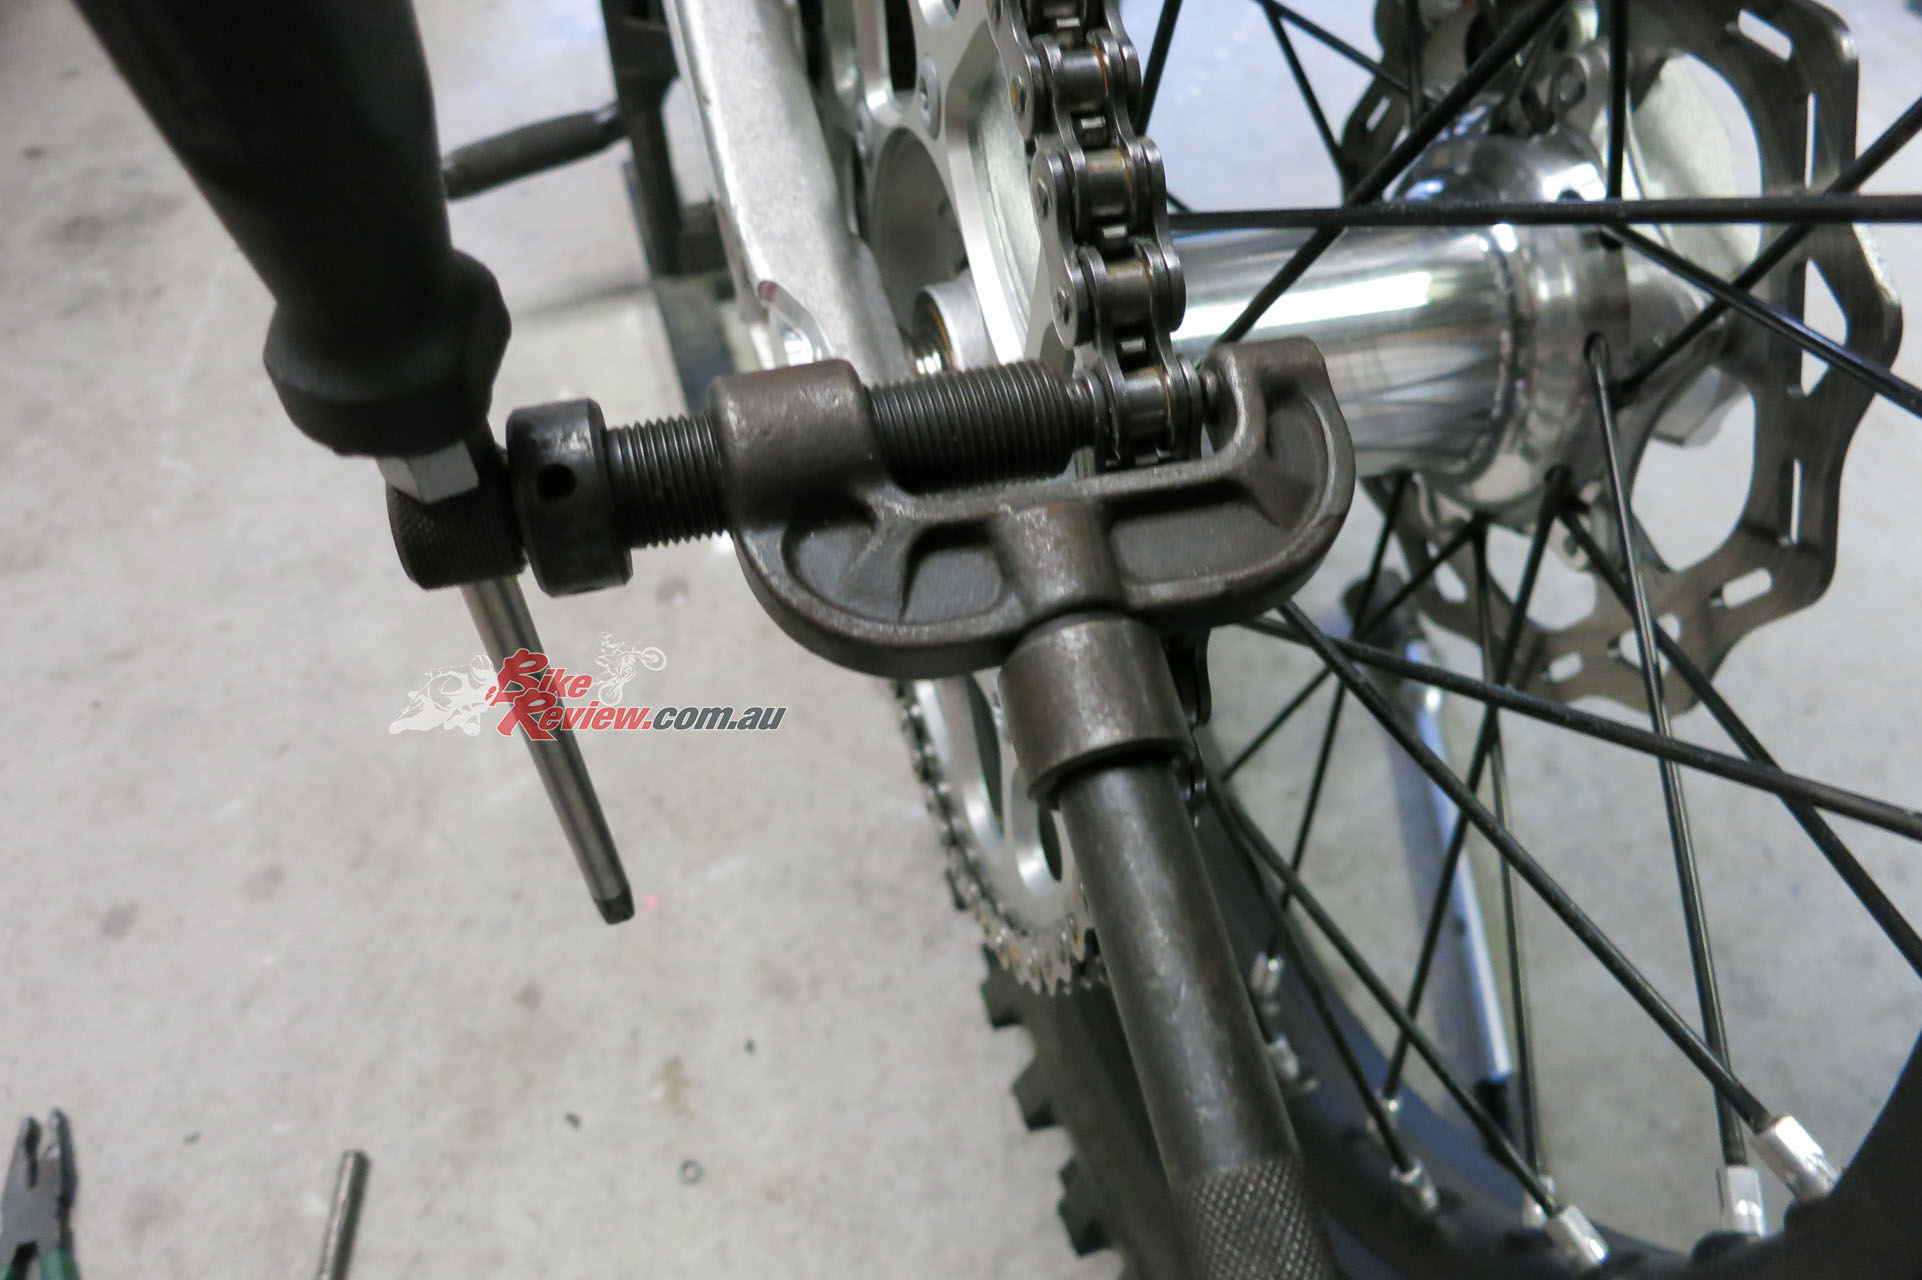
We removed a few links from the chain, as the rear axle was already at maximum wheelbase from new. This is most likely due to gearing changes pre delivery as the model may be geared up for ADR purposes.
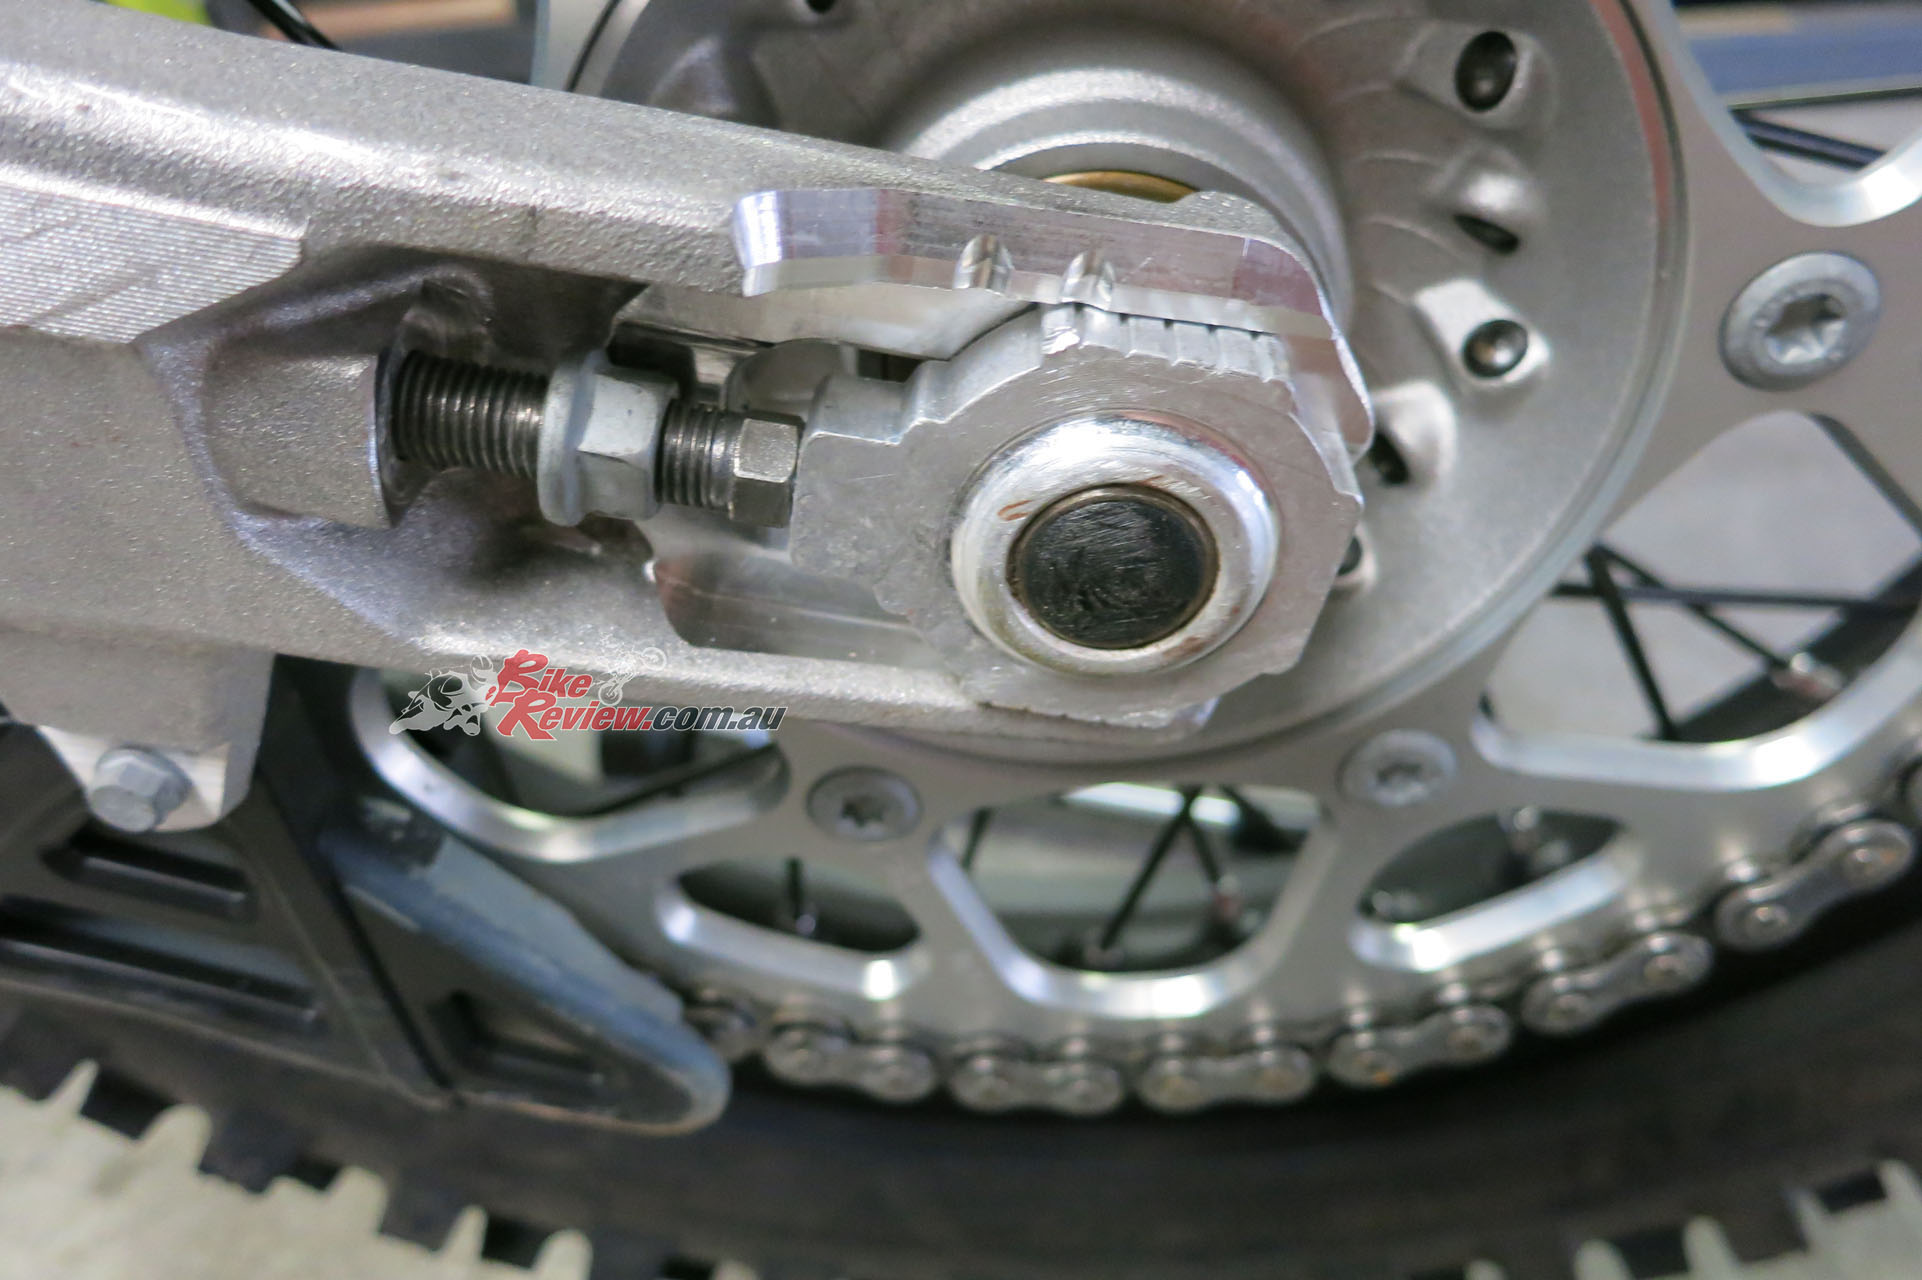
Ensuring your chain is appropriately adjusted, frequently is an important job
Normally you’ll only need to remove (or add) links from a chain when changing sprocket sizes.
The fun bit was next, fitting some tasty KTM PowerParts goodies, graciously supplied by KTM Motorcycles Australia.
First up we fitted the must-have KTM Fan. This fan comes as a plug and play accessory and has a neat digital temperature gauge. It is programmable to switch between as low as 65ºC and 95ºC. I set it to Celsius display and left it on 95ºC so it is not going 24/7 in the bush. It does a top job and regulates the temperature fantastically.
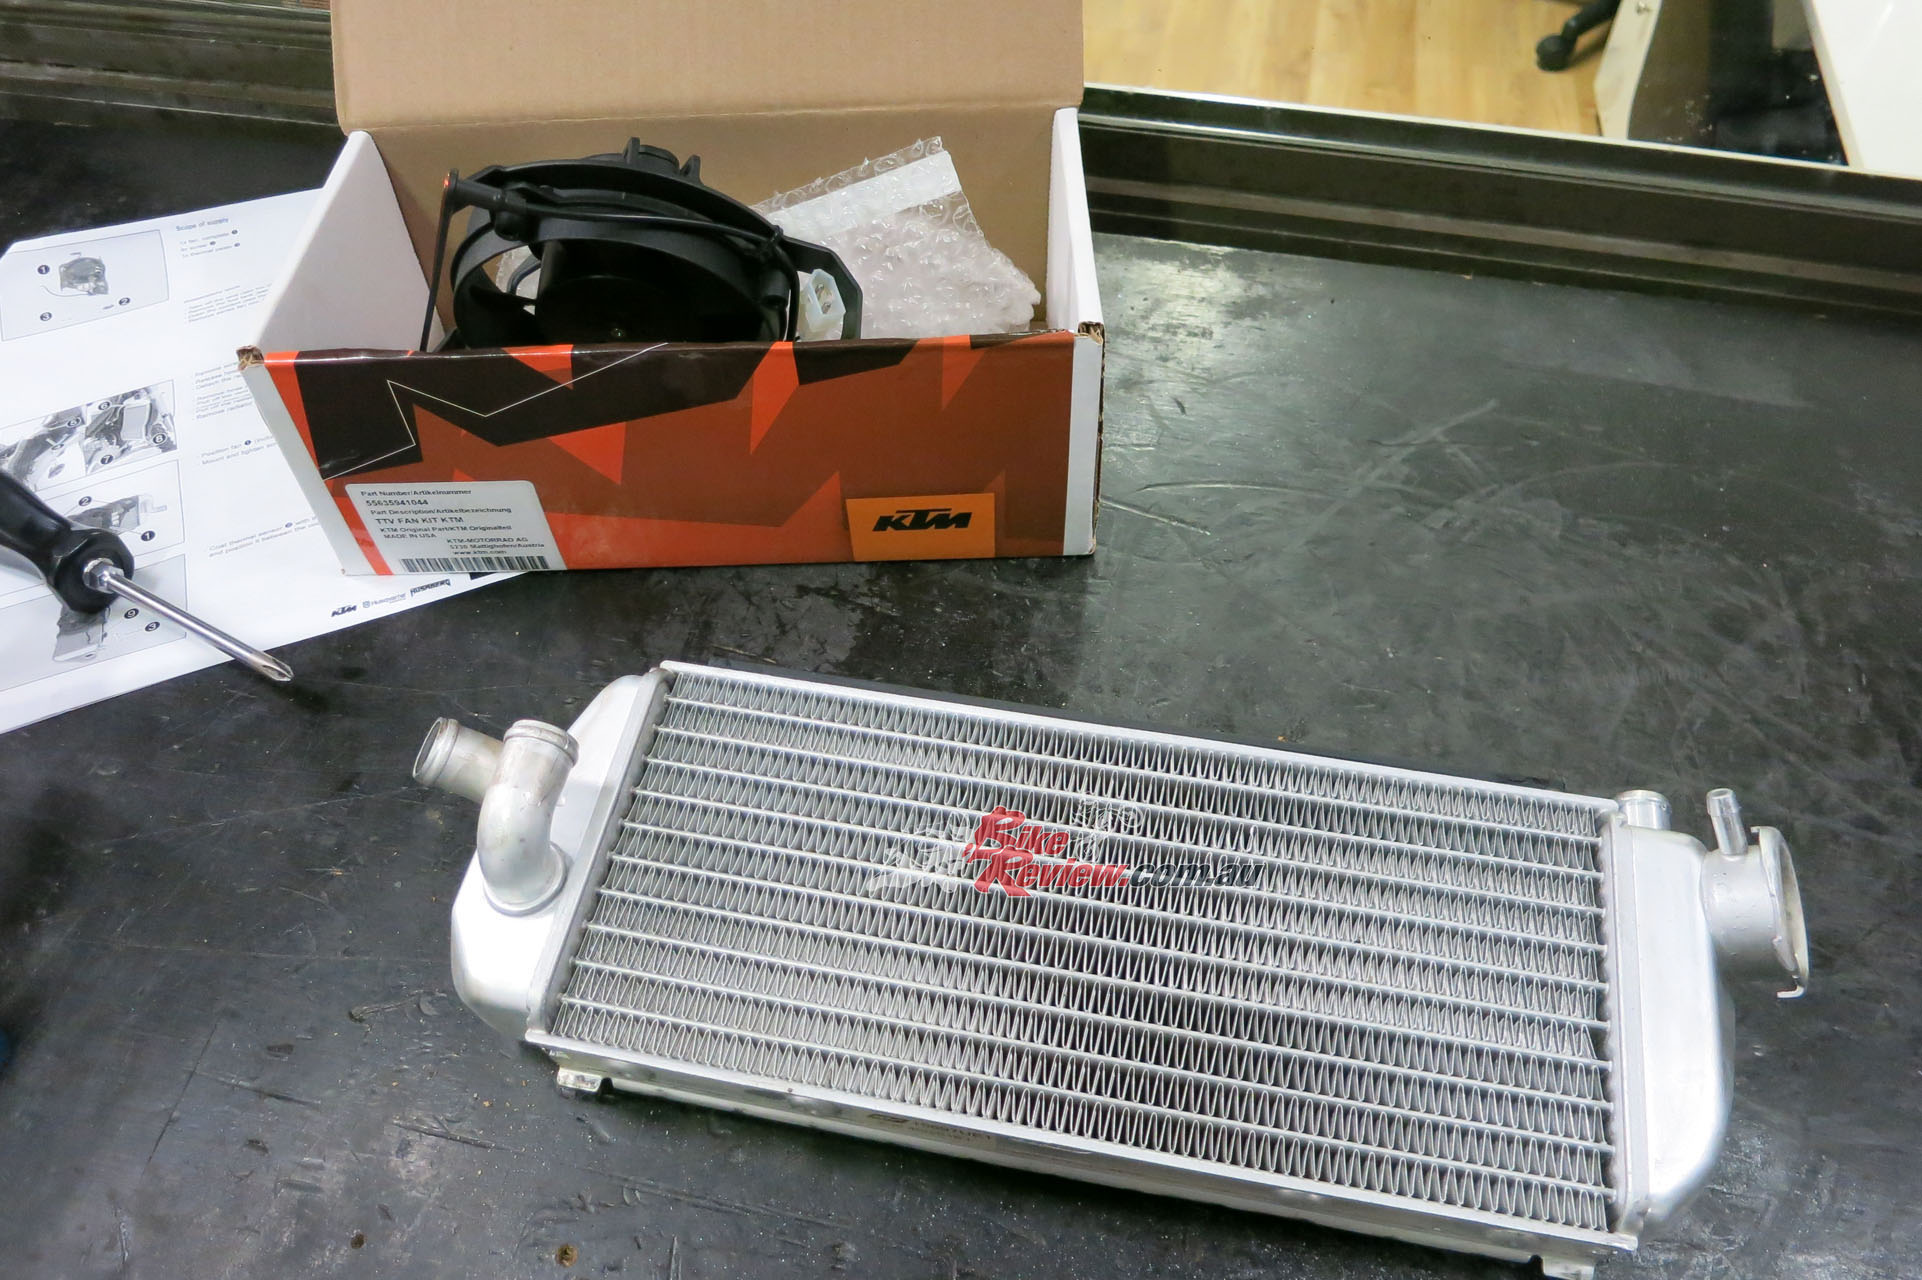
Removing the R/H radiator was the first step to fitting the KTM Fan.

The fan then screws straight to the back of the radiator. All fasteners are provided. It costs $438.91 RRP with the harness (Part – 55635941044 – 77711979000).

Thermal paste is applied to the temperature sensor. The sensor then slots into the radiator between the fans.
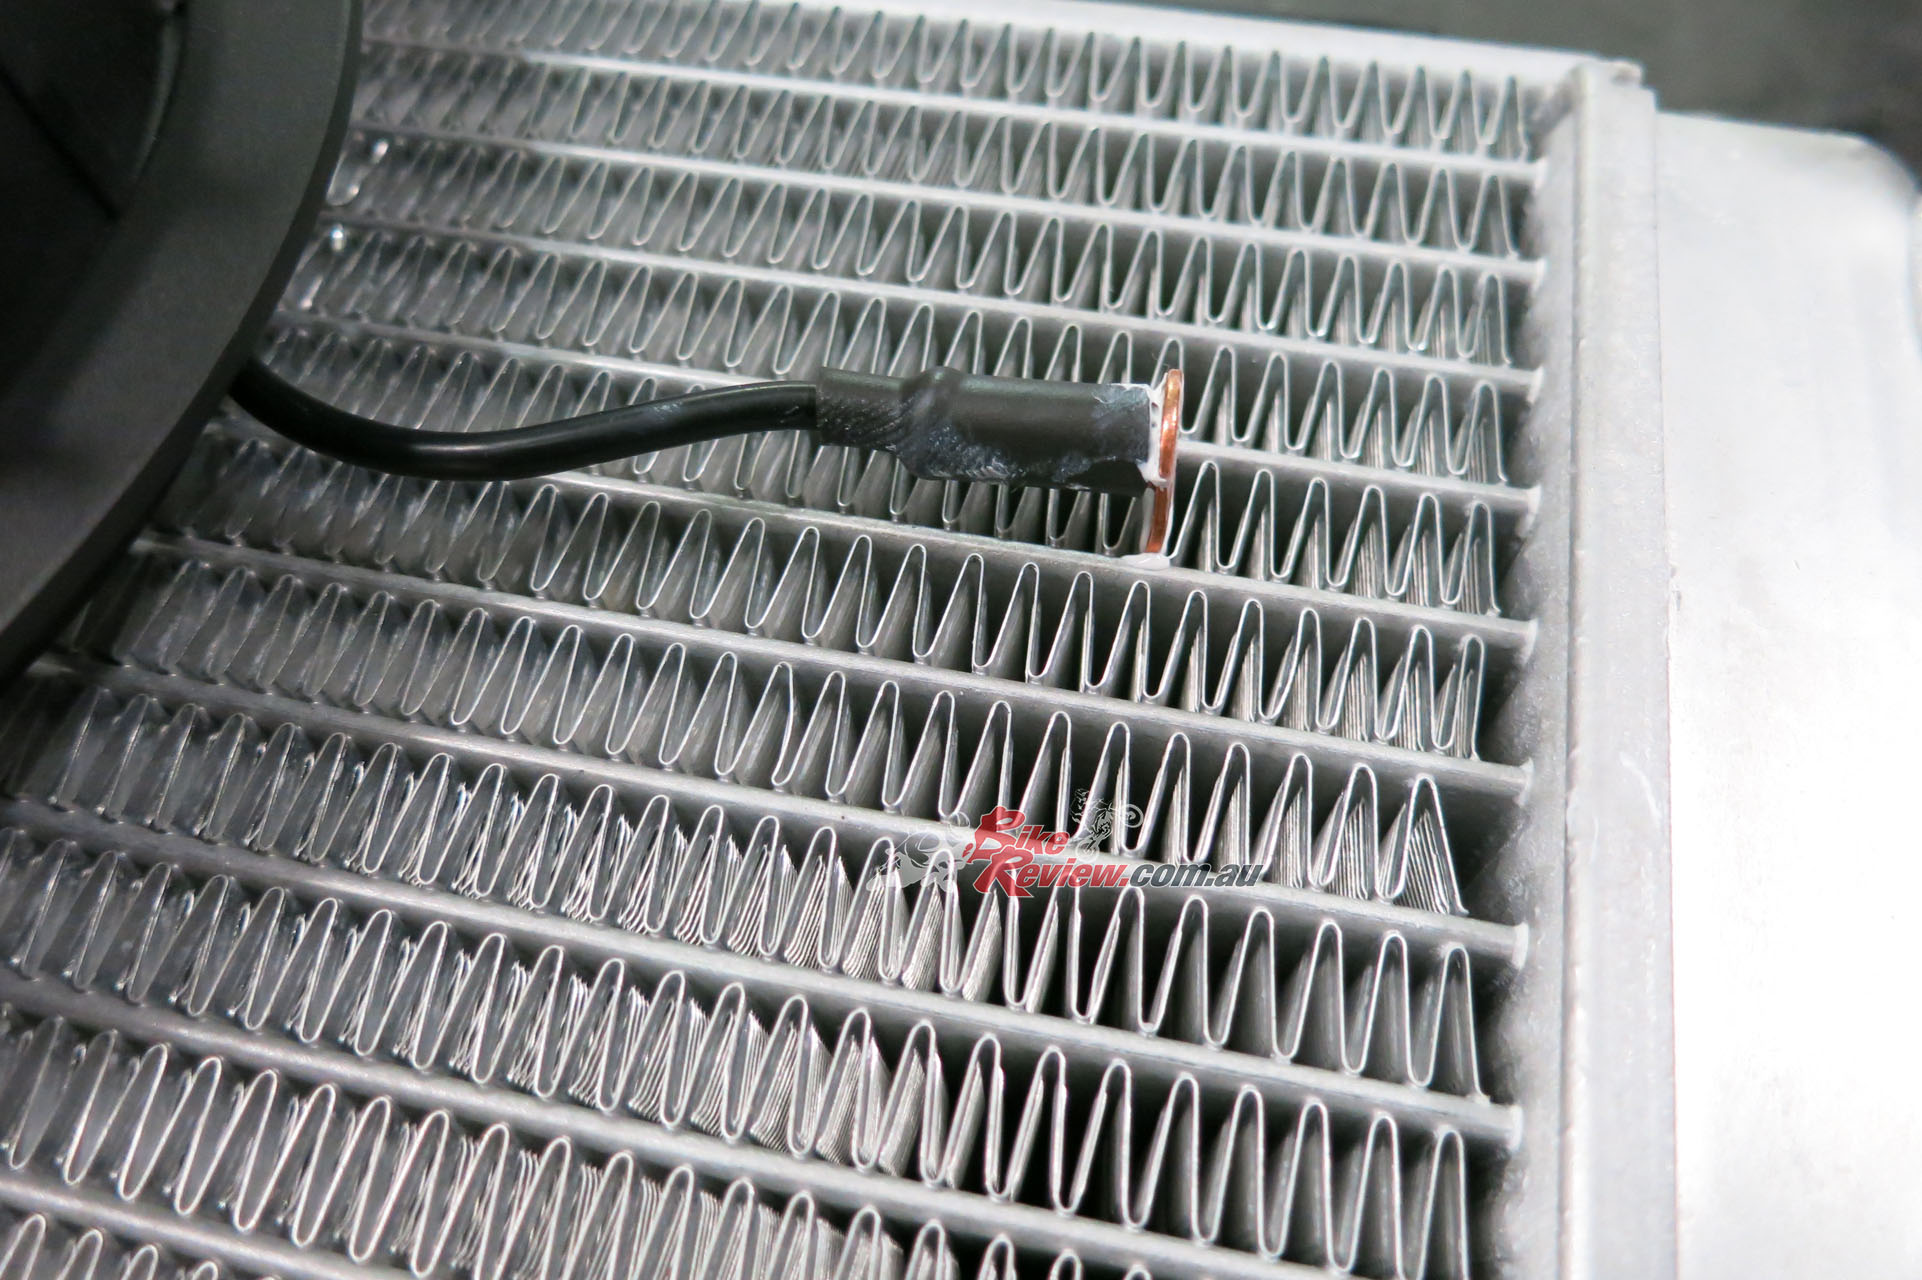
Pushing the sensor into the radiator requires finesse and judgment as any damage could be costly.
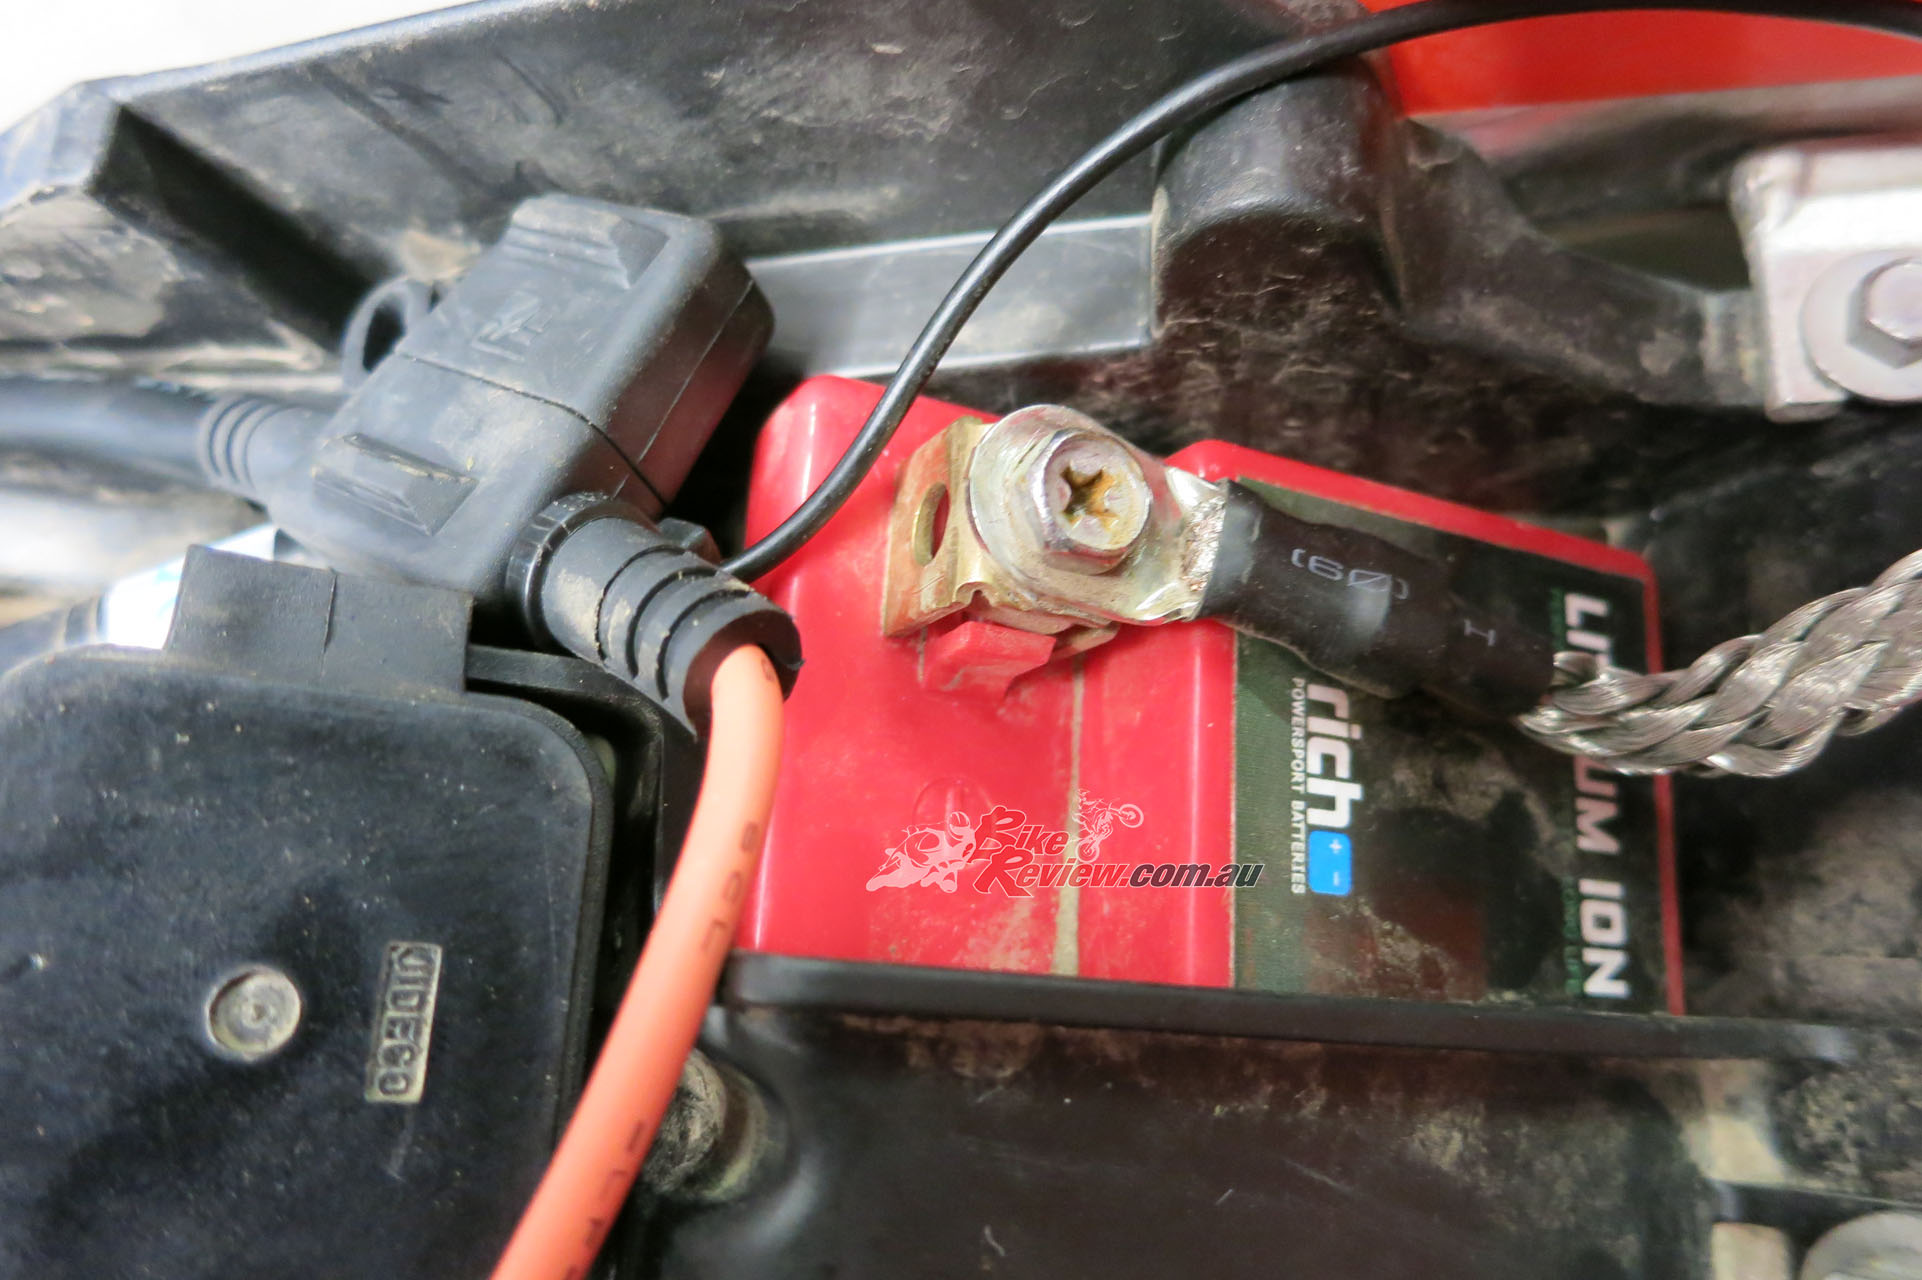
Fan power supply is picked up from the battery positive terminal. Note the fuse included.
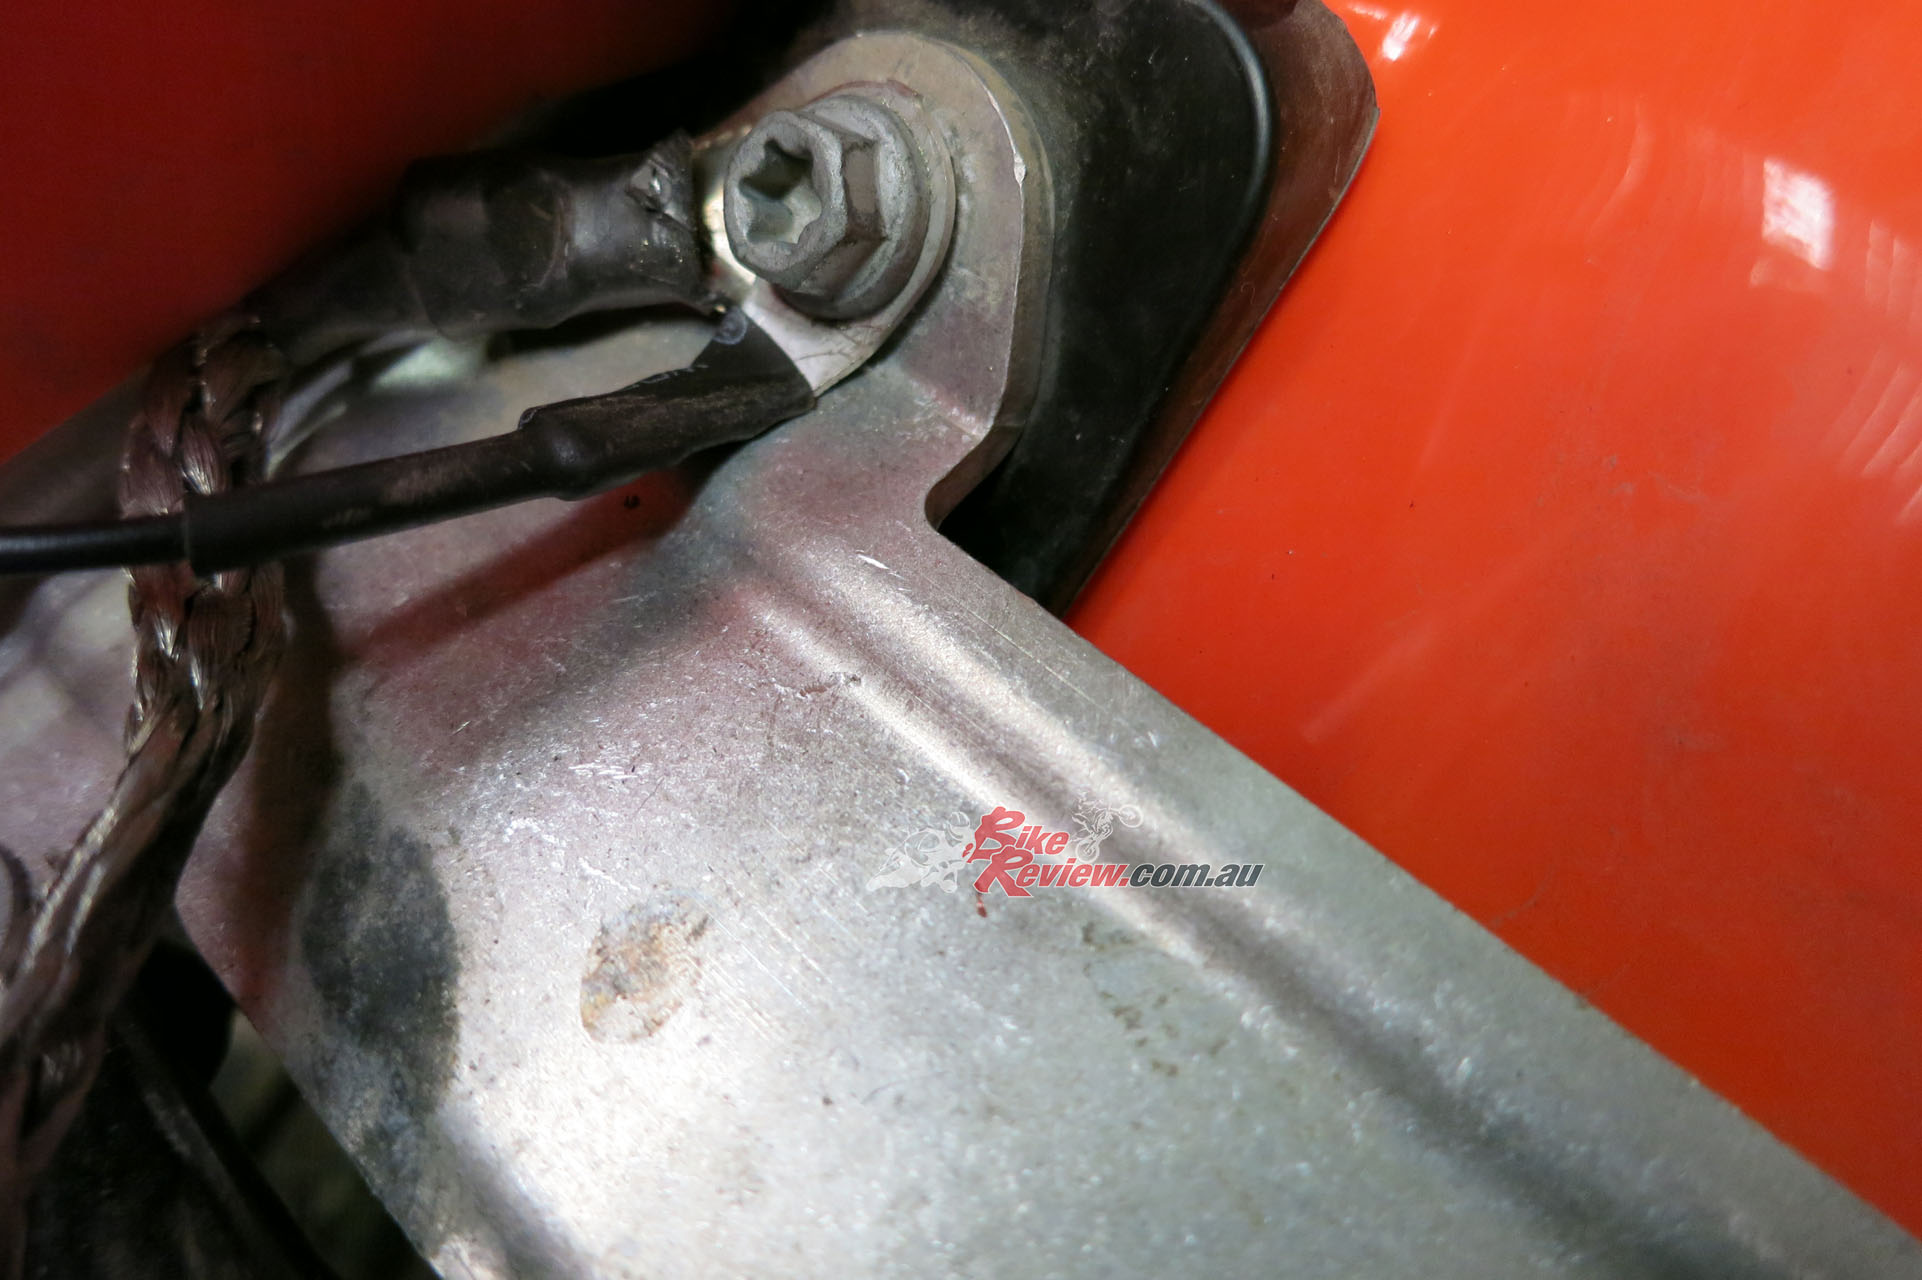
I earthed the fan straight to the sub-frame under the seat.
Next job on the list was to fit the Ignition Curve Switch and loom, so we could activate the two engine maps and Traction Control. Like the fan, this is an easy plug and play accessory. All that was required was to loosen the ODI lock on grip on the left side, loosen the handlebars and clutch lever carrier and move it all out of the way to slide the Map Switch on. The loom then runs down from the switch, under the headlight to the capped loom, ready to go!
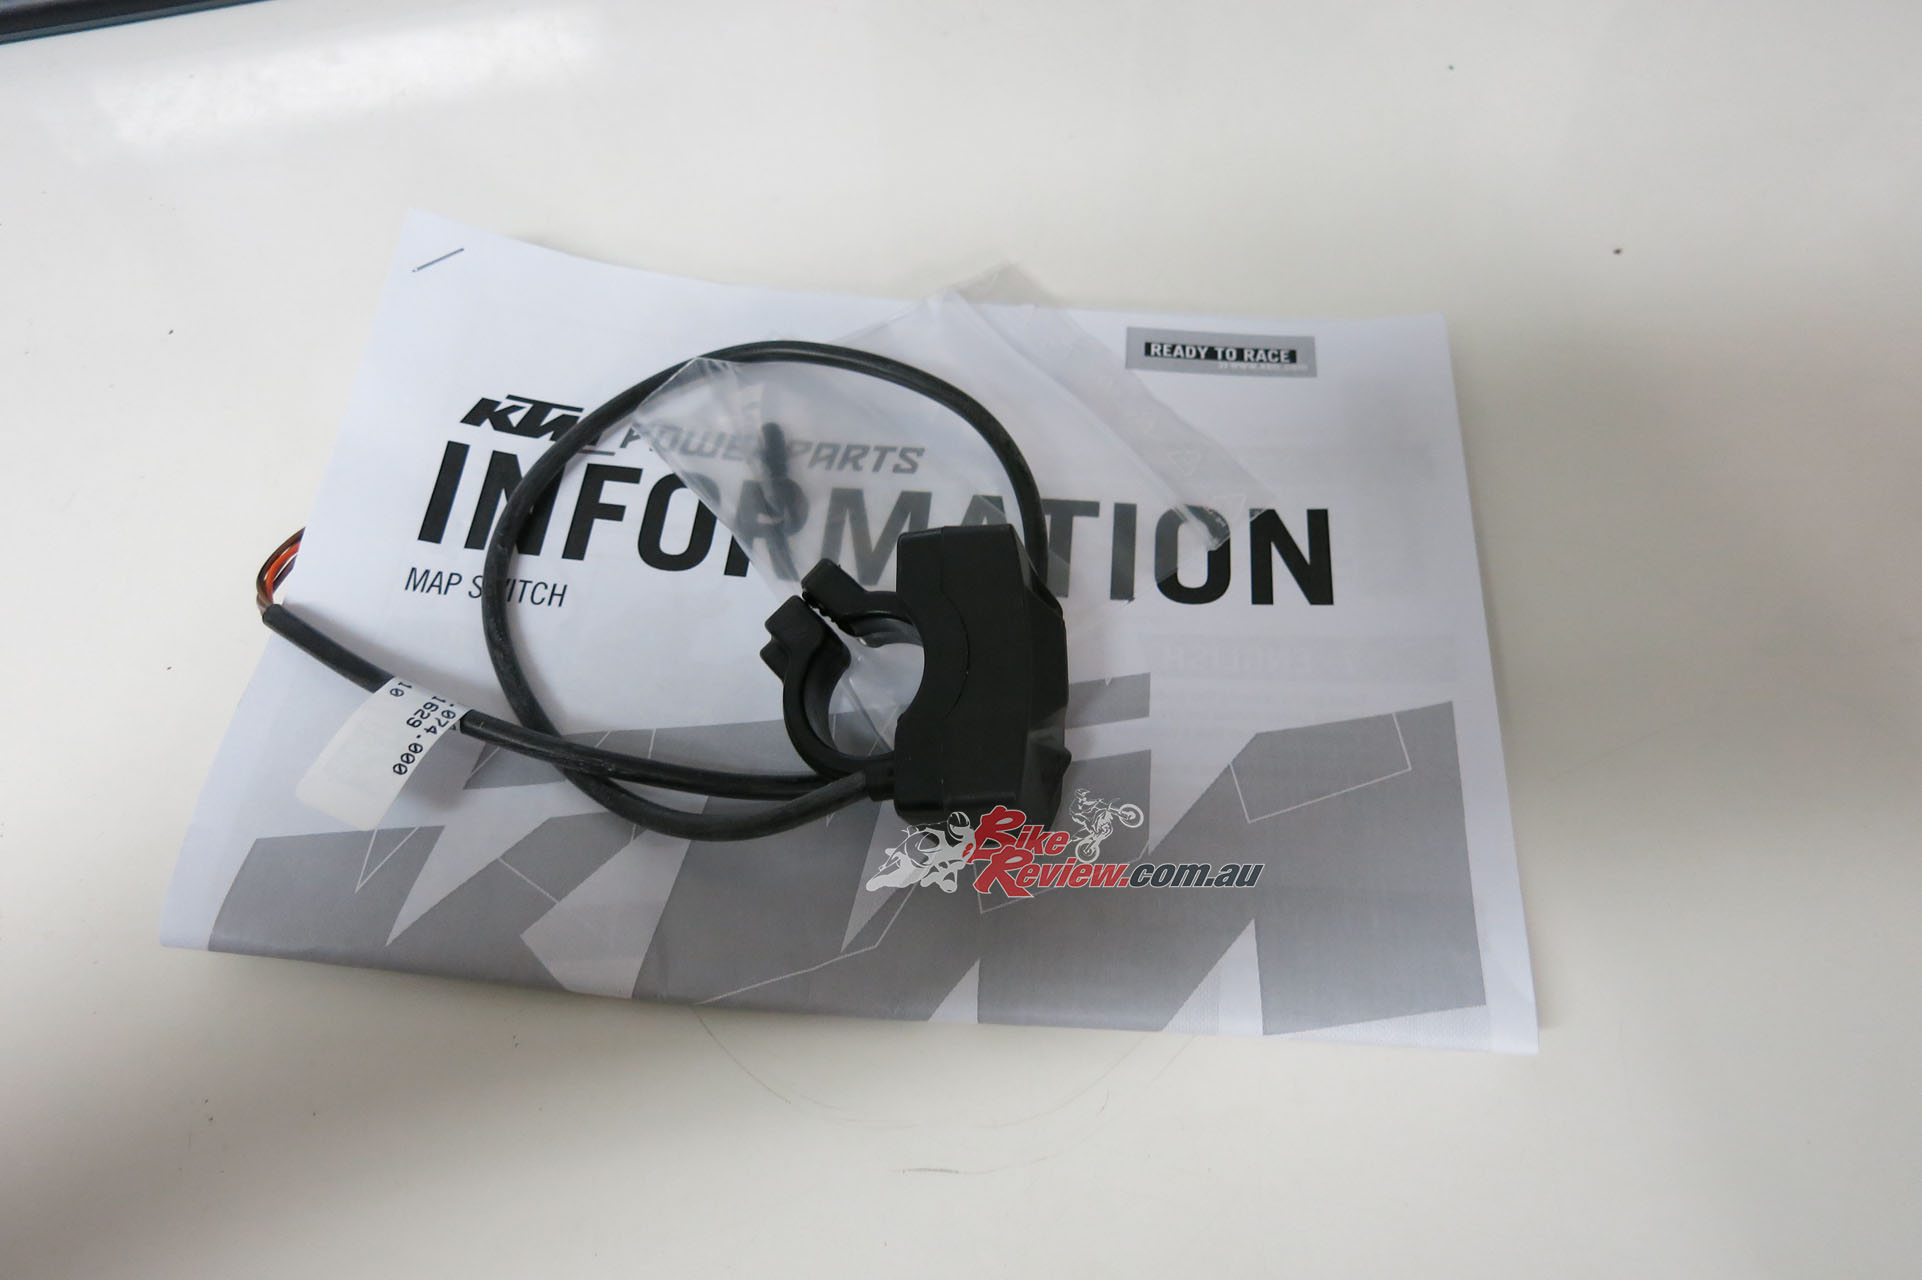
The Ignition Curve or Map switch comes complete ready to plug and play. It costs $189.99 RRP (Part – 79039974044)
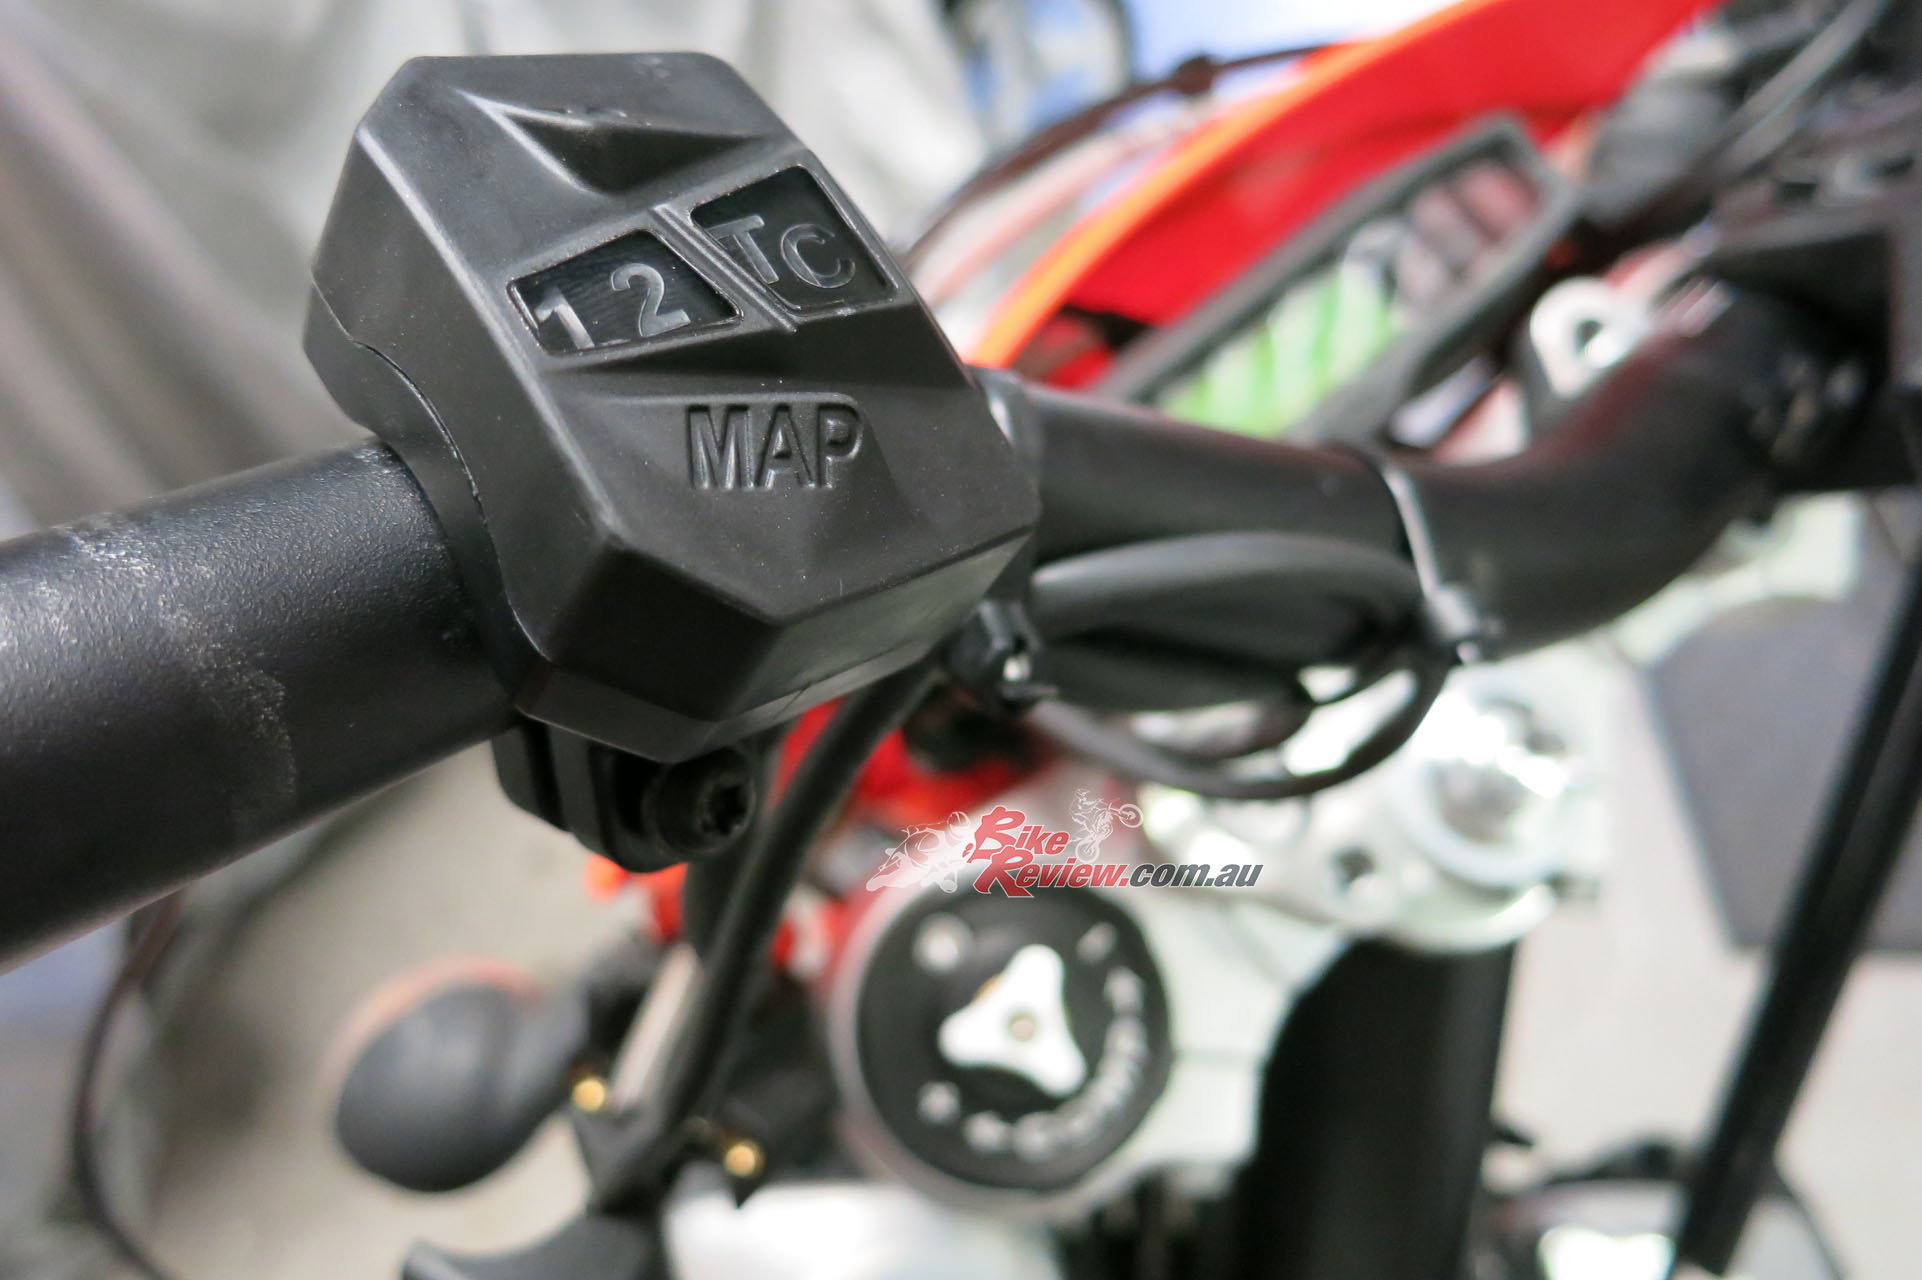
The switch allows two ignition maps and a TC activation option.
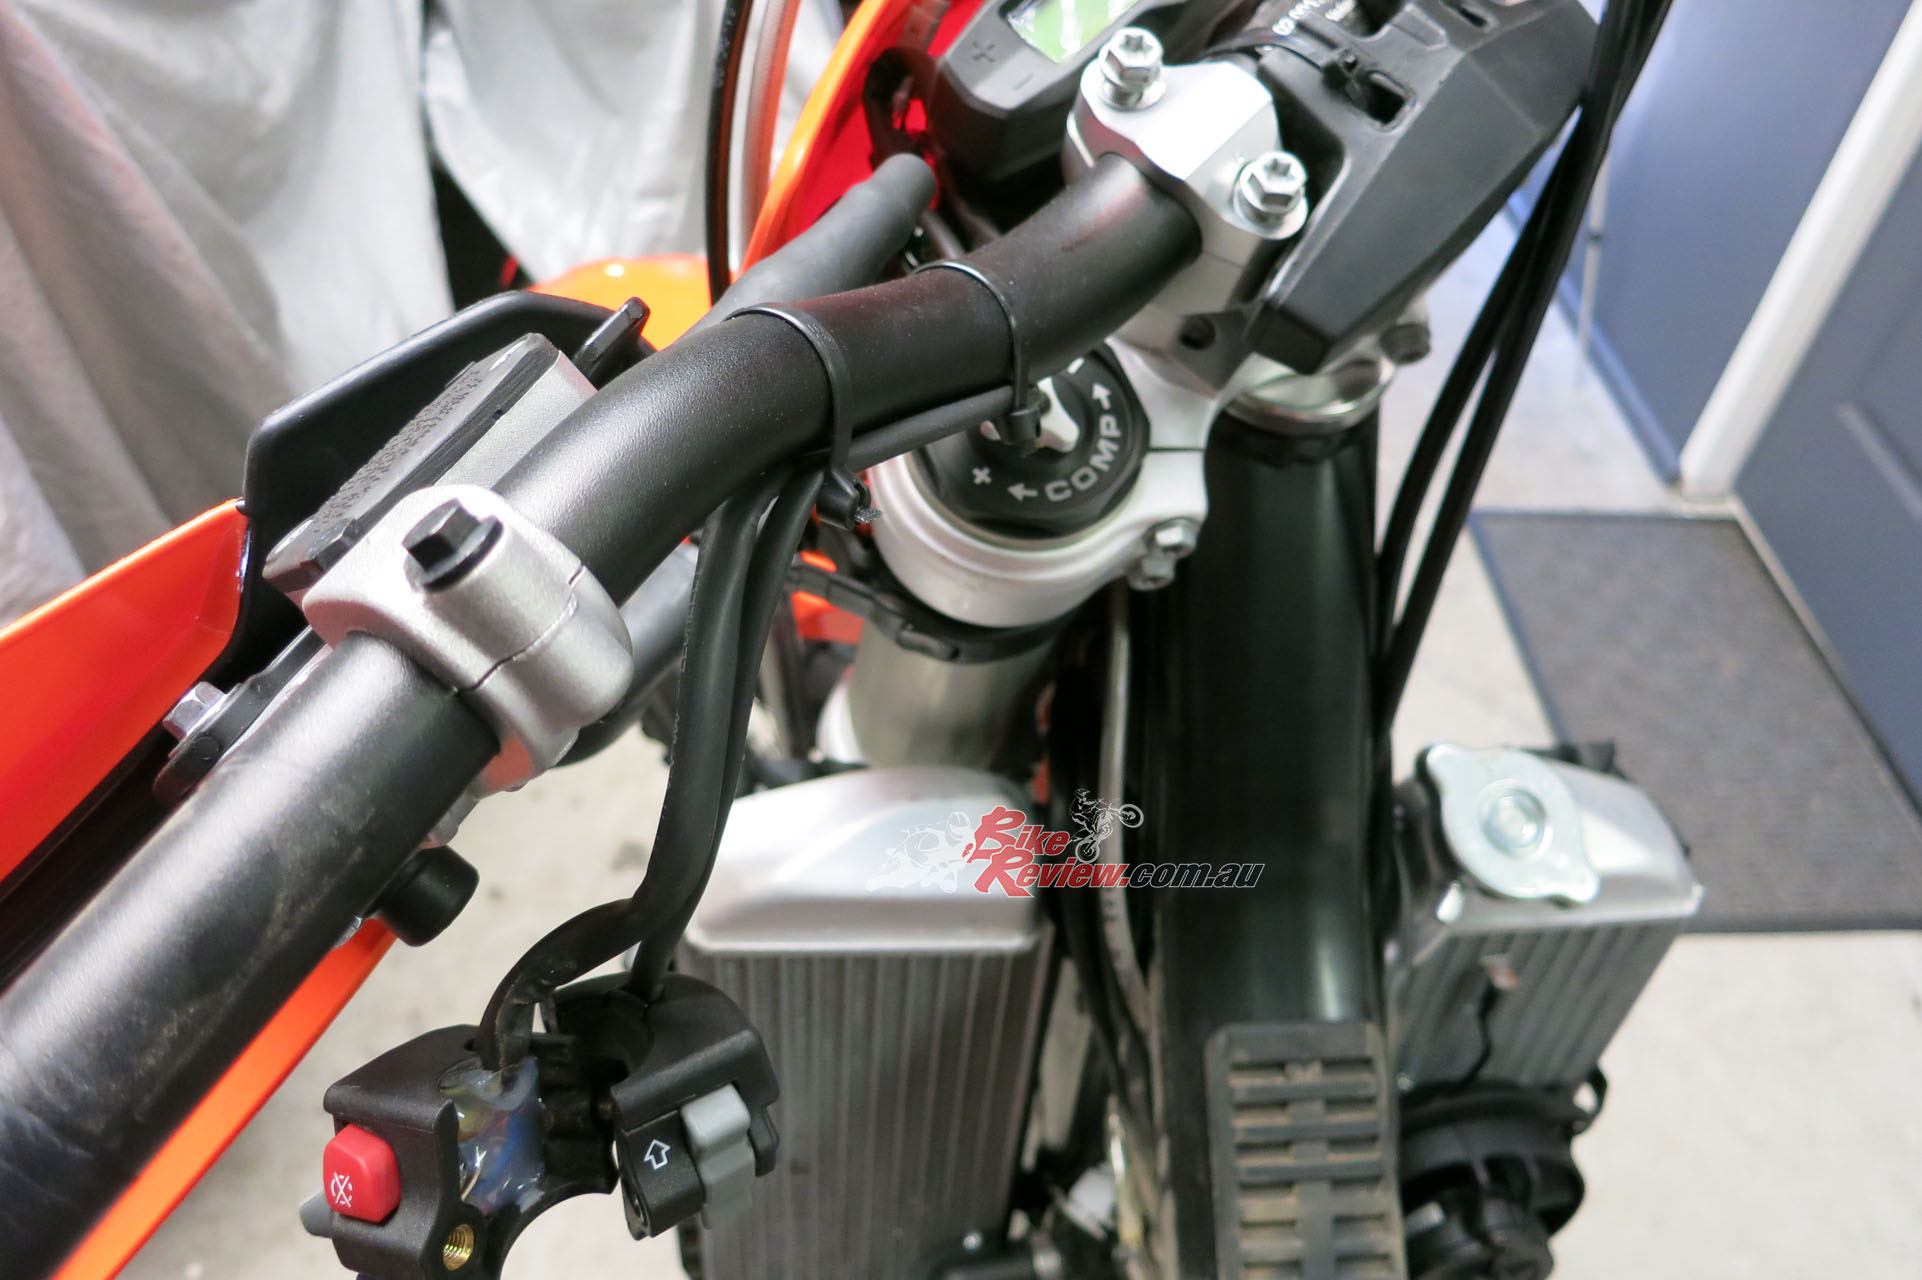
The wiring is so easy, there is a plug ready to go under the triple-clamp.
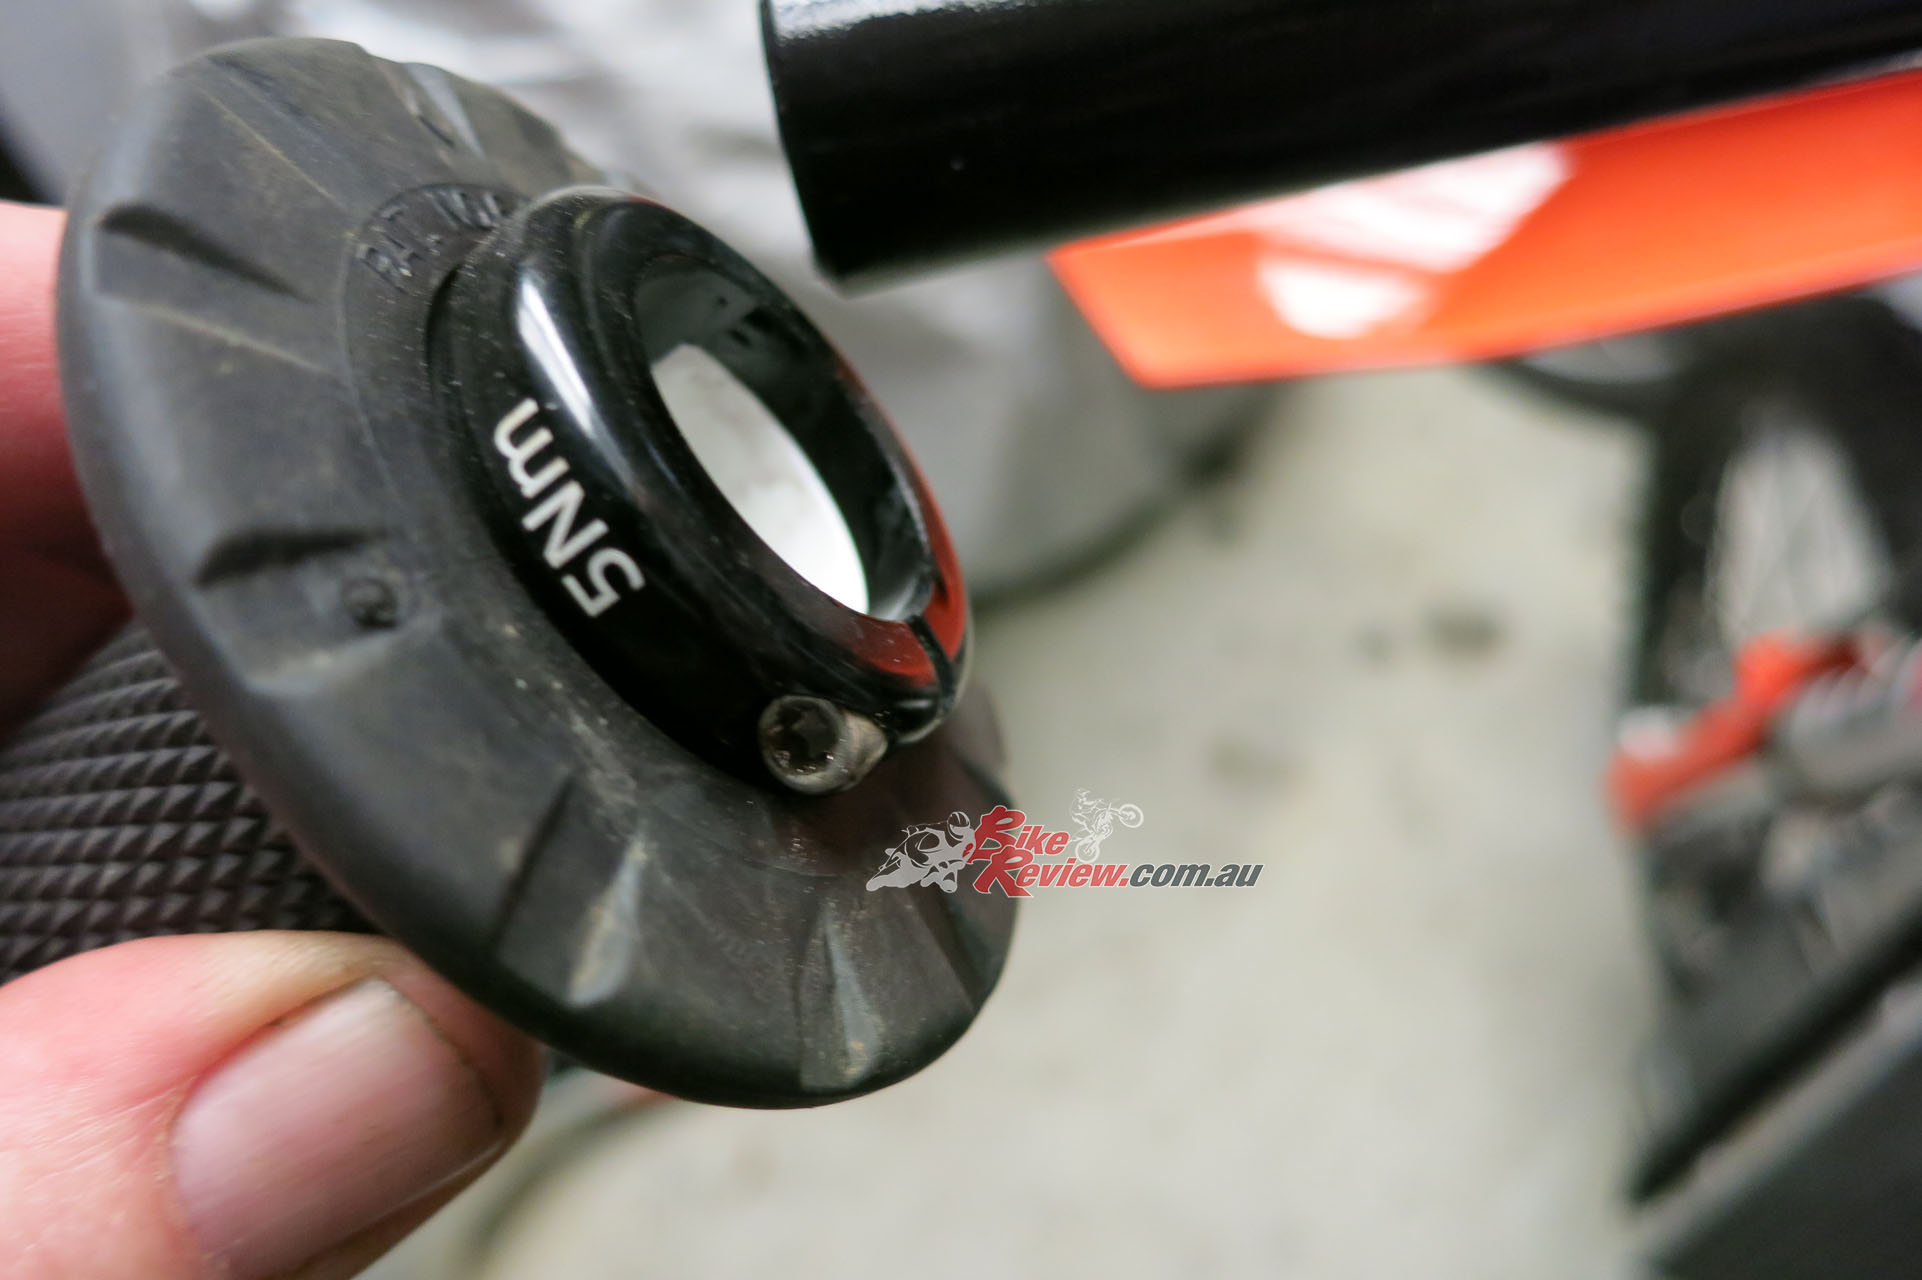
The ODI lock-on grips are fantastic. Why didn’t I think of that!?
While I was playing with the wiring, it was decided to remove the standard R/H kill switch, as this was causing some issues. Whenever it got wet, the bike would not start. Removing it was easy and it was a matter of simply re-joining the connectors that the switch intercepted. This switch was an ADR requirement, so the original KTM switch remains active on the left switchblock and is much better.

We removed the R/H kill switch, just leaving the starter button on the R/H side of the bars.
Next week we look at the fitment of the KTM Phds (Progressive Handlebar Damping System) and a BarkBusters KTM Handguard Kit and a Bash Plate.
2017 KTM 350 EXC-F PowerParts Fitment Gallery


You Might Also Like