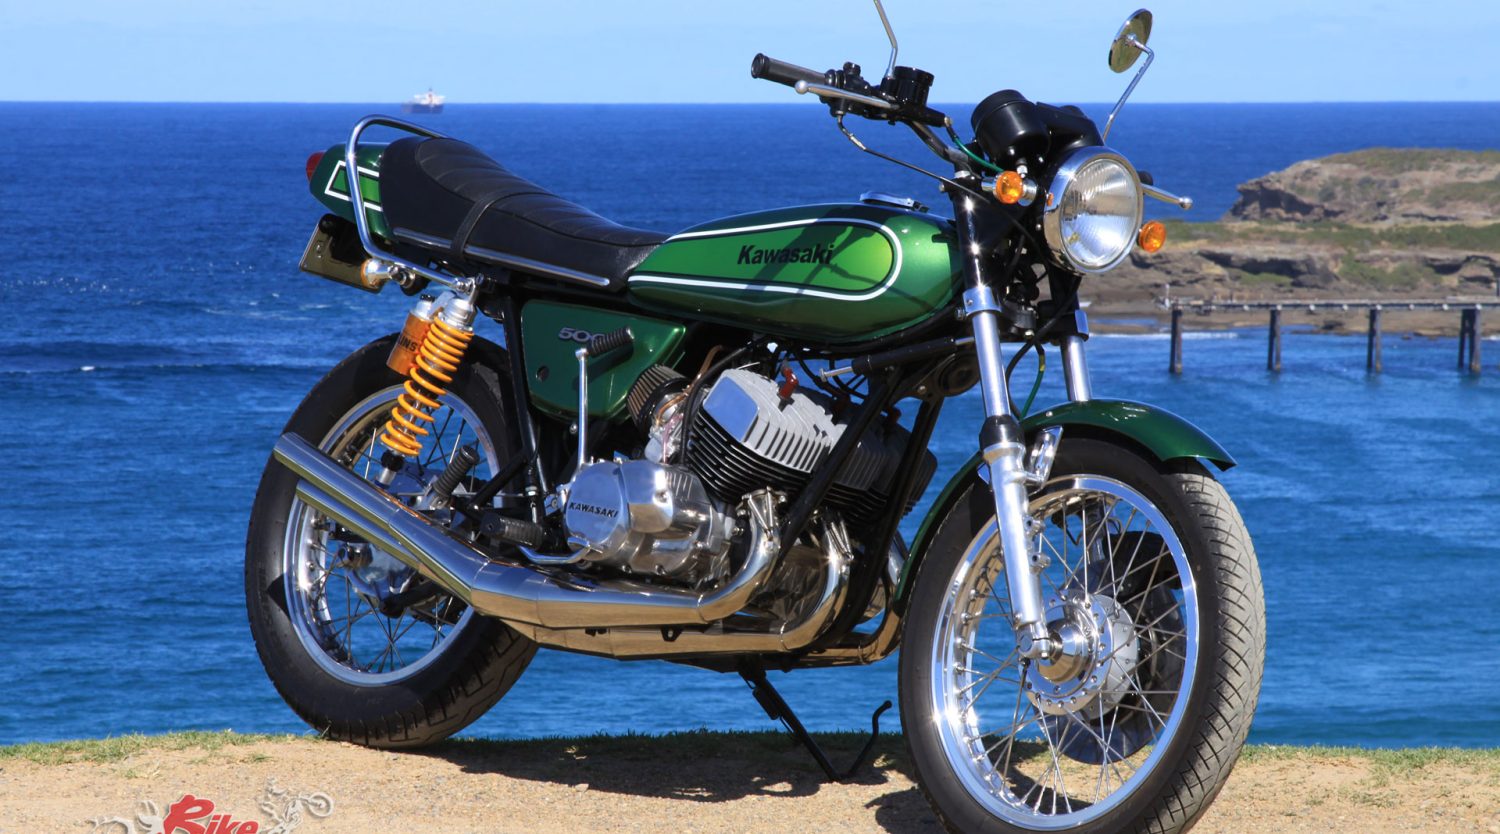
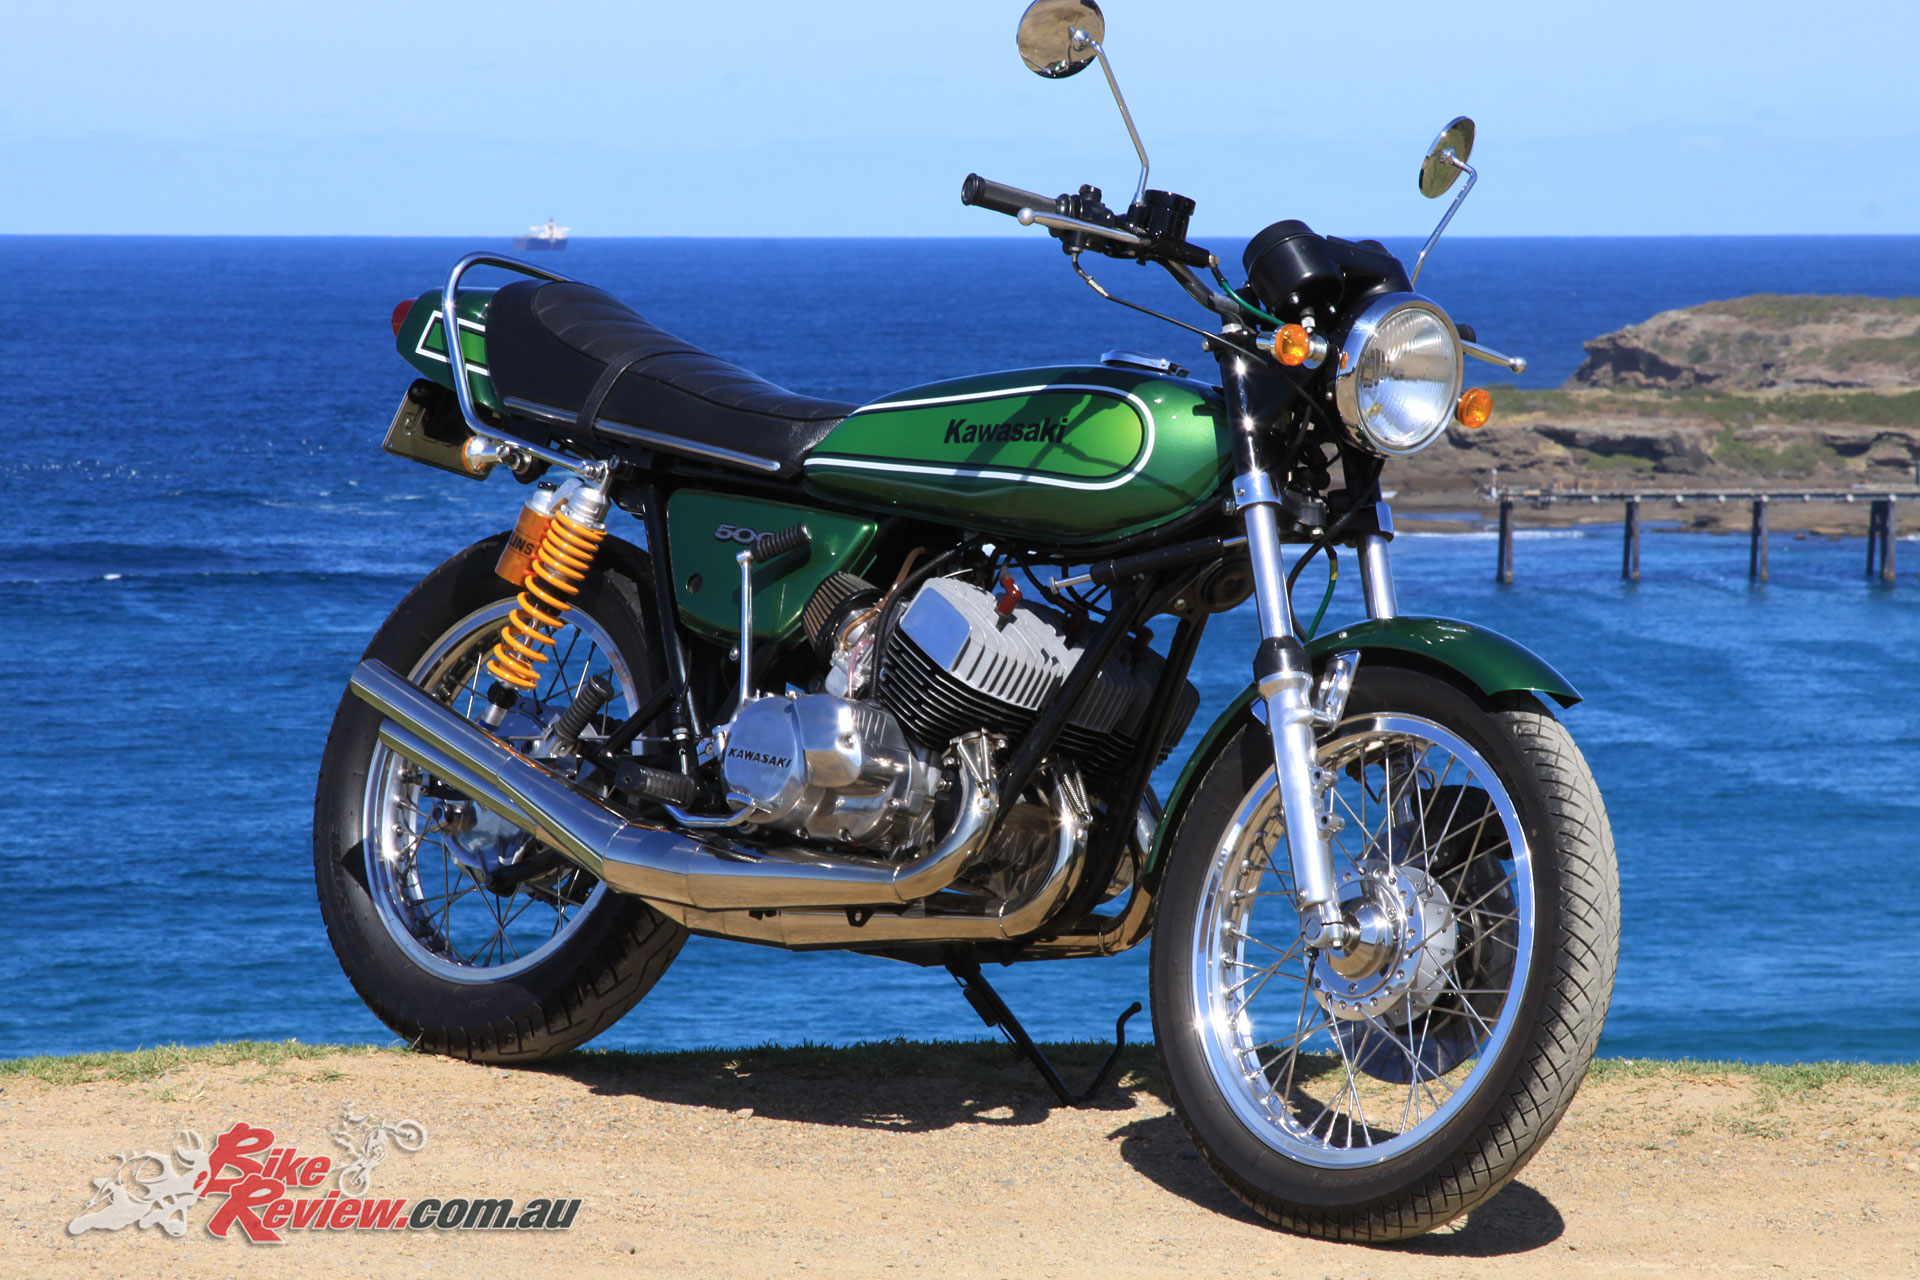
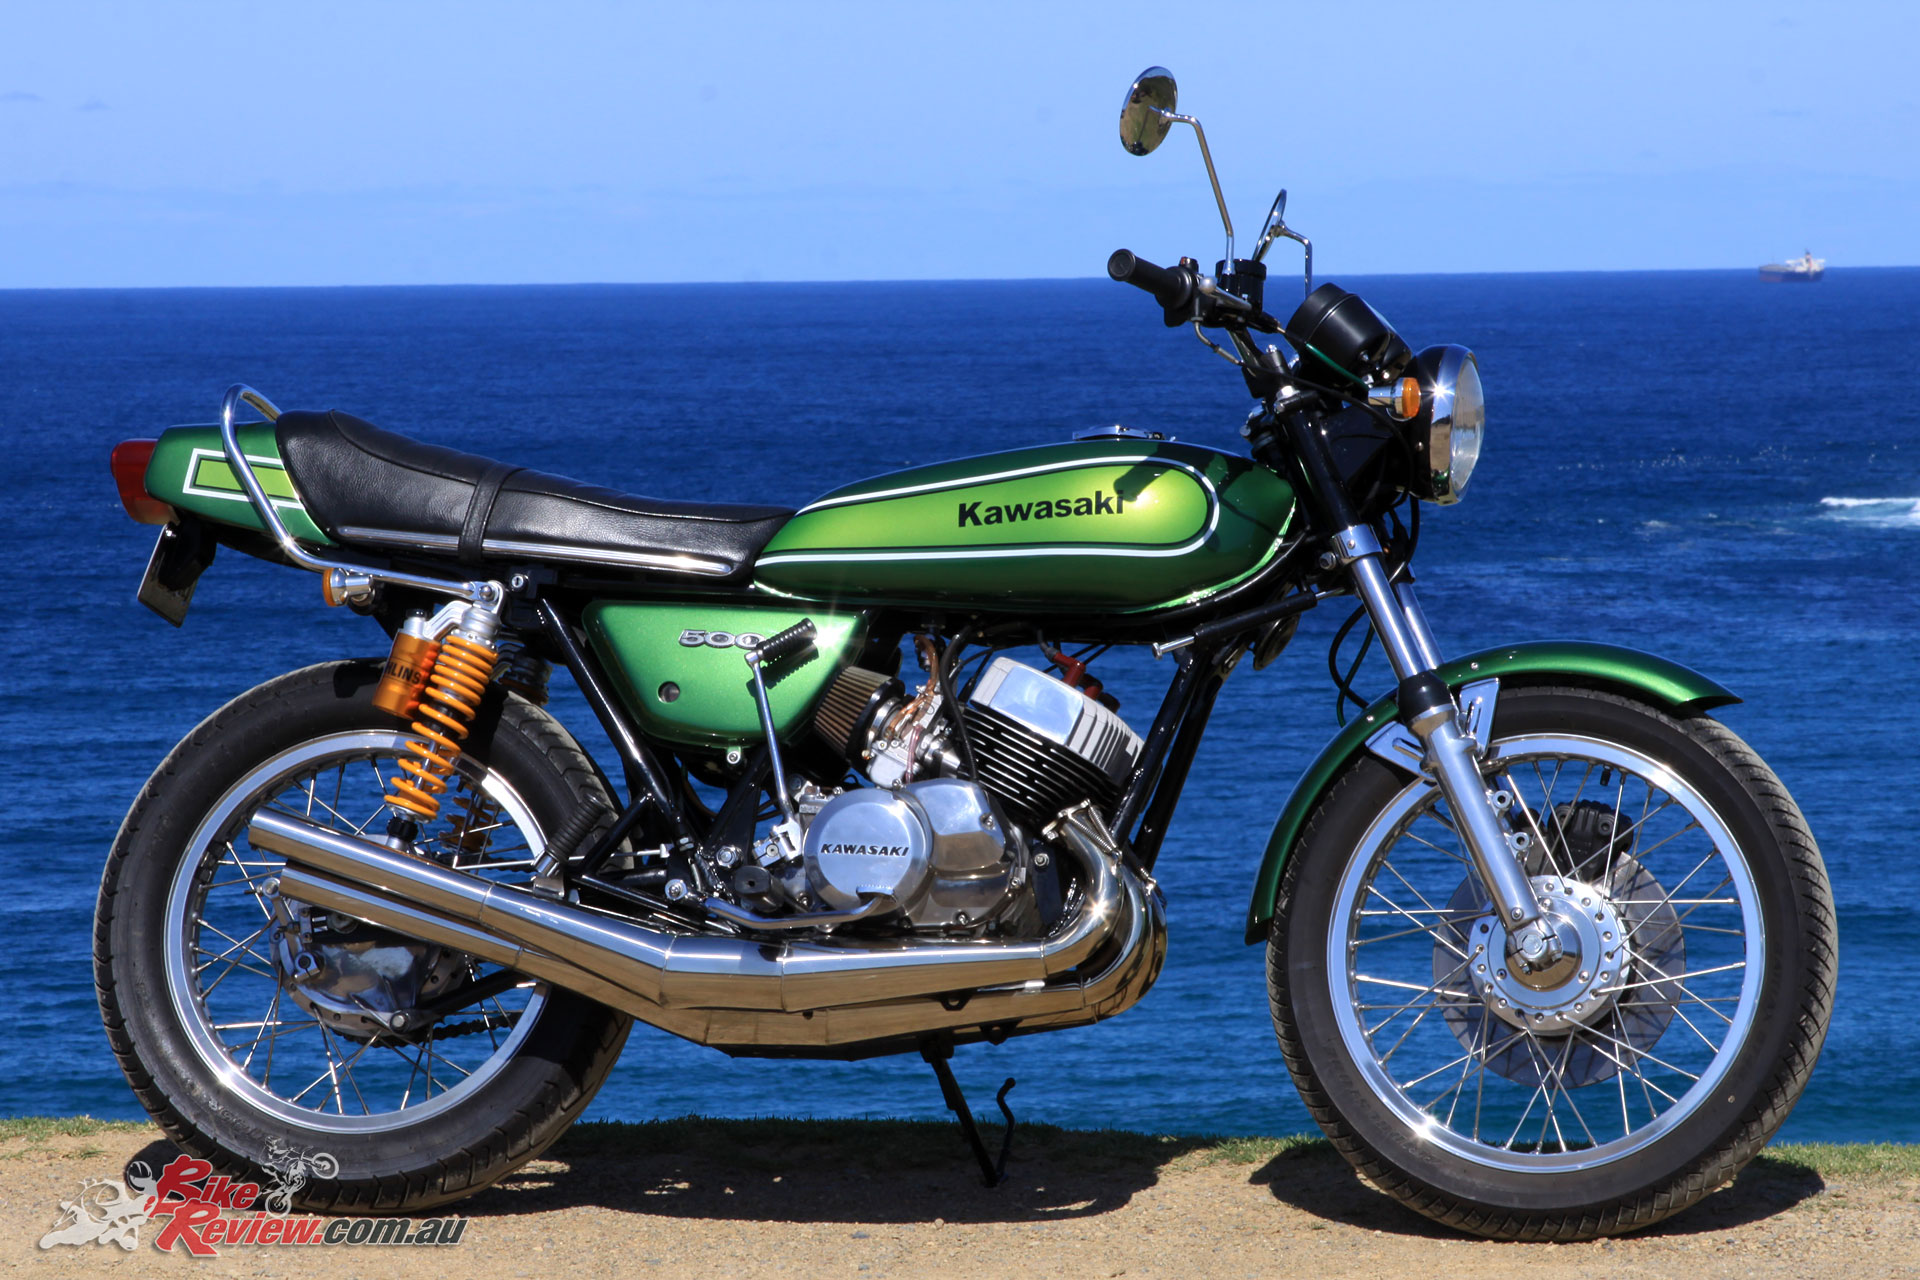
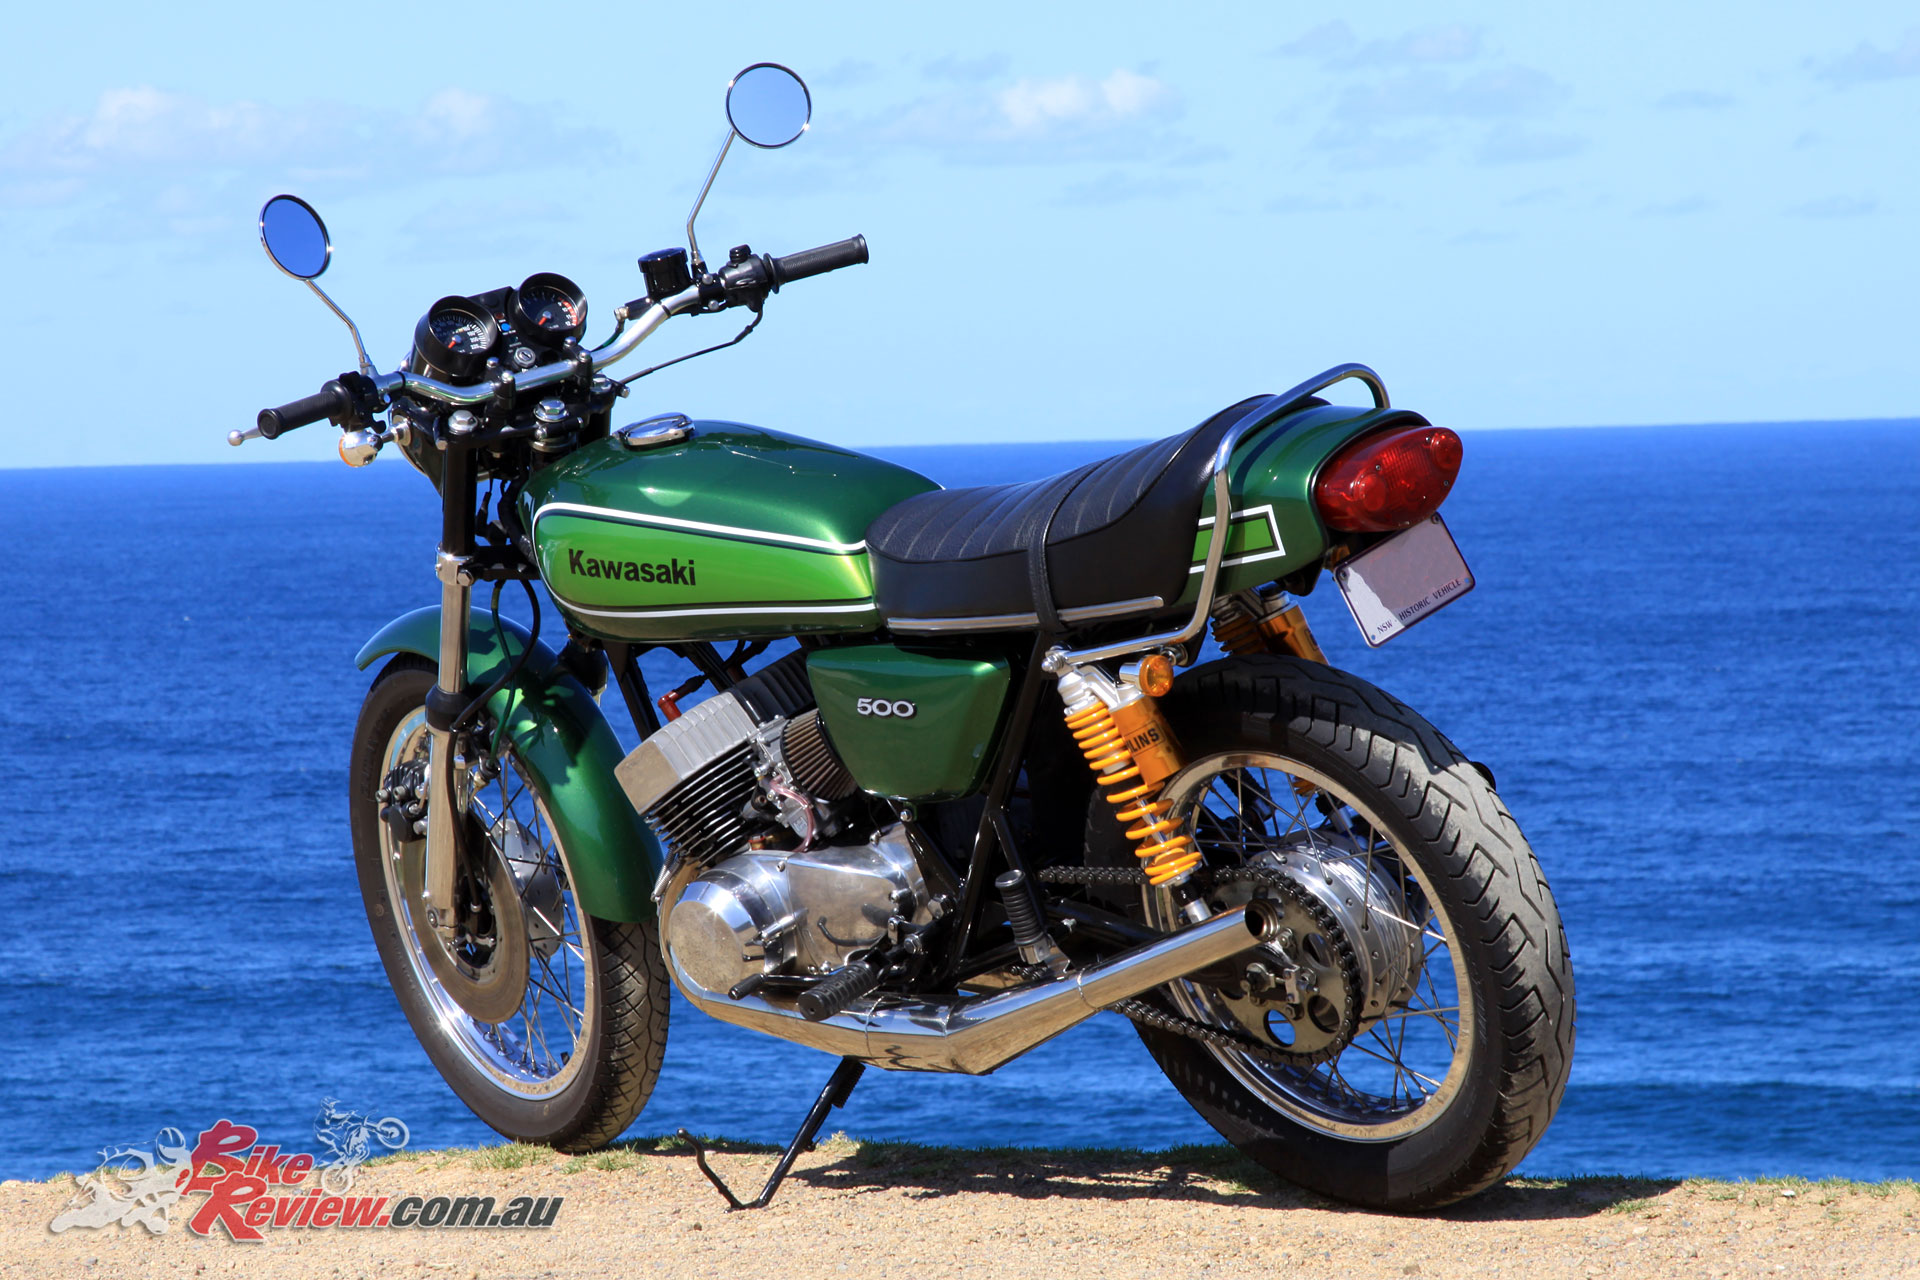
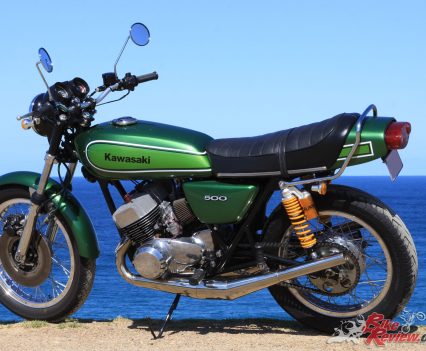
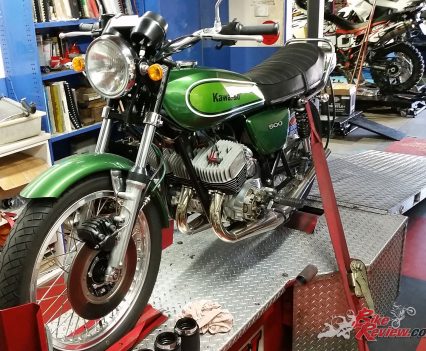
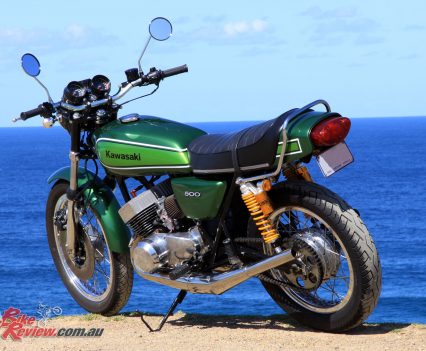
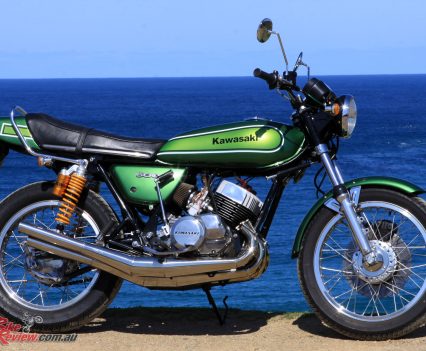
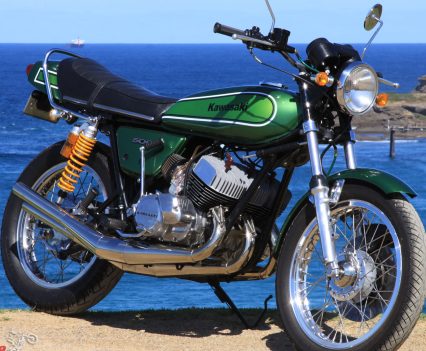
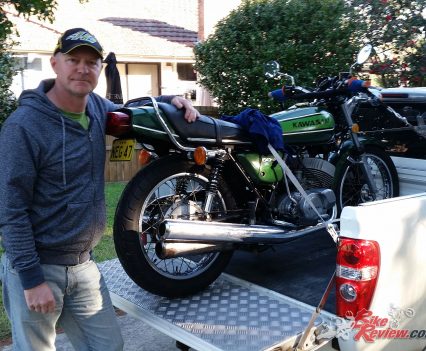
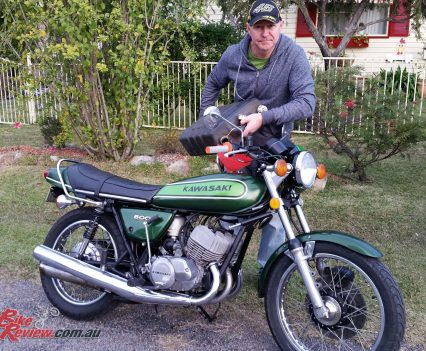
This TBT Pommie takes a trip back to his youth, restoring this 1974 Kawasaki H1 500 back to stunning condition. Words and Photography by Tony ‘Pommie’ Wilding
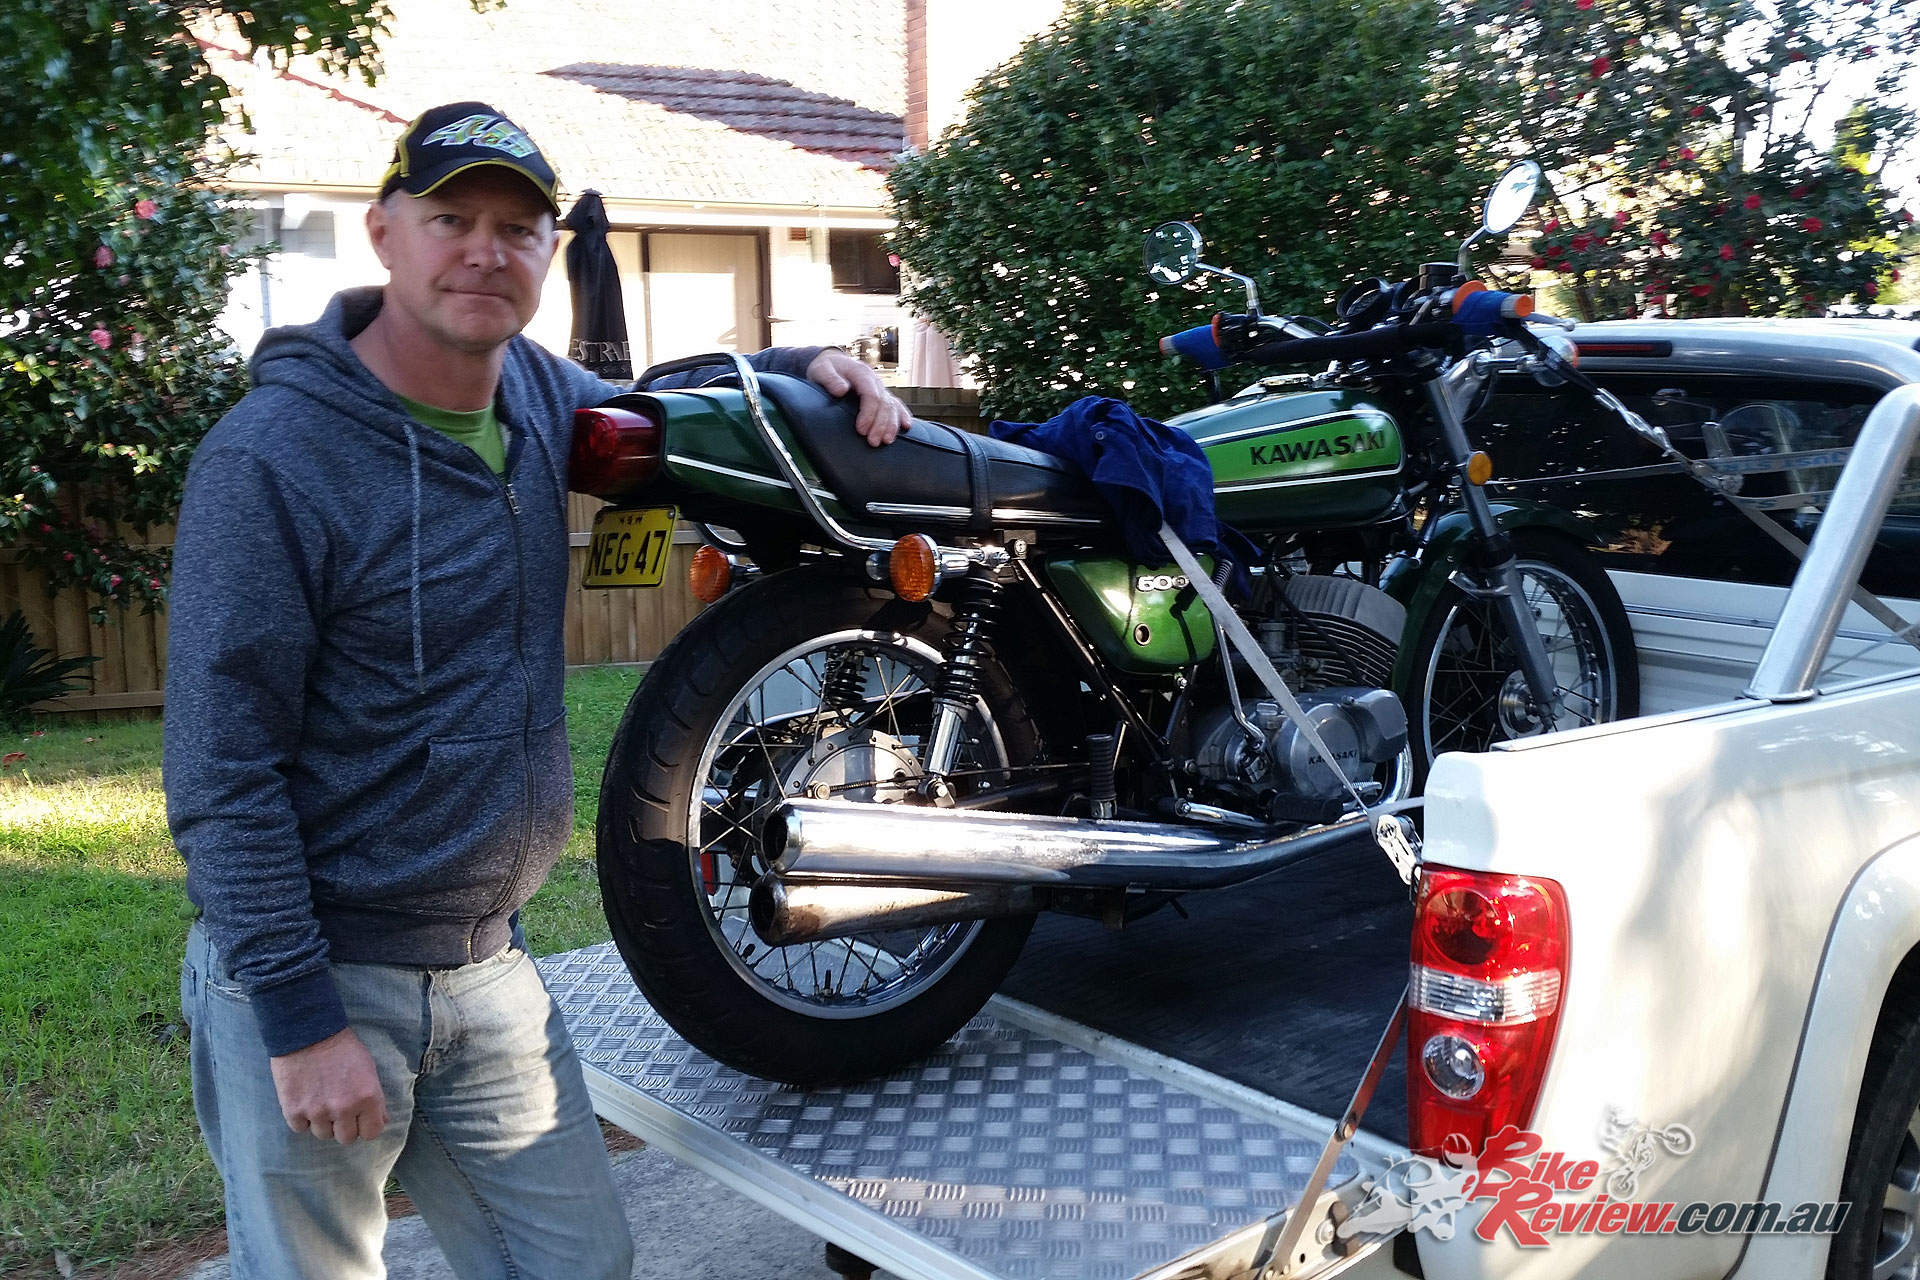
I’m used to riding the latest and greatest bikes all the time, so my idea was to buy something for myself that I was less likely to lose my licence on. I had it in the back of my mind that one day I would buy another Kawasaki triple, so I bought one and restored and customised it.
I’d previously owned a KH400 way back in 1983 in the UK when I was 16, which I’d bought from a workmate at the smash repair place where I was working. As soon as I saw this bike I knew I would own it, at that time I had no licence so I couldn’t legally ride the Kwaka, but I took it for a sneaky test up the back alley and was instantly hypnotised by the smell and more importantly the sound of the triple, sucking air through the three open bell mouths into the 28mm Mikuni carbs.
That was where my love affair started, but I think what cemented the love of triples into my blood was the fact that the restoration of the KH400 came at the same time my brother died and it was a great distraction for me to relieve some of the pain.
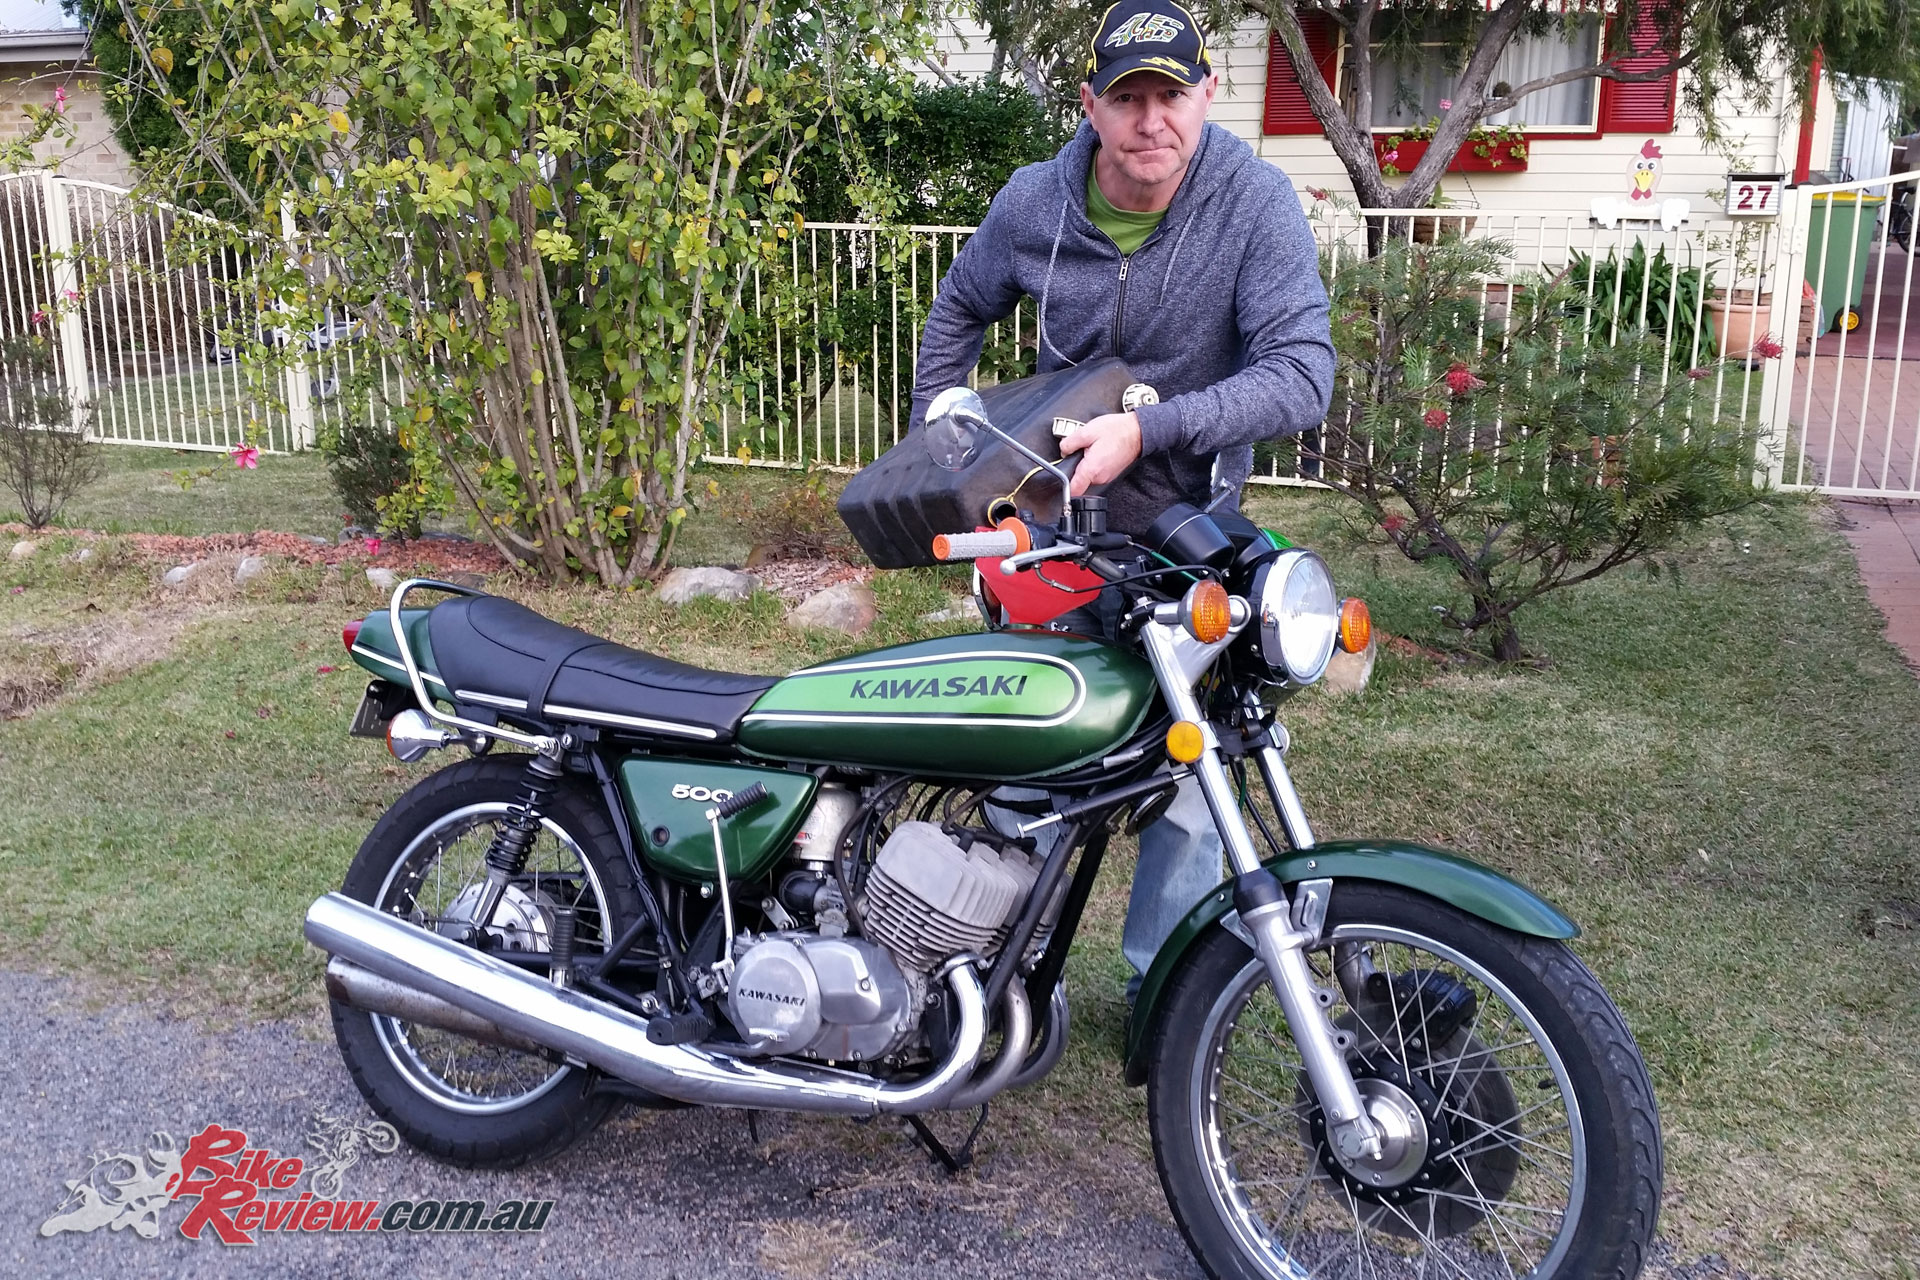
Years later, living in Australia, I decided to buy another triple, at which point H2s were starting to fetch huge prices, this H1 500 was eventually purchased
Thirty-three years later and after professionally restoring hundreds of bikes for private and museums customers in the UK, I’d moved to Australia, then set out on my mission to buy another triple, to see if I could get that feeling back and relive my youth. I thought the process of buying a triple would be easy, but having paid 300 pound for my first bike, I soon found that prices on these Japanese classics had risen somewhat.
In fact, the H2 750s were going for around $20,000 and a good H1 500 for around 15k, with 400s and 250s being almost impossible to find. Being a restorer I wanted a project, a bike that was pretty complete, but needed a lot of work. After searching for over a year, I had still found nothing suitable so I reluctantly bought a 1974 H1 500 that was already on the road, although very tatty it still meant I had to hand over $5,500 of my hard earned cash.
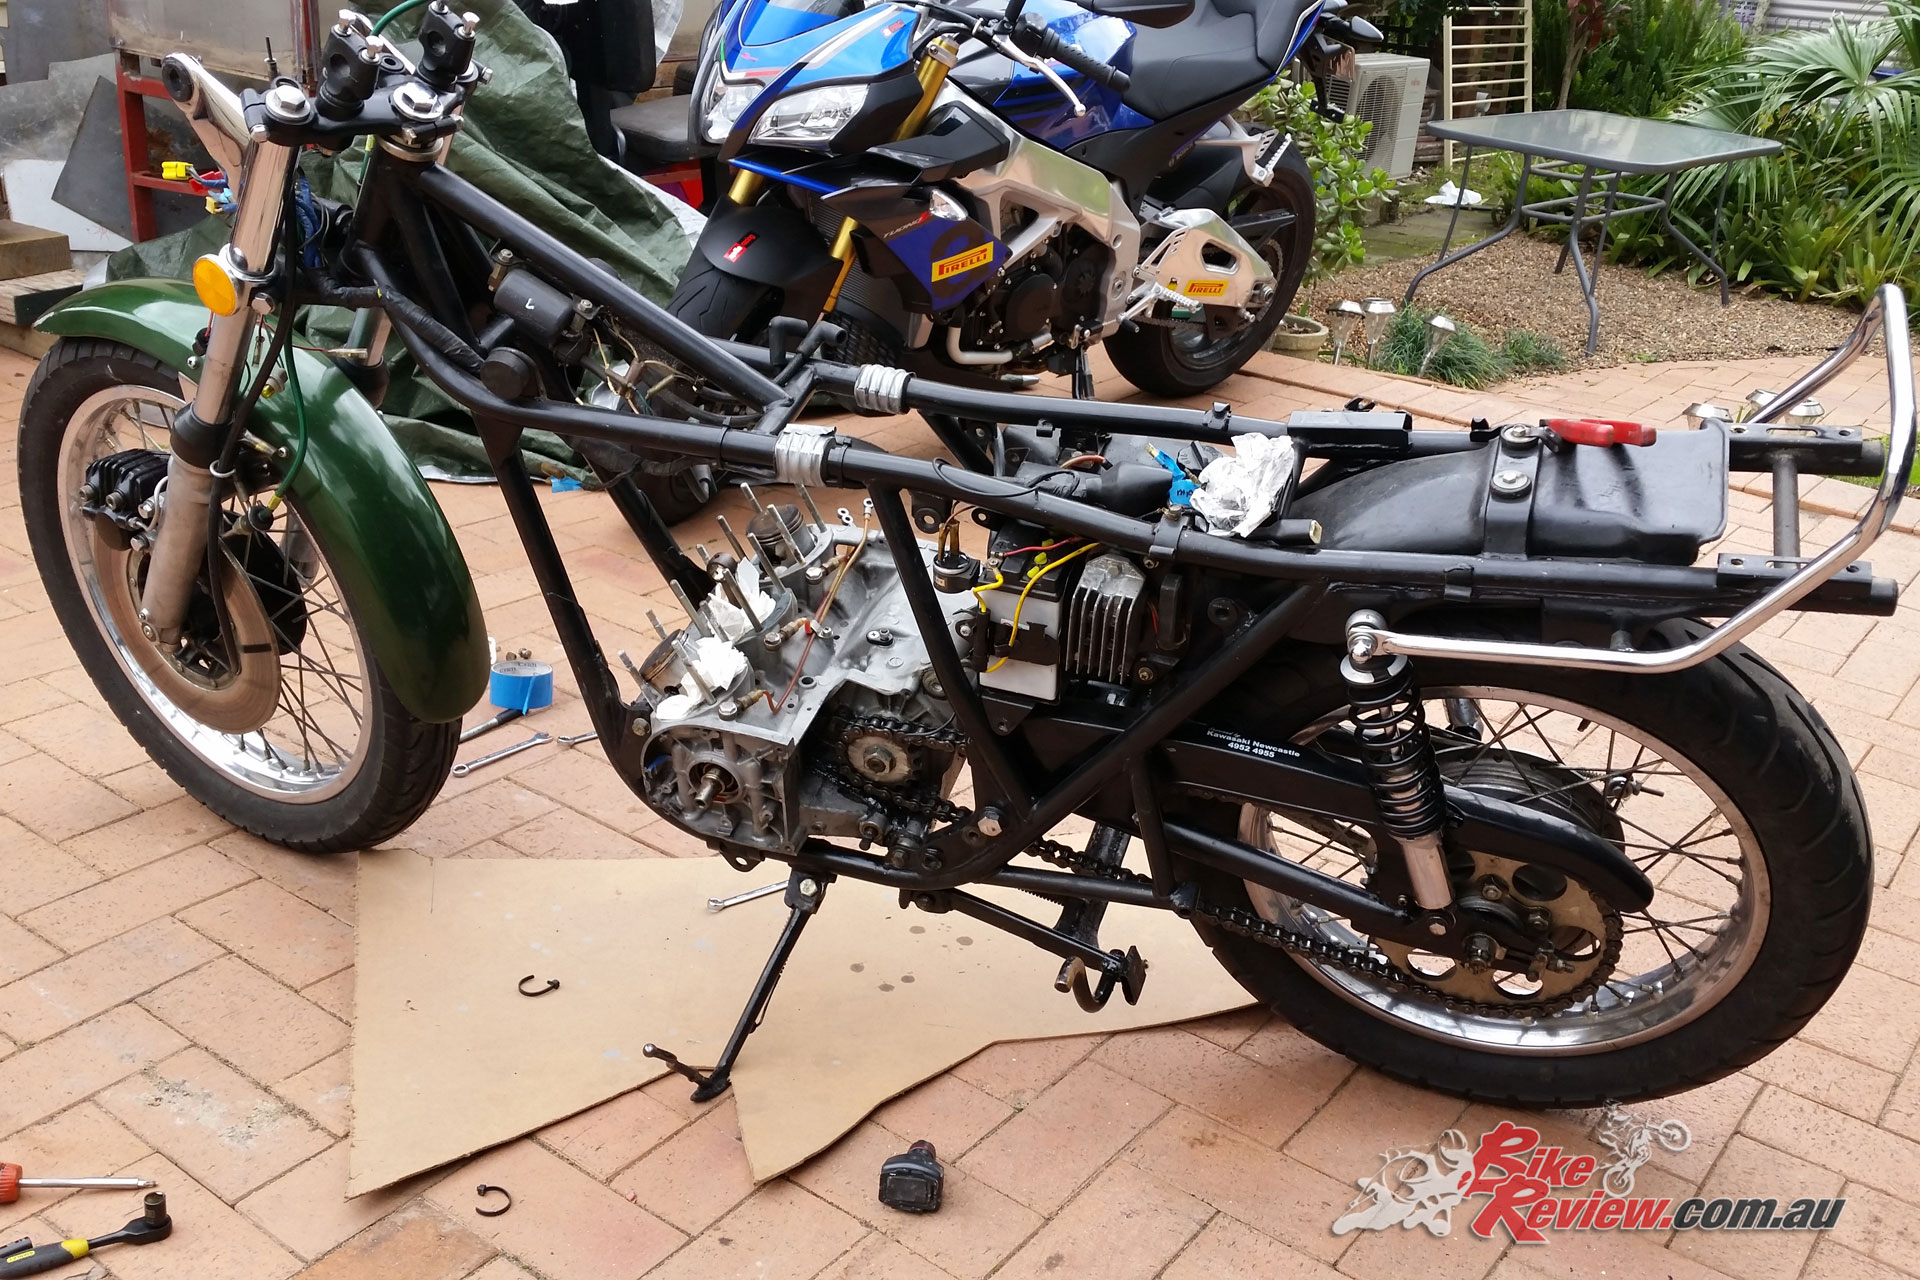
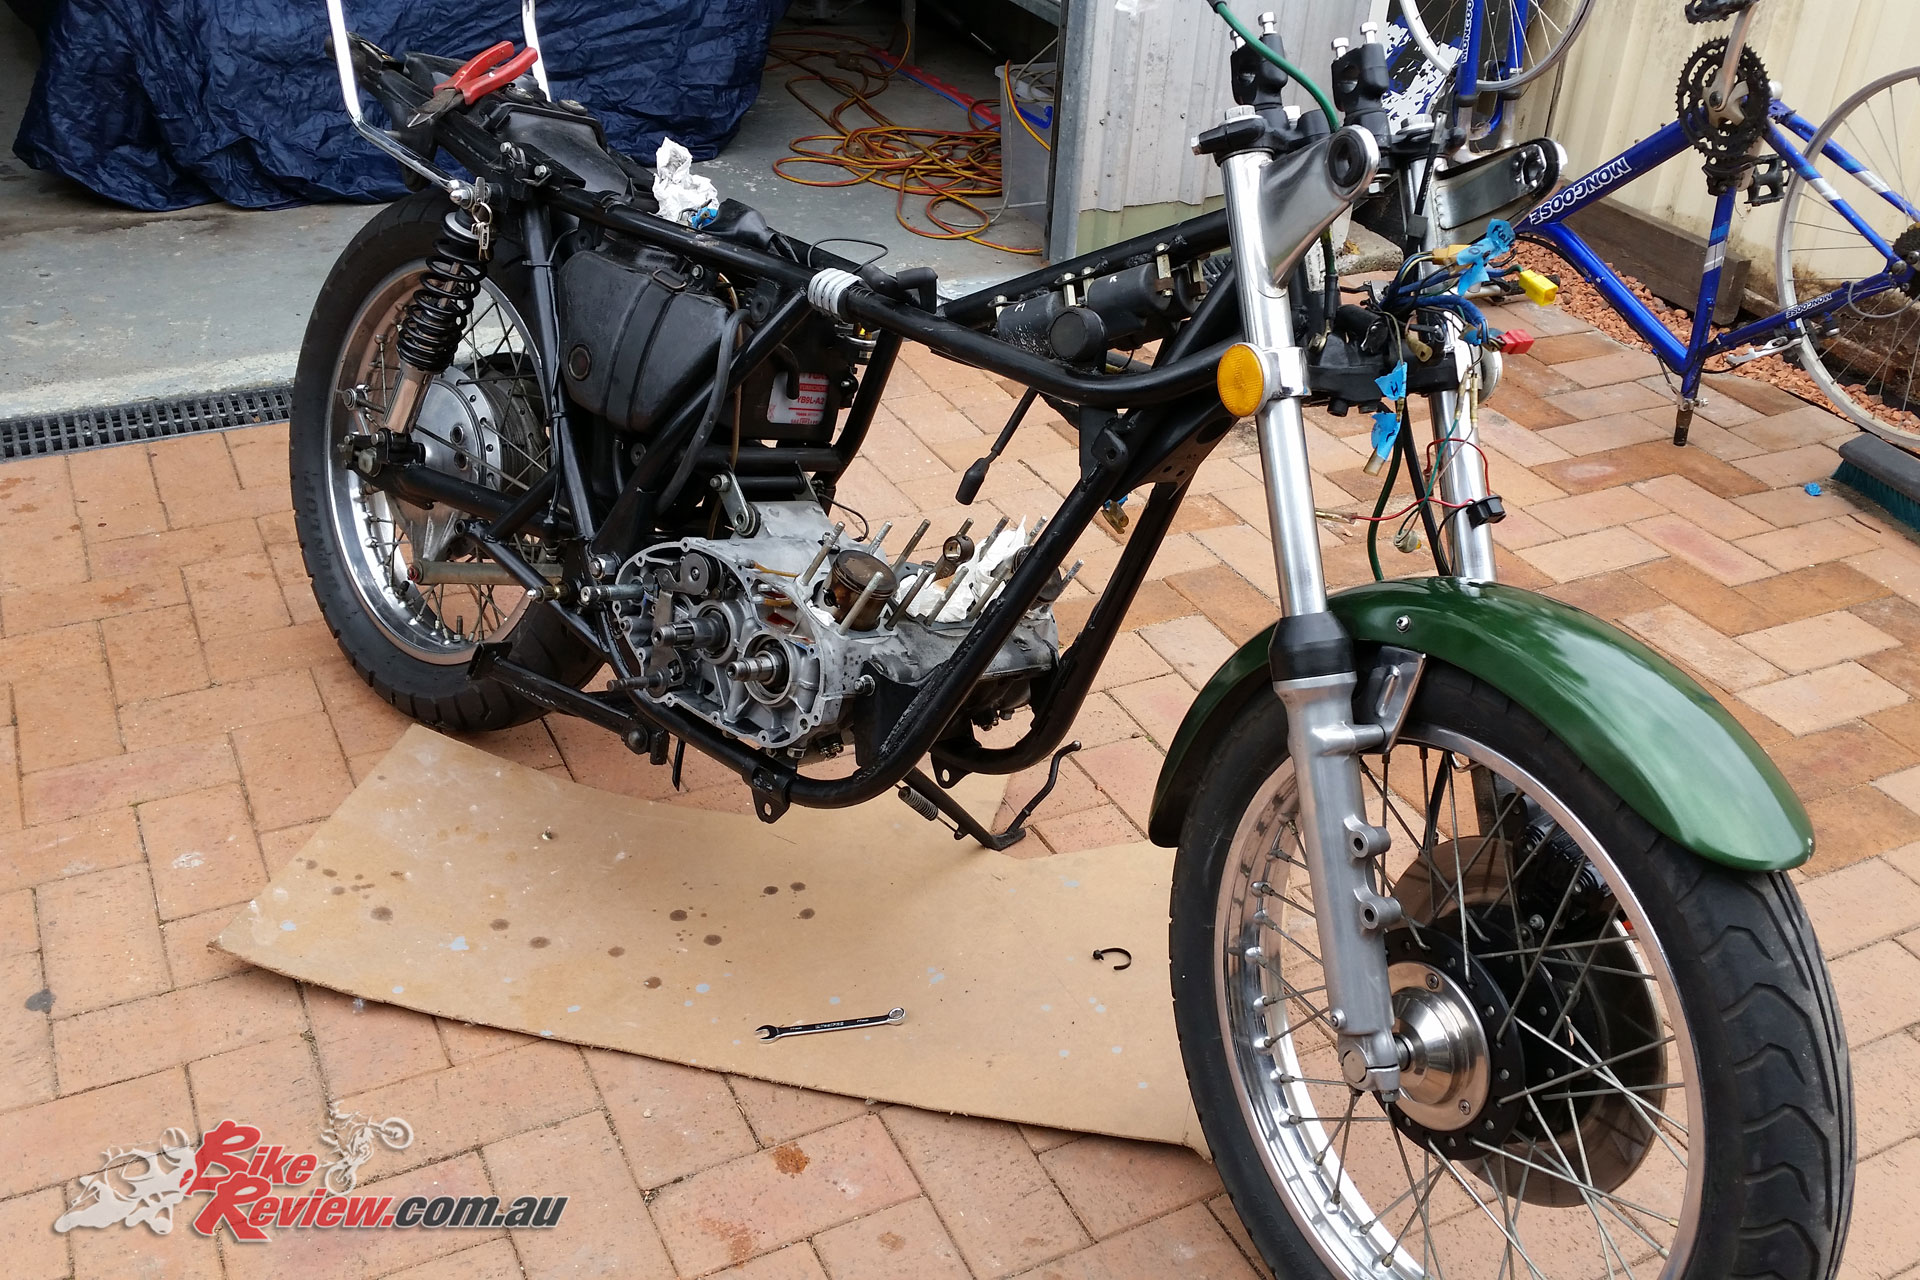
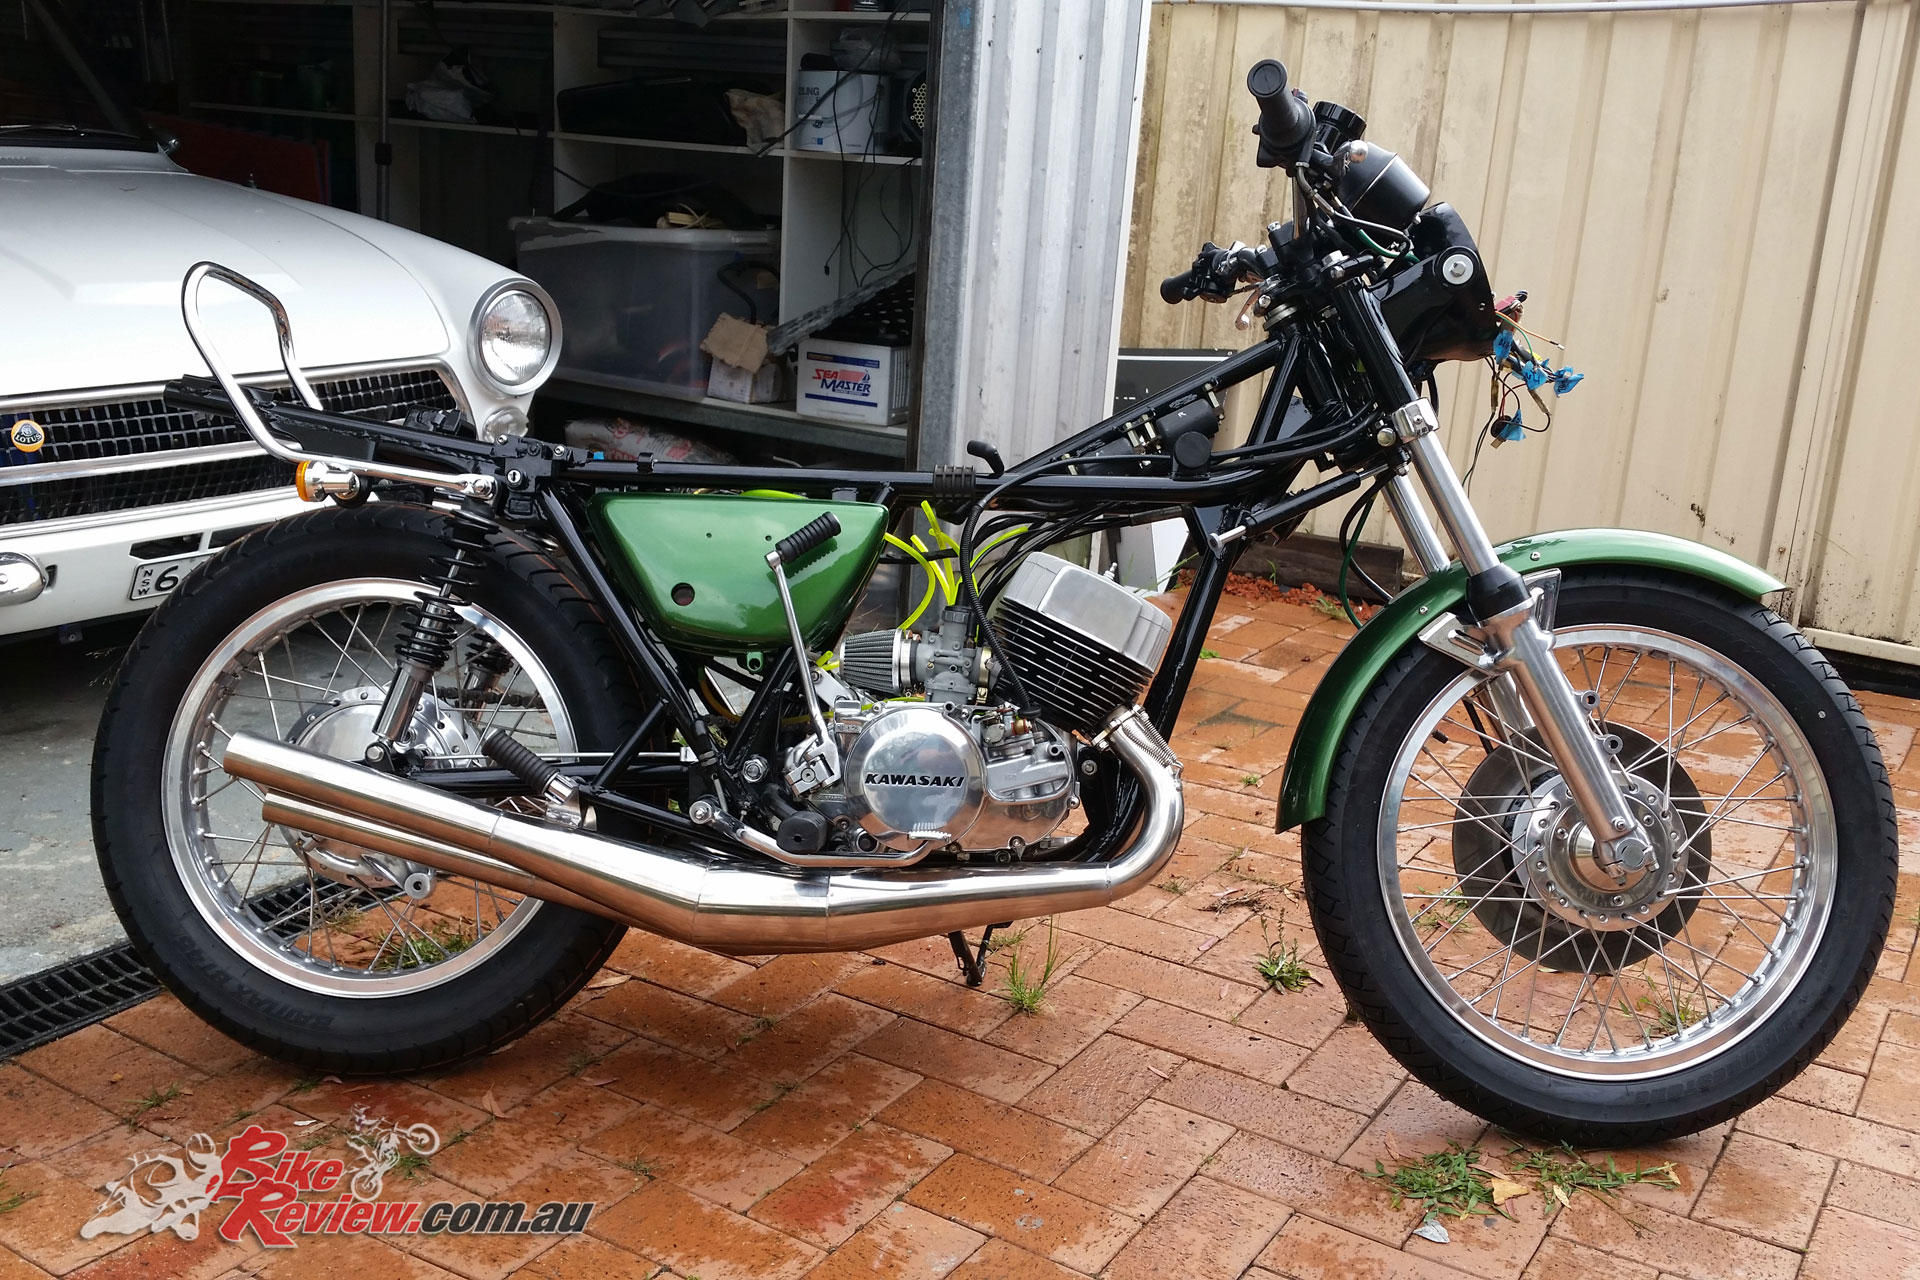
After getting the bike home I took it out for a short ride, to see exactly what I’d bought, although the engine seemed sound there were a lot of things lose and not maintained well, I decided at that point that I may as well start the restoration. The first job was to completely strip the bike down to the frame, once the frame was done then the rebuild could start.
My frame had no rust, probably due to the fact that it was covered in two-stroke oil for years, so a degrease and sand back was all that was needed to get it prepared for paint. I generally use the same method for my painting, first, two light coats of universal etch primer, then followed by three or four coats of 2-pack primer. If time allows, I the leave the primer to harden for a couple of days, as I don’t own a oven to bake it, I then use 800 wet-n-dry sand paper to rub the primer, making it smooth and removing any imperfections, before applying three coats of 2-pack gloss black.
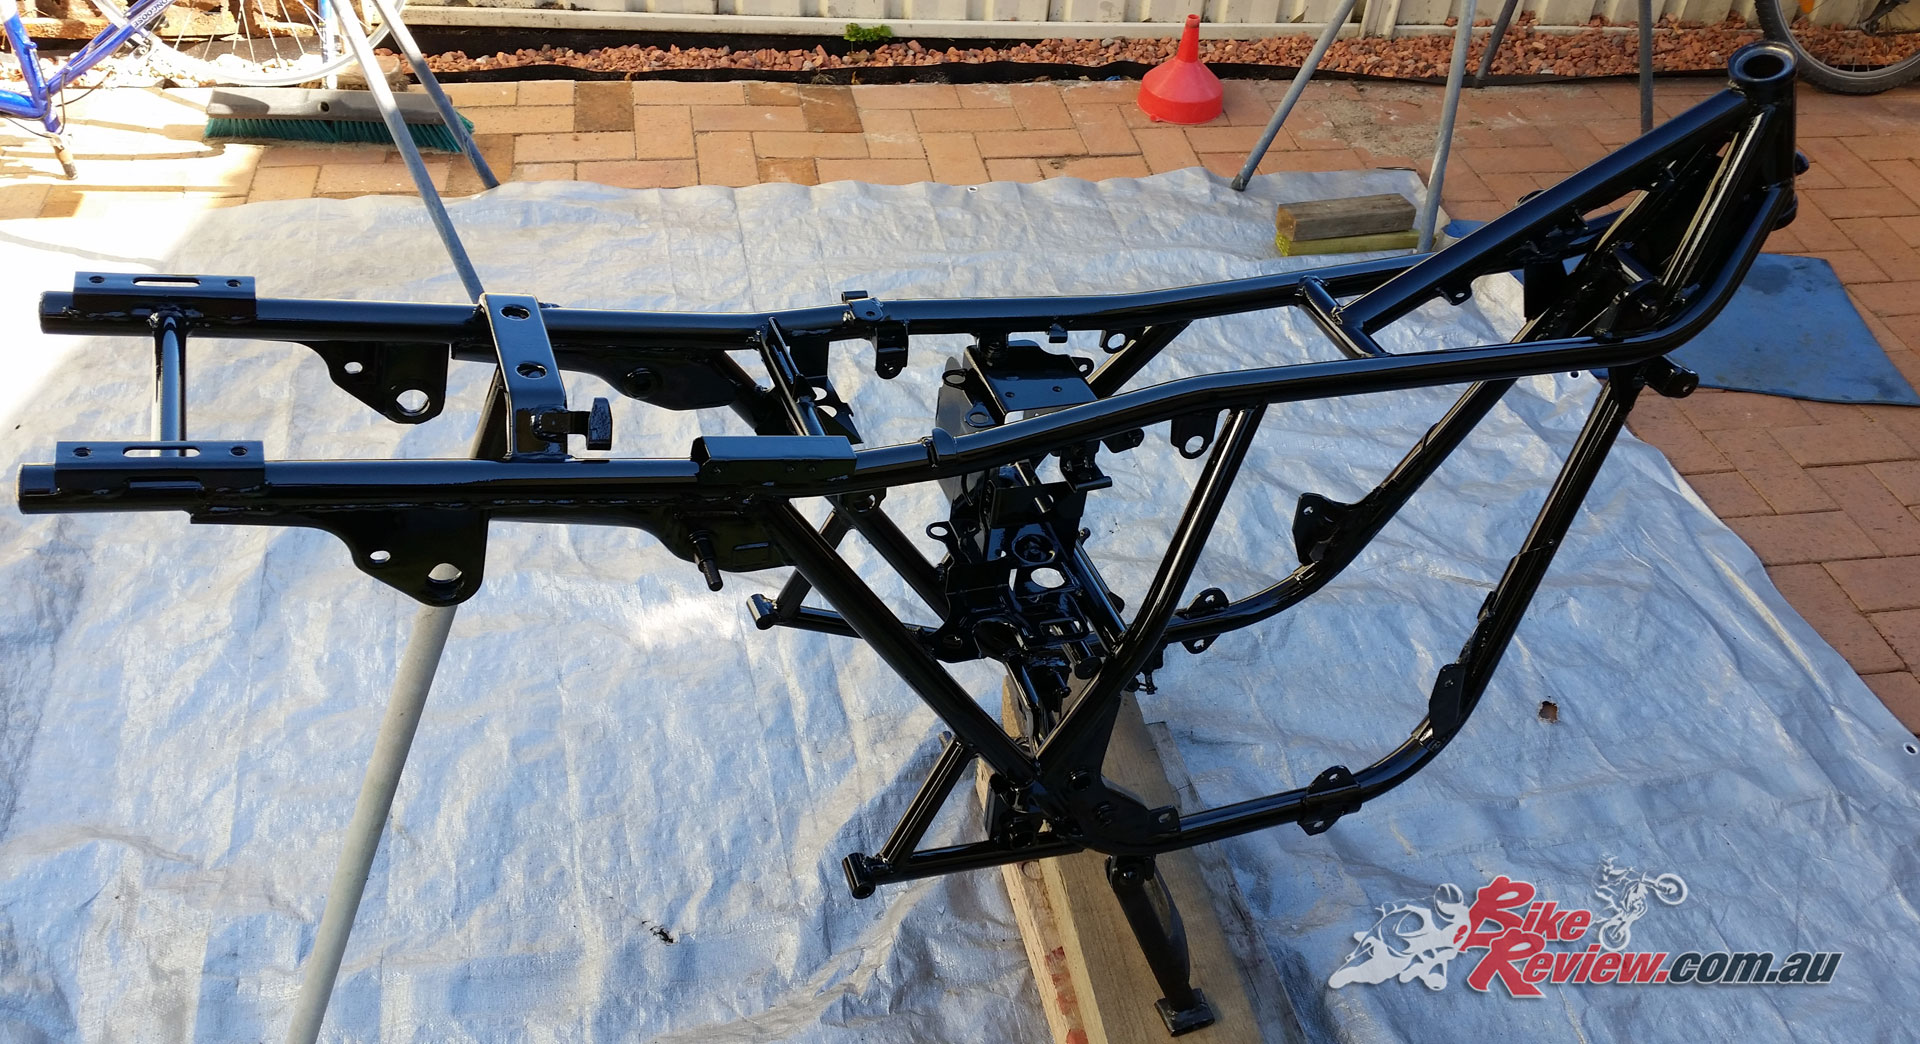
The frame repainted in 2-pack. New steering head bearings were also added, with tapered bearings chosen.
In the steering head the bearing had seen better days, so I decided to upgrade them with tapered ones that offer smoother movement and are a cheap worthwhile upgrade. When you pull a bike apart you become fully aware of how many small parts need to be cleaned, sanded and painted, which it is very time consuming and fiddly. I managed to paint all the small black parts over a couple of days as I just didn’t have the room to paint them all in one go.
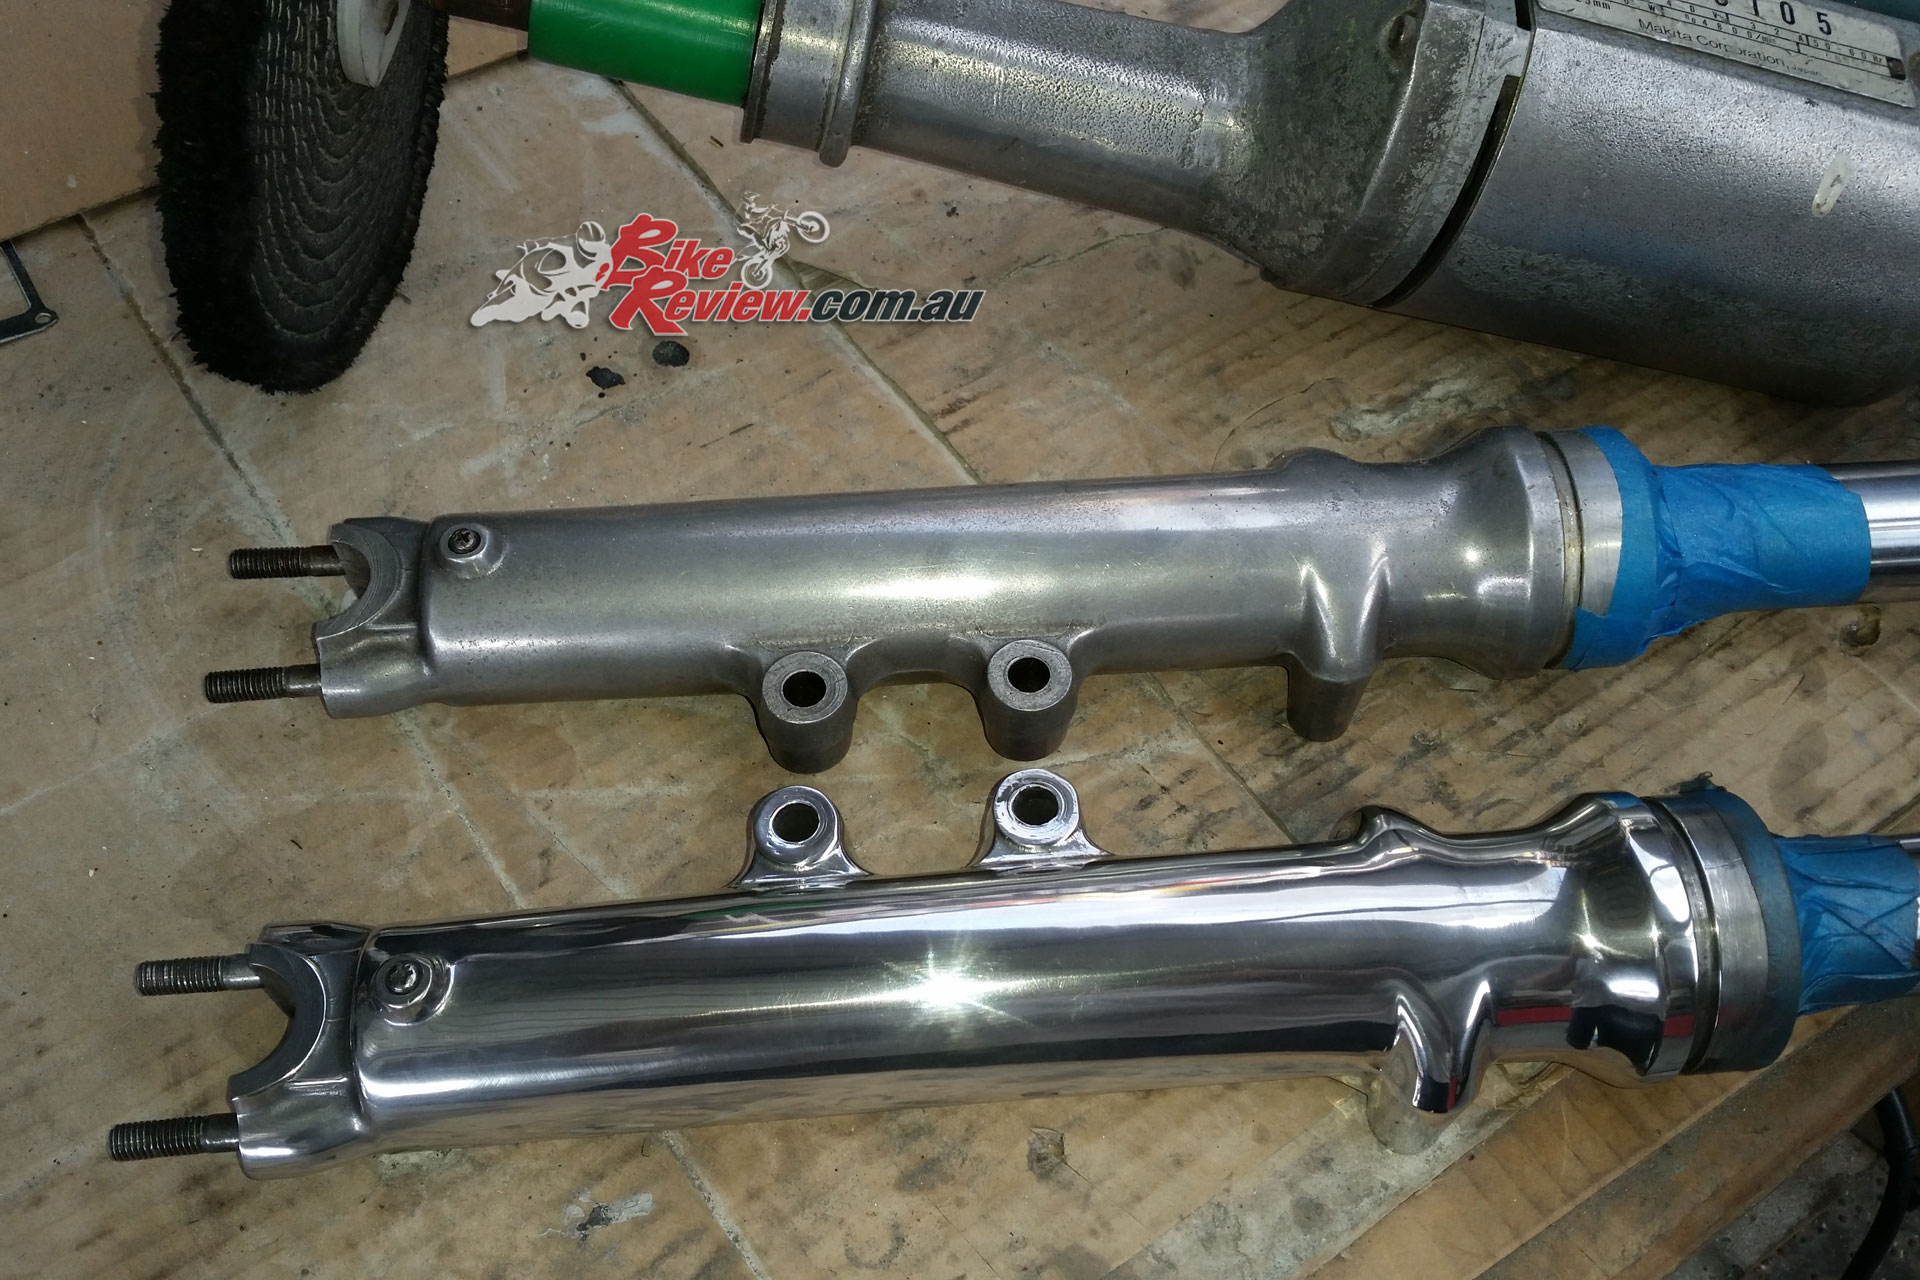
Chroming can be expensive for a restoration, with a lot of parts polished and coming out like new after much elbow grease.
The other bike job on a triple and one that can blow your budget out of control is getting stuff chromed. This was an easy choice for me as I had no intention of making my bike concourse or original, that being said, it still had to be perfect or as close as possible. The way around this for me was to paint any chrome parts that were below par, such as the gear lever, head light brackets and a few other bits.
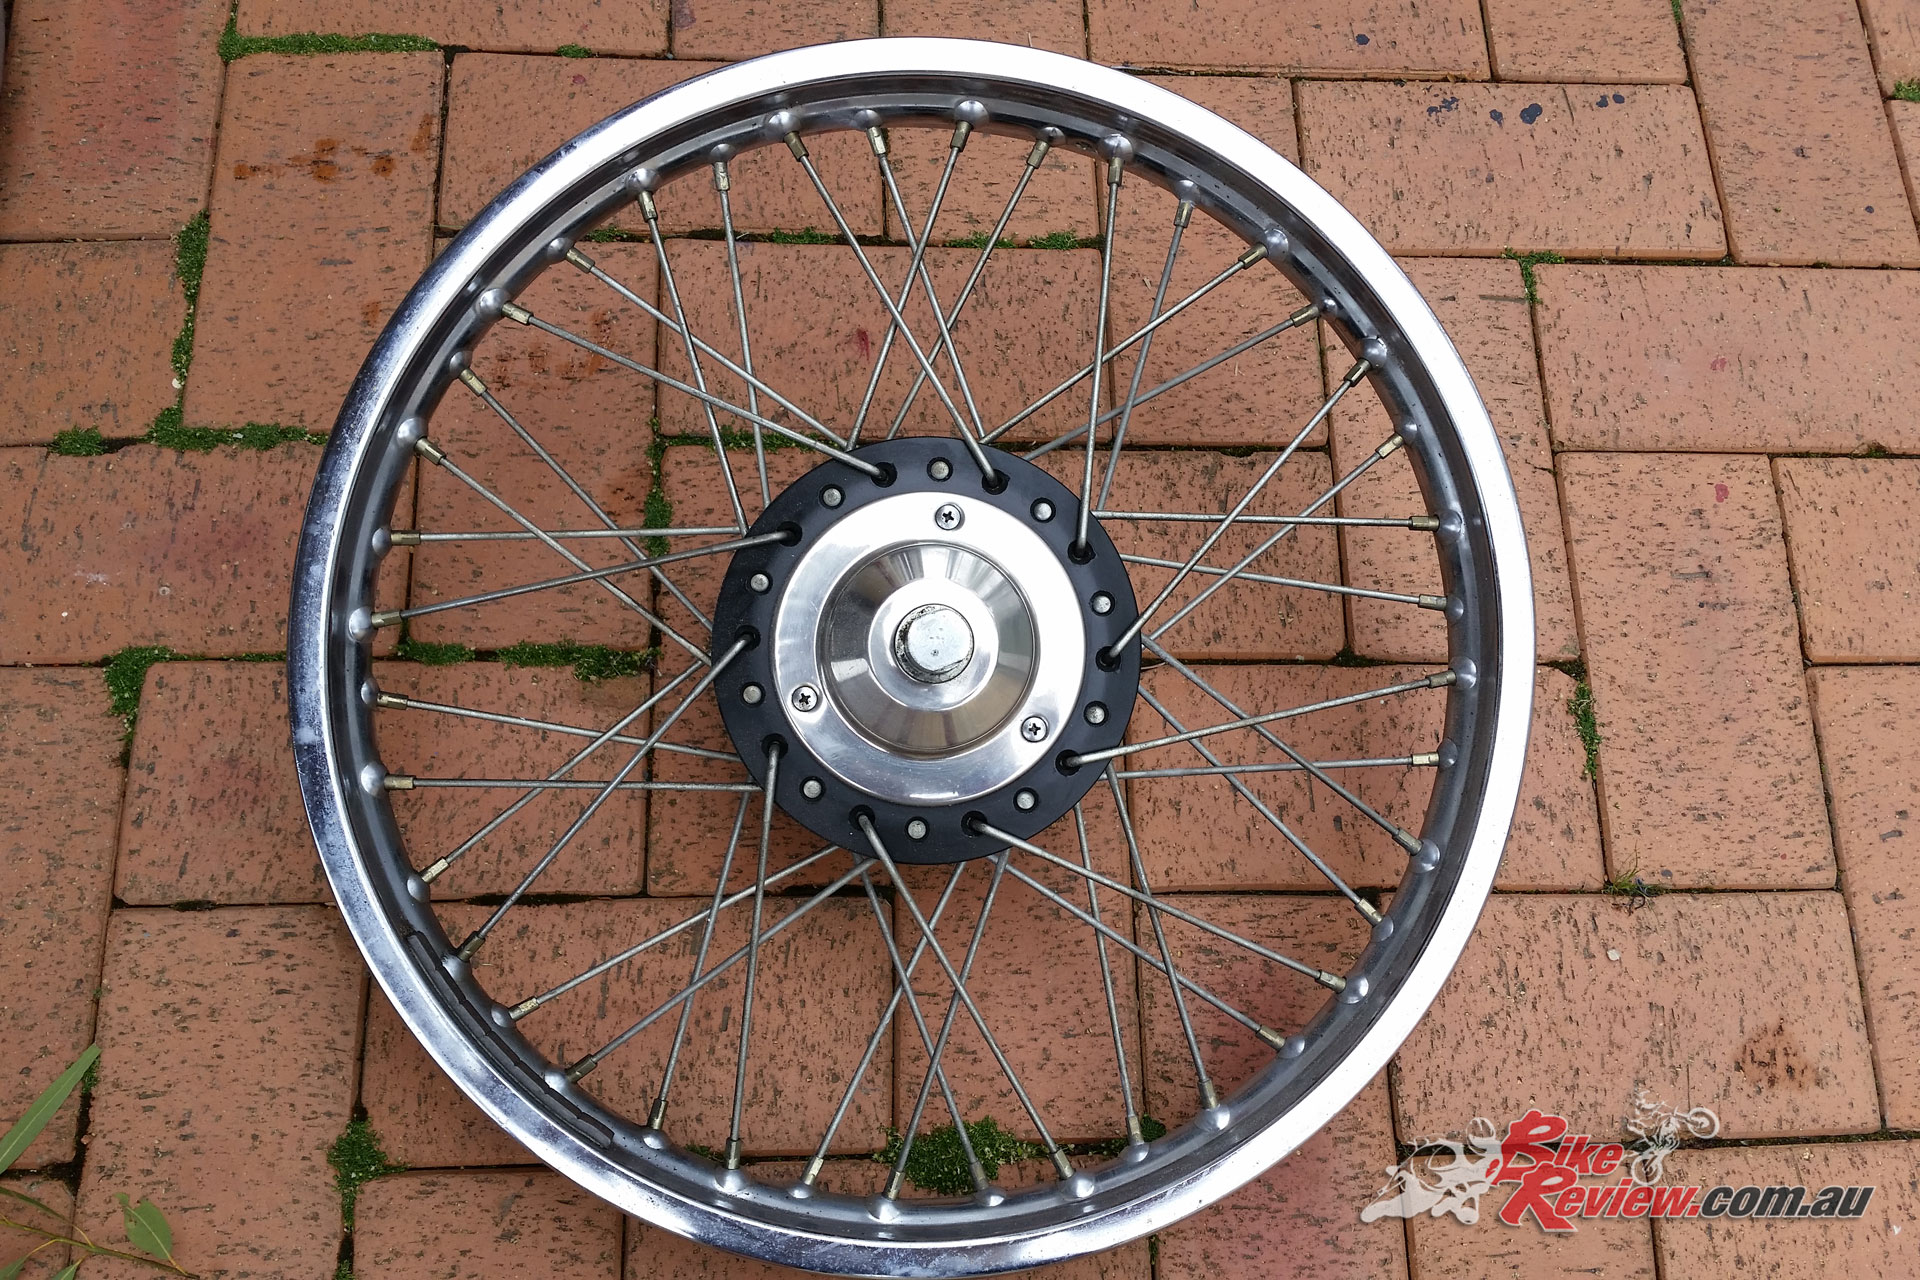
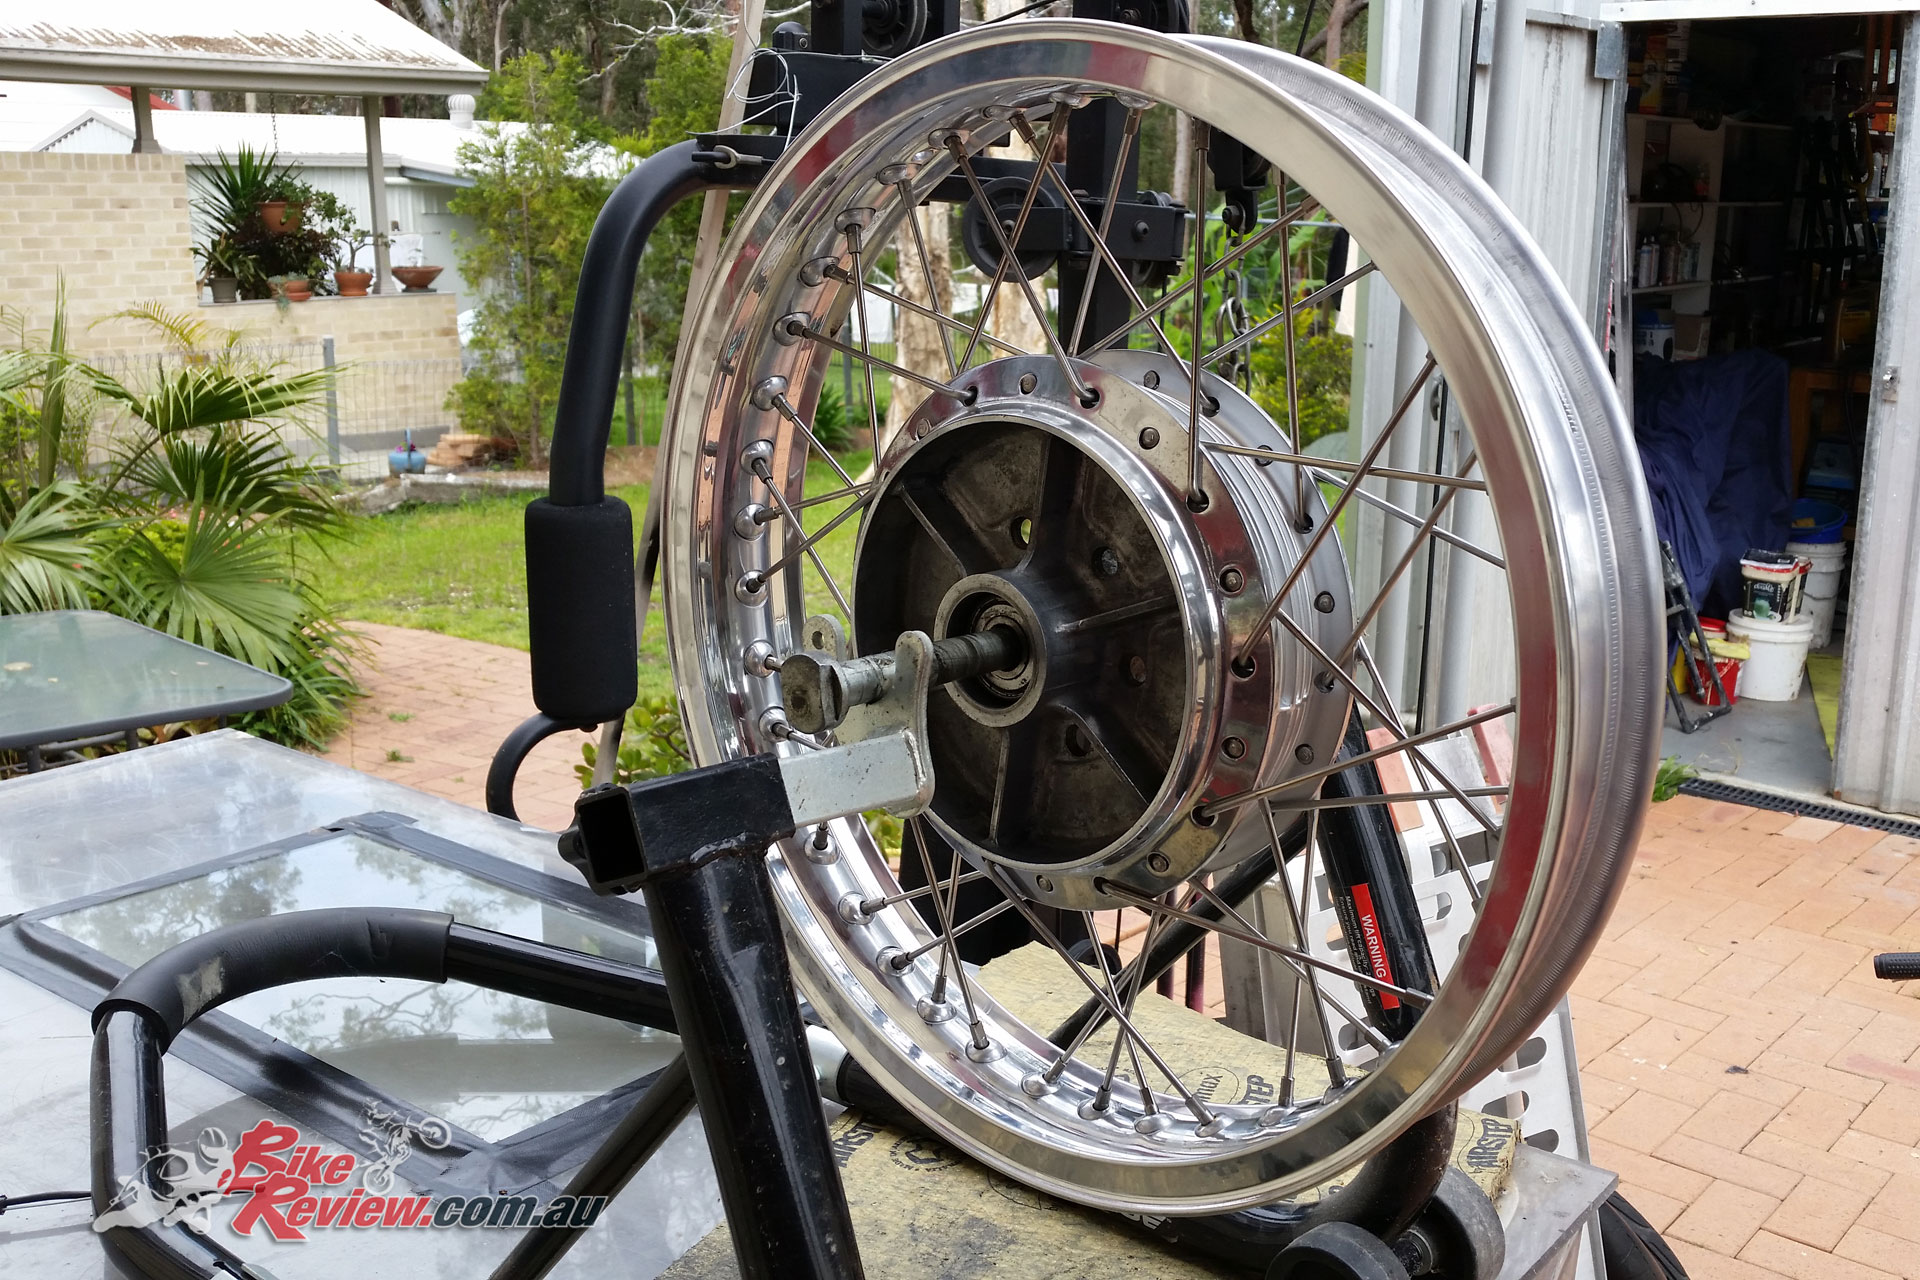
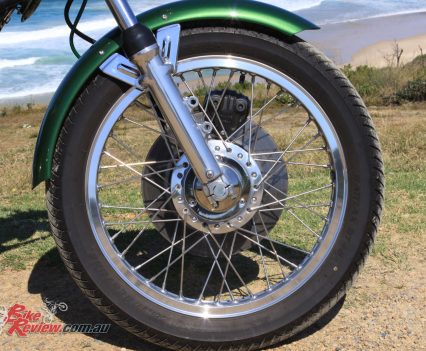
My H1 also had rusty chrome rims that needed replacing or re-chroming, but from the start I knew that I’d be getting shouldered alloy rims and replacing the spokes with stainless steel ones; the alloy rims are around 1kg lighter and give a great look to the bikes. I removed and re-spoked the rims myself, a job not for the faint hearted, but with the help of YouTube it was possible, although I took the wheels to a professional to true-up for safety reasons.
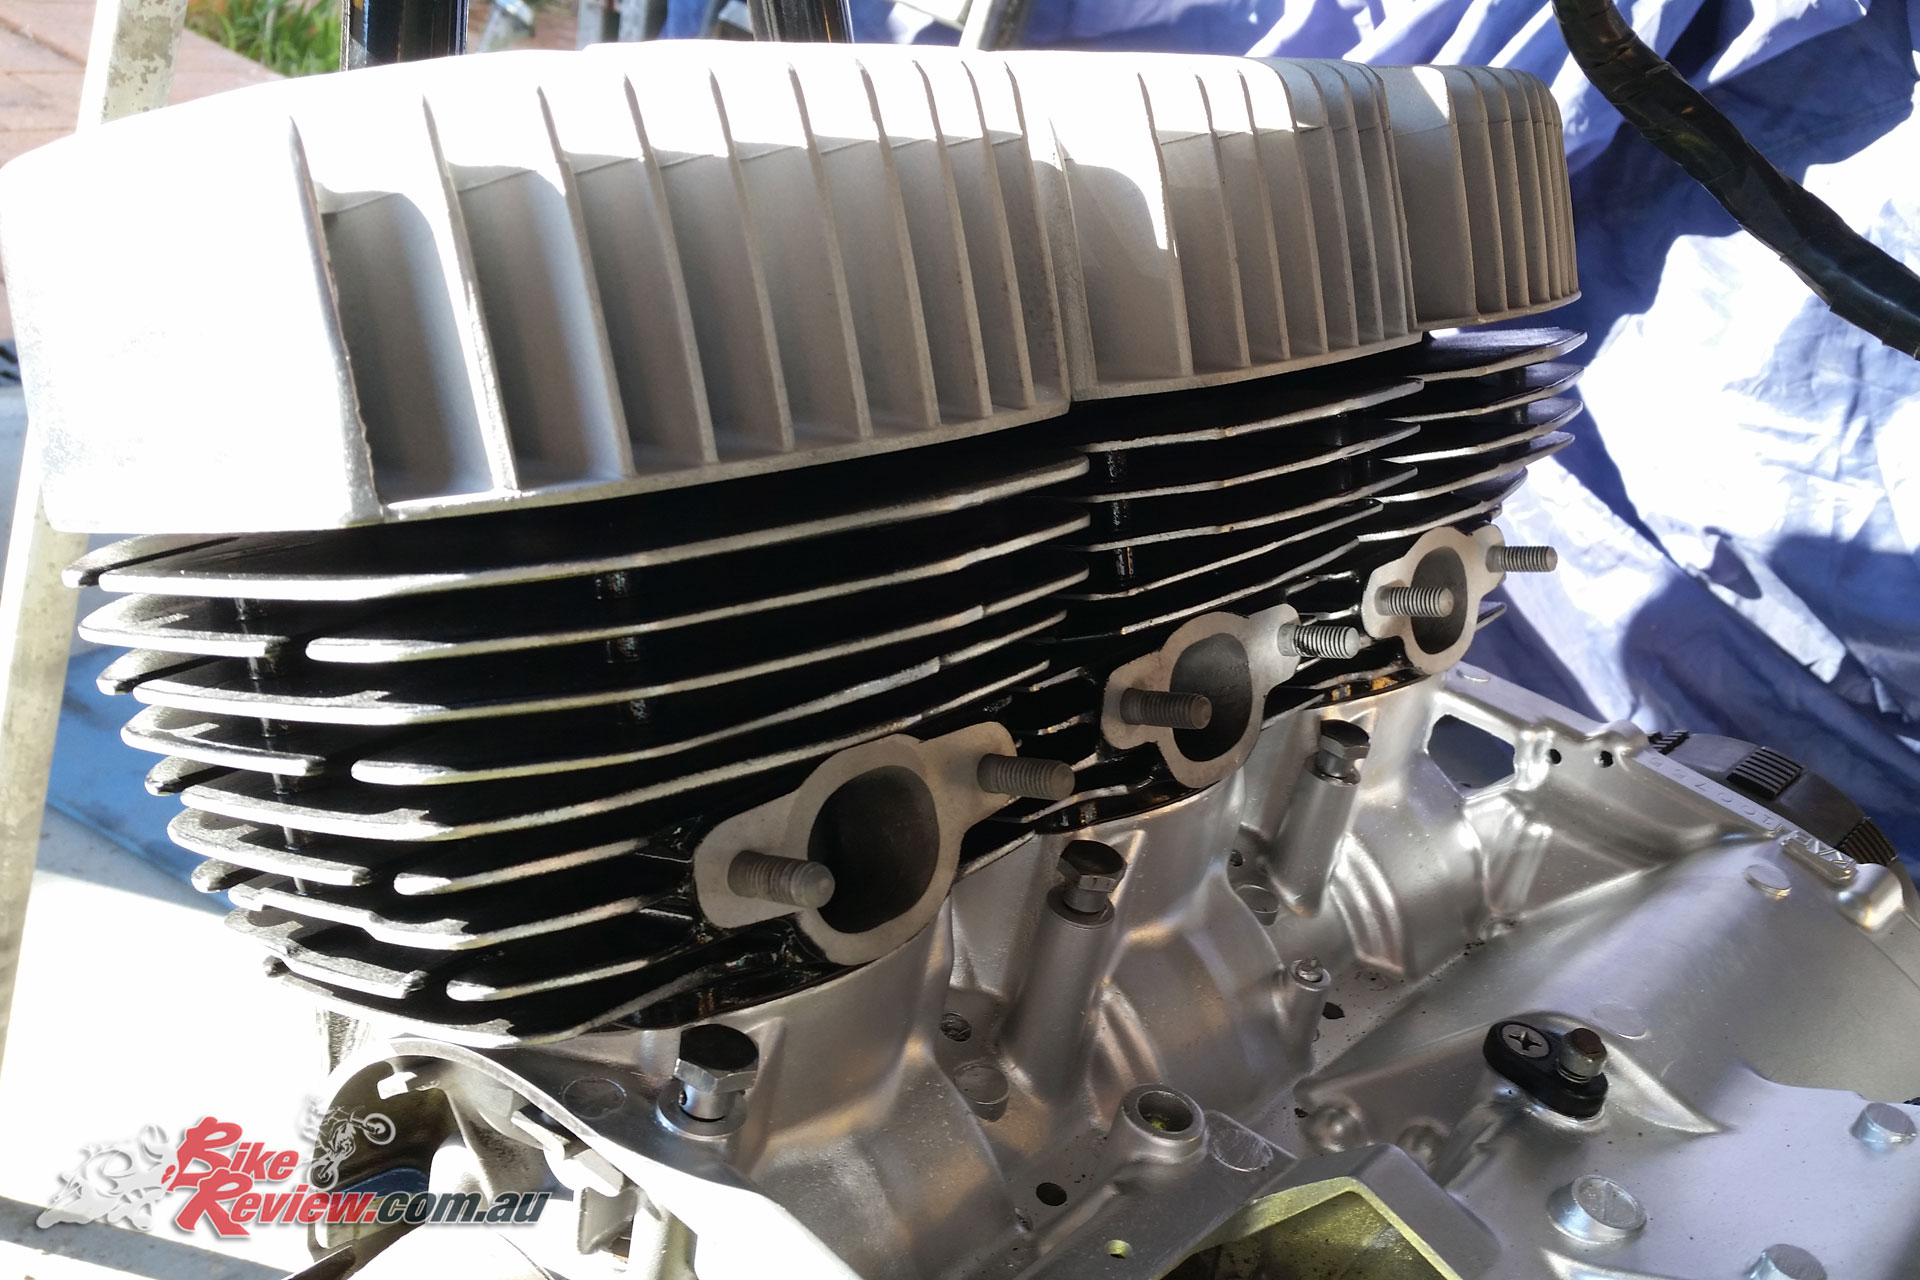
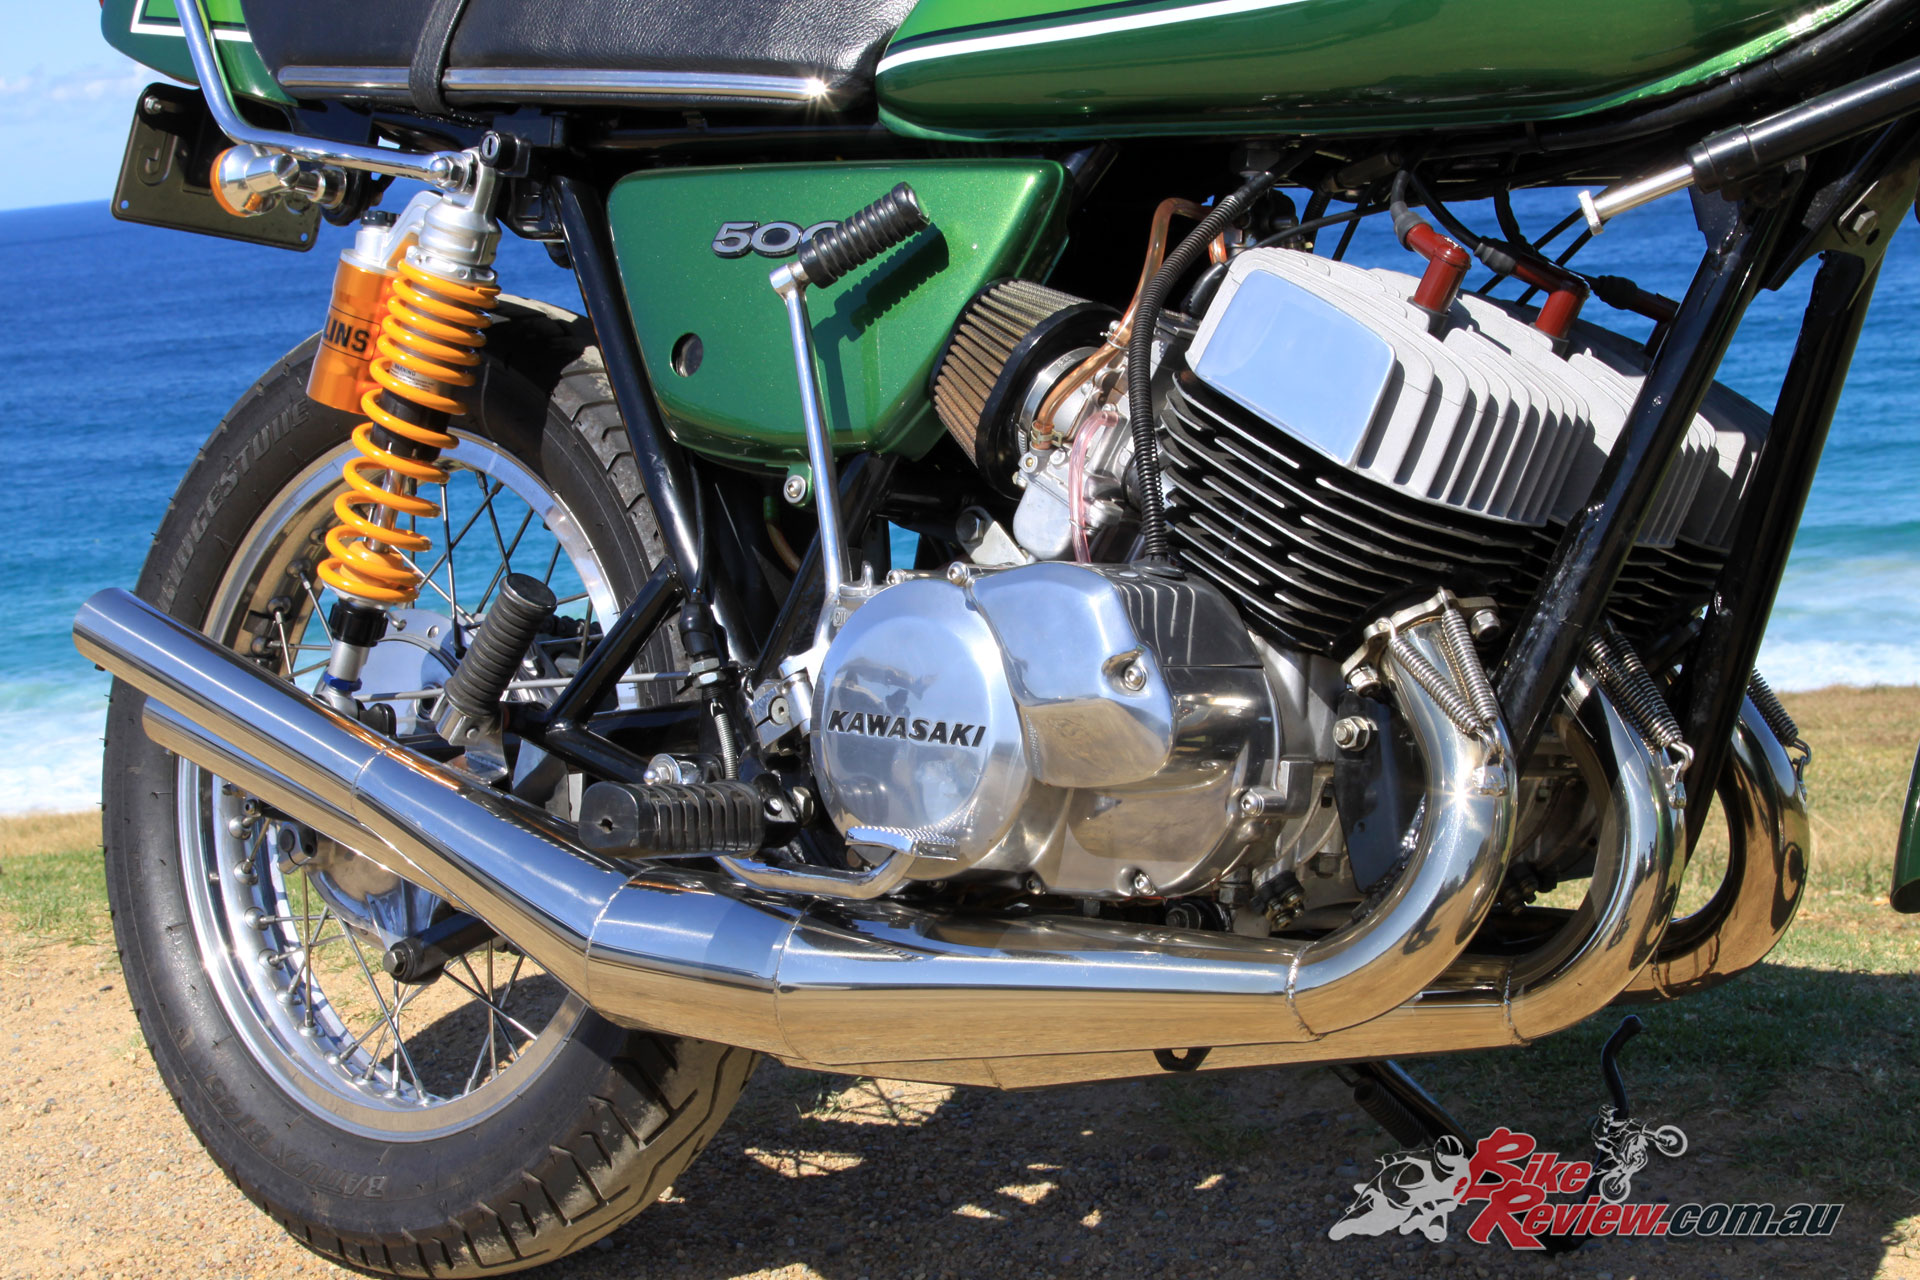
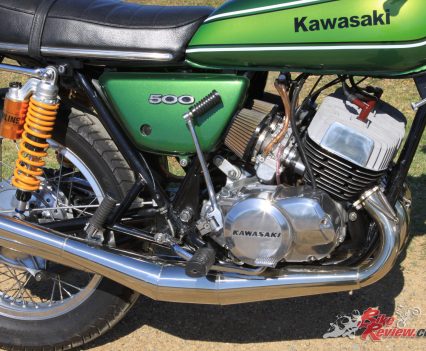
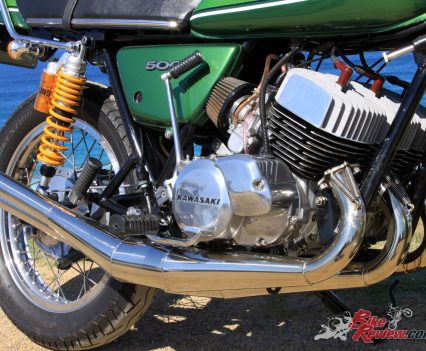
Next job on my list was the engine, I knew that it was in pretty good shape, but I still pulled the head, barrels and side cases off to have a look. The bores were pretty good, but I still fitted new rings and honed the bores for good measure, while I was at it, I replaced the outer crankcase oil seals and the seals on the side cases and gear sprocket. With the side cases off, it was a good opportunity to polish them and the rest of the alloy on the bike at the same time.
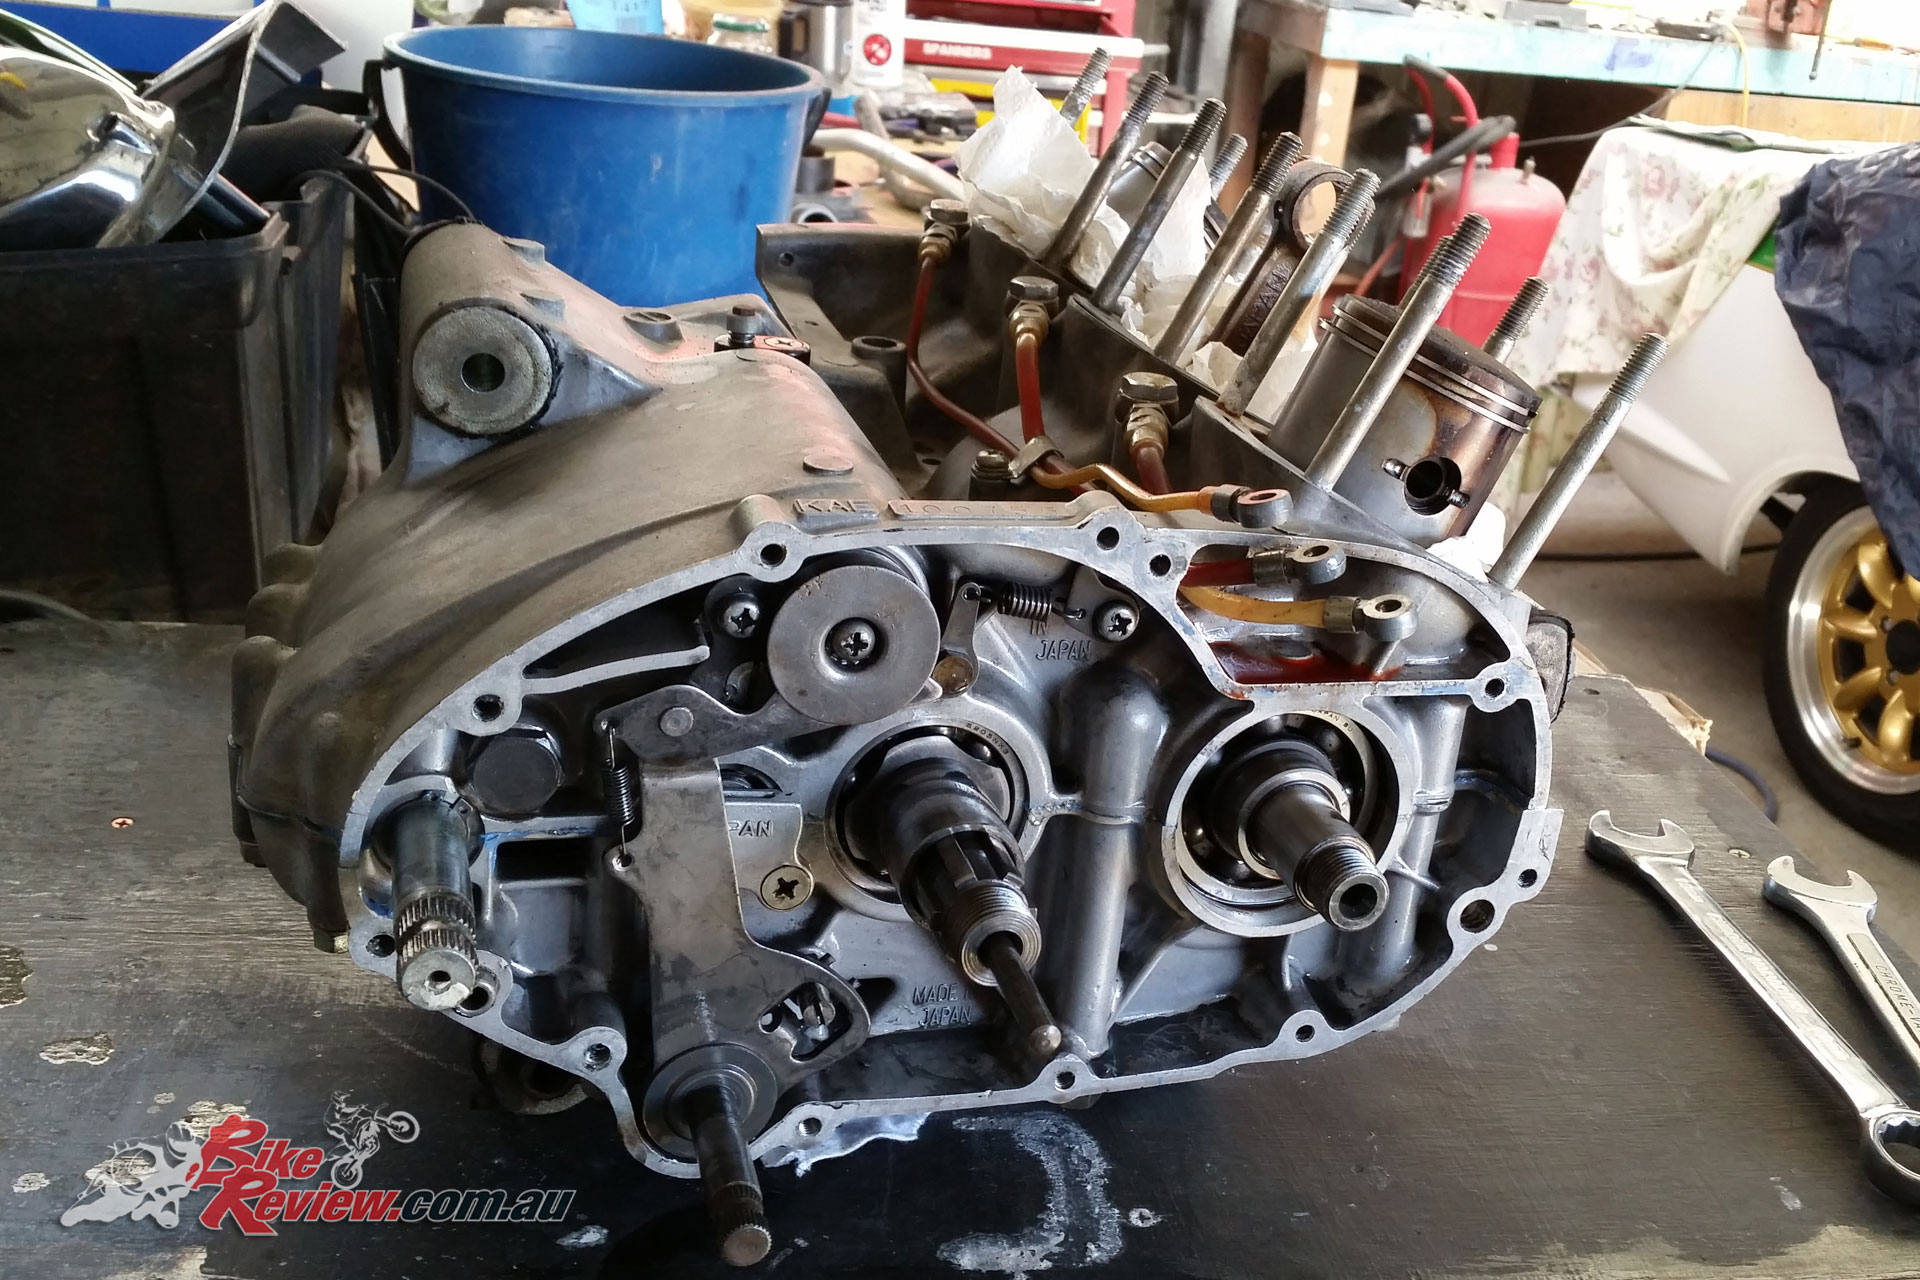
The engine was in working condition but the heads, barrels and side-cases were pulled off for a check-over.
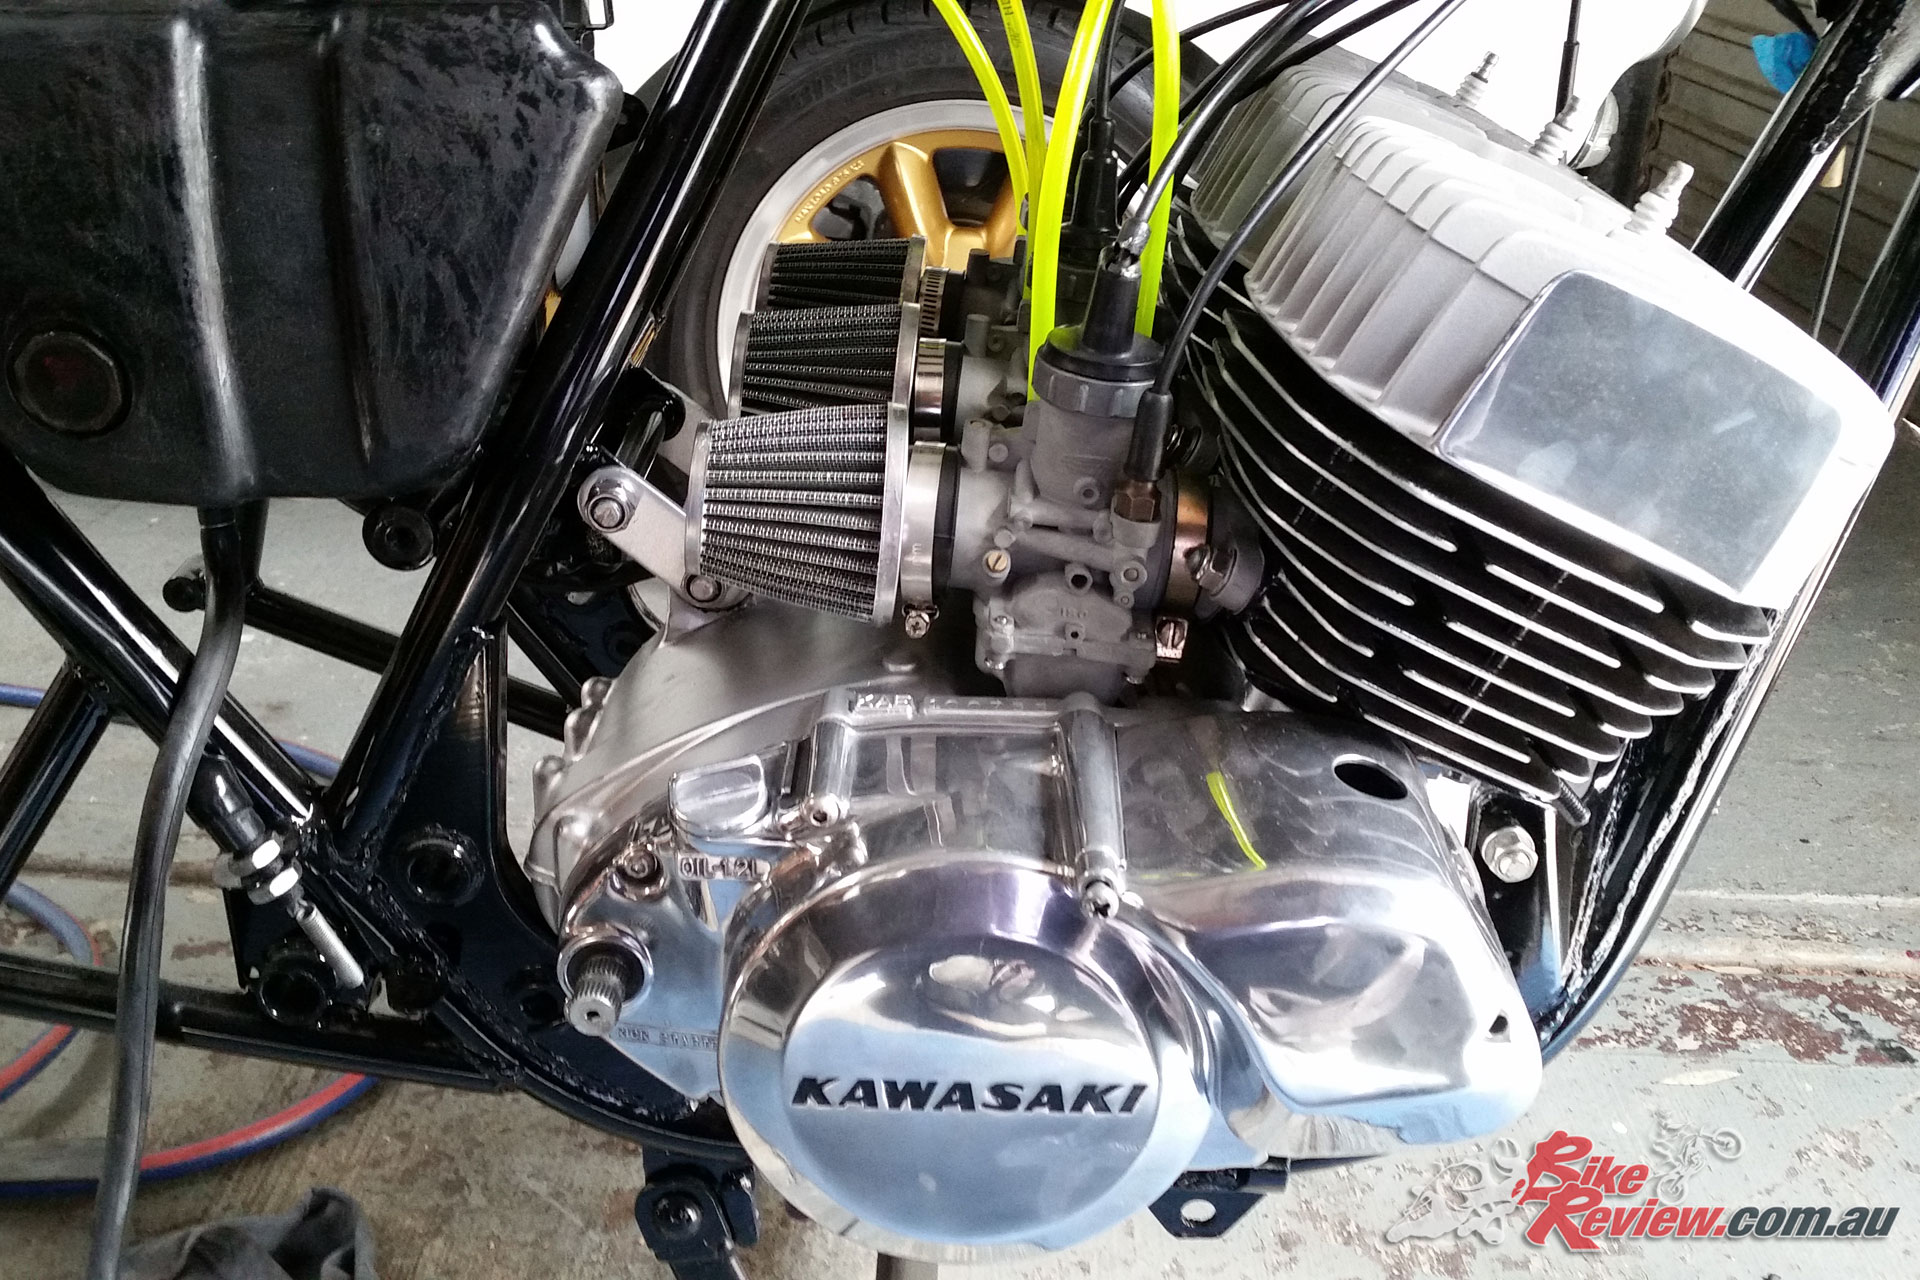
Alloy polishing is one of the dirtiest jobs you could imagine, but if you get someone else to do it, it’s going to cost a lot, I have all the equipment to make it as easy as possible, such as a good bench polisher, various polishes and buff mops, plus special stripping wheels to remove imperfections in the alloy, still it’s a crap job that takes time and effort to do it correct and the triple has a lot to polish.
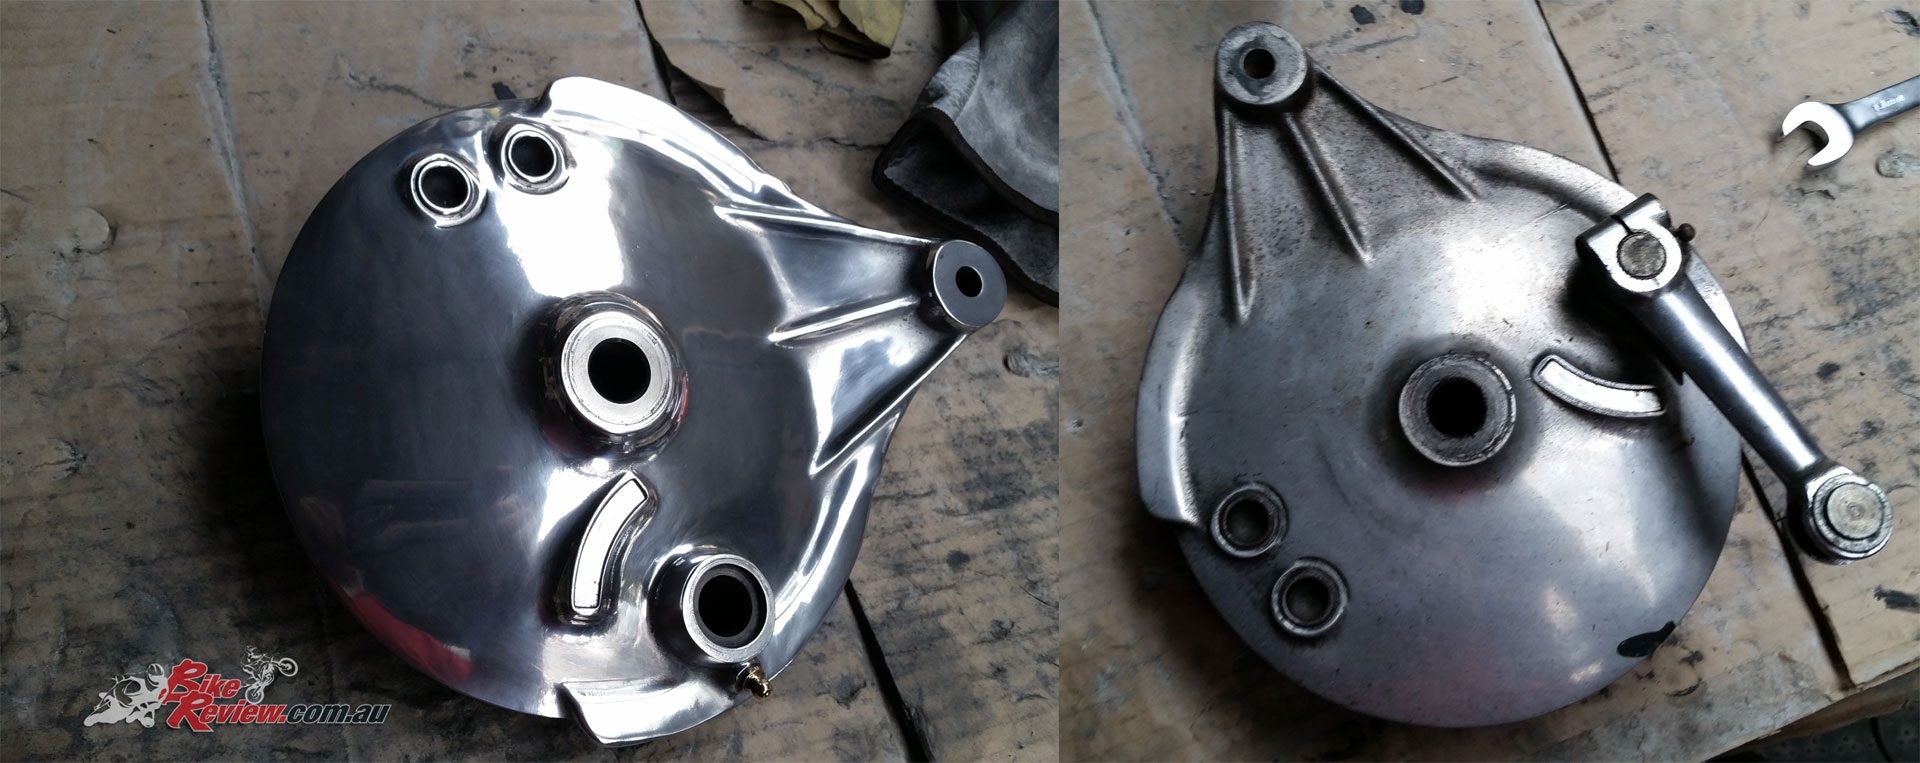
Alloy polishing is hard, dirty work, but you’ll save a motsa doing it yourself, if you’ve got the tools to do a good job. After – Before.
The chrome handlebars on my bike were also rusty and needed replacing, I had the bike parked next to my Gas Gas trials bike and thought, ‘The Renthal bar off that would work well on the H1,’ so after 10 minutes on eBay I had a set on the way. When they arrived I had to sand off the anodising then spent a bit of time on the bench polisher to bring them to a mirror finish.
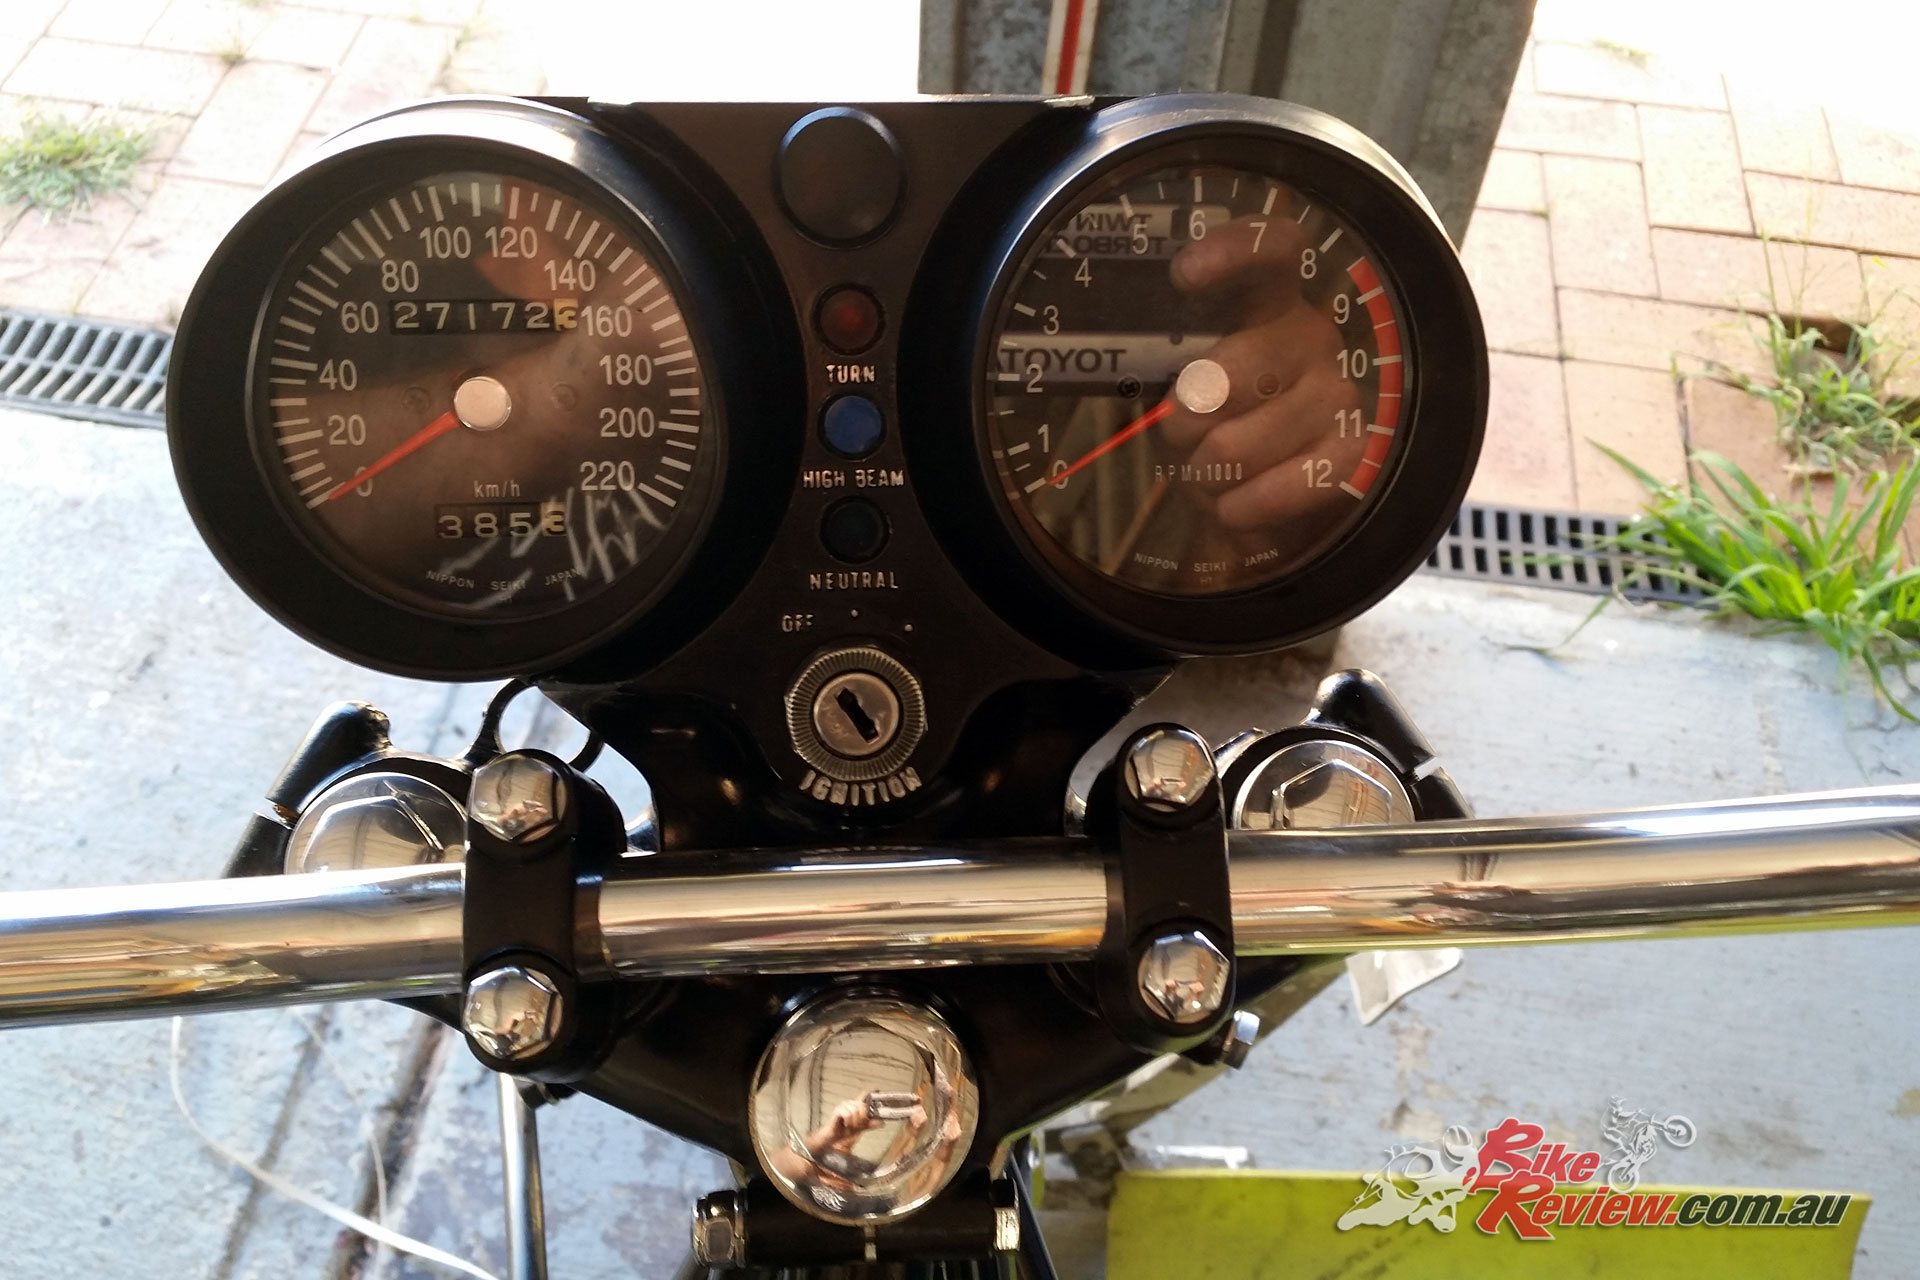
While doing all the daytime work in the shed, at night I was busy ordering parts needed to finish the bike, such as small retro looking indicators that replace the heavy, bulky metal ones, new instrument decals, plus many other parts. The exhaust were also rusty and dented so after doing some research I decided to replace them with Higgspeed expansion chambers from the UK, which was probably the most expensive job on the bike at around $1200, still they look amazing in polished stainless.
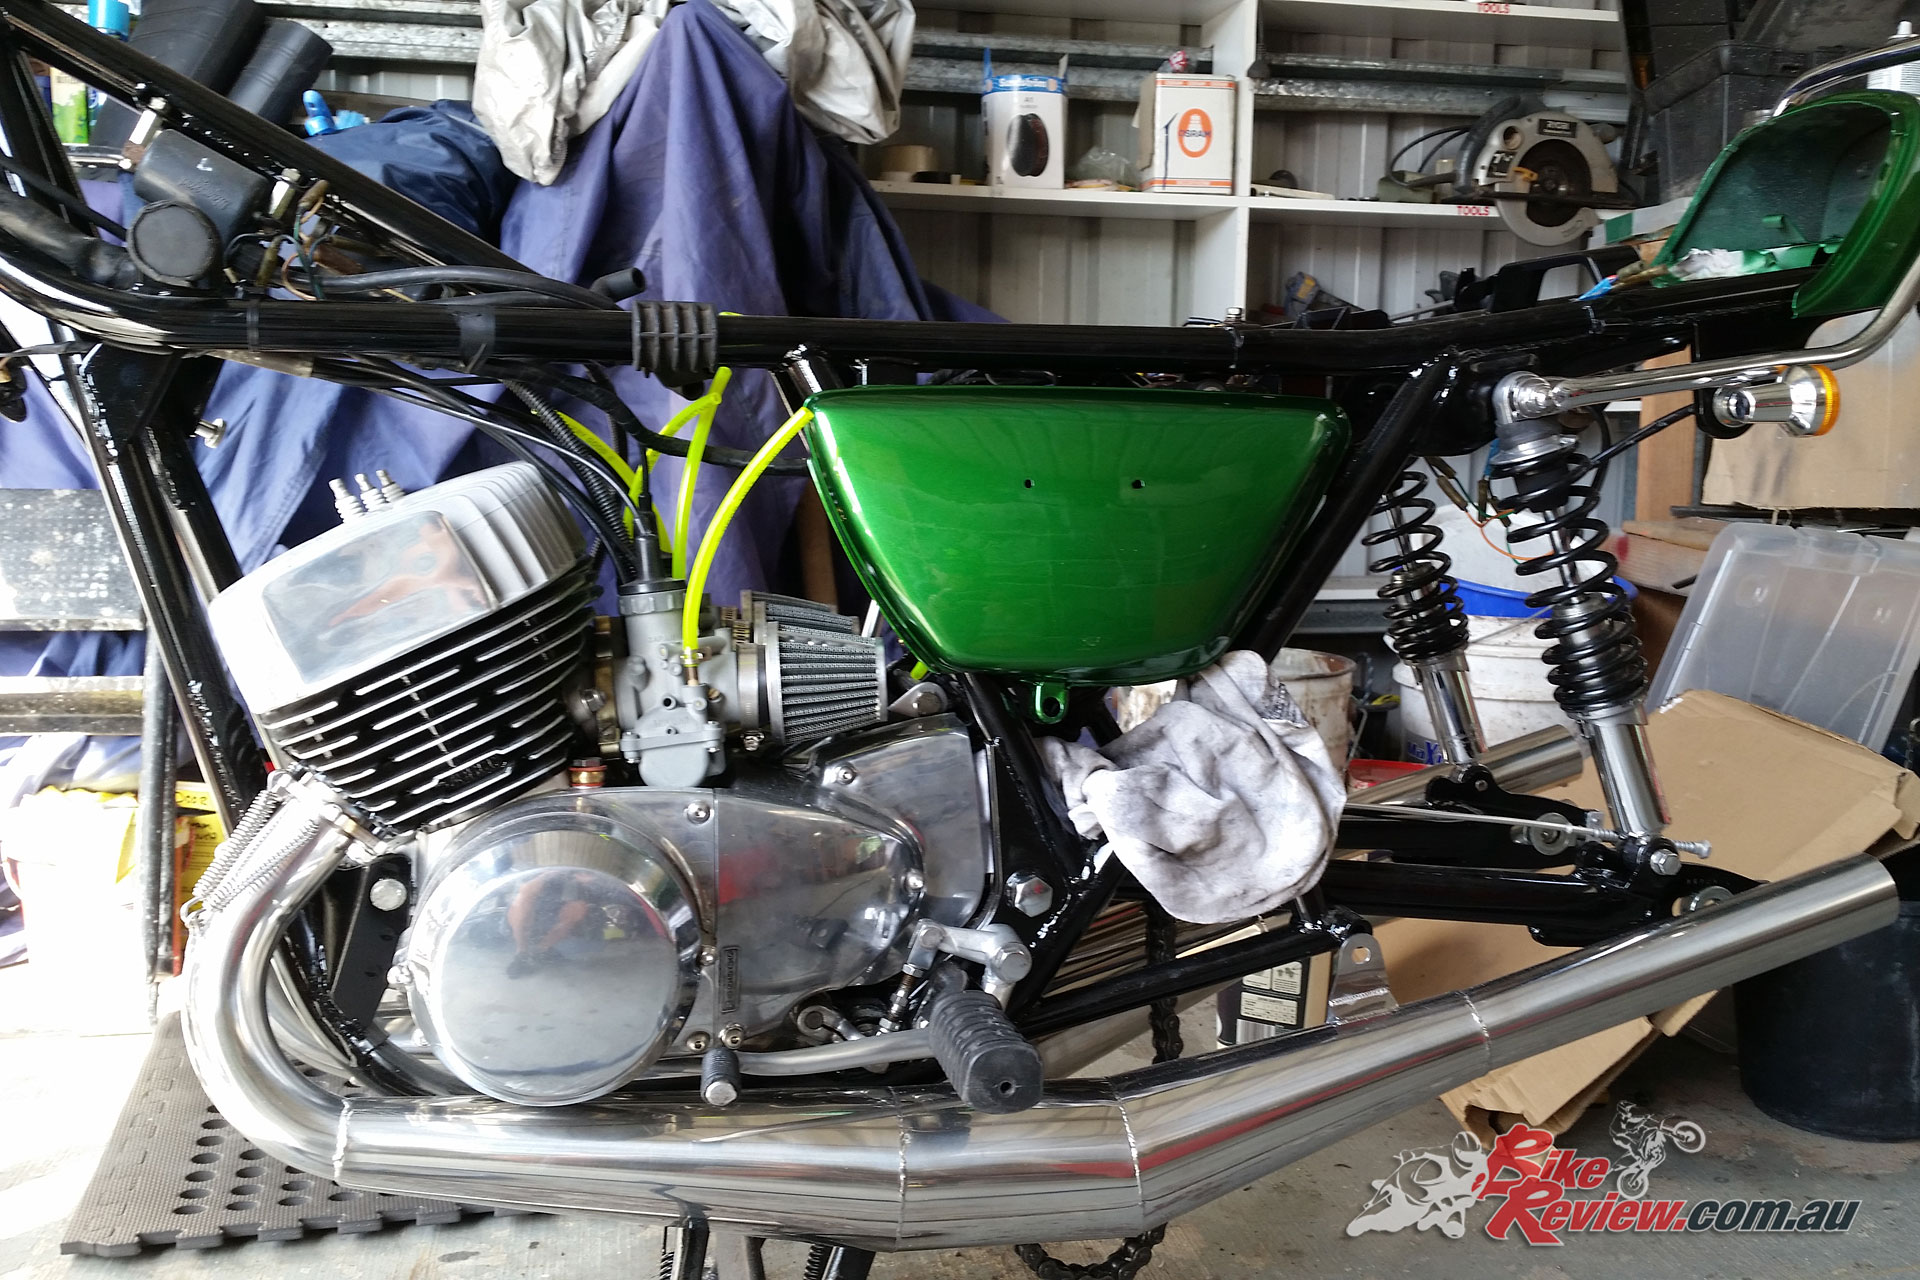
Higgspeed expansion chambers were the most expensive item that were purchased for the H1 restoration.
The front mudguard on the triples was originally chromed metal, again, I had no intension or re-chroming it so while on a trip back to the UK I got a second-hand alloy one off my dad’s old BSA, then repaired and painted it, making it fit my H1.
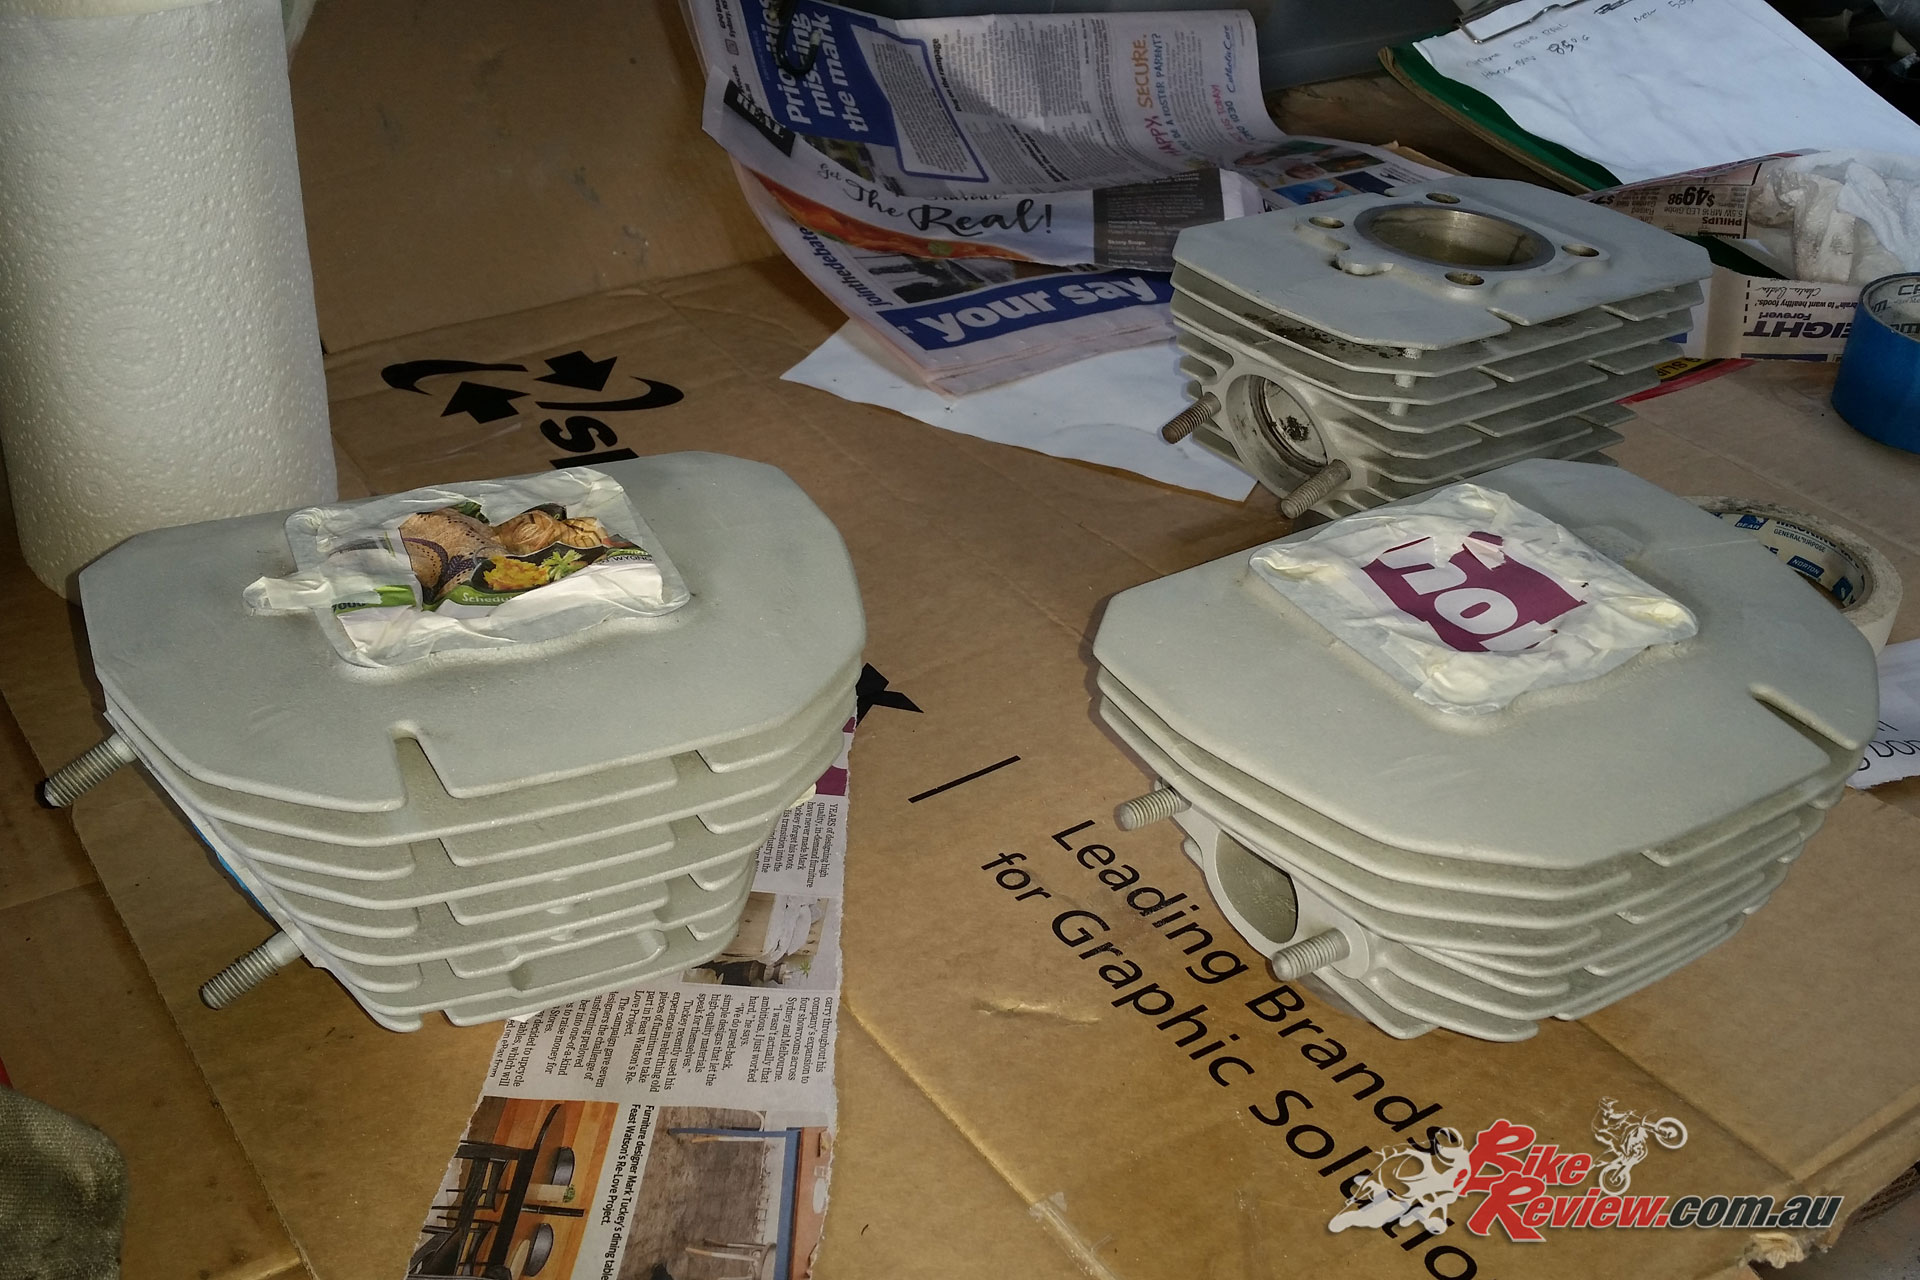
Another part I wanted to paint was the cylinder barrels, I sandblasted these along with the heads, then painted the barrels 2-pack gloss black, then linished the fins by using 120 grit paper on a sanding block to give them a better look. People think you need a special heat resistant paint to do barrels, but I have done loads of bikes and never had a problem with flaking or blistering due to using standard two-pack.
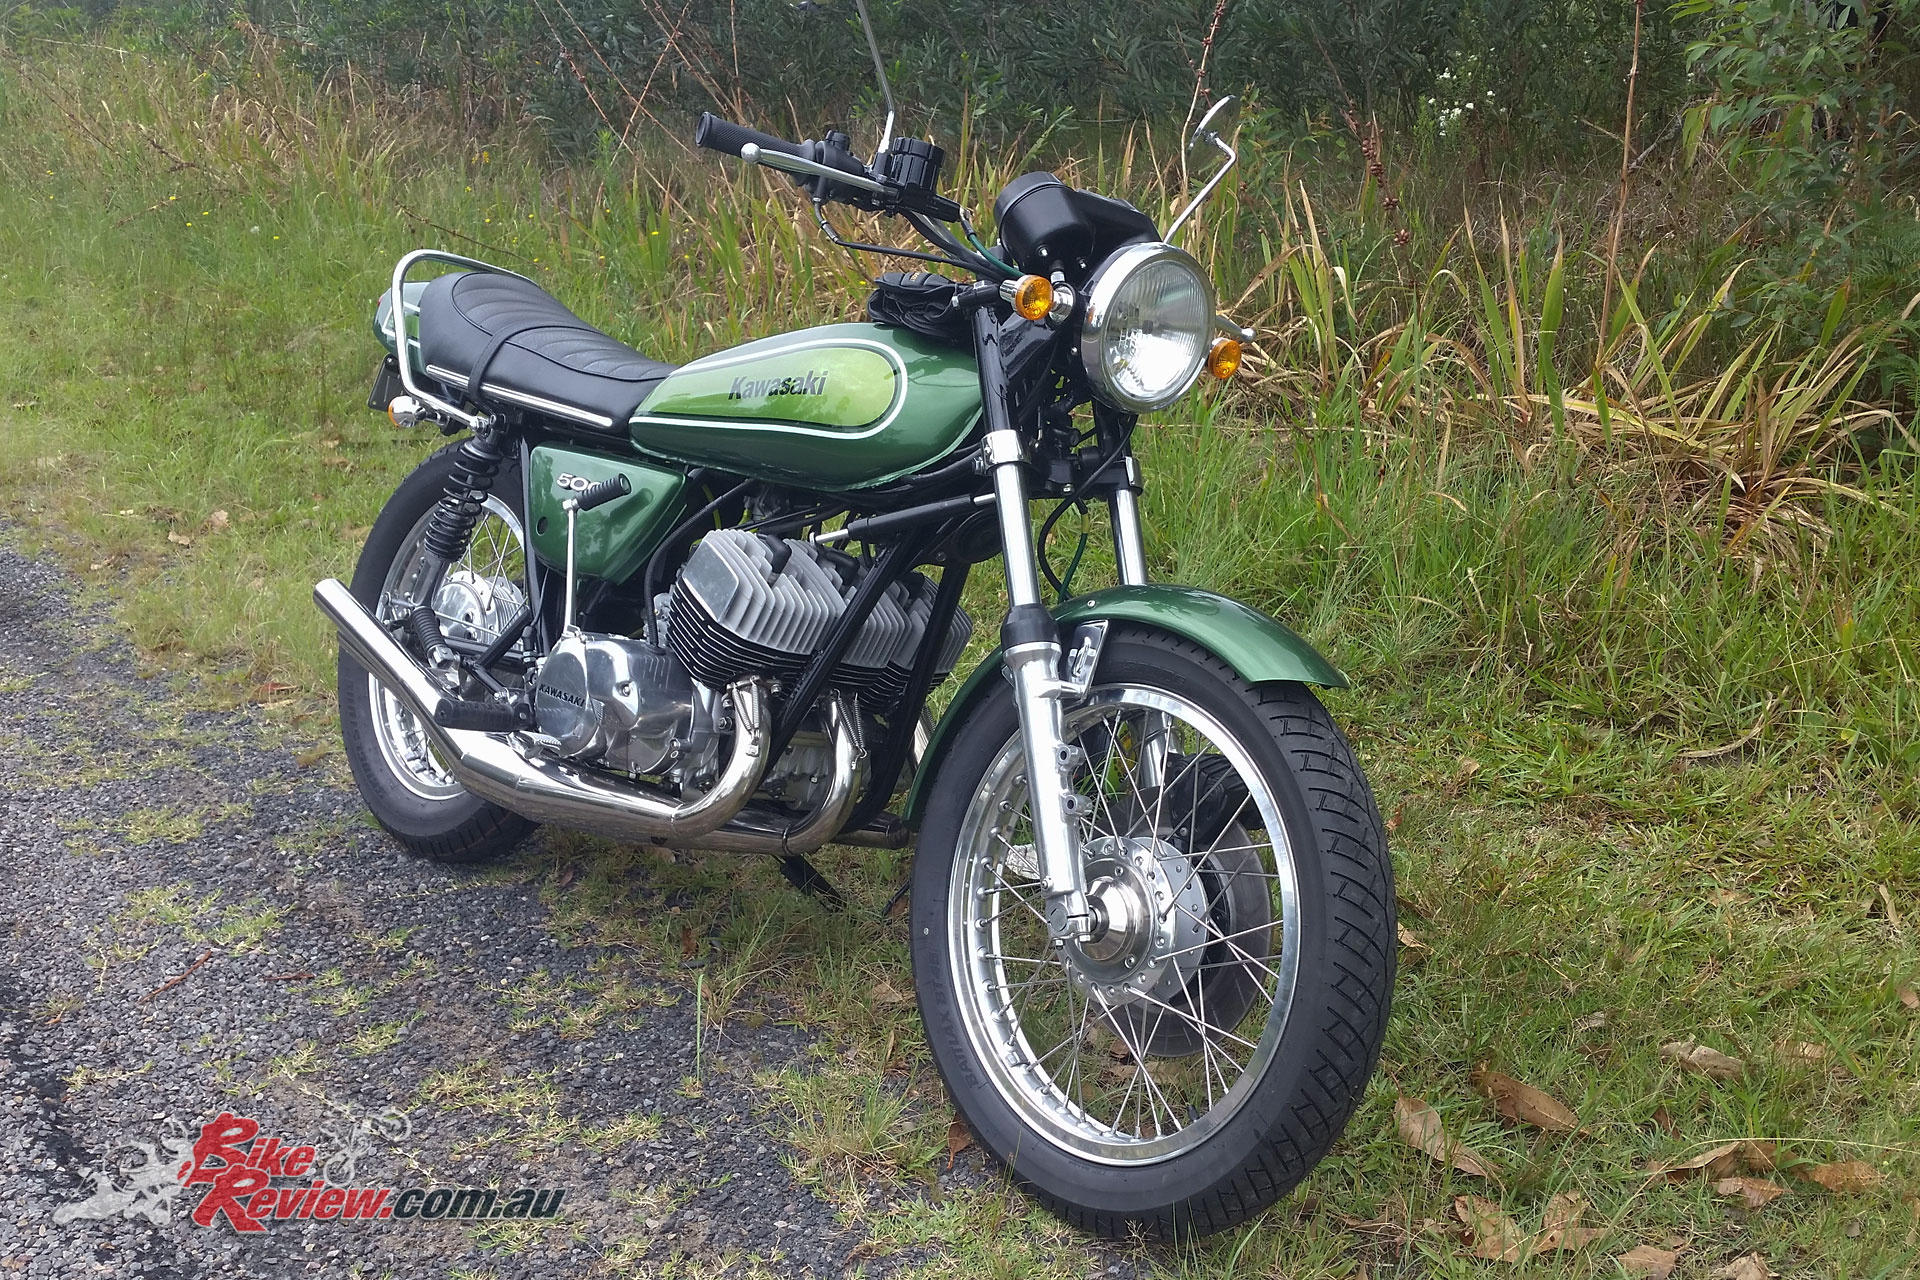
The most time consuming part of my build was the bodywork and if you had to get someone to do this for you, you’d be paying heavily for the privilege. Because I wasn’t bothered about it looking original, I went to the paint supplier and chose the colour that I wanted to use, so, although the bike looks close to period colours, I used a brighter green metallic for the main colour and a metallic bright lime green for the inner colour.
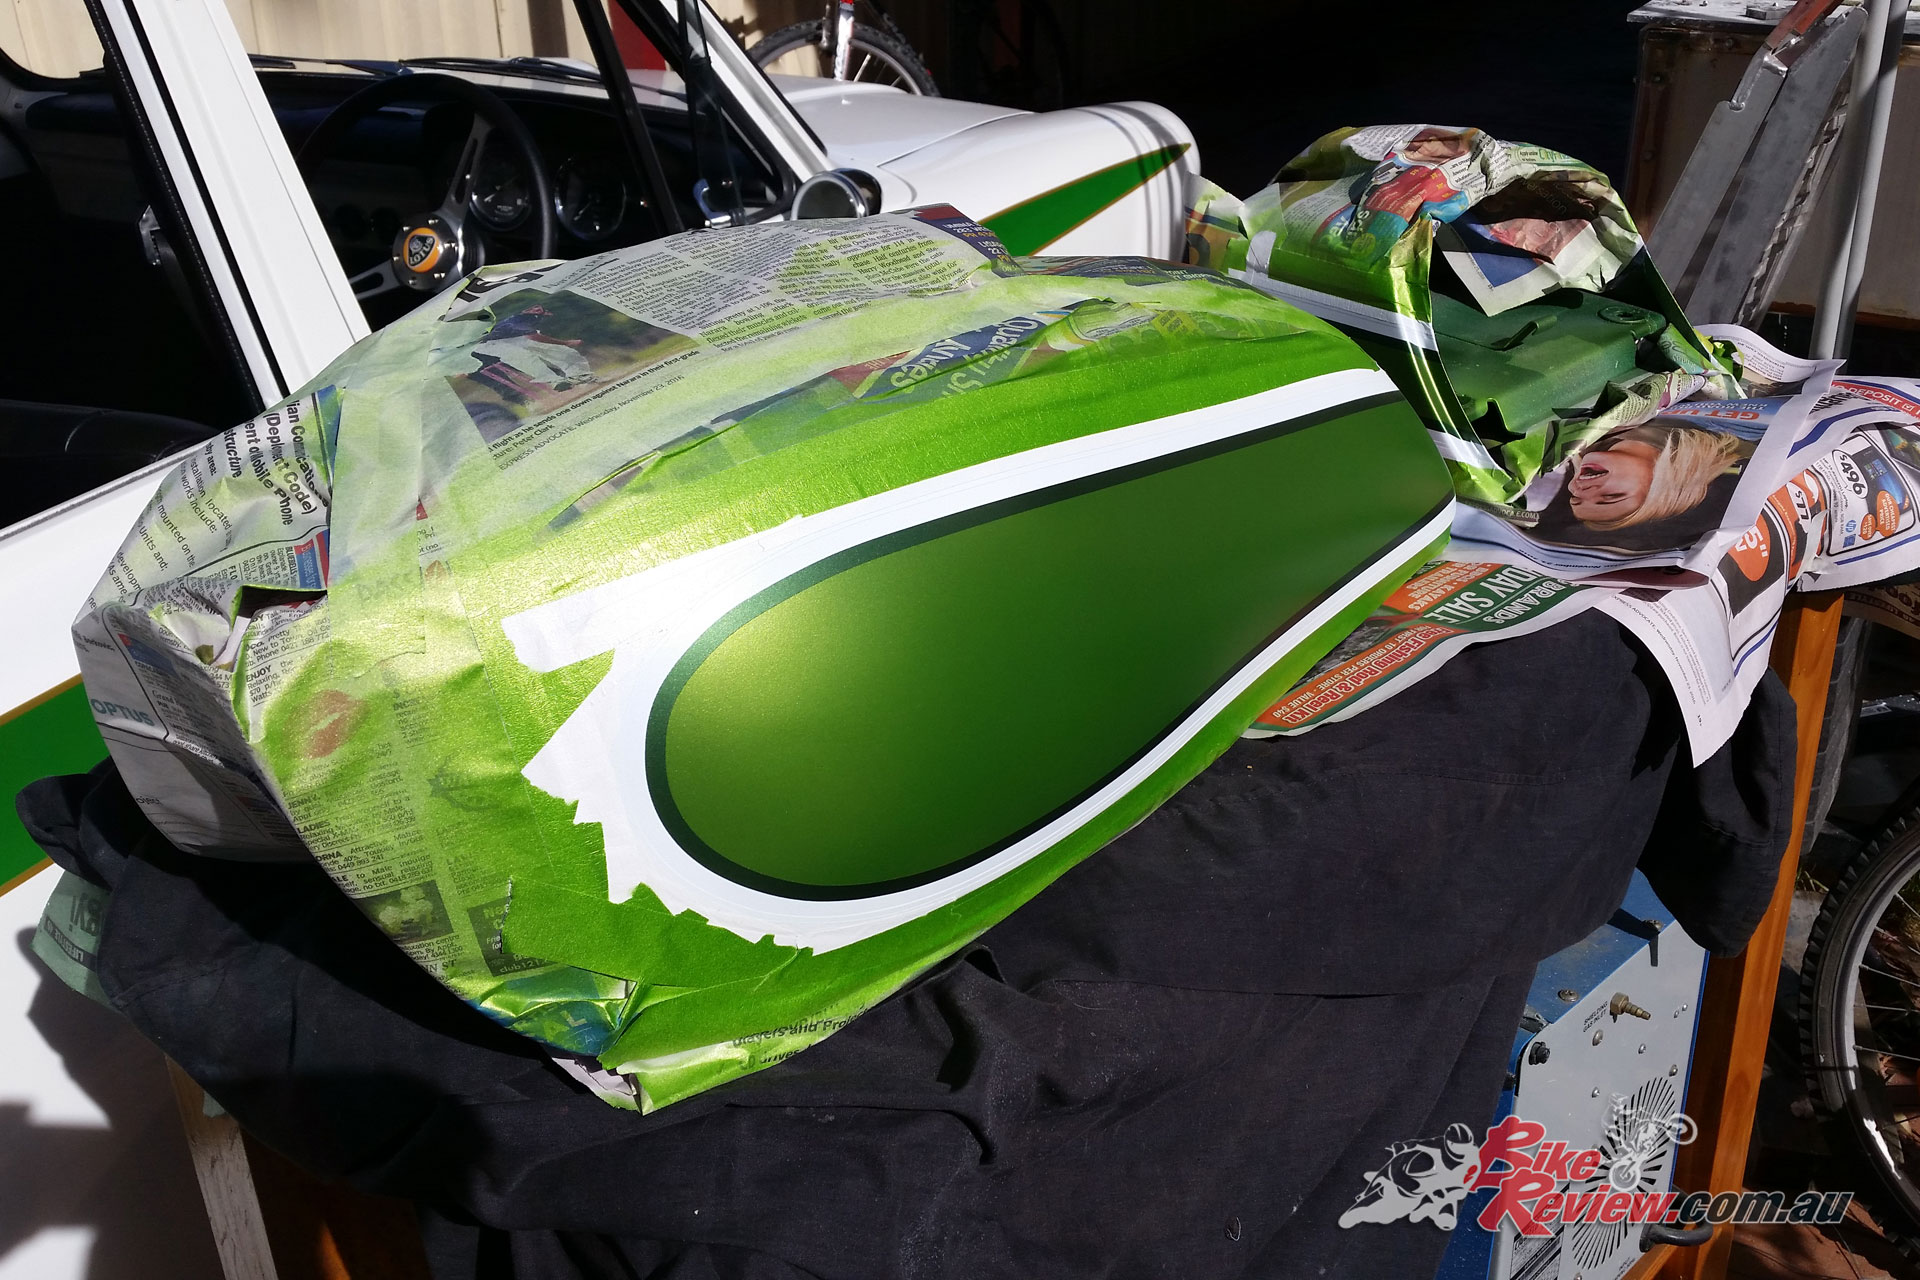
Bodywork being painted is timely and costly, so doing it yourself (if possible) is well worth it. The colours aren’t exact originals, but maintain the theme.
Another thing I wanted to do was to spray the black and white striping on the bodywork, along with the Kawasaki decal, instead of using a decal kit. This process is extremely time consuming, but when you run your hand over the bodywork there are no edges from the striping, after I covered the bodywork in five coats of 2-pack clear lacquer, then cut and polished it. The whole bodywork repair and paint took me nearly 40 hours, so you can imagine the cost from a professional.
The best part of any build for me is when I start putting the bike back together, it’s a real joy to see bits going back on the bike and it’s then that all the time taking painting and polishing every tiny item pays off, especially when I also spent a fair amount replacing the majority of the nuts and bolts with stainless steel ones, then spent a bit of time polishing the heads of the bolts; just those extra details really make a big difference.
With the bike painted and put back together I was not expecting any problems with running the bike, due to the fact it was going well before the build, but sadly that wasn’t the case. I knew that with the new expansion chambers I may have to alter the jetting slightly, but I couldn’t get the bike running at all.
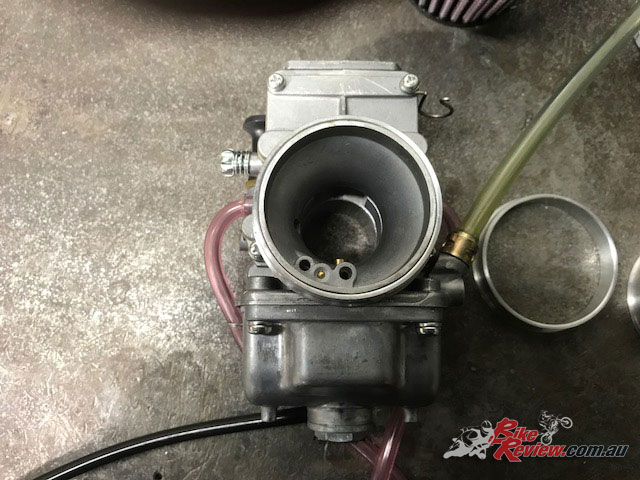
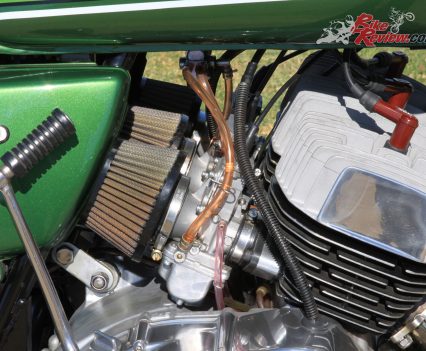
In the end I took it to a specialist to fix, the problem was tracked down to a faulty kill switch; this is after I had replaced the ignition coils myself at great expense to try and sort the problem. The bike was also rejetted at the time, but I wasn’t 100 percent happy with it and those 40 year old carbs just kept seeping fuel and overflowing, even after rebuilding them. I then took a drastic measure of replacing all the carbs with a set of Mikuni 32mm flat slides.
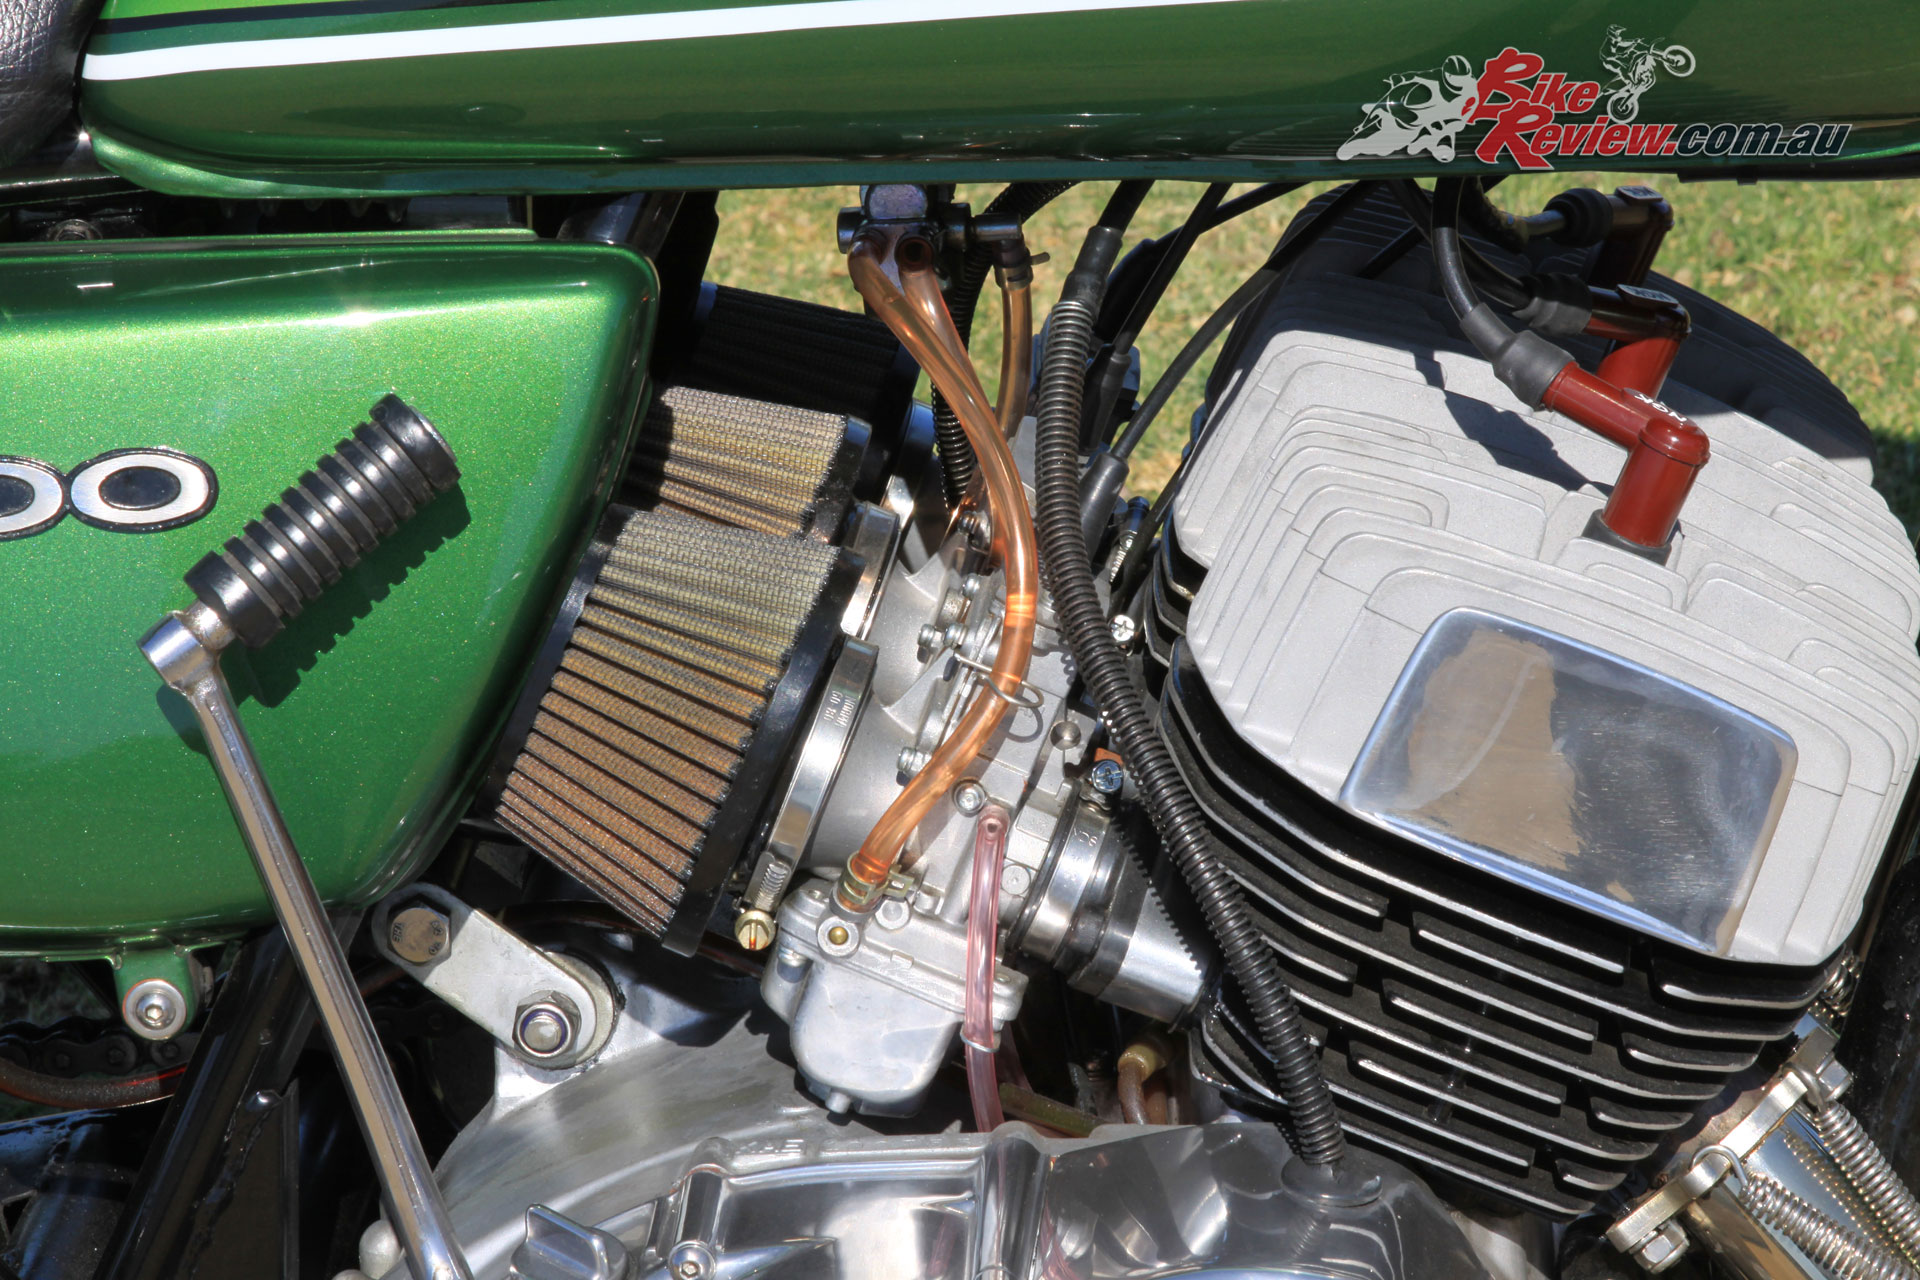
To fit these, I had to either make a manifold adapter or buy one, in the end I decided to buy one from the States form John Aylor engineering, John is a triple specialist and had been free with his time, offering me some great advice throughout the build. With the new Mikuni’s fitted, I was then in need of some quality air filters, that would not only supply enough air to feed to bigger carbs, but fit neatly in the limited space available, this problem was solved with a call to Mick Withers from Kenma who supplied a set of very sexy looking DNA filters that fitted and worked perfectly.
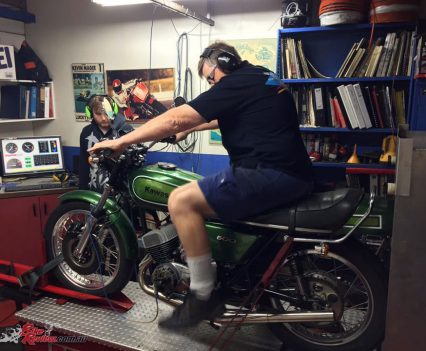
Unfortunately, for me the new carbs jetting was so far out that the bike would hardly run at all. This led me to make a decision, either to have a go at jetting the bike myself, which I really had no idea what to do, or to give the bike to a specialist – Dudley from Dudley’s Motorcycle Service & Performance Centre.
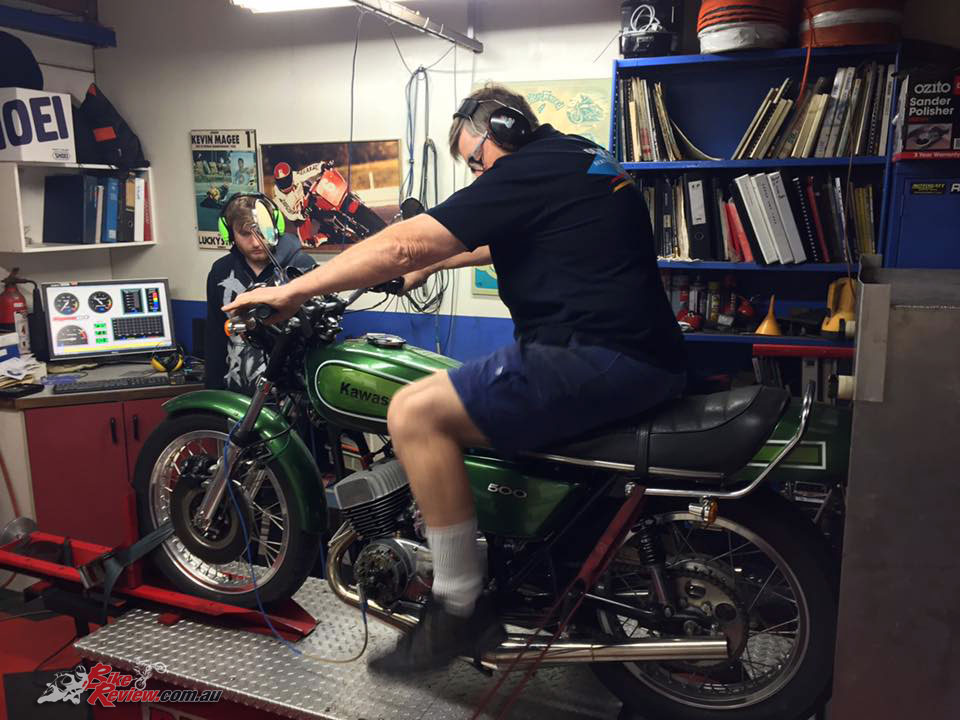
Dudley from Dudley’s Motorcycle Service & Performance Centre did the tuning, as he has a wealth of experience and knowledge in this area.
In the end I went with Dudley, I figured that if I ended up seizing the bike due to my bad tuning, then I’d really kick myself. Dudley is a two-stoke specialist, so I knew I’d be in safe hands, and when I got the bike back I was more than happy with the results.
My first ride was fantastic and really brought back those memories of when I was 17 again, but with the added whale of the improved induction noise through the 32mm flat slides and the loud crackle for the expansion pipes; my grin was wider than ever. If you have never ridden a Kawasaki triple, it is like no other bike, especially the H1 500, the straight line performance is impressive even by today’s standards, but it is the way the bike delivers that power that makes you smile.
The H1 has not much go under 5000rpm, but after that it pulls hard and viciously to the 8500rpm redline. Straight line speed is not a lot of use if you can’t go around a corner and the Kwaka triples have got a reputation of bad handling stretching back almost 50 years, in fact, the first corner I went around I scraped my brand new pipes, damaging them so I knew I needed to do something.
After a bit of research, I decided to increase the rear shock length 60mm by installing a set of fully adjustable rear shocks. The moment I rode the bike with the new shocks I knew I’d improved the bike immeasurably, the steering is now quicker and the bike turns and flicks better from side to side, I’m not saying that my ’74 H1 handles as good as a modern bike, but it’s now much more fun to ride and makes me want to take it out even more.
The only other job I have left on my list is to find a way of quieting those new Higgspeed pipes down slightly so the EPA doesn’t ping me, but I really couldn’t be more happy with the bike, now I just need a new project to sink my teeth into.
Specifications: Kawasaki 1974 H1 500
Price: $8,000 to $20,000 (Second hand, depending on condition)
Colours: Green or Red for 1974 models
Claimed power: 44.7kw [60hp]@7500rpm
Claimed torque: 56Nm [42.3ftlb]@7000rpm
Dry weight: 174kg
Fuel capacity: 15L
Engine: Air-cooled transverse three cylinder, piston valve
Displacement: 498cc, bore & stroke 60 x 58.8
Gearbox: Five-speed
Clutch: Multiplate wet
Final drive: Sealed chain
Chassis: Double tubular steel cradle, steel swingarm
Suspension: 36mm telescopic hydraulic forks with dual shocks
Brakes: single 296mm steel disc with single-piston calliper, single 180mm rear drum
Tyres: 100/90/19, (f) and 110/90/18, (r)
Dimensions:
Wheelbase: 1400mm
Seat height: N/A
Instruments: Analogue
Kawasaki 1974 H1 500 Gallery


