We fit a set of Australian-made Promoto Oggy Knobbs to our Long Term Ninja 400, ensuring it has optimal protection for everyday use and is ready for anything...
If there’s one thing I’ll swear by for any motorcycle, it’s investing in some crash protection, especially if you’ve got a new machine, or something that will be expensive to repair or replace.
Fairing protection isn’t the main goal with Oggy Knobbs, they are designed to often drastically reduce the damage in the event of a drop or slide down the road, helping protect cases and the frame, reducing fairing damage can just be an added bonus. If you’re lucky, a ‘bar end, and maybe a replacement mirror will be all that’s required. That’s a cheap and easy fix, in fact you don’t even need to tell your mates!
Oggy Knobbs fitted to our Long Term Ninja 400!
If you’re a new rider, these can be a priceless investment. And while there’ll always be those who say stuff like, “I’ve never dropped a bike,” that doesn’t mean someone won’t knock it over, especially if it’s an everyday ride. For $269.00 RRP for a set these are just a good choice, and they are made by an Australian company which is a bonus.
Fitment is a relatively easy job, and if you’re a first timer is a good chance to pull the fairings off your new Ninja 400. It’s an easy job, requires minimal tools and if you’re working on your own bike is an important first step to familiarise yourself with. This is the same process for getting access for changing the oil and filter too. Note: Where multiple images are grouped you can mouse over them for captions, or click for an expanded view.
If you’ve got them ready (oil and filter) now’s a great time to do an oil change! We’ll go over this in a future update though.
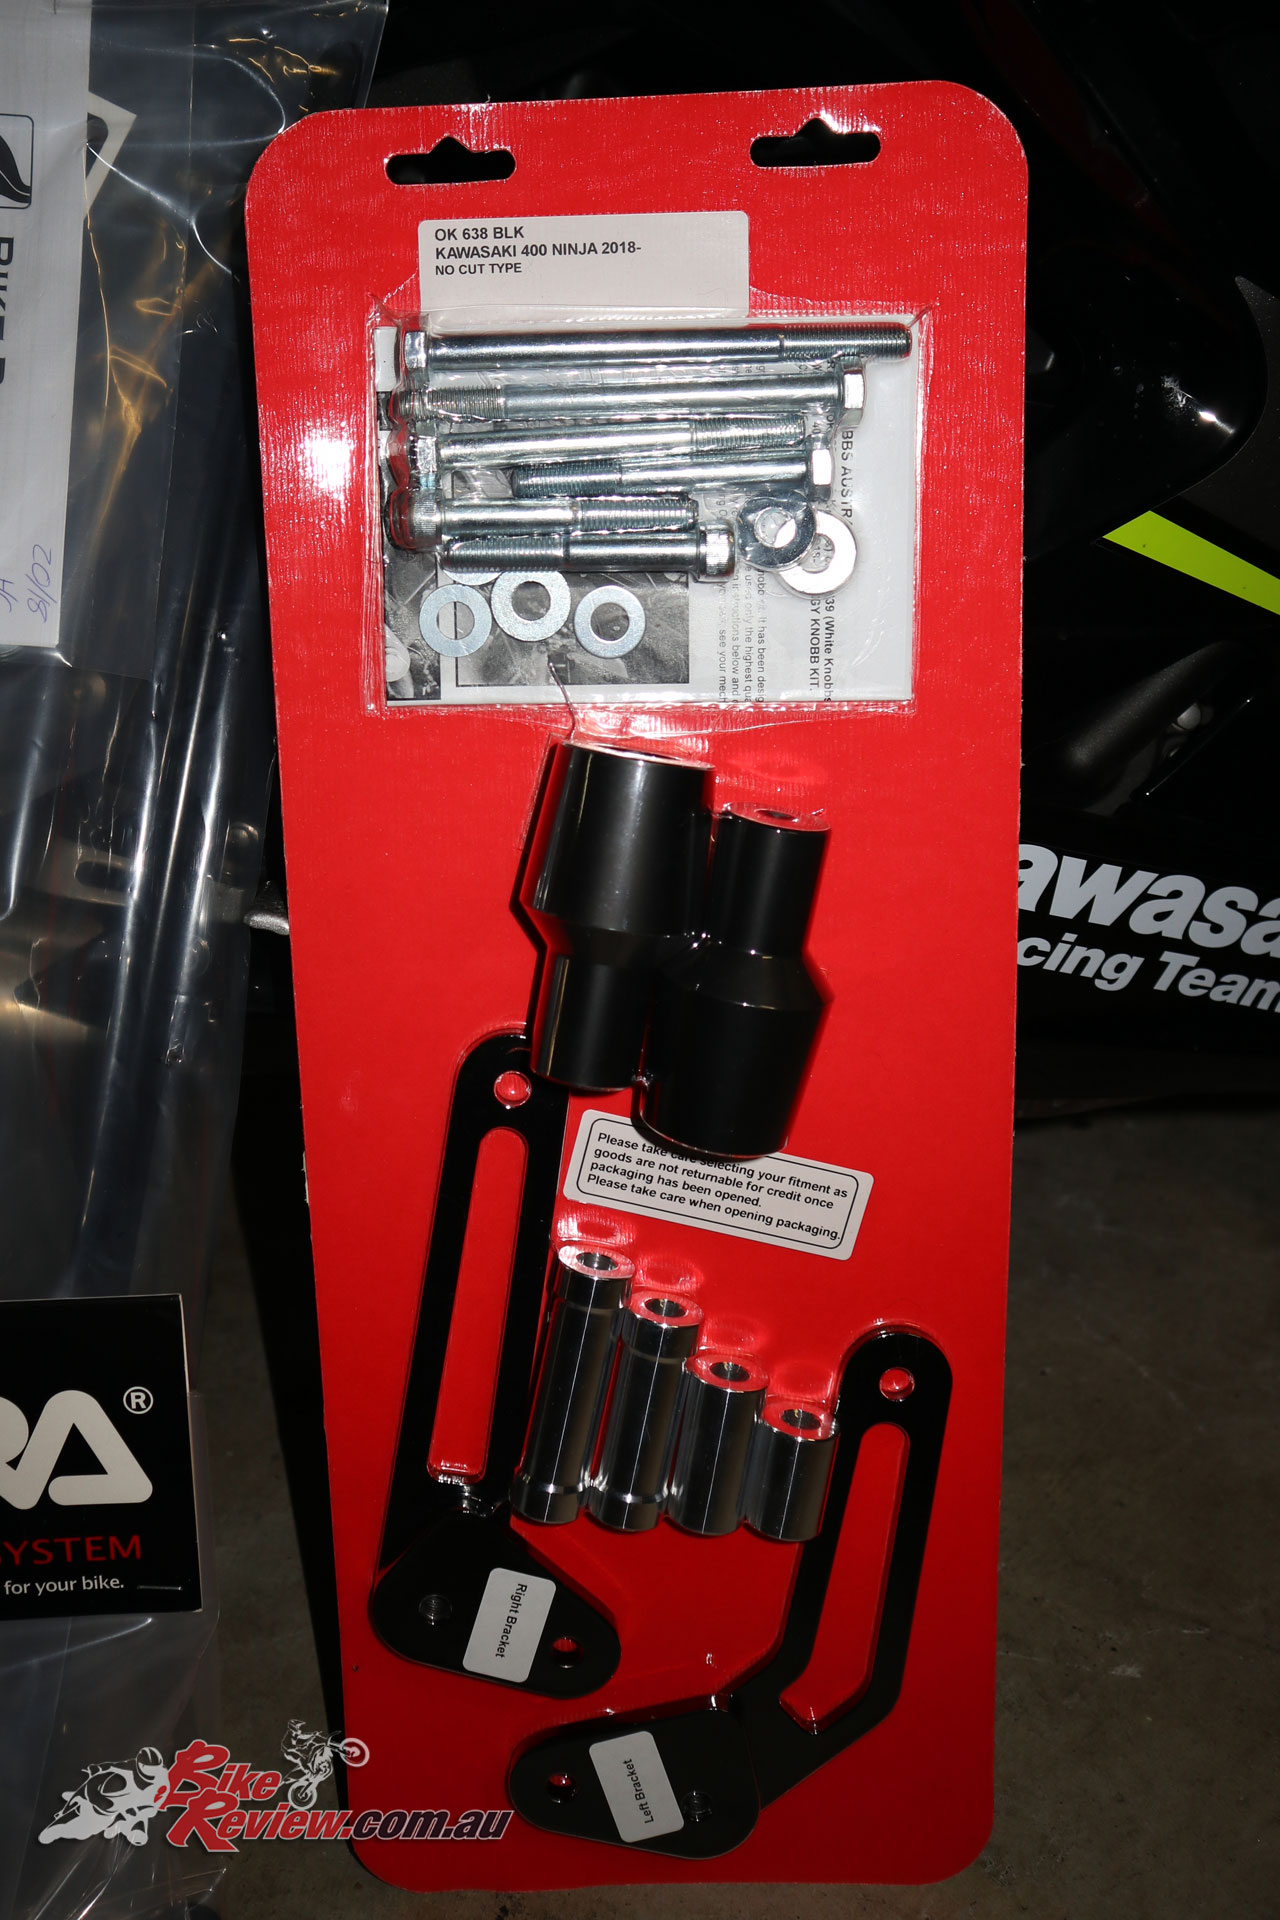
Here’s the Oggy Knobbs in the package
NINJA 400 OGGY KNOBBS FITMENT & FAIRING REMOVAL
Step 1, unpack all the components of the Oggy Knobbs kit, and have a good read of the instructions. Familiarise yourself with the parts so you’ll know what the instructions are talking about, and see how everything fits together.


Next make sure you have the tools for the job. A metric socket set is the way to go, and I’ve got a 1/2″, 3/8″ and 1/4″ set with metric heads, extensions and adapters. A torque wrench is handy for tightening the Oggy Knobbs bracket mounting bolts, which are frame/engine bolts, but not essential.


A set of Hex T-Head keys is also ideal for removing most of the fairing bolts and a great investment. Failing this you can buy a multi-head screw driver kit including hex heads, while I also have Hex socket head set, which makes tightening the final bolt that holds on the puck easier. The engine/frame bolts use regular 16/17mm sockets. From memory three bolts were 16mm and one was 17mm.
Just remember buying a good quality kit is normally better value than individual pieces, and going super cheap will leave you with mangled bolt heads or damaged tools, while too expensive probably won’t benefit you unless you’re thinking of industrial levels of work! Tools are an investment though, and can last a lifetime.
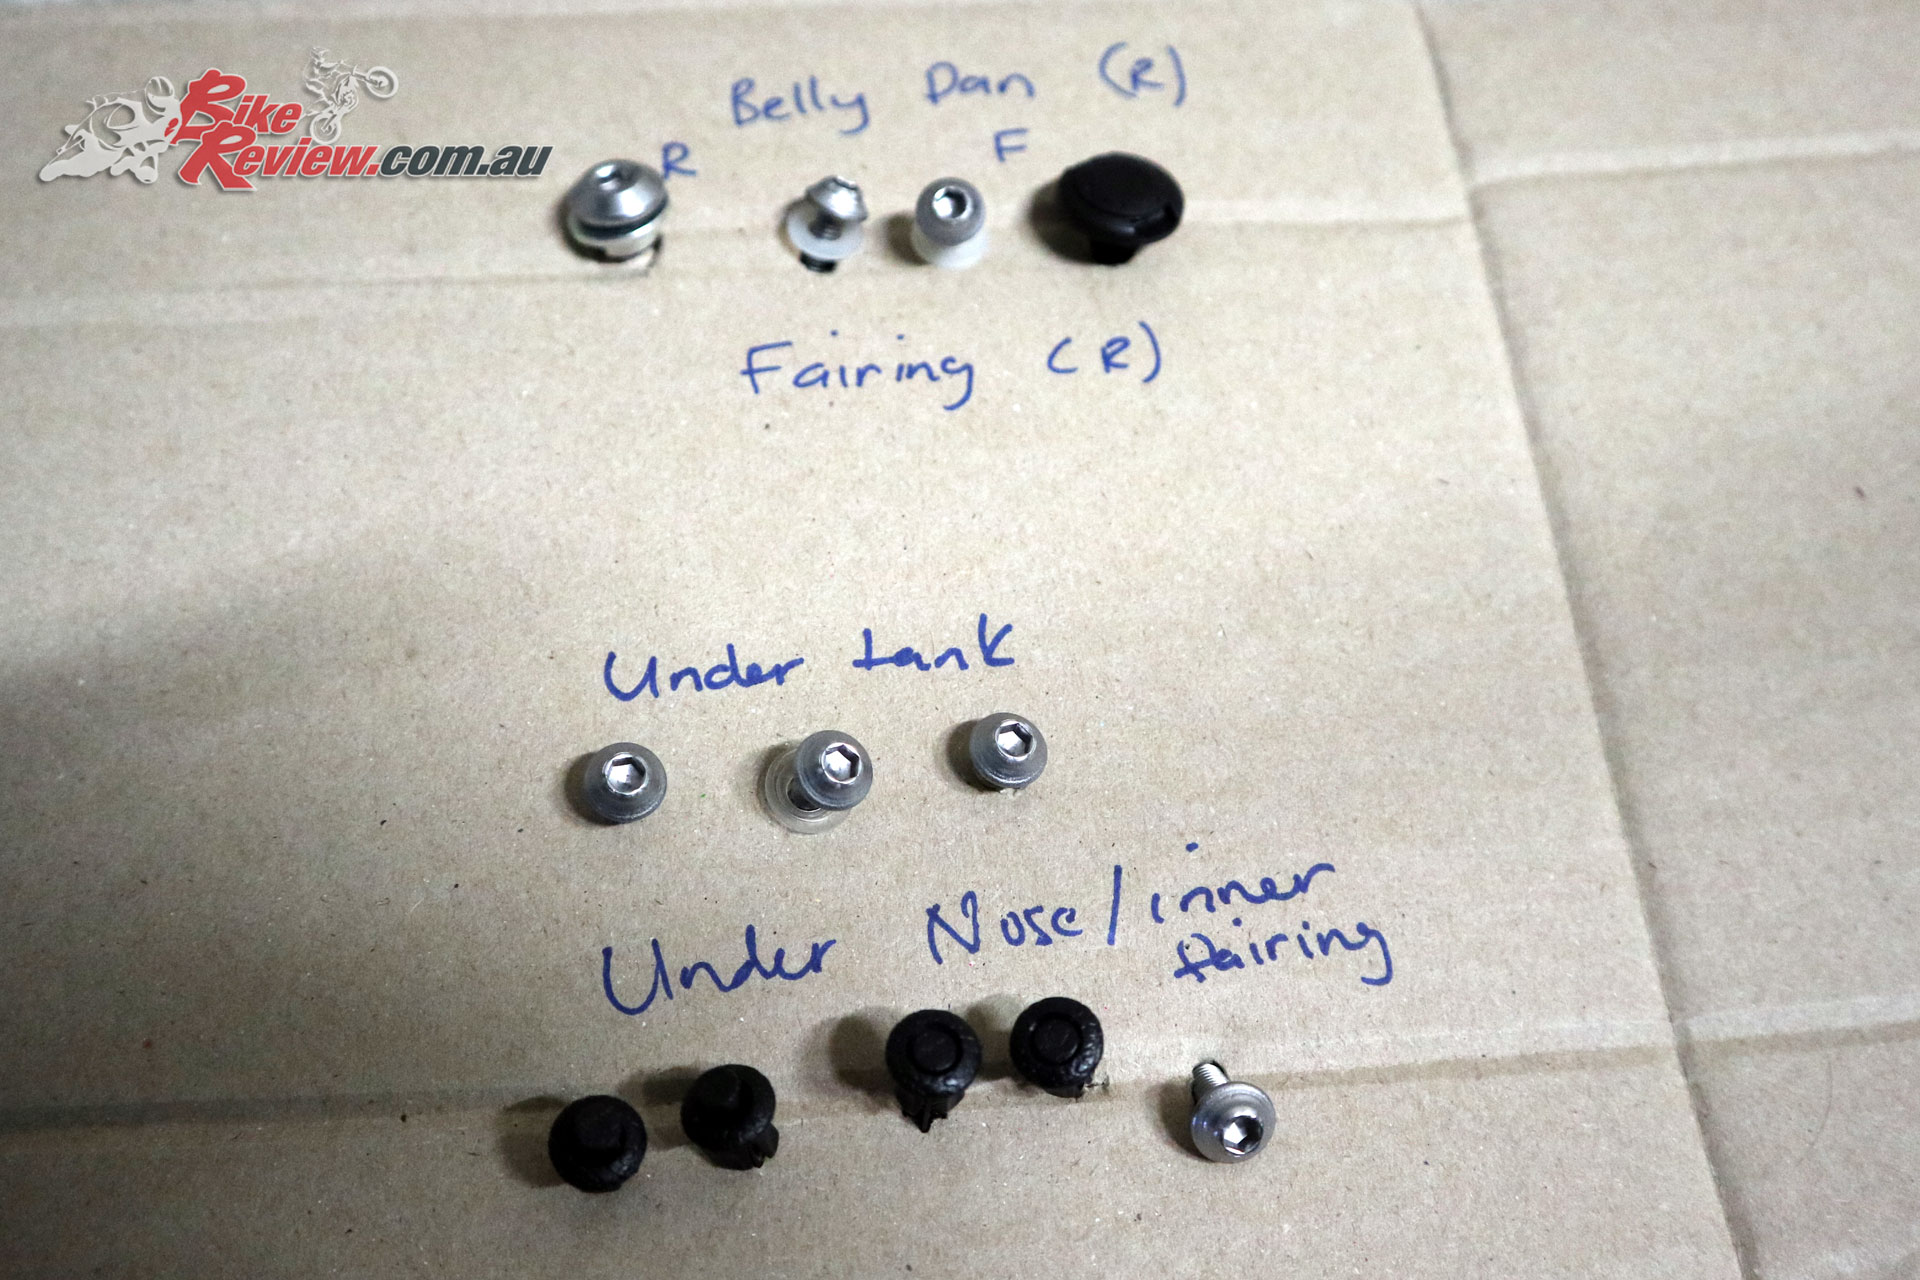
A system for storing any bolts/fixtures you remove is good for the first few jobs, or anything complex
Apart from that I used a piece of cardboard to push the bolts through to keep track of them and their locations, with a marker for notes, and a flat head screw driver is handy for disconnecting indicator plugs, the front bellypan grommet, and the inner plastic push-pins. Also keep an eye on which bolts include washers, and keep them together!
I also used a car jack under the engine for a bit of support as recommended by the instructions, even though I only took one bolt out at a time.
Three bolts hold the bellypan fairing in place, two visible here, one further back, and a plug at the front
So let’s remove those fairings. First up remove the belly pan fairing, this is a piece of each side, and has a plastic grommet where the two meet behind the front wheel, remove this first using your flat head screw driver by popping the head out then pulling it loose. (For an oil and oil filter change you can probably wrangle it with just these removed).


There’s two smaller bolts along the top of this fairing, plus one larger bolt towards the rear, all requiring Hex/Allen keys. Undo these and be careful not to drop the fairing! They scratch easily. It clips into place so it should slide down and out.


Next put the key into the tail of the bike on the left side and remove the pillion seat (pops up and slide towards front of bike), and find the loop which releases the rider seat, pull that backwards and remove the seat.


Remove the bolt at the rear of the black plastic undertank fairing which was hidden by the seat (socket head) and the bolt on the top of the opposite end of the fairing. Also remove the bolt just forward of this one that holds the next black plastic panel down into the main fairing.
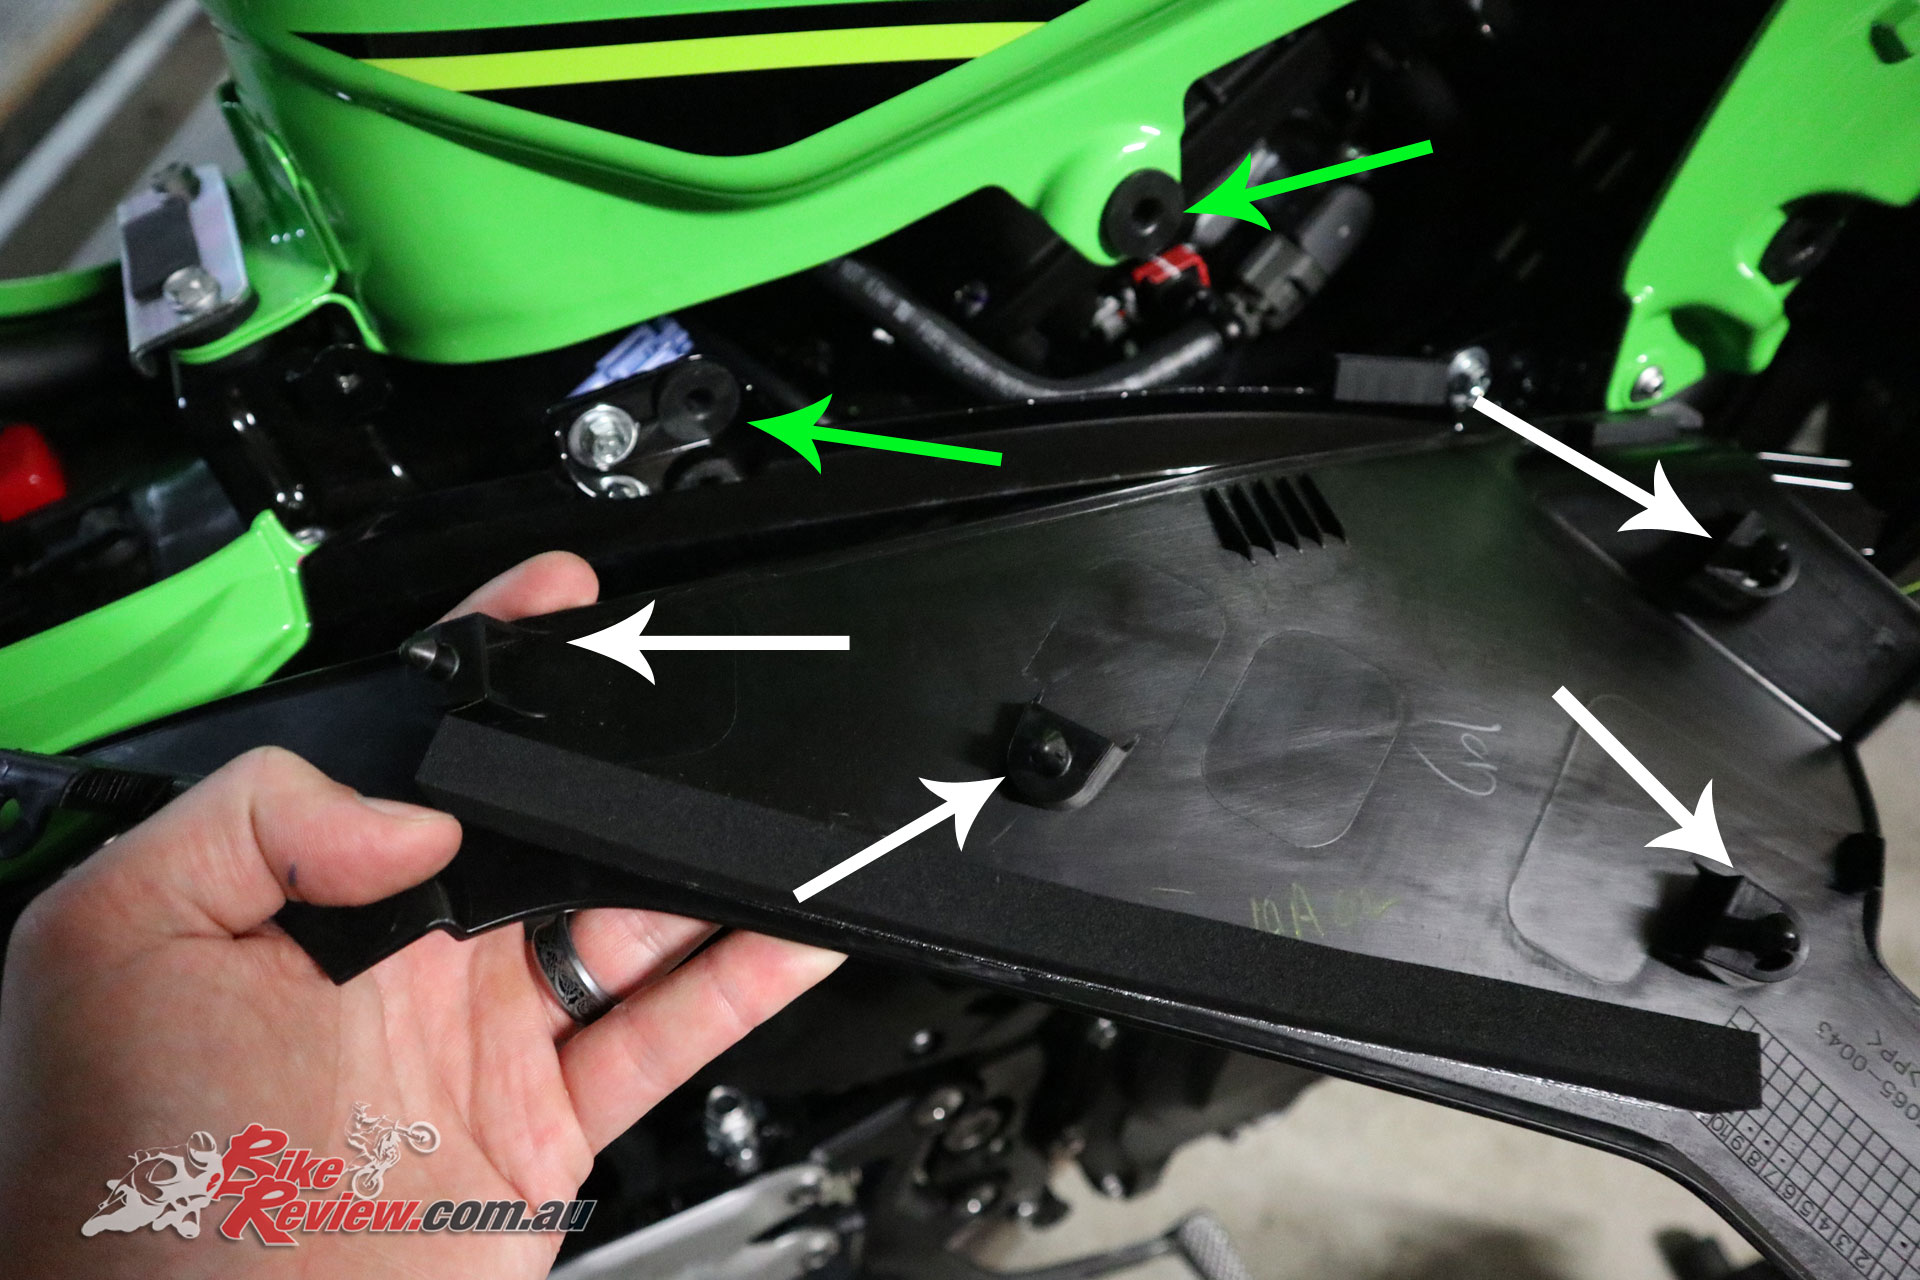
You can see here the barbs on the back of the fairing that push into the rubber grommets (white arrows – barbs, green arrows grommets on bike)
This section clips into rubber grommets so just gently but firmly pull it away from the bike. Be careful with the front end, as the corner actually sits behind the fairing and if you force it out from this end, you’ll scratch/damage the fairing paint.


Undo the pull-pin you just revealed under this section by using a small hex key and pushing the centre till it clicks down, and then pull it out by hand. Also undo the four pull-pings holding the black plastic inner fairing in place and remove them.


Undo the bolt at the lowest end of the fairing, and the two socket head bolts that were under the black undertank panel you just removed. This section is held in place partially by some plastic barbs on the back of the fairing that go into grommets.


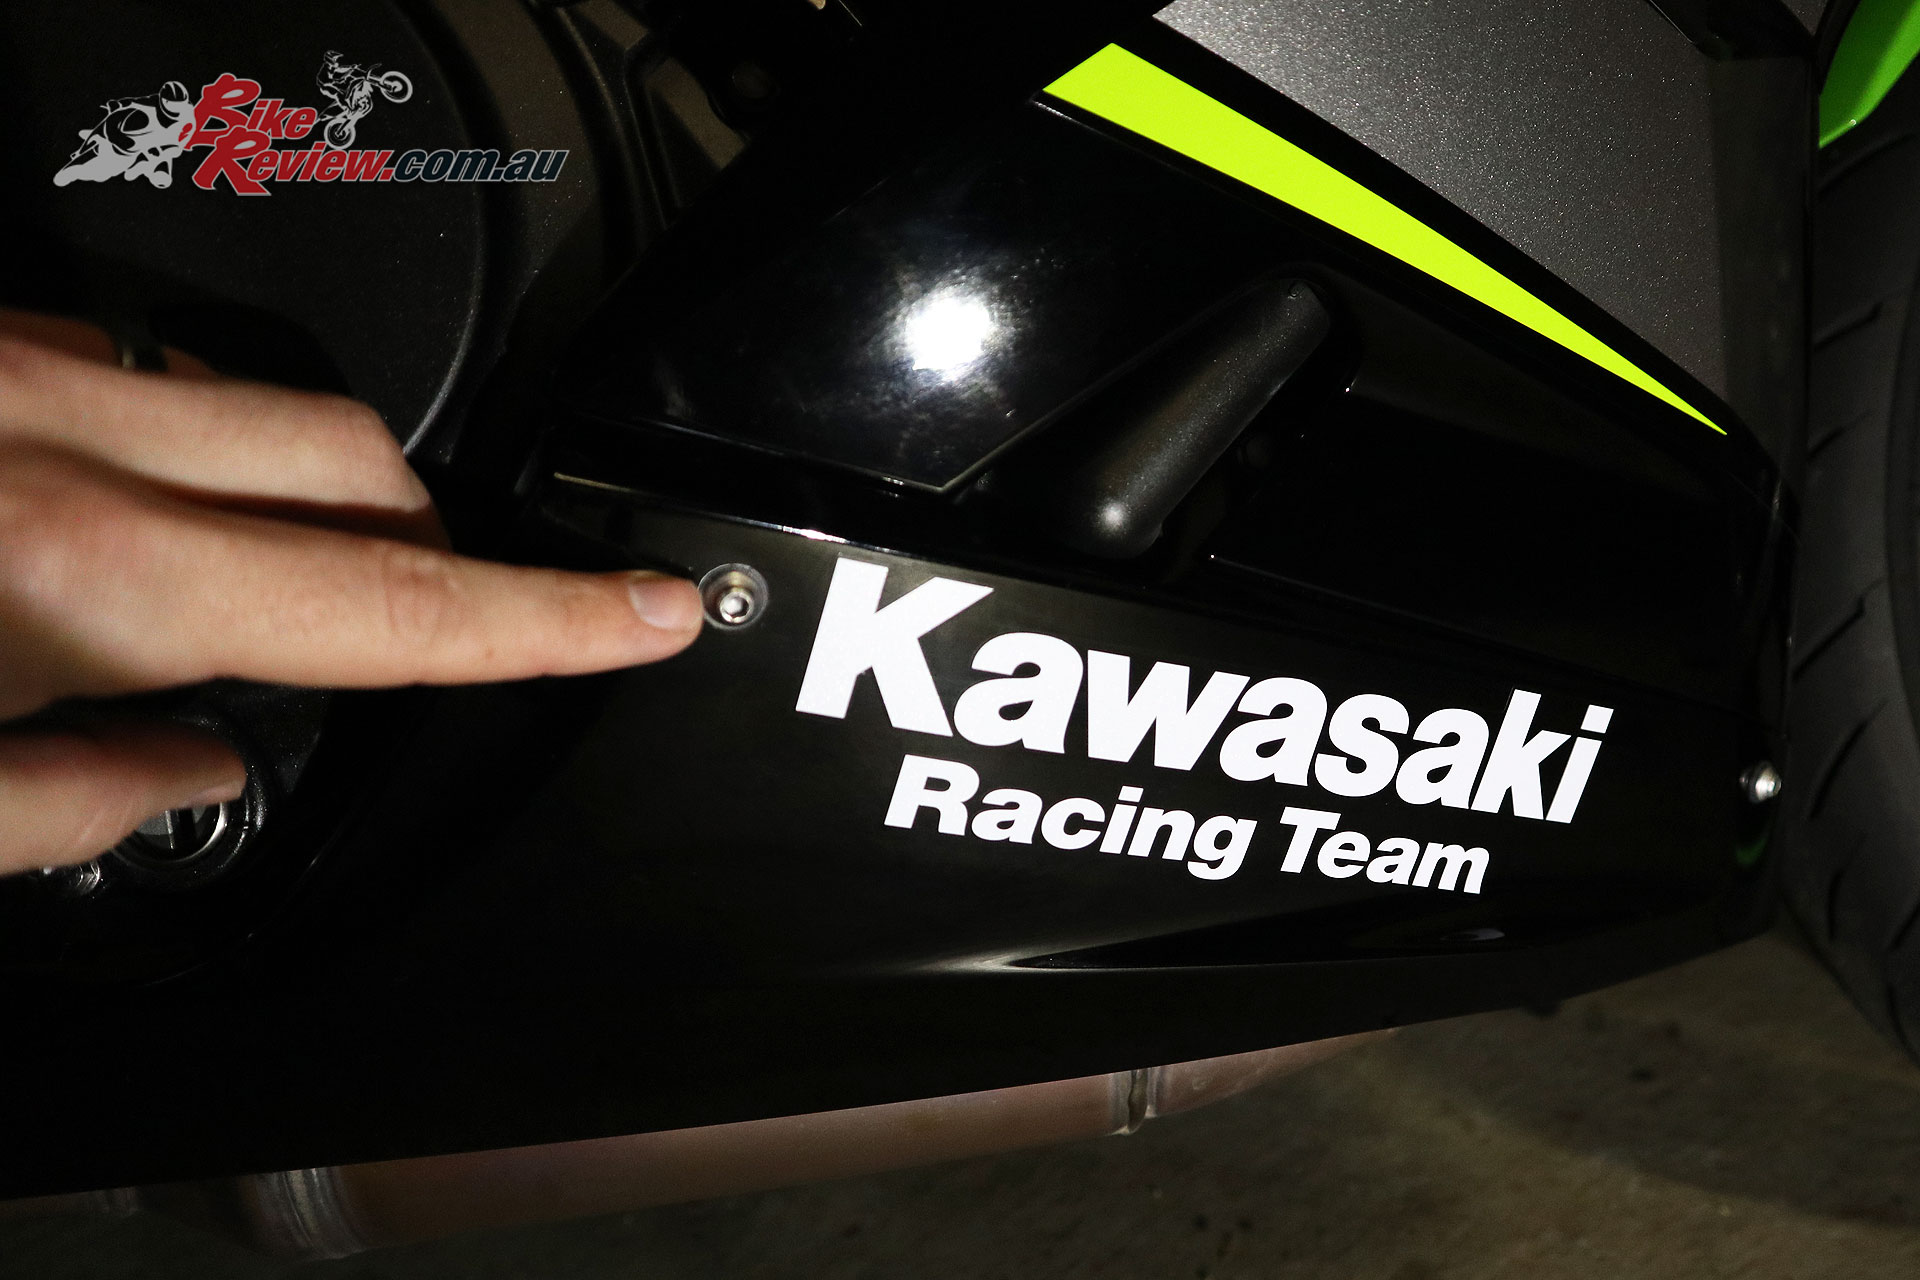
Under the nose also look for the bolt surrounded by a seam, this holds the front of the fairing panel you’re about to remove in place and needs to be undone. There’s another bolt closer to the front of the nose that has no seam around it that you can ignore, unless you want to remove the entire under-nose and inner fairing plastic panel (this is unnecessary).


The whole side fairing should now be just held in place by the tabs and you should be able to pull it away from the bike, outwards, down and towards the back of the bike. Have a towel on the ground to rest a bottom corner of the fairing on, as you’ll need to disconnect the indicator plug. Just use a small flat screw driver on the release catch and they’ll pull apart. Don’t force it or pull too hard.

The only difference on the left side is the inclusion of these two fuse boxes on brackets inside the fairing
With the indicator disconnected remove the fairing and place it somewhere safe, like on a towel where it won’t get kicked, dropped, knocked or otherwise scratched. On the left side of the bike, there’s a bracket holding two fuse boxes to the fairing, simply wiggle them loose and they can rest against the side of the bike (remember to slide them back over the bracket on refitment). If the fairing is not coming away make sure you haven’t forgotten a bolt, and see if there’s a fairing barb through a grommit that may be causing resistance.
That’s the most difficult part of the job, especially the first time when you’re figuring out where the bolts to remove are, and how everything goes together. This is probably the most painless assembly I’ve found on a faired bike, so good job to Kawasaki!
Now make sure your jack is under the engine providing some support. I use a car jack and remove the wheels to get the clearance.

Whichever side of the bike you’re fitting the Oggy Knobbs bracket to first, get all the peices together and move the other sides components to the other side of the bike to avoid confusion. Also make sure you know which spacer goes where and double check the instructions and make sure you have the right bolts. I also added some blue medium strength Loctite to each bolt, as that’s what I had handy.


Undo one of the frame/engine bolts and place the spacer inside the frame mounting point, then use the bolt and washer provided to hold the Oggy bracket in place, just tighten by hand and leave some room for the bracket to move.
NOTE: On the left side of the bike there are steel spacers that sit between the frame and engine mount, these need to remain in the same position when you do this step, a piece of masking tape will hold them in place, or just make sure you replace them as you fit the bracket.
Next undo the other engine/frame bolt and put the correct spacer in place, then swing the bracket up, add the provided bolt and washer. Now tighten both bolts by hand, switching between the two. Then grab your socket wrench (ratchet) and tighten them up, switching between the two to keep even pressure.
Finally tighten them to the recommended torque setting in the instructions. I used my torque wrench to do this, again switching between the two bolts. DON’T add the Oggy Knobbs puck at this point.
Once you’re 100% sure you’ve tightened everything appropriately it’s time to replace all the fairings.

If you’re feeling a bit tired or impatient before putting the fairings back on have a break, having a coffee or beer in the shed is a great way to relax. Rushing things normally just ends up with them damaged.
Simple follow the steps above in reverse, so main fairing first, replacing all bolts (and the pull-pin) that will be hidden under other sections and pushing the fairing back into the rubber grommets where necessary. Align the inner plastic fairing and replace the pull-pins, clicking them into place, so the inner pin is flush with the head. If there’s any alignment issues that inner plastic fairing will click into place, so make sure it’s right. Then replace the under tank section, with the associated bolts. Finally replace the belly pan. Once both sides are complete you can add the plastic plug that holds the two sides of the belly pan together. Don’t forget the bolt under the nose!
NOTE: Make sure you push the fuse boxes back onto the points they mount at, on the left side fairing bracket.
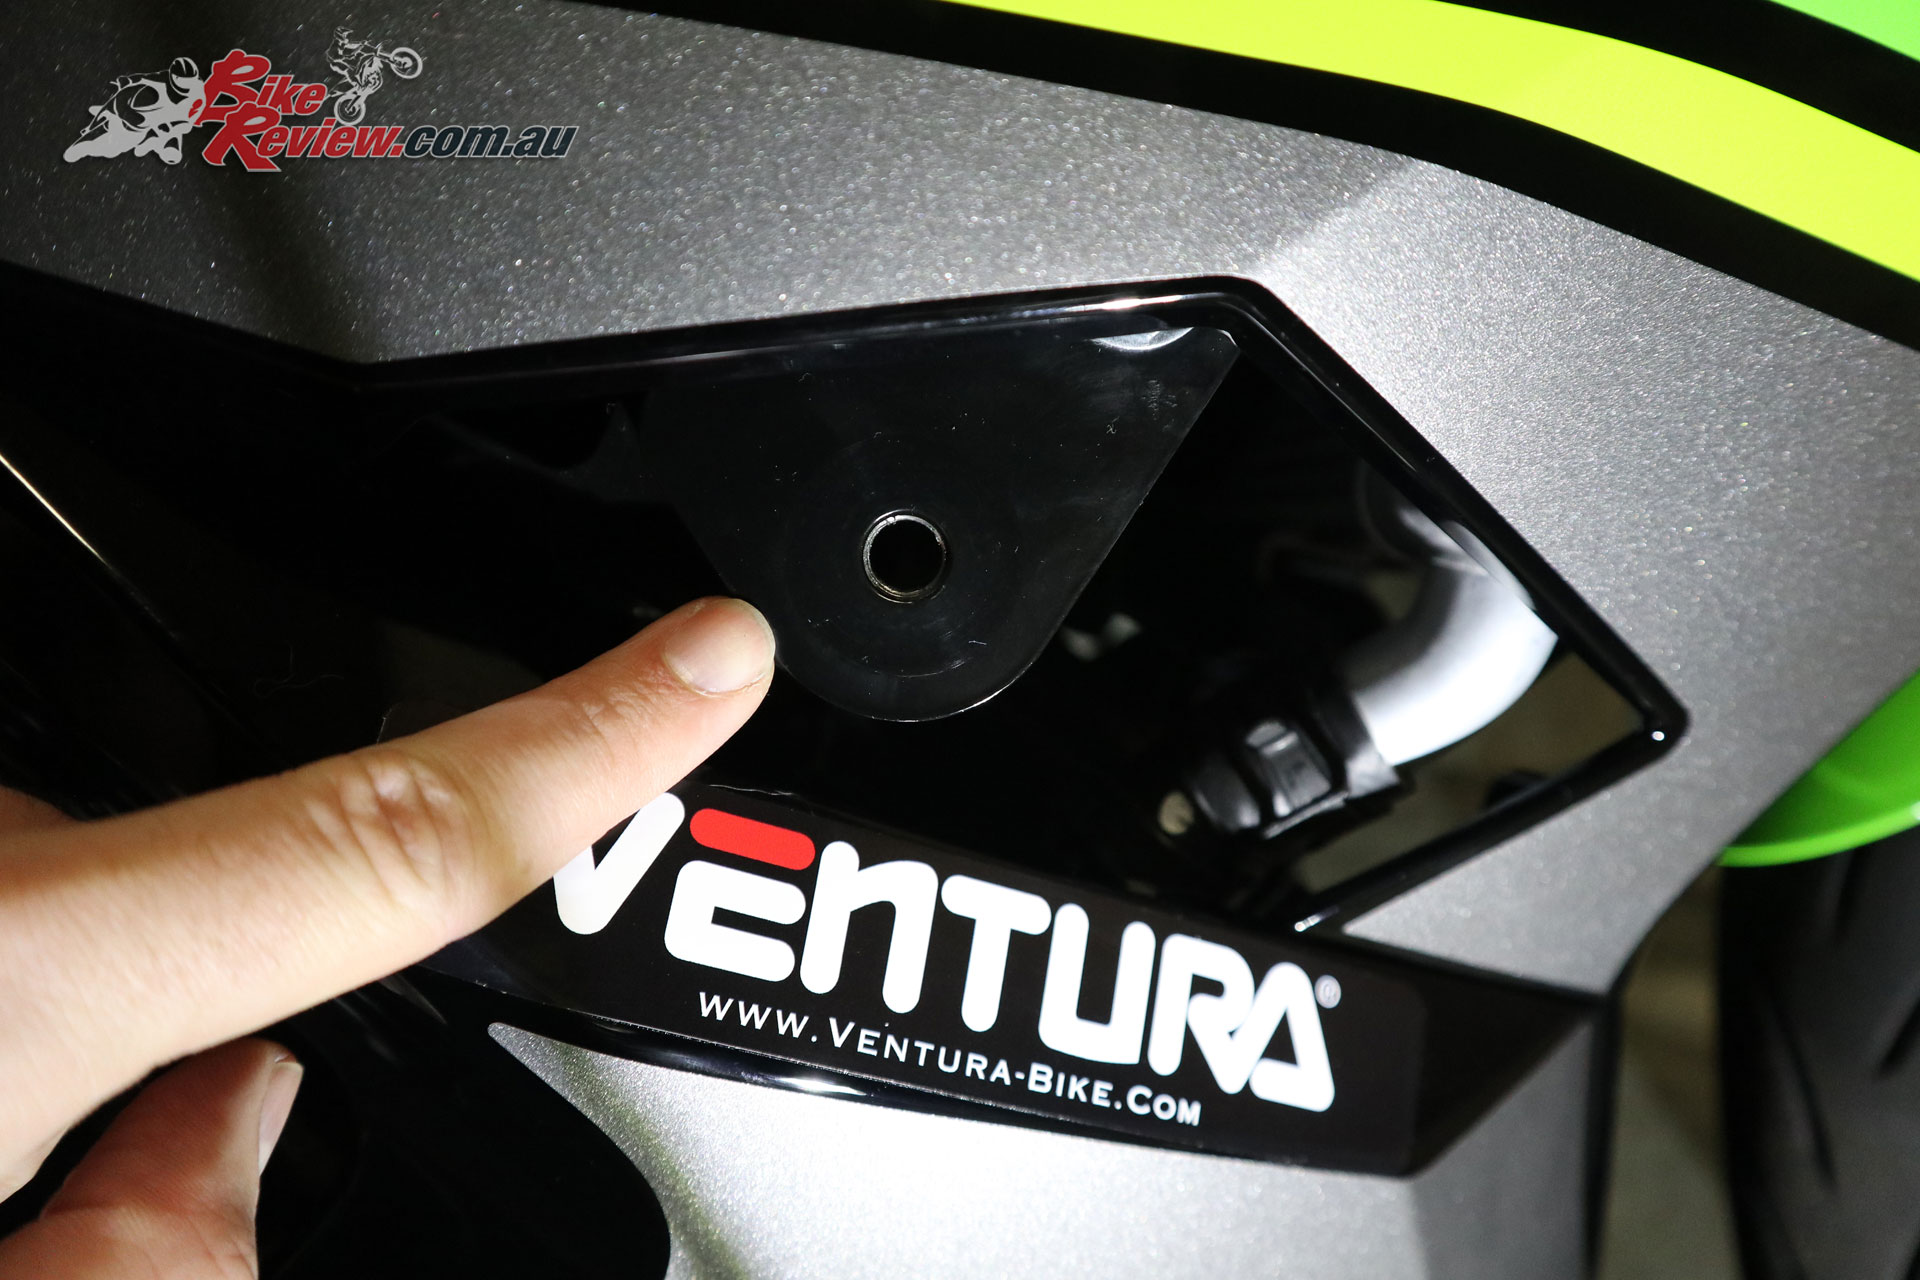
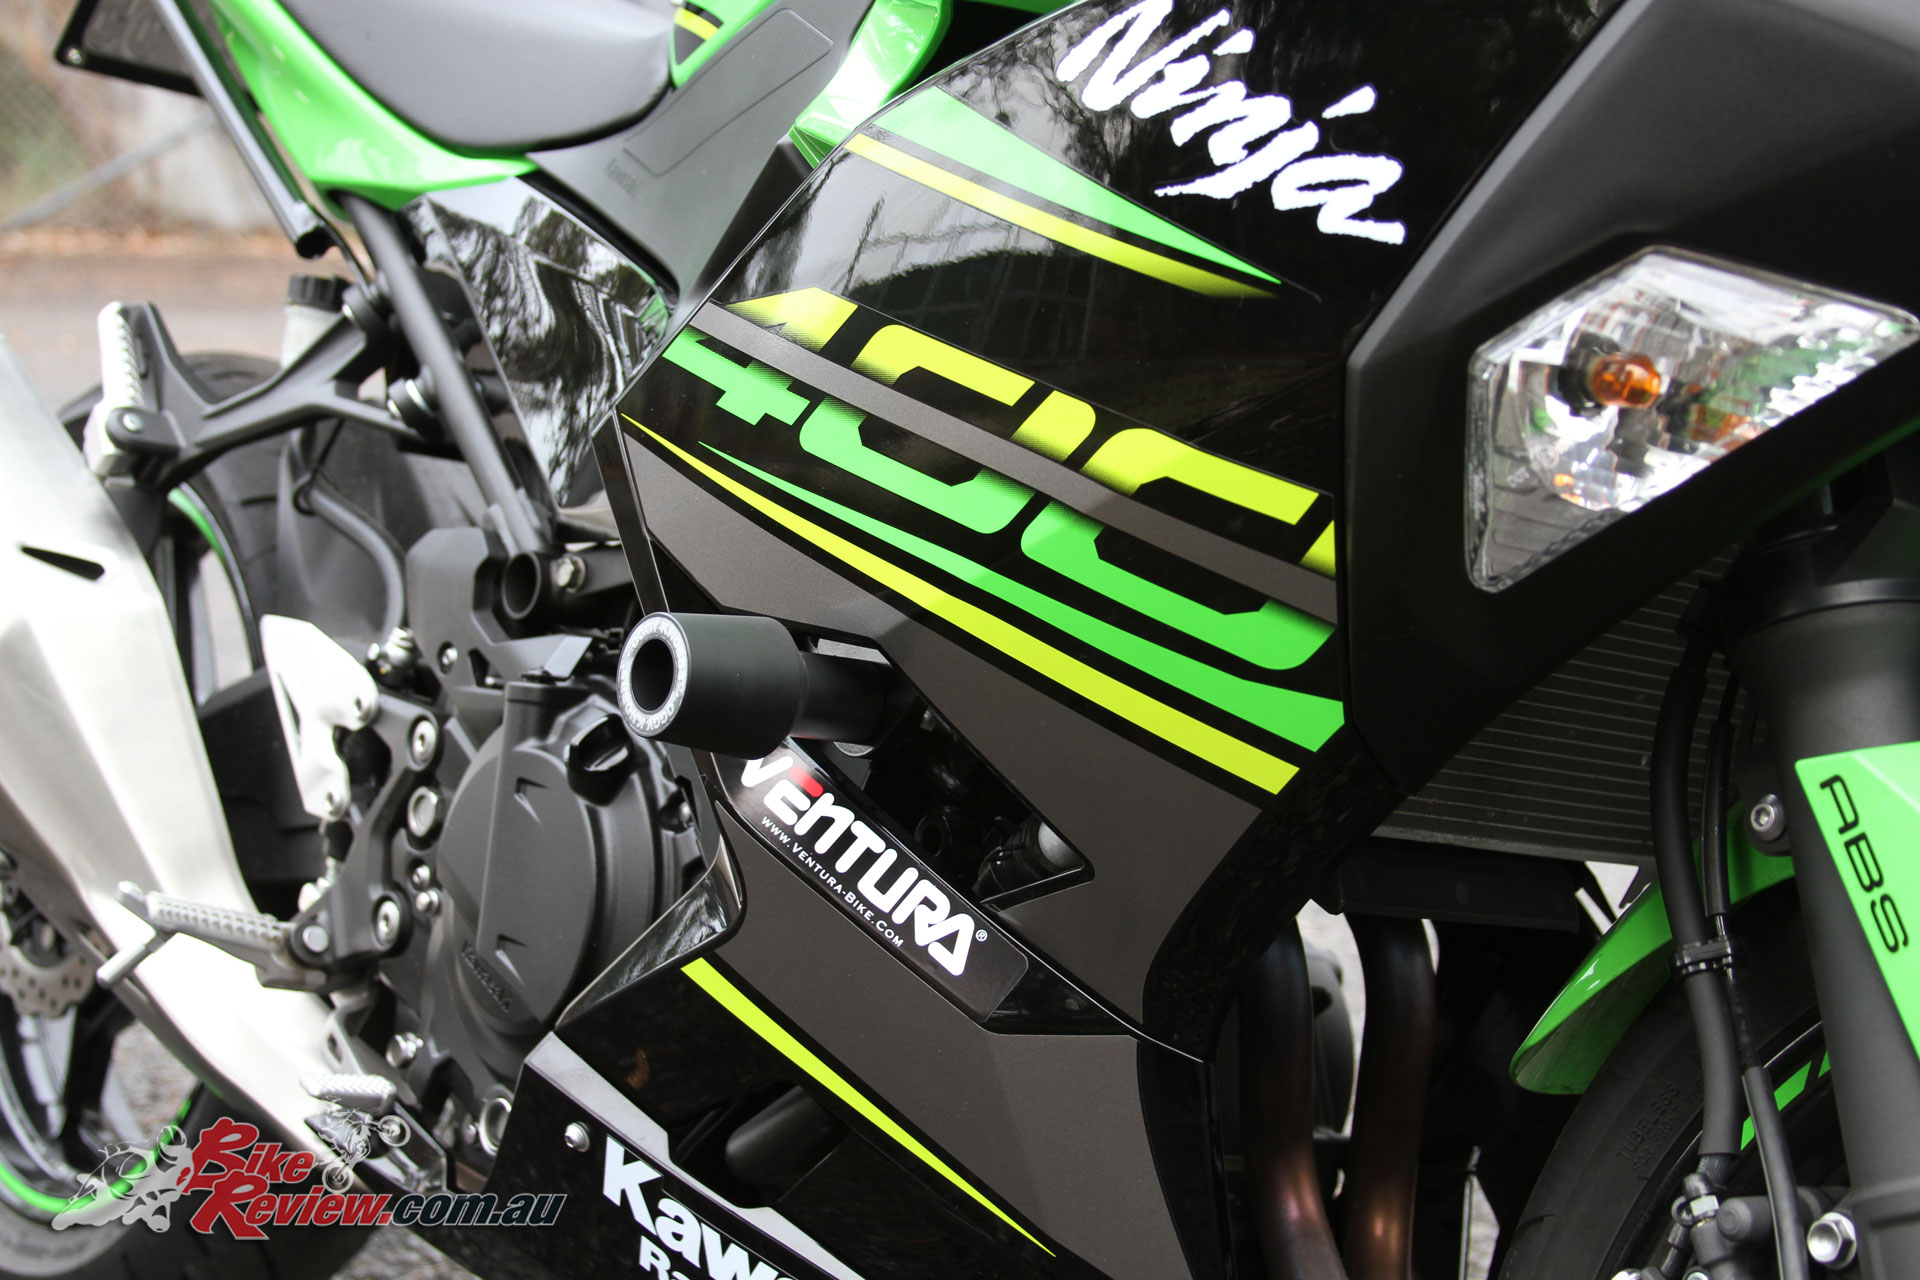
Fairings are back on, and you’ve got no extra bolts sitting around! Success! Now find the Oggy Knobb bracket visible through the fairing
With everything back in place you’ll note that part of the Oggy bracket is visible through the fairing, with a threaded bolt hole.


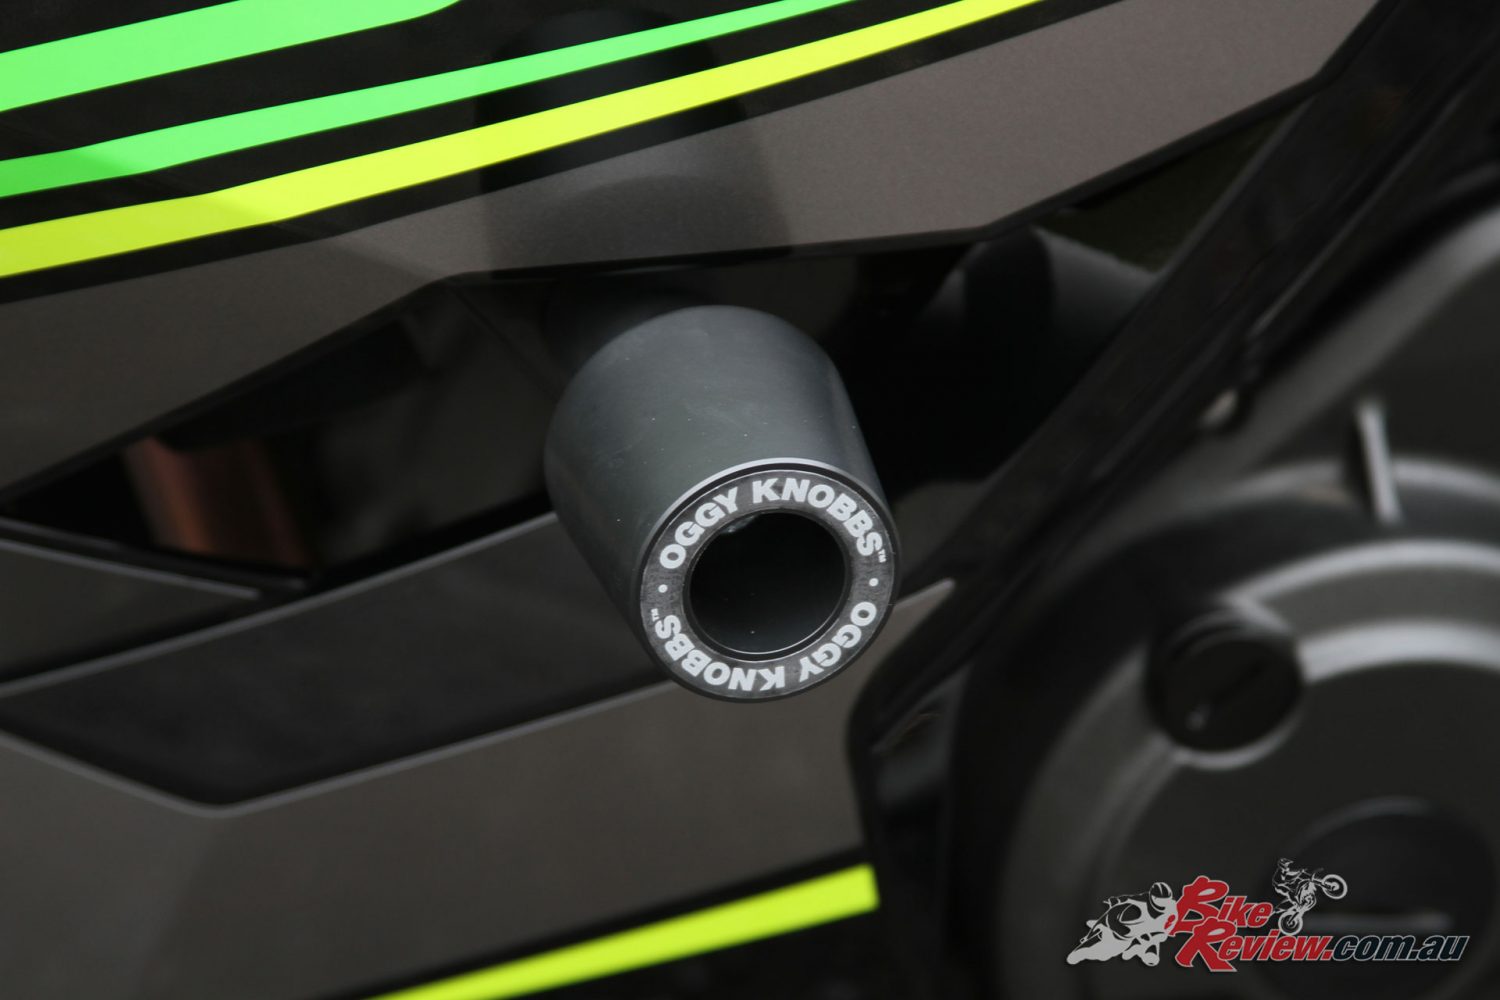
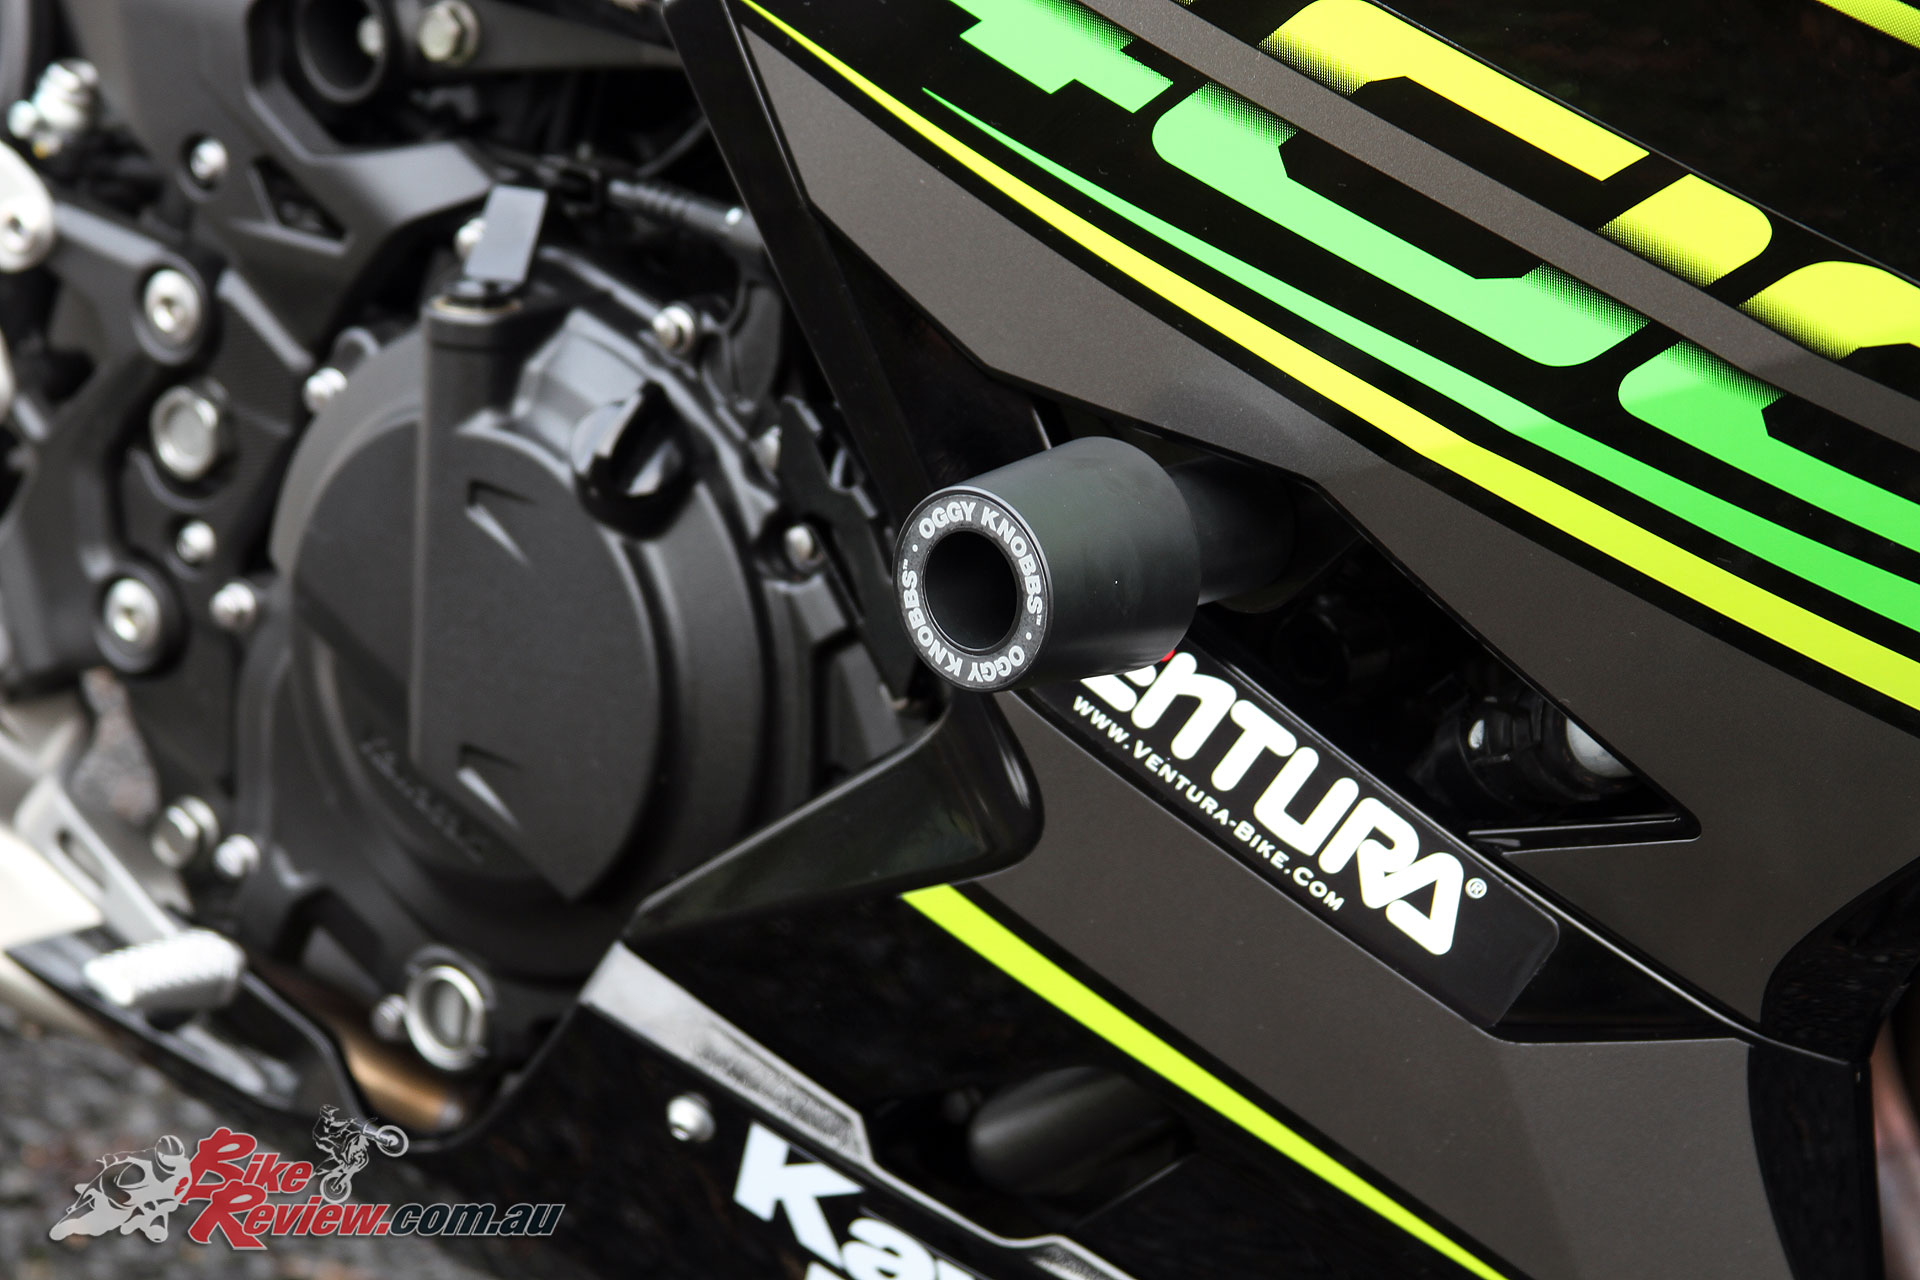
Grab the Oggy Knobbs puck and the appropriate bolt and tighten in place, here’s where the Hex socket head comes in handy, as this is a hex head bolt (8mm from memory). Tighten into place, and you’re good to go. I just tried to align the Oggy Knobbs sticker on the puck to be orientated the right way.
Once you’ve done both sides you’re set!
So there you have it, hopefully you’ve got everything back together and none of the original fairing bolts left over!
There you go, Oggy Knobbs fitted, depending on your confidence level this will probably take around the two hour mark, although it could be done faster, especially if you’re not taking pics along the way!
NINJA 400 OGGY KNOBBS REVIEW
Overall I’m really happy with this install, it’s easy, in no small part because of the great design of the fairings by Kawasaki, and doesn’t require any cutting or drilling. The Oggy Knobbs puck fits out through a vent section in the fairing, and it’s a nice aggressively shaped puck, which looks right at home on the Ninja 400. In black you can barely tell they are there, while they extend far enough to obviously offer some good protection. I’m in no hurry to put them to the test, but it looks like they’ll be ideal for that job at hand.
Removing the puck and bolt is easy if necessary, while the mounting bracket is nice and securely fitted through those two frame/engine mount points, which helps distribute any load if the bike is dropped or ends up sliding down the road.
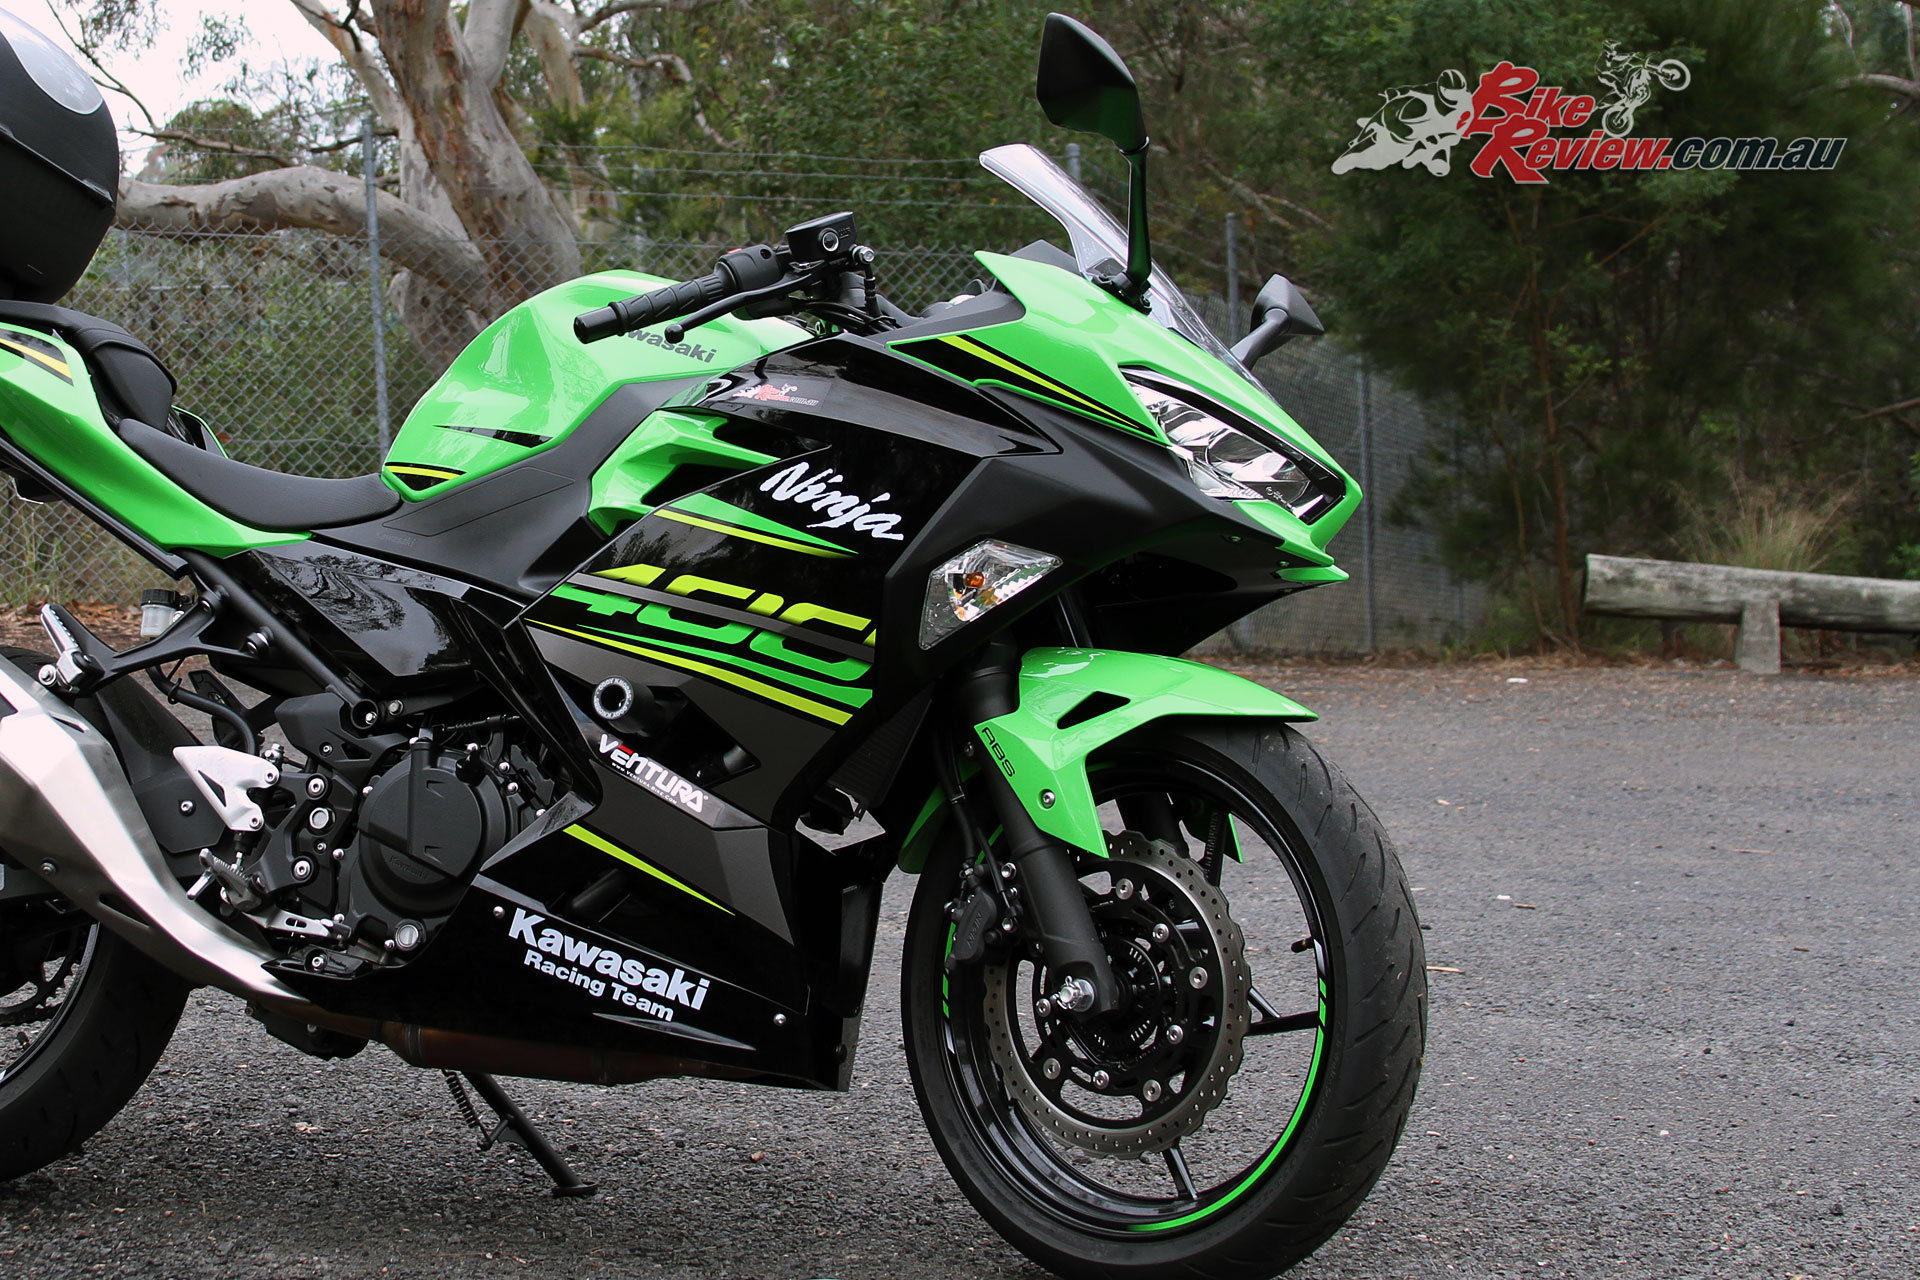
Our Long Term Kawasaki Ninja 400 all kitted out in Oggy Knobbs!
Instructions are easy and straight forward and all the components are top notch, from the provided spacers through to the brackets. Only the puck itself is visible too, so it’s a neat install and overall, for $269.00 RRP seems like exceptional value for me.
I’m hoping we don’t need to put these to the test, but we’ll provide an update of effectiveness on the off-chance that we do. As it stands we’ll double check mounting bolt tightness next time we remove the fairings, but there’s no complaints what so-ever.
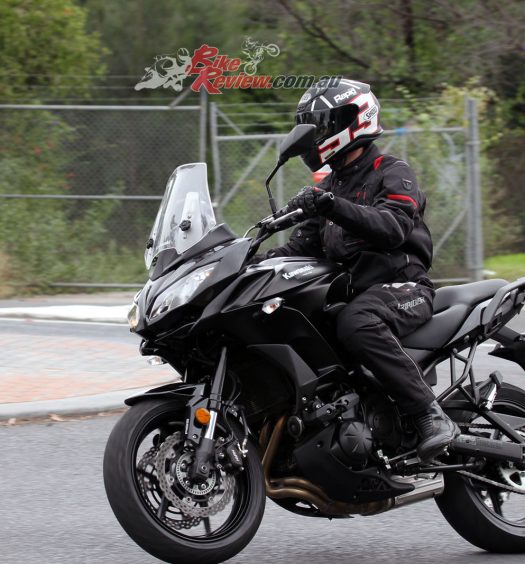
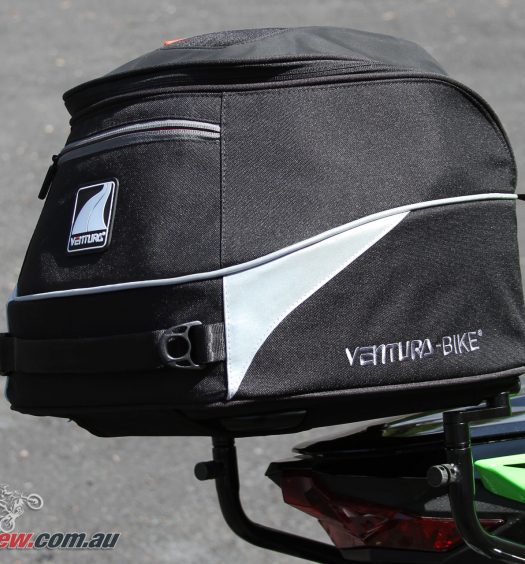
Up next is our Promoto Fender Eliminator and Ventura rack and Coocase install, stay tuned!
You Might Also Like