This month Nick treats his CFMOTO 800MT to a new DNA high performance airfilter! Check out all the easy installation steps and his fourth monthly update below...
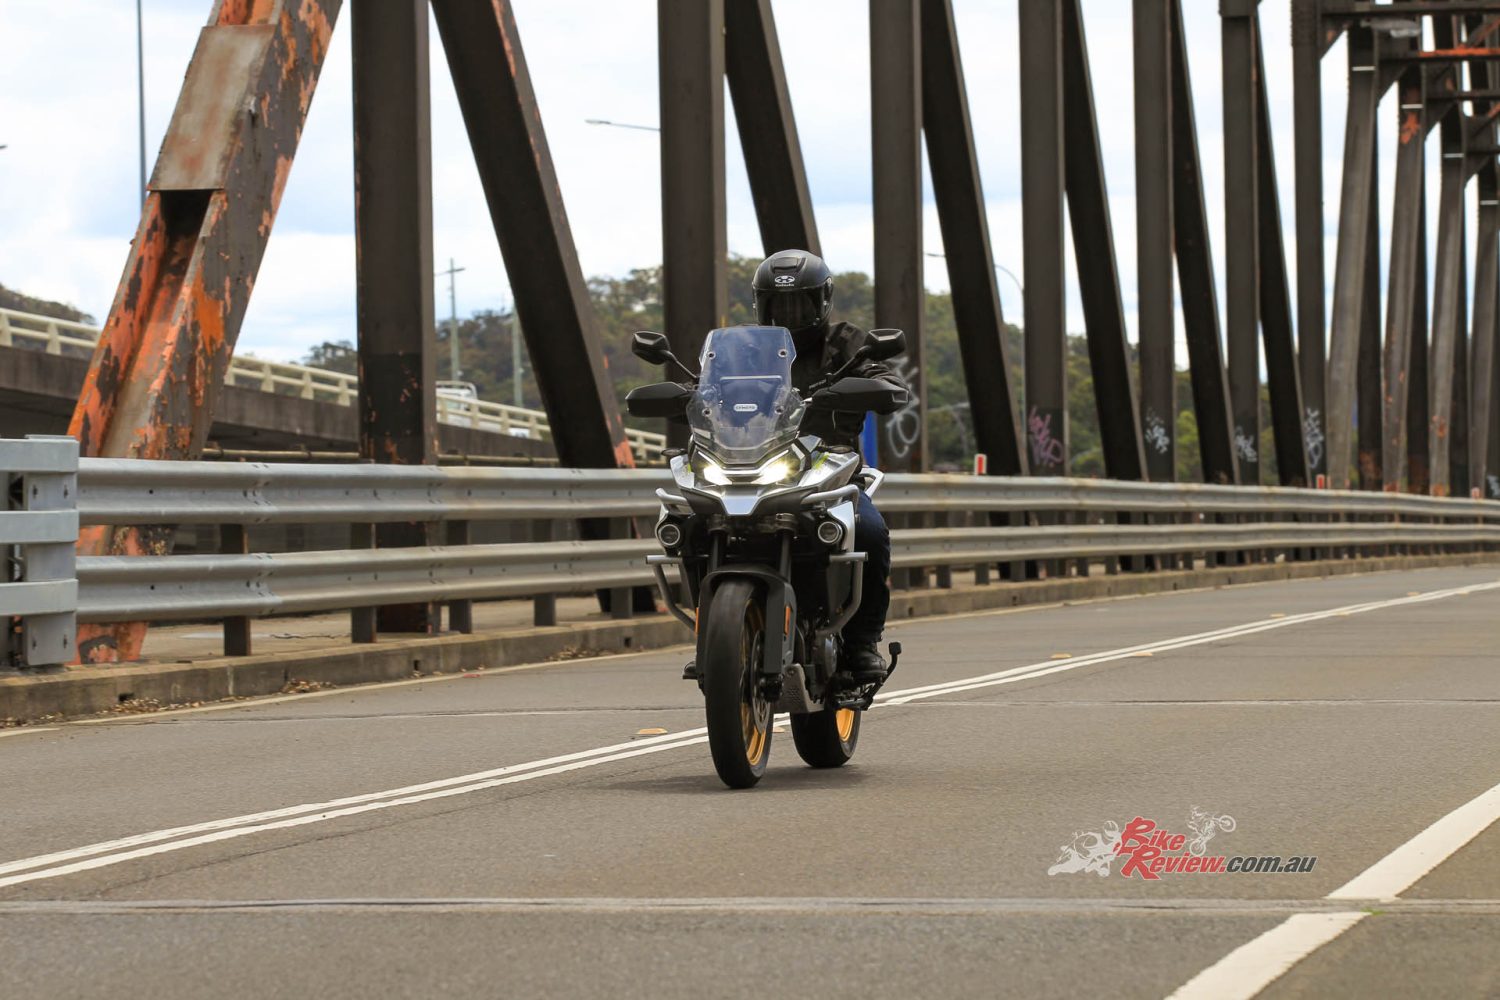
I’ve been cruising on the CFMOTO 800MT for four months now, and I’ve finally had a chance to test out some of the sweet upgrades I was lucky enough to receive. I chucked the DNA Airfilter in to check out how much better the bike breathes with a performance filter!
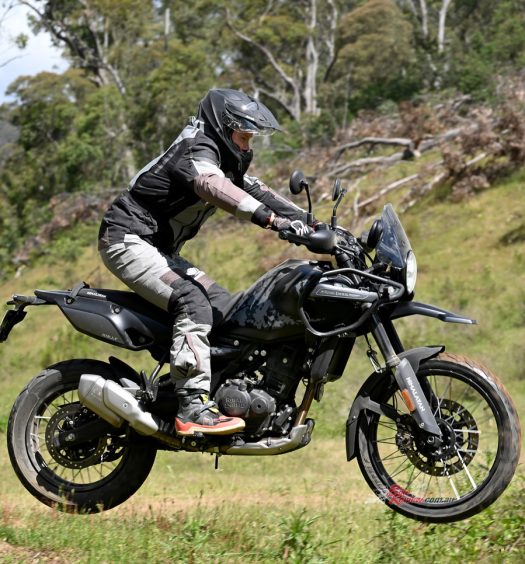
Nick has been upgrading his CFMOTO 800MT long-termer with heaps of goodies over the past two months…
Stay up to date with Nick’s 800MT updates here…
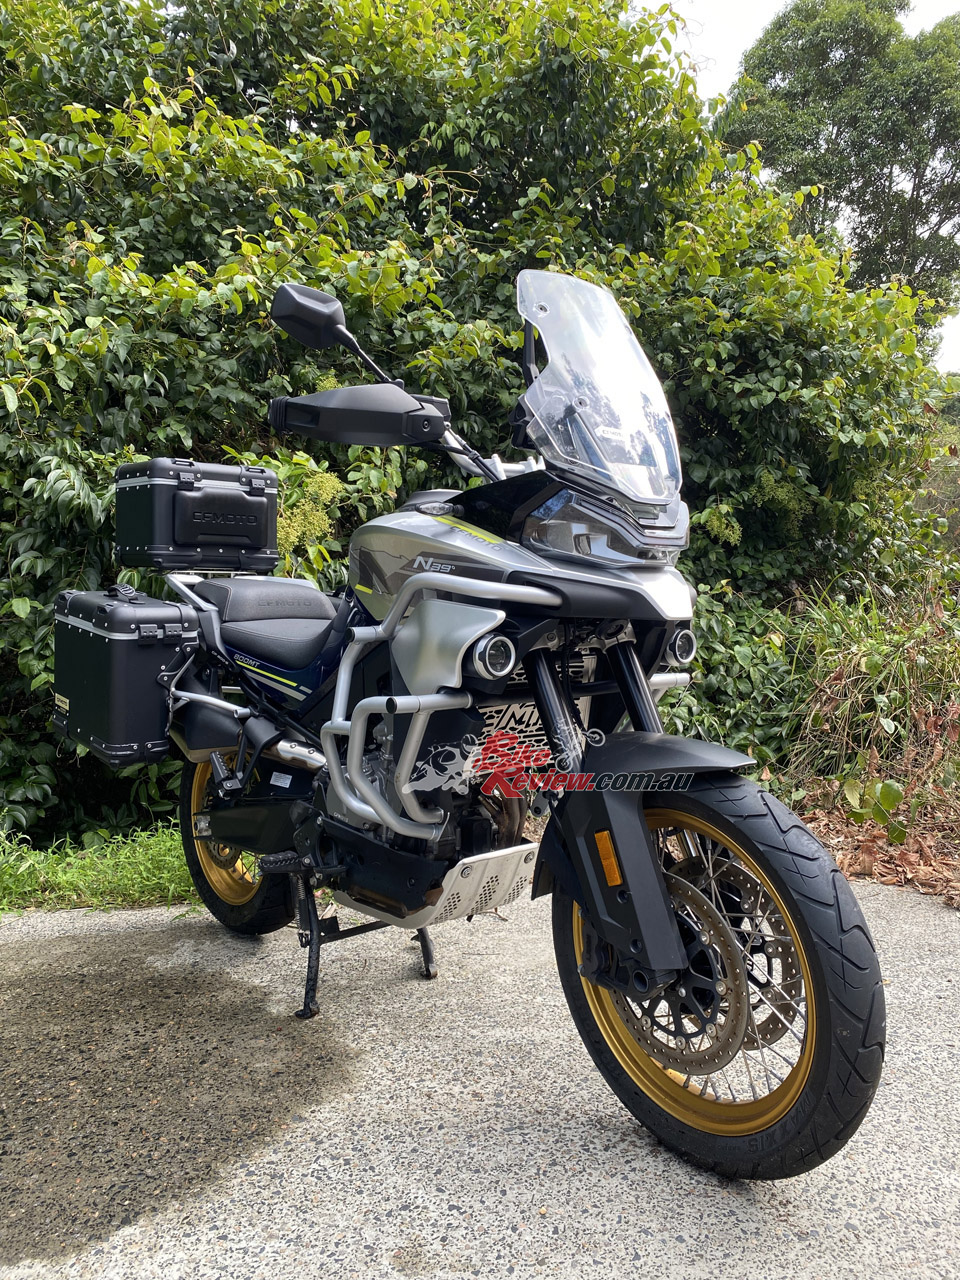
Starting with the upgrades and add-ons I mentioned last update, the storage panniers have been an absolute bonus. They’ve made the daily rides from the Central Coast to Newcastle so much easier on my back, and I can even squeeze the gym bag in the side. Quality-wise, they seem to be holding up fantastic, despite the harshness I’ve been subjecting them to on some of the fire-trails around.


Unfortunately, I do now understand why they provide the small bottles of thread-locker in their hardware kits… As I was filling up prior to a ride out to Mangrove Dam, I notice that the rear support bar that sits horizontally between the two rear storage boxes worked itself loose and the bar was skimming across the rear wheel. Easy fix. A couple of temporary zip-ties had the bar back in place and it was sorted for the remainder of the ride. My bad – I should have used the thread lock…


Once I arrived home, I threw in some high-tensile bolts and torqued them right down. From what I can gather, the genuine hardware seems quite soft and appear to work themselves loose, especially with storage boxes full of luggage. If you’re riding with these, make a note to check the hardware keeping the rear frames together, as the last thing you want is that bar making its way through the rear wheel at freeway speeds.
It’s a good thing Nick hasn’t had to test out any of those crash bars or guards just yet.
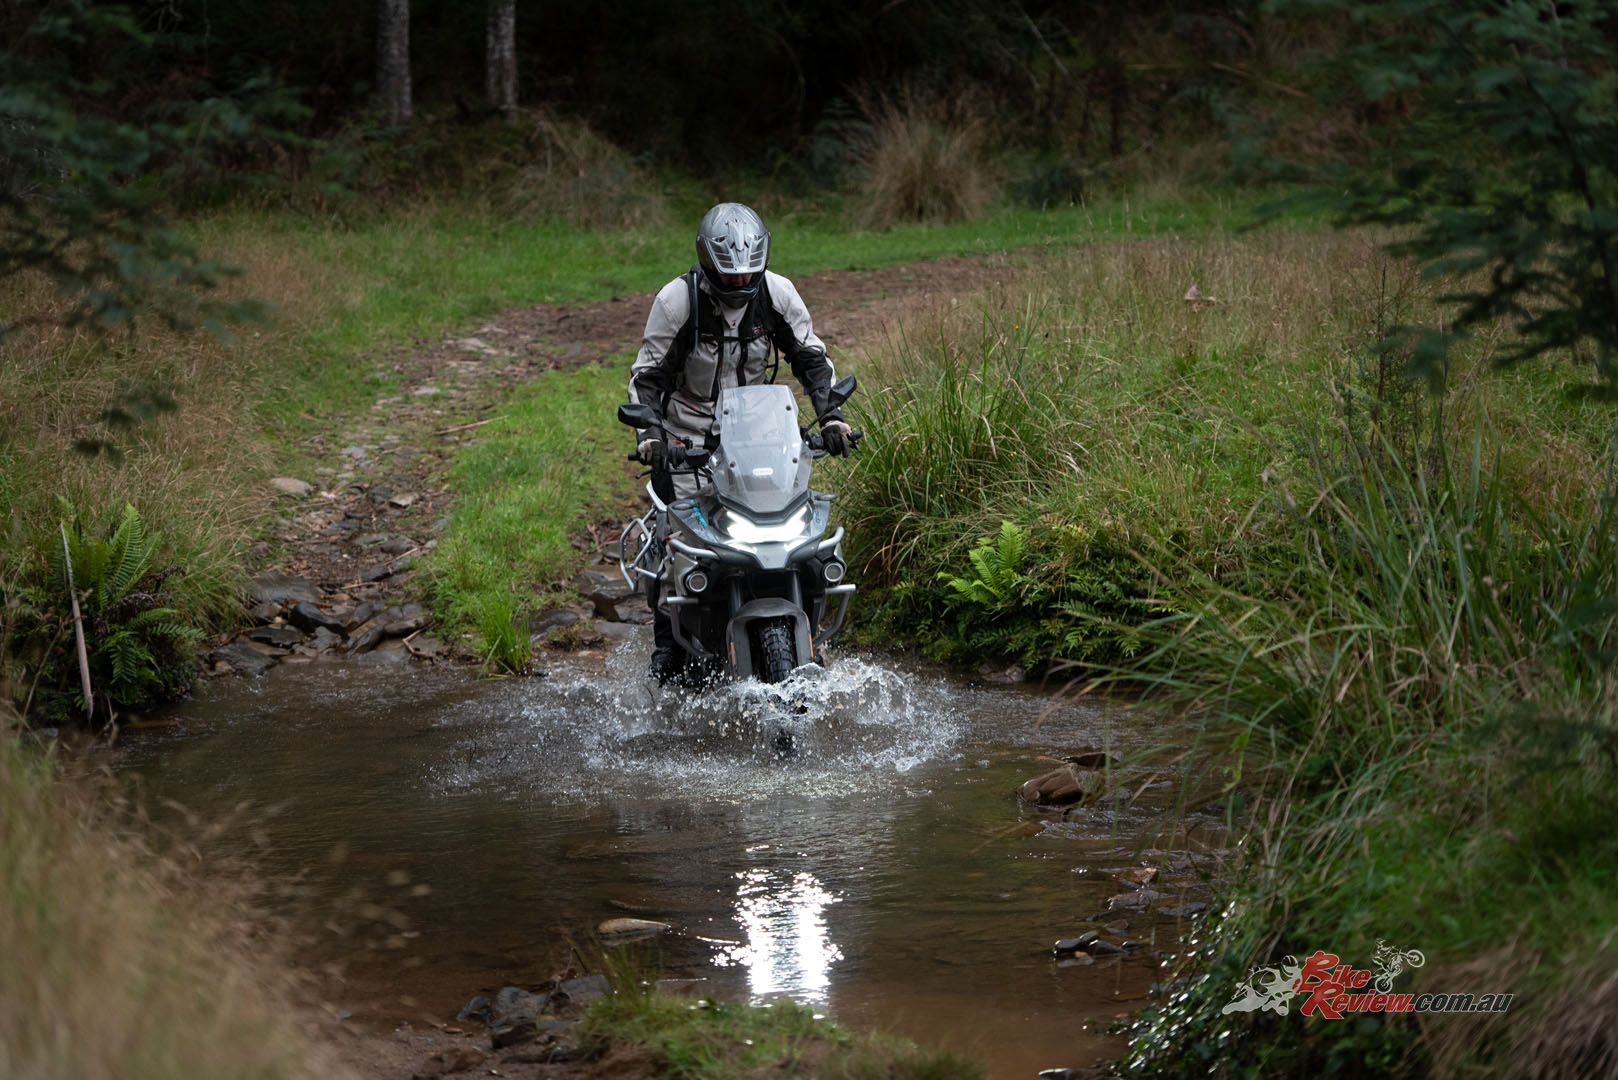
While simple, the bar risers have and always will be one of my favourite additions to any adventure bike. The extra 40-50mm does wonders for my standing position, lower back and overall control of the bike. After tweaking the clutch and brake lever angles a little, I now have it set up brilliantly for both standing and seated riding. Luckily, I haven’t had to test out the radiator guard or the new heavy duty crash bars. I hope it stays that way.


Just this week I managed to get the new DNA high-flow reusable airfilter installed, and I’ve got to say it was pretty damn easy. Much easier than the baby brother 650MT. DNA Australian (Kenma) are awesome, and also provided us with a full cleaning kit plus oil, and a bunch of stickers for the 800MT.


After removing the rear seat using the key (the barrel is hidden up by the pillion grab rail) you’ll need to remove the two 5mm Allen key bolts that hold the main seat in place. Be careful, as the heated seat cables stop the seat from coming off completely, and you don’t want to let it hang down and damage the connections. There is just enough slack in it to fold it back up and over the battery compartment.


The filter panel and the case it is held in sits below the main seat and you’ll notice several Torx screws that hold the top cover on. There’s a bit of thread on these guys, so if you’ve got a powered screwdriver/drill I recommend it. The top cover, likely due to dirt and grime, is a bit of a pain to get off. I end up wedging the Leatherman blade underneath and eventually wiggled it enough to get my finger underneath and pry it up. The top cover actually keeps the filter panel hard against the intake, so it’s important that the panel and top cover are seated correctly.


After pulling the old filter panel and cleaning out of the airbox, give it a quick wipe down and remove any leaves and/or debris that managed to find its way in. The DNA panel lines up with the indents on the housing and seated itself with ease. There is enough grease from the previous service to ensure an airtight seal, but depending on how often you do this on your machine, it might be worth running another bead around the edges.


Once the new DNA panel is seated nicely in the housing, I crack open the filter oil. Make sure you punch a decent sized hole in the cap, and snip the top of the bottle with a decent blade. I start running a bead along the ridge of each filter element, until I’m certain that oil had soaked its way through most of the material. After about 5 minutes, I check again and top up any areas that still appear dry. The filter is pre-oiled, but I have some dusty riding planned so added the extra at the expense of airflow. You don’t need to oil the filter if you are not planning anything hardcore.


To install, basically reverse all steps. The panel and housing slides directly back down into the airbox, and once the top cover is back on, the panel is firm up against the intake. Tighten the screws back up, being careful not to strip out the soft plastic and then place the seat back on and tighten the two 5mm Allen key bolts. Make sure you’re checking the heated seat connections are still together. Finally, the rear seat clips back in, and you’re set!


Be sure to show some love to the guys and girls over at DNA, and chuck on a couple of stickers. Also, they’re not a bad idea to have near the airbox, especially if you’re getting your bike serviced by a mechanic. You don’t want the DNA filter thrown out and a generic paper filter put back in its place.
That’s all for this instalment! Make sure you check in next month to see what Nick is up to…
I’ve only put a few KM on the bike with the new filter, but I’ve got a couple of decent treks planned. I’ll check back in next month with some more updates, my thoughts on the new filter, and maybe we’ll see how easy it is to clean!
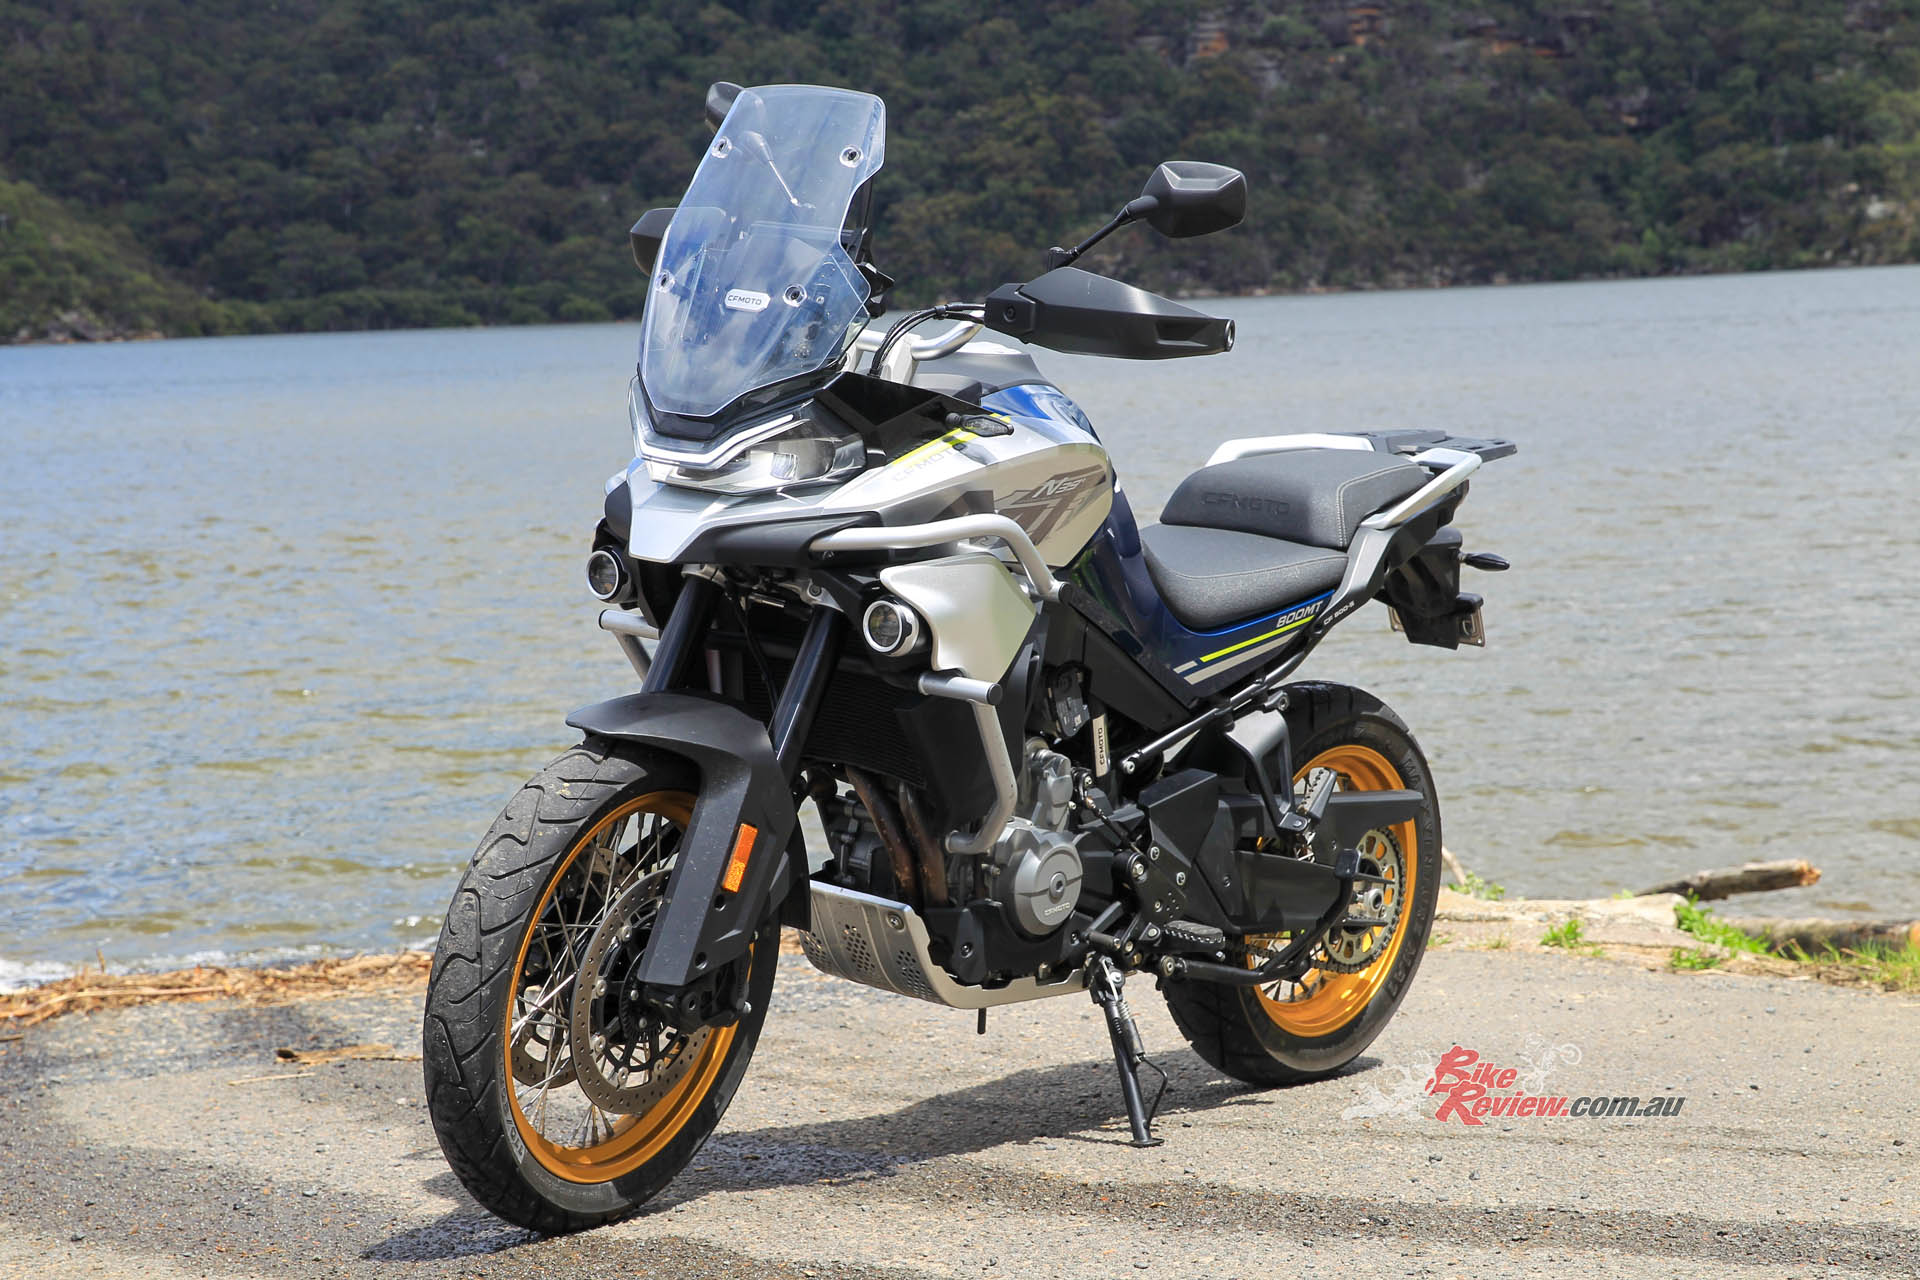
2023 CFMOTO BikeReview 800MT Specifications
Price: $14,490 R/A
Colours: Twilight Blue (Touring), Nebula Black (Sport)
Claimed power: 70kW@8000rpm
Claimed torque: 88Nm@6600rpm
Wet weight: 225kg (no panniers)
Fuel capacity: 19L
Engine: Liquid cooled, DOHC, parallel twin, 799cc, 88 x 65.7mm bore x stroke, Bosch electronic fuel-injection with ride-by-wire throttle, 12.7:1 compression ratio.
Gearbox: 6-speed
Clutch: Slipper
Chassis: Steel tubular frame
Suspension: 43mm USD KYB Fully Adjustable, 160mm travel (f) KYB Monoshock, fully adjustable, 150mm travel (r)
Brakes: 320mm discs, J.Juan 4-piston radial calipers, ABS (f), 260mm disc, J.Juan 2-piston caliper, ABS (r) Bosch ABS,
Wheels & Tyres: Maxxis Tubeless, 110/80–19in (f), 150/70–17in (r) Spoked wheel with Touring model, Cast-alloy with Sport model.
Dimensions:
Length: 2234mm
Width: 853mm
Height: 1277mm
Wheelbase: 1531mm
Seat height: 825mm
Ground clearance: 190mm
Instruments & Electronics: 7in TFT Dash, two riding modes, ride-by-wire throttle, cruise control, Bosch ABS, LED lighting.
Editor’s Note: If you are reading this article on any website other than BikeReview.com.au, please report it to BikeReview via our contact page, as it has been stolen or re-published without authority.

The Author
You Might Also Like