Oggy Knobbs are a must for your machine. A few hundred bucks and 30-minutes work could save thousands. Here's an install guide for the Honda CBR500R... Words: Nick Ware Pics: BikeReview
After spending a decent chunk of change repairing the side fairings, bar-ends and levers on my previously crashed CBR500RA (review here) I was keen on saving it if I were to ever drop it! The Oggy knobs were a must before I even thought about taking it to the track…
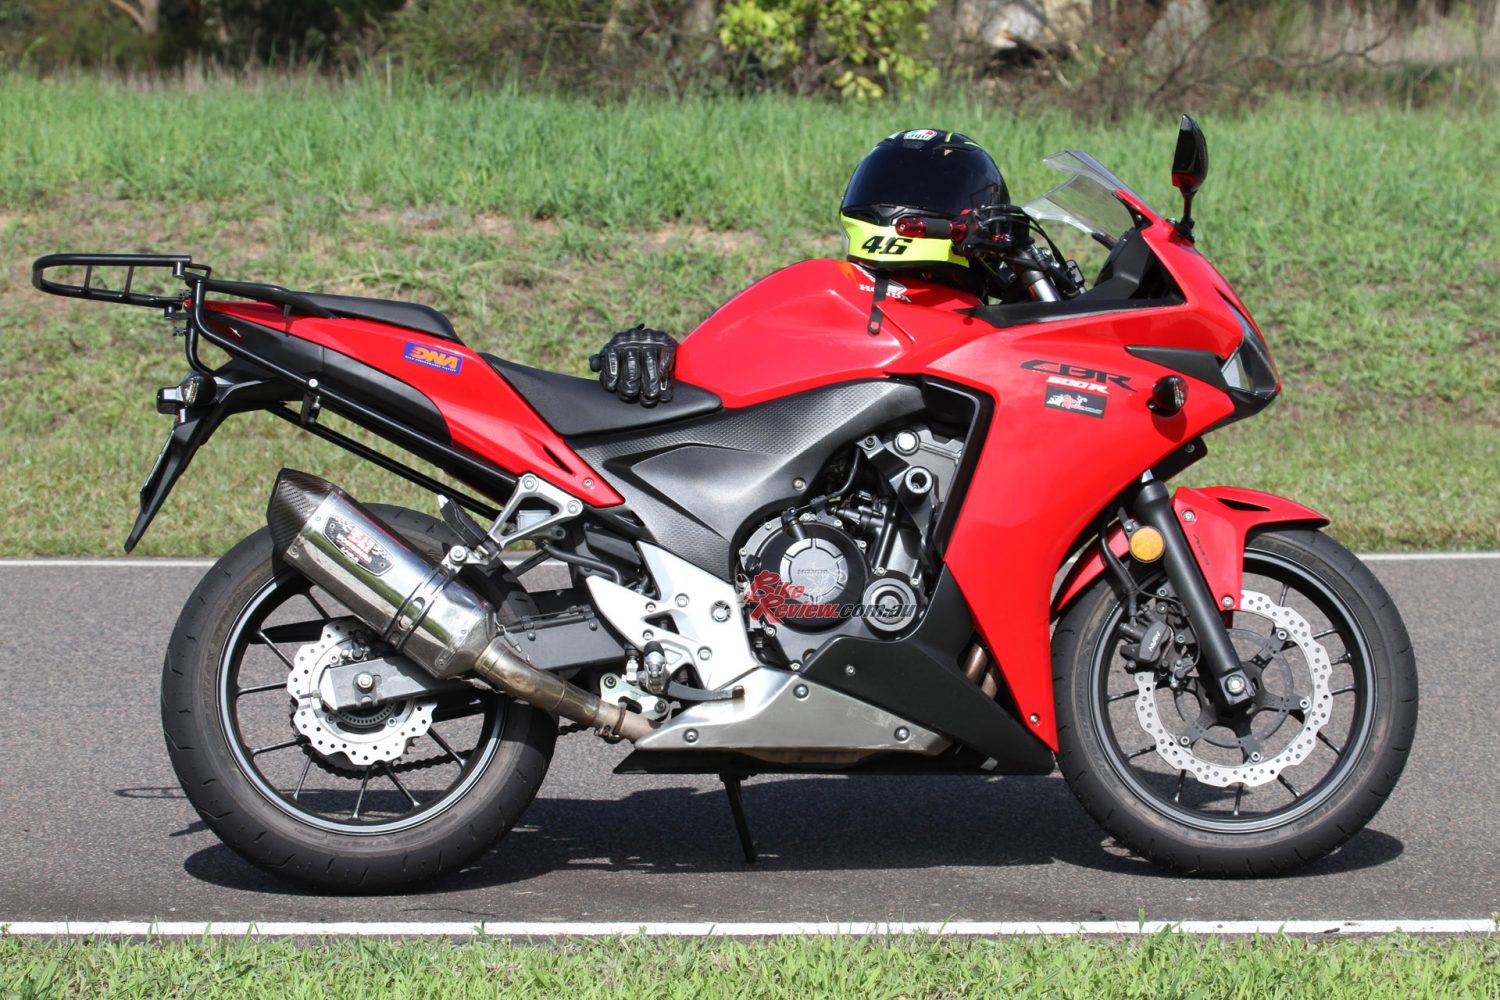
Nick wanted to make sure his fairings were safe before cutting loose on track.
There’s something about the look of Oggy Knobbs on the side of a bike that always made me think “race bike” – ever since I was a young kid. I spent a bit of time researching the available products for the CBR, being a LAMS approved bike anything to do with safety and protection for the bike itself was readily available.

There were plenty of cheap knock-offs online but for the sake of something a little more pricey, it could mean the difference between a simple paint repair or a whole new side of the CBR! The best bit I found with the Oggys was that I wouldn’t have to cut, remove or adjust the side fairings in any way.
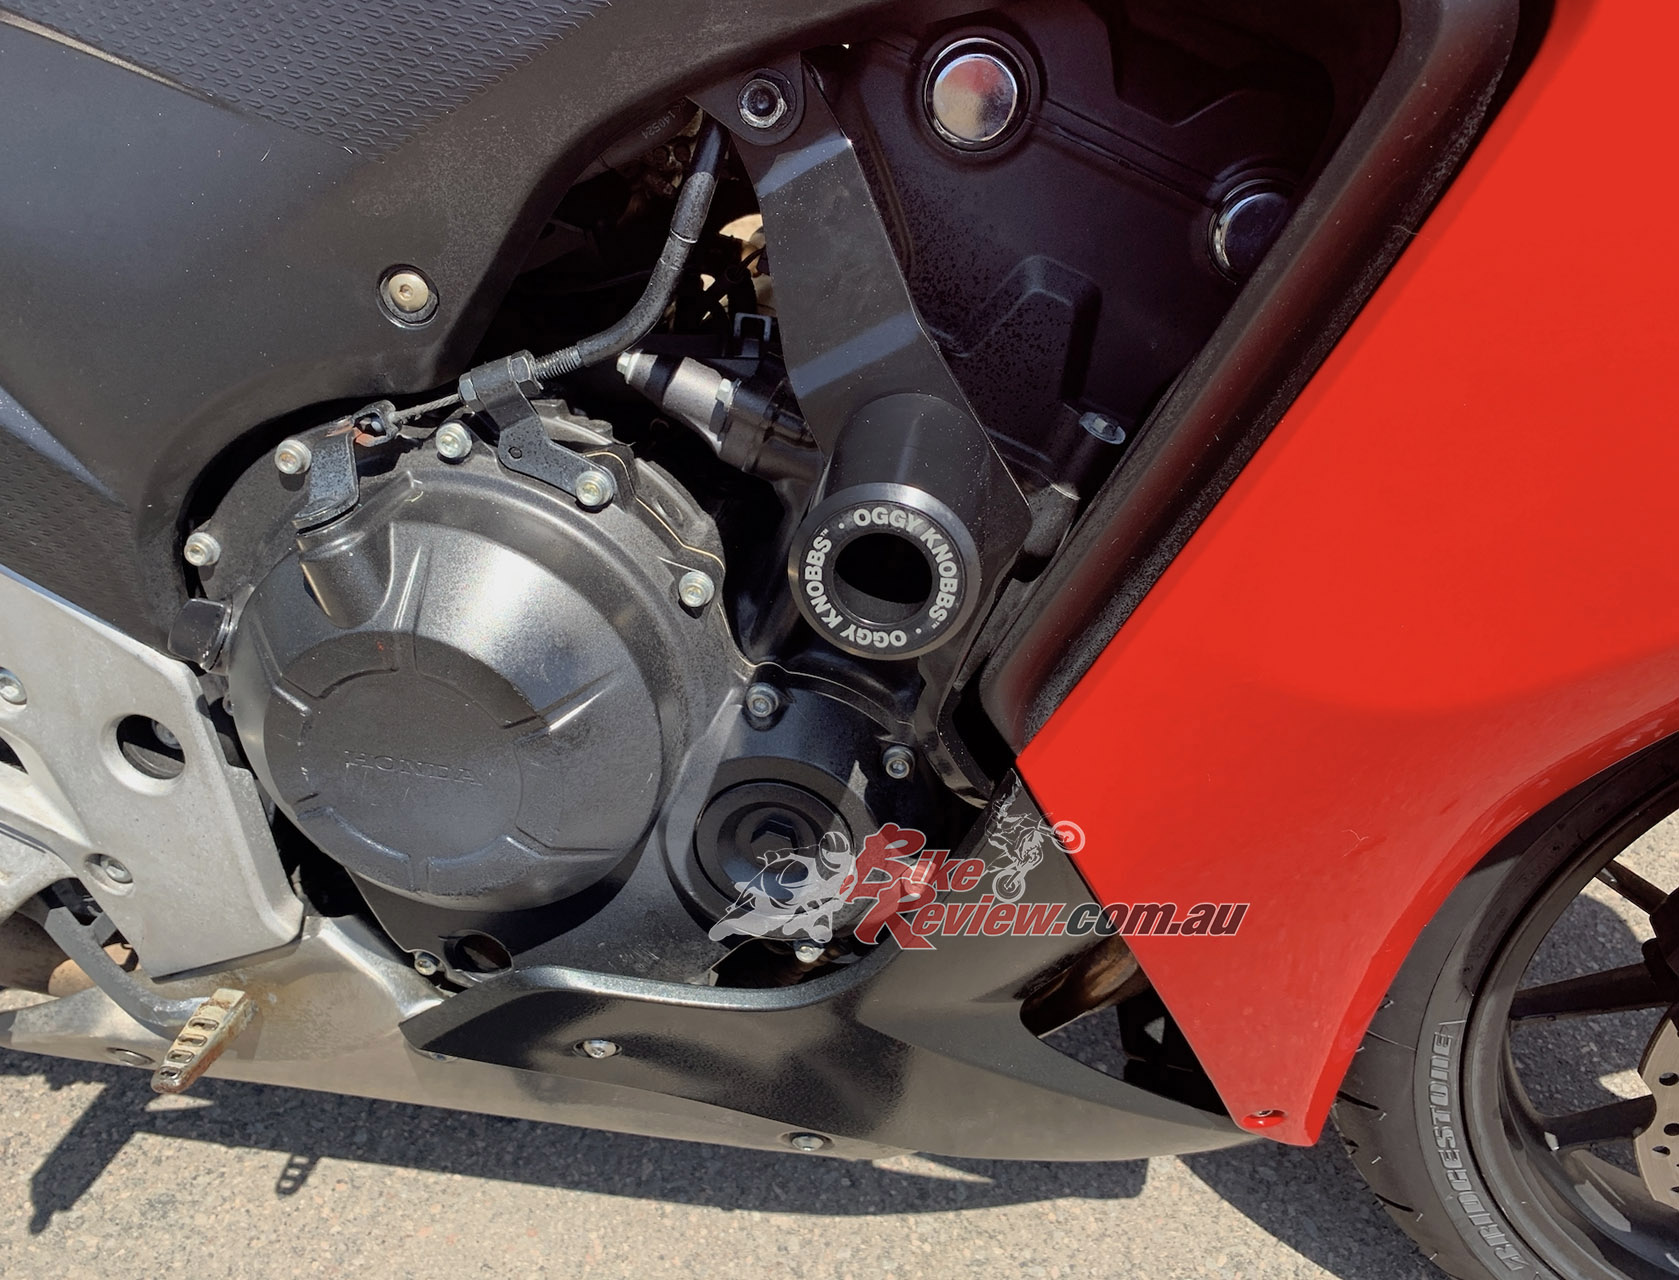
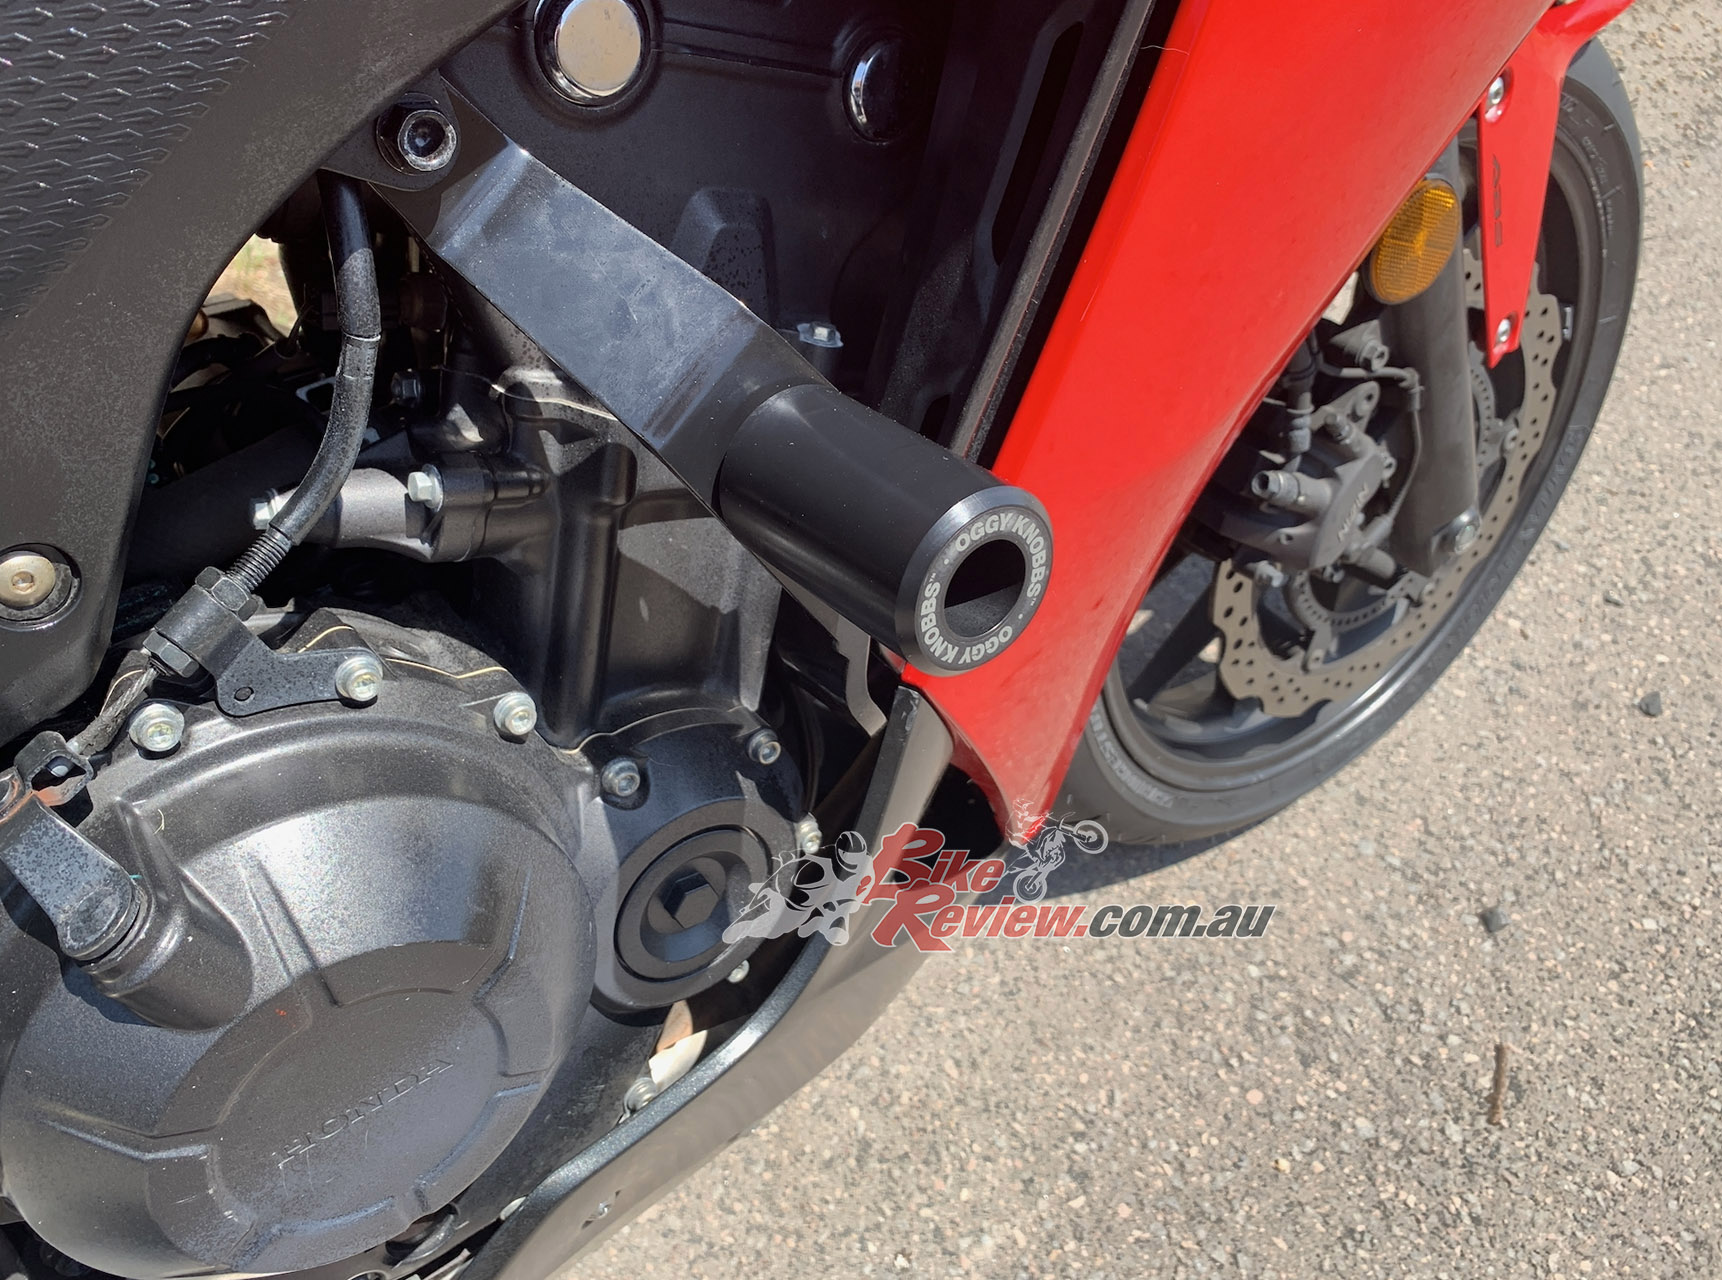
The Oggy Knobbs go on without any fairing cutting or modification and blend in well.
Installation itself wasn’t particularly difficult at all. All that was really required was a set of Allen keys, a breaker bar, some thread lock, a torque wrench, hex sockets, normal sockets and a bit of patience.
FITMENT STEPS: OGGY KNOBBS CBR500RA KIT
Step One
First things first was to lay out exactly what we had. The Oggy Knobbs CBR500R kit costs $289RRP via Kenma and details are here. It comes with two sliders, two Oggy brackets to mount the sliders and a new set of hardware to attach it all to the engine. There wasn’t much required to mount the set-up.
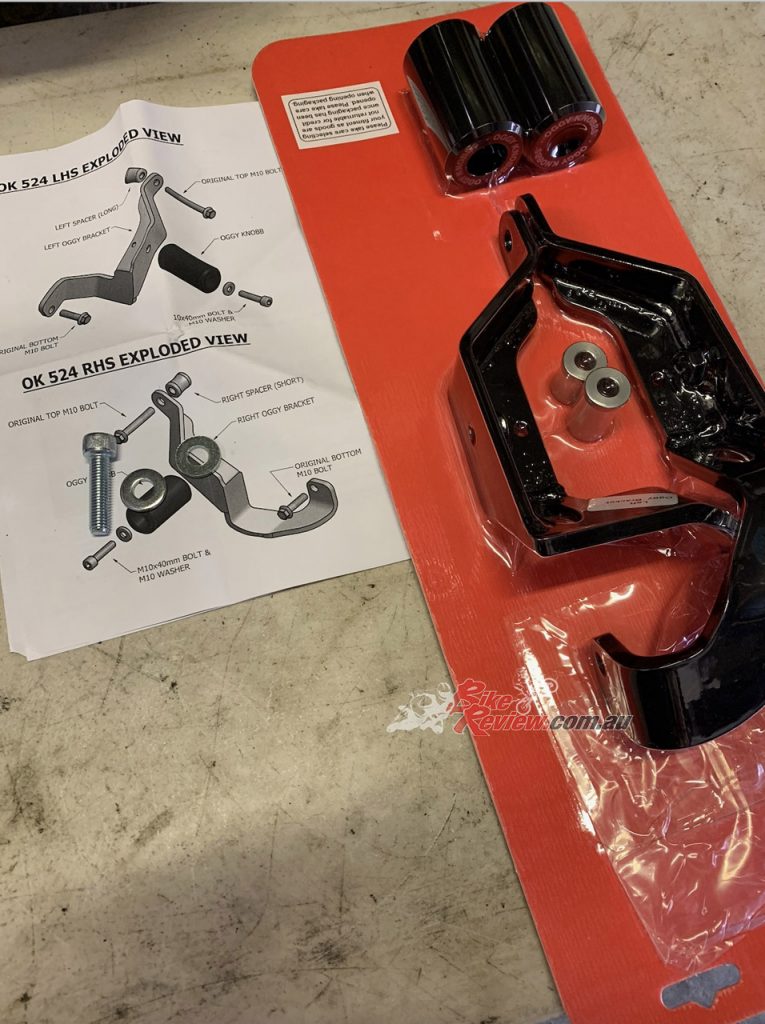
The $289.00RRP kit comes with everything you need to complete the job including easy-to-read instructions.
Step Two
We began the removal of the side fairing. Usually this wouldn’t be much of a drama, however given the fact that the previous owner had crashed the bike, the majority of the fairing was held together with duct tape and zip-ties. These were cut and removed and we slowly began to pull the side fairing off.
Step Three
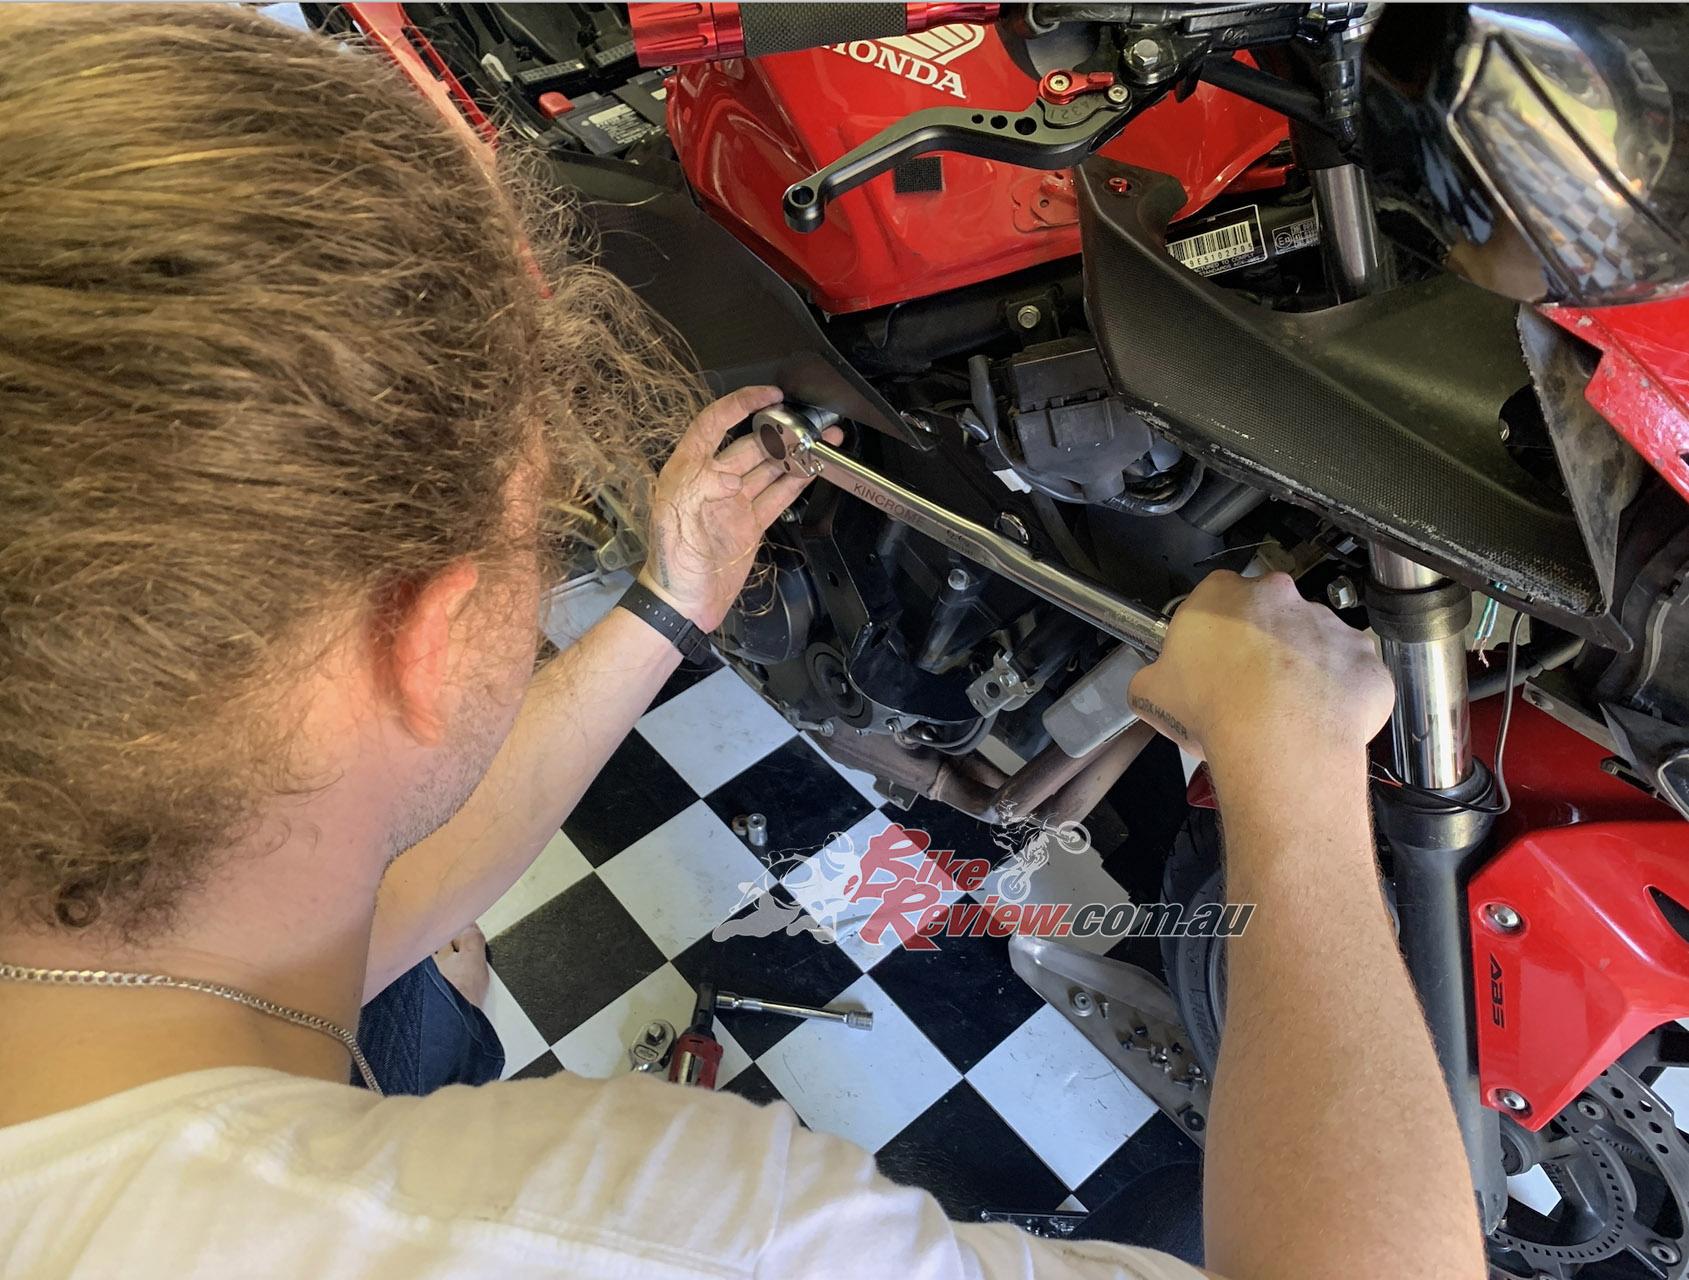
Once the side fairing was completely removed, we could begin mounting the Oggy brackets. These mounted in behind exisiting engine mounts and used the supplied spacers and the exisiting hardware. These bolts were very tight and required the use of a decent breaker bar to undo.
Step Four
The spacers went in behind the top engine mount and we threaded all the hardware back in finger tight for now. Now all that was left was for the sliders to attach and the fairings to go back on.
Step Five
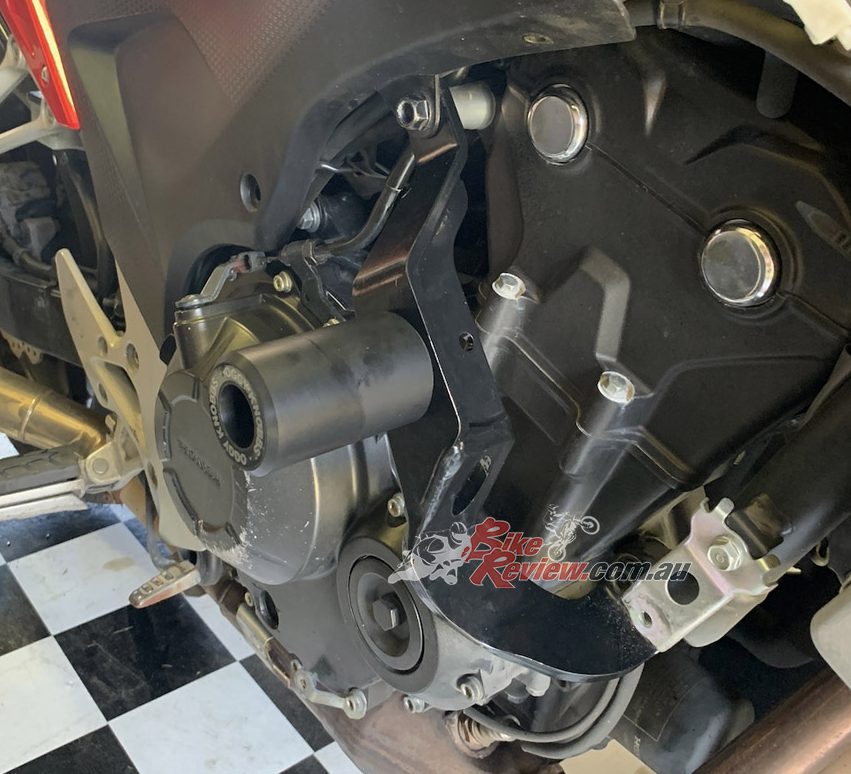
The sliders themselves attached using the supplied bolts and washers. These were torqued down very tight and a touch of thread lock also didn’t hurt.
Step Six
Next we torqued the fasteners on the slider brackets themselves and re-checked the slider knobs. Once we were sure these were set correctly we began the mission of remounting the side fairings!
Step Seven
Starting at the top we reattached the side fairing up near the headlights, followed by the mounts on the tank and down the side of the riders seat. These went in surprisingly easy for the damage that was evident on the fairing. We had to glue a couple of the mounts back together that had been broken, tape an area up near the headlight and zip-tie the join in behind the front wheel.
Not a problem, a job for another day!


Step Eight
Next, we reattached the side covers using the original fasteners and tightened the fairing bolts. The final hardware to attach was down near the exhaust. The majority clipped back in how it should and the bike was looking really nice with the Oggy Knobbs on it.
Step Nine
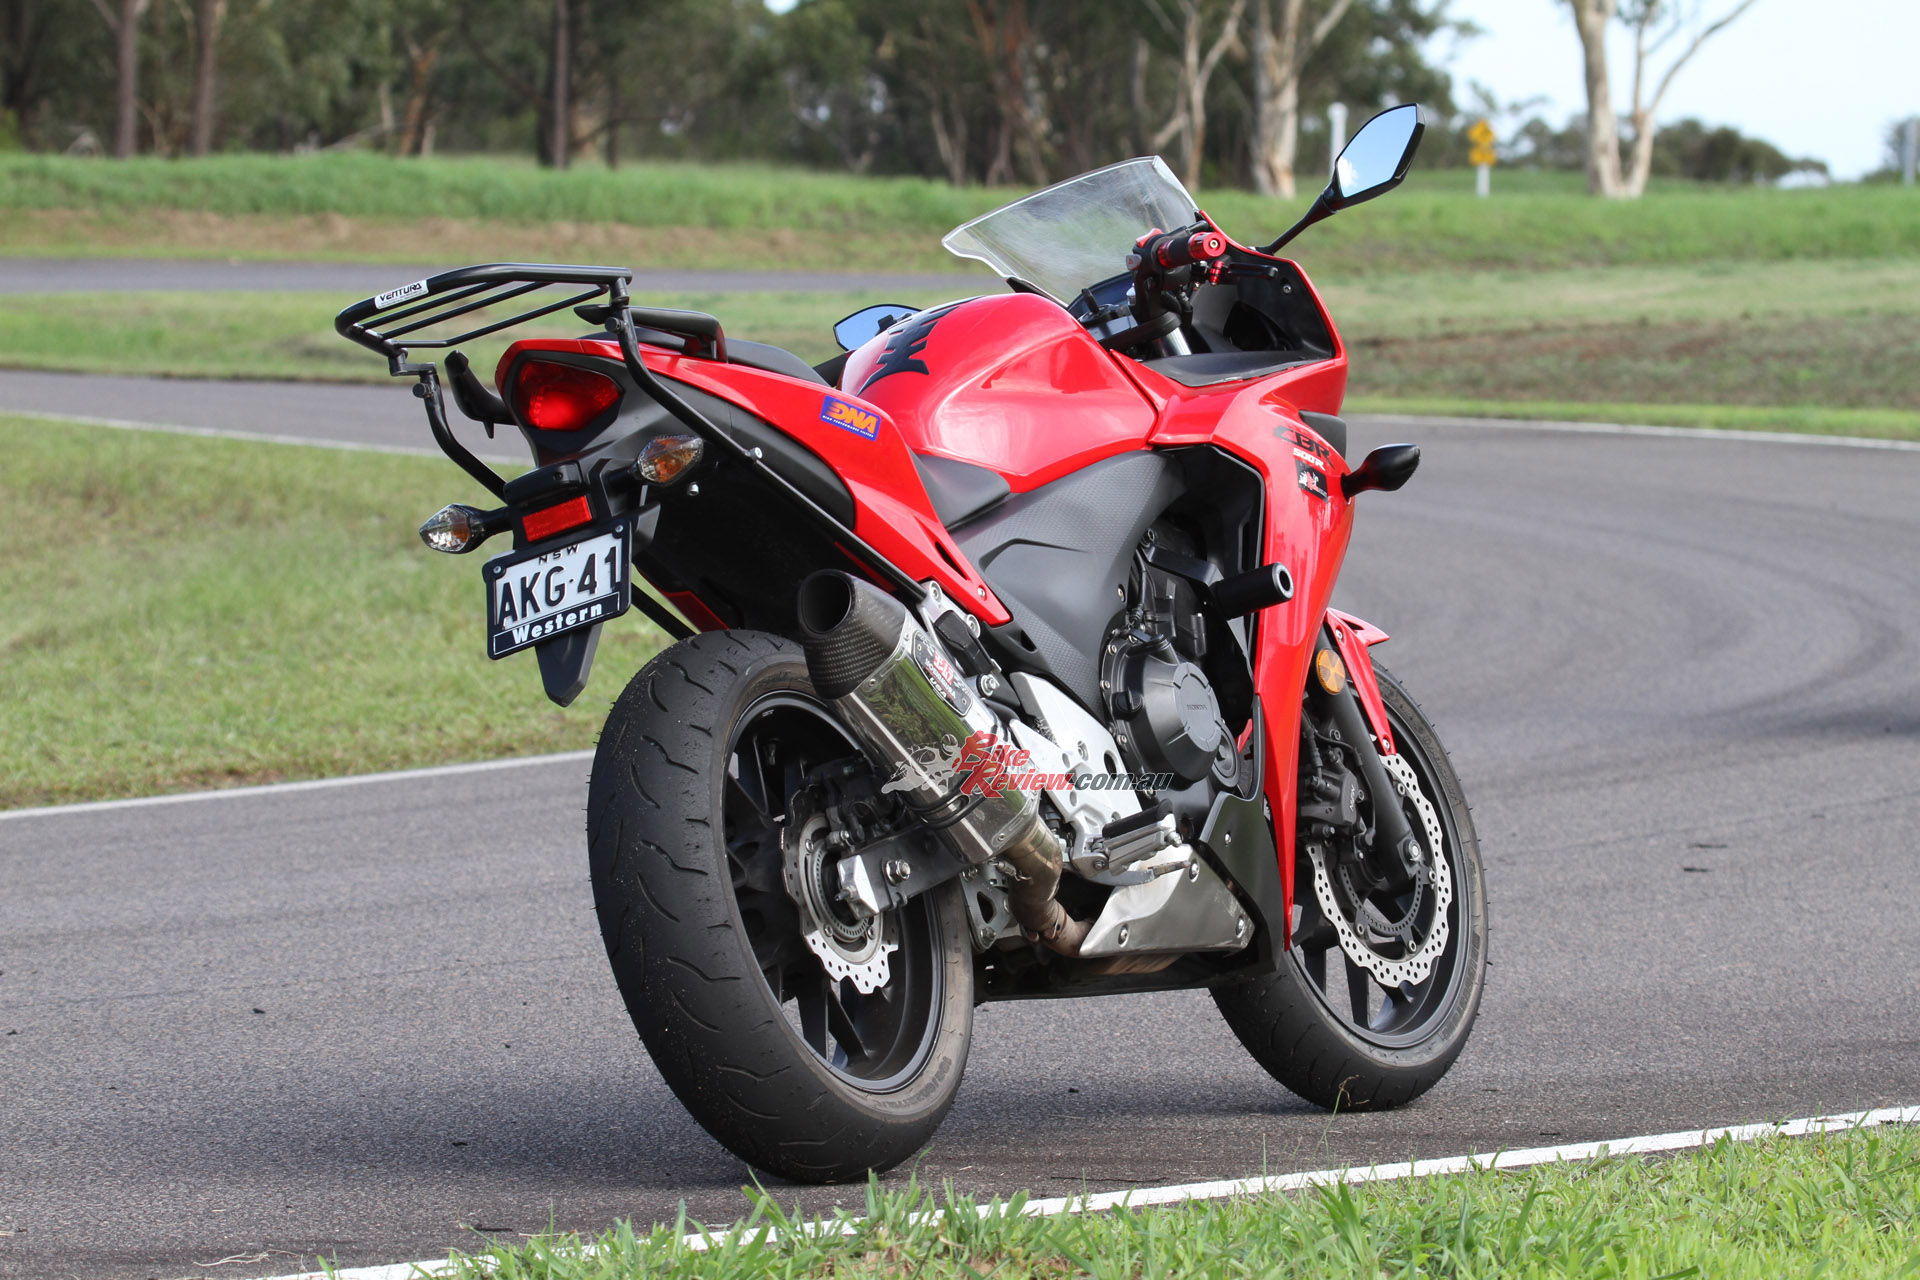
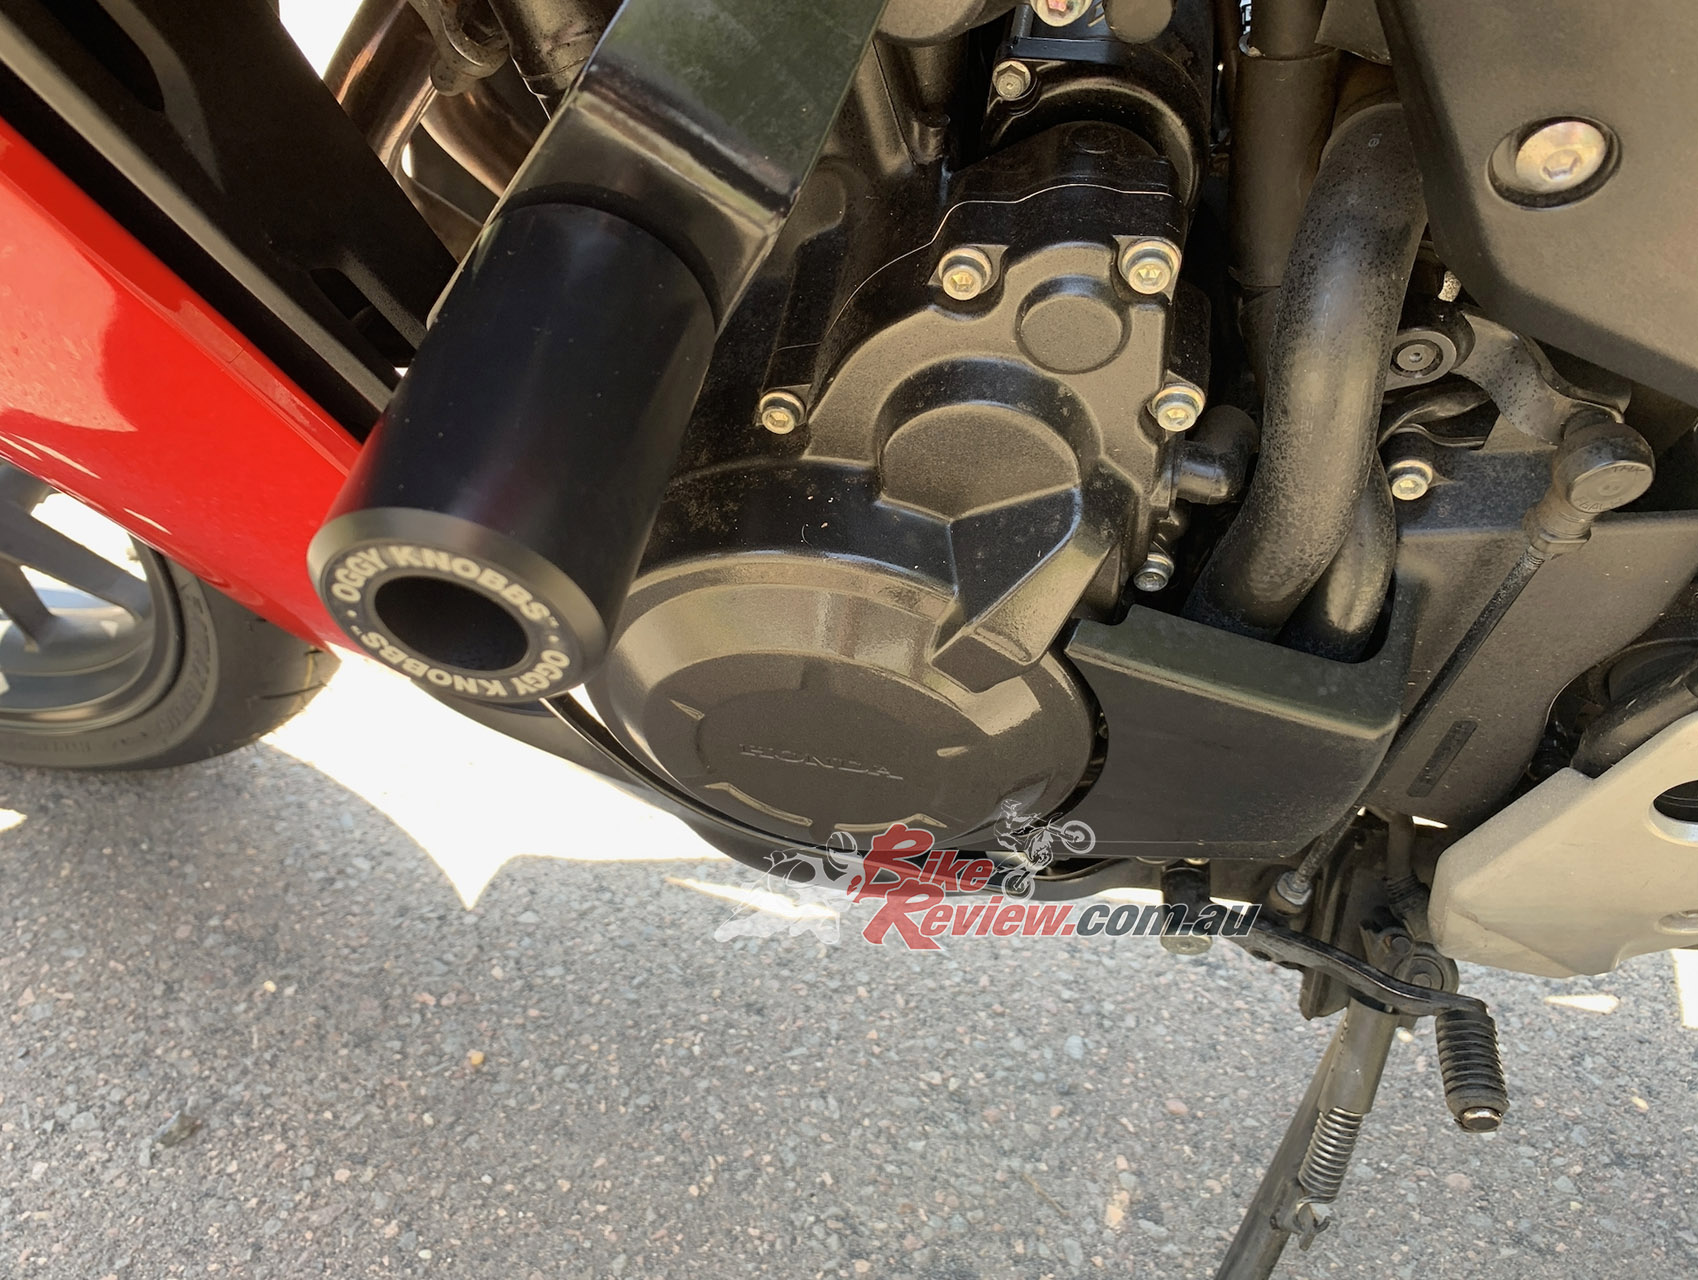
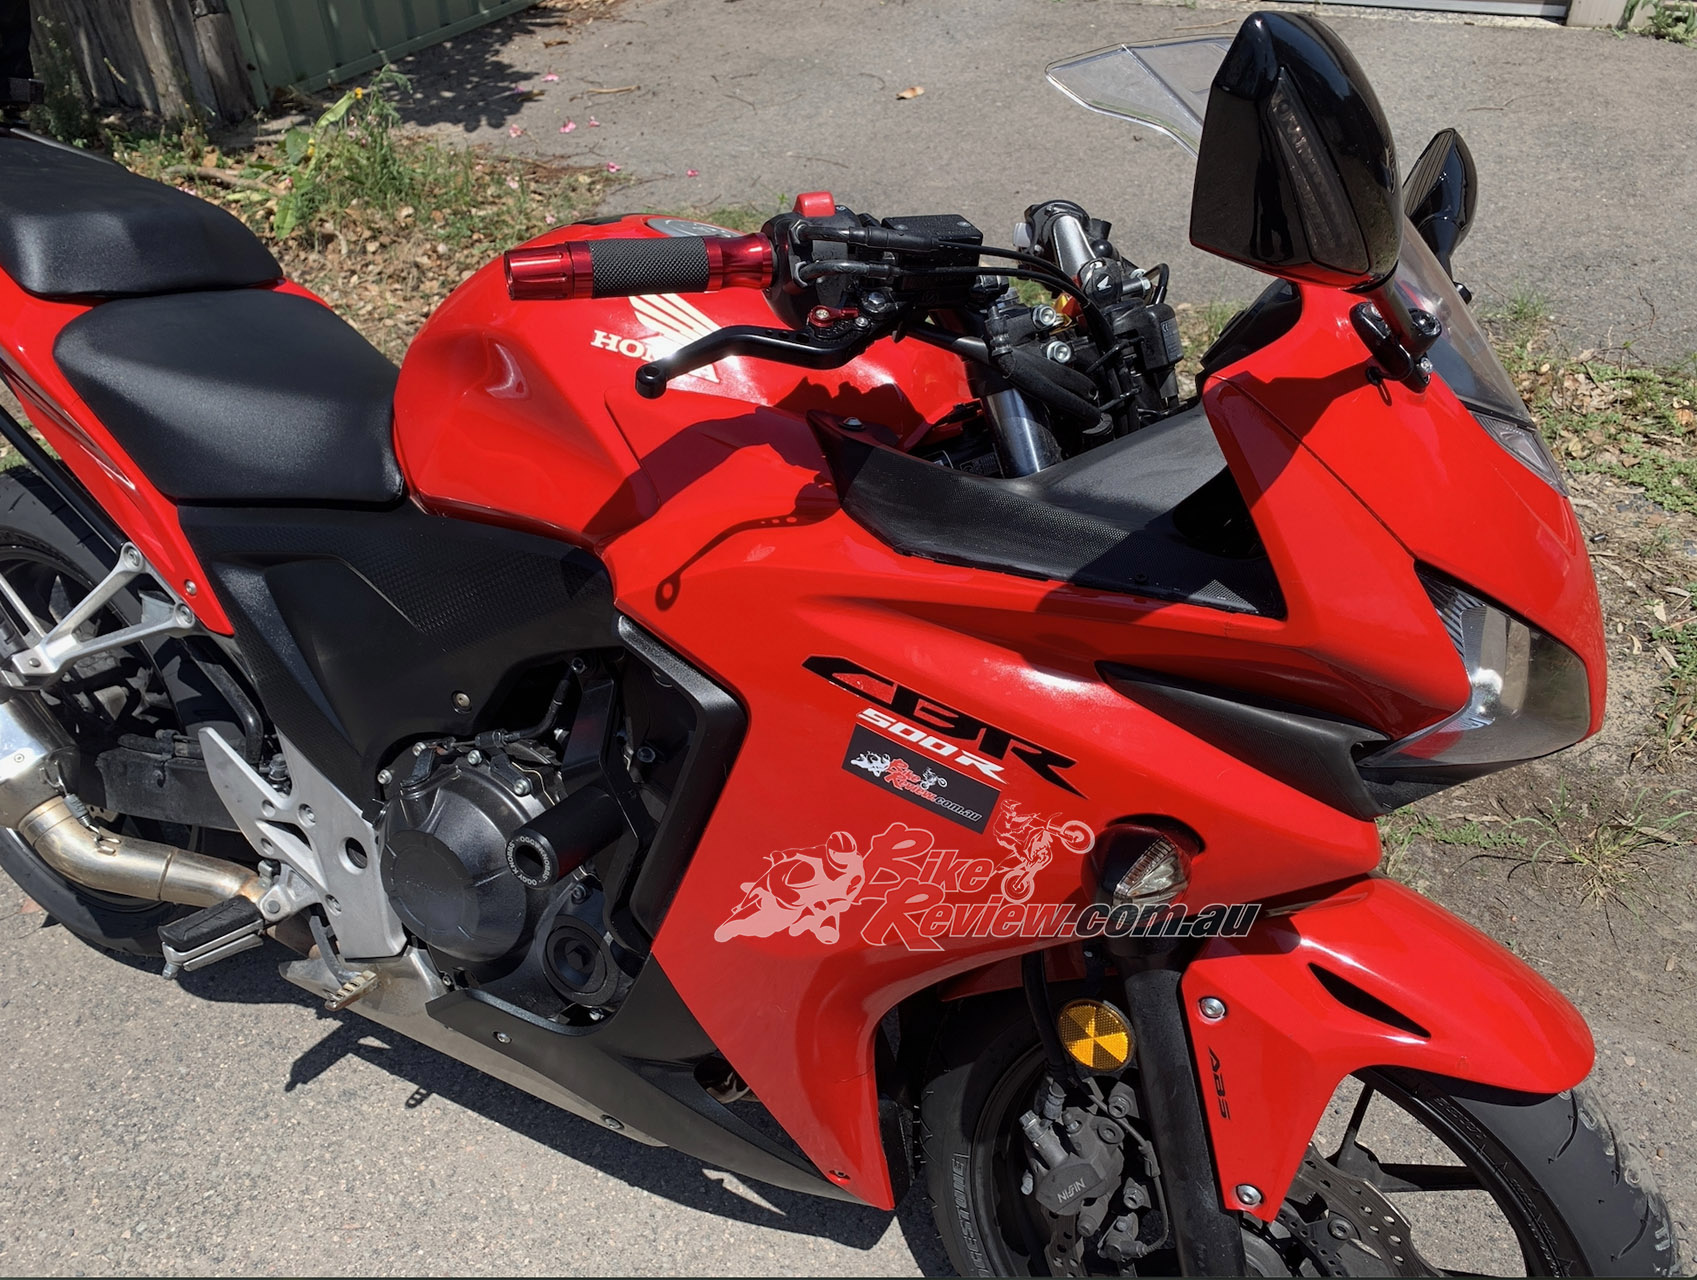
Finally, we gave the bike a wipe down to remove all the grubby and greasy finer prints, the Oggy’s looked wicked! They mounted so easily and fit really well with the styling and design of the bike. Step back, look on in awe over your handy work and take it for a spin! They look great!
Finished Test
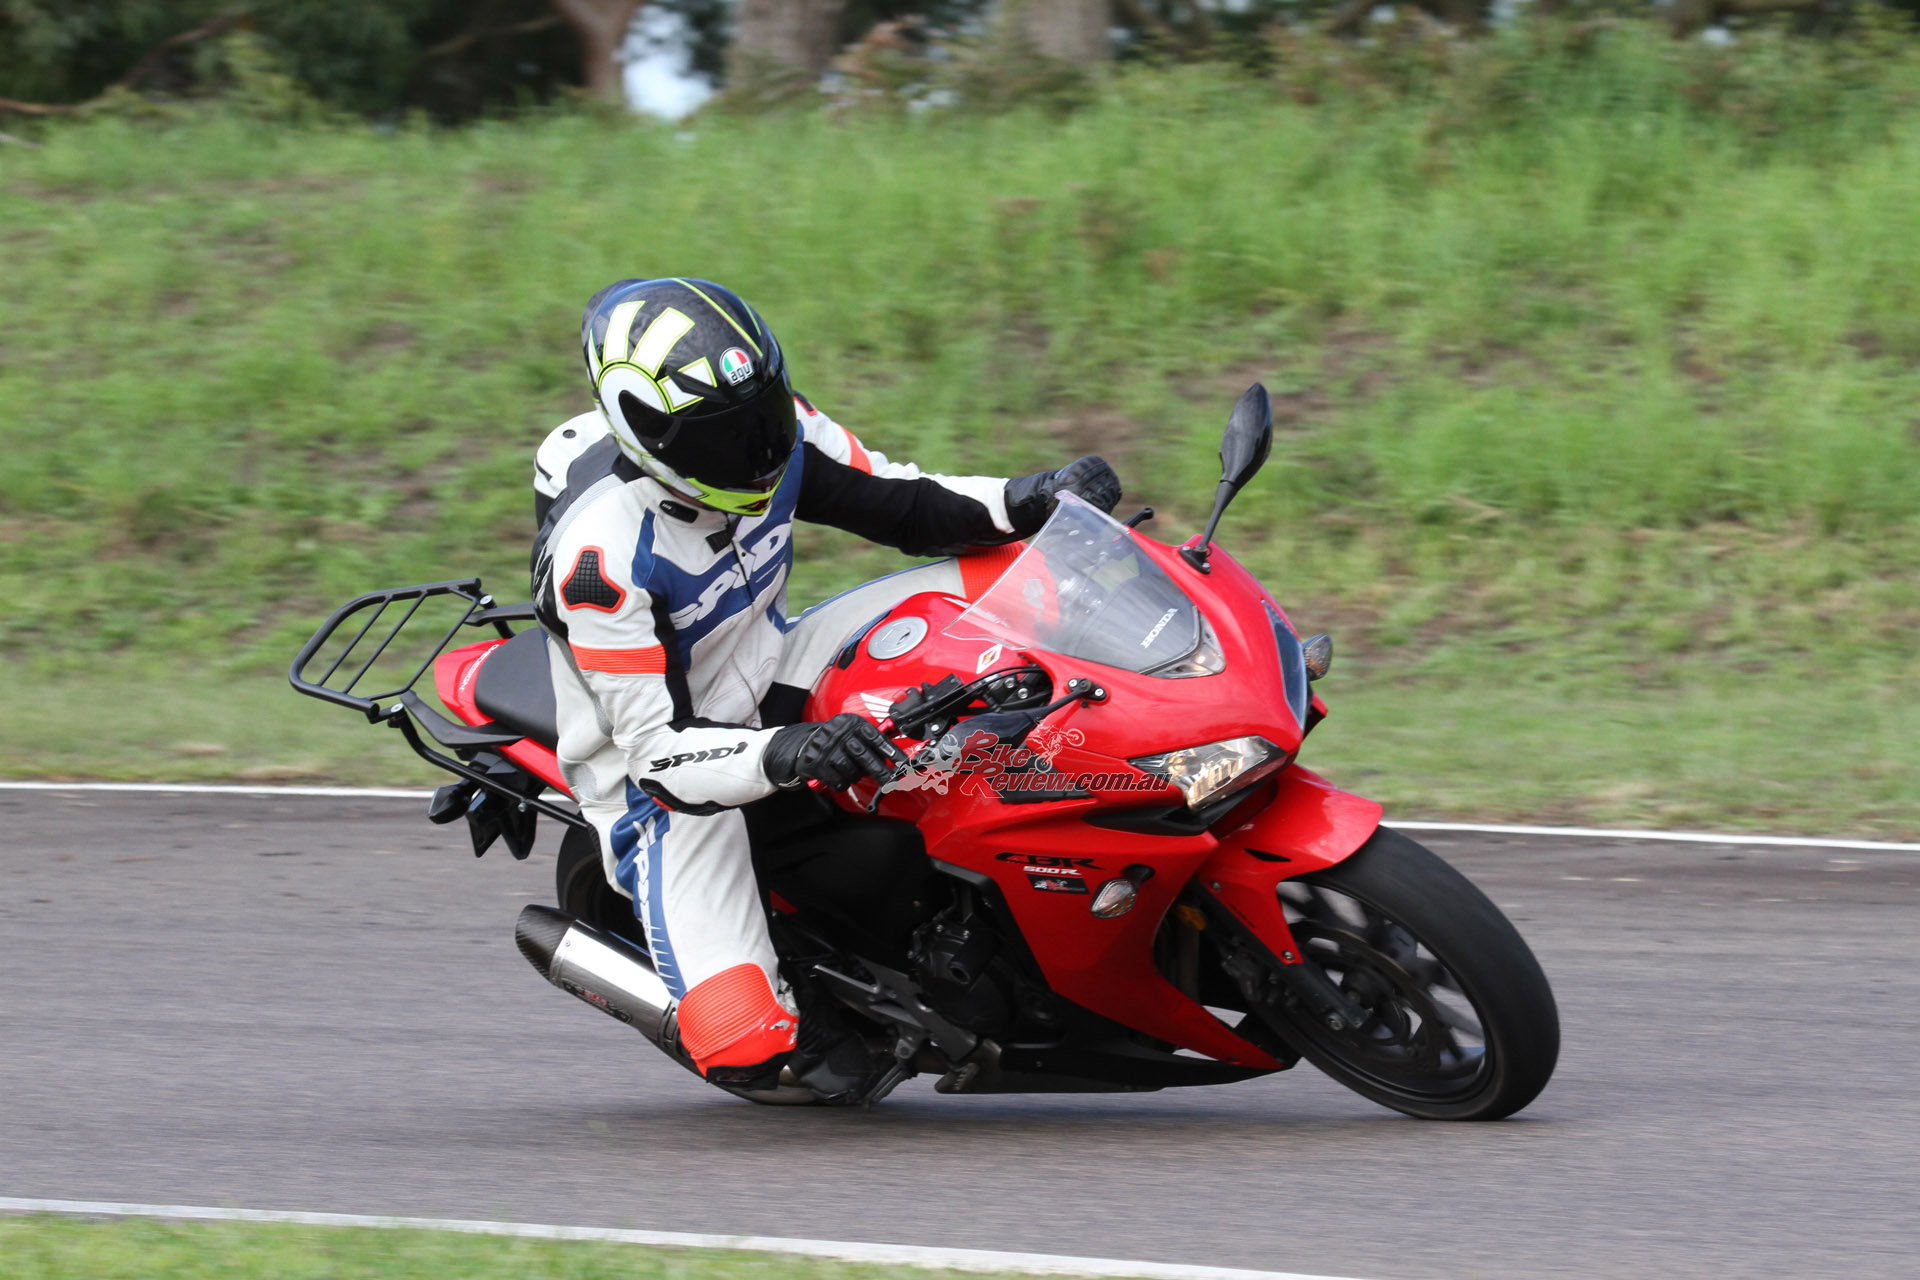
The powder coated plates have held up real nicely over the last months of torrential rain, and the hardware is zinc coated which has remained rust free so far. The positioning of the Knobbs hasn’t been a problem in heavy traffic while walking the bike nor on the track leaning right over. I haven’t crash tested them yet but Jeff reckons I eventually will so stay tuned for an update ha!
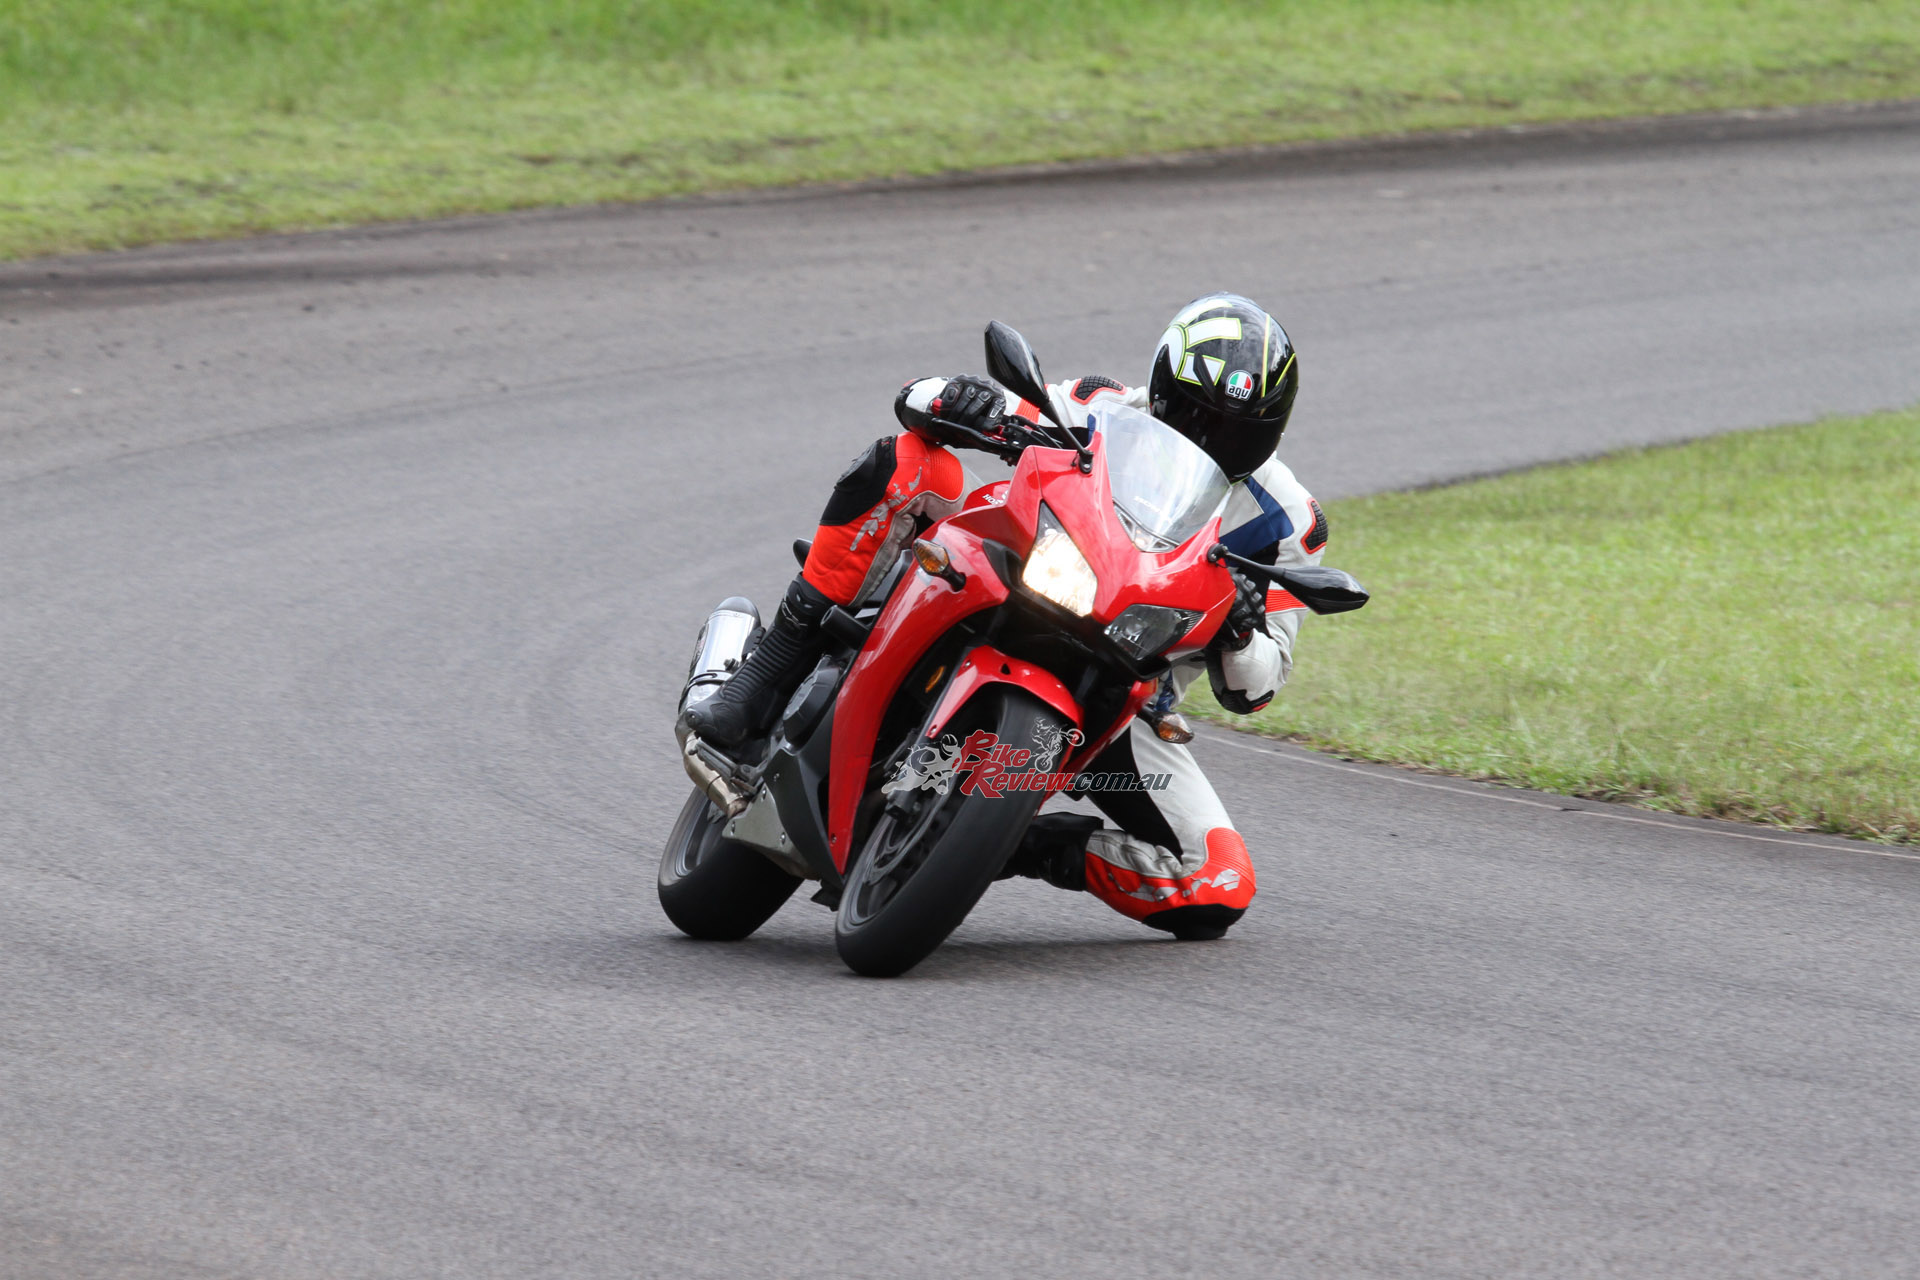
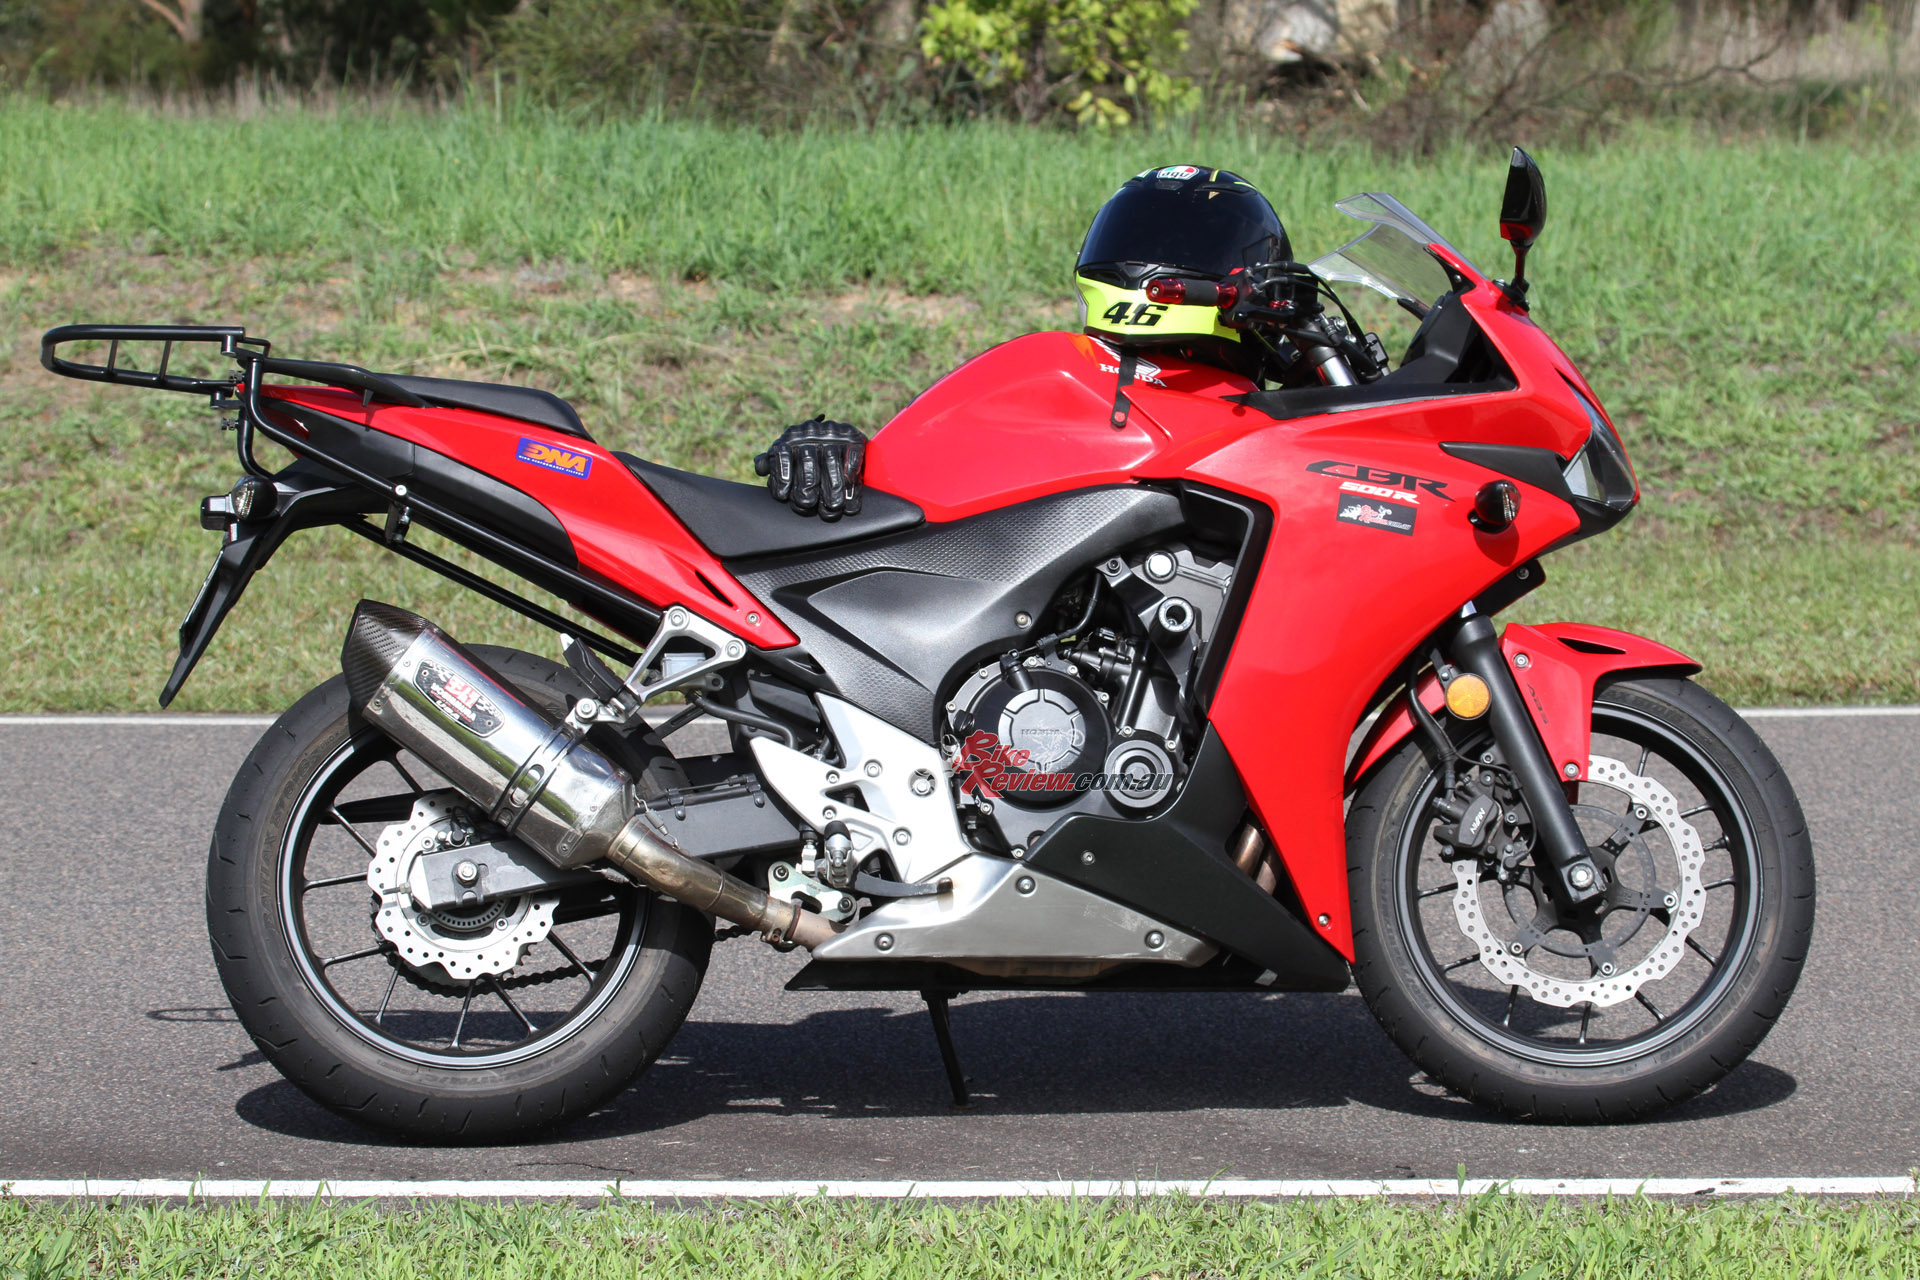
Nick trying his best to crash test the CBR500R Oggy Knobbs!
Next I’ll be fitting a Ventura Luggage system, Bridgestone BT016 PowerPack tyres and a DNA Filter..


The Verdict | Tech Tips: Product Fitment – Oggy Knobbs Kit, CBR500RA
Excellent!
The Oggy Knobbs kit for the CBR500RA is easy to fit, good quality and a must-have for LAMS riders or those doing track days… Here is our fitment guide.
The Author
You Might Also Like